Creative Squad

Let’s Go Somewhere – Michelle Rydell


Happy Tuesday my friends! Today Michelle Rydell from my Creative Squad is sharing a happy and bright journal cover using the Batik Pattern 2 foam stamp, the Batik Pattern 4 foam stamp, and this month’s theme: Let’s Go Somewhere. We’re in the depths of winter here in the Northern Hemisphere and looking for an escape! This month let’s reminisce about past vacations and plan future adventures to help us get through these gray days.
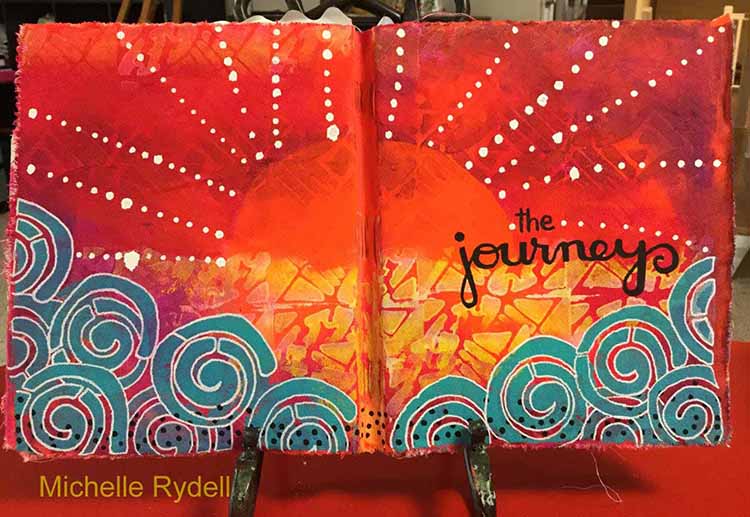

I decided it would be fun to bring this month’s theme to the project of decorating my journal cover – which is the place where I document the biggest adventure of all – life! Here’s how I went about doing it…

I already had painted a base coat of orange and pink paint on my journal cover. I busted out the Batik 4 stamp, the stamp buddy, and some pink, white, yellow and Quin Magenta paints to get started…
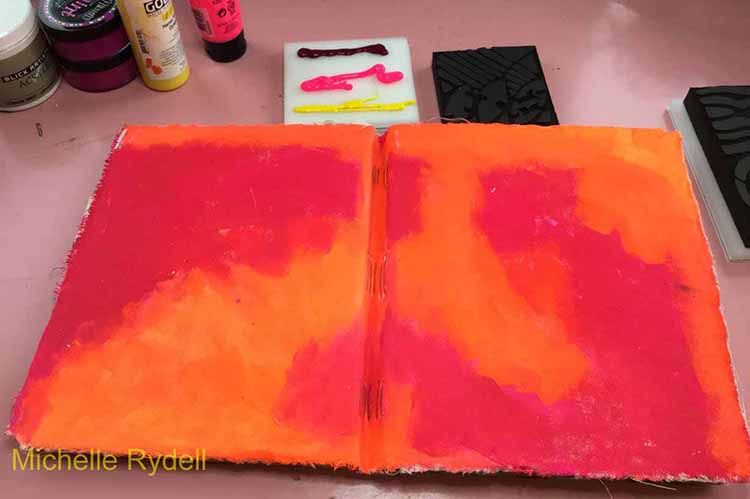
I applied the paint to the stamp buddy in a stripey pattern, and covered the whole cover with the Batik 4 stamp, in a tile fashion…
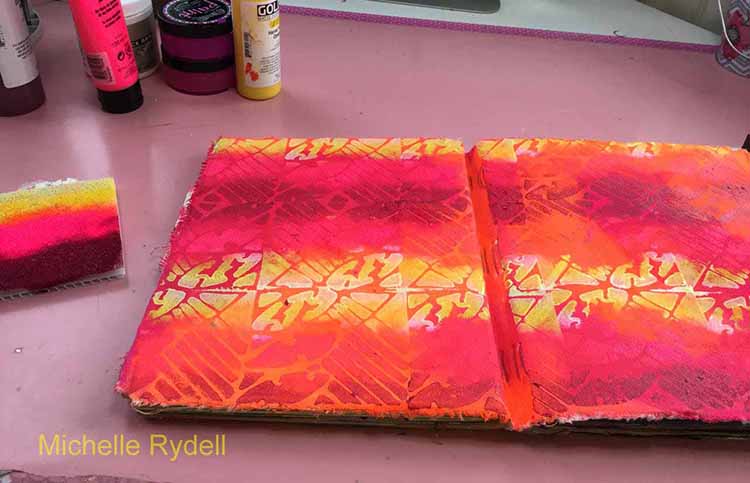
Next, I applied some fuschia and payne’s grey paint in random patches to knock back the busyness just a bit…
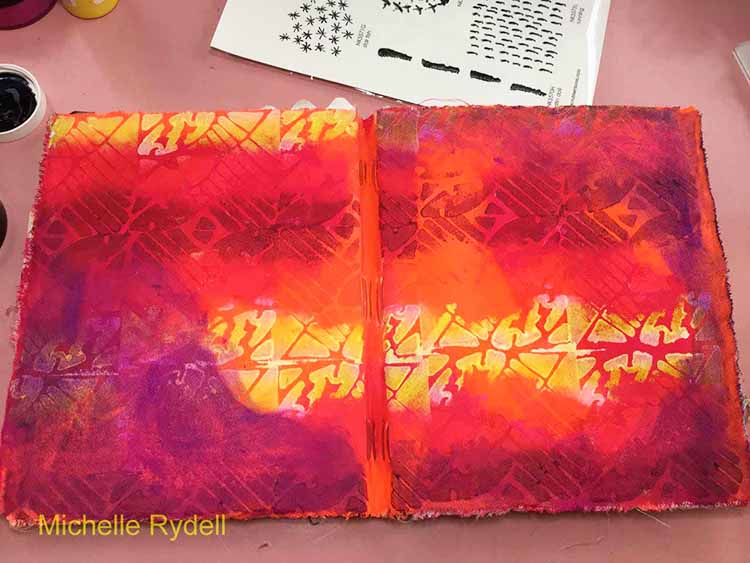
For the third layer I used the swirl from the Batik 2 stamp and turquoise paint applied with a sponge, to add a border along the bottom. After that was finished I could see the beginings of a sunrise peeking through. Do you see it?
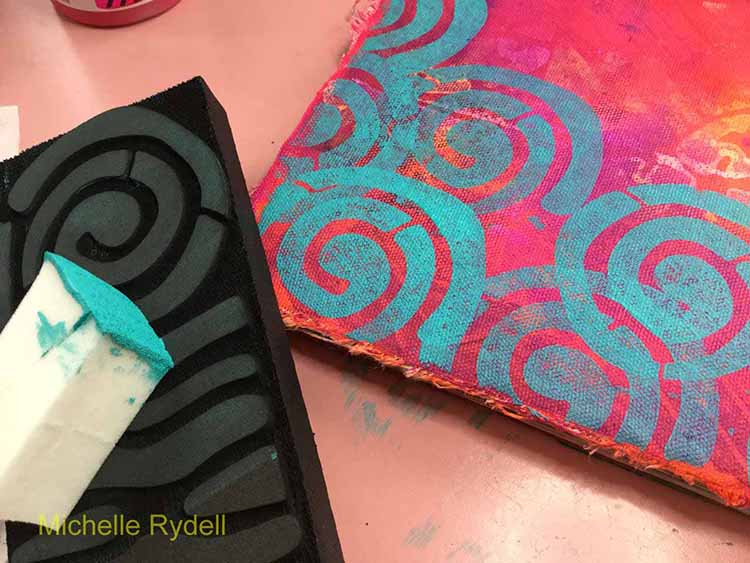
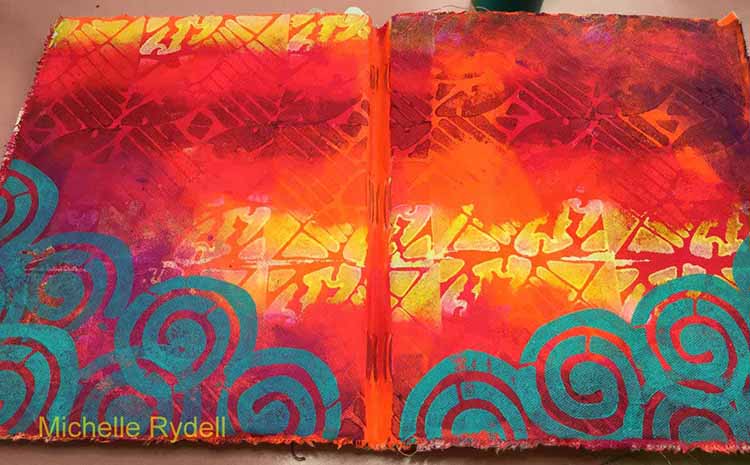
I decided to bring the sunrise out with some fluorescent orange paint; and filled in the rest of the foreground with more of the yellow and white Batik 2 stamping…
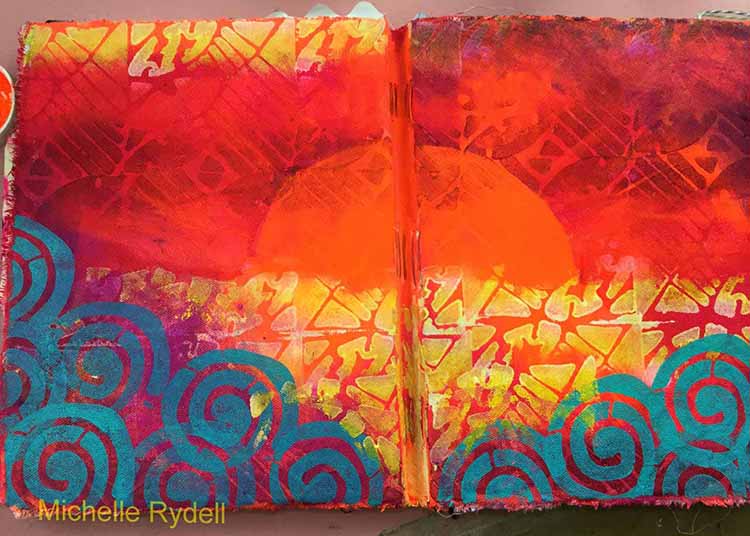
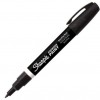
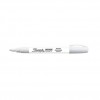
Final details were added with white and black sharpie poster paint pens. I’m so happy with my new journal cover – I’m all set to document the journey of life!

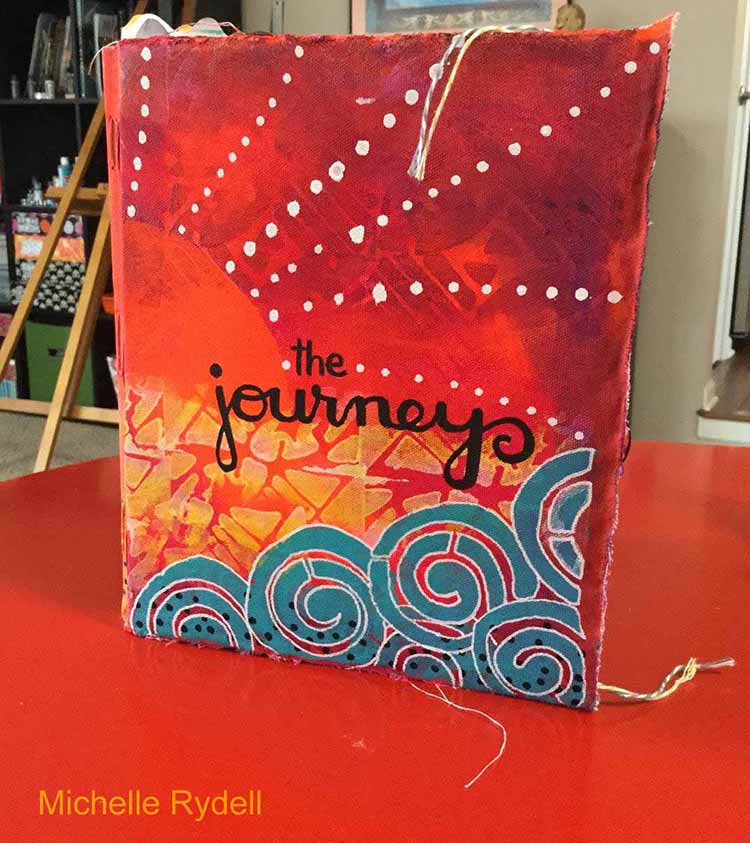
I love these colors!!! Thank you Michelle for such a vibrant project and for showing how you can use just parts of the Batik stamps to create new designs. Here are the supplies Michelle used in her post- some links are affiliate links:


Play along with us! I love to see how you interpret our monthly themes. Email me how you used my stencils and stamps with the theme and email me an image – I would love to share your projects in my “n*Spiration From Around the Globe“.

+ Expand this article
4comments

Comments (4)

  • Diane Baker-Williams

    |

    Love the colors you used. They make the white truly pop. Appreciate you sharing the steps you took to create.

    Reply

  • Sherry Canino

    |

    What a gorgeous art journal spread !! Absolutely love the colors too ❤❤❤

    Reply

  • Gerrie Johnnic

    |

    Love love love this! Wowza, what colors…….amazing project!

    Reply

  • Sue Clarke

    |

    Such vibrant colors Michelle! I feel like I took a few minutes on a warm island while sipping my chai this morning.

    Reply

Leave a comment

Art Tapas – Bite Sized Tips for the Mixed Media Artist – Tip #7 Cleaning Foam Stamps

Art Tapas are short videos that will give some practical tips or advice about anything that is related to tools, art supplies or processes and any Mixed Media or Hobby Artist might appreciate.

Lots of times these reflect some mistakes that I made along my journey, so to speak, things that I learned the hard way and sometimes they are just some things that I would have loved to have known when I actually started in Mixed Media. (Find the previous Art Tapas here)

Today’s Art Tapas is about Cleaning Foam Stamps

Art Tapas – Bite Sized Tips for the Mixed Media Artist – #7 Cleaning Foam Stamps from Nathalie Kalbach on Vimeo.

I hope you enjoyed this little bite –  and if you have questions that you would love to have answered in some of the Art Tapas videos- let me know below in the comment section and I might just cook one up for you to nibble on!

Below are some of the tools and supplies I mention in the video- some are affiliate links:


Comments (11)

  • gigipurple

    |

    Thank you Nathalie for all the tips.
    I have a question, is it safe for the stamps to use a dish soap like Dawn? If it is, then scrubbing the stamps with a dish soap and water would make it easier to remove any leftover oils on the stamp.
    Thanks again,
    Gigi

    Reply

    • nathalie-kalbach

      |

      Hi Gigi, yeah I wouldn’t see how that wouldn*t be save and good idea on the leftover oils!! Just make sure you do not have any residues of any dishwasher or other soap in your stamp

      Reply

      • gigipurple

        |

        I will try next time. Thank you for your help.

        Reply

  • JoAnn Campisi

    |

    I haven’t washed my foamies in the past but found that when I switch from acrylic to the ink pad my print is very light. I will definitely try the Murphy Oil Soap to clean them and hopefully will get better results. Thanks for the info – love your art tapas.

    Reply

    • nathalie-kalbach

      |

      Thank you JoAnn! I would assume that the ink will always give a slight light imprint because the foam is just a bit more light -but that is something that works really well to your advantage if you are up for layering.

      Reply

  • Kathy Adams

    |

    I use Murphy’s on my brushes when they get really bad. Thanks for the tip, since I never thought to use them on my stamps. I am sure it would work for rubber stamps as well. Question: did you use it full strength or diluted with water?

    Reply

    • nathalie-kalbach

      |

      Kathy, I diluted it a bit with water- but not much. I was really a bit worried about getting the oil out of the foam later – so I wanted to make sure this is not going to be the super gooey stuff :)

      Reply

  • Sue Clarke

    |

    I have Murphy’s soap at home and use it on my floors. I never would have thought of using it on my foam stamps.
    I will have to try it. Usually I use a baby wipe to get the paint off and then rinse for a long time in the kitchen sink.
    I will try your method next time I use paint and my foam stamps.
    Thanks for your creative insight Nat.

    Reply

    • nathalie-kalbach

      |

      Thank you Sue! This is really only when you have totally dried up layers of paint on your foam stamp – I think I would not use it on a regular basis.

      Reply

  • Rae Missigman

    |

    I love that you figured this out! So so cool that there is a solution for our foam stamps. I am really really bad about being in a groove and not getting up to go to the sink! EEK! I do employ the baby wipe method as you mentioned, but this is going to be a game changer. Thanks for sharing. Hugs!

    Reply

    • nathalie-kalbach

      |

      <3 Thank you Rae! I know it is hard sometimes to keep up with cleaning the stuff - I am too :)

      Reply

Leave a comment

Smile :) -Positive and Negative Pattern Play

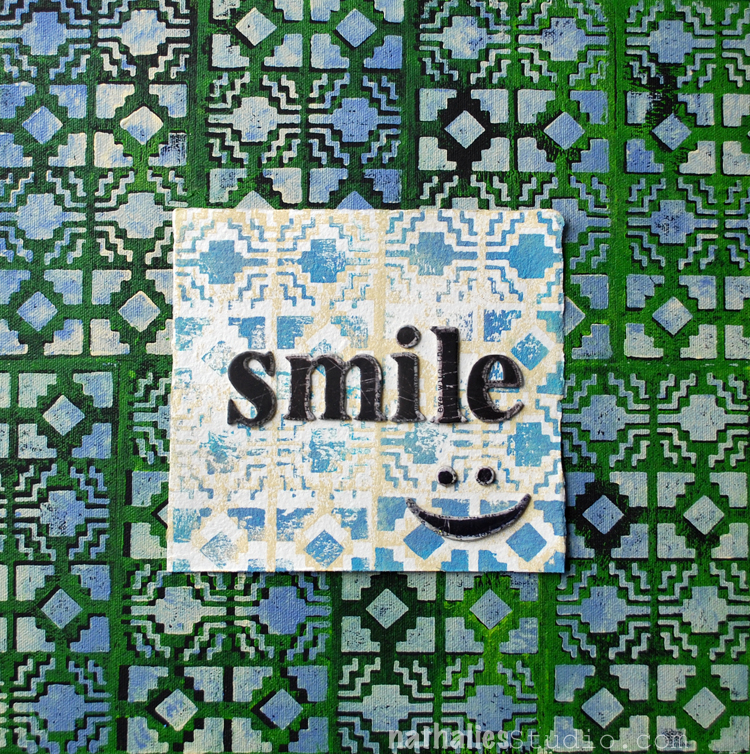
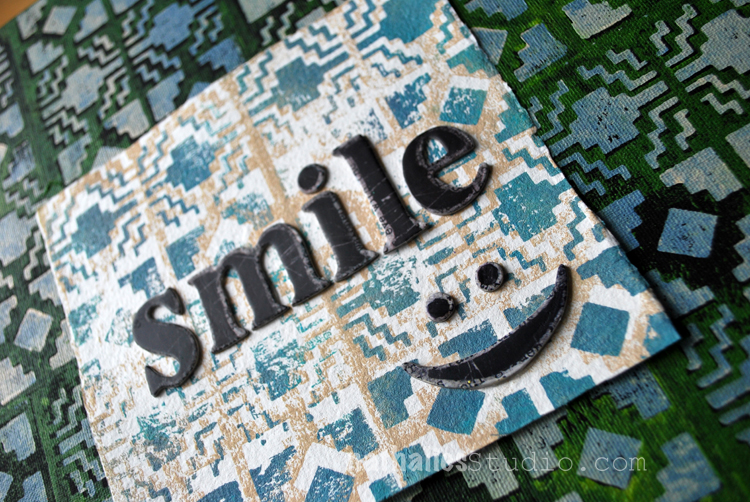
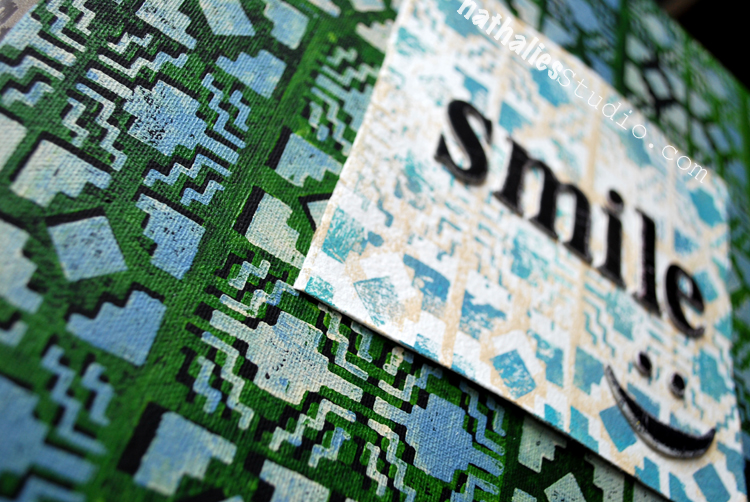
This is another board I made for the ArtFoamies booth at Creativation. It was a simple project, but when you are displaying for a trade show it is important that you have samples that show in a fast way how to use certain products- and here I simply wanted to have something that would show how the positive and negative foam stamps I created work.

I used the Santa Fe positive and negative Foam Stamp Set and stamped with different colors onto a black board. I love how much depth a bit of an offset stamping and the black background creates. For the top I stamped on some hemp paper which has a very different quality and texture. It also feels almost like fabric and it is quite durable. I love how different the texture of the paper makes the pattern look.

It is a very in your face project- LOL – so ….Smile ;)

Here is a list of supplies I used for this -some links are affiliate links:


Have a gorgeous day

Comments (2)

  • stephanie

    |

    Hi Nat – Is the hemp paper like color press watercolor? Thanks.

    Reply

    • nathalie-kalbach

      |

      Stephanie, it is really hard to say – it is like handmade paper with a kind of fabric like feel to it -yeah maybe a bit similar to a very good and thick cold press watercolor paper, but then not as thick. NOt sure if that helps and makes sense :)

      Reply

Leave a comment

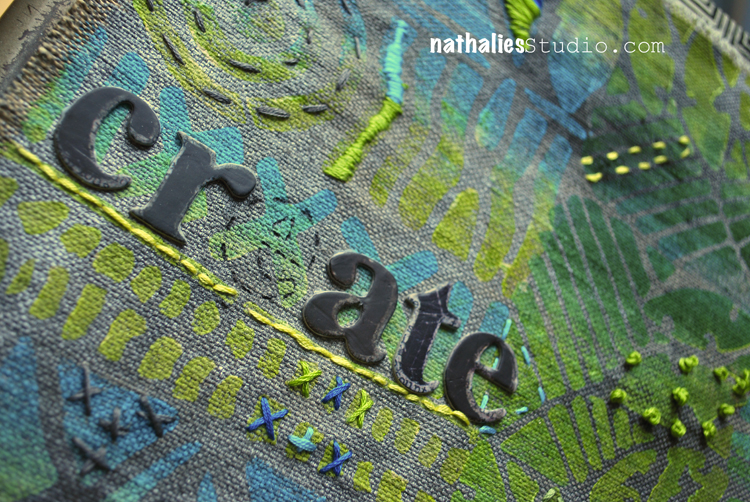
CREATE – Fabric + Foam Stamps + Embroidery = Bliss

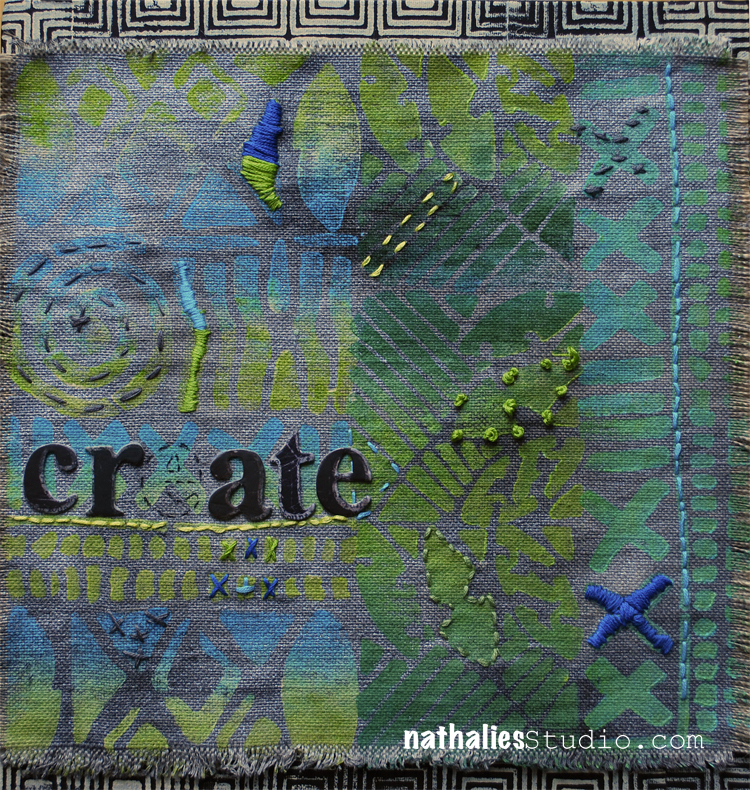
This is another Project I did for the ArtFoamies Creativation booth showing how to use my foam stamps with fabric.

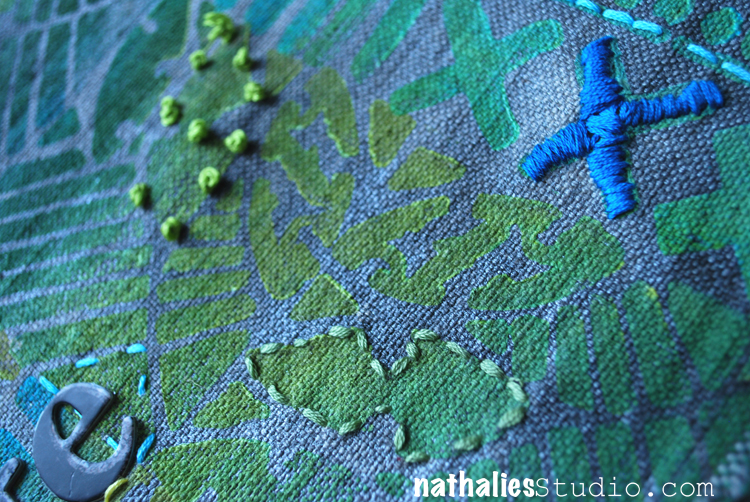
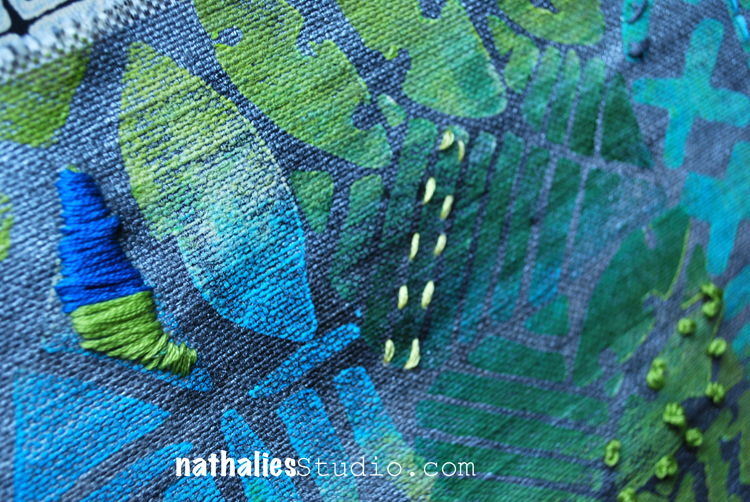
I used a piece of raw canvas and treated it with Fabric Medium and silver acrylic ink to stain it. (if you are interested in the whole range of possibilities of Raw Canvas Staining check out the Download Video at North Light Shop). I let the canvas dry, then used my Batik Stamps 1, 2, 3, 4 with acrylic paint and stamped a pattern on top.

I added some embroidery using the stamp patterns as guidelines. And then mounted the canvas on a piece of black board to which I added a border with the  Manhattan Border foam stamp.

It was fun playing with the stamps and fabric and embroidery and I want to make a bag or similar this way. Or maybe a pillow- what do you think?

Here are the supplies I used – some supply links are affiliate links


Comments (4)

  • Cheryl

    |

    I love this. The colours & texture are stunning. Perfect for a pillow.

    Reply

    • nathalie-kalbach

      |

      thank you so much Cheryl! Yeah -I should def. make a pillow – my sofa could use some new friends :)

      Reply

  • Torsa Saha

    |

    Your work is magical!!

    Reply

Leave a comment

Let’s Go Somewhere – Tina Walker


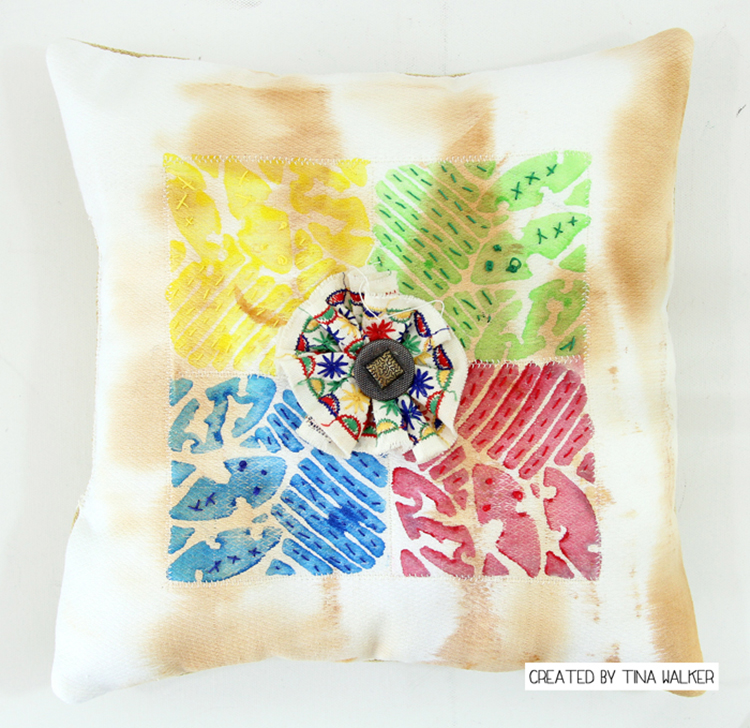
Hello Everyone! Today my Creative Squad is starting February with a new theme and some great new ideas for you. Tina Walker is sharing a really fun stamped fabric pillow using my Batik Pattern 4 foam stamp, some embroidery stitches, and this month’s theme: Let’s Go Somewhere. We’re in the depths of winter here in the Northern Hemisphere and looking for an escape! This month let’s reminisce about past vacations and plan future adventures to help us get through these gray days.


Hi! Tina Walker here today with my take on this month’s theme, ‘Let’s Go Somewhere’. What a perfect theme for the winter doldrums! During the guts of a cold, dark winter, I often dream of sitting on a warm beach, breathing in the salt air. When dreaming of ocean vacations my thoughts take me to faraway places full of color, vibrancy, and energy. Using these as inspiration for my project this month, I created a hand-made pillow using colors that remind me of beach blankets, fruity drinks, and the bright colors that are everywhere.

The base for my pillow is a rust-dyed piece of muslin. What a perfect way to represent the salt air and how it seems to oxidize everything it touches. The process of rust-dying is simple; place rusty metal pieces on-top of a piece of natural fiber fabric, spray with vinegar water and let the magic happen.

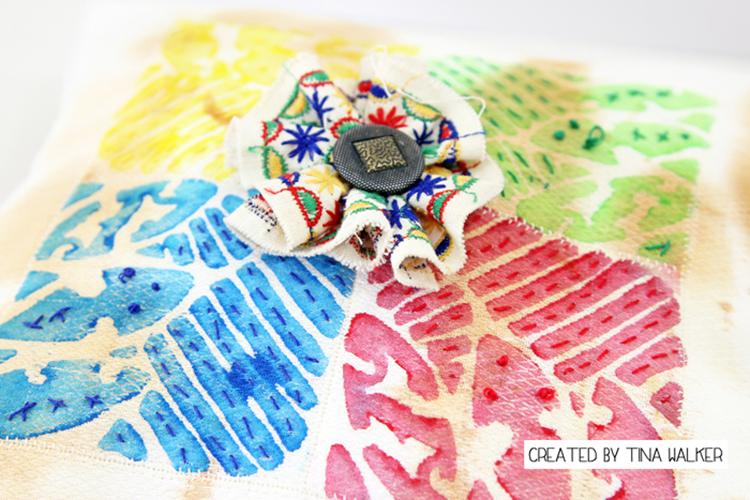
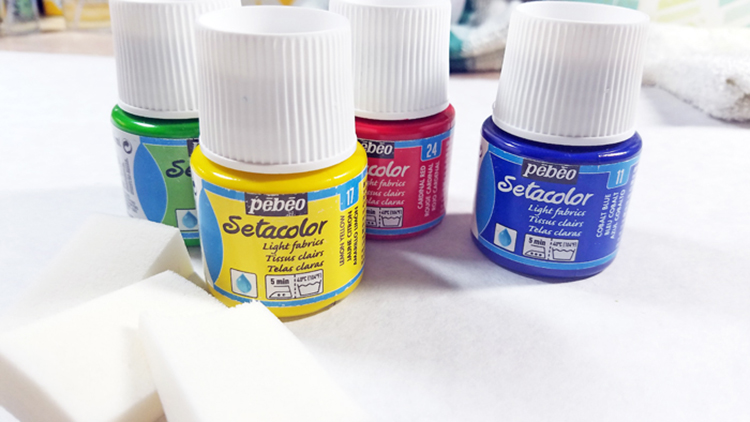
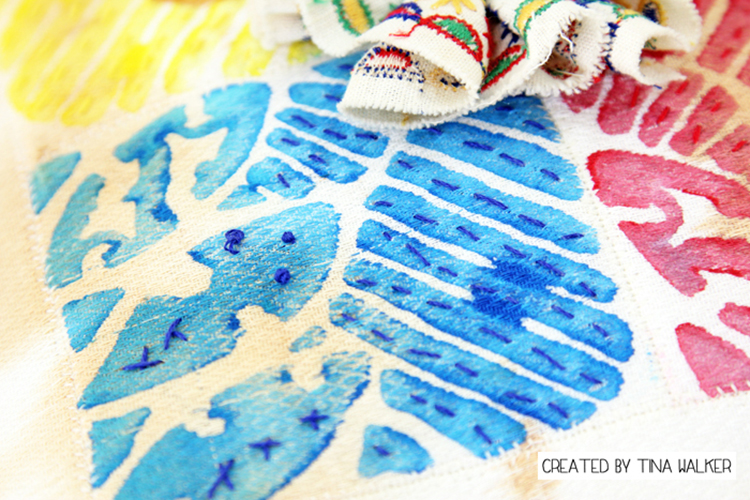
To create the bright, colorful feature of the pillow, stamp (using fabric paint) with your favorite Nathalie Kalbach ArtFoamies stamp. I used Batik Pattern 4, rotating the stamped image each time. Heat set per manufacturers directions.

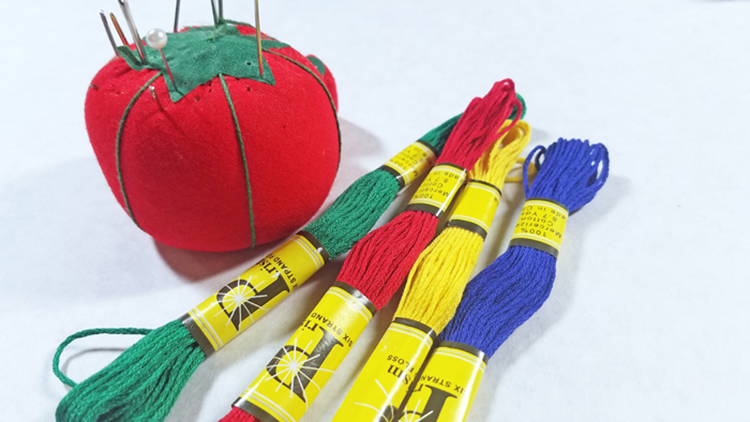
For added dimension, hand-stitch over the stamped image in coordinating colors of embroidery floss. The more random, the better.

Machine stitch to ‘frame’ the stamped image. This also adds more dimension and a bit of texture.

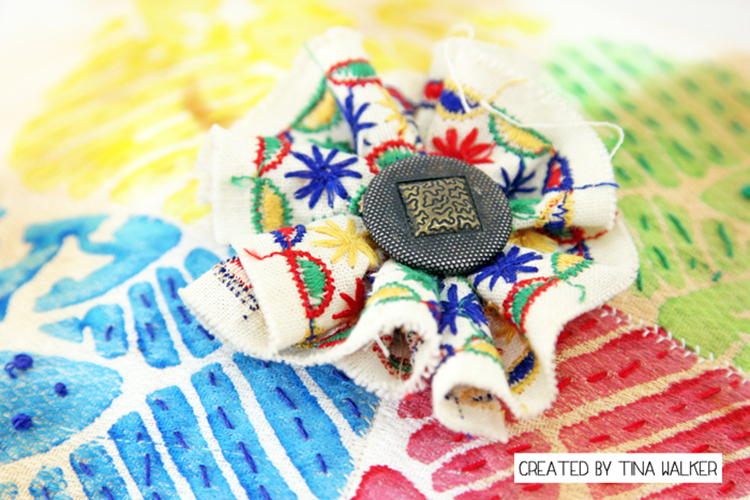
Continuing the bright and colorful look, I made a ribbon flower for the center of the image. The ribbon flower pulls the four images together and finishes the pillow off.

Now let’s construct the pillow. Cut a piece of coordinating patterned fabric for the back of the pillow and place the front and back together, right sides facing each other. Machine stitch the entire outer edge except for a section on one side. Keep this section unstitched.

Turn the pillow right side out, using the unstitched section to pull the pillow through. Once you have the pillow right side out, iron the edges to create a crisp seam.

Stuff the pillow using your favorite stuffing. Hand stitch the open section using a blind stitch.

What vacation dreams do you have for 2017? Do they include the ocean? the mountains? or everything in between?

Thank you for taking time today to visit us today. See you next month.


Thank you Tina! I love how she combined the stamped images with embroidered touches. I am now officially dreaming of beach life! In addition to muslin fabric, patterned fabric, vintage ribbon, a vintage button, and a sewing machine, Tina used these supplies – some links are affiliate links:


Play along with us! I love to see how you interpret our monthly themes. Email me how you used my stencils and stamps with the theme and email me an image – I would love to share your projects in my “n*Spiration From Around the Globe“.
Comments (1)

  • Michelle Rydell

    |

    Tina – this is awesome! Such a creative and beautiful use of the stamps! The embroidery really makes it pop!

    Reply

Leave a comment

Be Happy – ArtFoamies for Clay and Pottery!

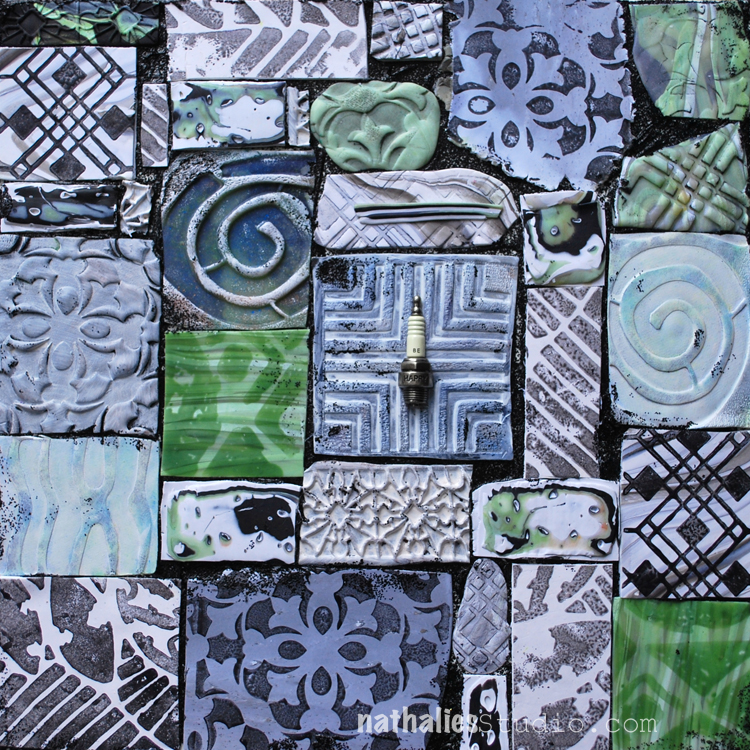
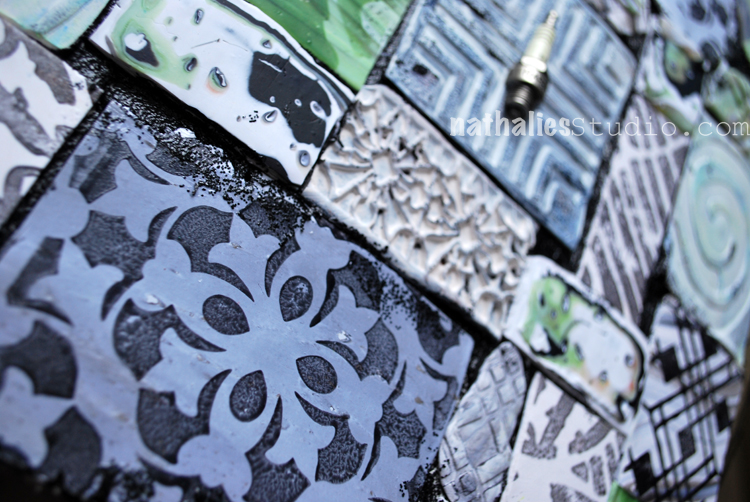
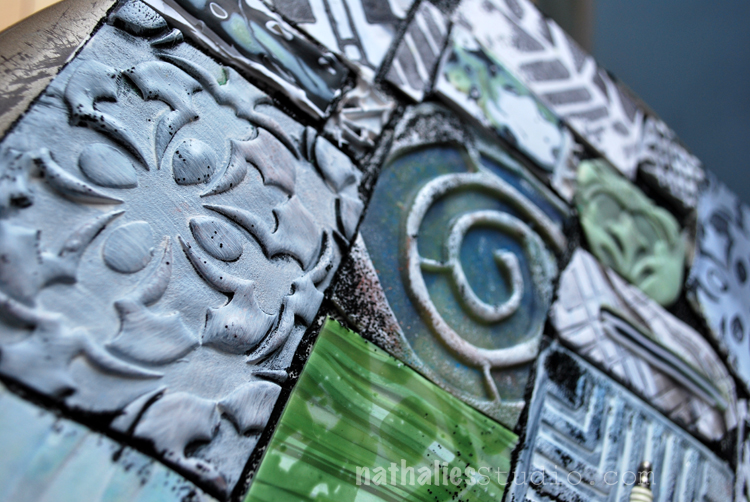
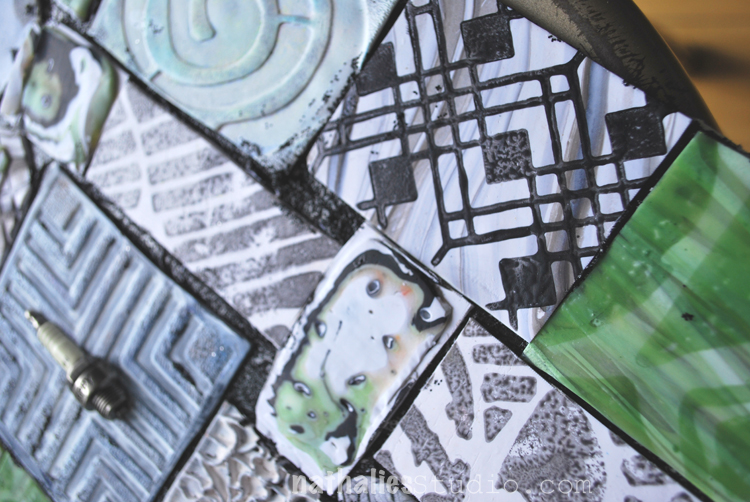
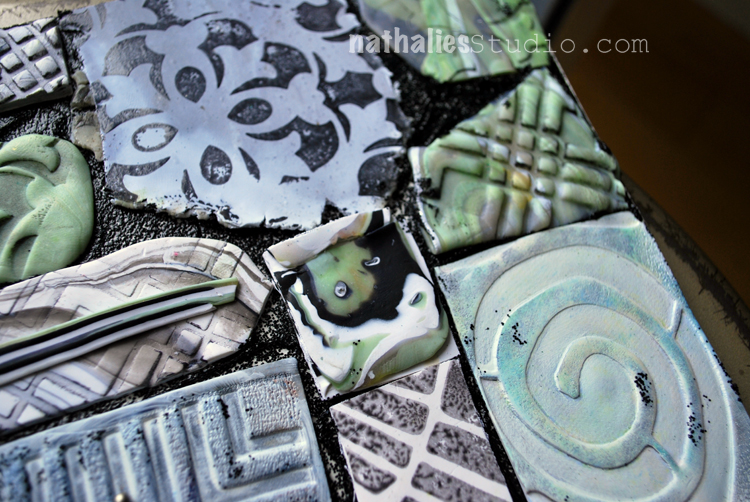
I made this piece for the ArtFoamies booth at Creativation (a Craft and Hobby Convention). Additional to my Foam Stamp Designs as you know them, ArtFoamies just released my designs also in a more sturdy and harder foam form so that they can also be used for pottery and clay. What a great excuse to try those and have a play date with  my friend and neighbor Donna Greenberg who is an amazing Polymer Clay Artist. What a lucky ducky I am with such a great teacher! Check her amazing work out!!!

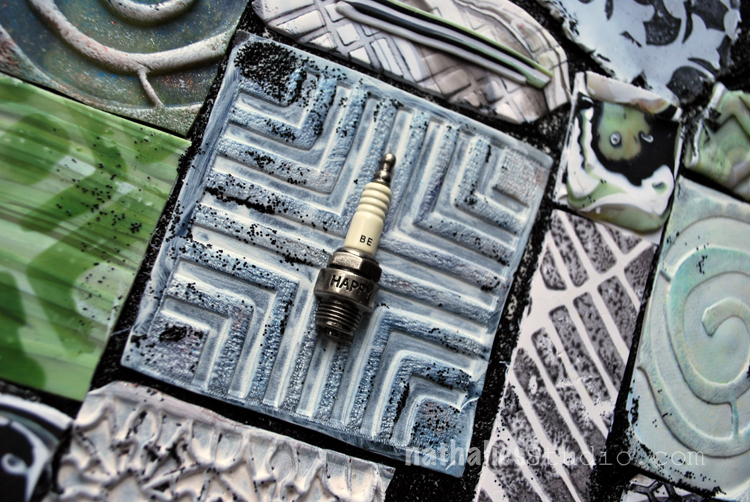
While those stamps work very well with paper clay, Donna showed me that for Polymer Clay I would have to use some softer versions to get a nice impression. I played around with all kinds of fun and new to me stuff. I made impressions directly into the polymer clay, for example here with the Manhattan Foam Stamp for Clay.

I stamped with some liquid polymer clay on top of polymer clay- ohhhh I love this! See the Versailles Stamp on the bottom.

Here are some more varieties of impressions with Versailles and the Batik Stamp.

On the top right you can see the Chicago stamp stamped with liquid Polymer Clay.

I cut the pieces and mounted them with Black Lava onto a board. I totally love all the texture and the outcome. One of my favorite pieces and a big stretch for me working with a material I have never worked with before. You can buy the Clay versions of my stamps directly at ArtFoamies – I carry all the normal Foam Stamps as well :) I cannot wait to play a bit more with those – next up is paper clay.

Are you working with Clay, Polymer Clay or Pottery and would you use those?

Comments (4)

  • Marna

    |

    Excellent! I love working with textures and clay and have used embossed wallpaper with patterns in my pieces. Can you describe how you used the liquid clay?

    Reply

    • nathalie-kalbach

      |

      thank you Marna. I used it like paint on top of the foam stamp and stamped with onto the still non baked polymer clay. Then I baked it. Love the visual and actual texture this created and the liquid polymer clay is just slightly sitting on top of the polymer clay piece.

      Reply

  • joi

    |

    Just mind boggling Nat – how INCREDIBLE. These are WONDERFUL. Never even imaged such wonders as these! Xj.

    Reply

    • nathalie-kalbach

      |

      awe- thank you so much Joi – glad you like it :) Have a gorgeous weekend!

      Reply

Leave a comment

Dream a New Dream – Marsha Valk


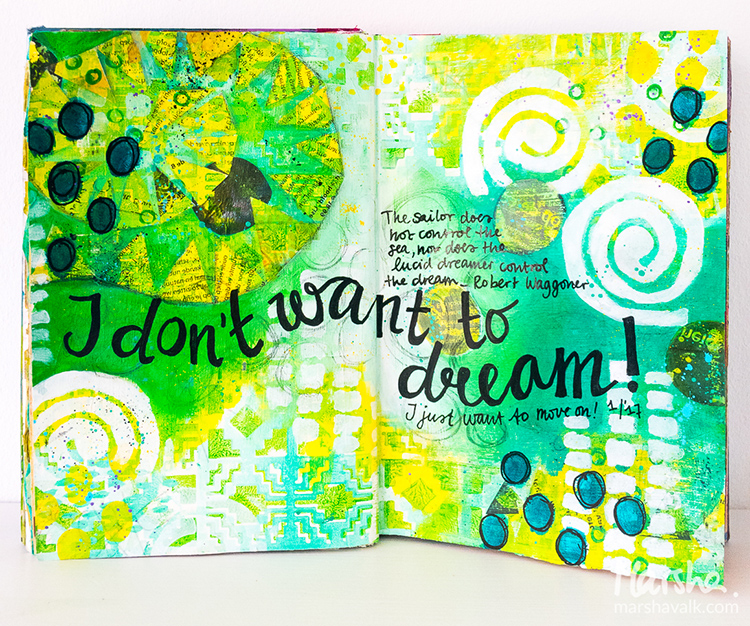
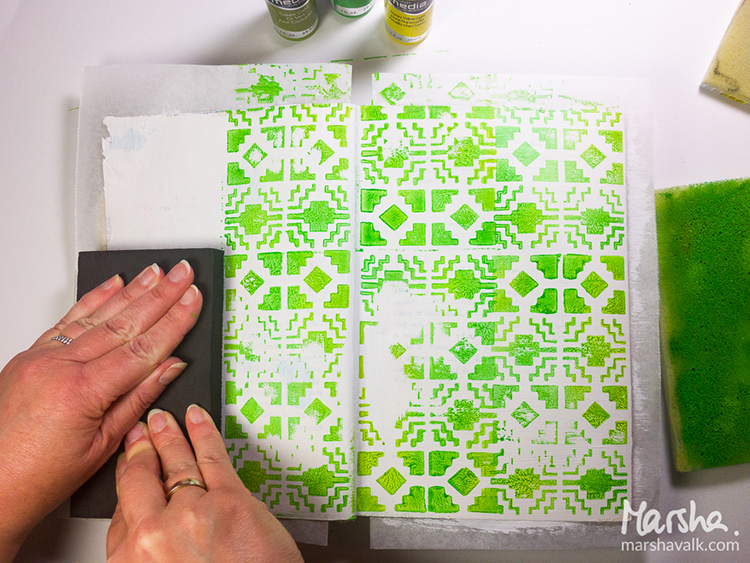
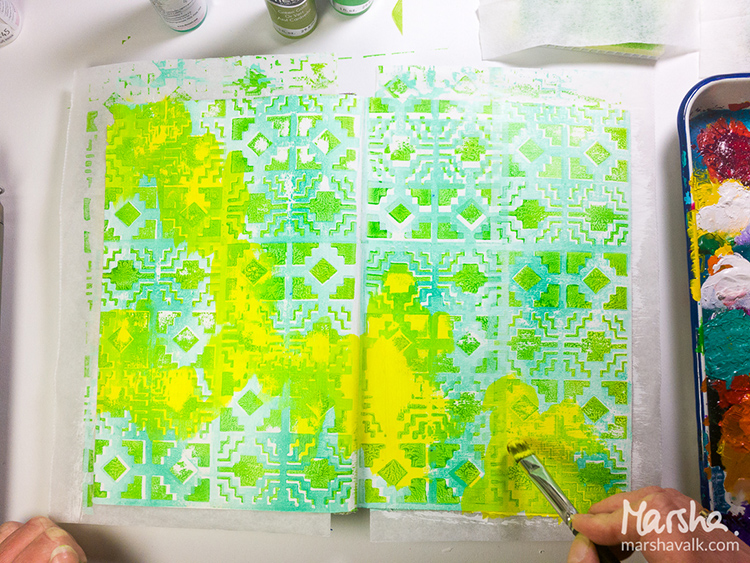
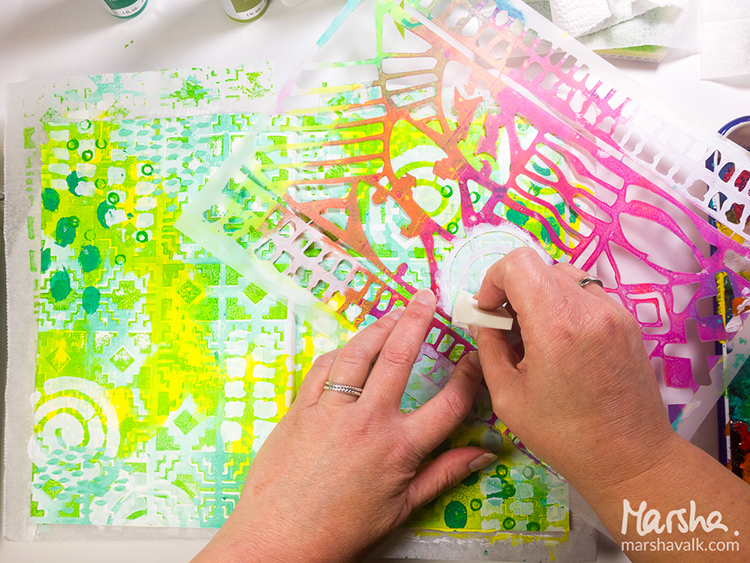
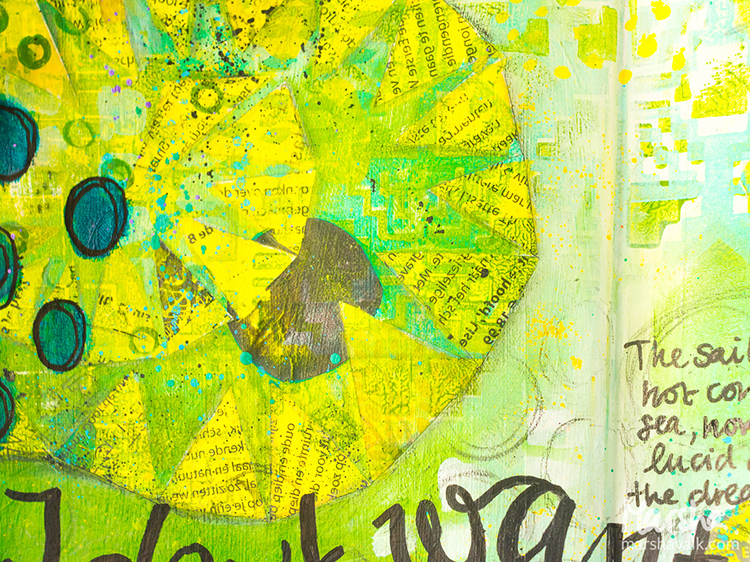
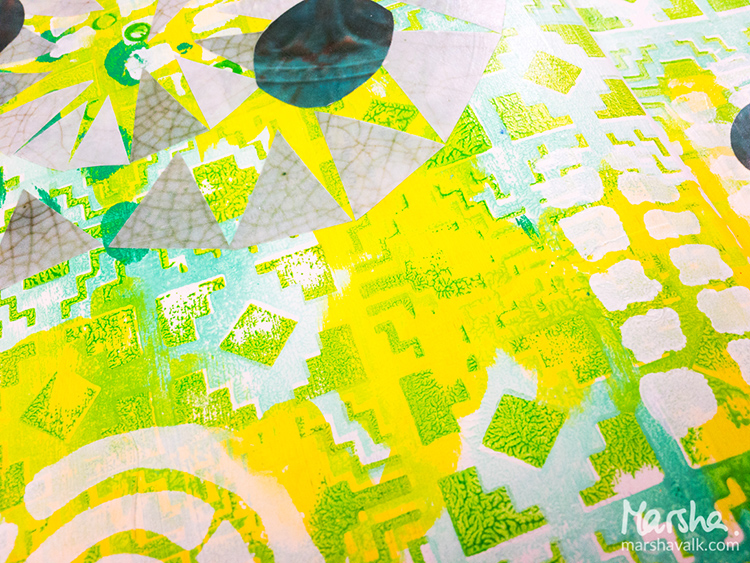
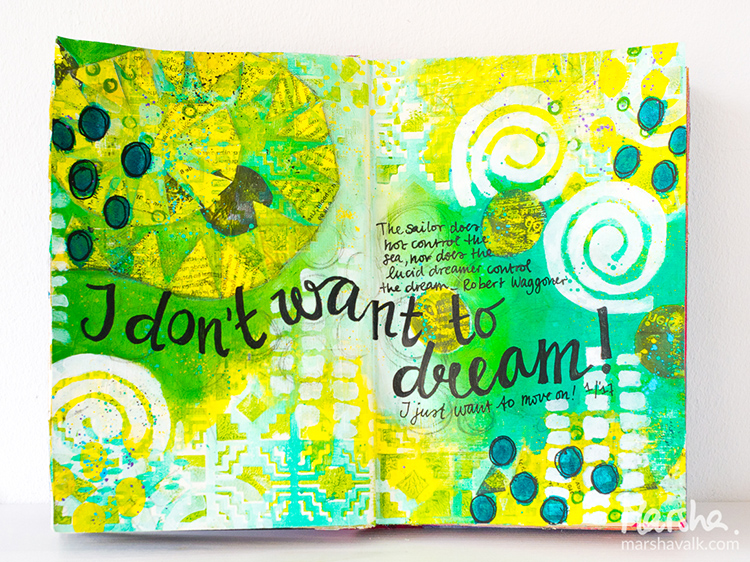
Happy Creative Squad Tuesday! Today Marsha Valk is sharing a beautiful and bright art journal spread using my Santa Fe Positive and Negative Foam Stamp set, my Batik Stencil, and her unique take on this month’s theme: Dream a New Dream. This January, let’s focus on all the possibilities of a fresh start.  What are your dreams for this year?  Whether it’s art-making, family, travel, or work related, January is a great time to dream about what the future could hold.


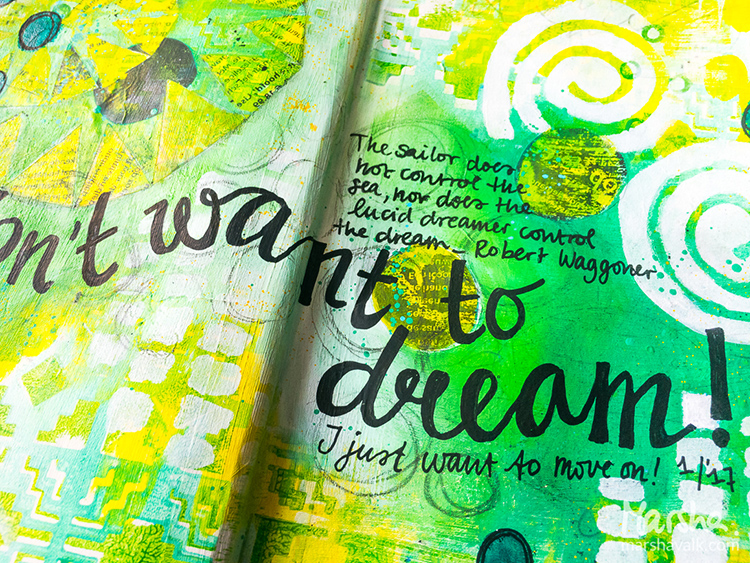
I am not a dreamer. I mean: I definitely am a dreamer… but the zone-out, lost-in-thoughts kind, not a big-plans-for-the-future one!


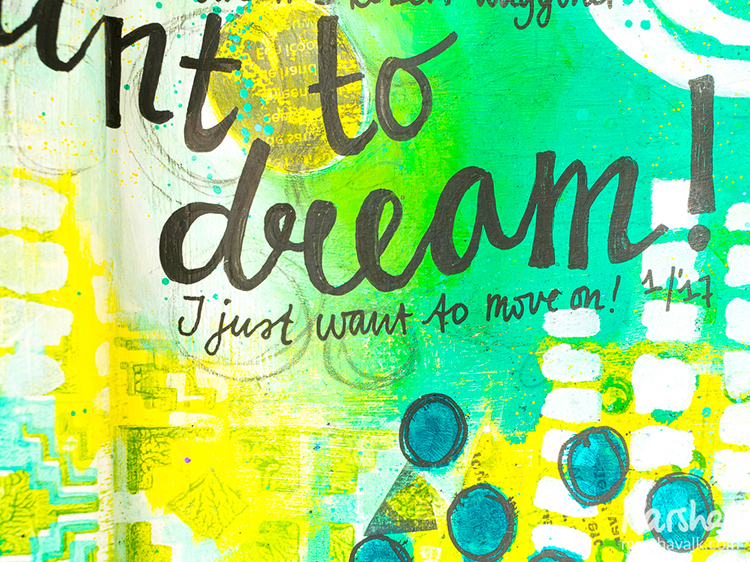
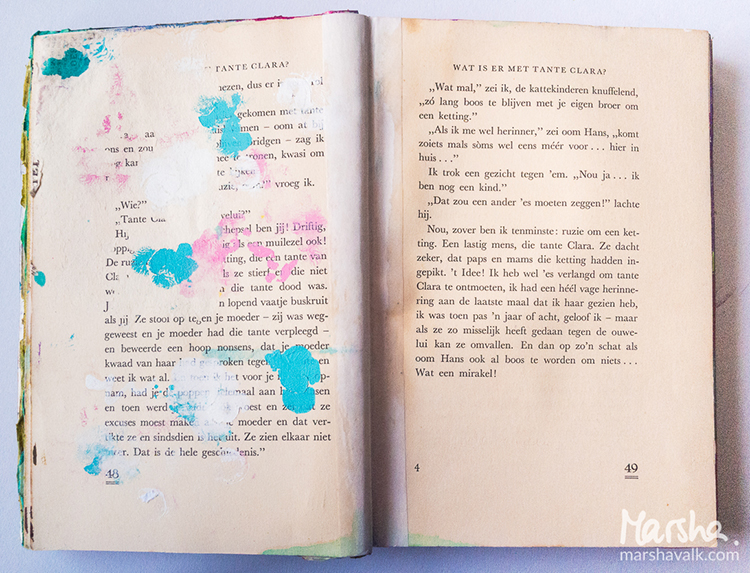
I do plan for the year ahead, but I do that at the end of December and I’m usually all set and ready to go in January. This year I’m not quite that organised, but… January is already well on the way now and whilst I was creating my journal page, I kept thinking ‘dream’, but… my gut kept saying ‘no’. So even though I wanted the page to be about dreaming, it ended up about ‘not dreaming’.


I am excited about what the new year holds though and I chose to work with greens, because I’m super stoked about the Pantone colour for 2017: Greenery!


Thank you Marsha! I love Marsha’s honest take on our theme and wow those are some great colors! Marsha used these supplies – some links are affiliate links:


Play along with us! I love to see how you interpret our monthly themes. Email me how you used my stencils and stamps with the theme and email me an image – I would love to share your projects in my “n*Spiration From Around the Globe“.

 

Comments (4)

  • susan debourguignon

    |

    Marsha,
    i, too, am a daydreamer as opposed to a goal setter. the future is too much for my head to wrap itself around. i am not a fan of green, but your page really speaks to me. thank you for sharing!!!

    Reply

    • marshavalk

      |

      Thanks so much Susan! Glad to hear I’m not the only one! ;-)

      Reply

  • nathalie-kalbach

    |

    Such a wonderful take on the theme Marsha, and I love how you mixed the patterns of the Batik Stencil with the Santa Fe Foam Stamp – so gorgeous. Now I just want to move on to Spring ;)

    Reply

Leave a comment

Live, Laugh, Love – Art Journal Pattern Play

versaillesstampset_natkalbach

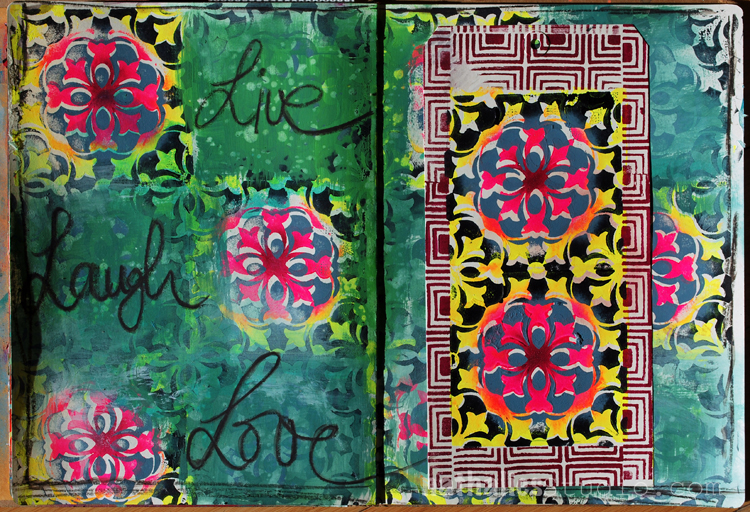
For this art journal spread I played with my ArtFoamies Versailles Positive and Negative as well as with my Manhattan Border Stamp.

versaillesstampset_natkalbach04

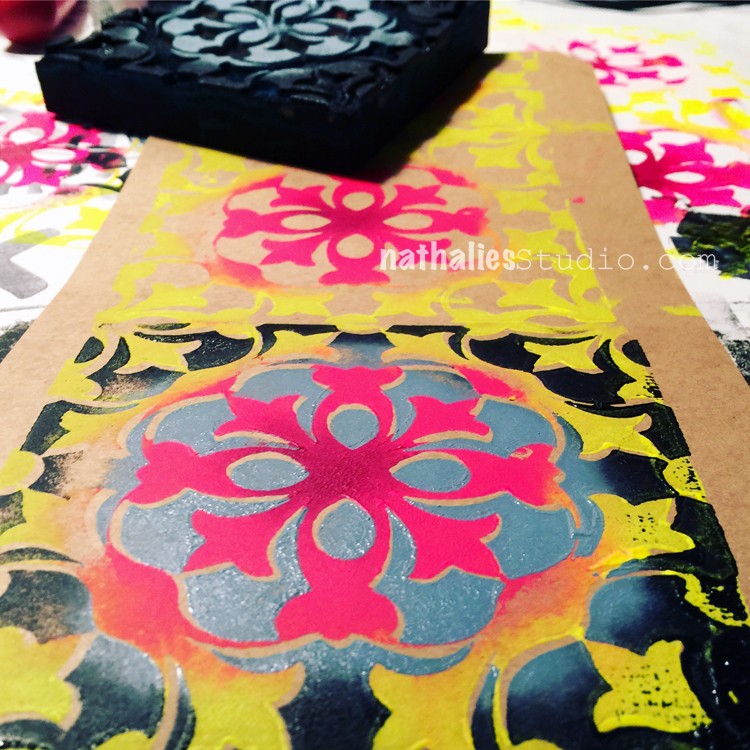
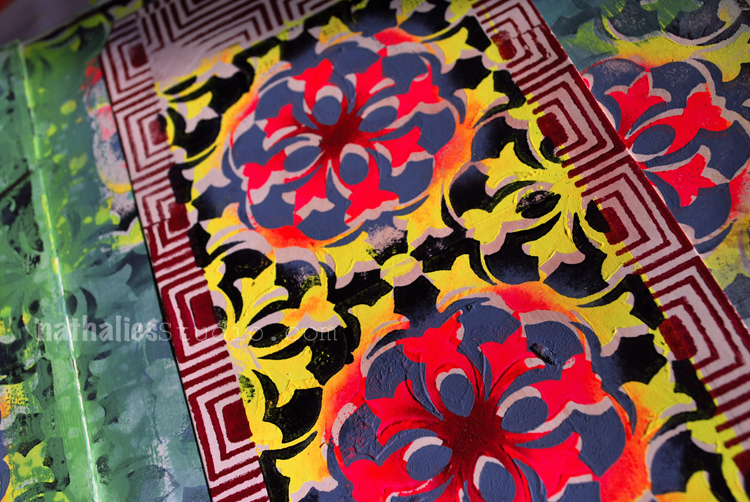
I added different acrylic paint colors to each of the ArtFoamies StampBuddies included in the Versailles stamp set and then stamped first with the one stamp and then filled in with the other stamp . I love how you can use the stamps each just as they are or layer them on top of each other to get really intricate designs. I stamped around the border of the tag with the Manhattan border stamp.

versaillesstampset_natkalbach01

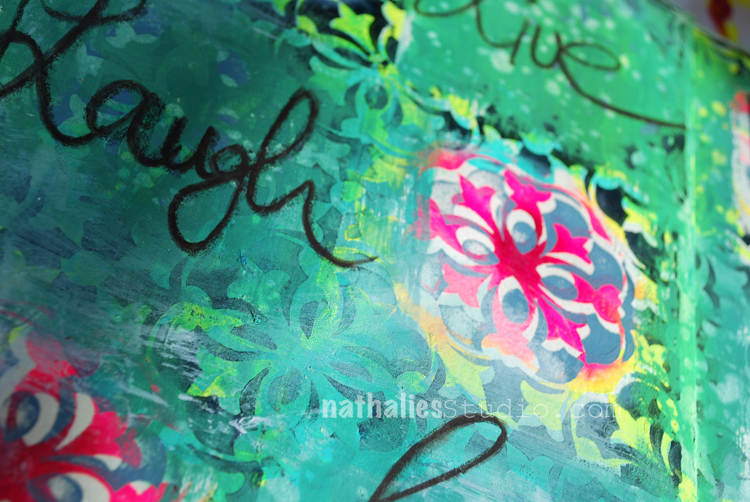
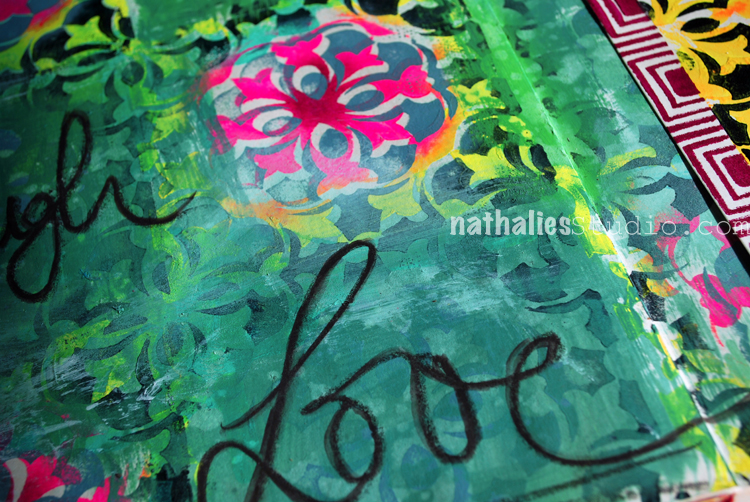
For the art journal background I used the same colors on top and stamped right into the journal- then added some green acrylic paint here and took some areas off again, while the paint was still wet. I wanted to have the stamped images show through the paint at places to give it a more layered and dimensional look.

versaillesstampset_natkalbach03

I adhered the tag to the background of the right side of the journal with some double sided adhesive and then used my new Varco ArtGraph to write out the words. I went over them again with a small wet brush.

versaillesstampset_natkalbach02

I love the result- it is a bit wild and yet cohesive as the pattern and colors get repeated. That was a lot of fun.

Here are the supplies I used- some of them are affiliate links:

supplies


Hope you have a wonderful day today filled with Live, Laugh and Love

Leave a comment

Make a Mark Tag

batikstamps_natkalbach

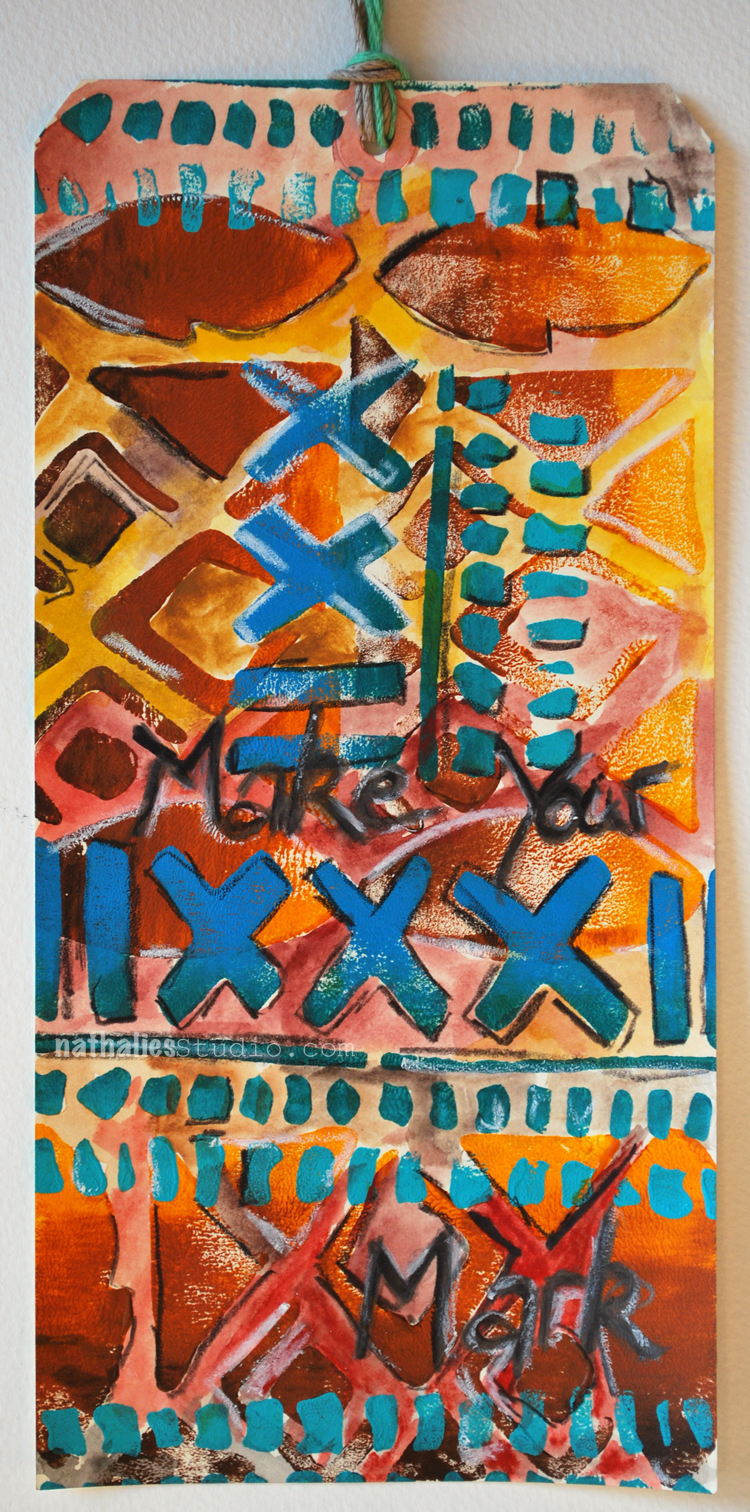
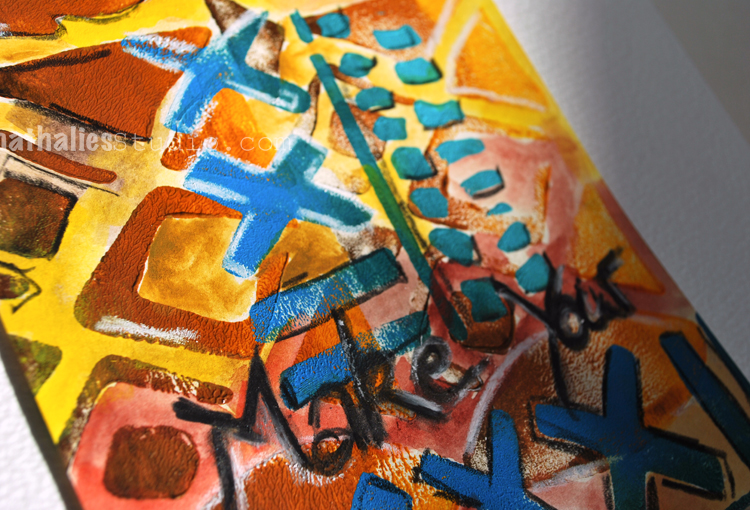
I made this tag for fun and will use it either as a gift tag or put it into my art journal. I stamped with the Art Foamies Batik Pattern 1 and Batik Pattern 3 Foam Stamp and Acrylic Paint and then tried my new Varco Art Grafs out – I have to show you those soon- Oh man the colors are so yum! They are graphite blocks and are awesome for drawing, painting and writing.

batikstamps_natkalbach01

Loving the mixture of the acrylic paint and the graphite. I guess time to film a Creative Icebreaker with those soon :)

Here are the supplies I used – some links are affiliate links:

supplies

Hope you make your mark today :)

Comments (4)

  • Jean Goza

    |

    The tag is awesome! Great color and texture. Would love to know more about how you use the Artgrafs.

    Reply

    • nathalie-kalbach

      |

      Hi Jean, thank you so much! I make sure to use them very soon in a video and tell more. Still exploring them a bit more- I love them already :)

      Reply

  • stephanie

    |

    Very cool! Did you do a wash of paint(s) for the background?

    Reply

    • nathalie-kalbach

      |

      Hi Stephanie, I stamped with the acrylic paints and the stamps directly onto the tag and then used the ArtGraf Varcos and did a wash – they are super pigmented and made the stamped areas really pop.

      Reply

Leave a comment