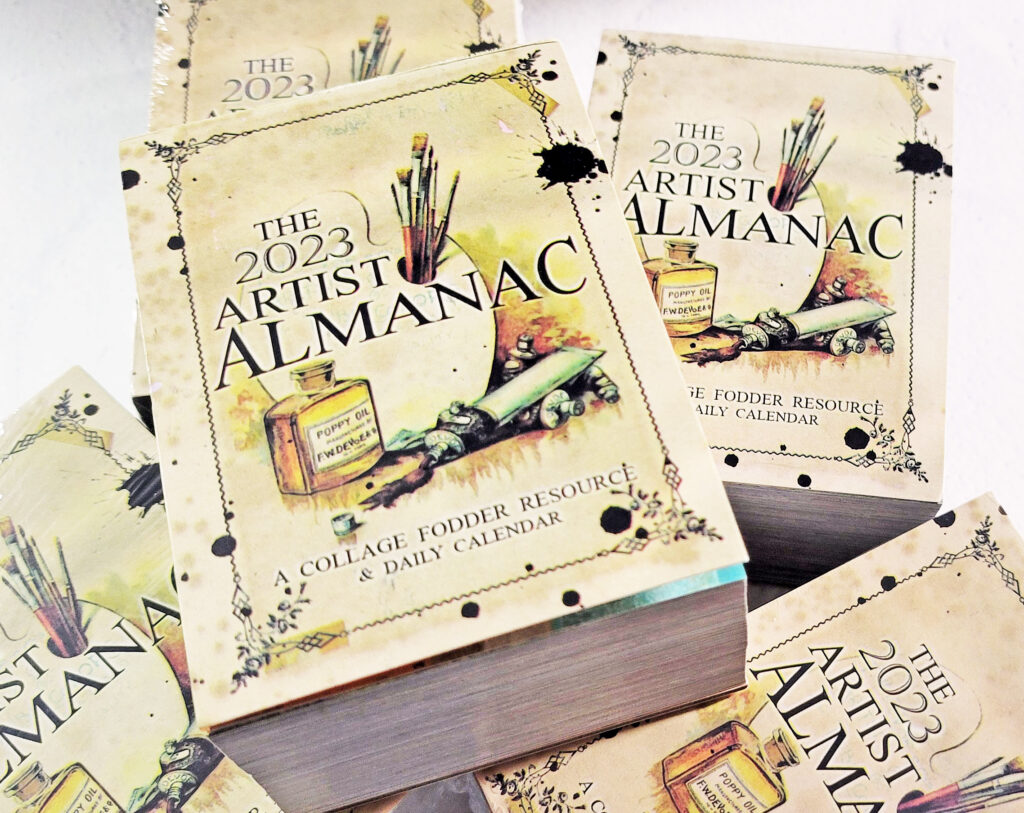
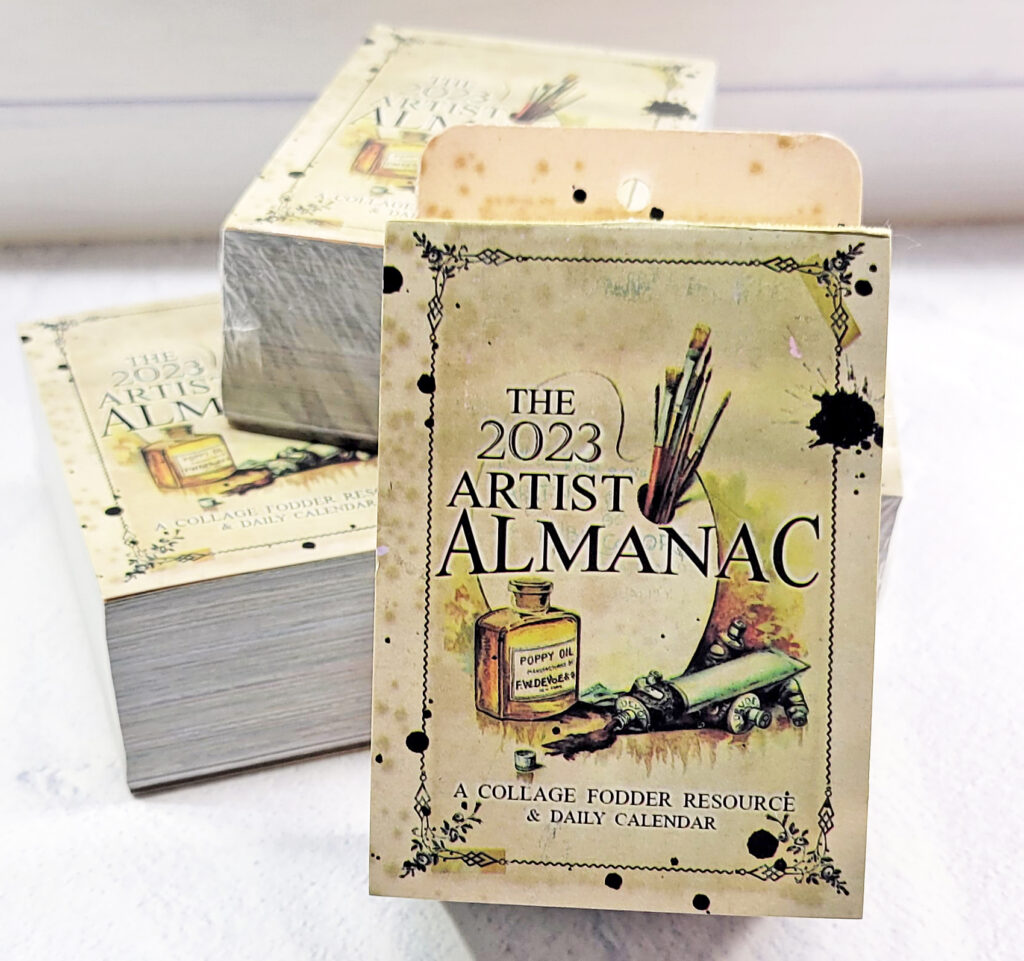
The page a day 2023 Artist Almanac calendars are here in my shop and ready to ship to you! Supplies are limited, so grab yours as fast as you can :)
The 2023 Artist Almanac, if you haven’t already heard, is a page a day style calendar and each page has different artwork by one of the 19 participating artists:
Nat Kalbach, Birgit Koopsen, DeeDee Catron, Tina Walker, Shawn Petite, Megan Whisner Quinlan, Leaca Young, Tiffany Goff-Smith, Kristin Petersen, Amanda Spence, Lisa Goddard, Arlyna Blanchard, Anna Karena, Seth Apter, LaQuisha Hall, Roxanne Padgett, Denise Lush, Renee Mueller, Ann Barnes
As you tear pages off, they become collage papers, so that means 365 different collage papers for all your mixed media creations. It’s a pretty awesome idea and I was stoked to be one of the artists chosen to participate.
Last year I sold out of those puppies in about 24 hours, so hurry up if you want to grab yours.
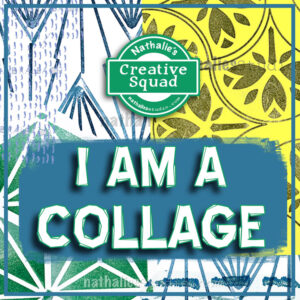
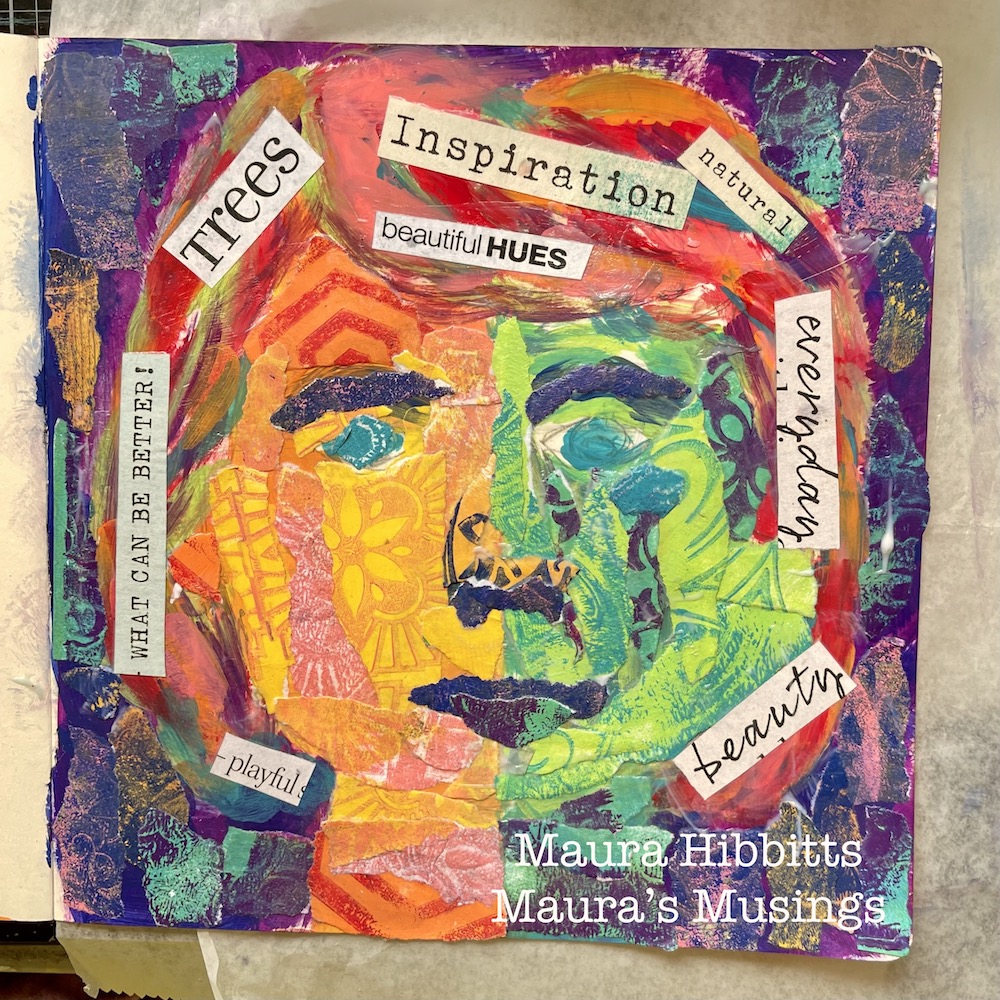
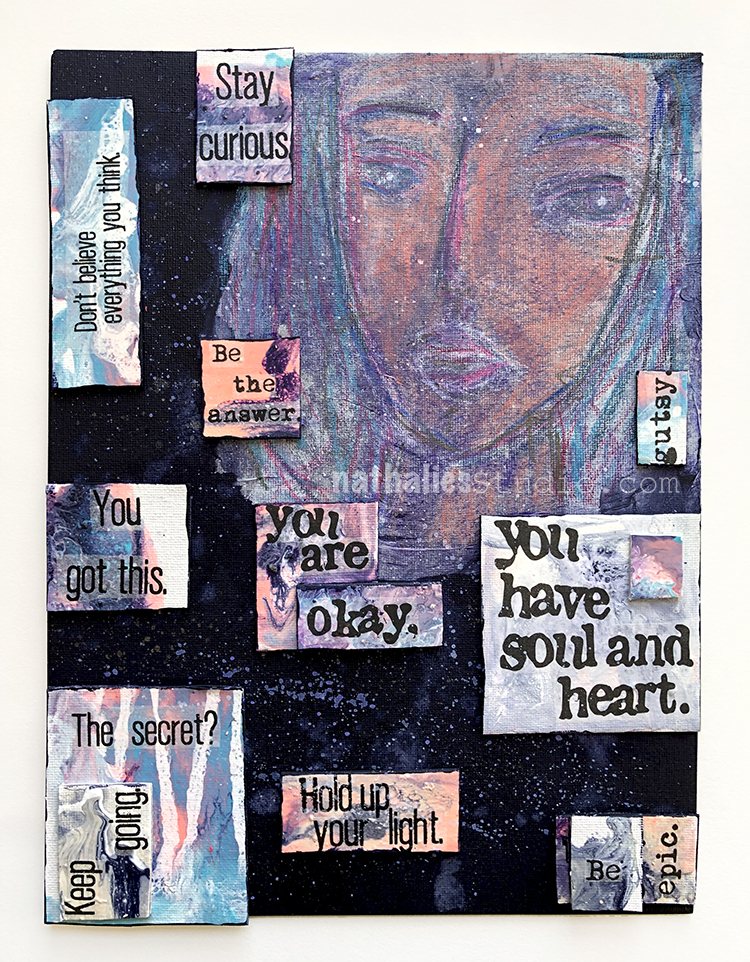
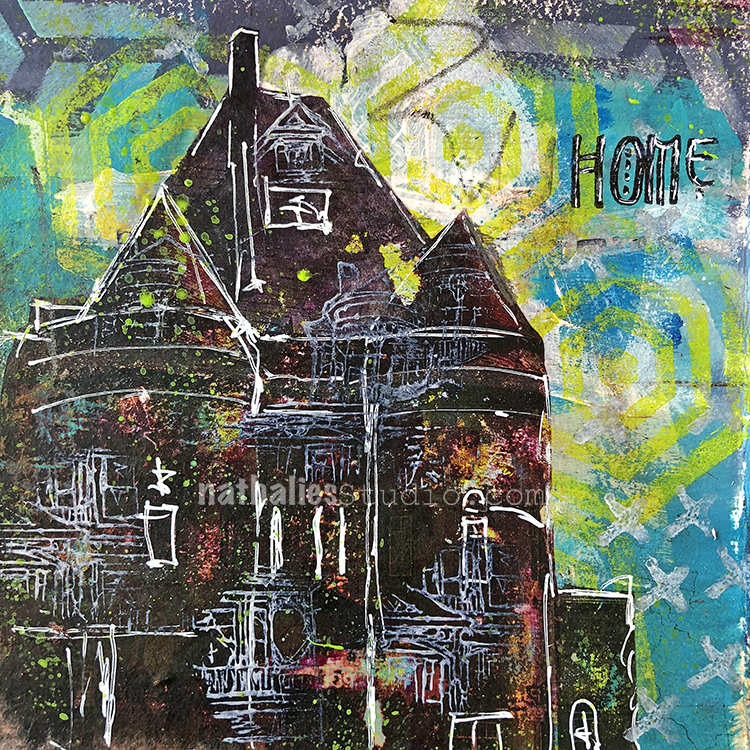
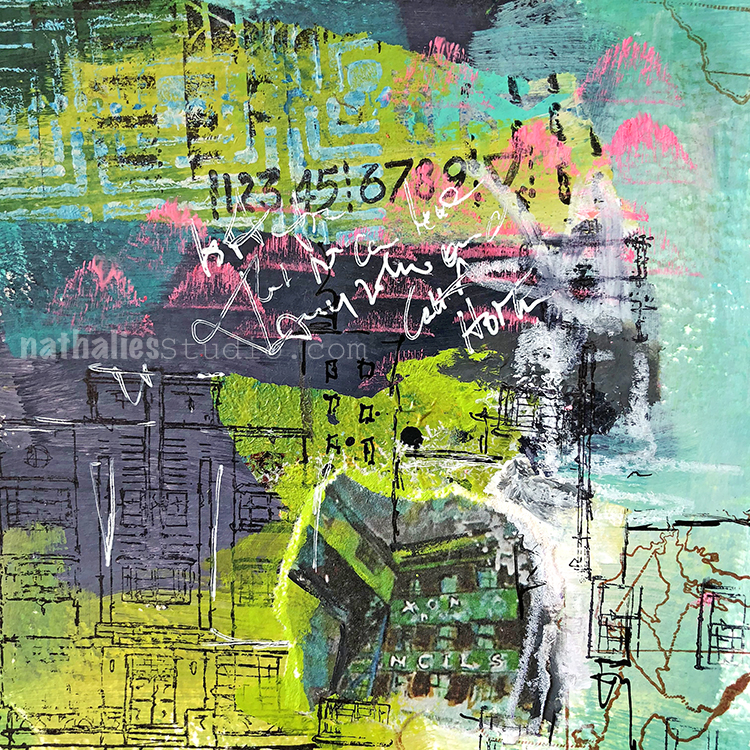
Hello from my Creative Squad! Today we have a post from Maura Hibbitts using my Circle Jumble Large, Hex Set Large, Floral Tile Large, and Fan-Tastic Large rubber stamp sets and our newest theme: I am a Collage – We are all complex beings with many different facets. Create a “self portrait” piece using collage to represent parts of yourself, either literally or in an abstract way.
I am a collage of thoughts, ideas, feelings and colors. The patchwork of my life has shaped who I am today. The experiences I’ve had, the highs and lows, the people I’ve met and shared my life with, adventures, work, laughing, crying, stopping in my tracks to take in a gorgeous sunset…all of these make up the layers of me that are expressed in my collage. Some are hidden, some in plain sight…these are the things that color my world.
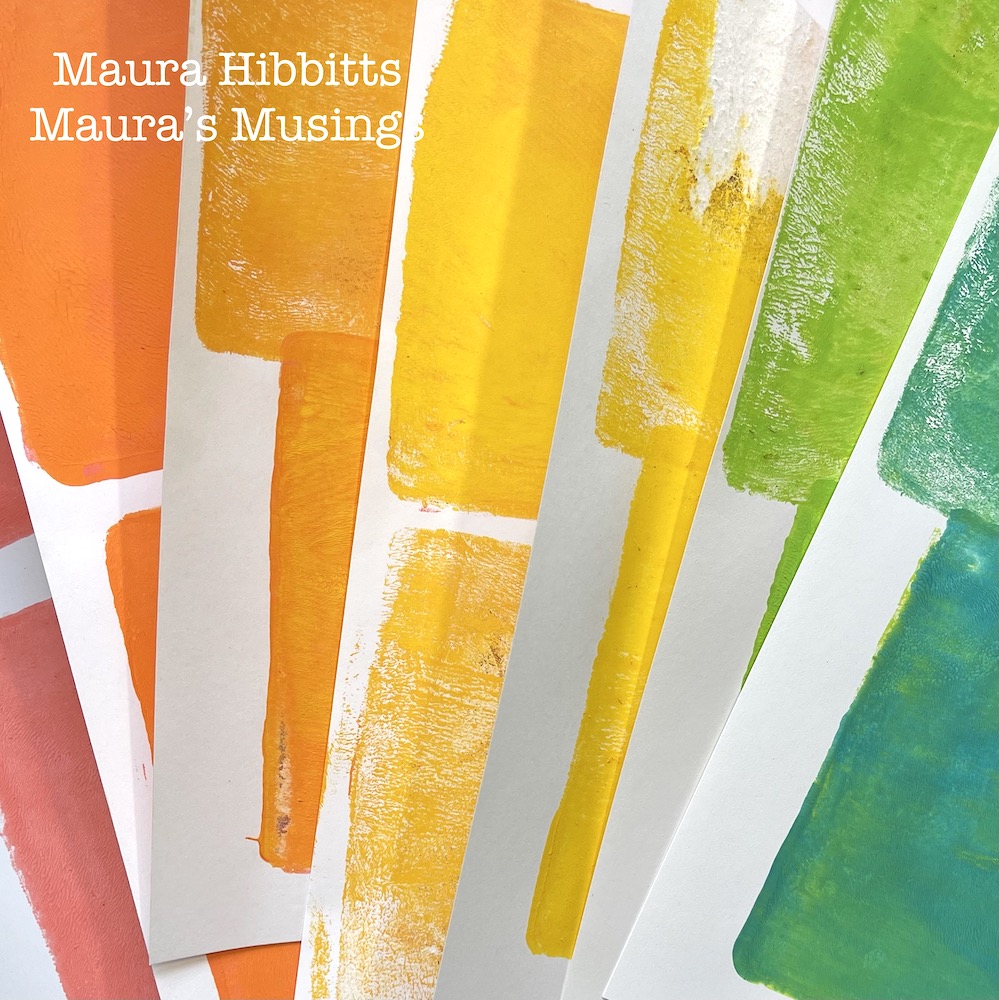
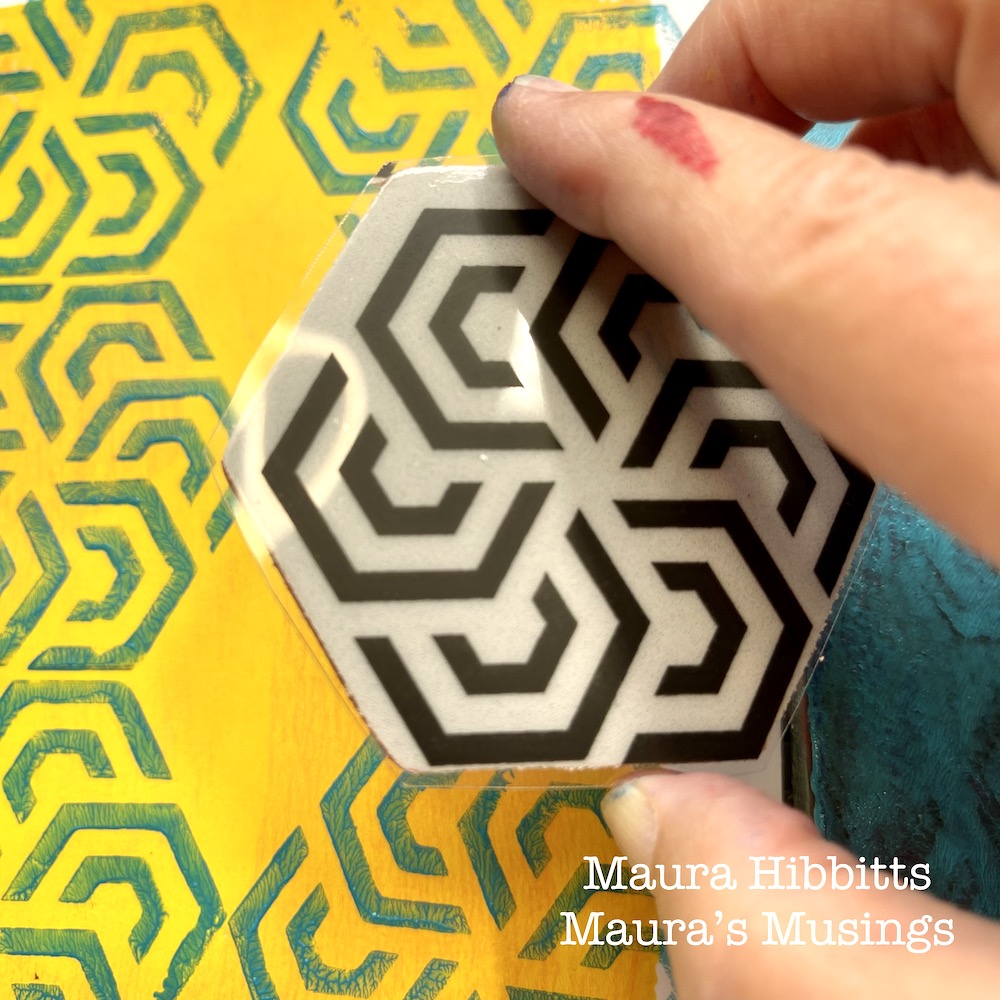
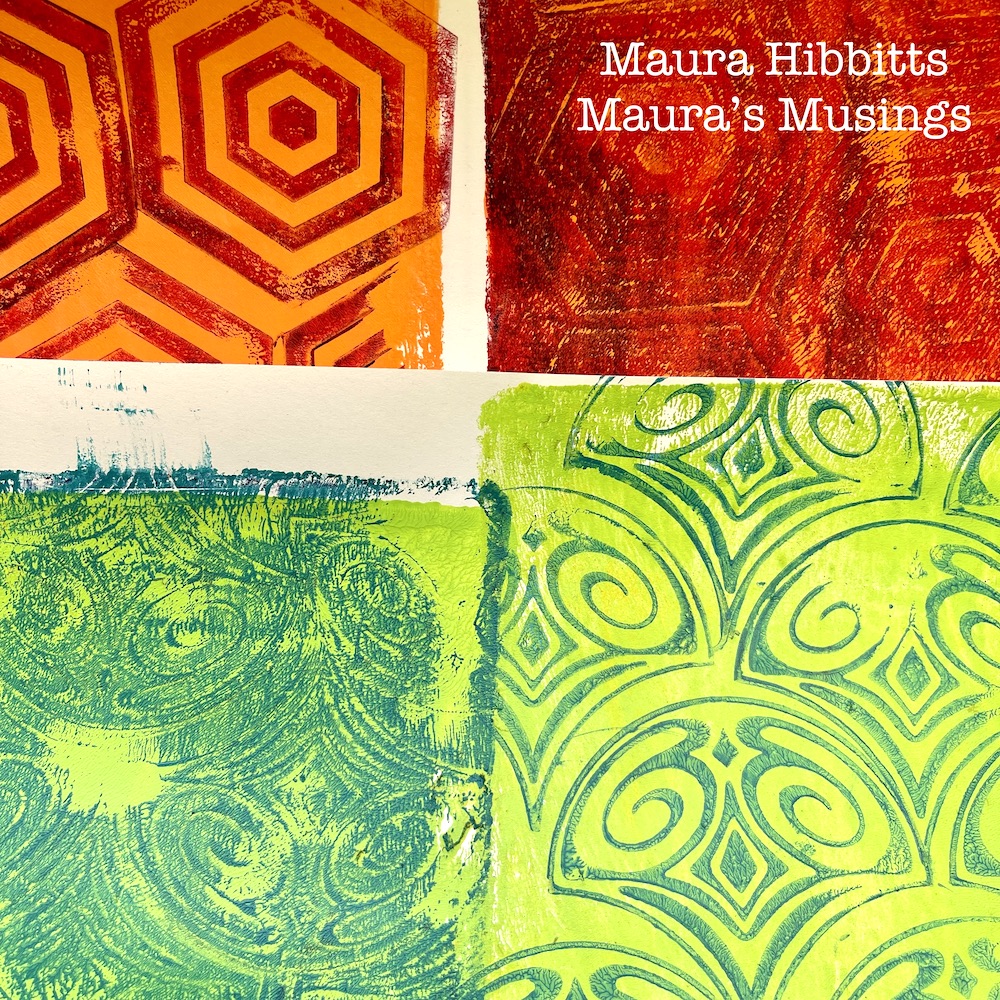
The collage technique I used, I learned from artist Elizabeth St. Hilaire. I began with the gel plate, lighter hued paints and a brayer to create the background papers. Add a small amount of paint to the gel plate, brayer it smooth, then press the white cardstock onto it and lightly rub then lift off. Using a 5×7” gel plate, you can get two impressions onto one sheet. Make a batch of background papers in different colors. Set aside to dry or use a heat tool.
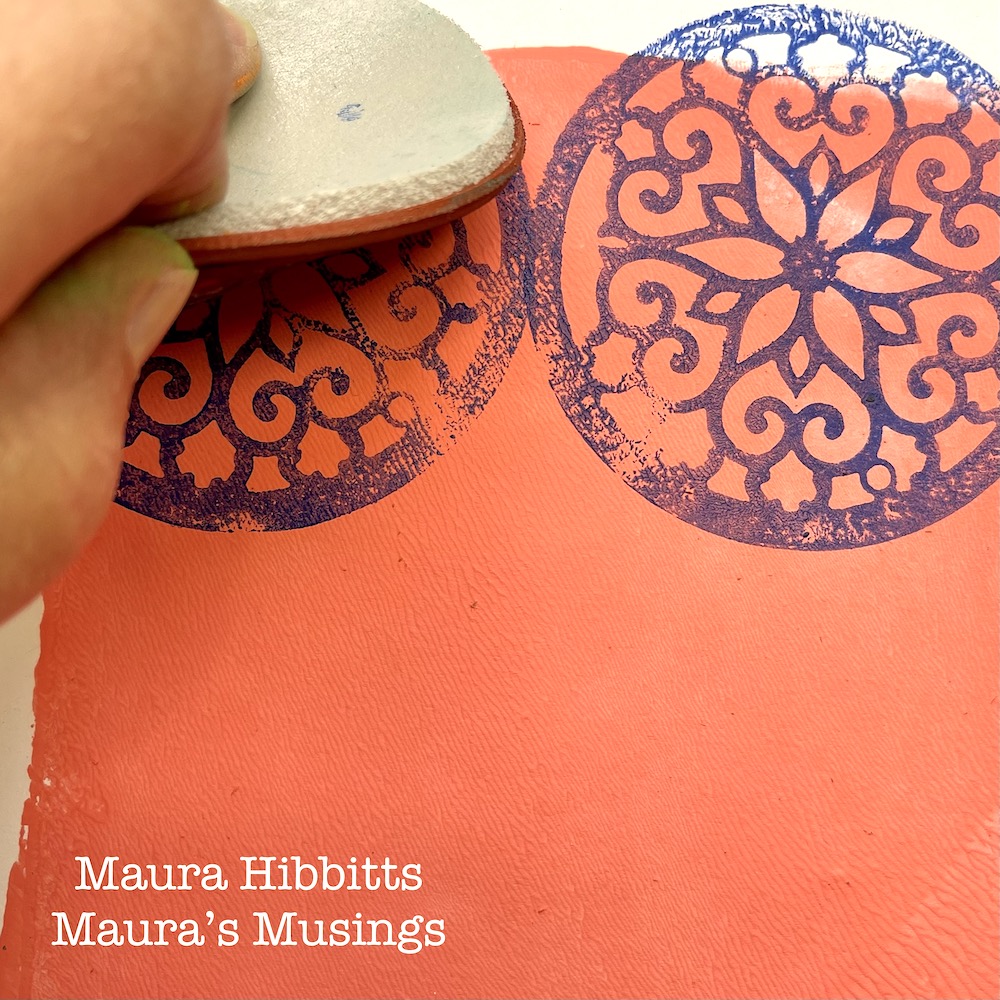
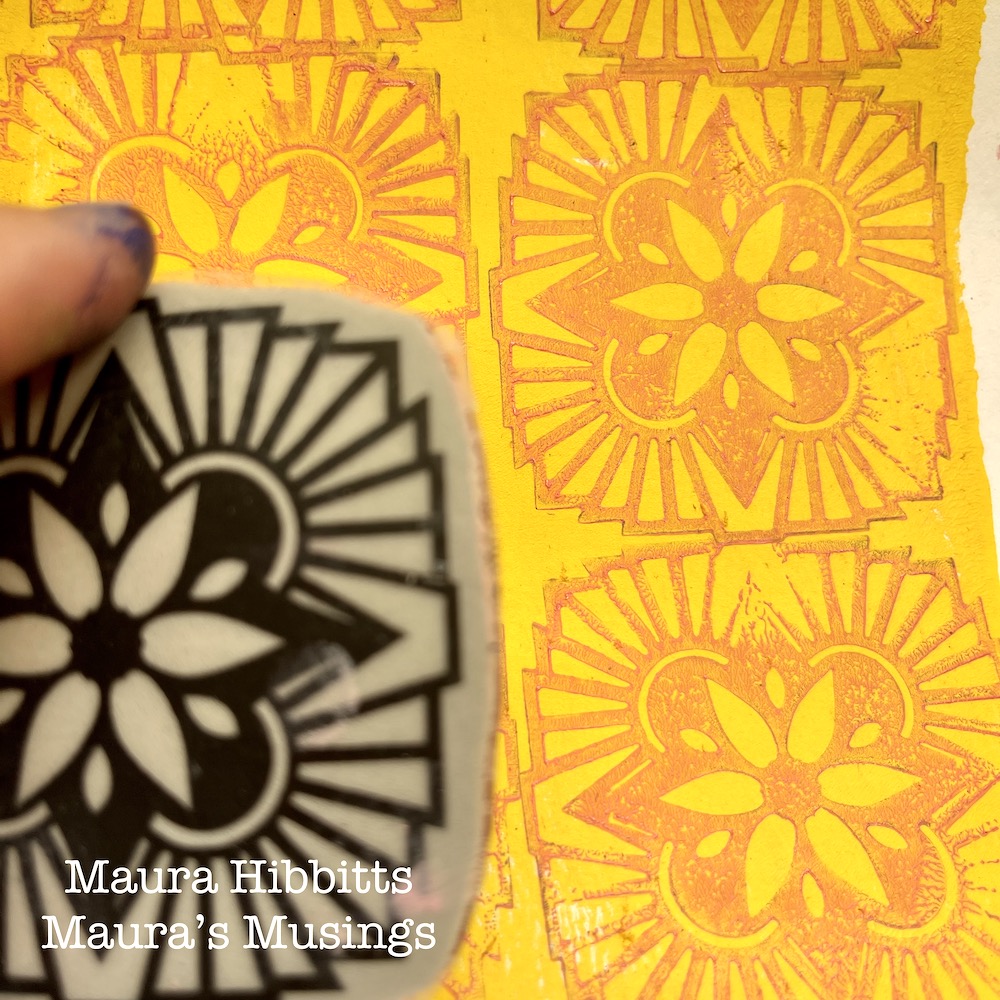
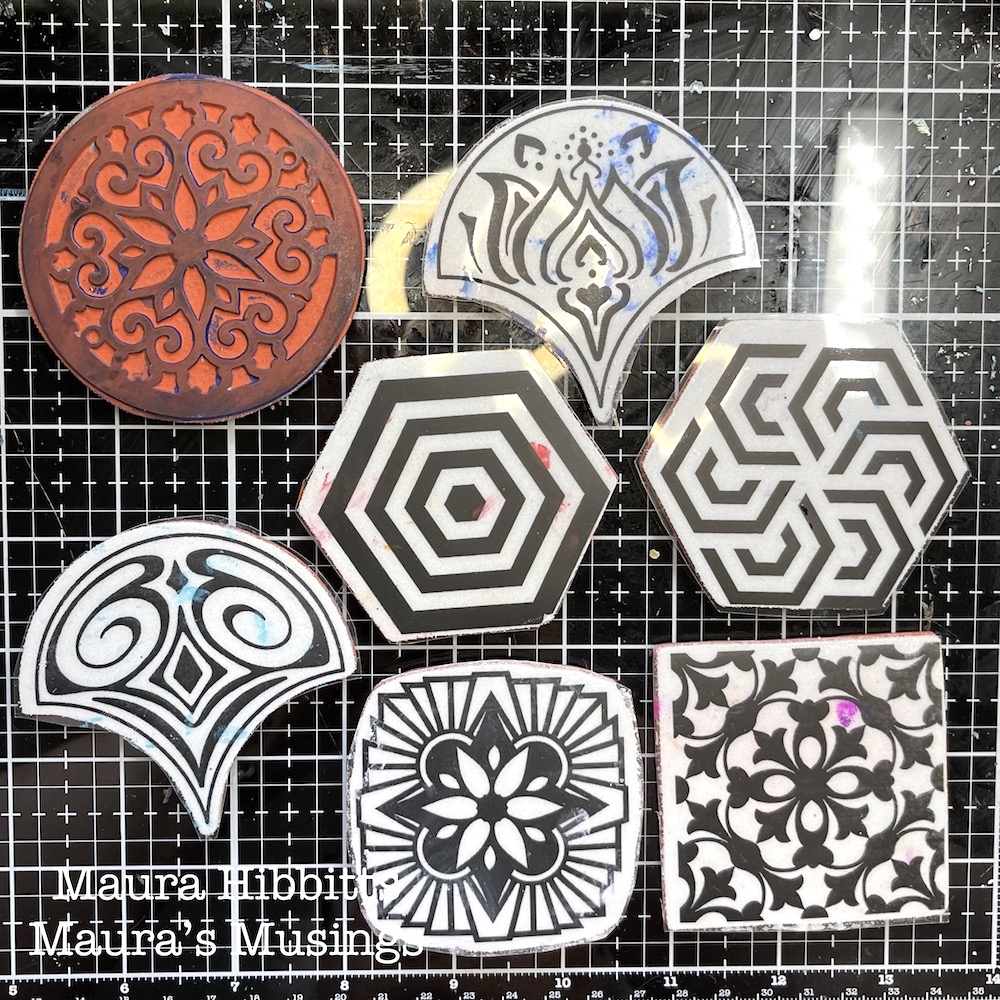
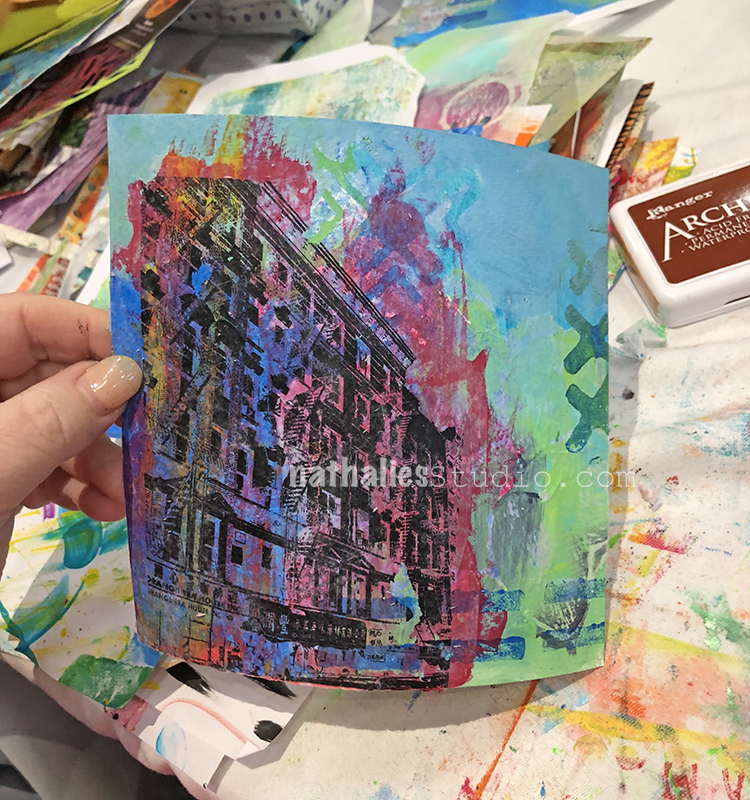
Next, brayer a dark or contrasting color onto the gel plate, and stamp into it with Nathalie’s Park Blvd stamp. Now, stamp the image repeatedly onto your background sheet in one section. Brayer the paint on the gel plate again and stamp repeating images on the plate, then place the other background section over it and lightly rub and lift. Basically, you are creating a positive and a negative print. Let dry or use heat tool.
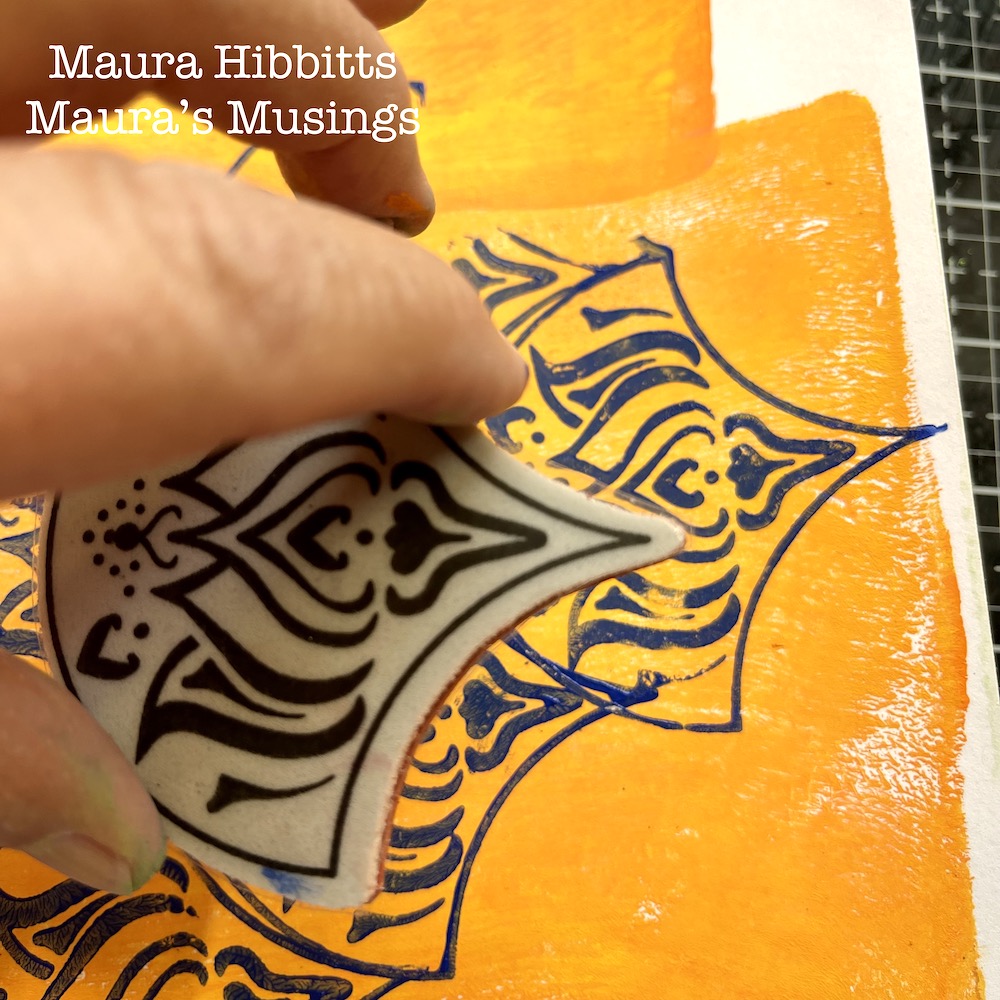
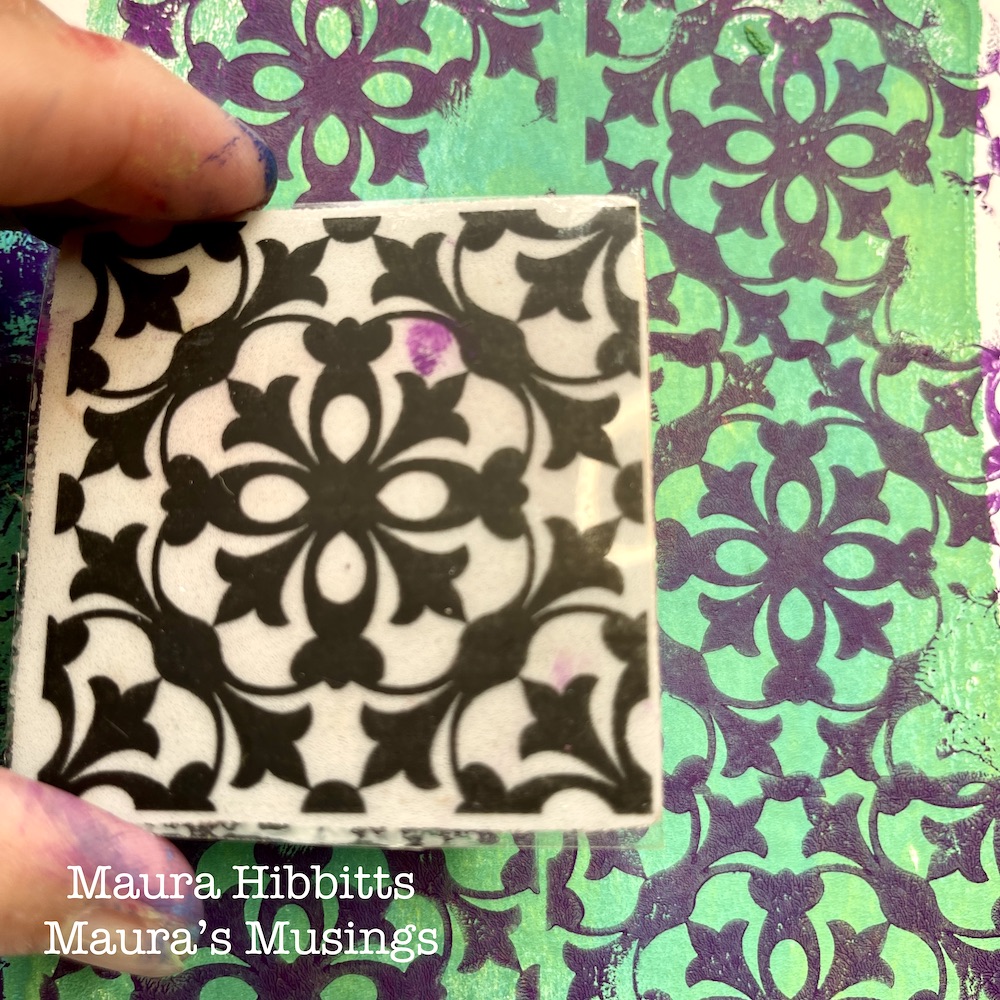
Repeat using the Lily Fan stamp and a different paint color.
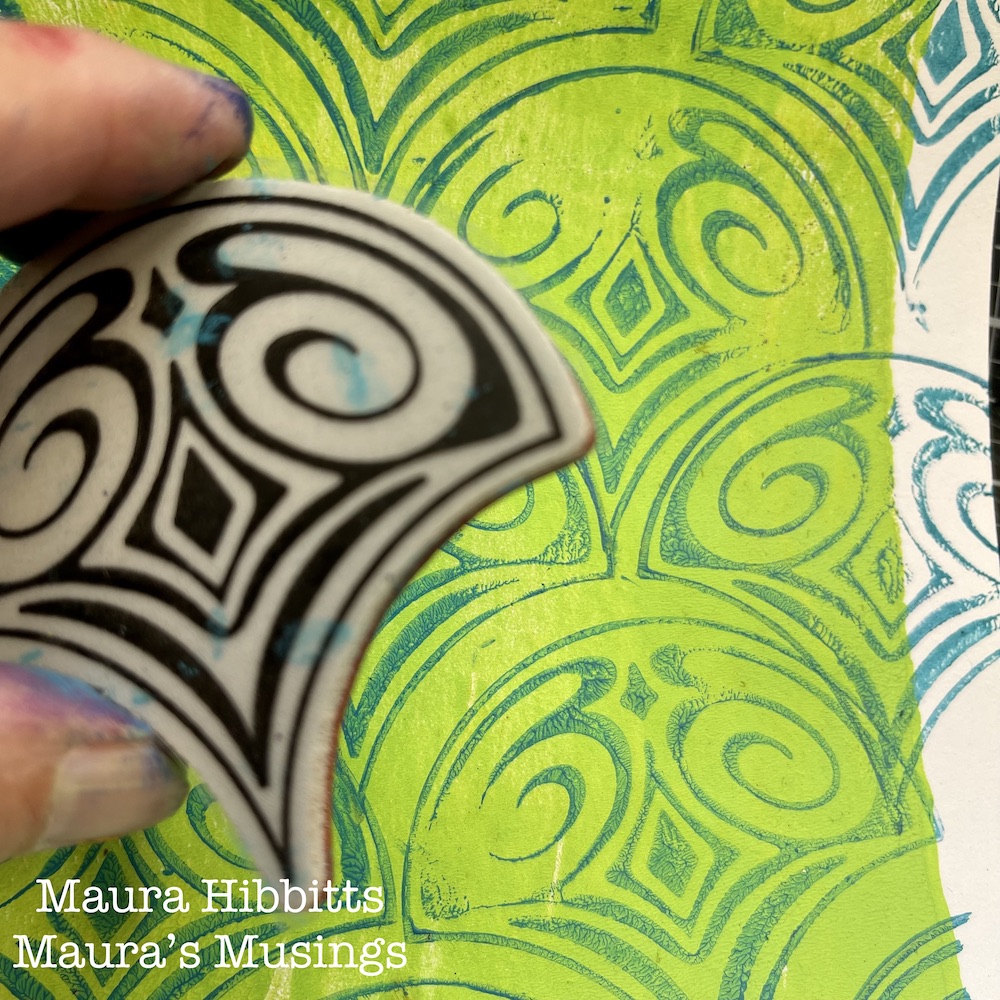
Now for the final repeat of this step – use the Fairview Fan stamp and a different paint color. Let all papers dry thoroughly.
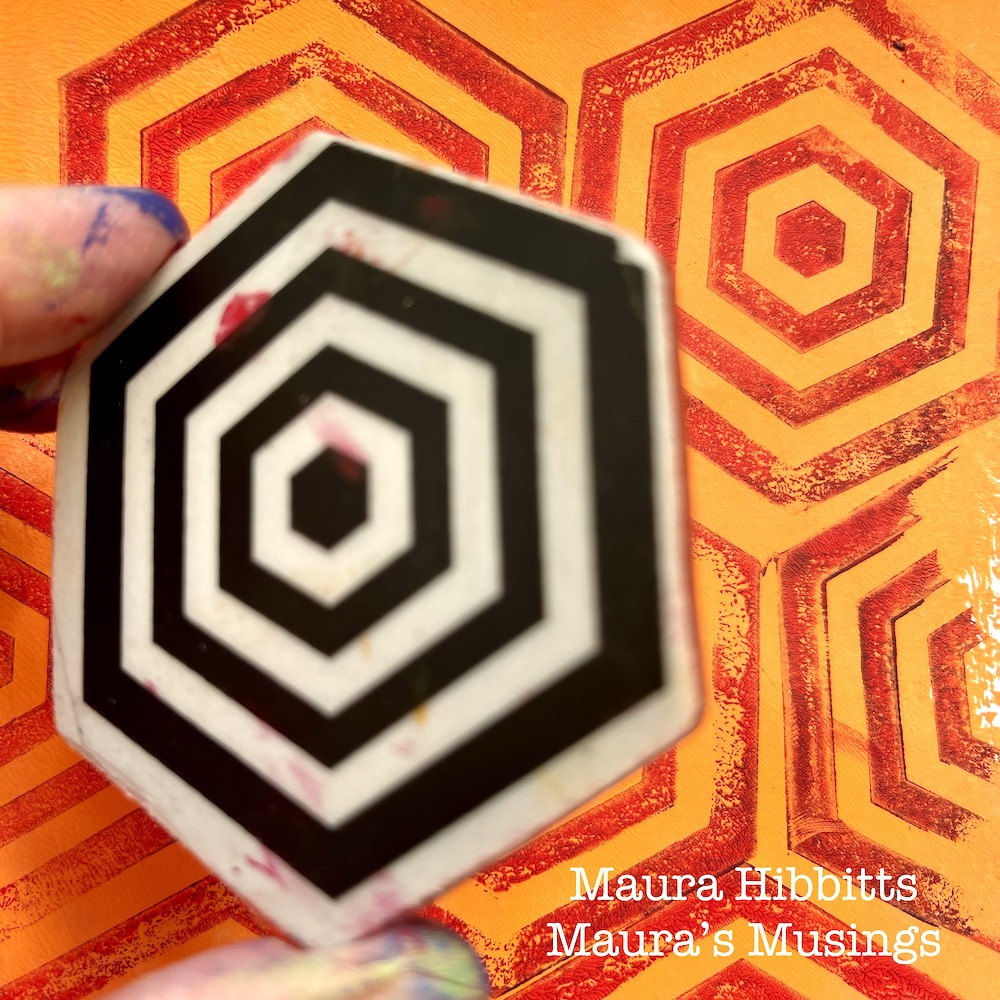
At this point, you will have a selection of papers in several colors and designs to use for the project.
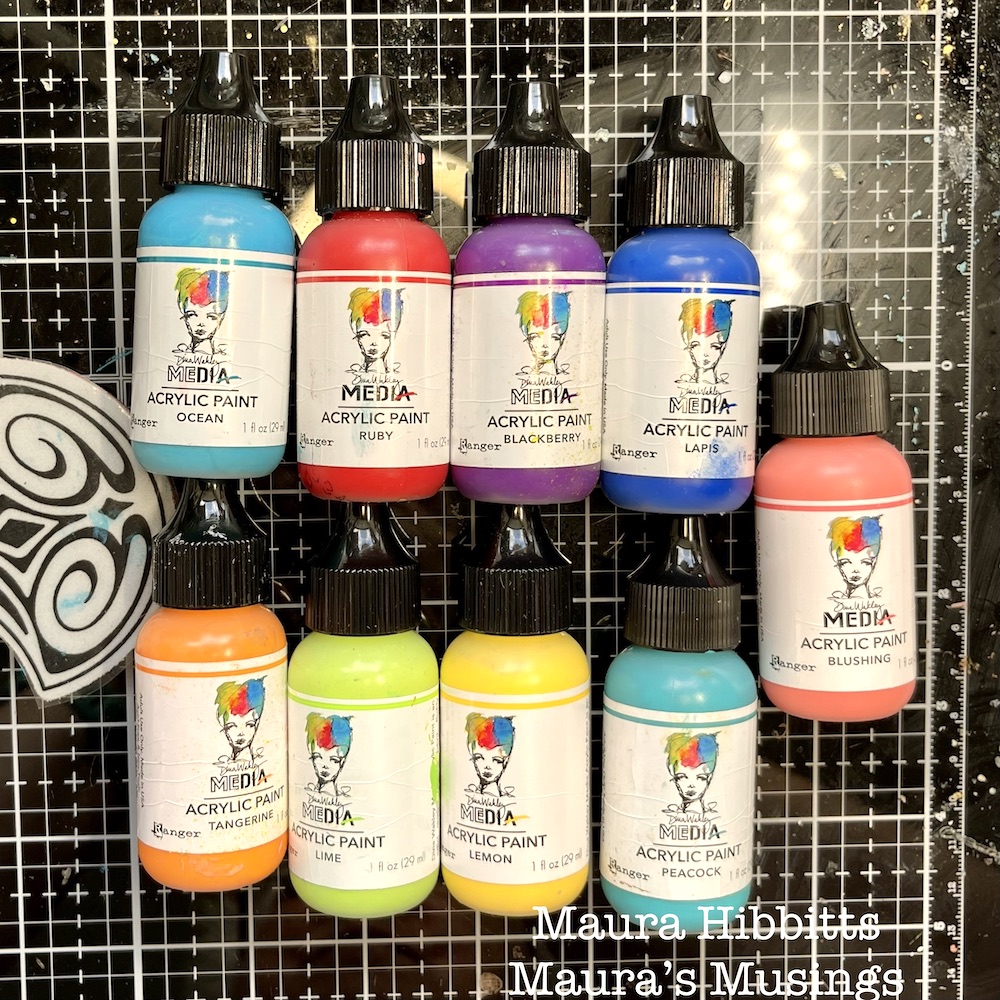
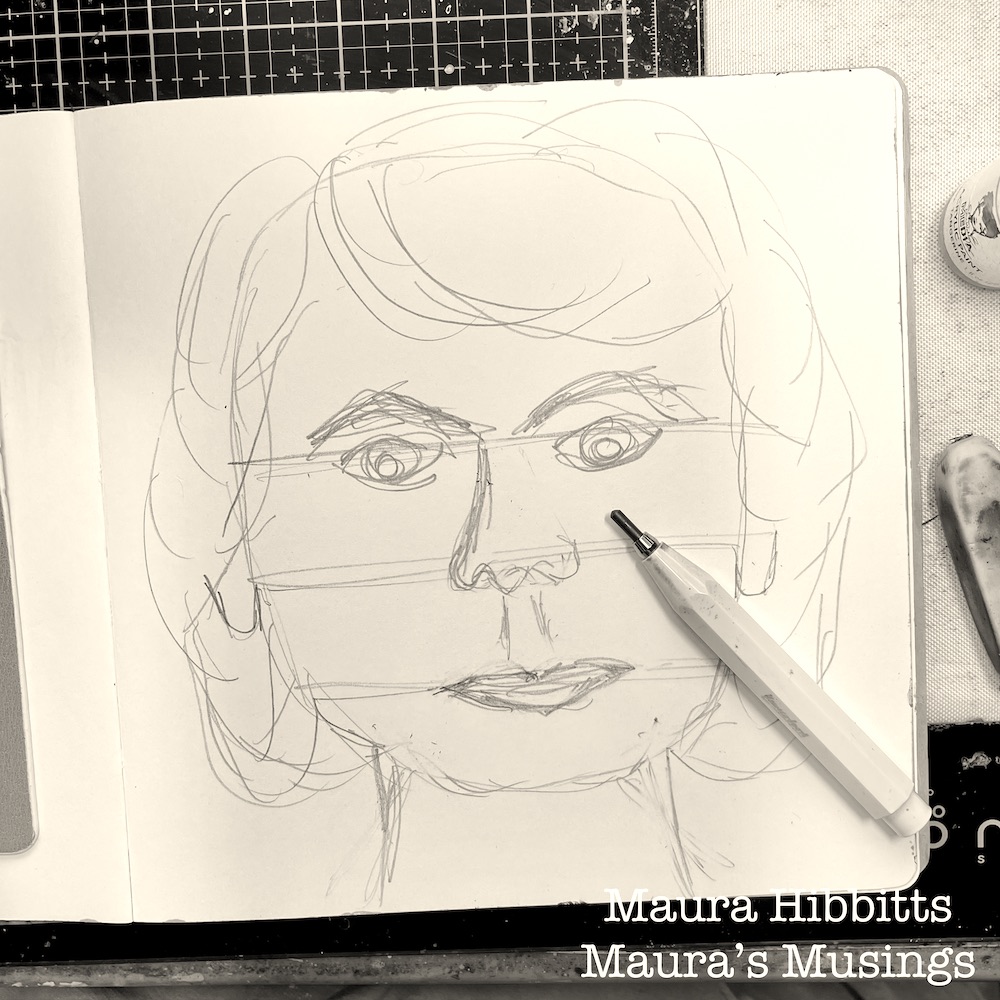
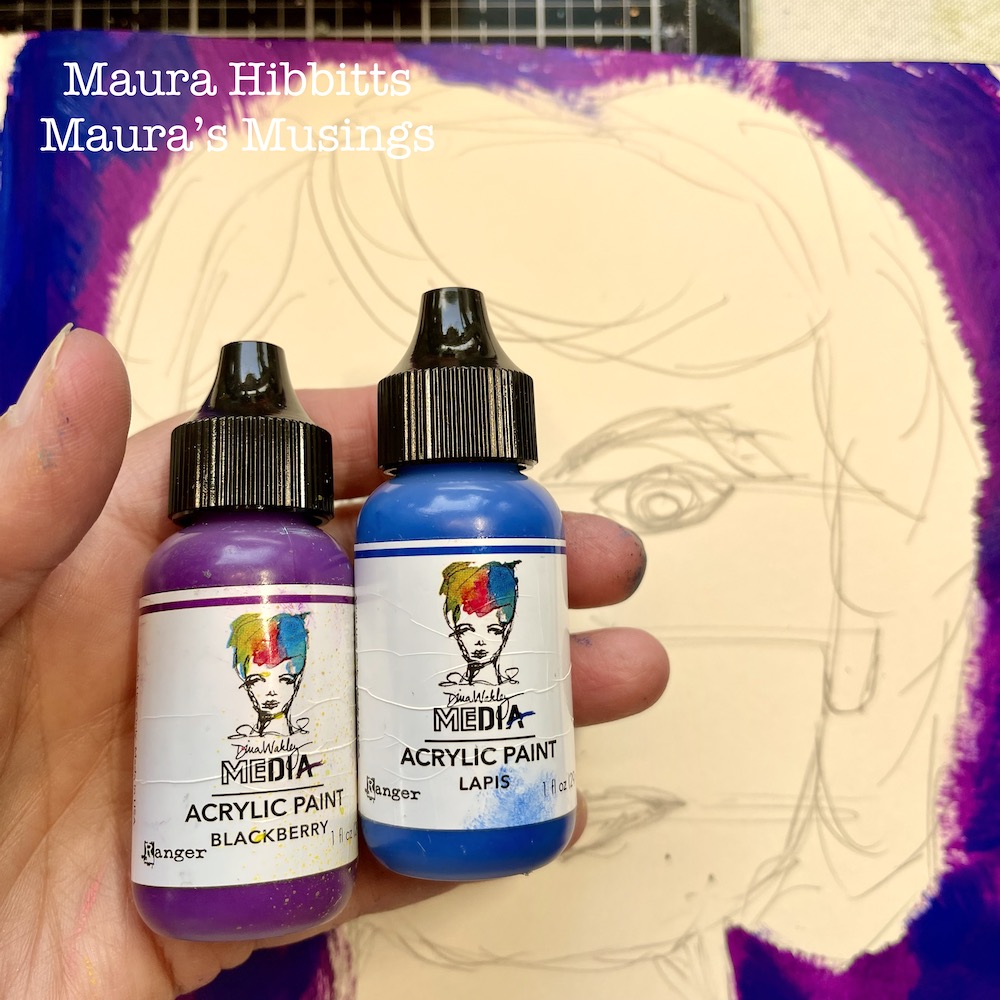
Now, the fun begins! Sketch a face on your page. Use the same paint colors here as you used to make the papers. Paint a mix of dark colors around the face to make a background. (I used Lapis and Blackberry) I wanted to use non traditional colors for my face and lots of variety… it might look a bit psychedelic to you, but I love the freedom of play here.
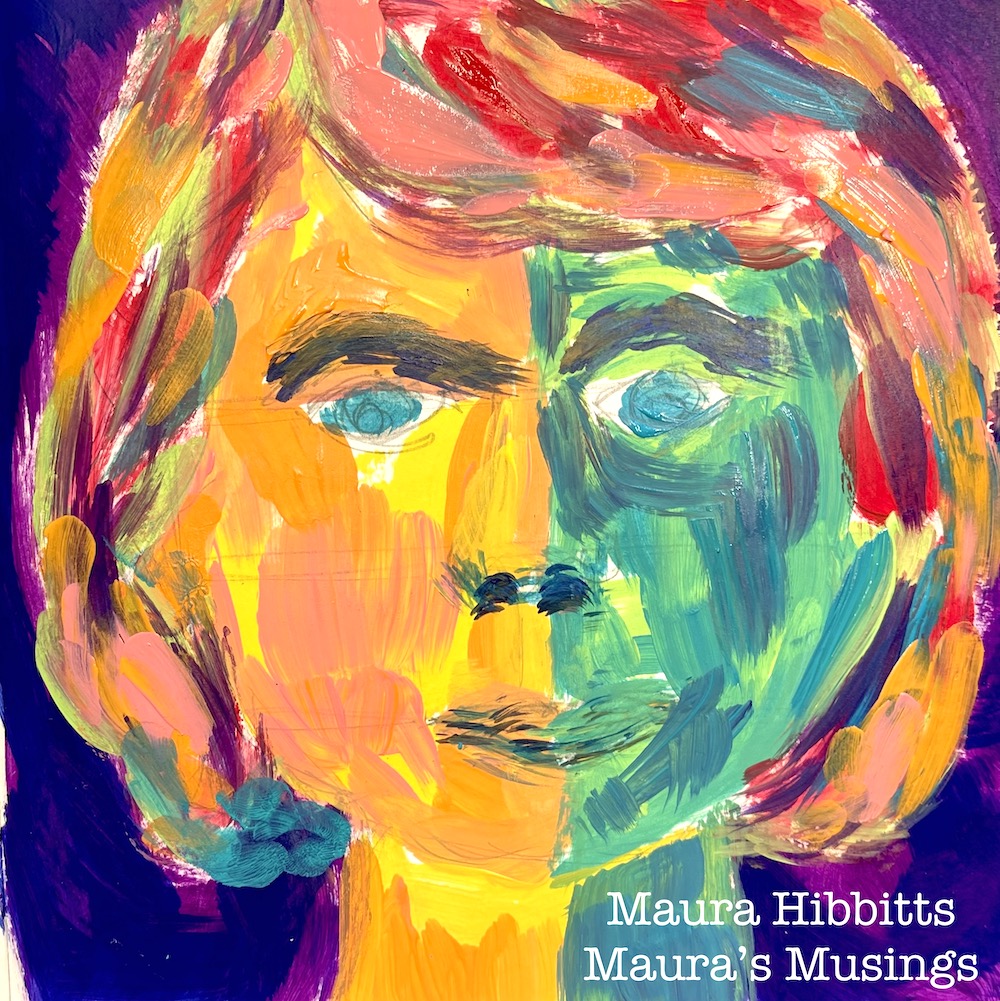
I used warm colors on one side of the face, and cool colors on the other. (When I look at the one side, I’m getting “She Hulk” vibes, lol!) And just go into a color frenzy with the hair! I tried to paint with big, loose strokes.
Rip out small pieces of paper from your background papers, matching the paint colors. Note – if you rip the paper towards you, it will eliminate a white edge. Adhere to the background with collage medium. I like to add the medium to the back of the piece, press it down with the brush, then go over it with more medium, pressing down.
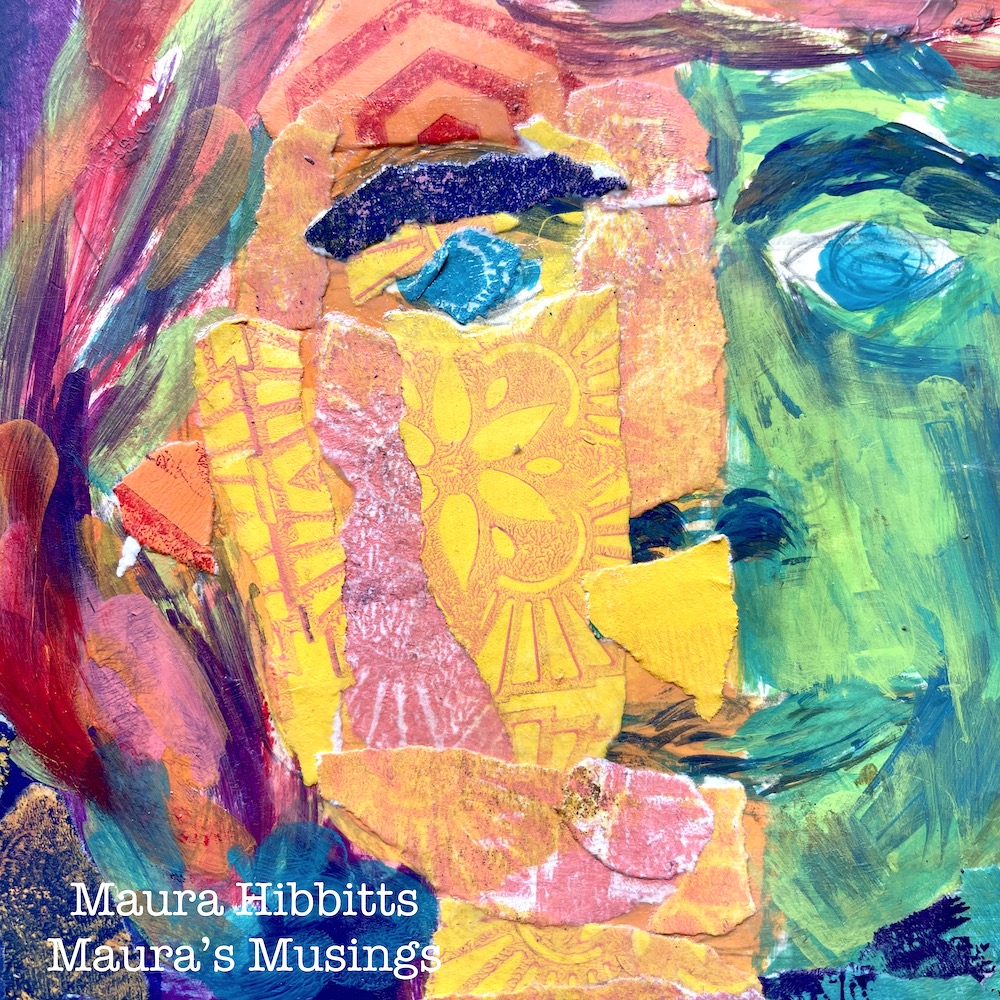
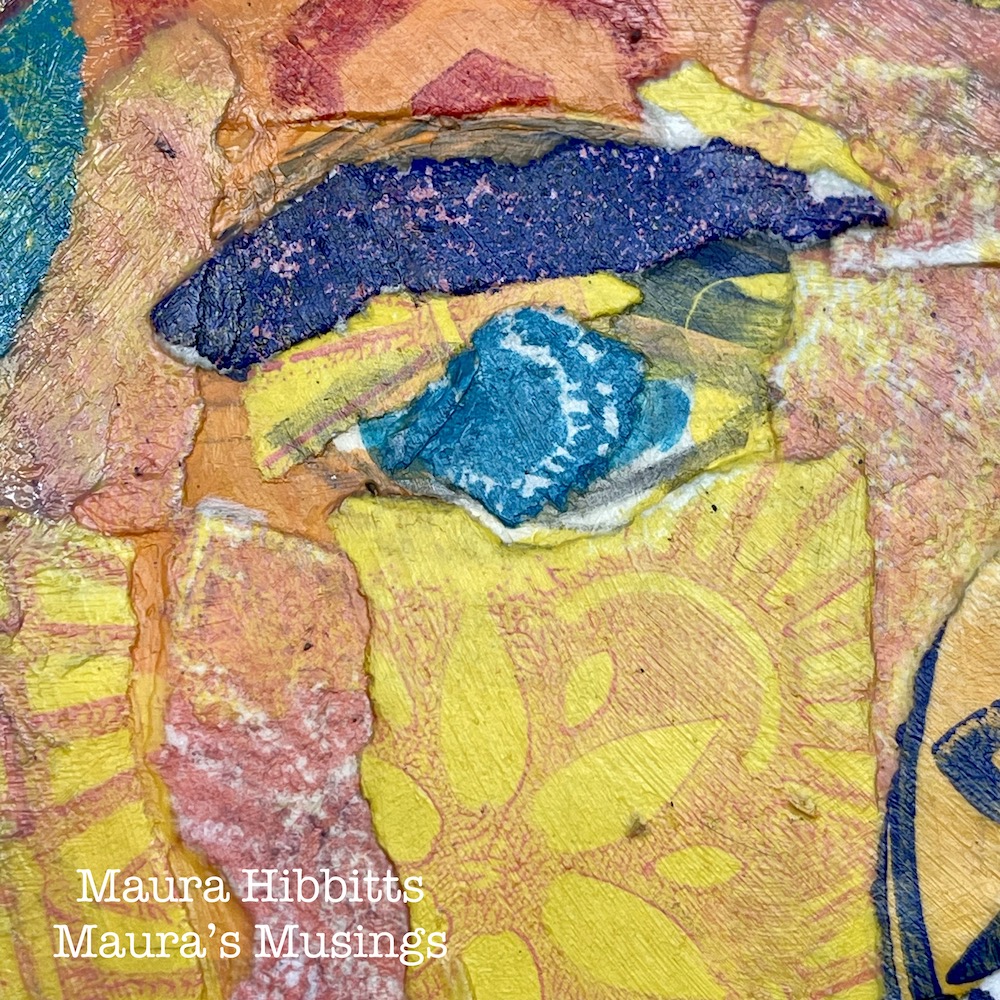
Next, move to the face, and continue collaging paper pieces over your painted image. Match the paper bits to the paint color.
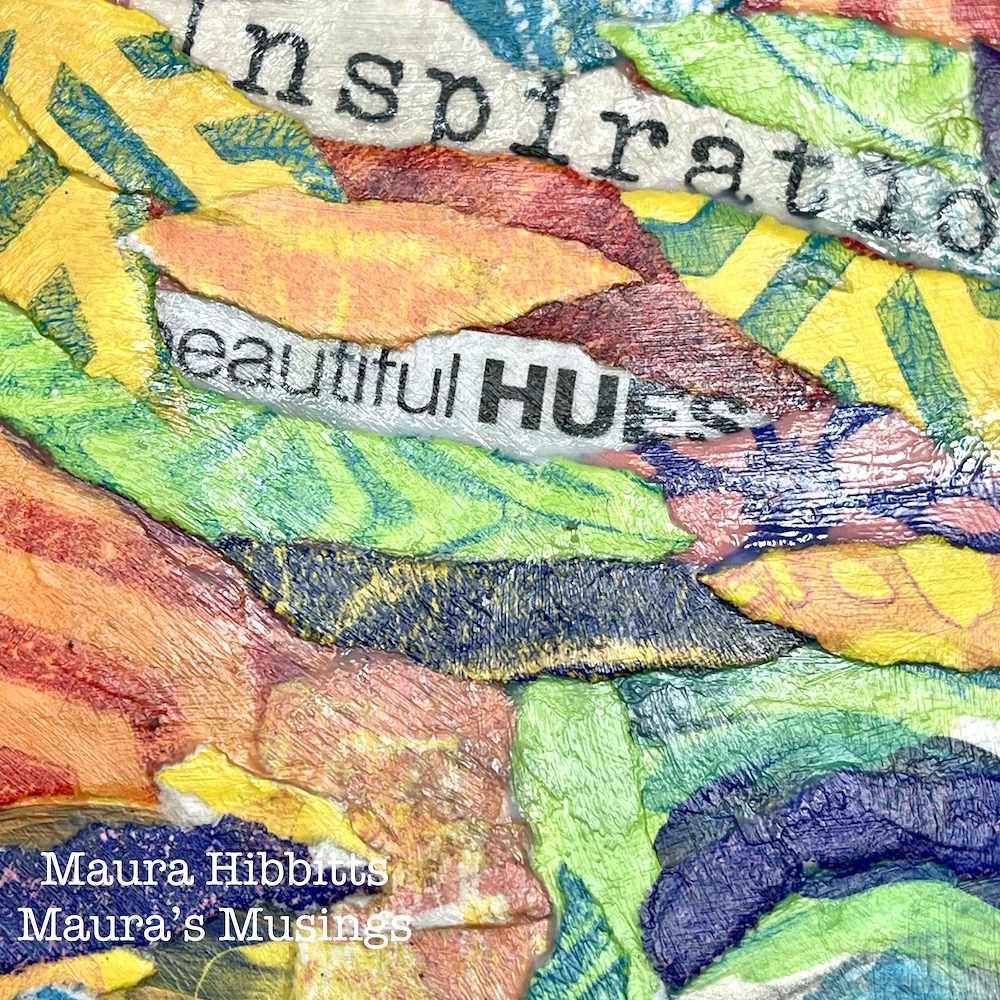
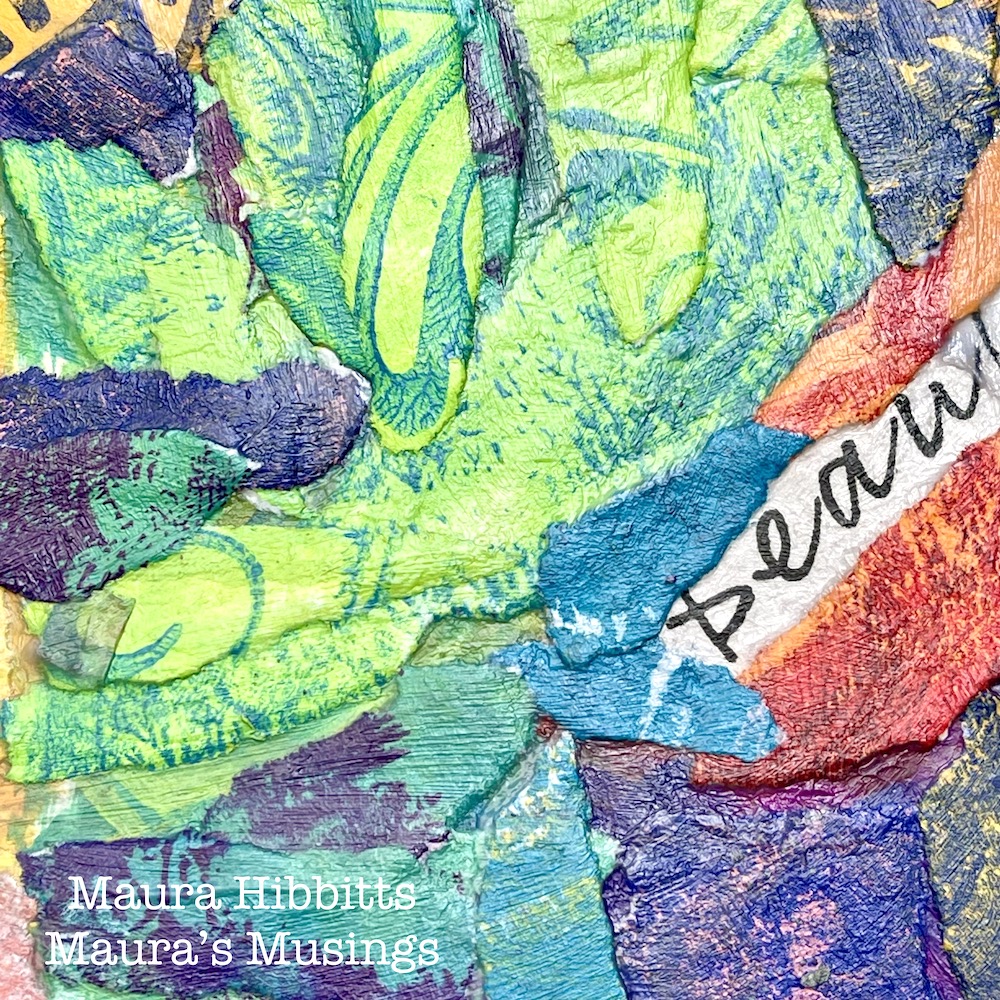
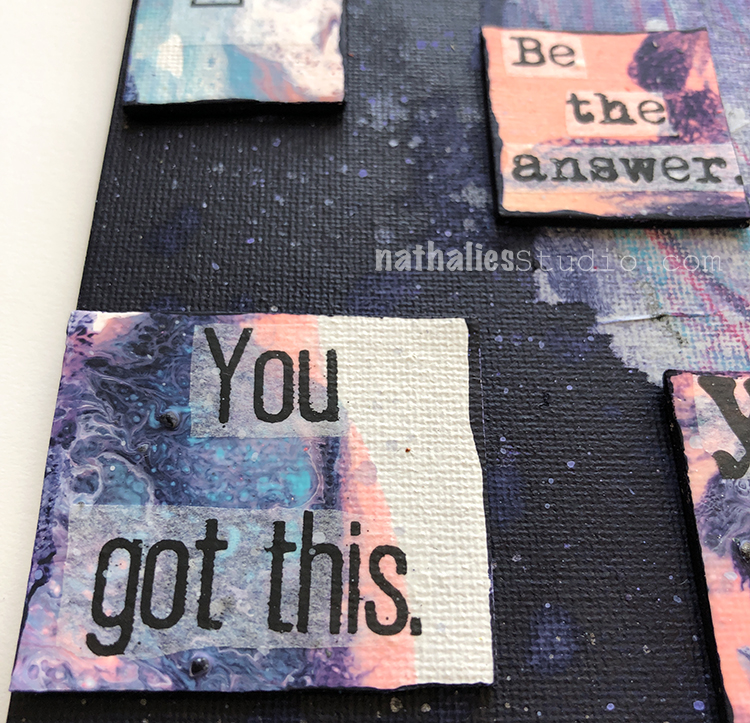
Cut words out of a magazine, or write them and collage onto the hair. Then, collage paper bits onto the hair and around the words, leaving them mostly visible.
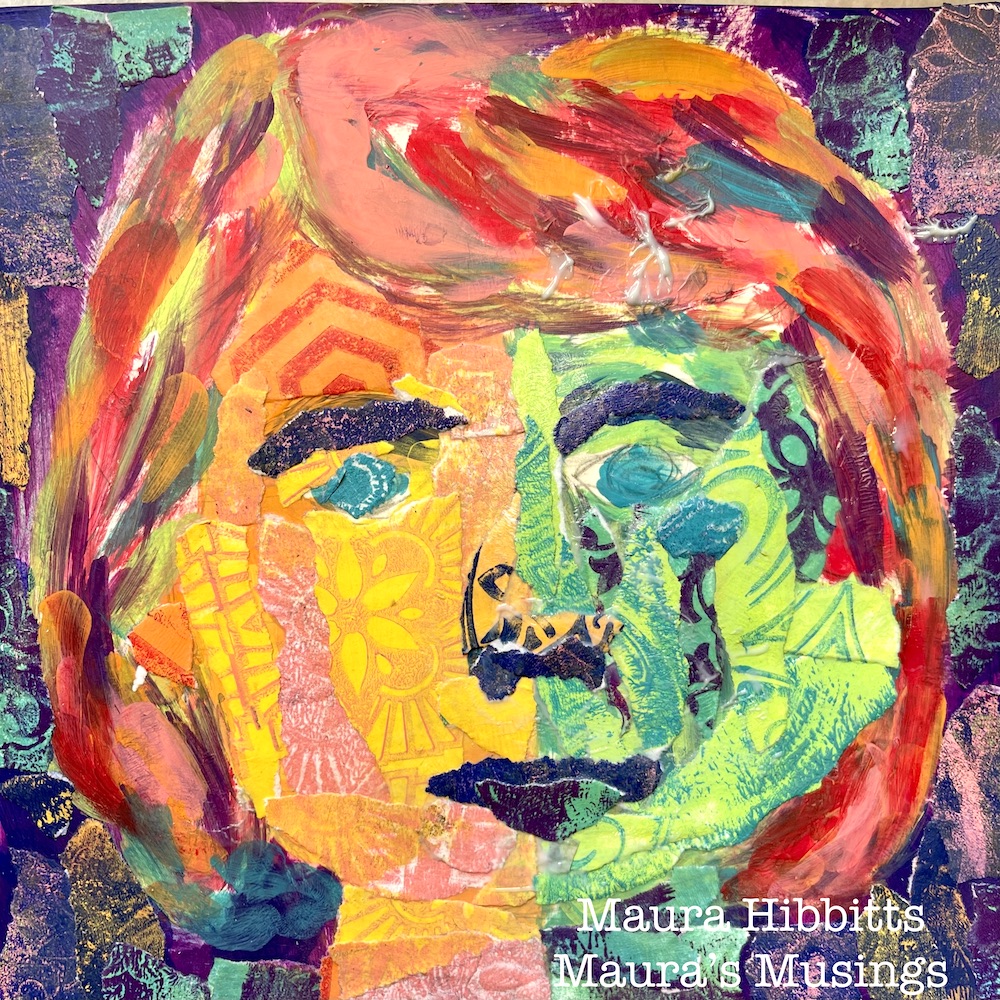
When you look at the details in your project, you will see the layers of paper, color and stamped images. When you step back and look at it, you see the face, albeit a very colorful one.
How fun is it to think of yourself as a collage, and create a wild and colorful image? I found the collaging to be a very meditative process, giving me lots of time to think about what makes me unique. I hope you have as much fun with creating your own collage as I did. Happy creating! – Maura
Thank you Maura! Watching this process come together was very cool and I absolutely love the result – it’s complex, emotional, and such a wonderful way to approach self portraiture!
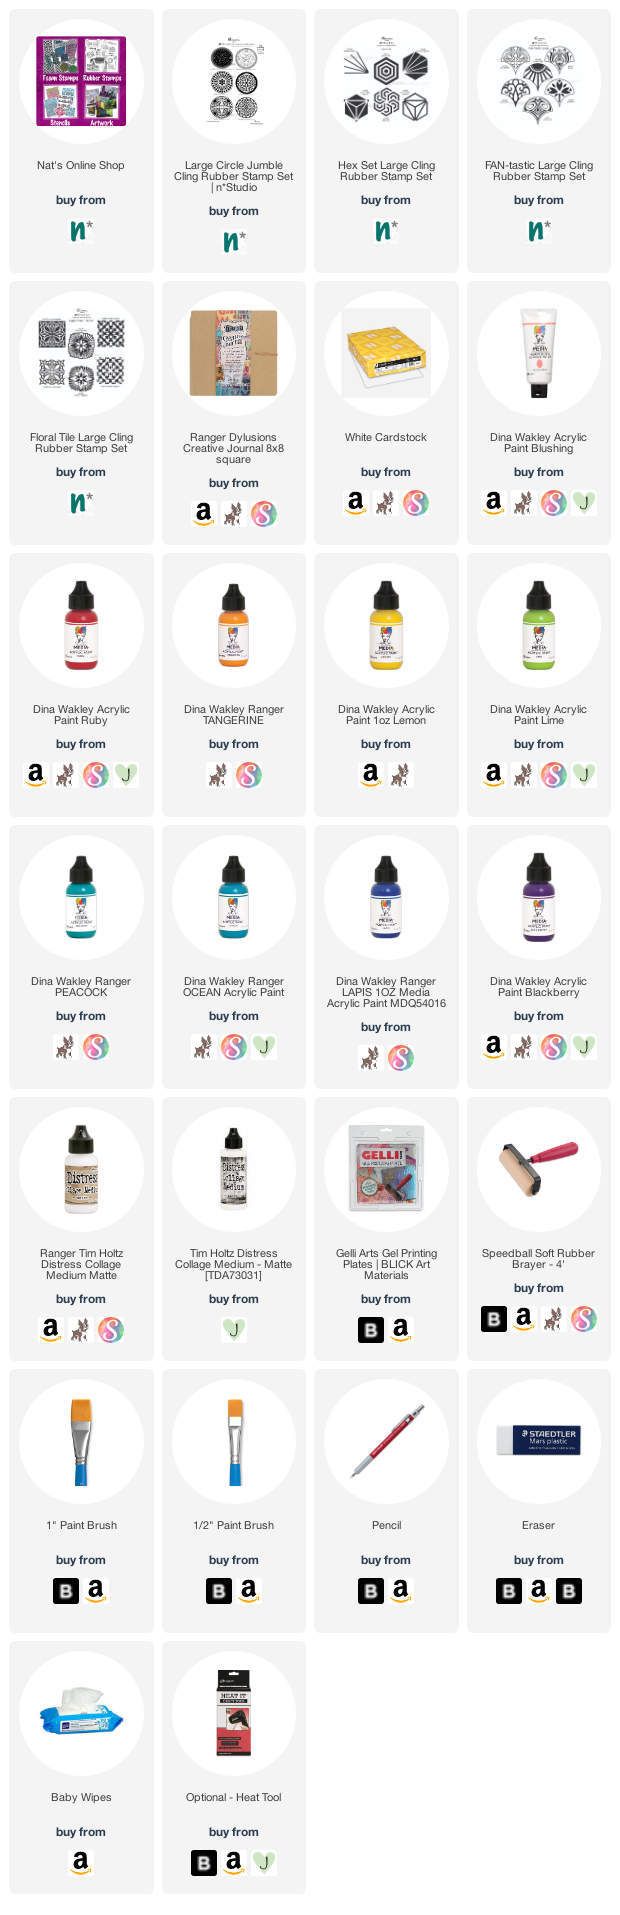
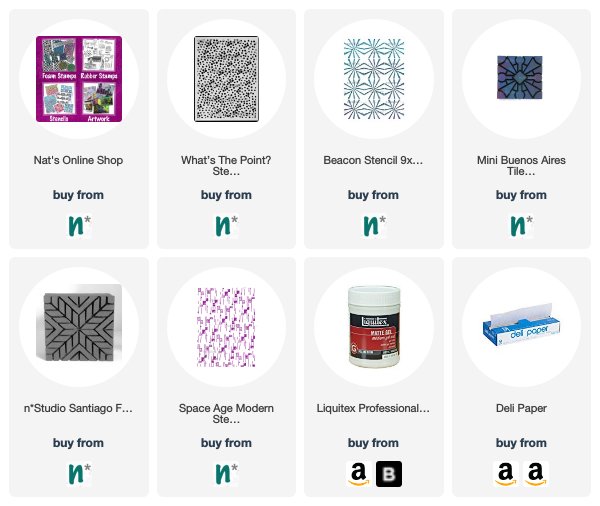
Give it a try: you can find all my Rubber Stamps in my Online Shop and in addition to her word clippings, here are some of the supplies Maura used:
Looking for more projects? Follow the Creative Squad on Instagram here.
A Look Back – This time I’m looking at Collage Papers – a fun and easy way to build layers and to bring more visual interest to your mixed media pieces. If you are like me and you don’t like anything to go to waste, read on! I have some ideas from the archive on how to use all those beautiful collage papers from your stash.
A Look Back is a blog series to show you some projects and posts that you may have missed – sometimes going WAY back in the archive. I think it will be fun to revisit a few ideas that we haven’t seen for a while. I’m excited to see how a little look back might inspire something new in the future :)
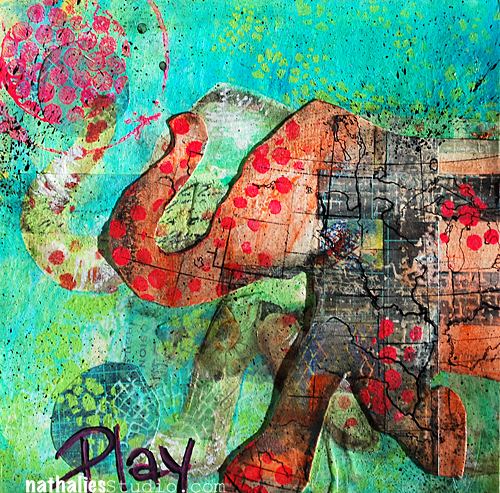
First up is a post from way back in 2014 – some canvases I made using my Elephant stencil and collage papers. Look at all the yummy patterns and textures I’ve brought together here, everything unified by the shape of the elephant.
Next up is a post from 2015 where I use some different collage papers for an abstract background element. I used acrylic paint to unify the collage with the ground.
In this 2017 post I combined my Beacon stencil with collage paper I made from cleaning the stencil (the red reverse of the image). I like this play with the pattern and its opposite.
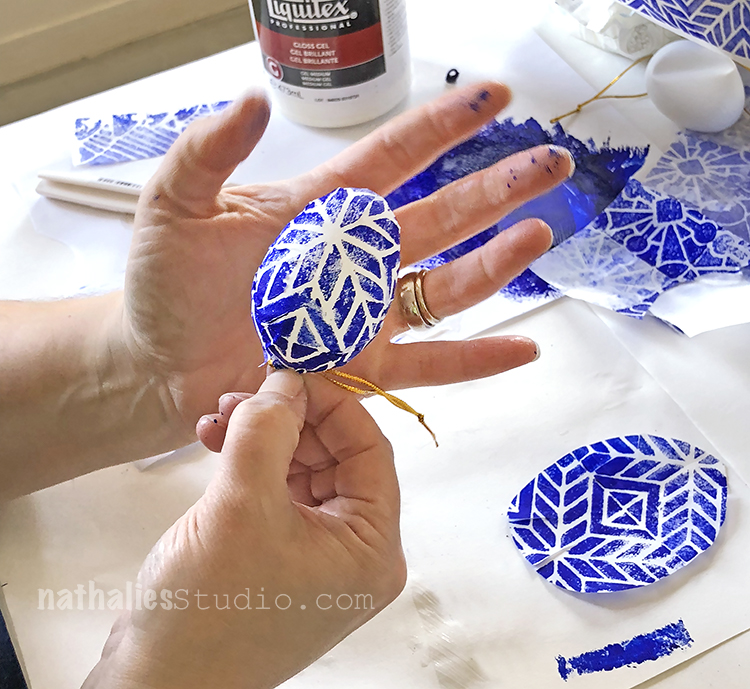
For this Play Date in 2018 I used foam stamped collage papers to decorate Easter Eggs – a festive alternative to egg dyeing and perfect for using the bold patterns of my foam stamps.
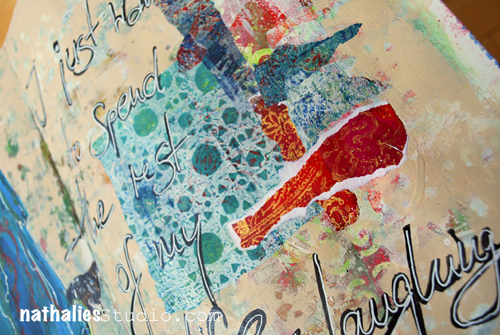
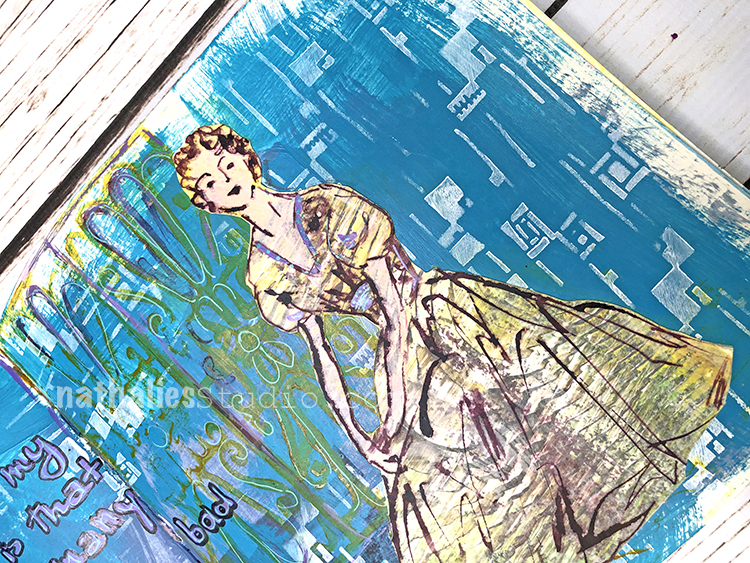
Finally from this 2019 art journal page, I used collage papers to create the dress for my sketch. Collage papers give the dress a random pattern which always looks cool.
I hope you enjoyed A Look Back through my archive and maybe you are inspired to try some different things now too.
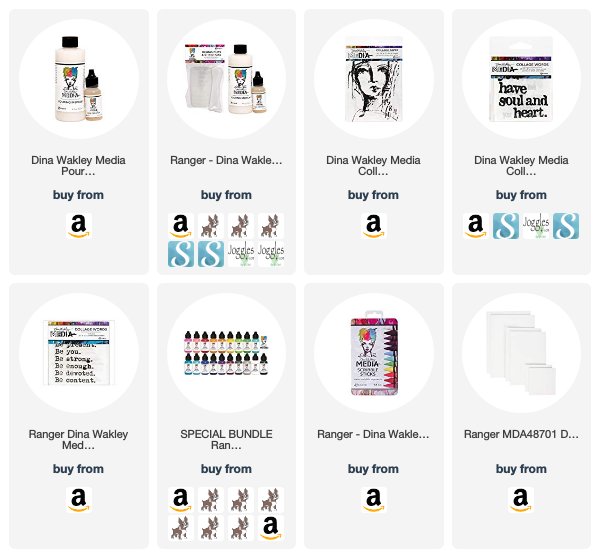
Here are some of the supplies I used in these posts:
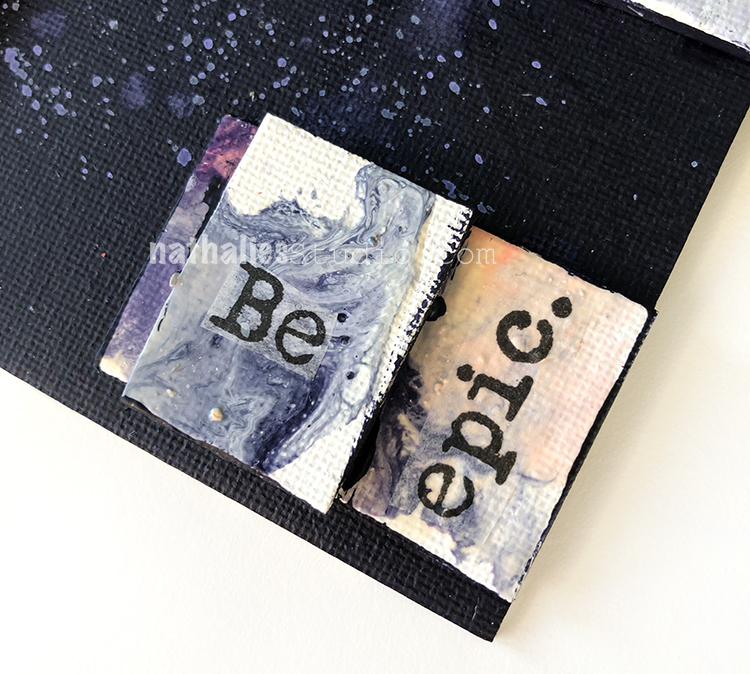
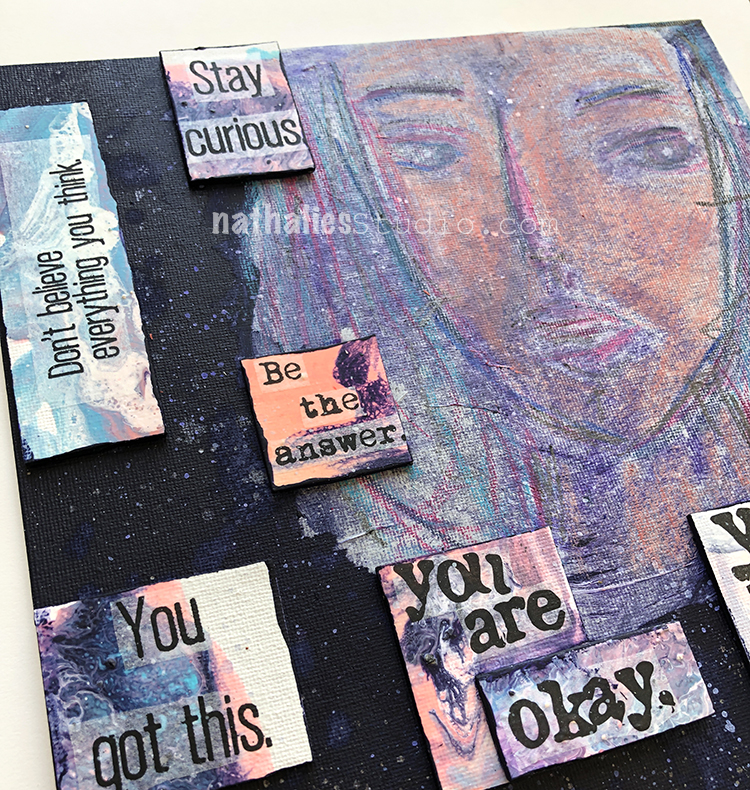
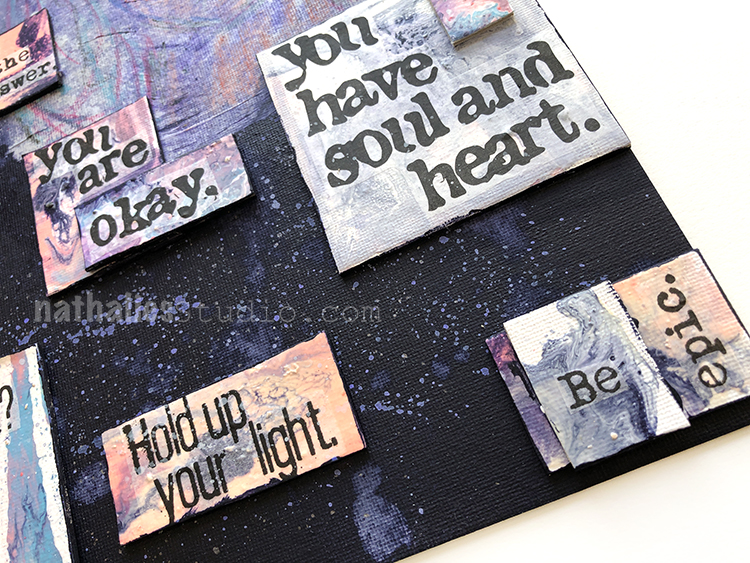
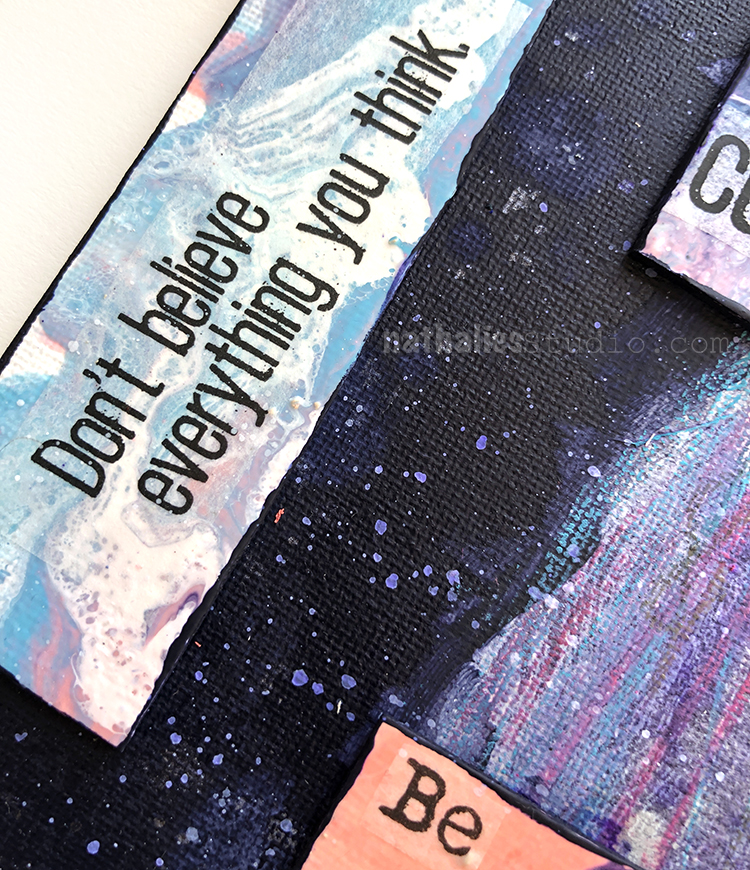
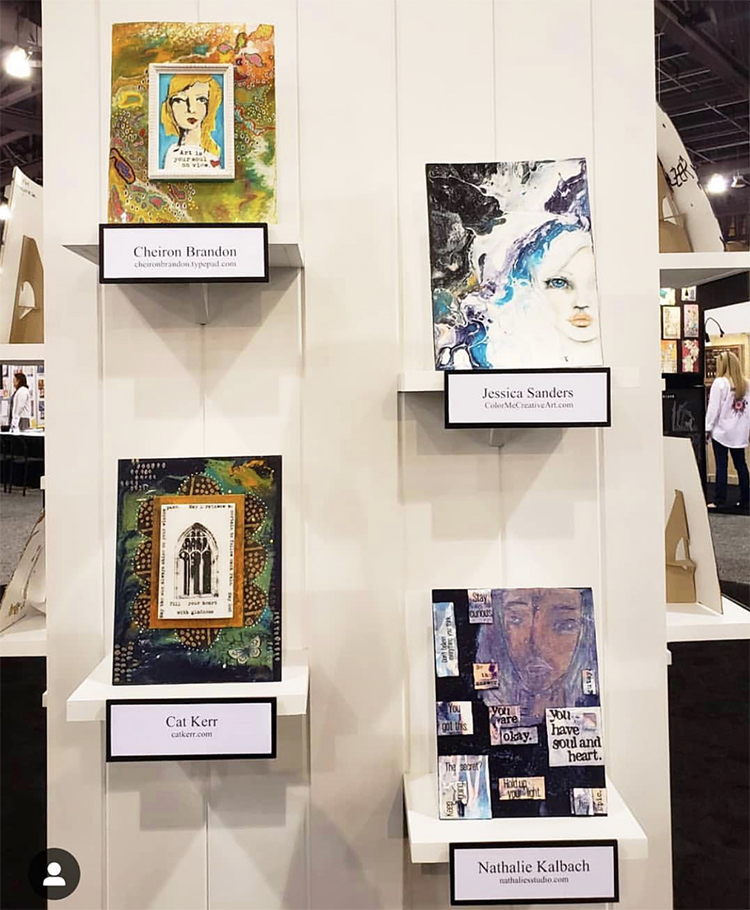
It was fun being invited by the peeps at Ranger to participate in the 2019 Ranger Designer Challenge with the focus on Dina Wakley Pouring Medium. The pieces are yearly displayed at Creativation former CHA -a big Craft and Hobby Trade Show happening every January.
I have played with pouring medium before and it was especially fun to play with Dina’s Cell Creator.
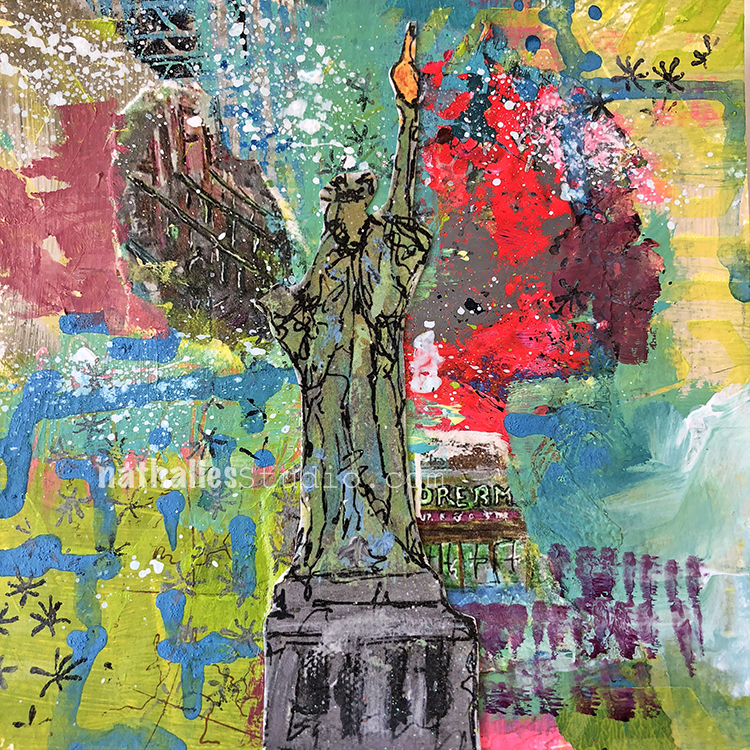
Here is my piece for the challenge
It was really fun to play with Dina’s products – even though it was a bit out of my box as it is so different from what I usually do and use. But hey- it is called challenge for a reason ;)
It was also fun to spy the piece here and there on social media since I didn’t go to the Show this time
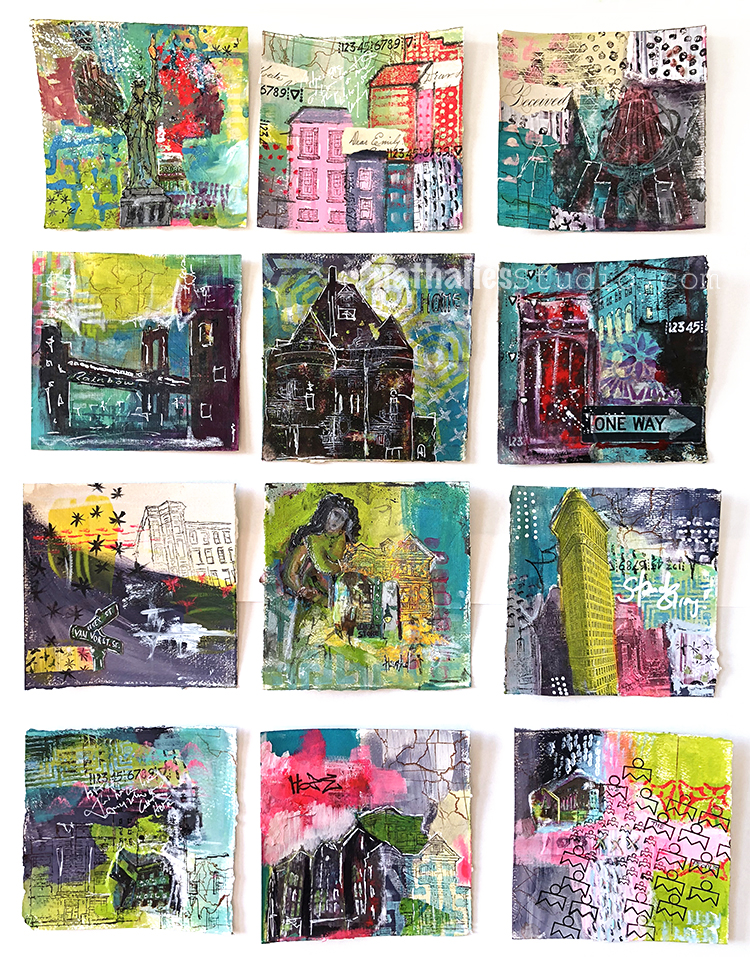
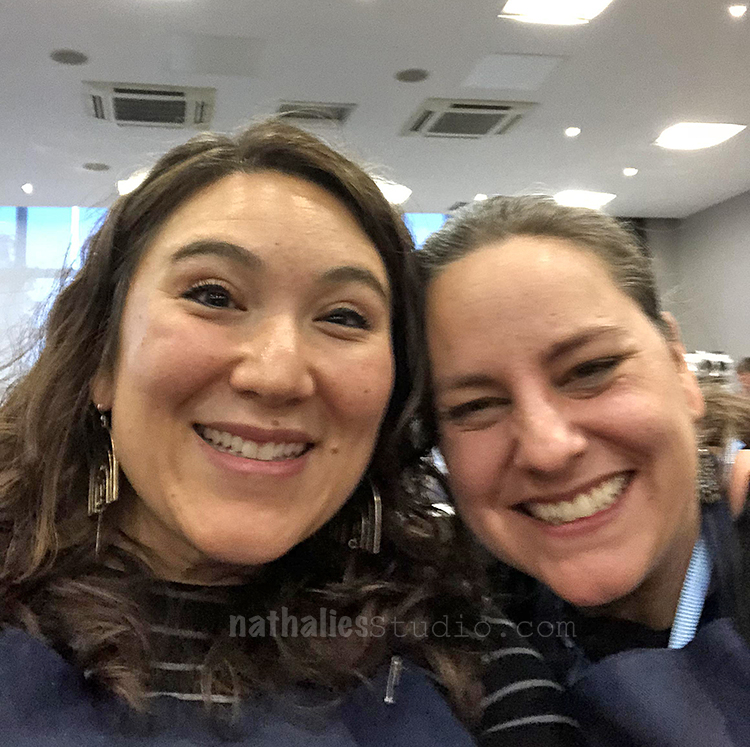
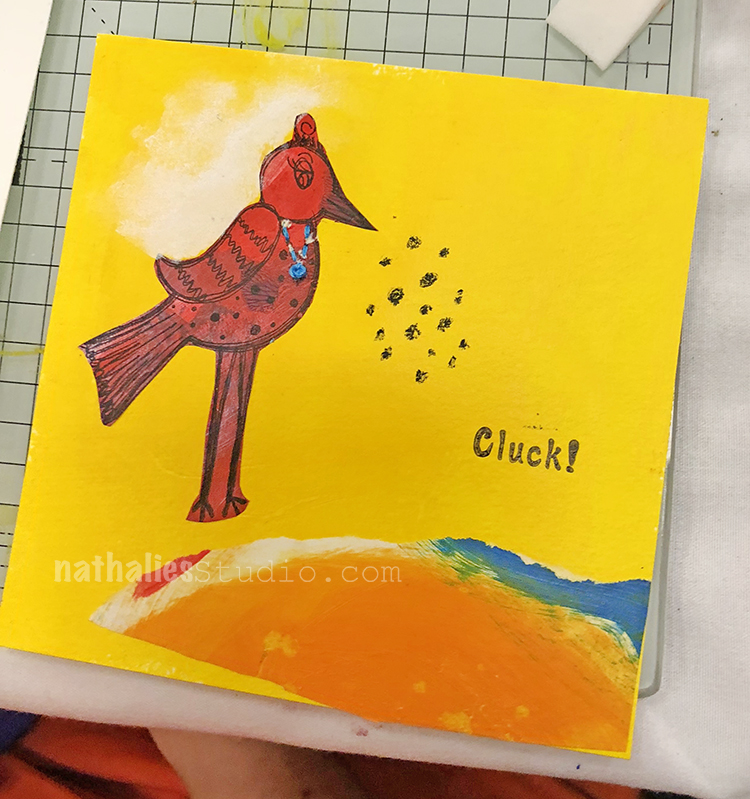
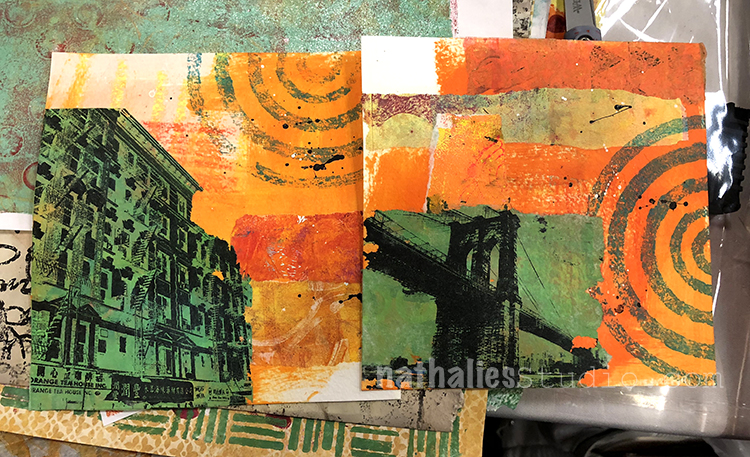
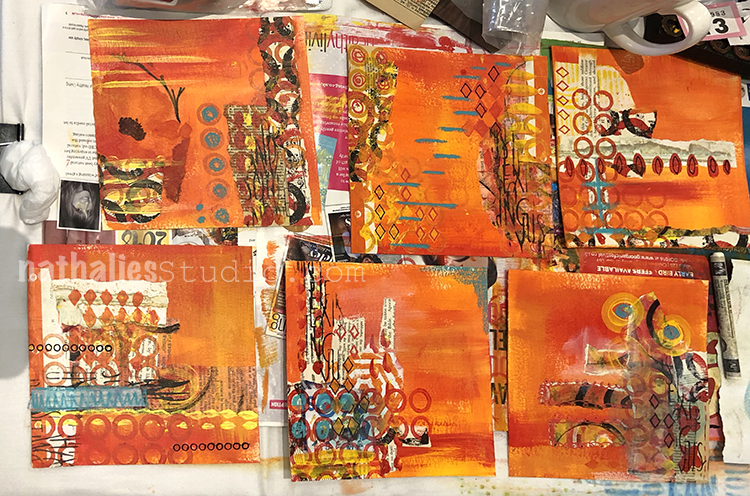
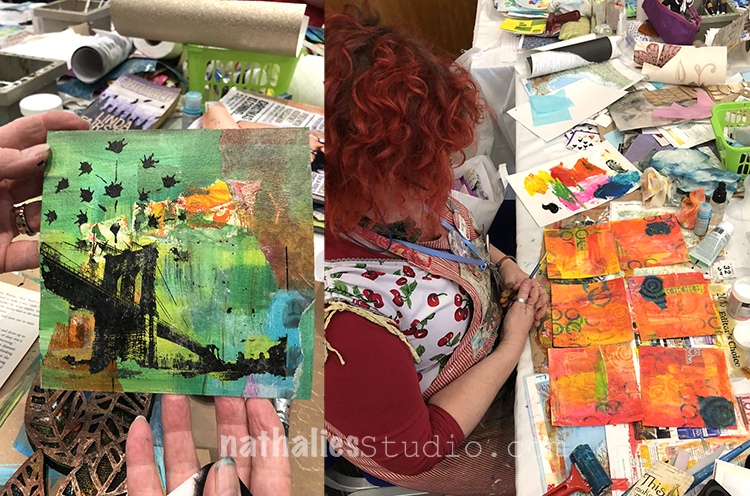
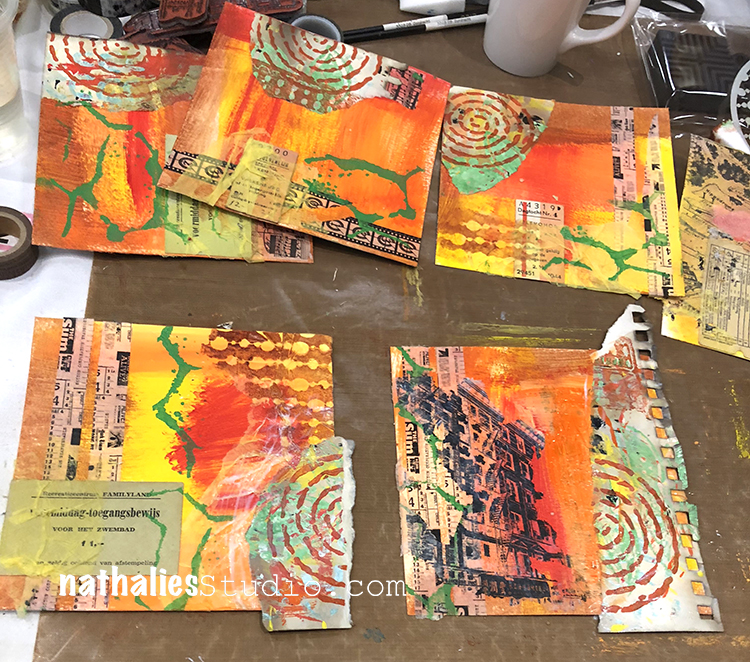
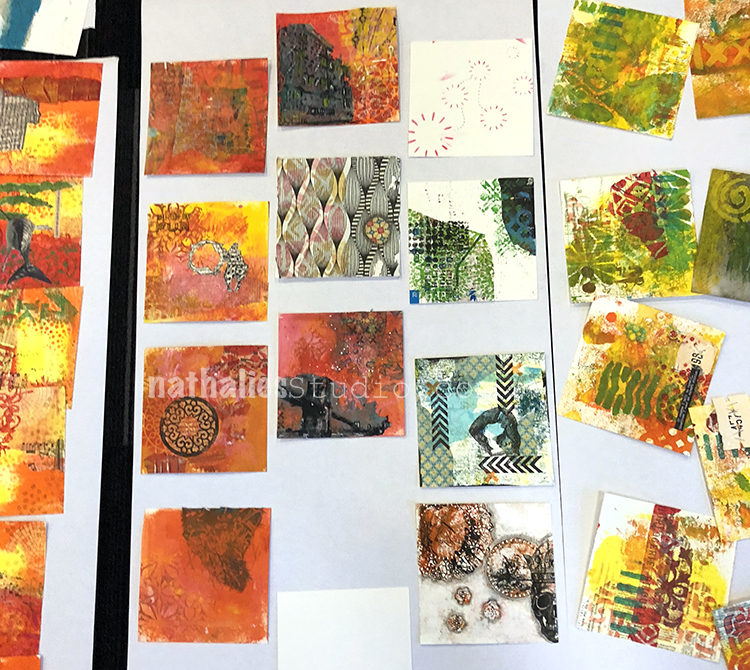
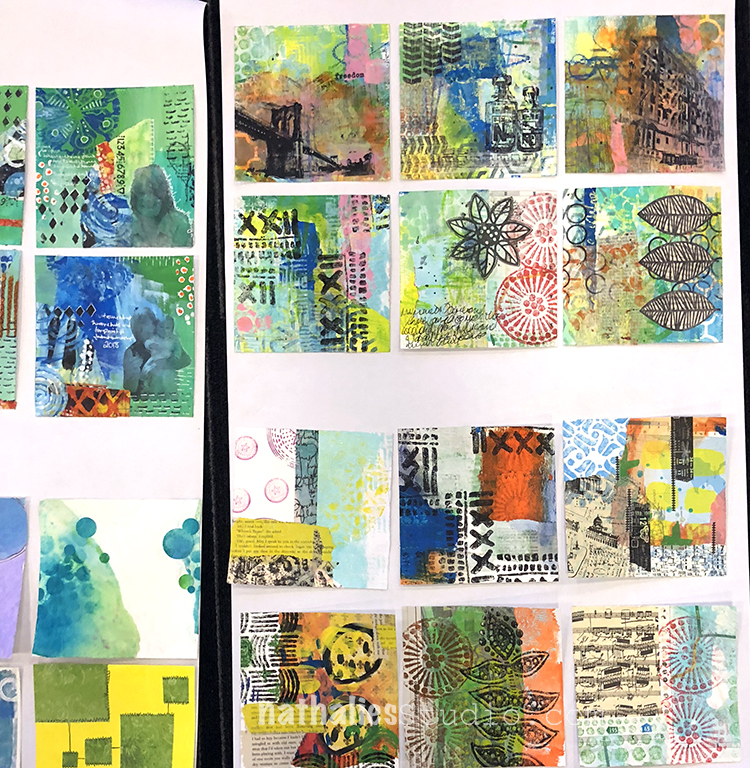
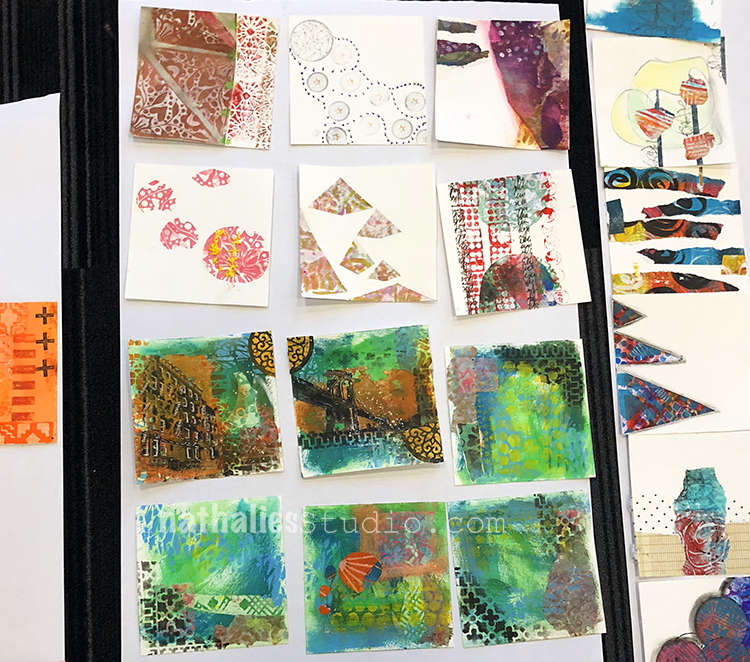
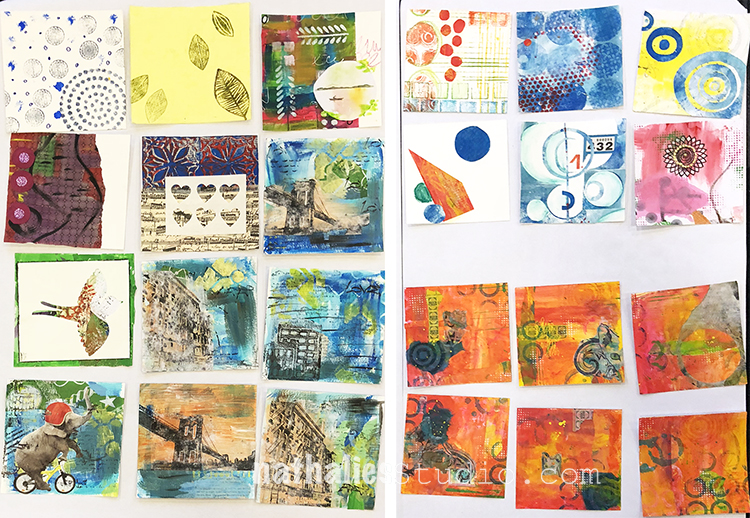
A month ago I taught a really fun Whimsical Collage Class together with my friend Julie Fei-Fan Balzer in the UK and I realized I haven’t really shown my samples for the workshop yet.
0
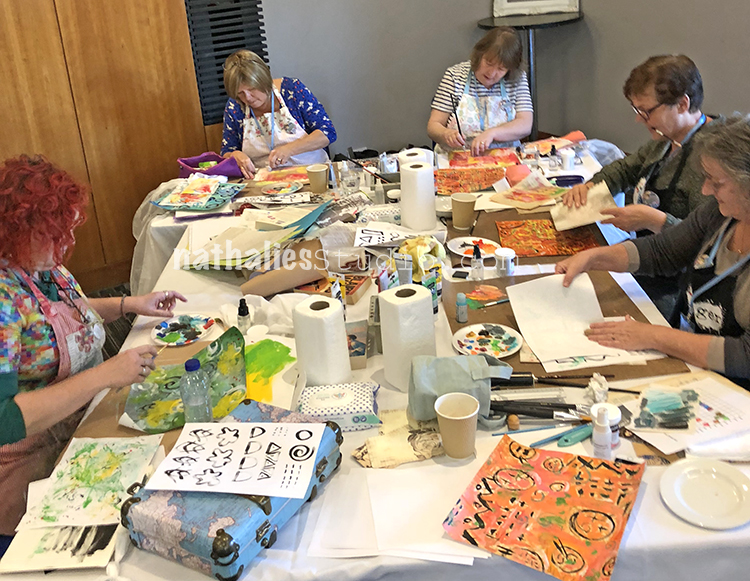
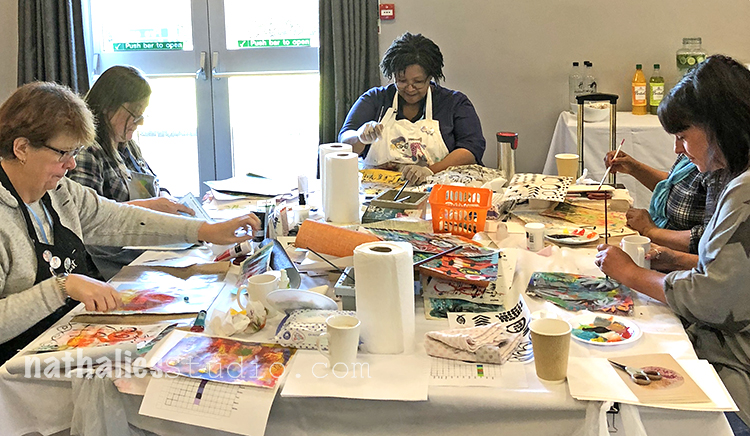
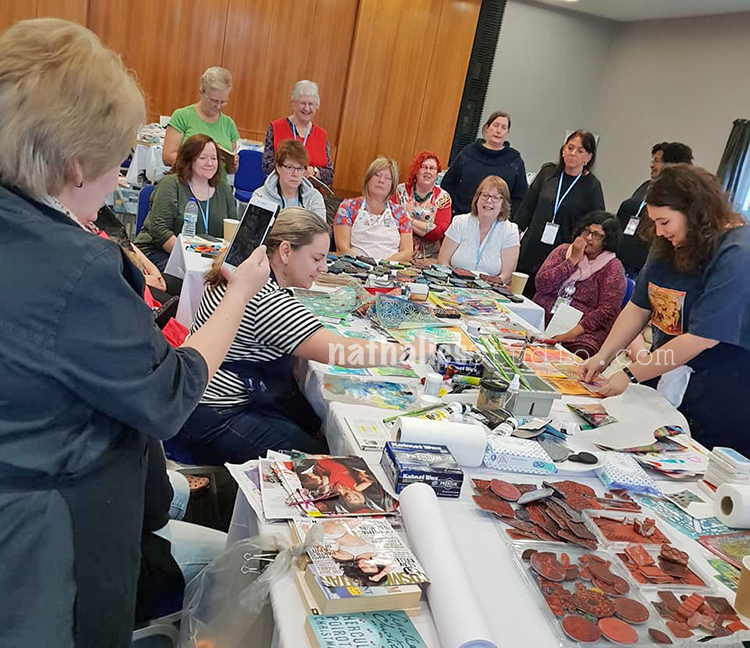
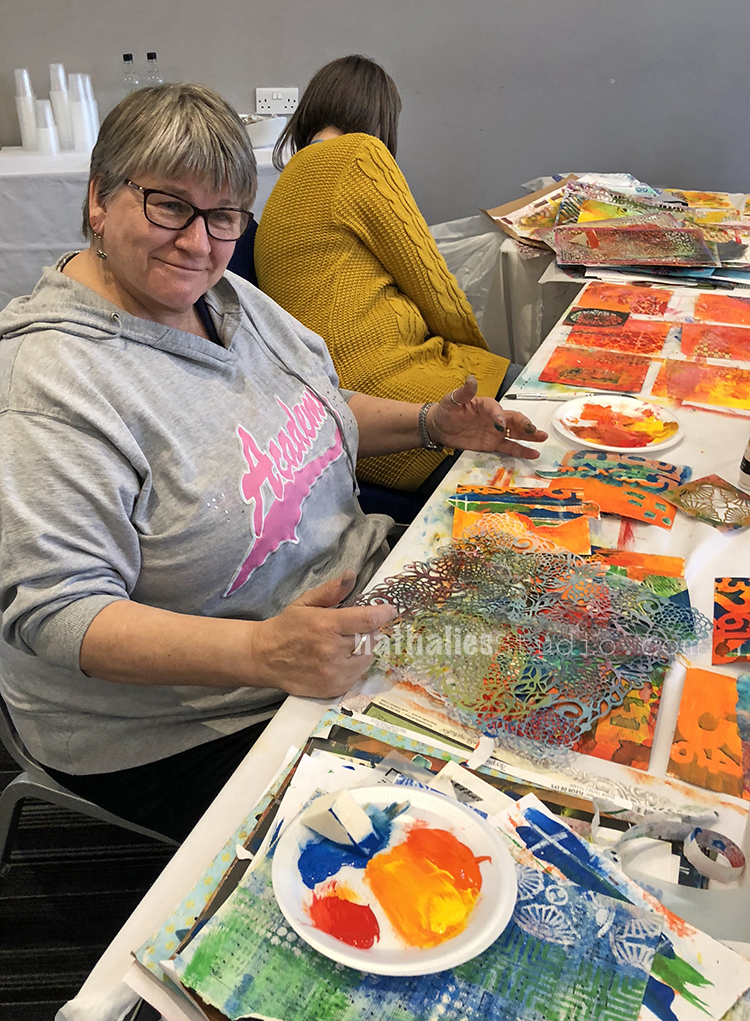
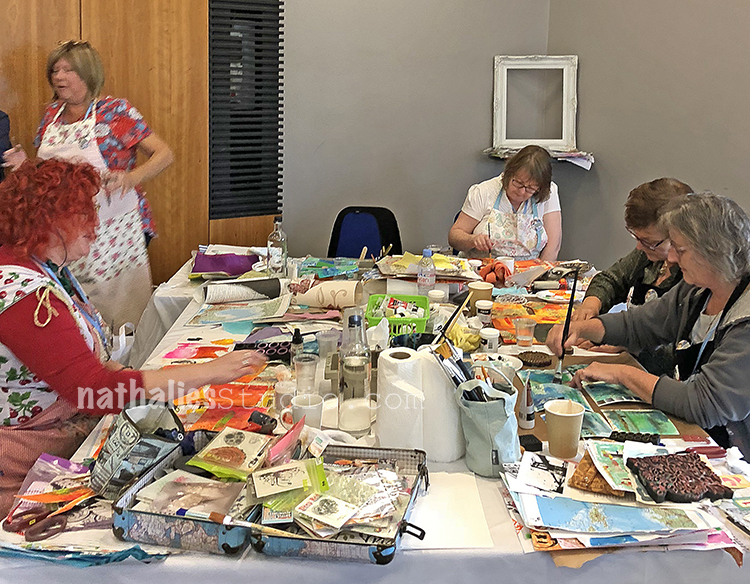
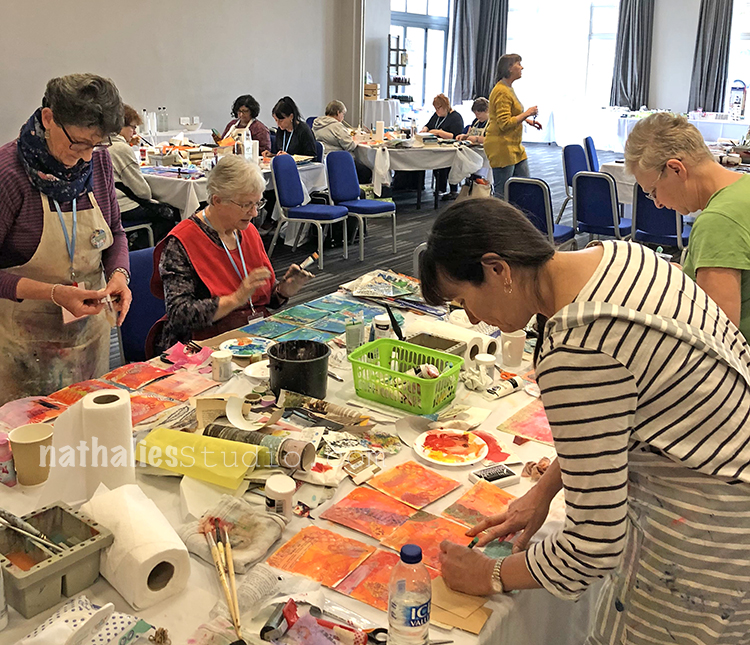
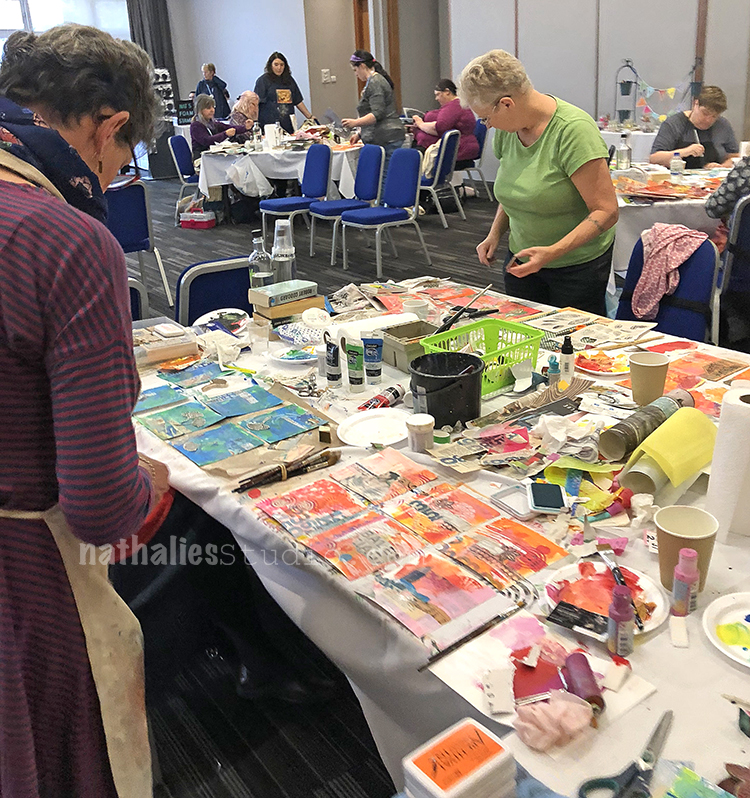
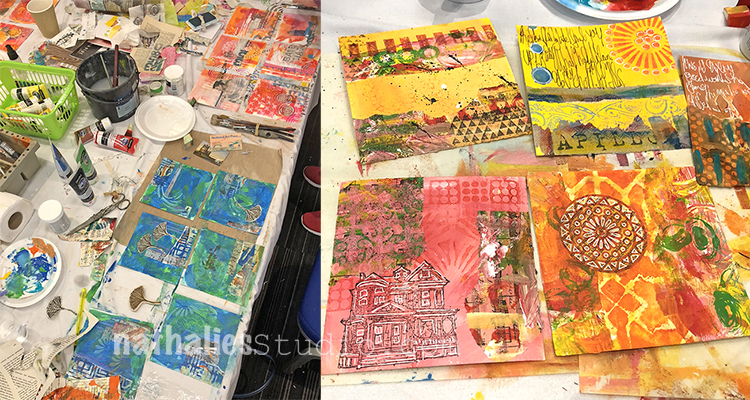
It was fun to work in a series, with the same colors and materials and also techniques. Here are some pictures of the workshop for Art Workshops in Coventry – I love what our students created.
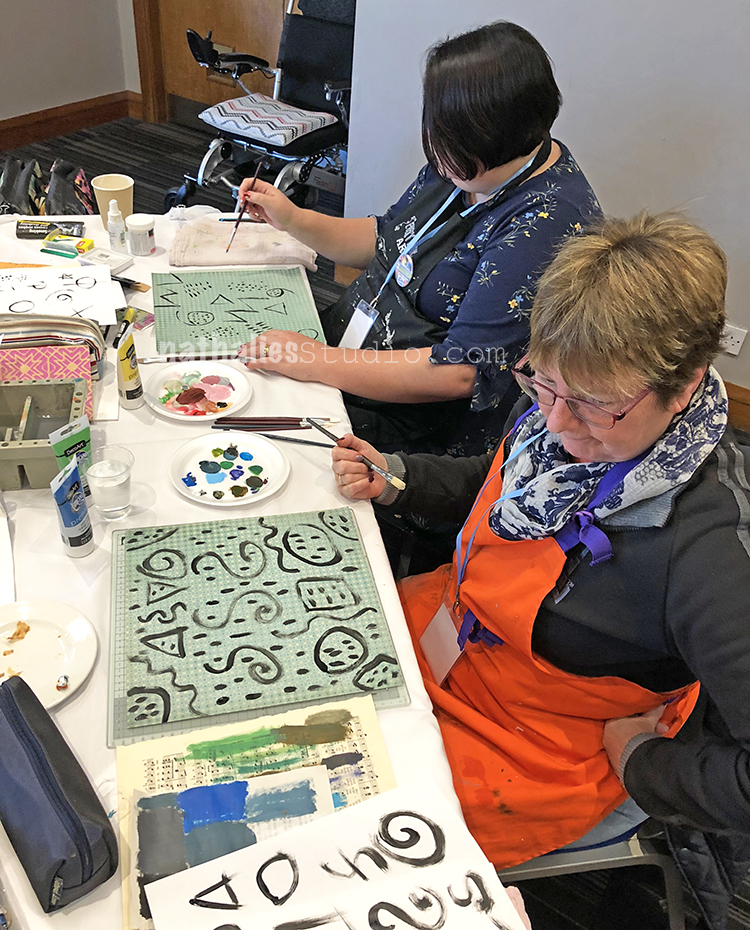
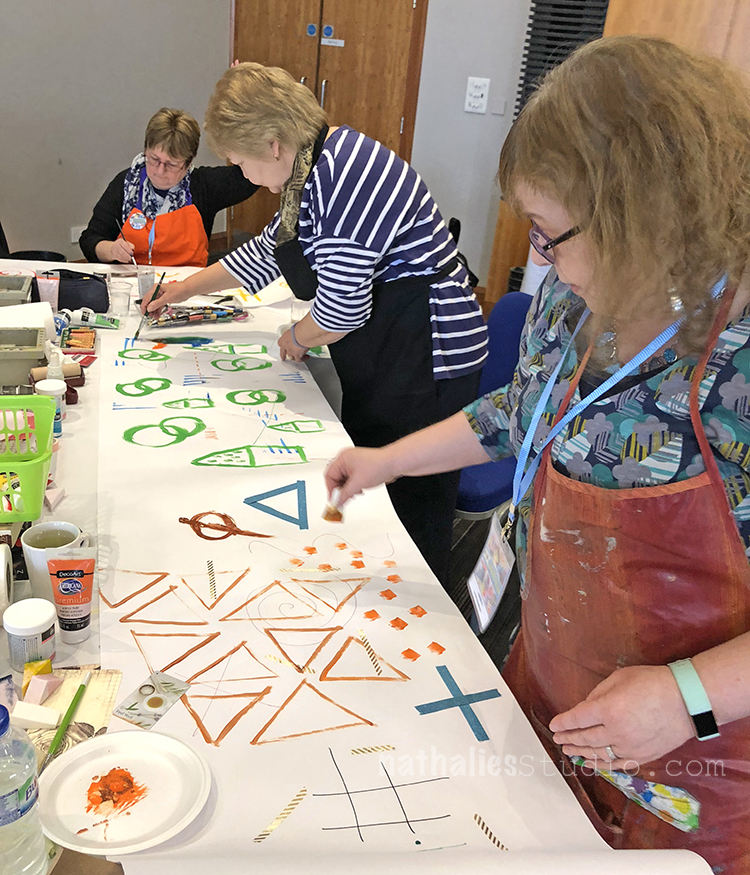
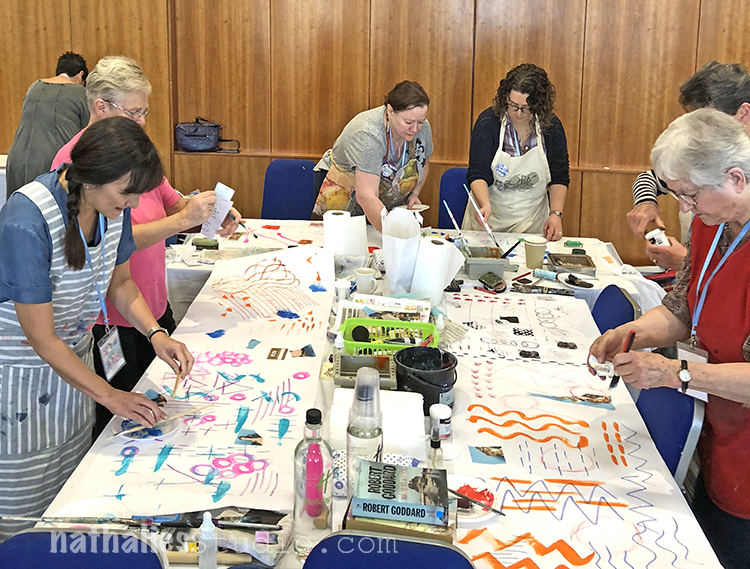
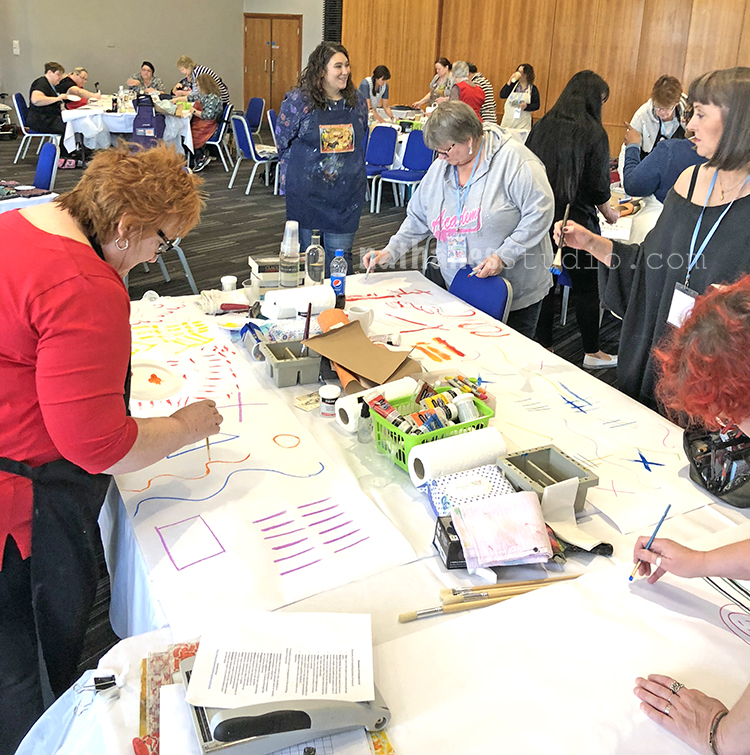
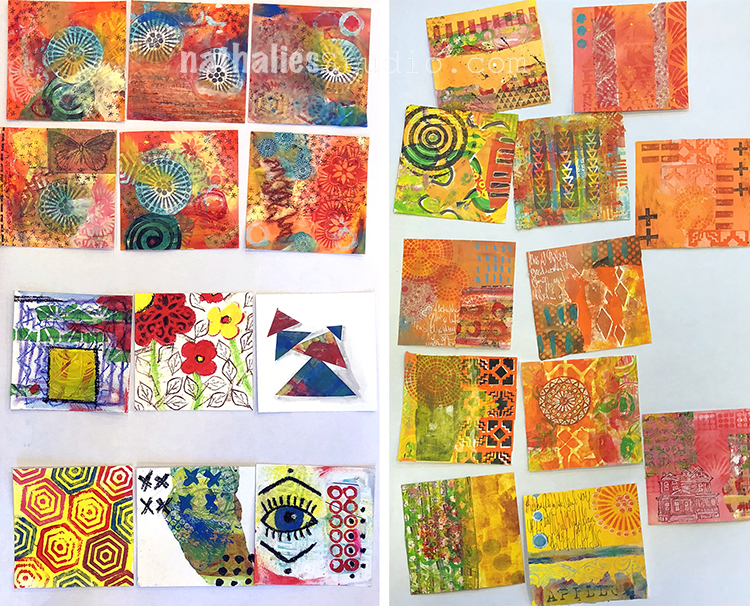
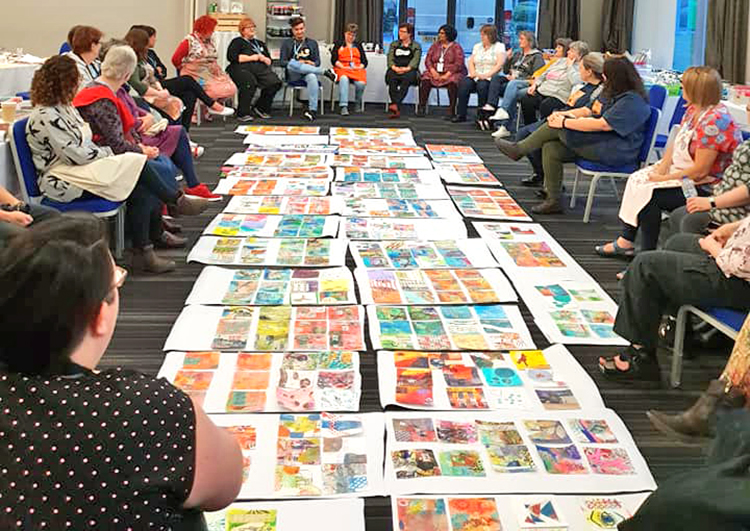
Ready for an epic photo capture of the 3 Day Collage Workshop my friend Julie Fei-Fan Balzer and I taught in Coventry, UK for Art Workshops last week?
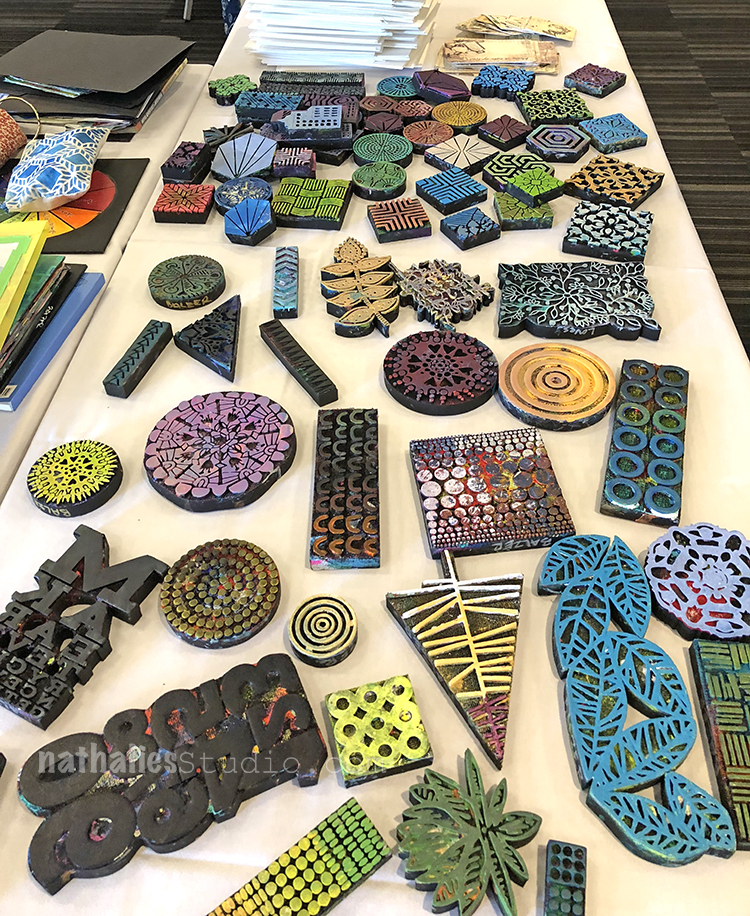
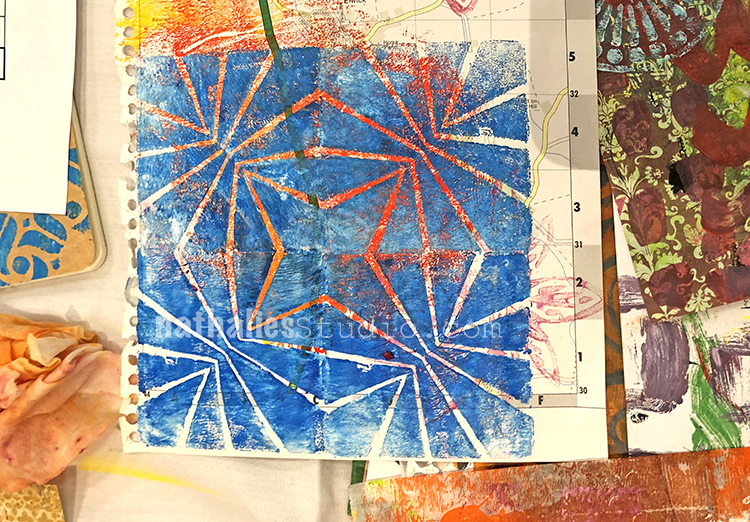
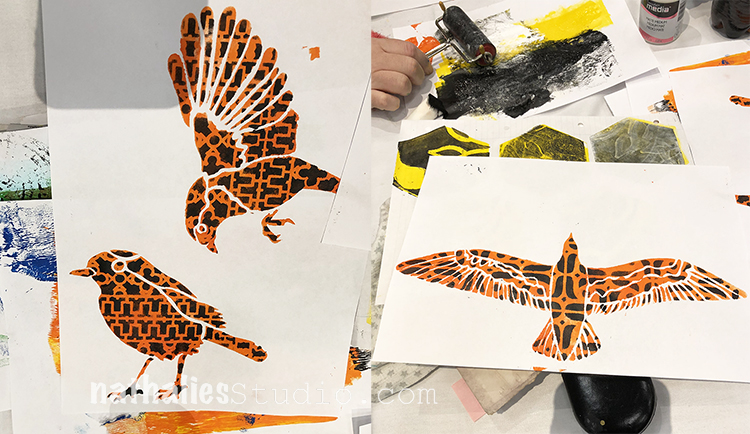
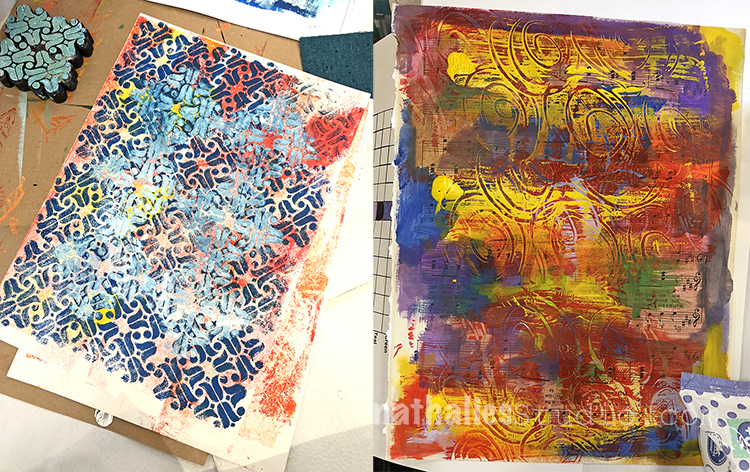
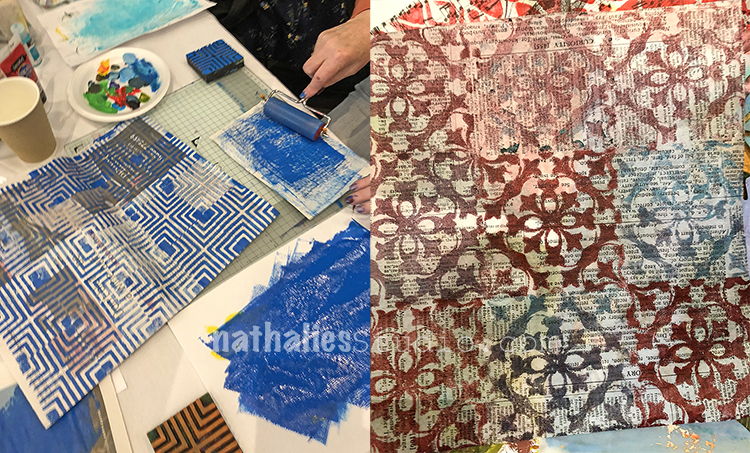
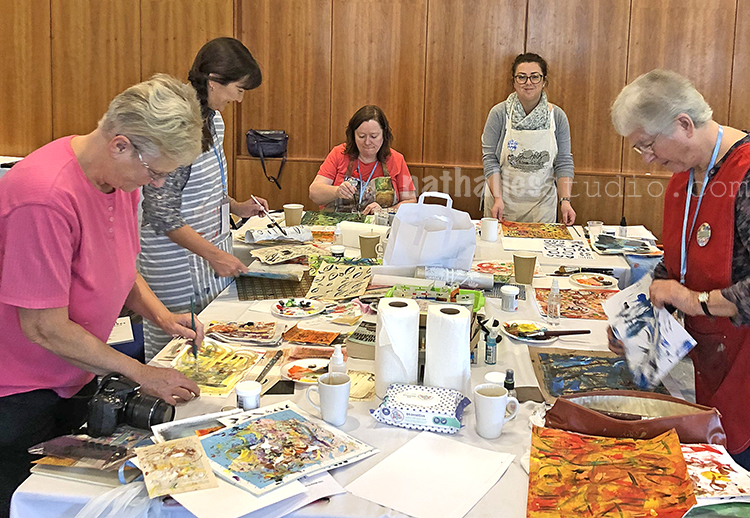
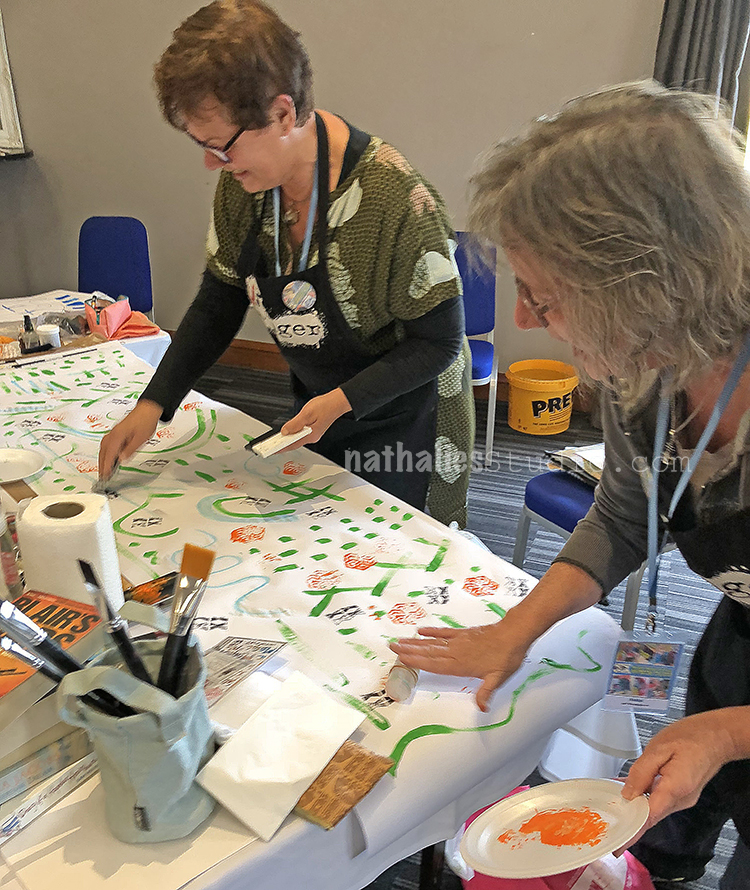
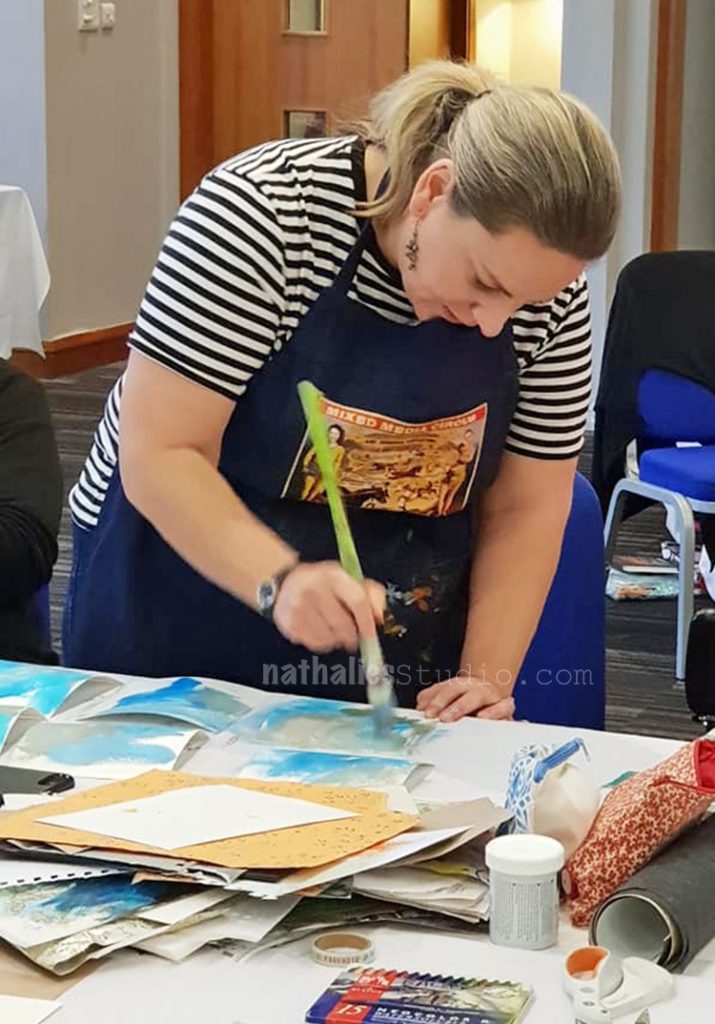
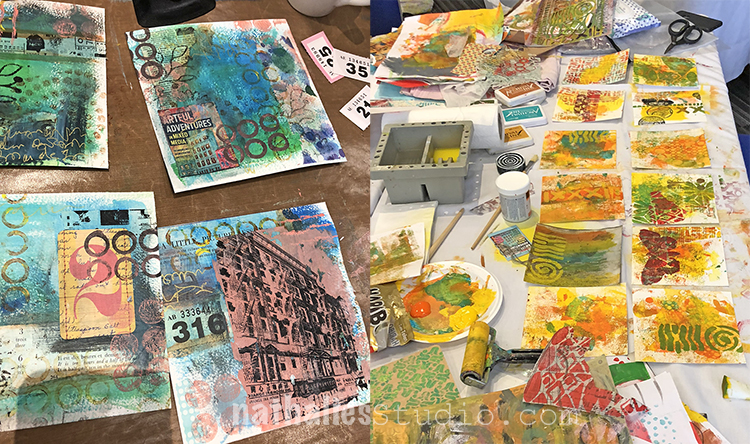
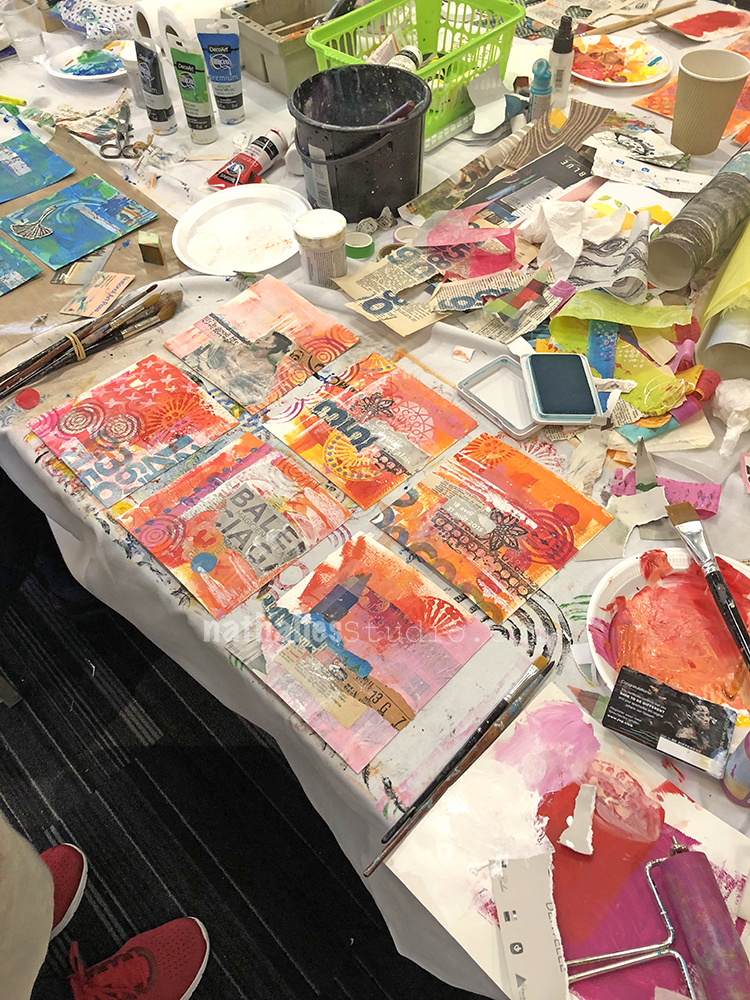
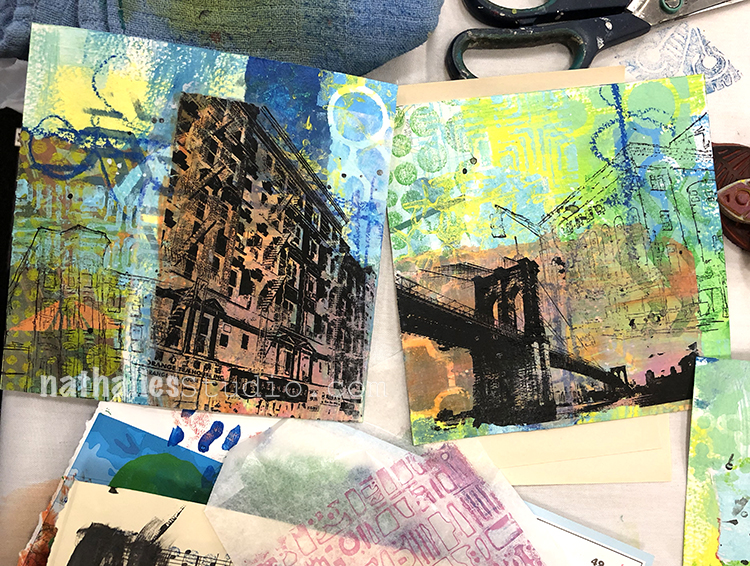
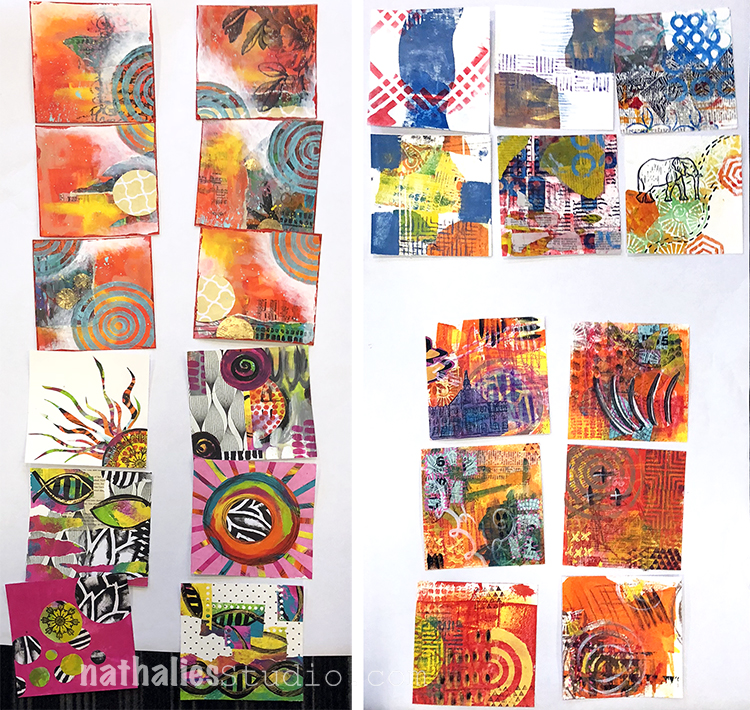
We had a fabulous time with 32 students – and started Friday by creating lots of patterned paper.
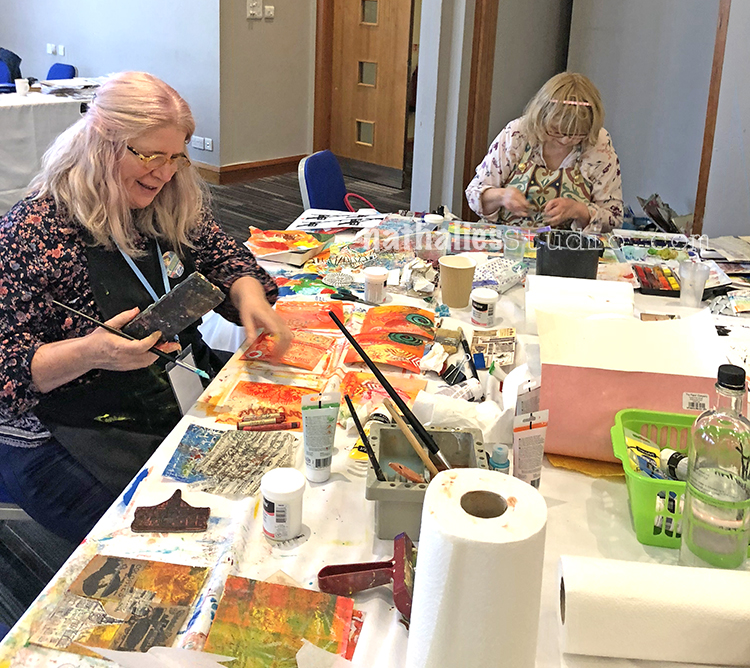
Making marks
stamping
layering stencils
smiling :)
whistling
layered stamping and scratching
layering and splattering
just going going going
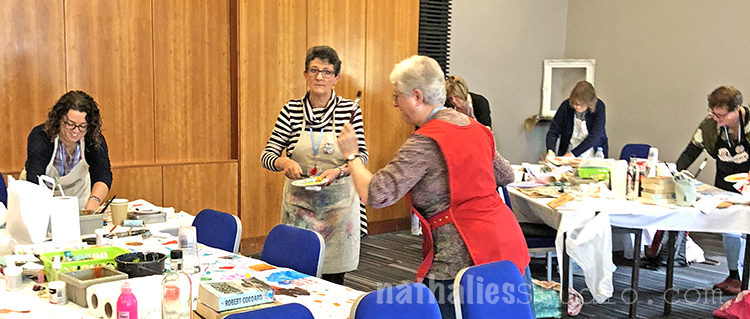
It was so much fun to watch everyone being in the zone :)
well…I hope they had as much fun watching us LOL
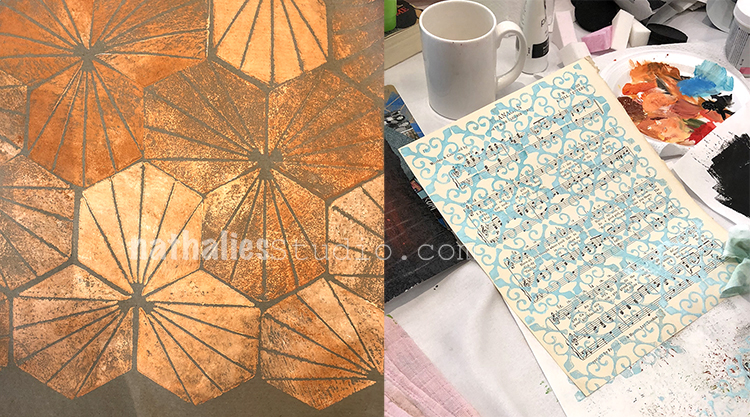
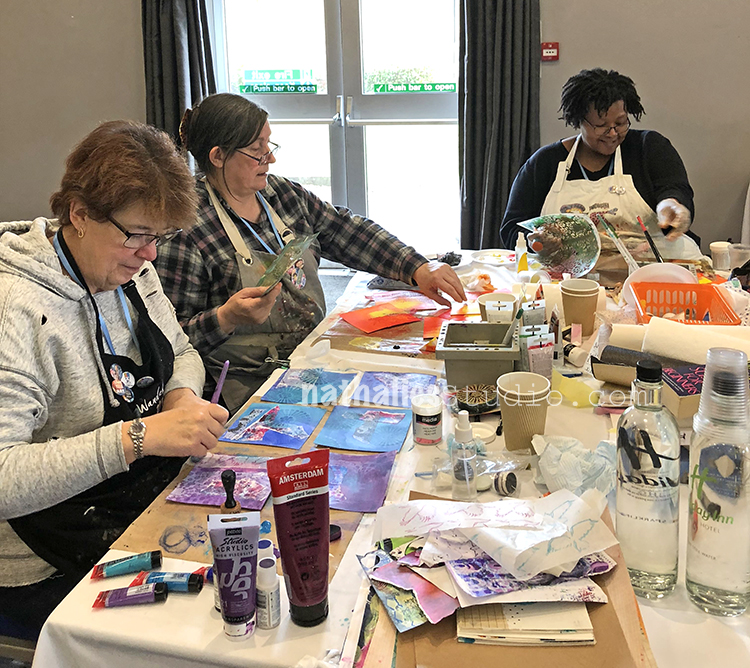
more layered stencils
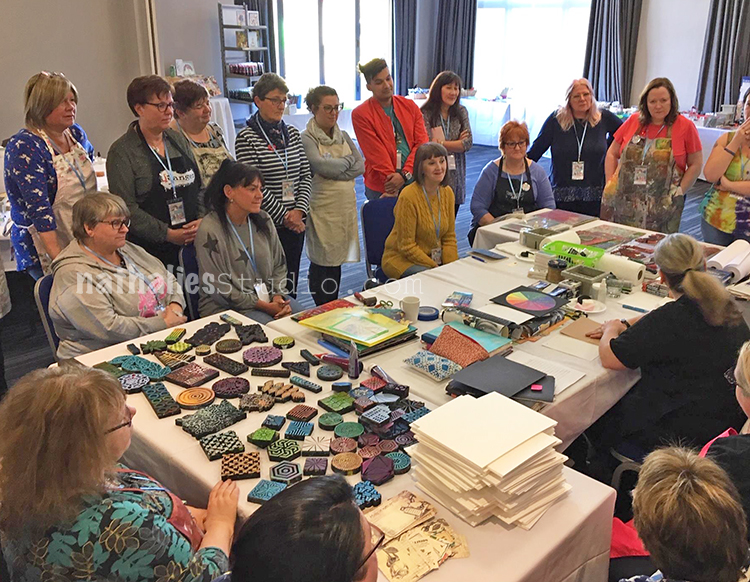
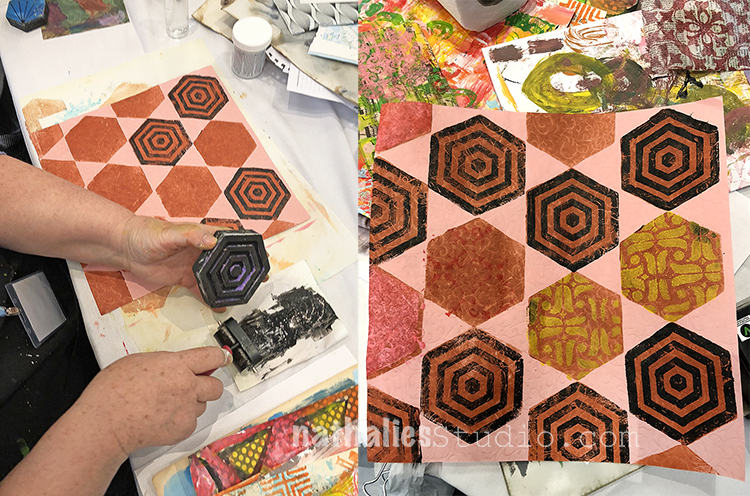
look at my new Hex in action – Diane rocked this pattern!
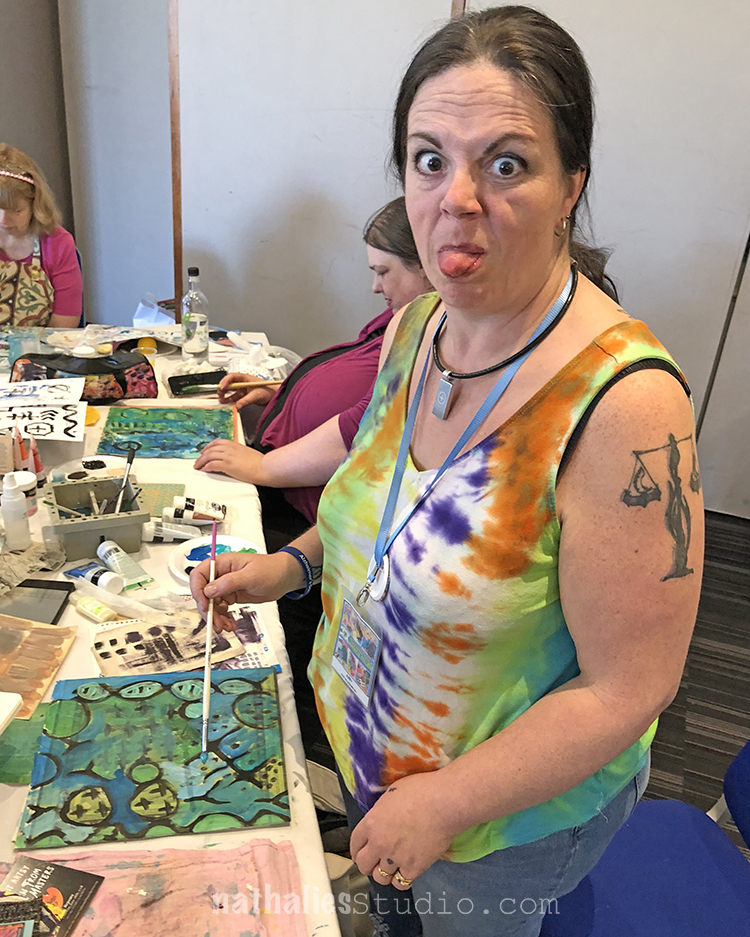
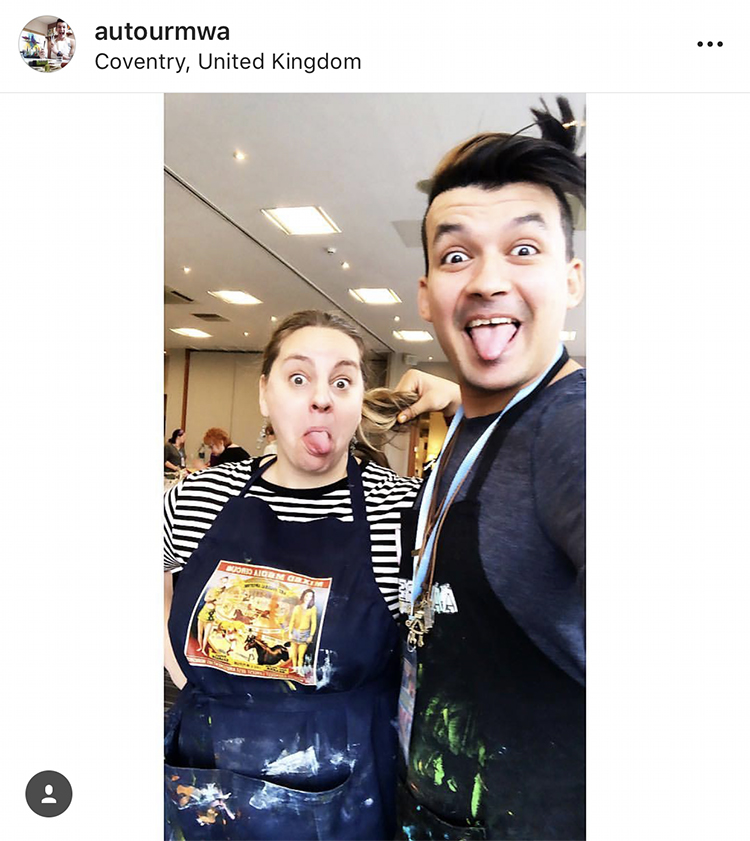
Ally aka Piere aka Sam ;) (insider joke) agreed to spice up the photos a bit …there was a lot of that as you will see this weekend LOL
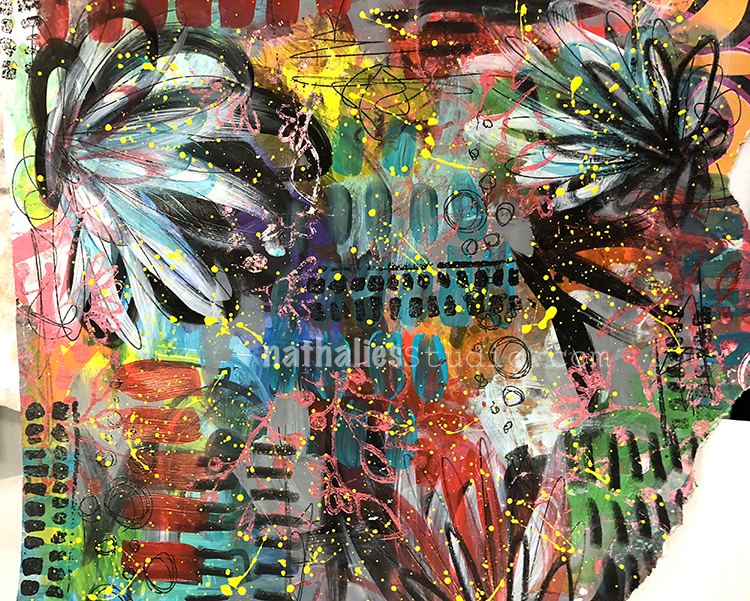
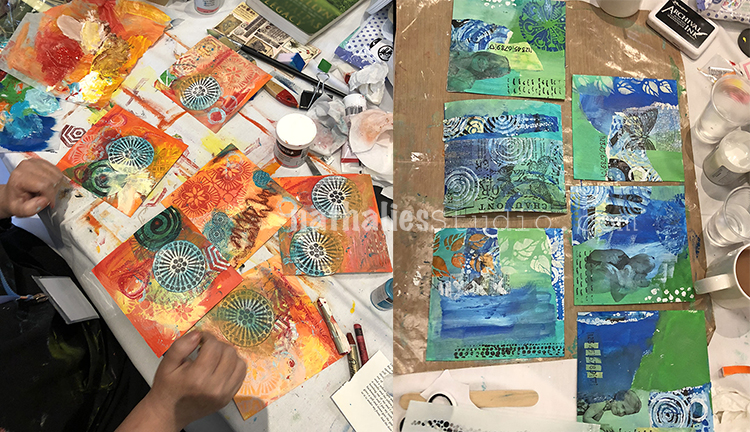
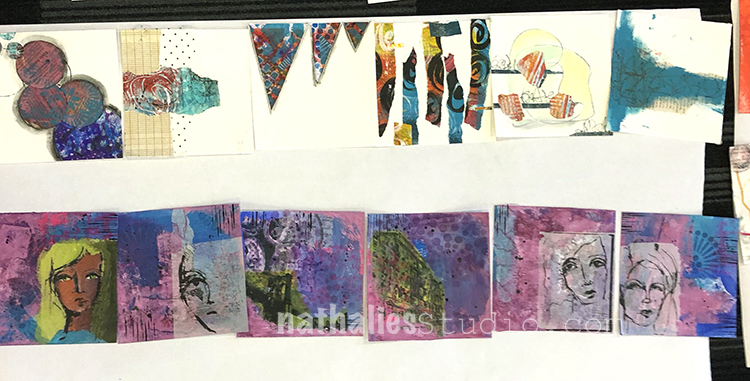
And then it was time for the next day and starting the first six collages and talking about Elements and Principles of Design.
We had some collaborative fun!
and some wand waving was included too (again ….insider joke sorry LOL)
I think it was a lot of fun to work on a big surface too for a change
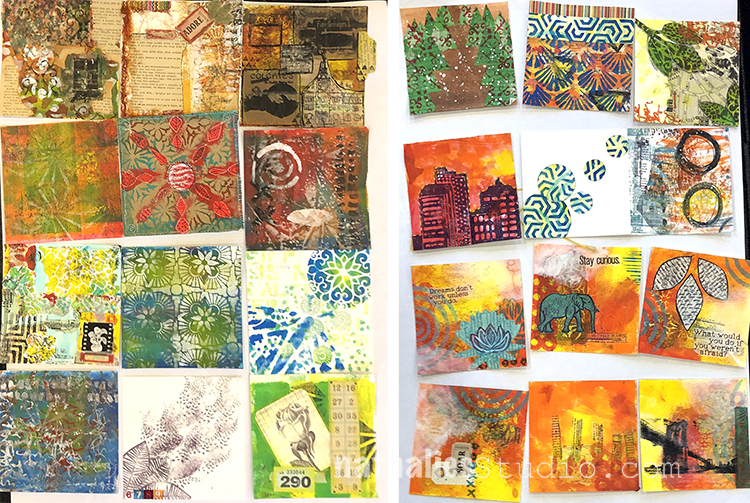
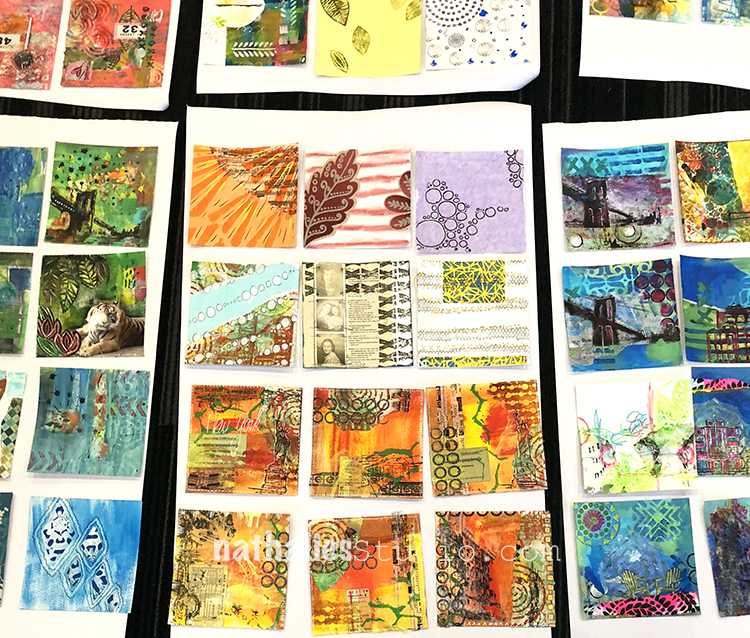
and then we just looked at all the sheets that were created and were part of what we taught that day
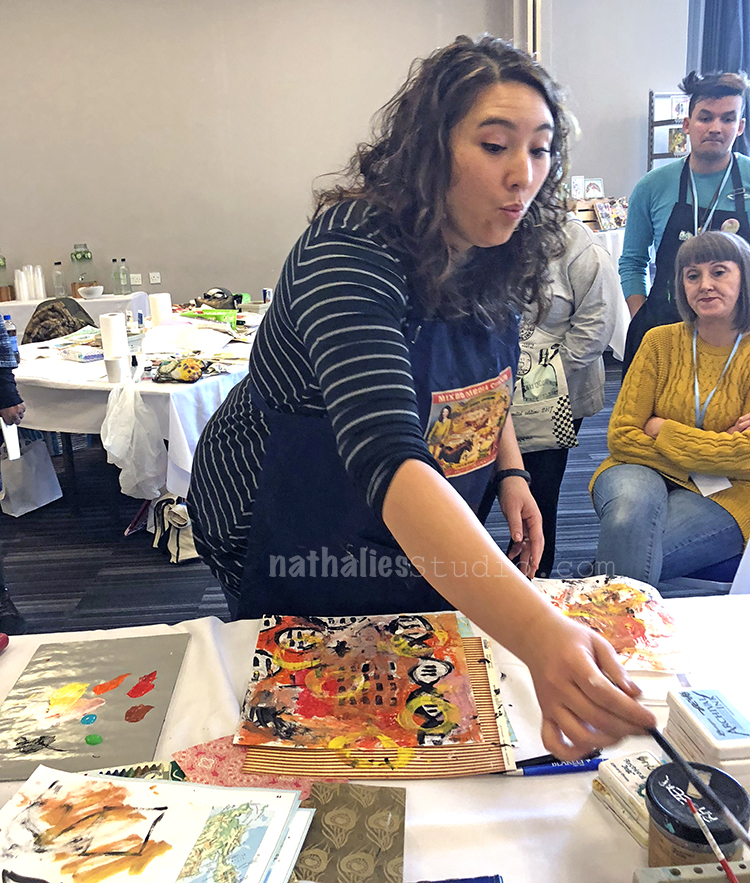
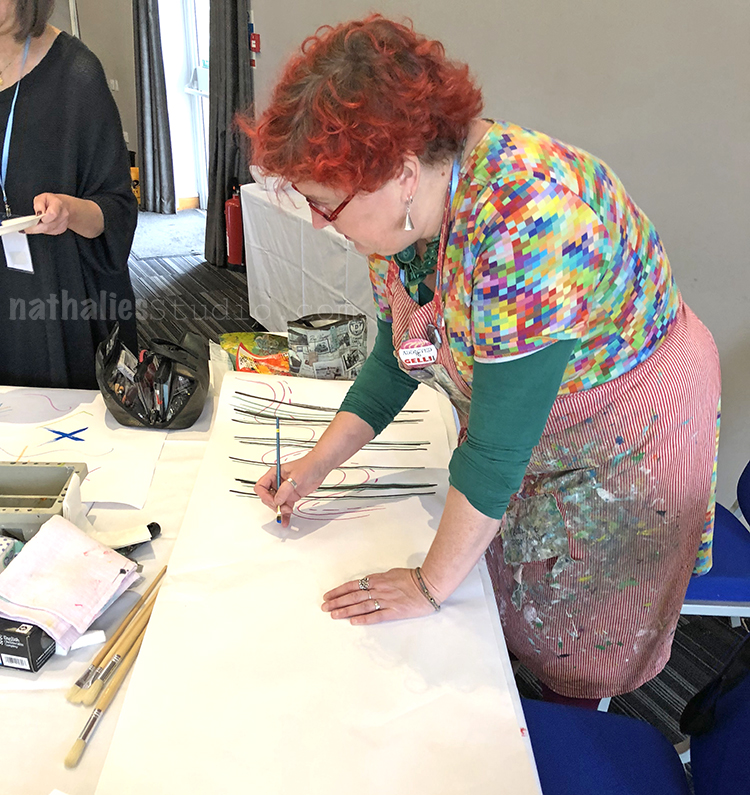
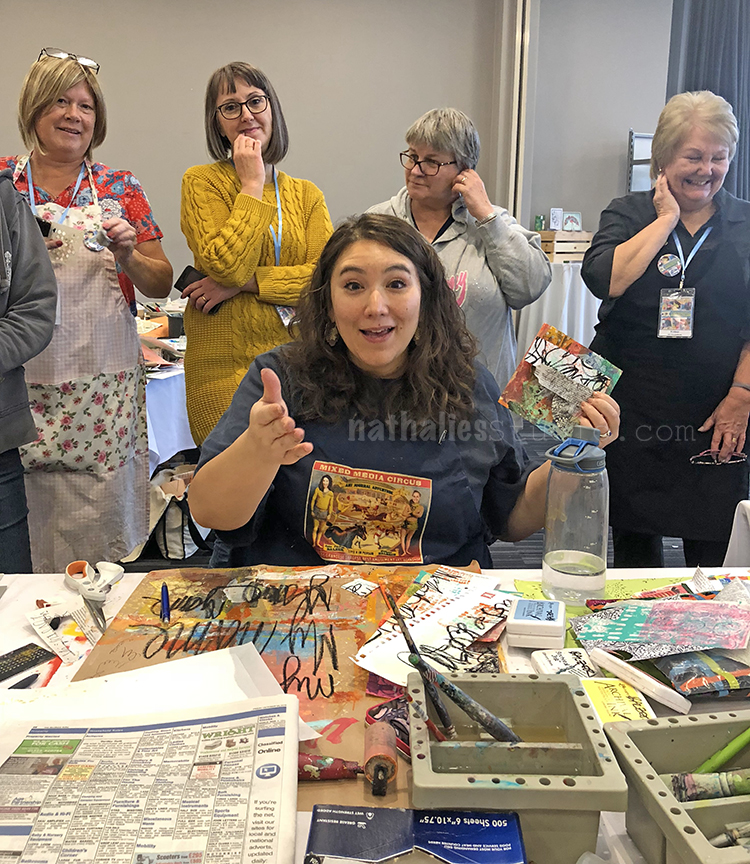
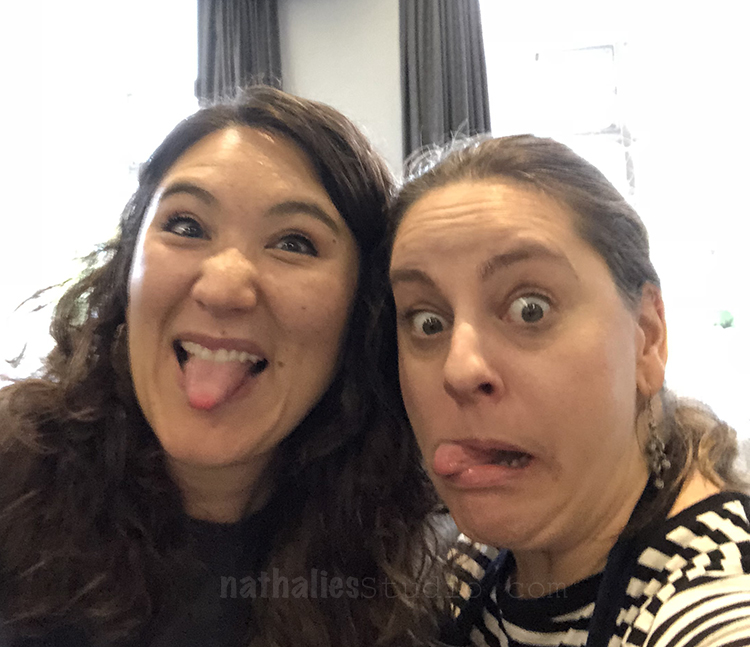
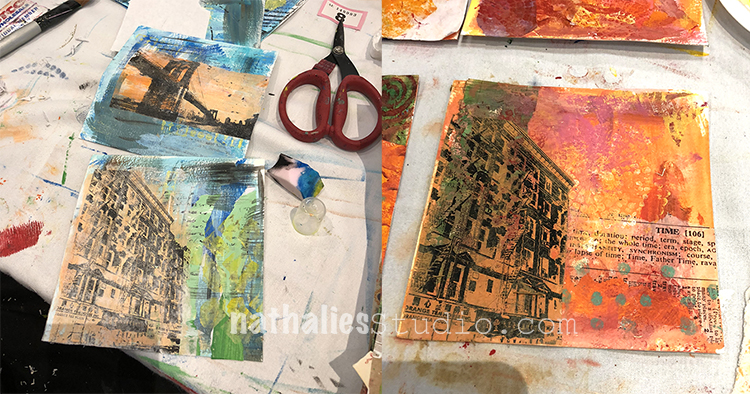
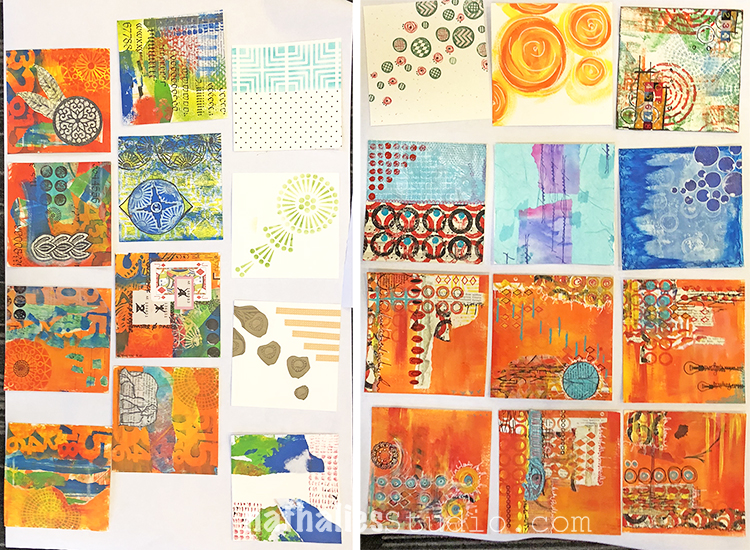
On the third day Julie and I started with a demo of how we usually work in a series
while making fun of each other ;)
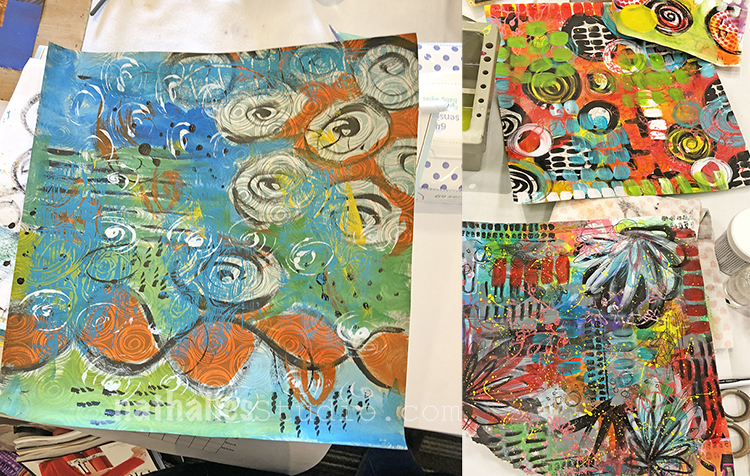
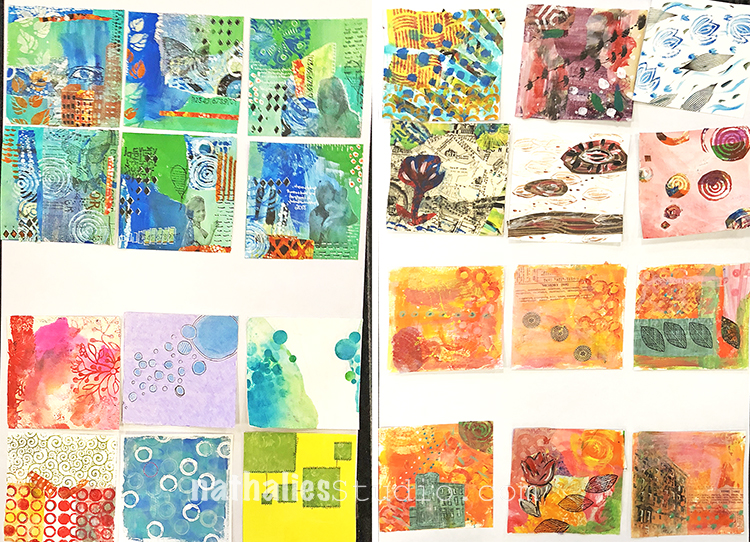
and then it was up to our amazing students to put everything they learned in the last 2 1/2 days into six collages.
we did our best to help …oh brother ;)
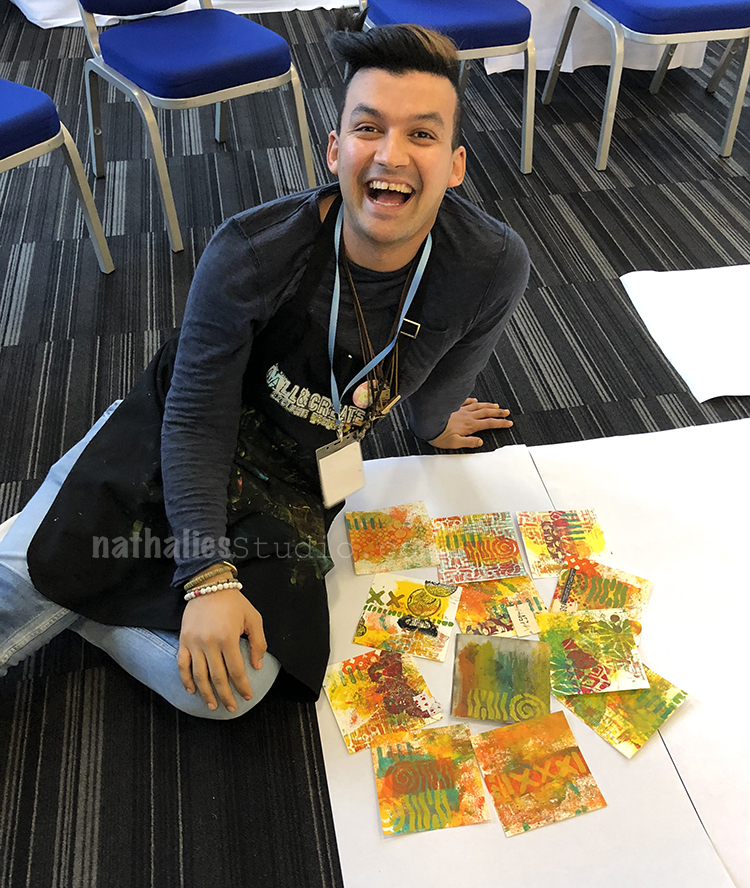
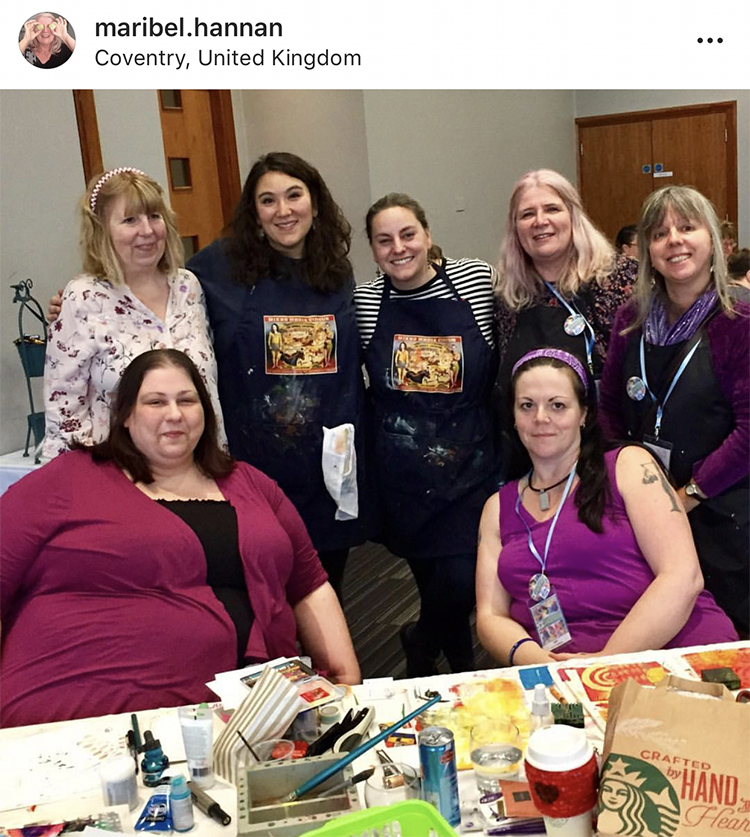
Look at happy Abs – such a contagious smile :)
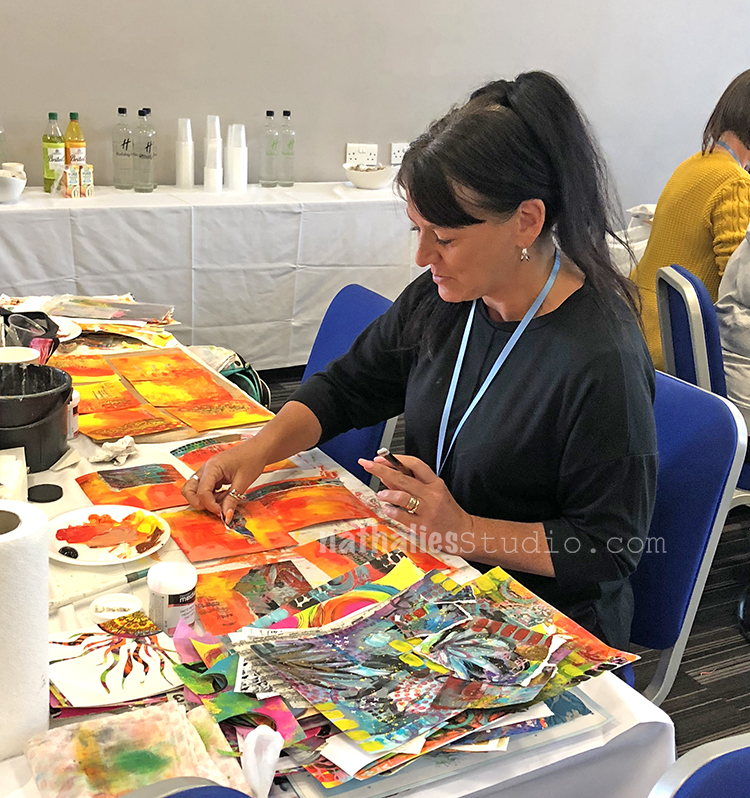
Beautiful messes were made
lots of wonderful transfers
and of course lots of photos were taken in between
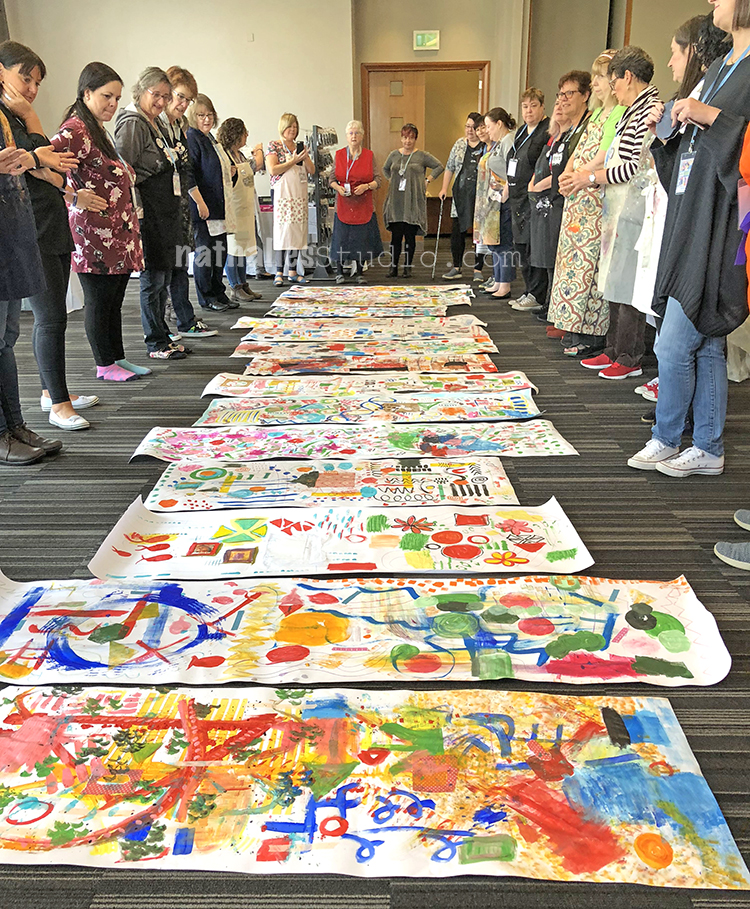
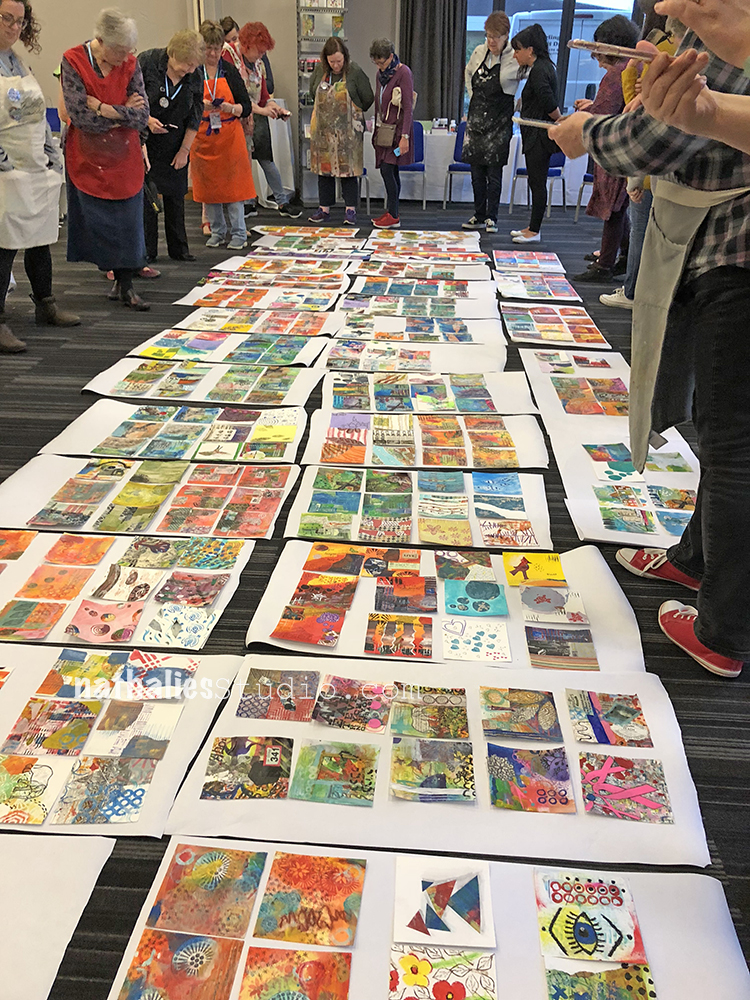
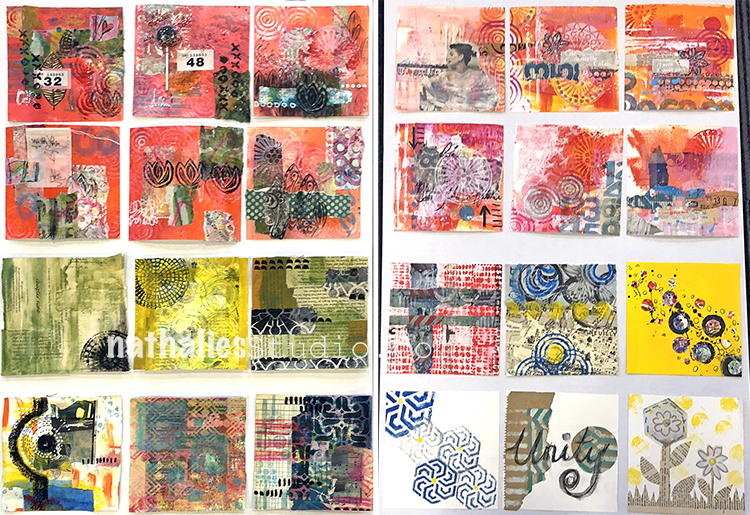
And then for the final everyone displayed their 12 collages on a piece of paper and we had a good look at all of them.
The leap between the first six and the second six on the final day were amazing. And soooo much color and happiness.
We had such a great time and it fills me with a lot of happiness to look at those photos. Thank you all so much for coming to this workshop and jumping into this crazy artful adventure with us :) Thank you to Sue from Art Workshops and her amazing team Dawn, Debbie and Leroy for all the wonderful help and making us feel super welcome. This was the second time I taught for Sue and sure hope it wasn’t the last :)
I am taking a in-person teaching hiatus most of 2019 as I have some big plans and …well some of you might have seen it, we are on a house hunt which is taking up a lot of time (plus the way it looks it will def. a house that requires a lot of work). Cross your fingers for us – it is a bit stressful to find a place esp. in this area – I won’t lie ;) Join me meanwhile for my online workshops here and watch this place in the next months for even more online workshops :)
Fabulous memories of a fabulous weekend. It was lovey to meet you for the first time and see you inspire so many students. Hope to see you again soon xx
So many wonderful memories of a very special weekend. Fantastic to see you again and looking forward to next time. Tapping my thumbs frantically for you. Hugs Debbie xx
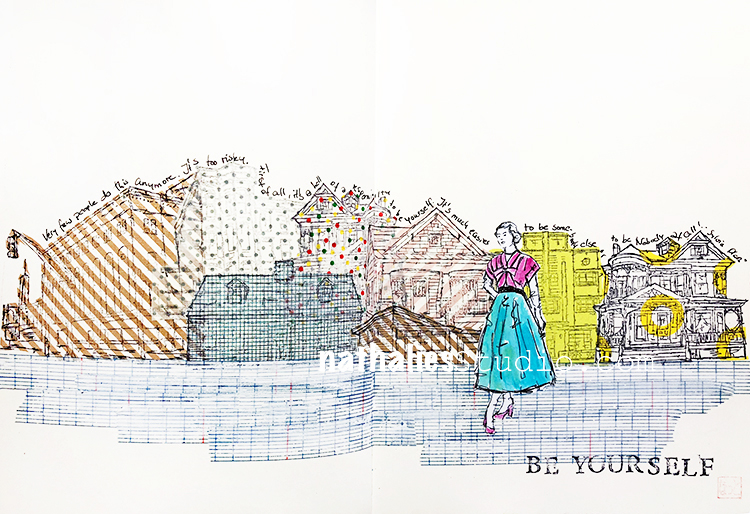
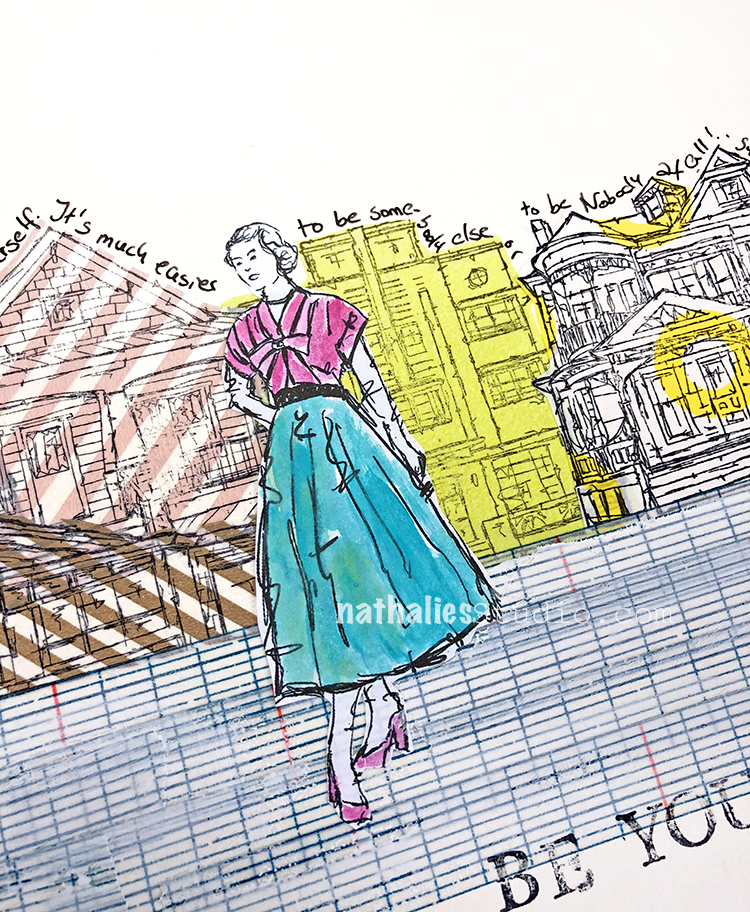
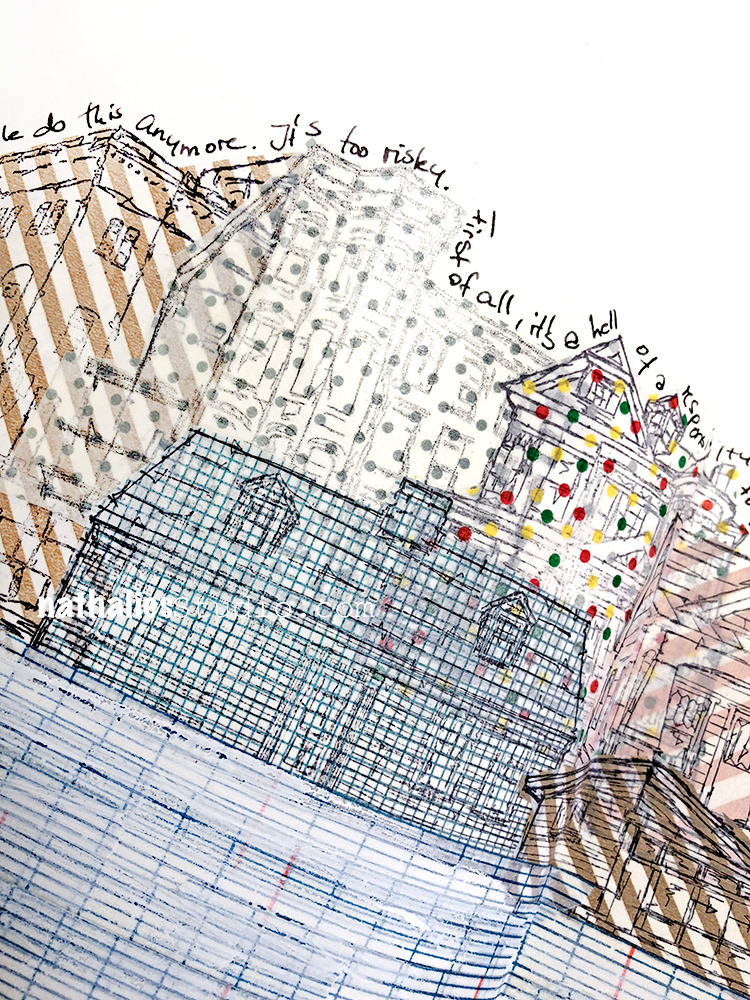
“Very few people do this anymore. It’s risky. First of all it’s a hell of a responsibility to be yourself. It’s much easier to be someone else or to be Nobody at all!” Sylvia Plath
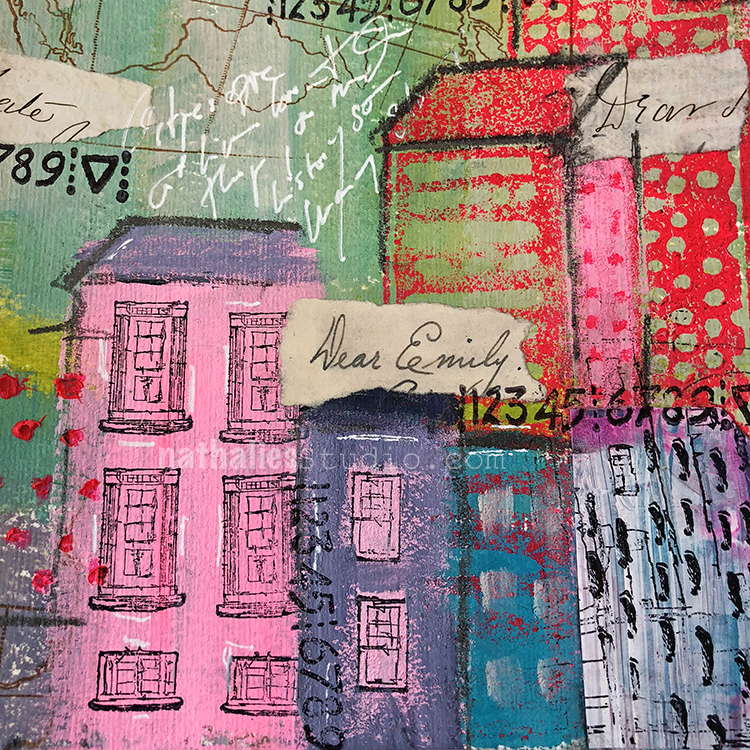
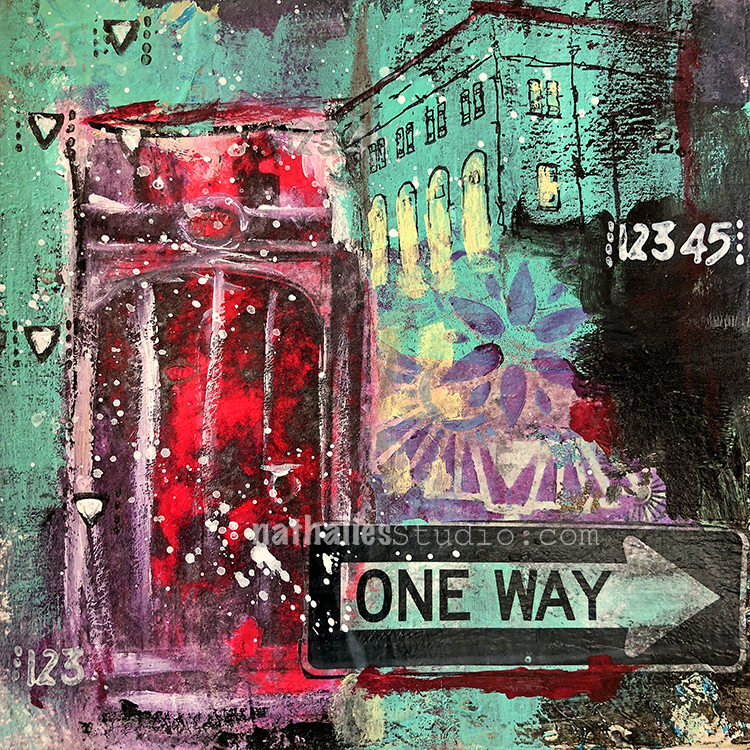
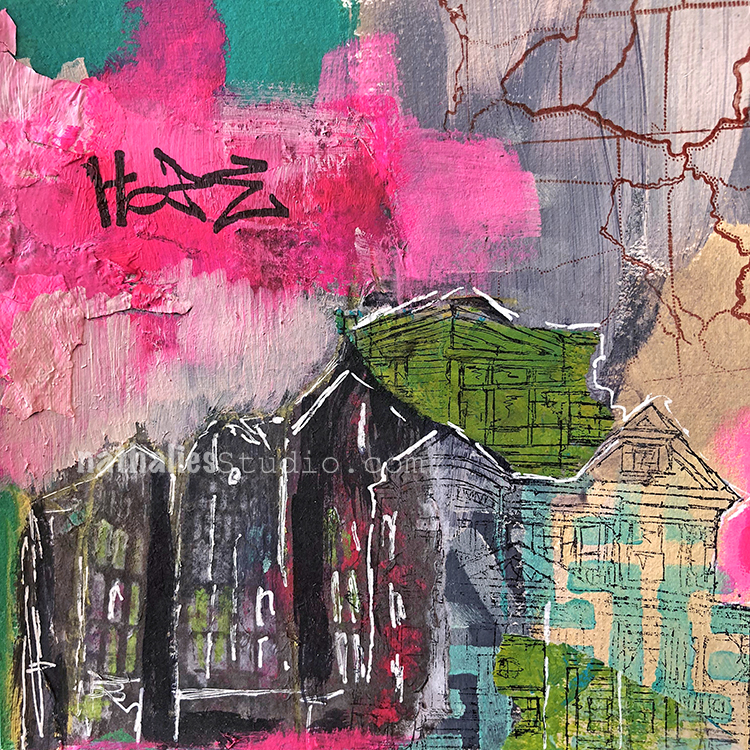
Loved using up some washi tape and washi paper which I “collected” for a while. the lady is from a sketch I did and I cut it out of a paper and then colored the image in and adhered it on top with Gel Medium.
I stamped the building stamps onto the different patterned washi paper and cut them out. I adhered them as well as the washi tape with Gel Medium. Even thought the washi tape has adhesive the adhesive won’t hold to long, so better just glue it down.
Some journaling and some stamping – love how the pattern and color mostly comes from the Washi.
Thank you Sue! Yes – gel medium is the way to make sure that the low adhesive will keep on sticking. Washi tape will eventually even come loose from plain paper if not reinforced.
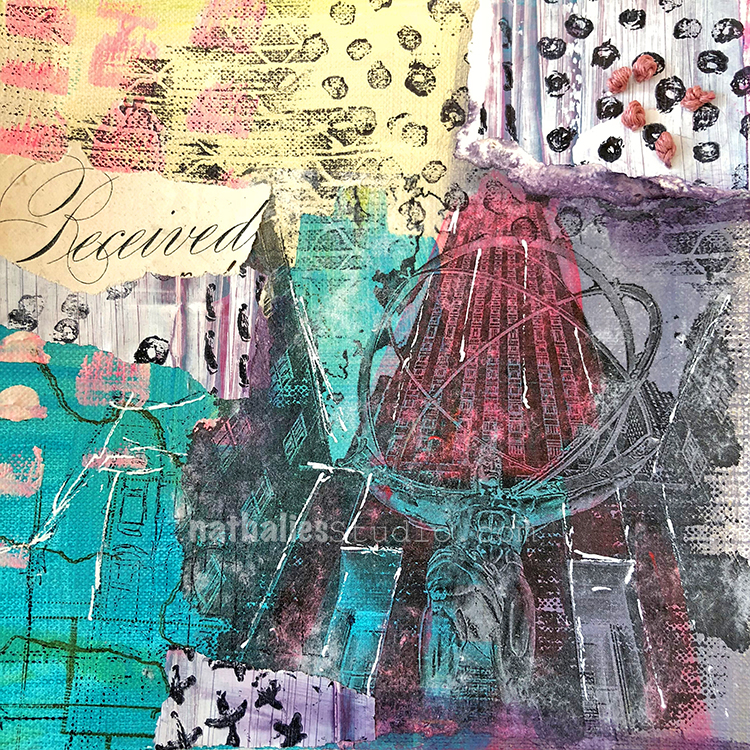
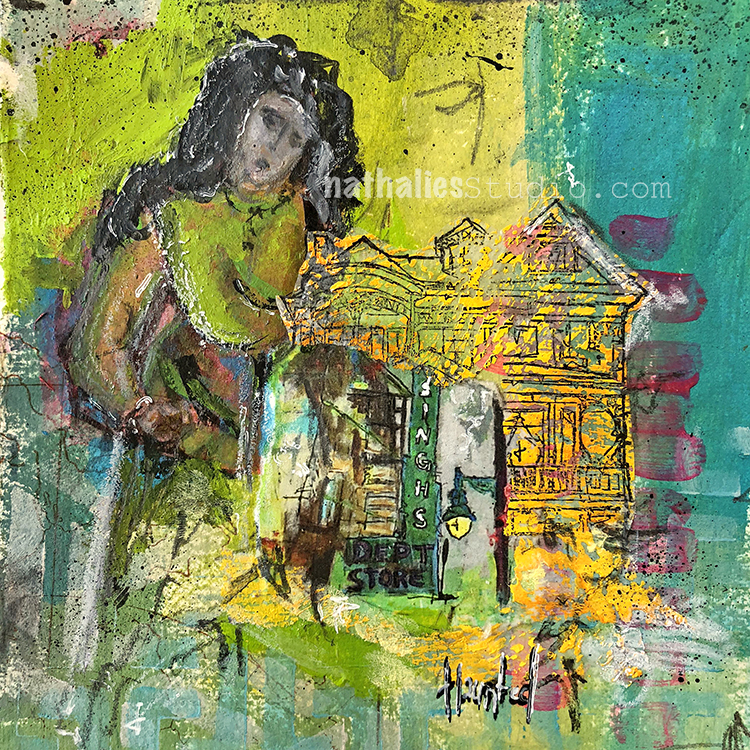
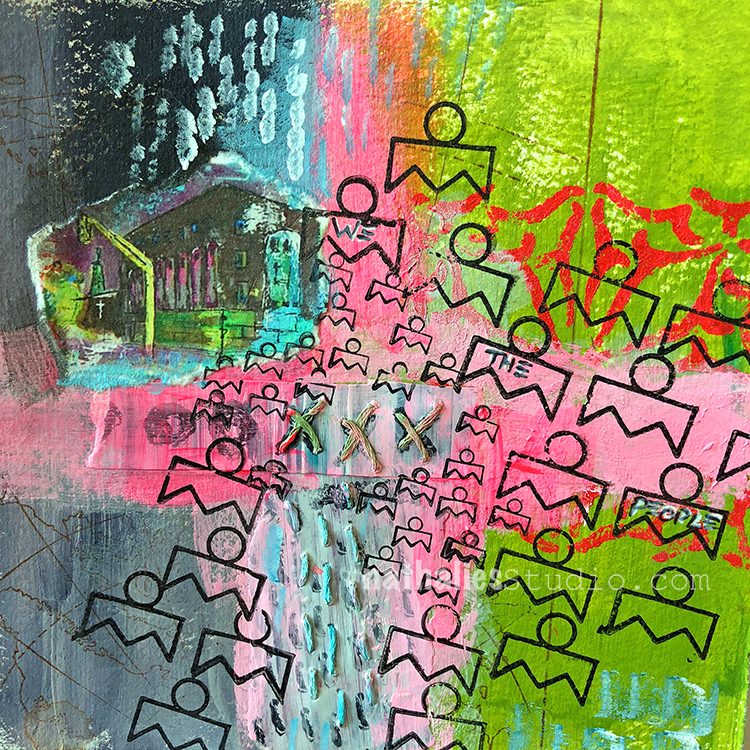
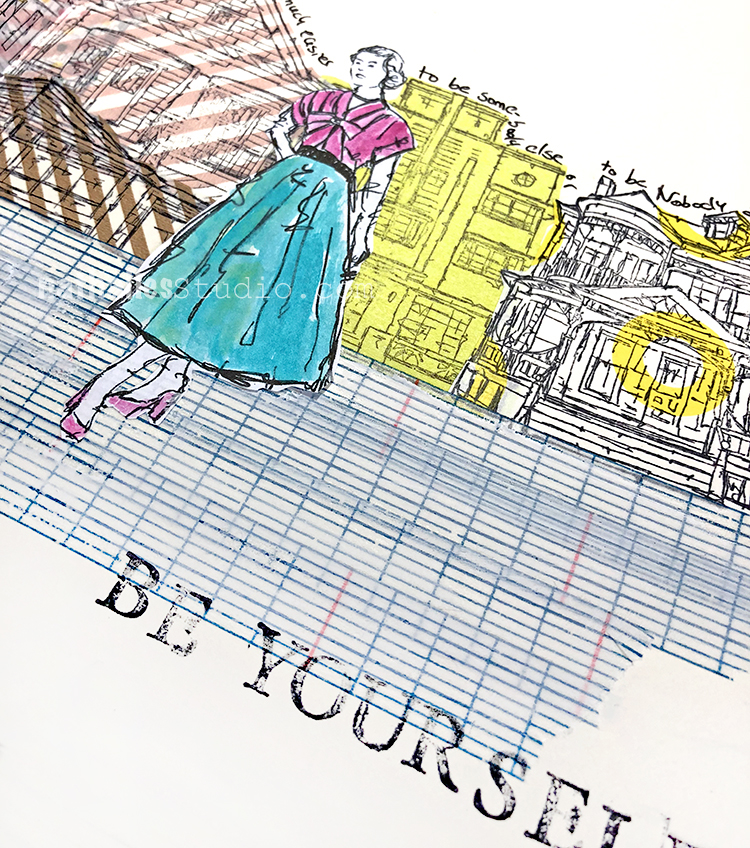
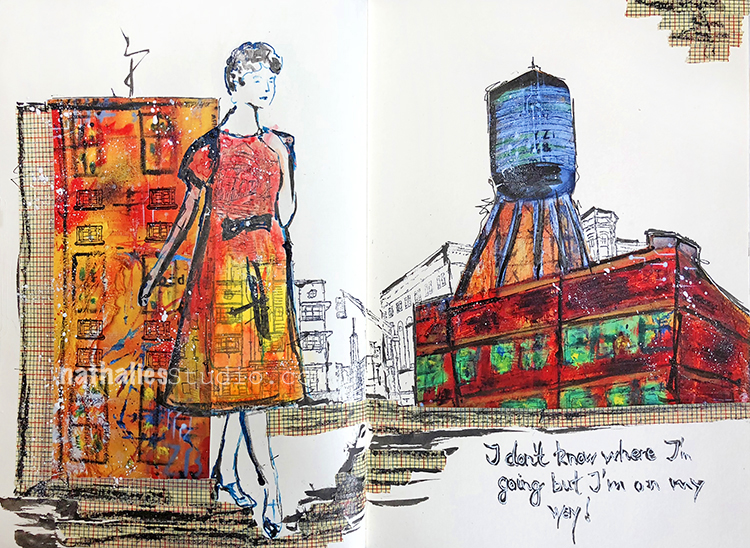
I am on the task for a major studio redo and part of it is going through piles of stuff – so I am using finally some things up that I have had forever. Including some old calendars which had prints of my paintings from a while ago.
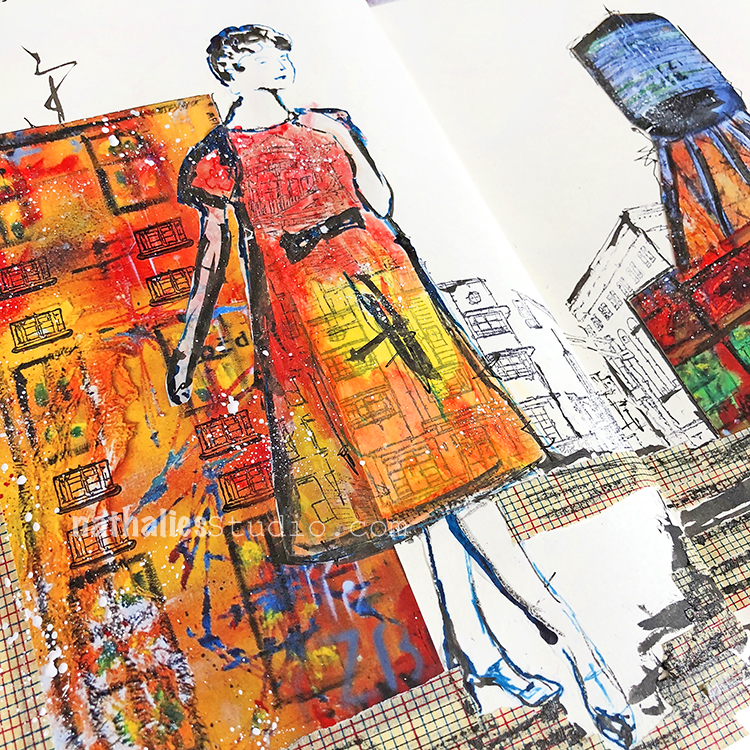
I sketched the lady and made her some city clothing with my Stroll stamps and collaged the prints. I also stamped some windows into the left building to tie it more together with the rest of the page. I also used some of my hoarded washi tape…I mean …how much washi tape can you store forever? – LOL
The whole studio redo is a long process because I have been traveling so much- but a plan has surfaced and right now before I move furniture and get new furniture, the first step is to purge and to get a grip on how my work flow actually looks like. I will keep you updated on the whole process …I ‘m on my way ;)
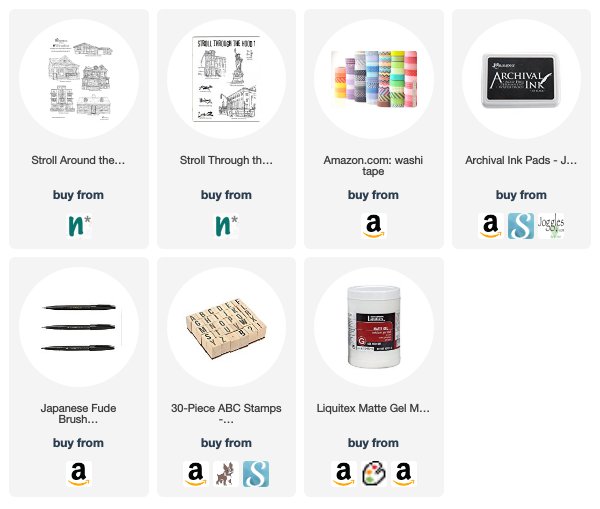
Here are some of the supplies I used for this spread
Great page and words Nat.
I too have tons of washi tape…why did I feel the need to save it???
Crazy how we can be about supplies.
Currently purging as well and much of the paper and embellies are going to the local elementary school where I work. The kids just love the items.
right? LOL- I cannot believe the copious amount of stuff :) Love that you are giving some goodies to an elementary school – it is always wonderful if they can use some supplies!
Evelyn- I will – promised. As I am also looking for a new desk it is taking some time to change …on the one hand that is good as it provides the opportunity to be very thorough on the other it just doesn’t end
I am envious of your spring cleaning/purge effort. I have way too much stuff and it’s actually inhibiting my ability to work in my space. I’m cheering you on and I will be watching to see how your space transforms into something new!
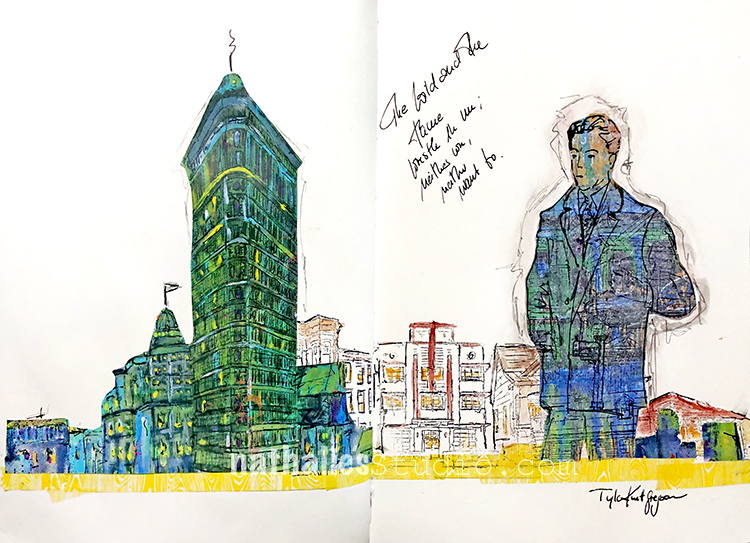
“The Wild and the Tame wrestle in me, neither win, neither want to.” Tyler Knott Gregson
Love this poem – so true!
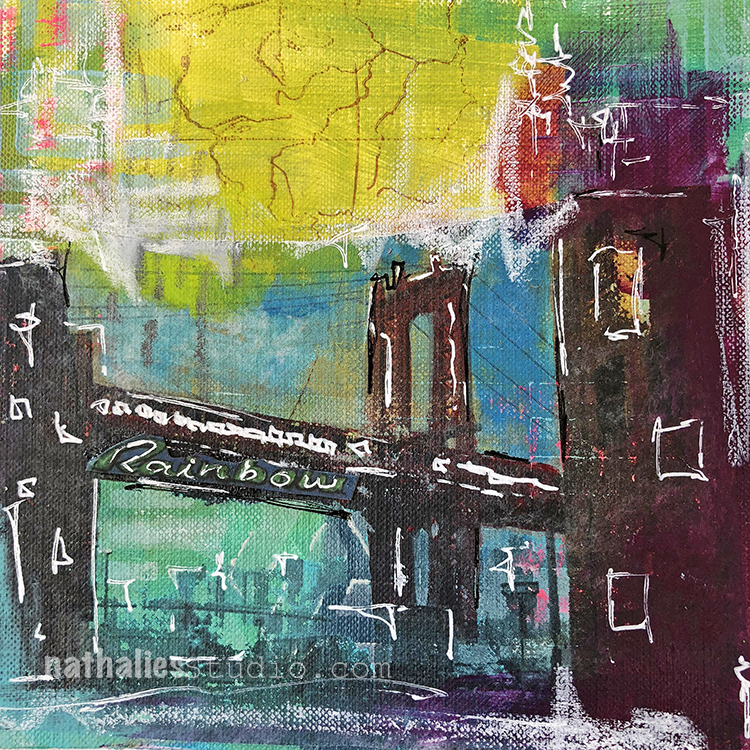
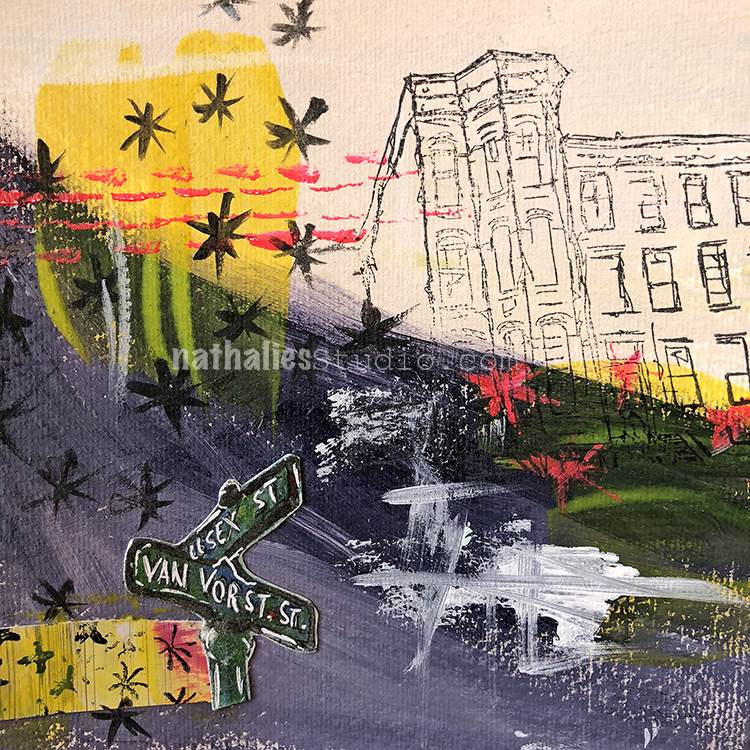
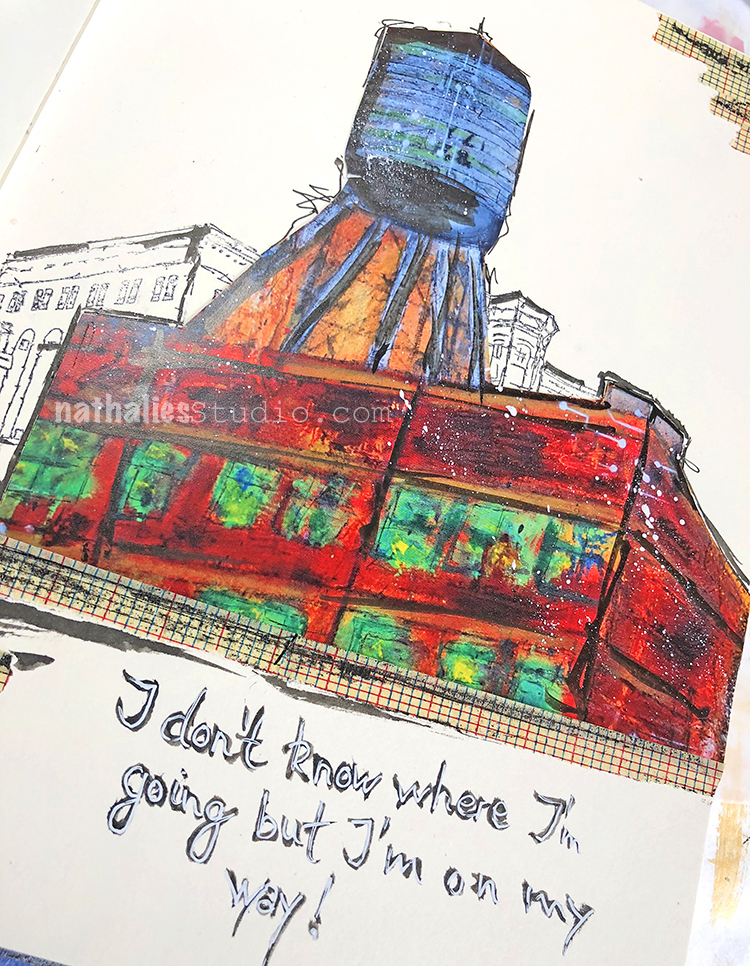
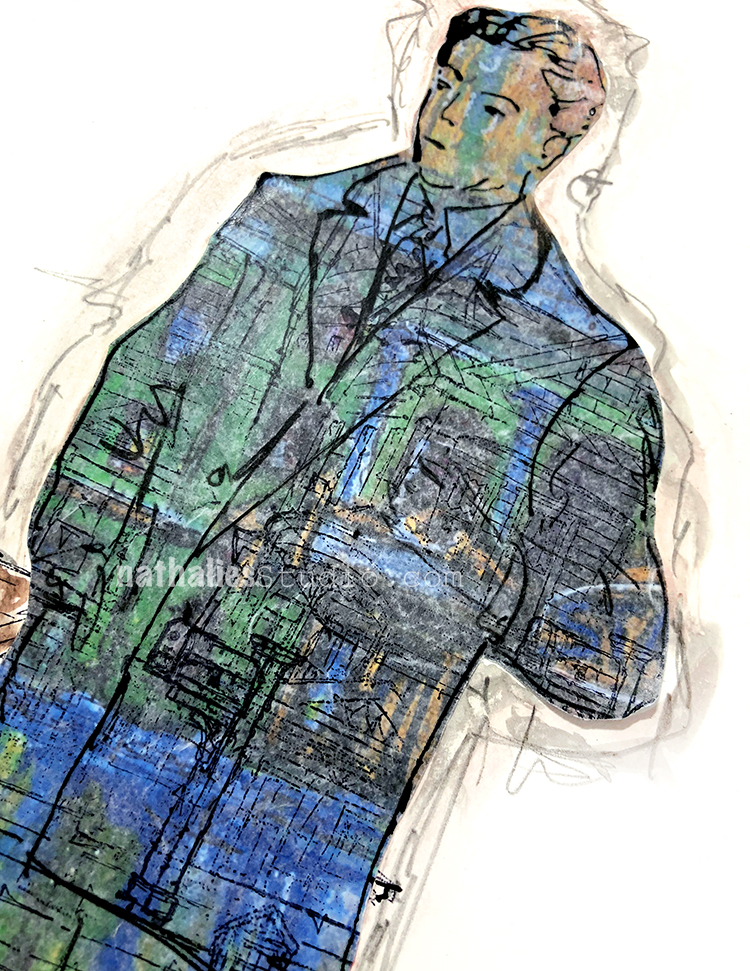
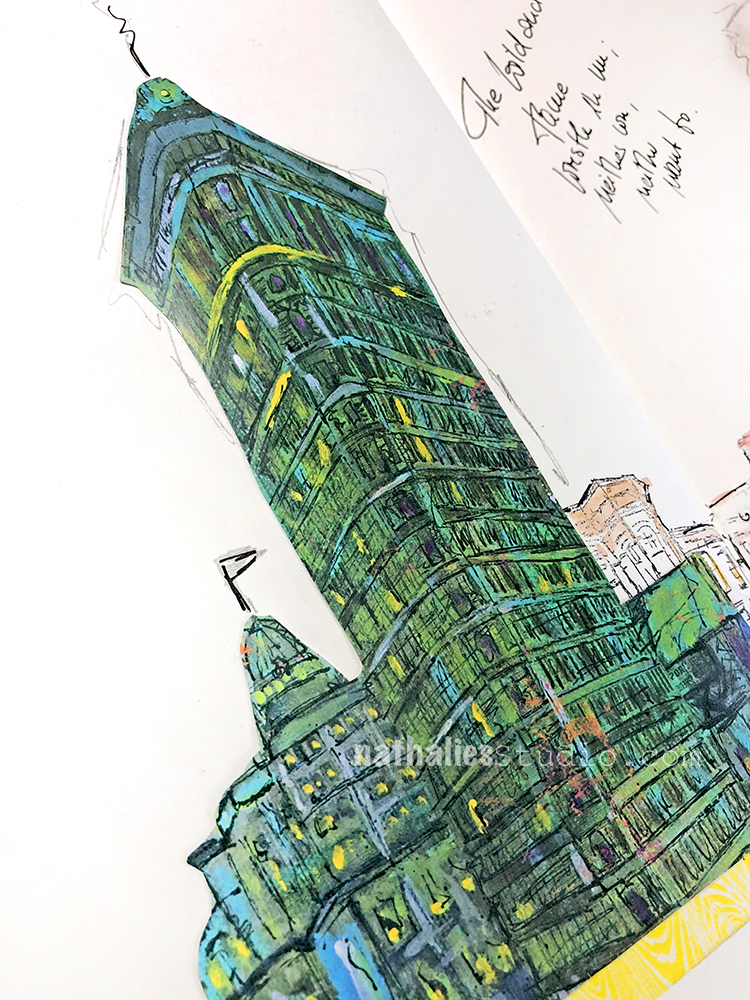
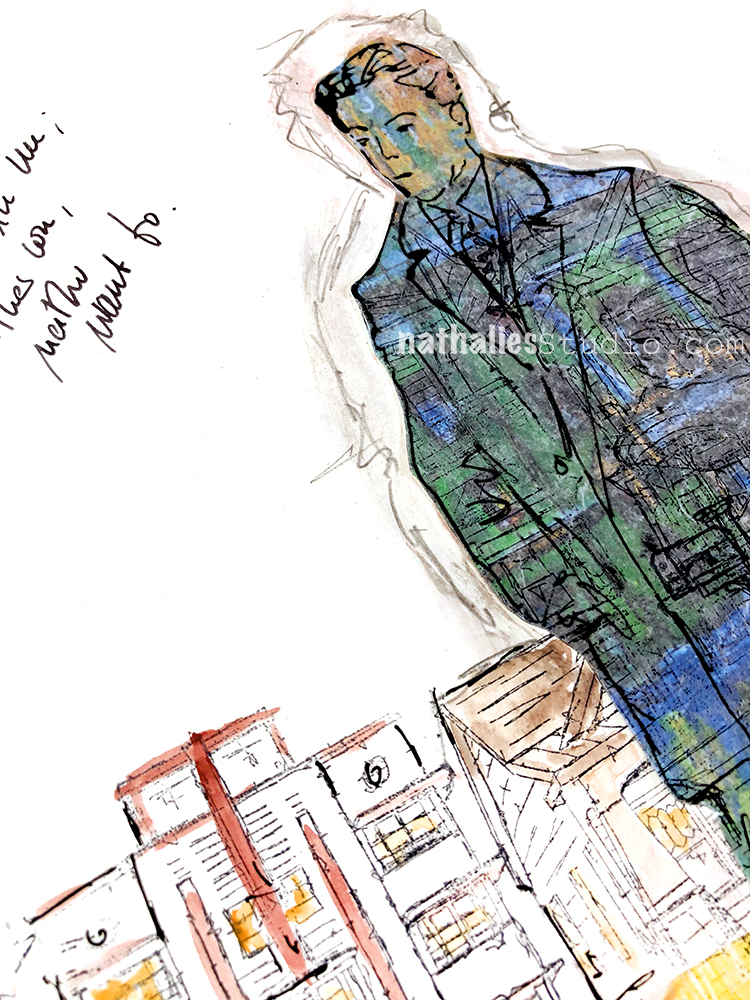
I used some of my old calendar pages with my prints as collage material – and then stamped with some of my buildings stamps. I am trying to make an effort to use more of the stuff I have been collecting for some time …what is the point to wait for the “perfect” moment- just make it the perfect moment and get some space back- LOL
I love how the prints of my painting blend in with the Stroll stamps. The yellow stripe on the bottom is washi tape – I just thought I needed to pick up the yellow of the painting again and I love the effect. Since it is washi tape with really low and bad adhesive I applied some Gel Medium underneath to make sure it sticks.
I added some Viarco Graphite for color inside the buildings- I love using those- the colors are just o beautiful.
Here are some of the supplies I used for this spread
I have started to give any craft supply away that I haven’t used in over 3 years. That includes some of the “saving for the perfect” project items. Silly when I think about it. My washi tape does not stick in my art journal (over paint) so thanks for the suggestion of the gel medium.
I know what you mean about using/using up stuff you already have. I was thrilled to use up 2 glue sticks over the weekend. It’s the little things that make all the difference in my life. :-)


Comments (2)
tara-ritacco
| #
Hi Nat,
I would like to order this. Please advise when I can order.
Thanks,
Tara
Reply
nathalie-kalbach
| #
Tara- sorry they are already sold out – in less than 2 hours. Here is a list of artists that at the moment I know still have some:
DeeDee Catron
https://www.instagram.com/deedeecatron/
Tina Walker
https://www.instagram.com/adogslife13/
Megan Whisner Quinlan – sold out
Leaca Young
https://www.instagram.com/leacayoungart/
Nat Kalbach – sold out
Tiffany Goff-Smith – sold out
Kristin Petersen – sold out
Amanda Spence
https://www.instagram.com/betweenelmandoak/
Lisa Goddard
https://www.instagram.com/lisagoddardart/
Shawn Petite
https://www.instagram.com/artgirl38/
Arlyna Blanchard
https://www.instagram.com/anna.karena/
Anna Karena
https://www.instagram.com/anna.karena/
Seth Apter – sold out
LaQuisha Hall
https://www.instagram.com/confidentcanvas/
Roxanne Padgett
https://www.instagram.com/roxpadgett/
Denise Lush
https://www.instagram.com/deniselush/
Renee Mueller – sold out
Ann Barnes – sold out
Reply