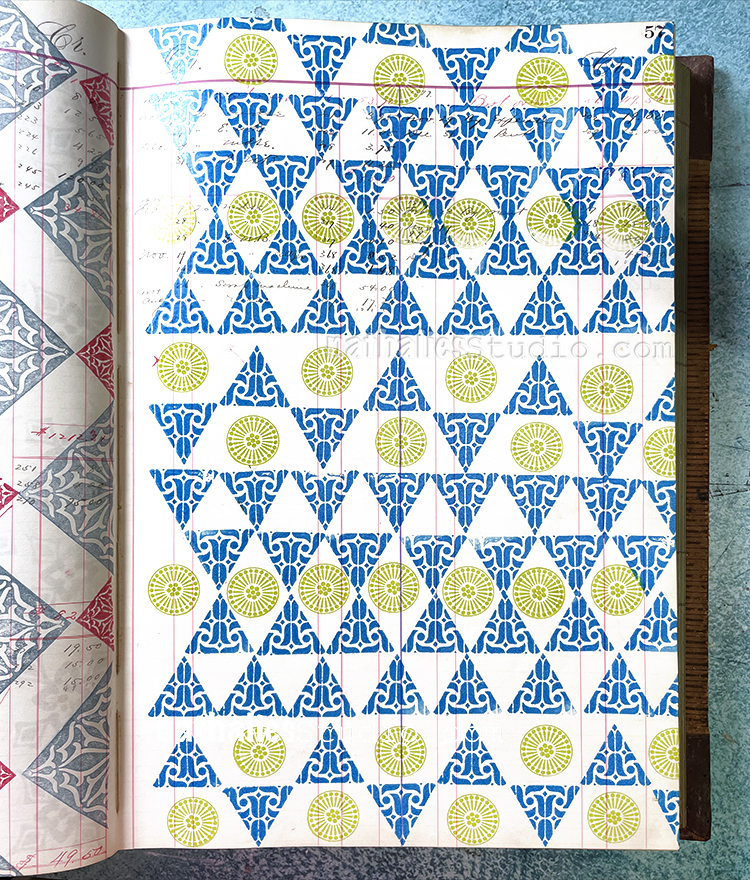
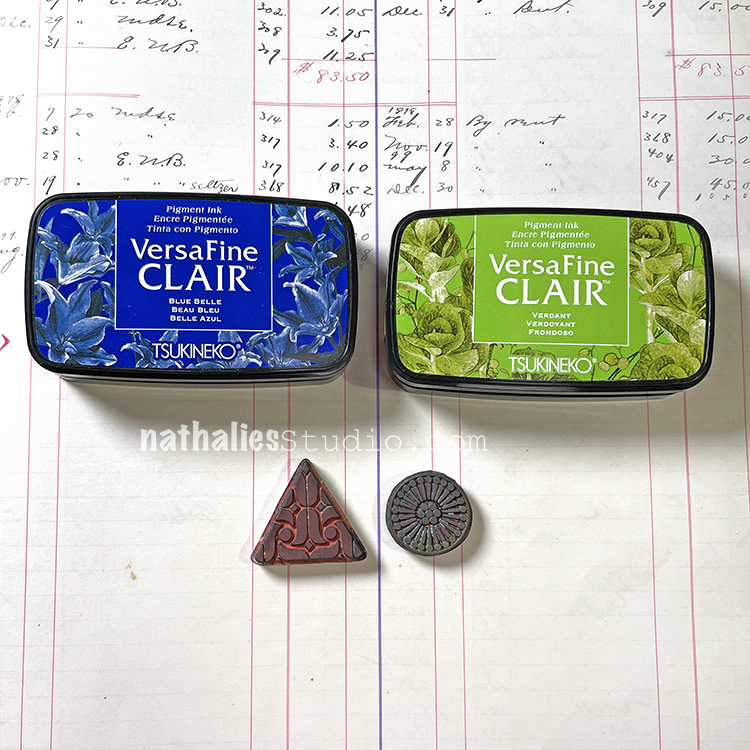
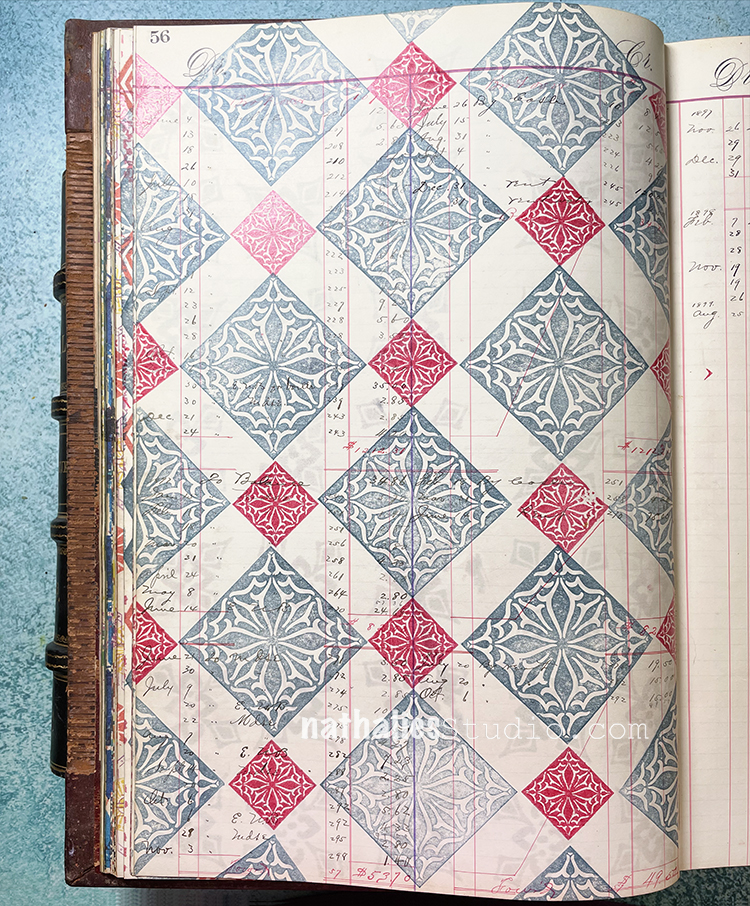
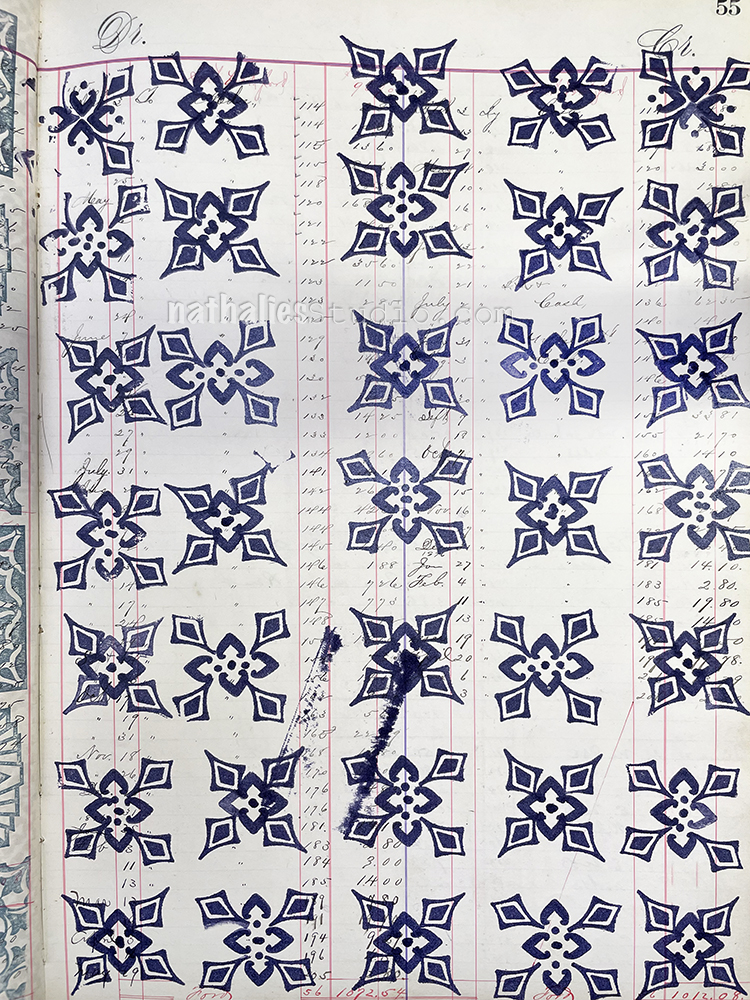
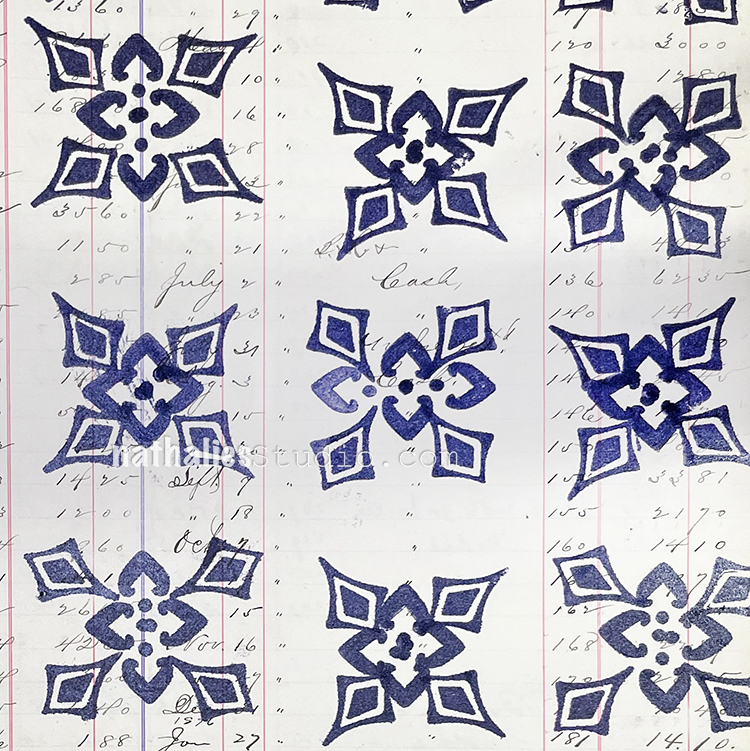
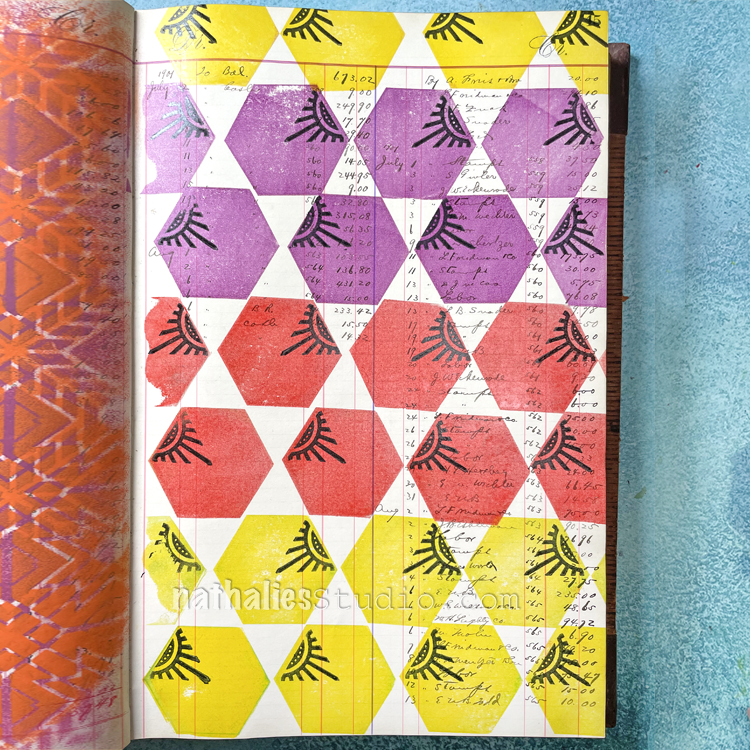
Pattern Monday time and today I’m working in my big vintage ledger and playing with just two little stamps and changing up the orientation and frequency of stamping to create a pattern that has a surprising amount of complexity. So, just one stamp from my Small Circle Jumble set and one from my Triangle Love set is being used here and I definitely wish with this one that my big vintage ledger was even BIGGER so that I could do more of the pattern for you. You will just have to use your imaginations :)
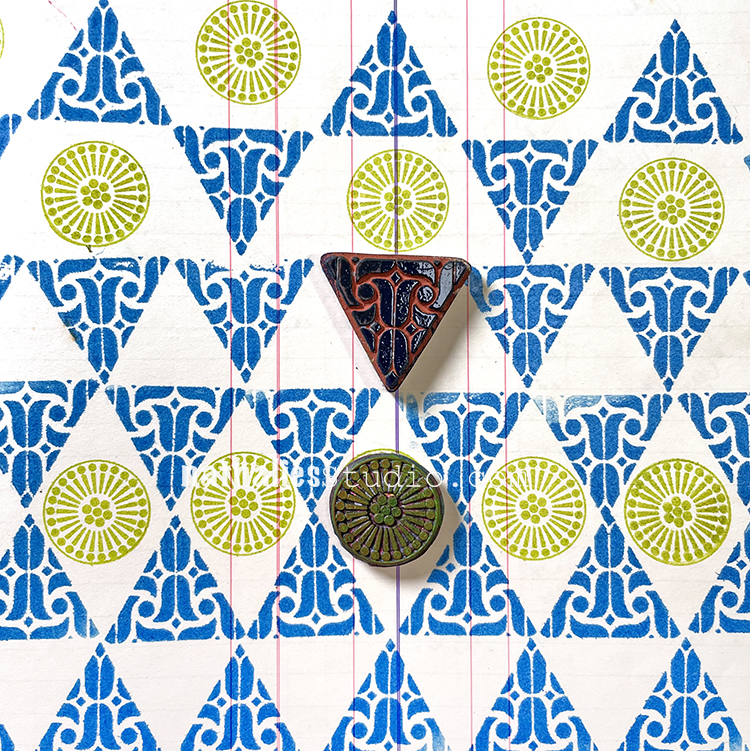
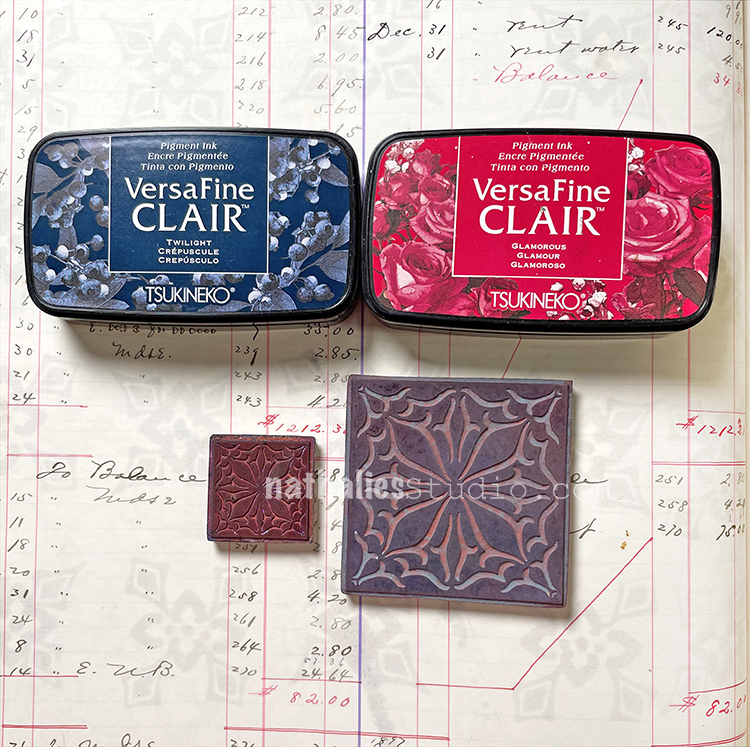
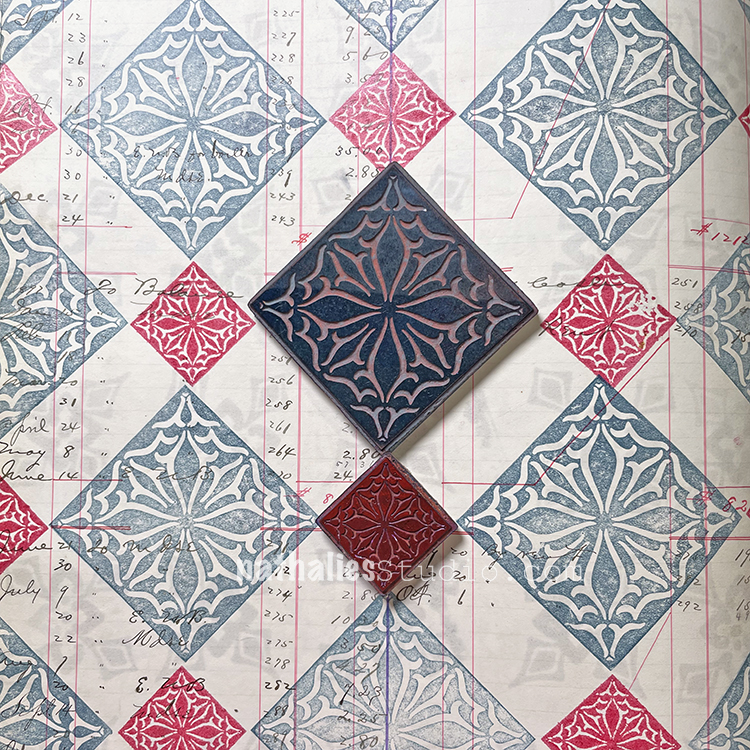
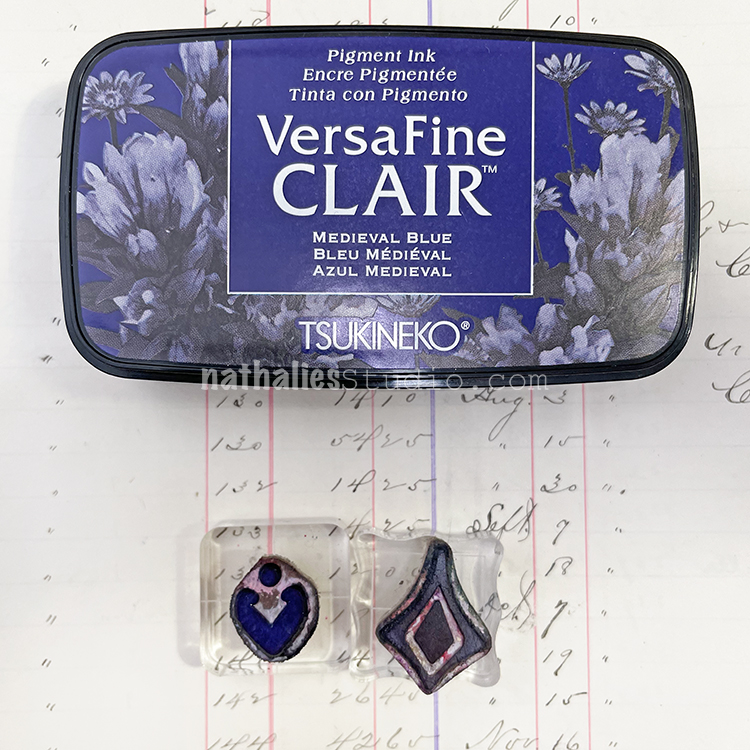
Here is another look at the finished pattern and the stamps I used:
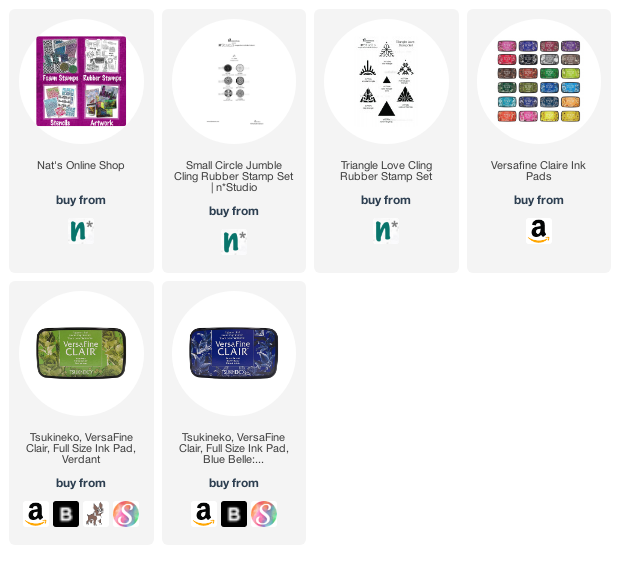
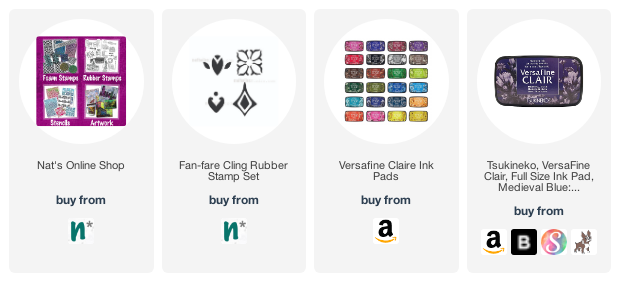
Your turn to give it a try! Here are the supplies:
Nat


So creative. I love this pattern!
Reply