Creative Squad

Creative Squad: In the City – Robin Seiz

Hello from my Creative Squad! Today we have a charming little project from Robin Seiz using the mini mailbox model, my #keepyouposted stamps, my Flower Maze stencil and our theme: In the City – Although we aren’t traveling much these days, let’s reminisce about a time we traveled to another town or city. Think about the flavor of the place and let that guide your color and design choices.


This month’s theme is In The City, and although we haven’t been traveling much, I have been sending a lot of “happy mail”. This little miniature model mailbox was perfect for me. Before I started this project, I did a little research about the history of the mailbox. Did you know that mailboxes first appeared in the United States in the 1850’s. They were originally attached to buildings and lampposts. In the 1890’s, larger, free-standing “package boxes” were introduced nationwide; known today as Collection Boxes.

At first this project was a little intimidating for me; I only had one model so I had to do more planning than is typically in my process. I’m a “get in there and see what emerges” kind of artist! Even with the planning, I still ran into a challenge with the images, but that’s the wonderful thing about mixed media, you just keep trying, editing, or adding layers until it all works out.

The mailbox model comes as a heavy weight cardboard miniature. Because I knew I wanted the mailbox to have an old metal look, I decided to cover it with white gesso so the paint would adhere well. (I’m honestly not sure this was necessary, but it’s what I chose to do).
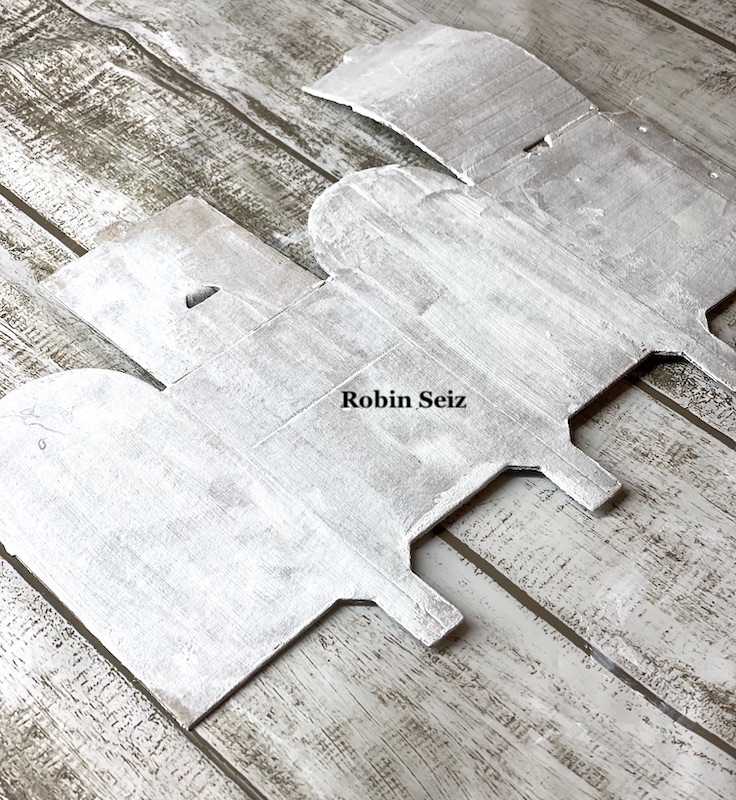
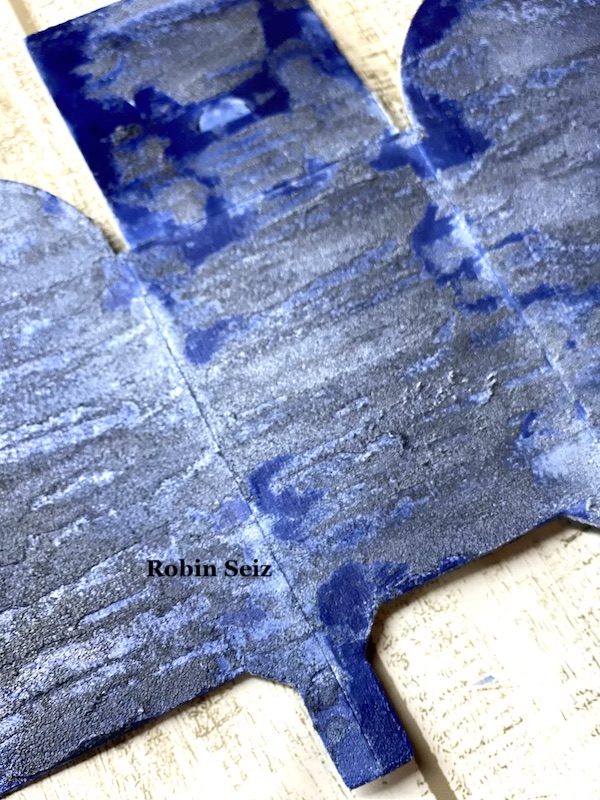
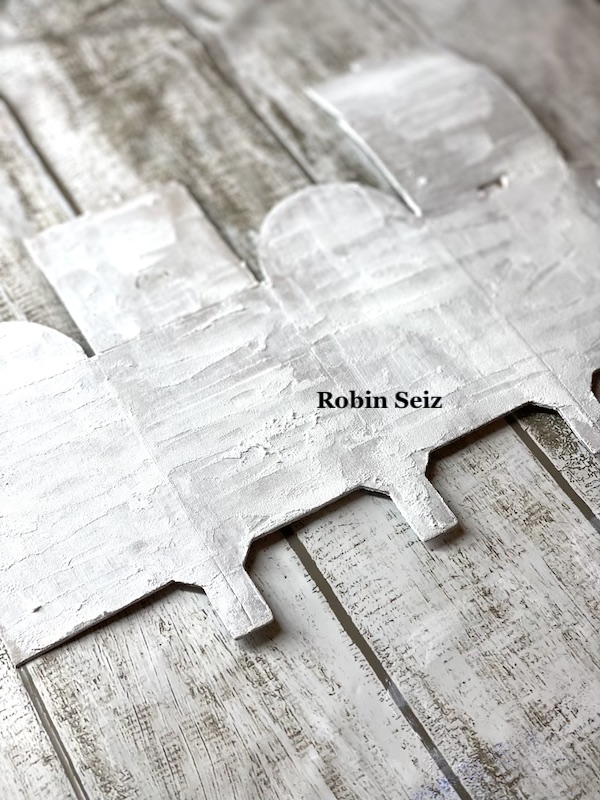
I pictured my mailbox like the one at my post office; a dull looking blue mailbox. I wanted it to have a textured look, but rather than apply texture directly to the model, I tested it on another piece of cardboard first. I also wanted to try out a few different colors and see the result before I applied it to the model. I used Golden Crackle Paste to apply the texture. It takes a while to dry so I used the heat gun from a distance. Waiting for things to dry naturally is not in my vocabulary! Next I sprayed Distress Spray Stain in chipped sapphire and blueprint sketch. I liked the darker color, chipped sapphire, the best.

Once those decisions were made, I applied the paste and the spray stain to the model.
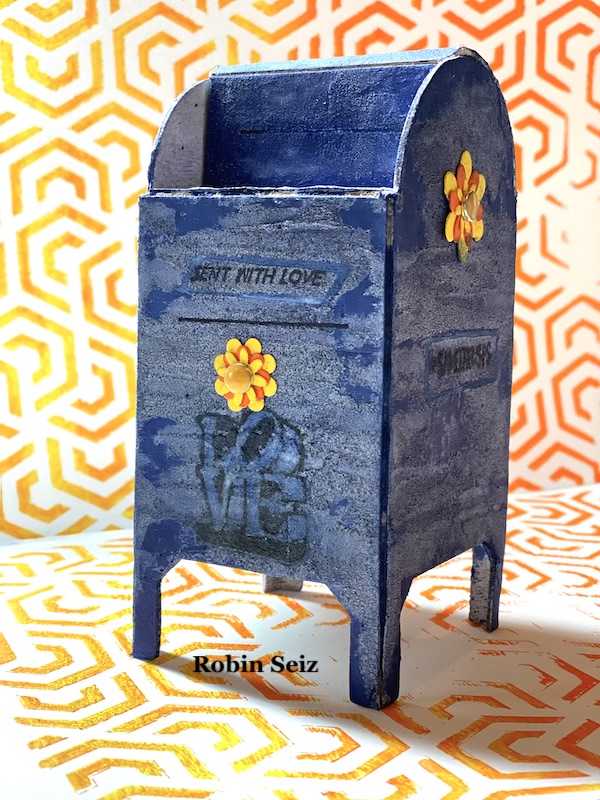
I knew Nat’s stamp collection #keepyouposted would be perfect for this project!

This part of the project was the most difficult. It turns out that it’s not so easy to stamp over the stained Crackle Paste. I tried, everything, colored inks, acrylic paint, a clear label, packing tape, you name it and I tried it. Thank goodness all of this trial and error was on my sample stained cardboard. The only medium that I could get to adhere and be legible, was black ink. I used my stamp platform so I could stamp the image several times.

Once I had the images in place, I folded the model, as per the directions. It’s so easy to assemble!!!

The mailbox needed a little pizzaz, and since happy mail is where this project initiated, I attached some ephemera flowers that I had in my stash. (I made mine sometime ago, but I know you can buy them as well.)

I also used Nat’s Flower Maze stencil on the gel plate, in the same bright colors as the flowers, to display the mailbox.
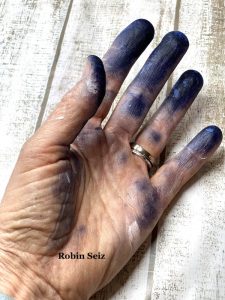
One last note about this project, the Distressed Stains, are true to their name — I highly recommend gloves, which I didn’t use, as shown here by my hand!
I hope you enjoyed this project. While I chose a similar color palette of the collection boxes we see today, the opportunities to embellish are endless. I hope you give it a try! 


Thank you Robin! Loved hearing about your tests to get the texture and color right – and the end result is so darling!

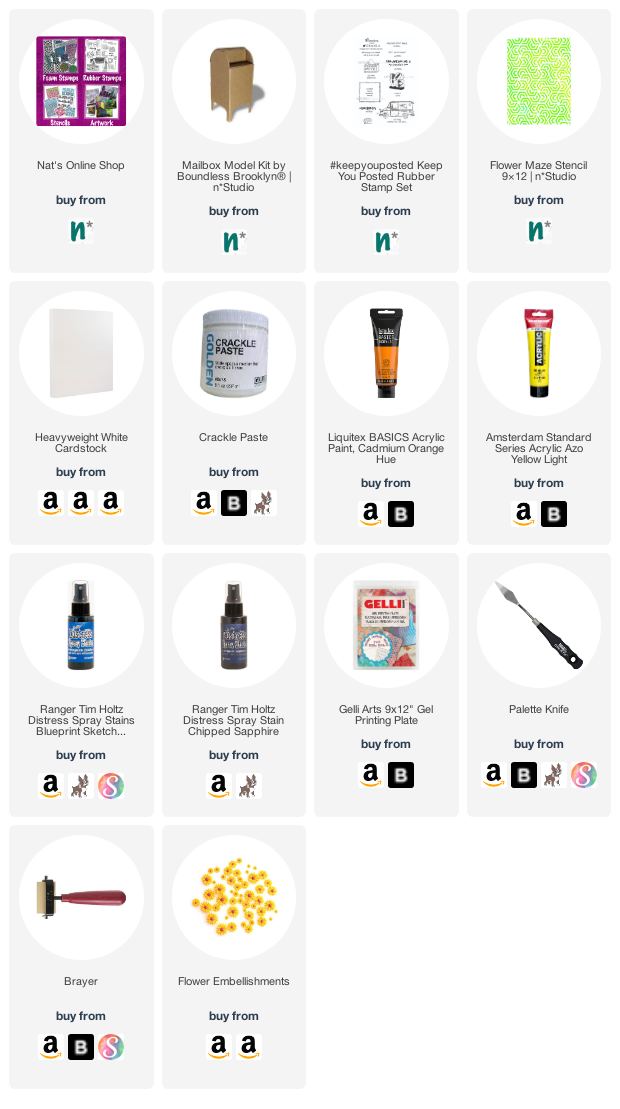
Give it a try: you can find all my Rubber Stamps and those cool Cardboard Models in my Online Shop and here are some of the supplies Robin used:
Don’t forget to check out Nat’s Creative Squad on Instagram too: Each week we post projects, ideas, and inspiration for mixed media art.

Leave a comment

Happy Holidays – Jennifer Gallagher

Hello everyone and welcome to a Happy Holidays post from our Creative Squad. Today we have a group of super cool looking cards from Jennifer Gallagher that you can make with the whole family! Jennifer is using my Kassel, Park Blvd 4×4, and Flower Maze stencils and this month’s theme: Happy Holidays – It is a time of year where we are celebrating and coming together and enjoying some merriment. Create something holiday related (whatever holiday you may be celebrating) and enjoy the season!


This month we are celebrating the holiday season and what better way than to create some fun holiday cards. You’re going to love this tutorial because it’s fun, easy, and family friendly. So break out your favorite n*Studio stencils and let’s get started.

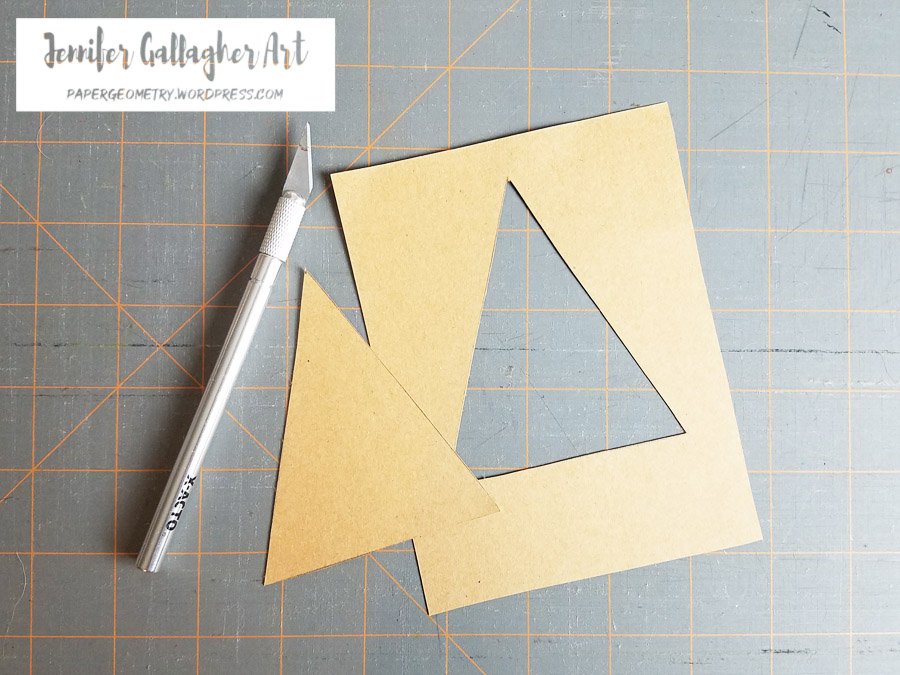
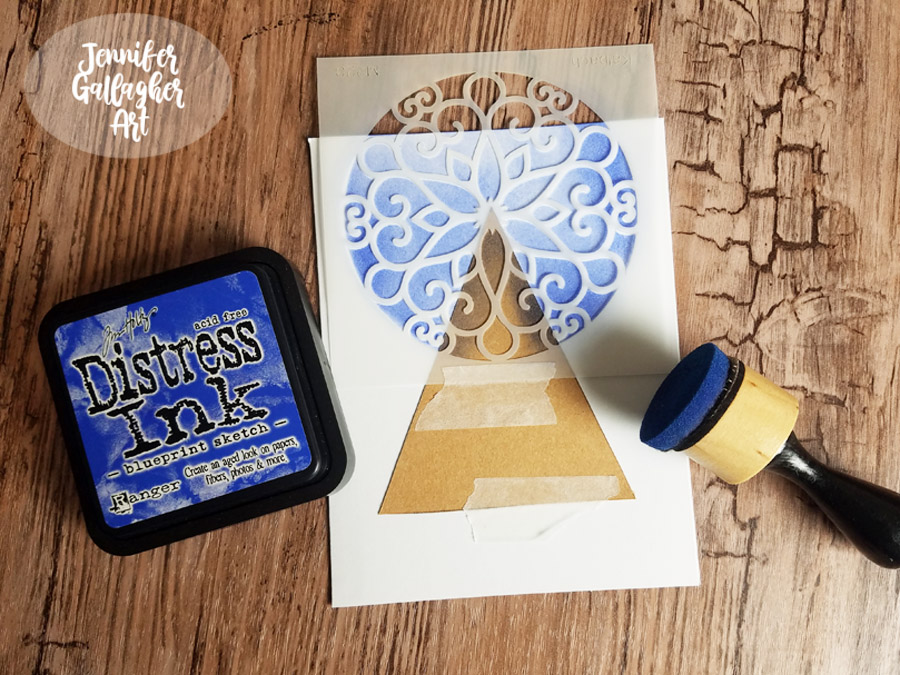
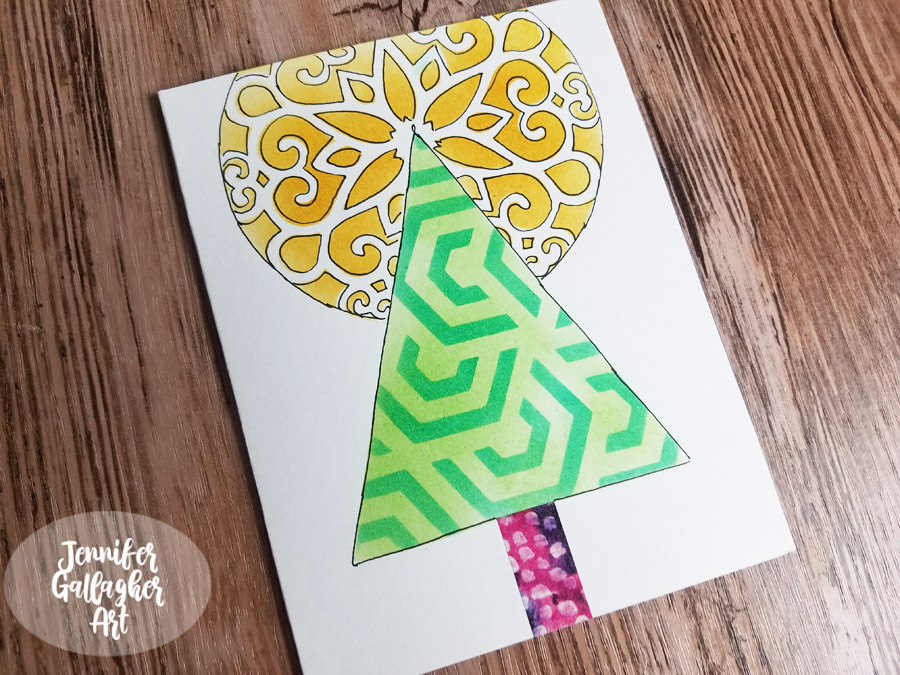
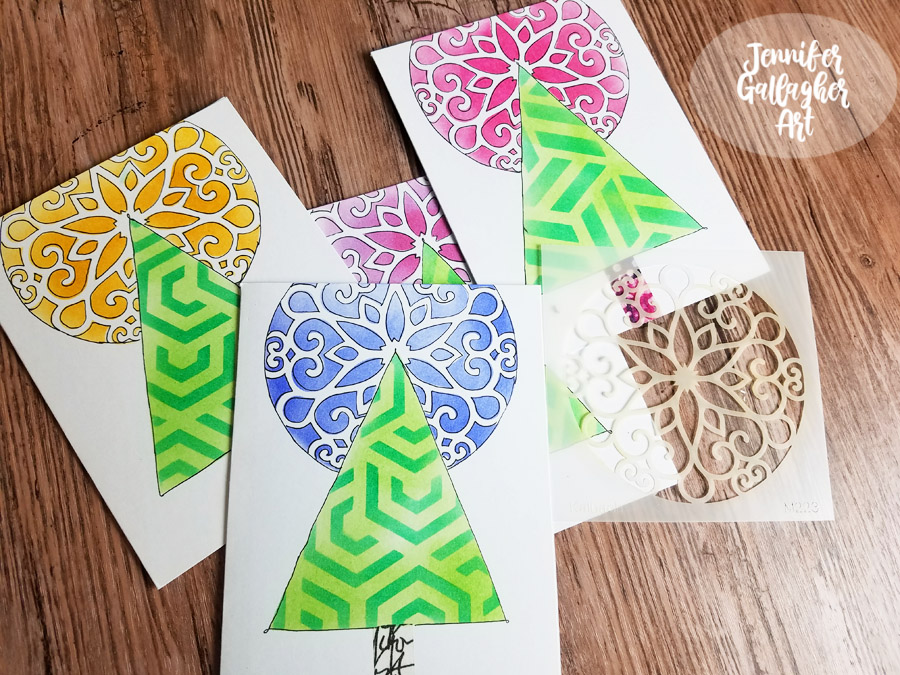
I began by drawing a simple tree shape onto craft card stock and cutting it out with a craft knife. I kept both pieces, one we will use as a stencil and the other as a mask.

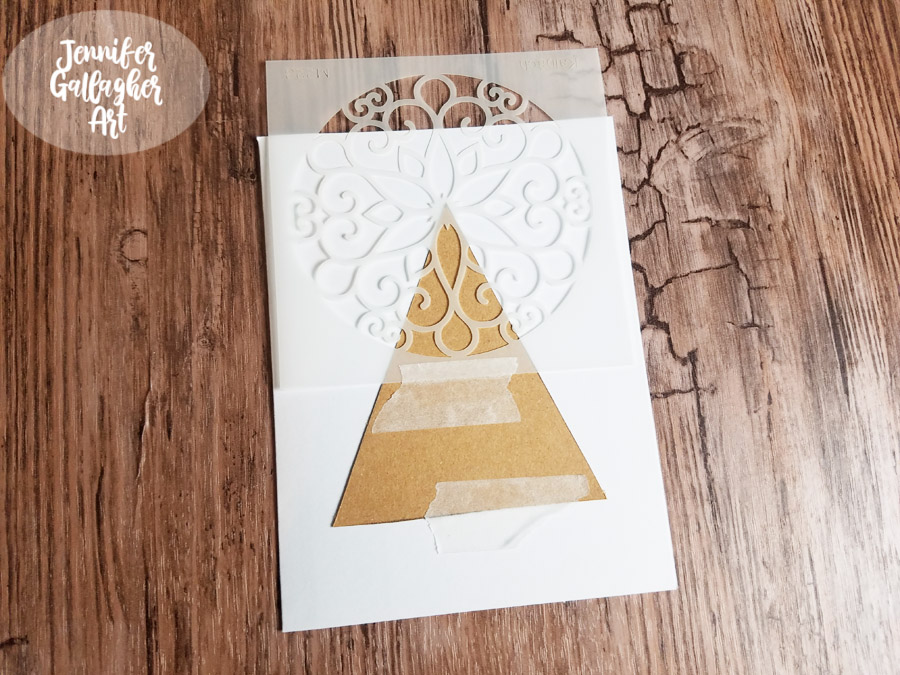
Using the tree mask and Nat’s Park Blvd 4×4 stencil, I placed the designs down using a low tack washi tape. The mask allows me to protect the area where I don’t want to apply color.

Next, I applied distress ink in blueprint sketch to the Park Blvd. stencil. This creates a lovely halo around the tree.

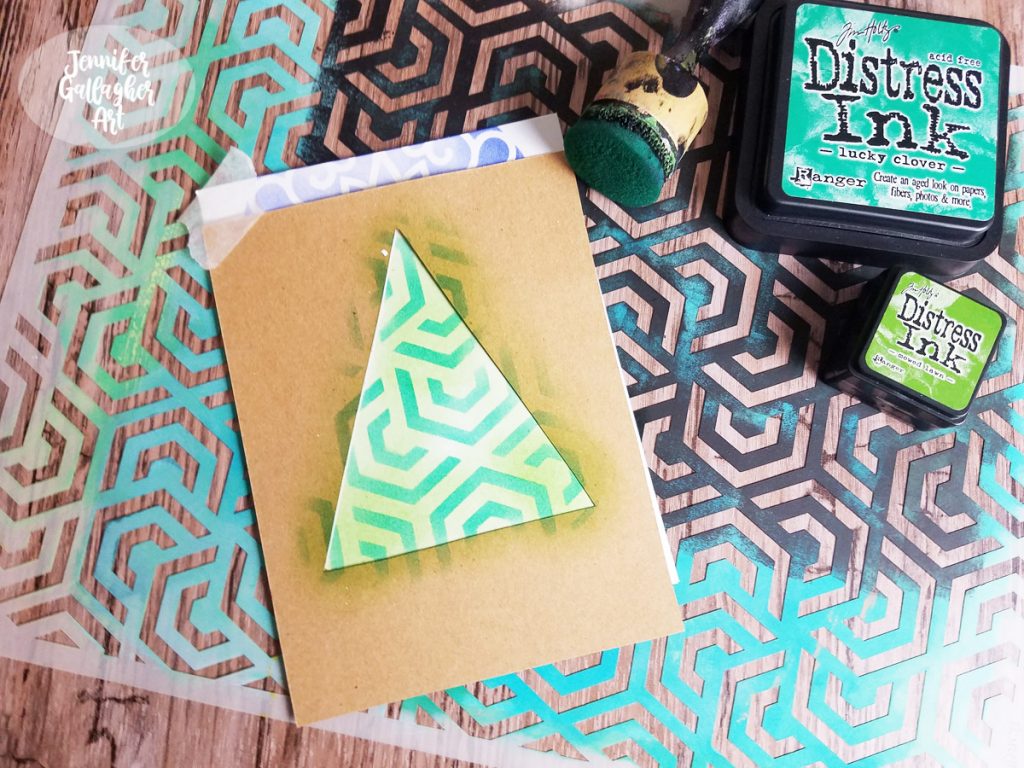
I placed the tree stencil in the spot where the mask was and applied mowed lawn distress ink. Next, I laid Nat’s Kassel and Flower Maze stencils down and applied lucky clover distress ink over that.

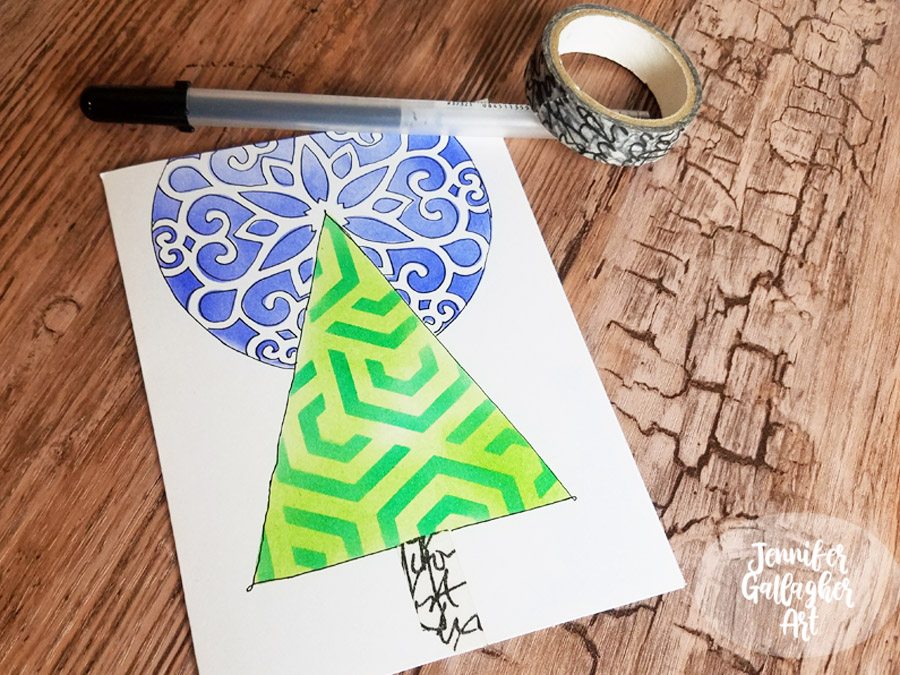
Now is the time to pull out all of your favorite washi tapes. I chose one of my favorites and used a small piece to create the tree trunk. Then, using a Sakura Gelly Roll in black, I outlined my tree and halo.

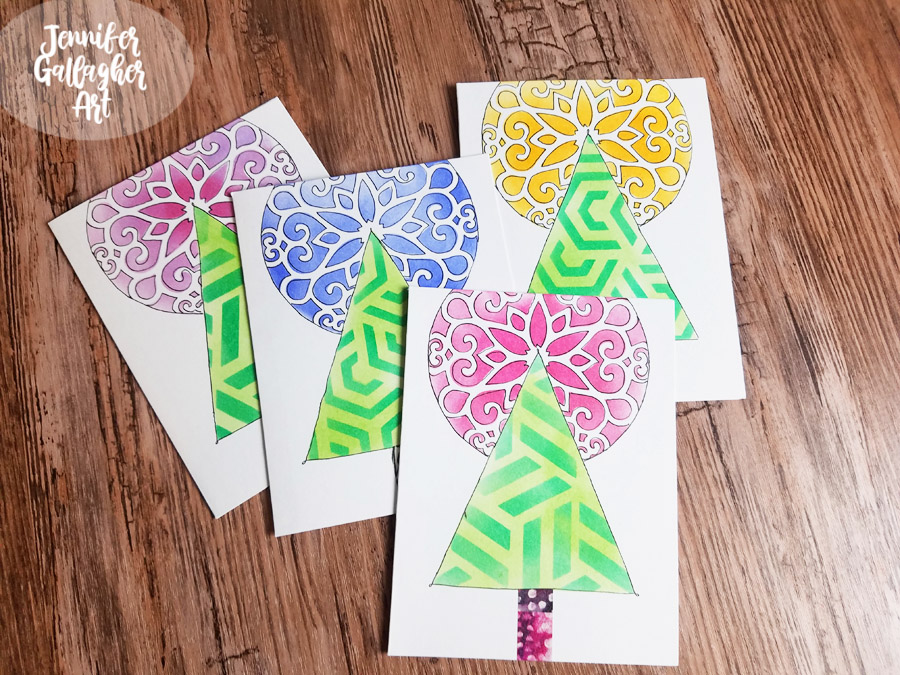
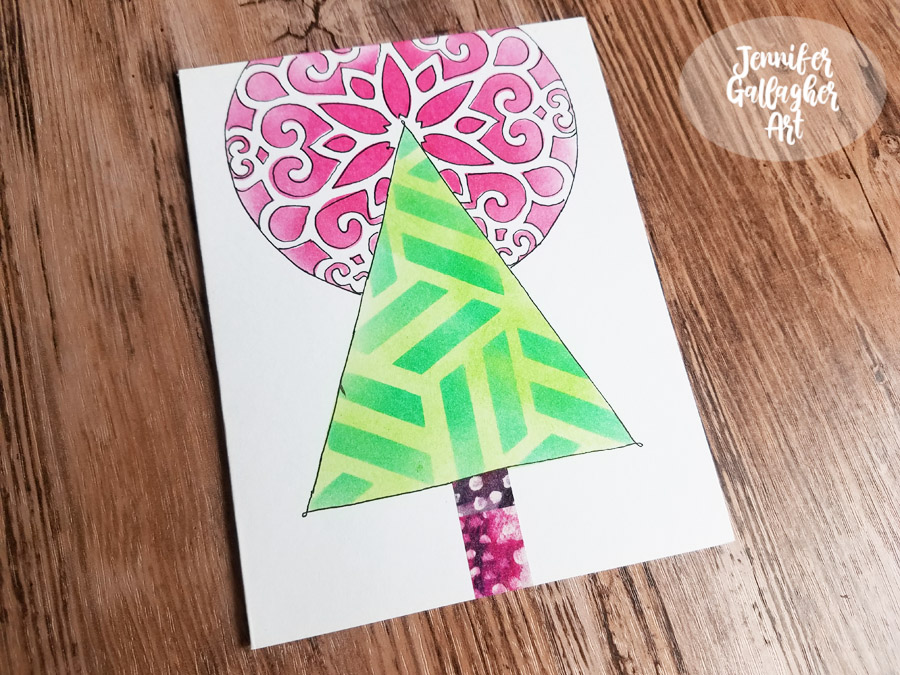
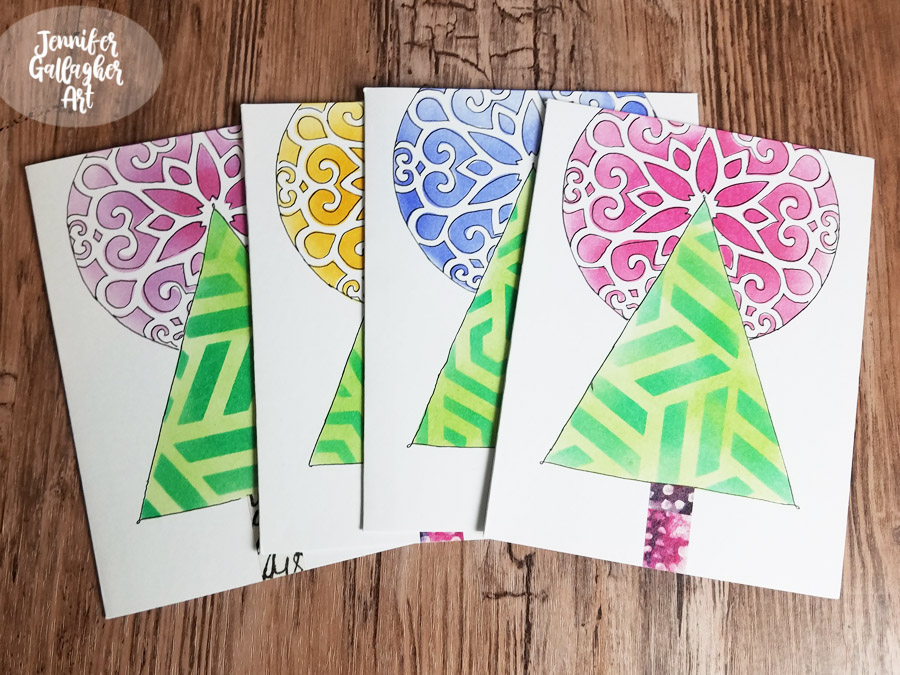
Now it’s time for the remix! Change up your ink colors, stencil designs, and washi tapes to create different designs. I suggest trading out the Kassel stencil for Nat’s Flower Maze stencil in your trees. Some additional ink colors I used are picked raspberry, wild honey, and shaded lilac. Check out these variations:

I hope you have enjoyed this tutorial. This would be a great craft to make with your kids and grandkids. There is nothing better than receiving a handmade card around the holidays. If you try out any of this month’s tutorials, be sure to share with us. Happy Holidays!


Thank you Jennifer for this kick off to our December Creative Squad posts – love how doable the cards are and the very fun results – great design!

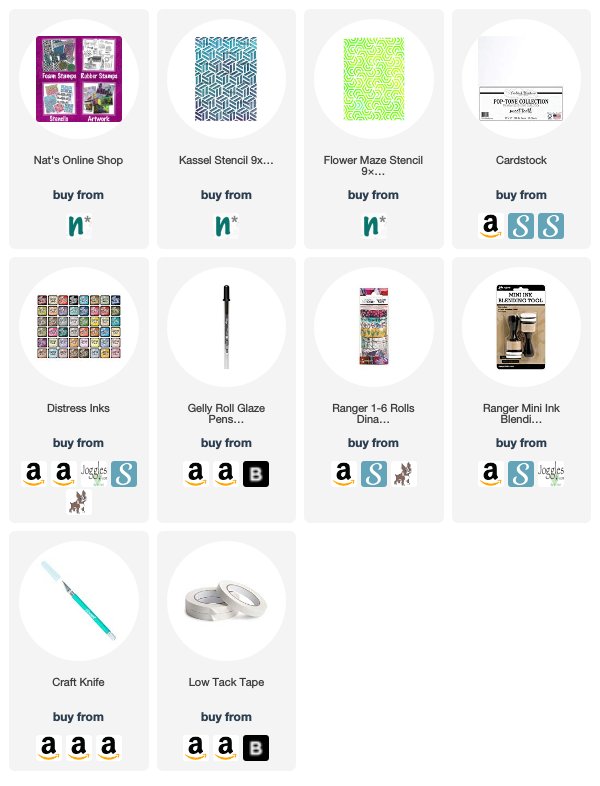
Give it a try: you can find all my Stencils in my Online Shop and here are some of the other supplies Jennifer used:

Feel inspired? Working on something yourself that you’d like to share?  I love to see how you interpret our monthly themes. Email me how you used my stencils and stamps with the theme and email me an image – I would love to share your projects in my next  “n*Spiration From Around the Globe“.

Leave a comment

The Stencilfied Journal – Prompt 12

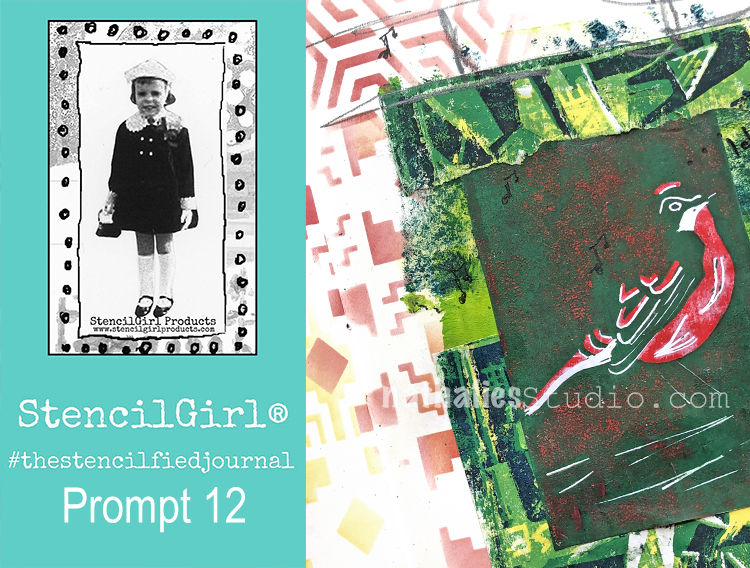
My wonderful friend Tina Walker is at it again – she invited several people to join her Stencilfied Prompts. The prompts are music related and each week she is posting a song. You can be inspired by the lyrics, the video, the album cover or anything related and the only restriction is that you have to use StencilGirl Product Stencils. Here is my take on Prompt 12

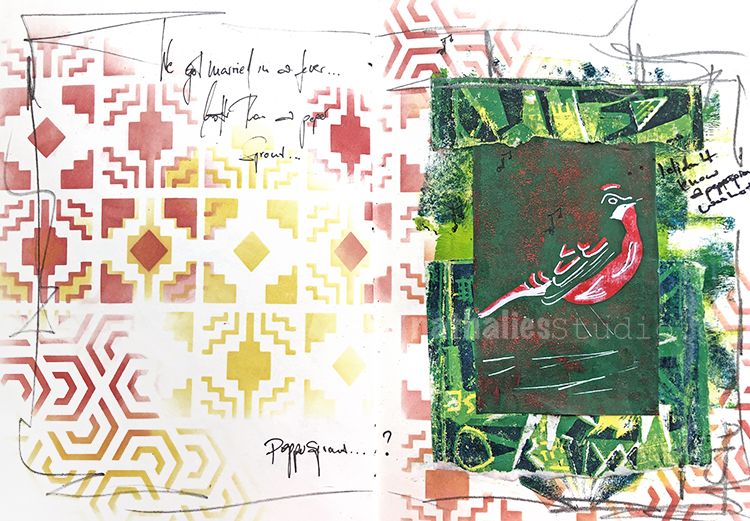
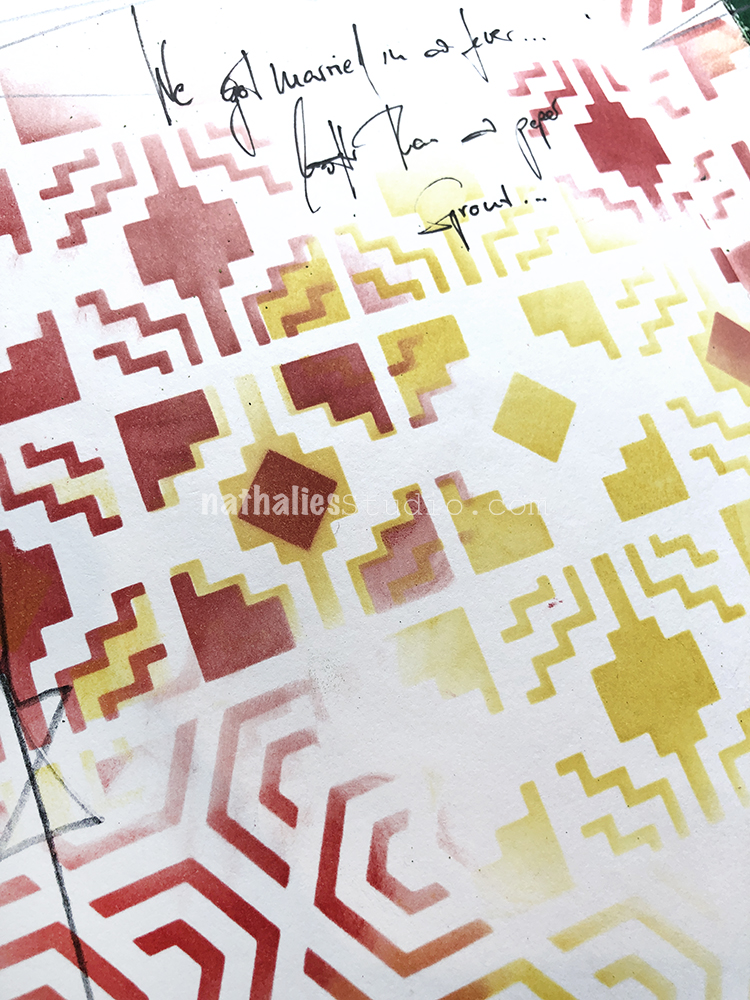
This week’s prompt is “Jackson” Johnny Cash and June Carter. You gotta love Johnny Cash and June Carter …but hotter than a pepper sprout?

Are they hot too? LOL- anyway I spray painted over my Santa Fe Stencil as well as over my Flower Maze Stencil .

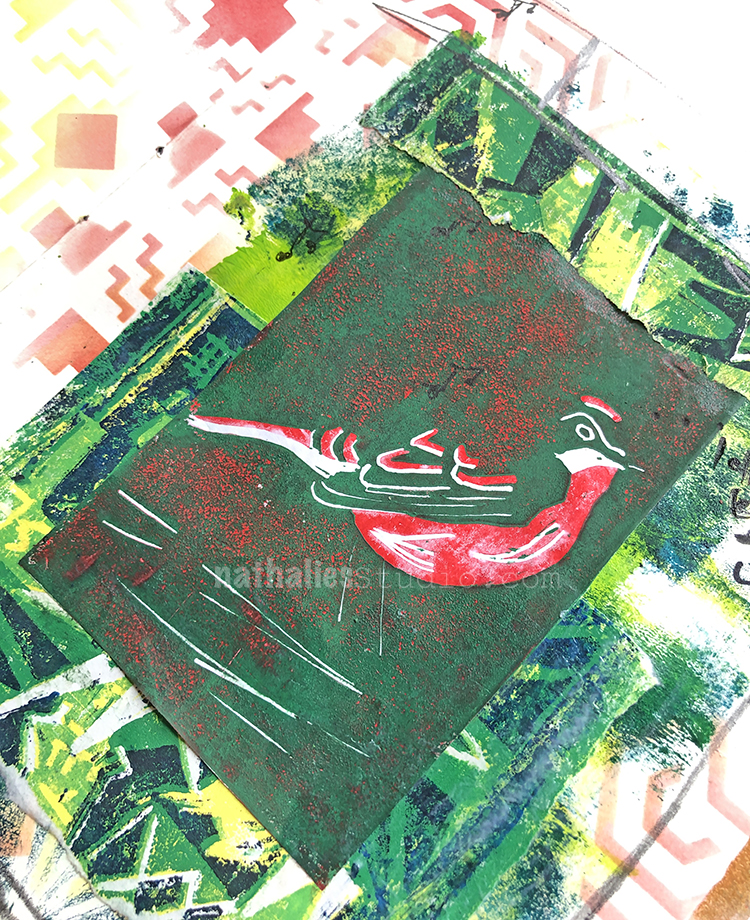
I used also some older prints of mine …because hey …do birds know that pepper sprouts are hot? LOL – Questions over questions …told you I am a weirdo ;)

Here are the supplies I used:


Leave a comment

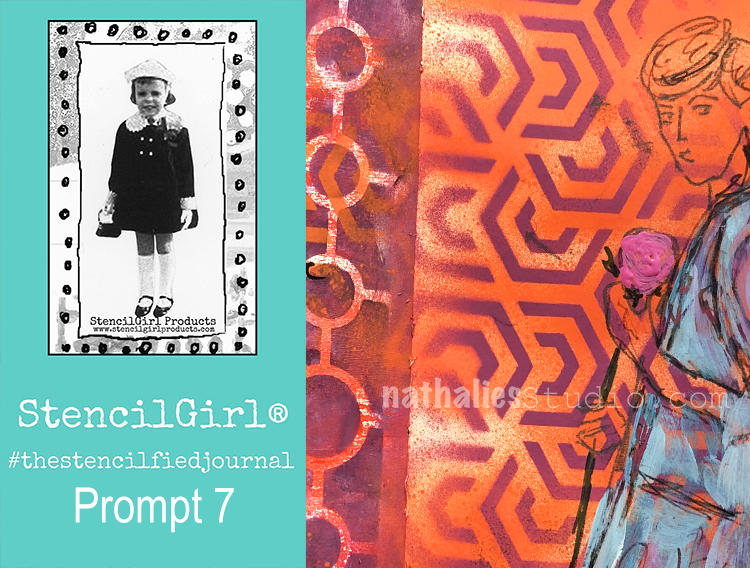
The Stencilfied Journal – Prompt 7

My wonderful friend Tina Walker is at it again – she invited several people to join her Stencilfied Prompts. The prompts are music related and each week she is posting a song. You can be inspired by the lyrics, the video, the album cover or anything related and the only restriction is that you have to use StencilGirl Product Stencils. Here is my take on Prompt 7:

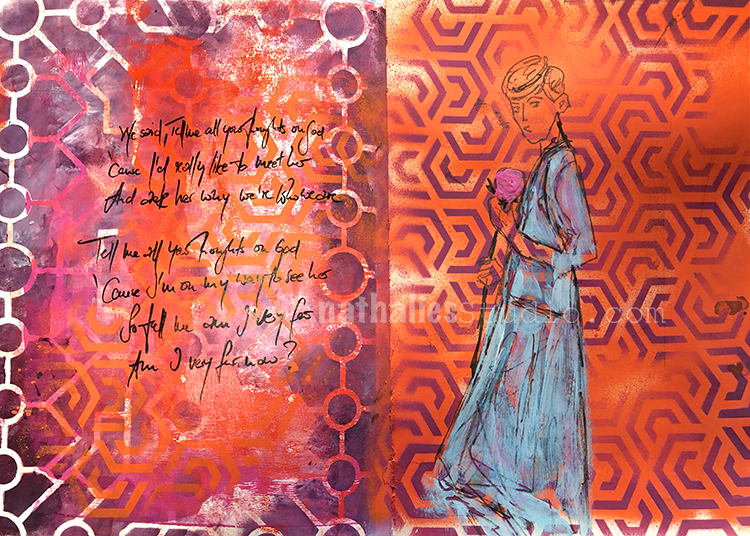
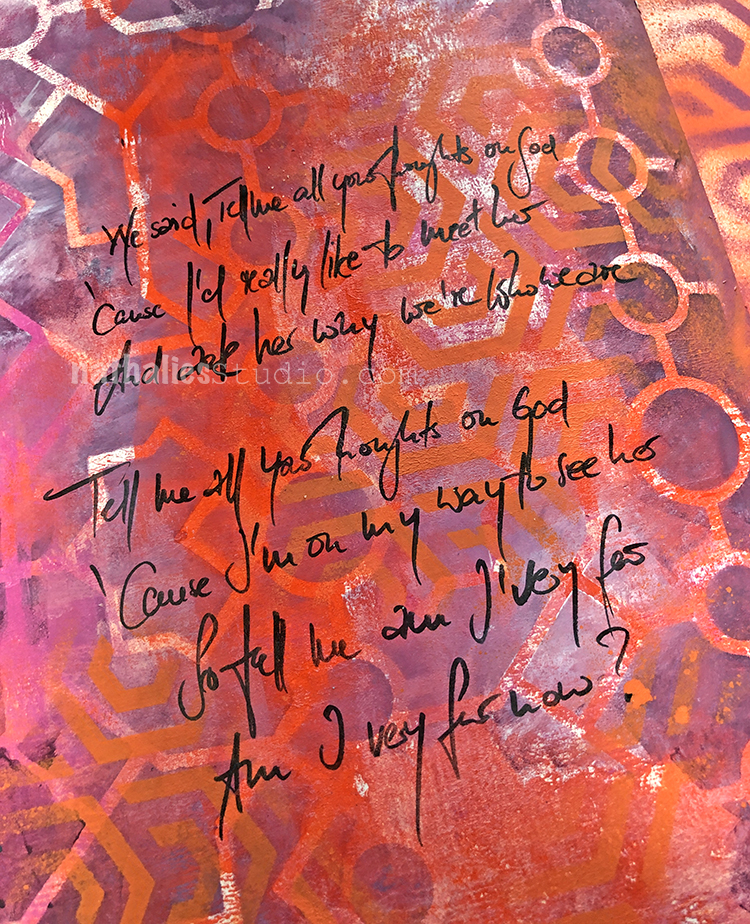
This week’s prompt was Counting Blue Cars – Dishwalla

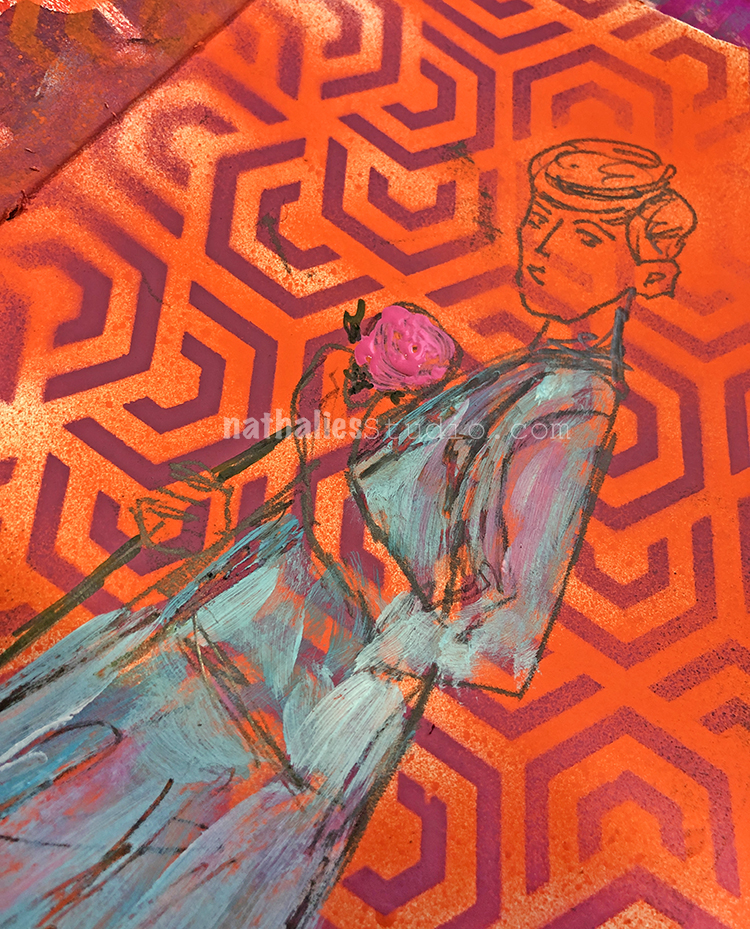
A song I never heard before but I found the lyrics interesting yet again. I was in a very bold color mood and used my Exchange Place Stencil on the left with Acrylic paint and the Flower Maze Stencil on the right page with acrylic spray paint.

A little sketch and very limited painting on top – I actually like this- I want to explore this a bit more.

Here are the stencils I used:


Leave a comment