I hope this post finds you wrapped in the warmth of creativity! I am excited to share some delightful updates with you!
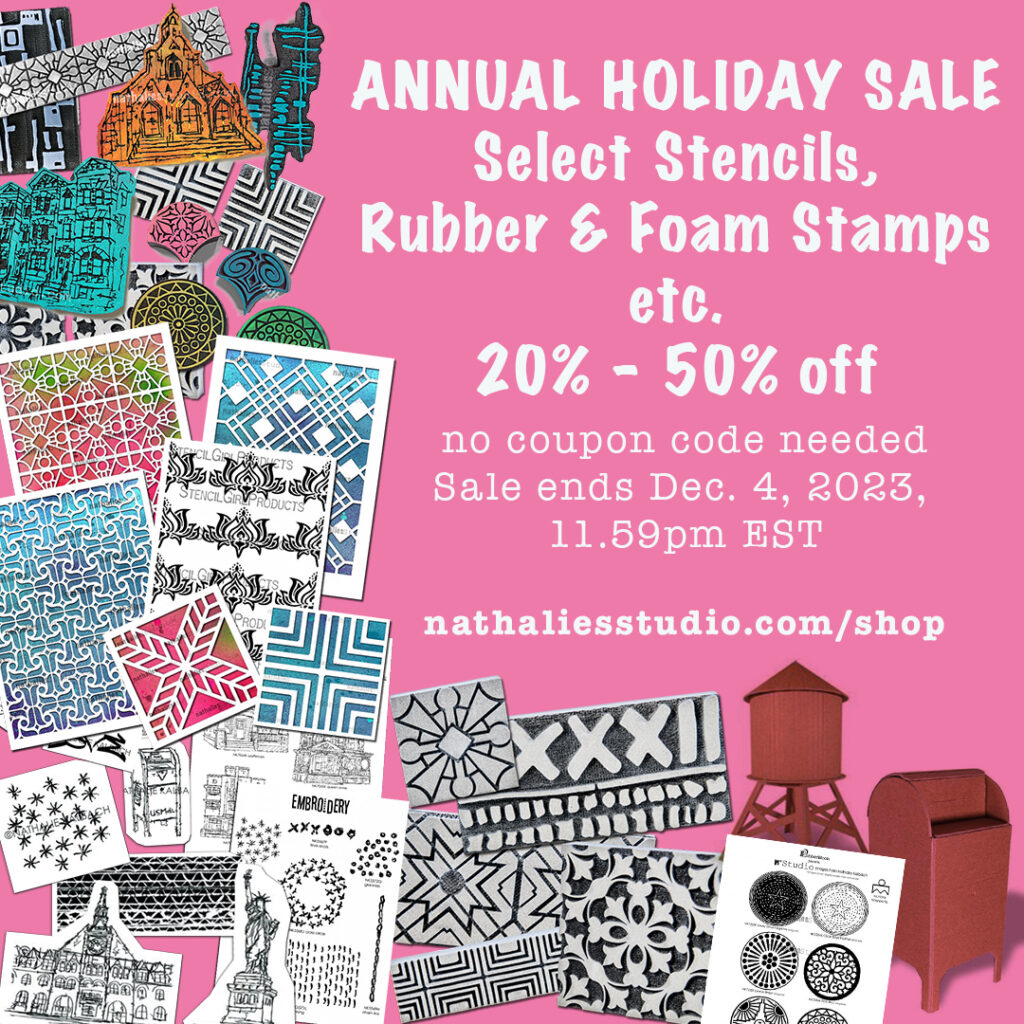
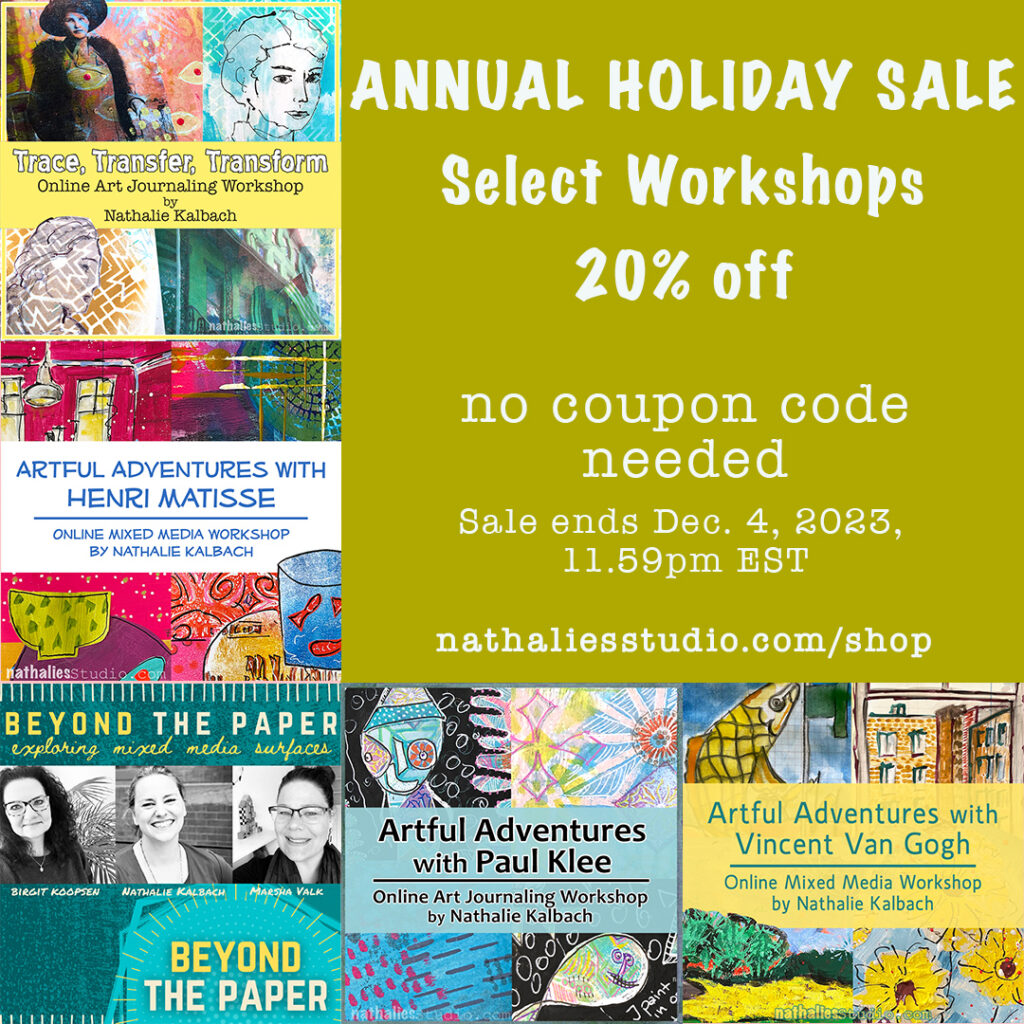
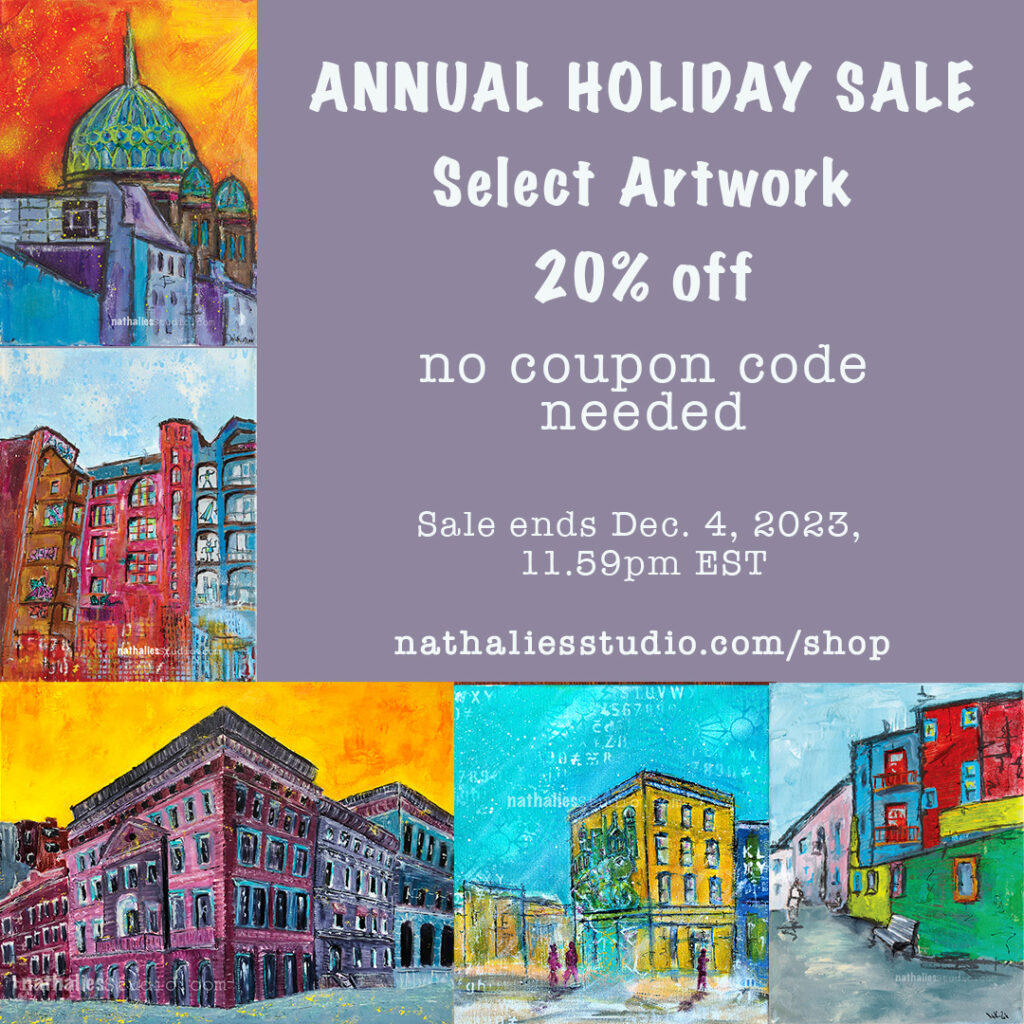
ArtFoamies Foam Stamps, Stencils, Rubber Stamps, Original Artwork, and Online Workshops – All on SALE! 🌈
Now, not only are my favorite Foam Stamps up to 50% off, but I’ve also added select Stencils and Rubber Stamps to the mix, all at a fantastic 20-40% discount! That’s not all – selected pieces of my original artwork and online workshops are joining the celebration with a 20% off deal!
No coupon code needed, and the sale is on until December 4th, 11.59 pm EST or while supplies last. Don’t miss this chance to bring a burst of creativity into your holiday season!
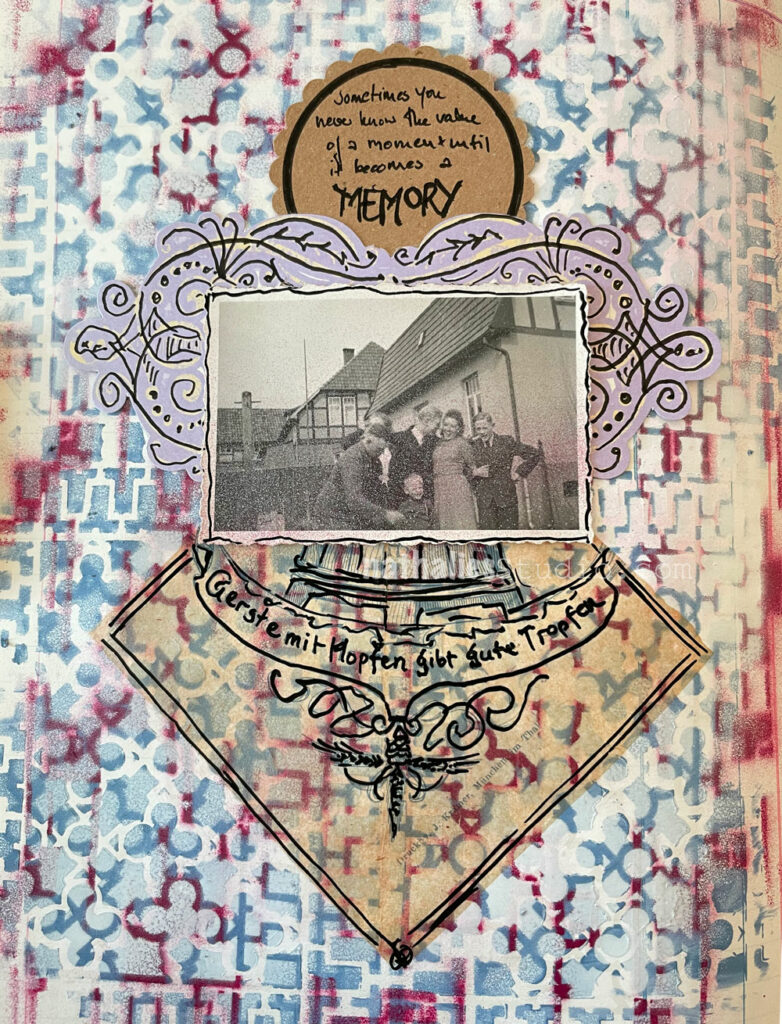
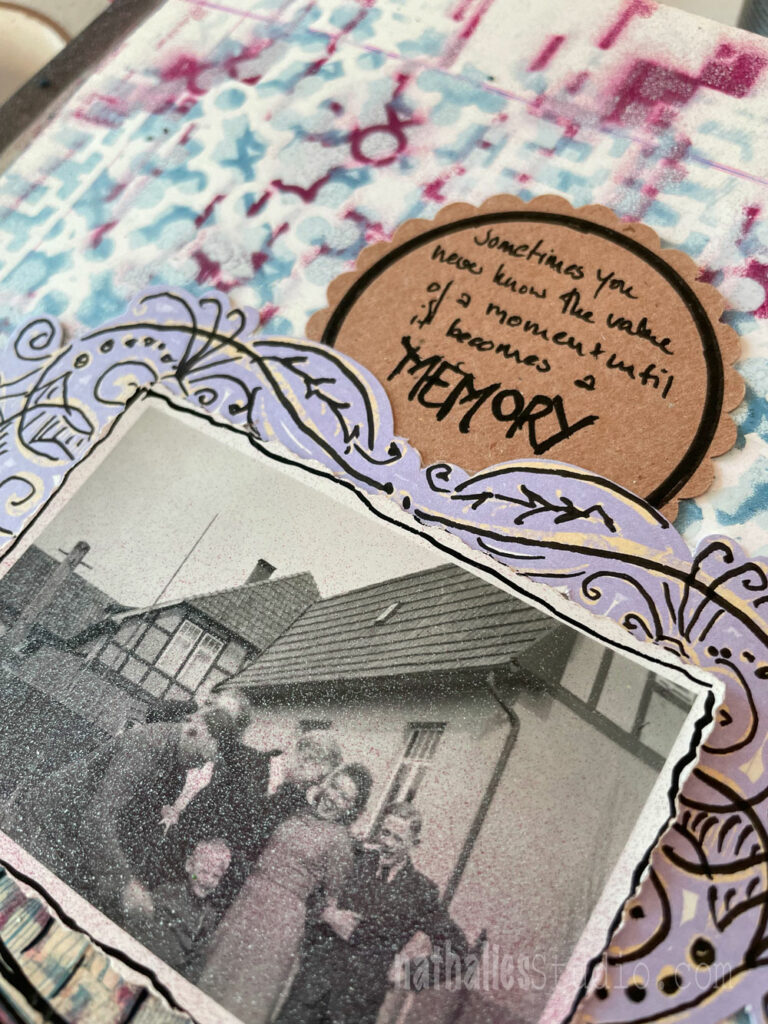
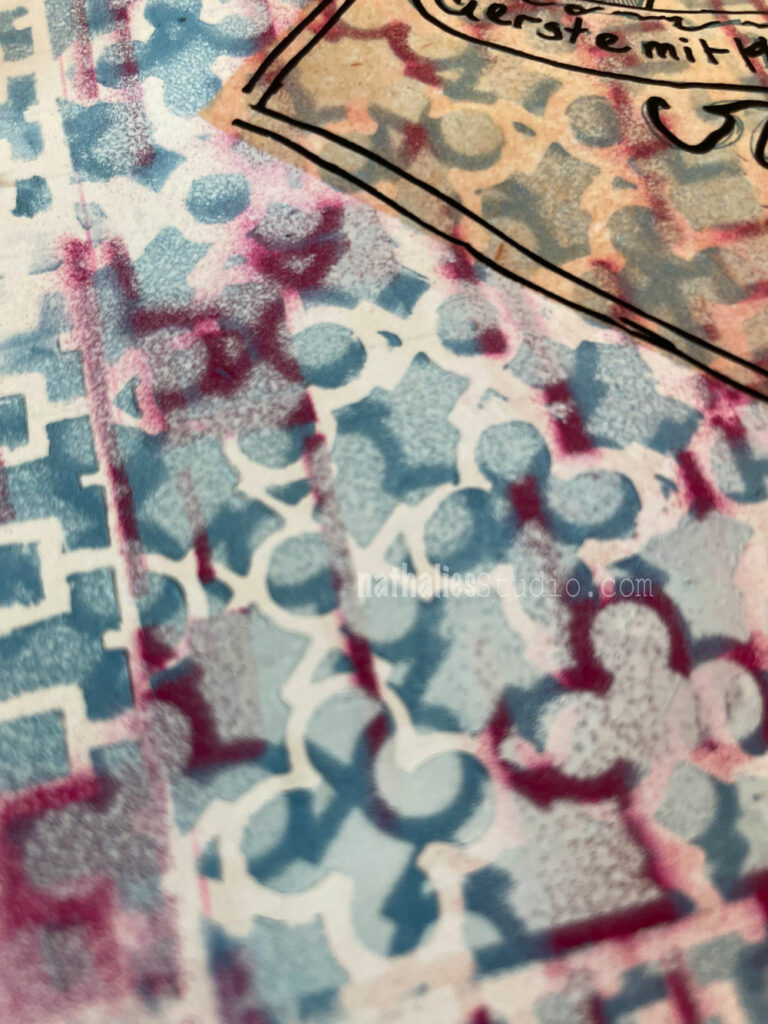
“Sometimes you never know the value of a moment until it becomes a memory”
This is a photo I found and to be honest, I have no idea where it came from – was it from a box of my great aunt, was it something I found at a flea market? In any event I found it again, put it on my work bench for later use and accidentally had some spray paint get on it…making the image even more blurry. ..hence ..this is the store how this page with it’s quote came along ;) I used my Downtown Stencil for the background – moving it around and spraying it over with acylic spray paint in different colors. I also used an old napkin with a german beer quote and some snippets I had in my stash. I love rummaging through my collage drawer to see what could fit my idea for a page.
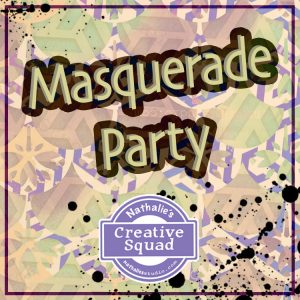
Hello from my Creative Squad! Today we have some fantastic cards from Robin Seiz who is using my Grove Street, Central Avenue, Valley Road, and Park Blvd stencils and our theme: Masquerade Party – Let’s play with disguises, the technique of masking, or maybe creating a bit of mystery this month. Not everything is what it seems, and it can be an interesting artistic trick to obscure or reveal in your artwork.
Hi friends, This month’s theme is Masquerade Party. I’m not a big fan of Halloween (I know I must be the only person in the US) LOL So I decided to interpret this theme in the broadest sense of the word. (One of the many great things about being on this Creative Squad is that we have license to do this! ) I thought about what the word Masquerade means — to conceal something — and I decided to use the mixed media “masking” technique for my project.
I find “masking” a bit challenging, both in terms of the layers of paint and really thinking through and planning in advance the results that I want. I am more of a “put it down and see what happens” artist typically, but that doesn’t really work with masking. How about you? Do you find masking easy or challenging?
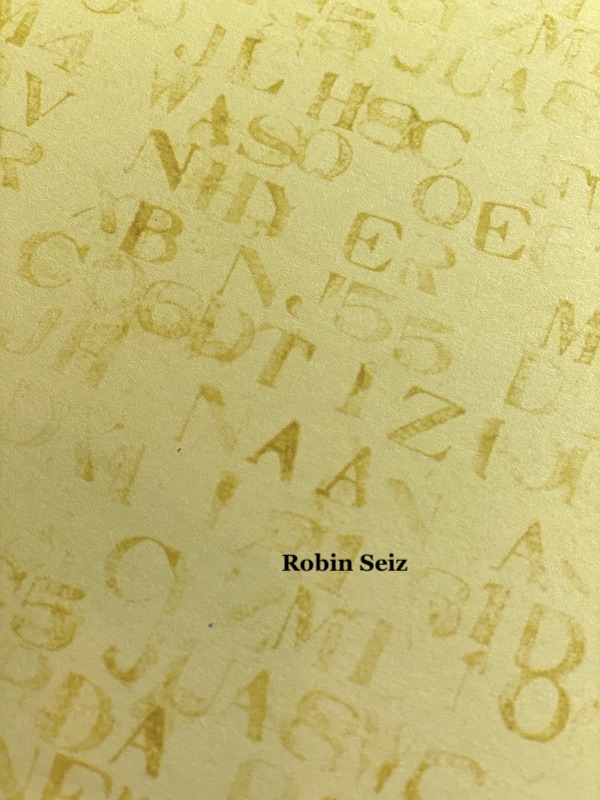
I am committed to working with supplies that I have in my studio rather than buying new things. As a result, I decided to use the paper from a 12×12 paper pad that I had on my shelf. I love using patterned paper for Gelli printing. The paper I chose dictated the size of the Gelli plate — 12×14.
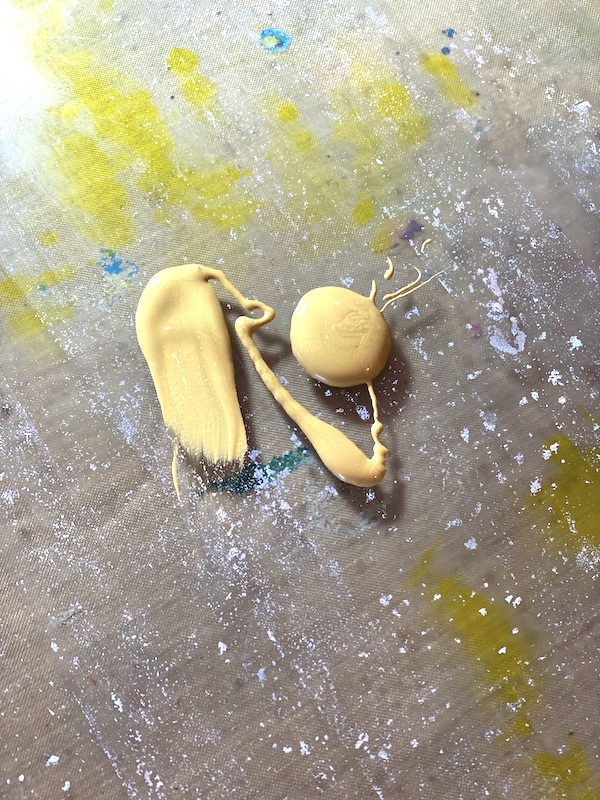
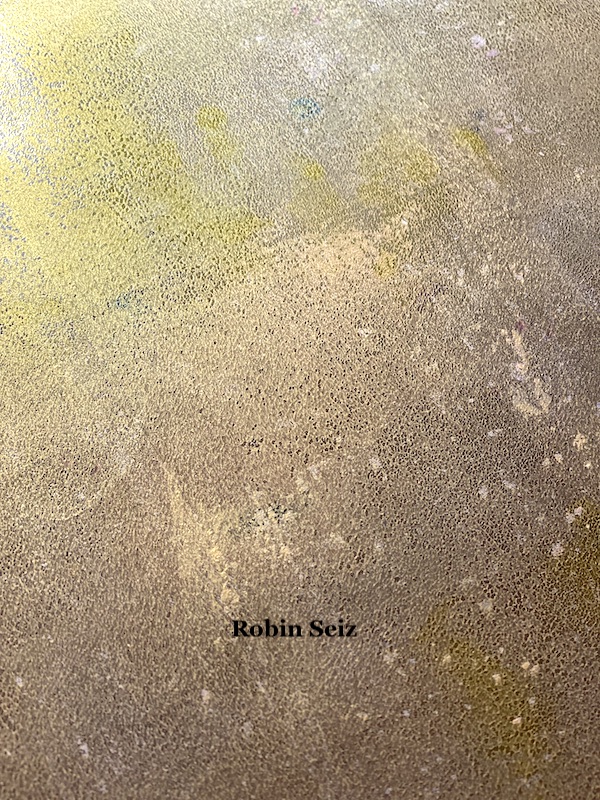
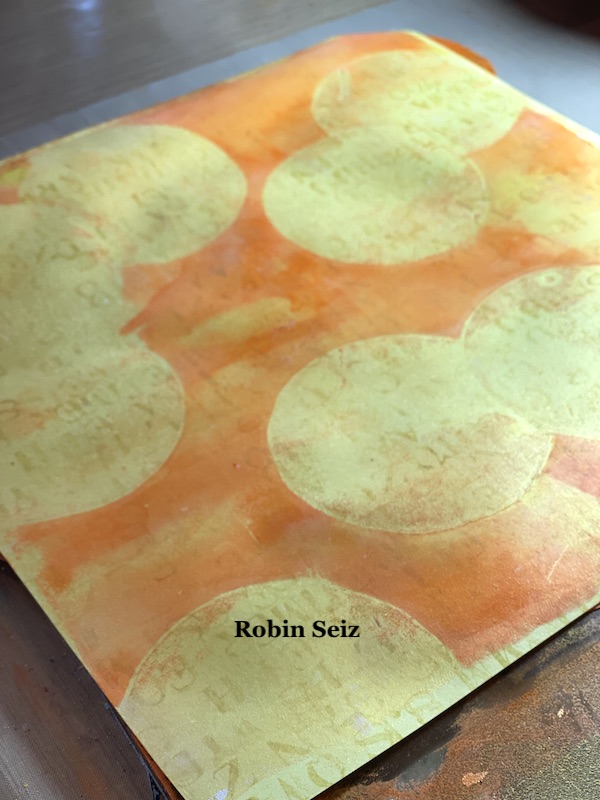
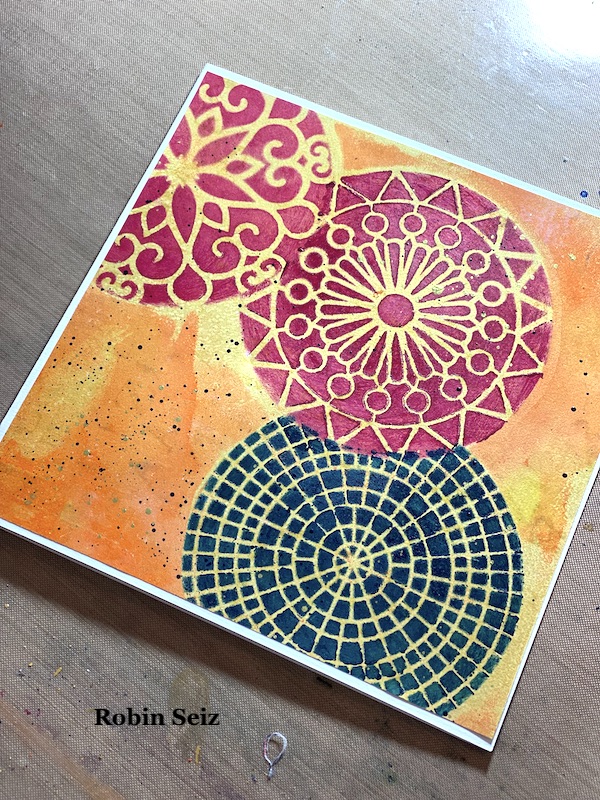
If you have read my recent blogs for the Creative Squad, you know that I have been loving Gold Gesso. I believe gold adds so much to a piece of art. I began this project by putting gold gesso down on the Gelli Plate and pulling a print. I wanted enough paint to have good coverage, but I also wanted the pattern to show through.
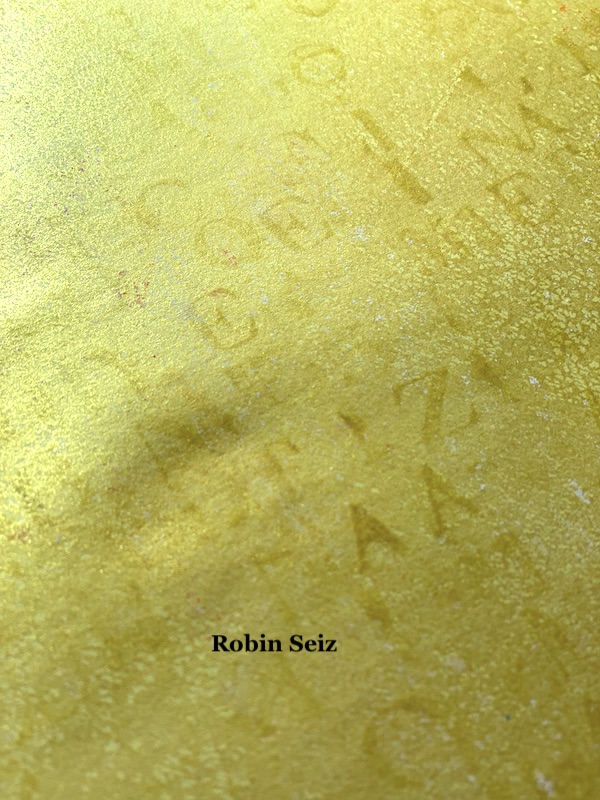
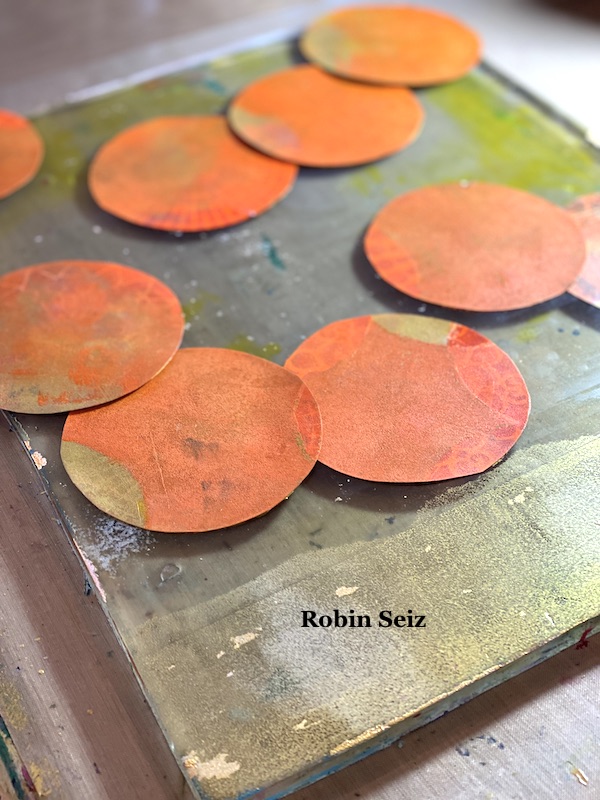
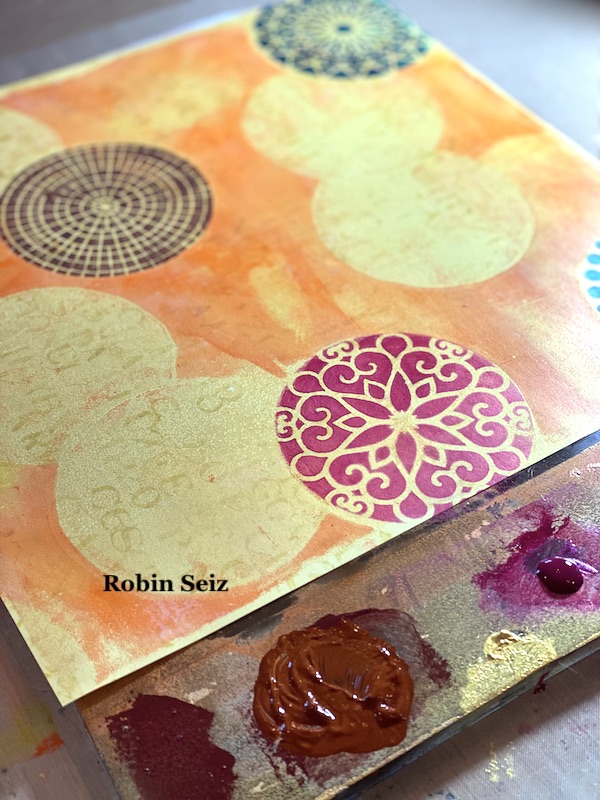
I cut out nine circles the same size as the patterns of the 4×4 stencils I planned to use (Grove Street, Central Avenue, Valley Road, and Park Blvd) These became my masks. Next I placed them down on the Gelli Plate, remembering that the pattern would be reversed when I printed it. Sometimes taking a “practice print” at this point is good. You can rearrange the masks if you don’t like how they turn out when printed. Once I was satisfied with the arrangement, I spread orange and yellow paint with a brayer over the masks.
Next I removed the masks and now gold circles were visible where the masks had been. These circles were my guide to where I wanted the stencils and provided a lovely gold background for each stencil.
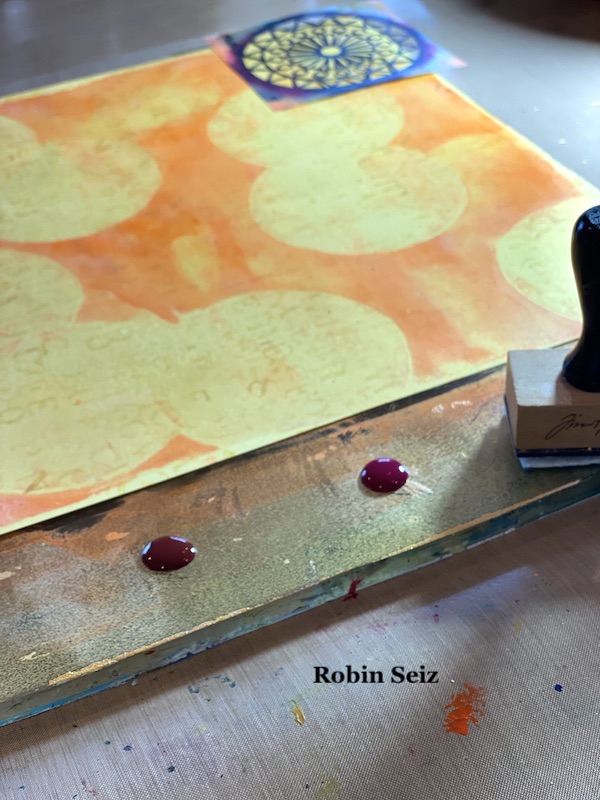
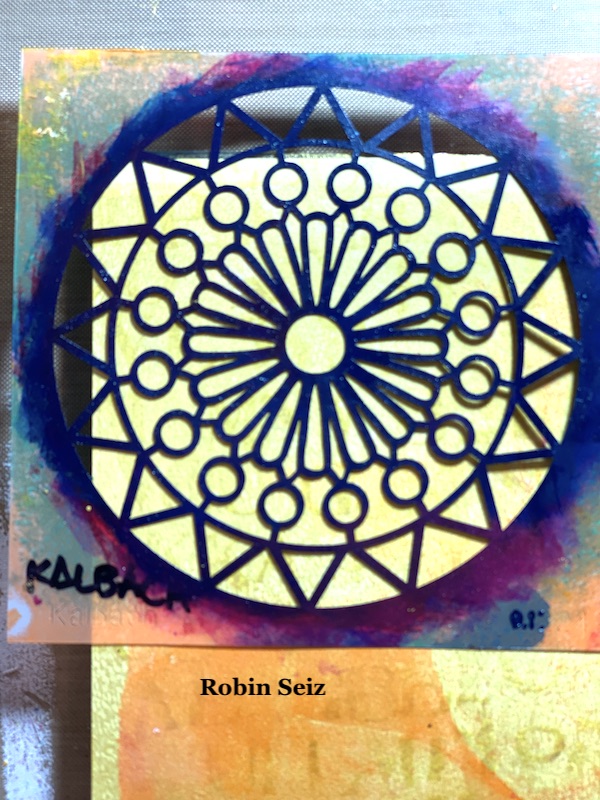
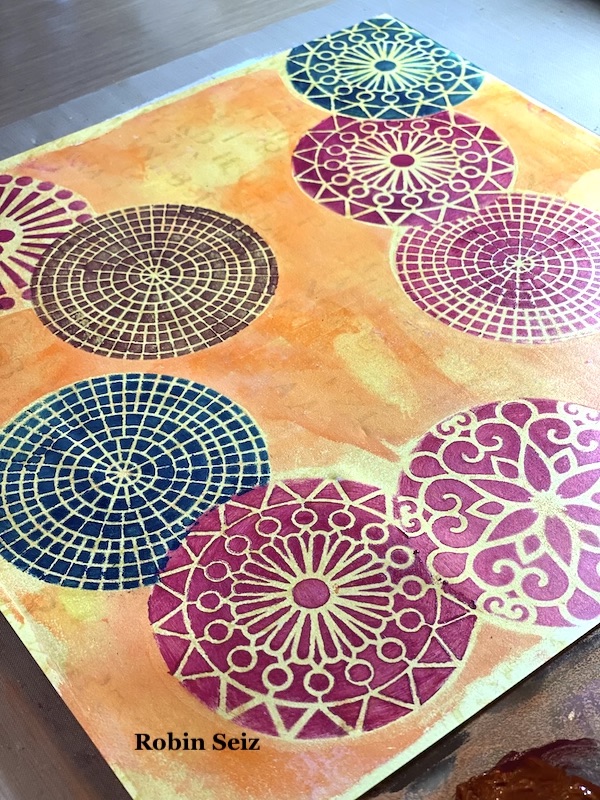
The next step is the one I find most challenging — determining which stencils to put down first. The rule of thumb in masking is to complete all the pieces in the foreground first. Once you do that, and your stencil is dry, you can then place the mask back over what you just stenciled to move on to the next piece that will be concealed. On my page, I started in the upper left hand corner with the blue Valley Road stencil.
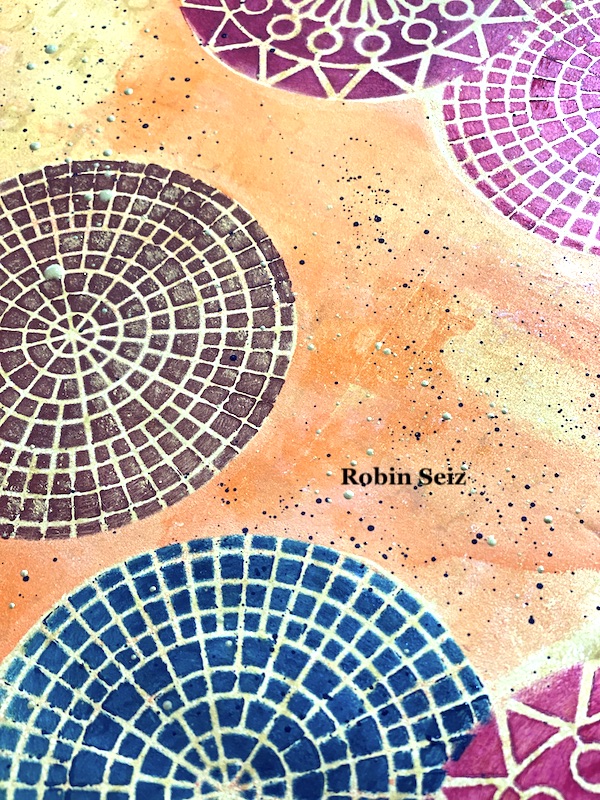
Then I did the Magenta Park Blvd stencil on the right middle and then the brown Central Ave stencil on in the lower left hand corner because all of these were going to be in the foreground. Once these were dry, I could move on to masking each one and stenciling the ones next to them that would be concealed. (In this case the two Quinacridone Magenta Grove Street circles on the right middle and upper left and the Quinacridone Magenta Valley Road Stencil in the lower left).
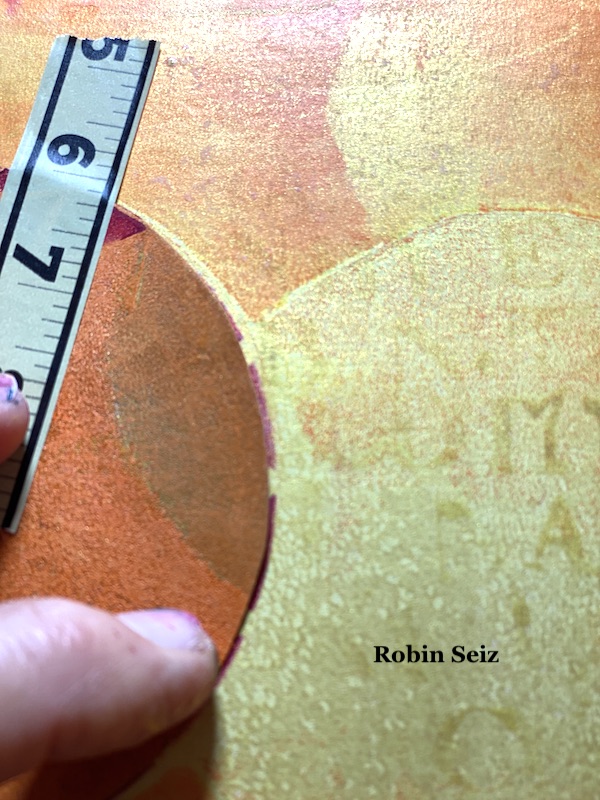
The most important thing to remember when you move to your second piece (or the piece that will be concealed) is to place the mask about 1/8” inside the first stencil — so 1/8” of the masked stencil is showing outside the mask. If you don’t do this, you will get a gap and the conceal won’t look natural. You will have white space (or in this case gold space) between the two pieces. I used washi tape to place the mask on the page.
Just a note about applying paint to the stencils. I first tried a makeup sponge, but found that I am too heavy handed and the paint tended to glob up. I used one of my Tim Holtz applicators that are made for distressed inks or alcohol inks. I found rubbing the paint over the stencil worked best for me and gave me a clearer image. You may be skilled at the make up sponge, but I’m a heavy paint user!!!! LOL
I repeated this technique, masking the second stencil so that the third would be concealed. (see the middle center three.)
I’m realizing this is a hard process to describe in words. I hope it’s clear. Just send me a note if you have questions.
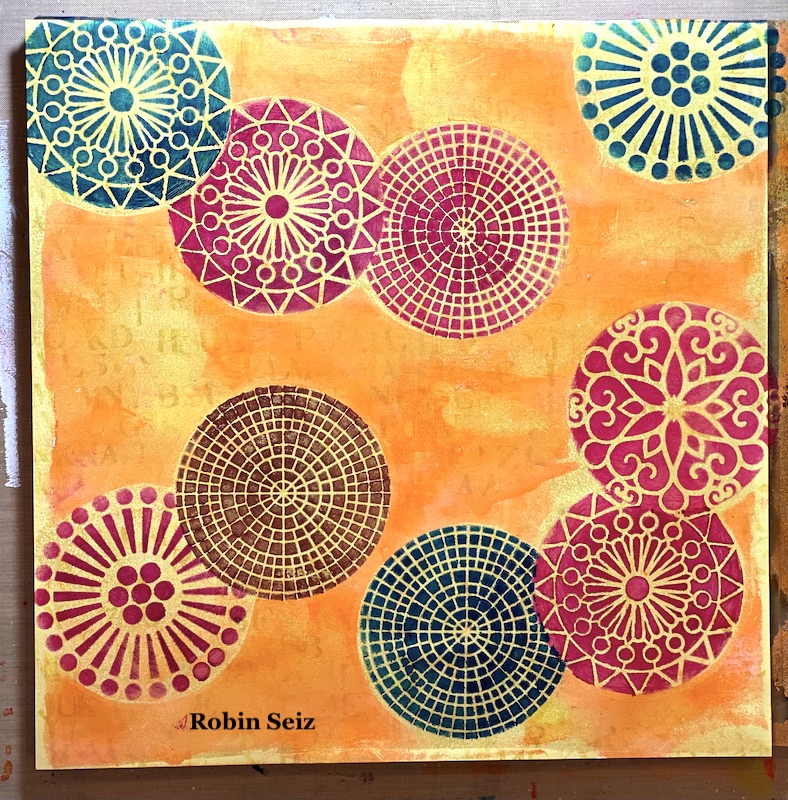
When I was finished with all the masking, the page looked like it needed a little something else. I laid down some black and gold splatter on the page. This always gives a piece a finished look.
This page, since it’s large, could be used as a journal page, gift wrap, emphemera (if you cut out the stenciled pieces), or greeting cards. I chose to cut the paper into 4 sections and make 6×6 greeting cards. I love the size and how vibrant they turned out. I sometimes like my work more when I cut it into smaller pieces. Don’t be afraid to try this! You might be surprised at the results.
I hope you try this Masquerading project. Please post your projects. I can’t wait to see them!
Thank you Robin and I love that you chose the more abstract interpretation of this theme and showed us a masking technique!
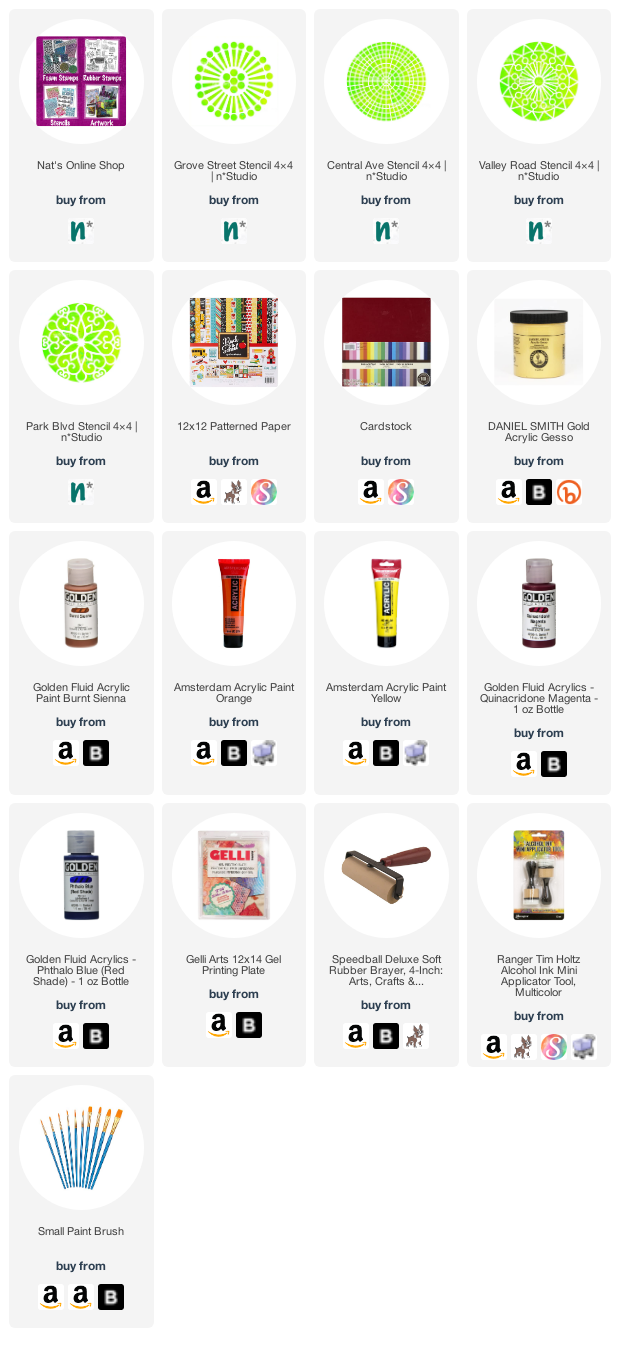
Give it a try: you can find all my Stencils in my Online Shop and here are some of the supplies Robin used:
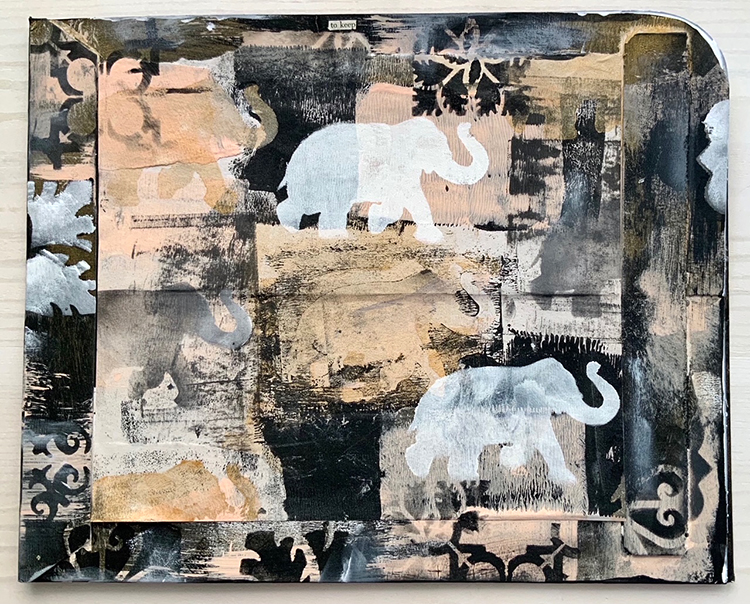
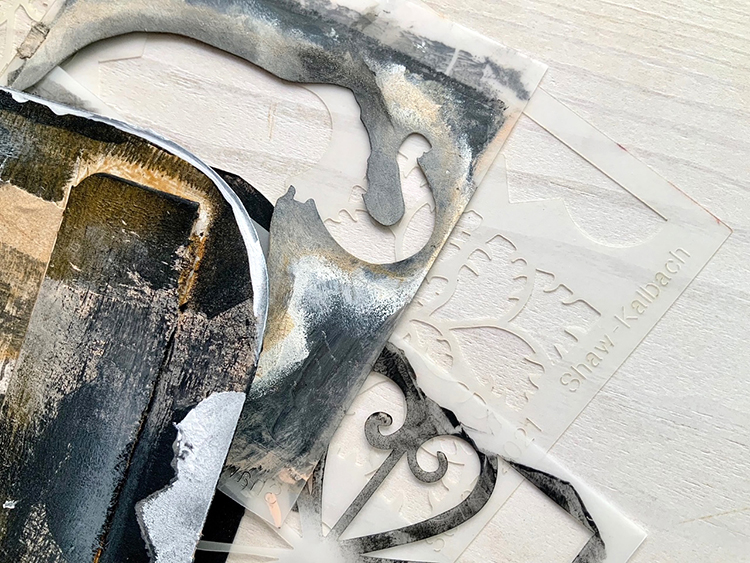
I’m sharing a gorgeous envelope transformation from Creative Squad member Judi Kauffman today. Instead of just recycling the shipping envelope her new stencils arrived in, Judi decided to give it new life and we love the results!
Judi received my new StencilClub mash-up stencils in the mail -the stencils are exclusive for StencilClub members, and you can learn more about that here and get the new 3 stencil set.
She shared her process with us:
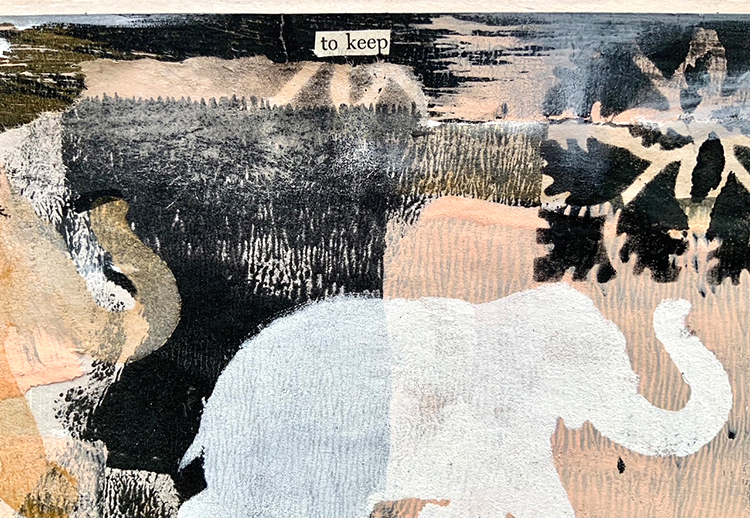
“I cut the shipping envelope from the stencils along two sides and rounded one corner to turn it into a storage folder for the new release. I painted the edges and trimmed down a piece of gift wrap to fit between the two raised strips at the sides (cut edges at left, right and bottom but left it torn across the top). Then more stenciling with the pattens (but no more elephants…). I had the words “to keep” among my found poetry snippets and that seemed like the right text to add at the top edge.”
“I always keep the StencilGirl shipping envelopes to use as storage folders for my stencils, just hadn’t decorated any of them till now. I like being able to see the contents without digging inside.”
Fantastic idea Judi! Thank you for sharing.
Here is a link to the StencilClub so you can get a hold of these exclusive July 2021 stencils and begin decorating your own StencilGirl envelopes too :)
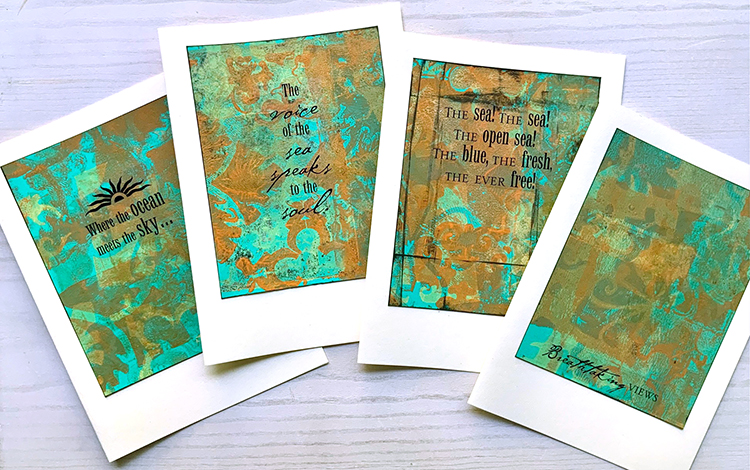
Today we have a series of cards from Creative Squad member Judi Kauffman. Is anyone else out there dreaming of the sea???
Judi is mixing up a lovely palette of colors and using a gelli plate along with my new StencilClub mash-up stencils for these cards and I’m really digging the subtle layers of pattern and color that she’s created. The stencils are exclusive for StencilClub members, and you can learn more about that here and get the new 3 stencil set.
In the meantime, let’s look at some of these cards:
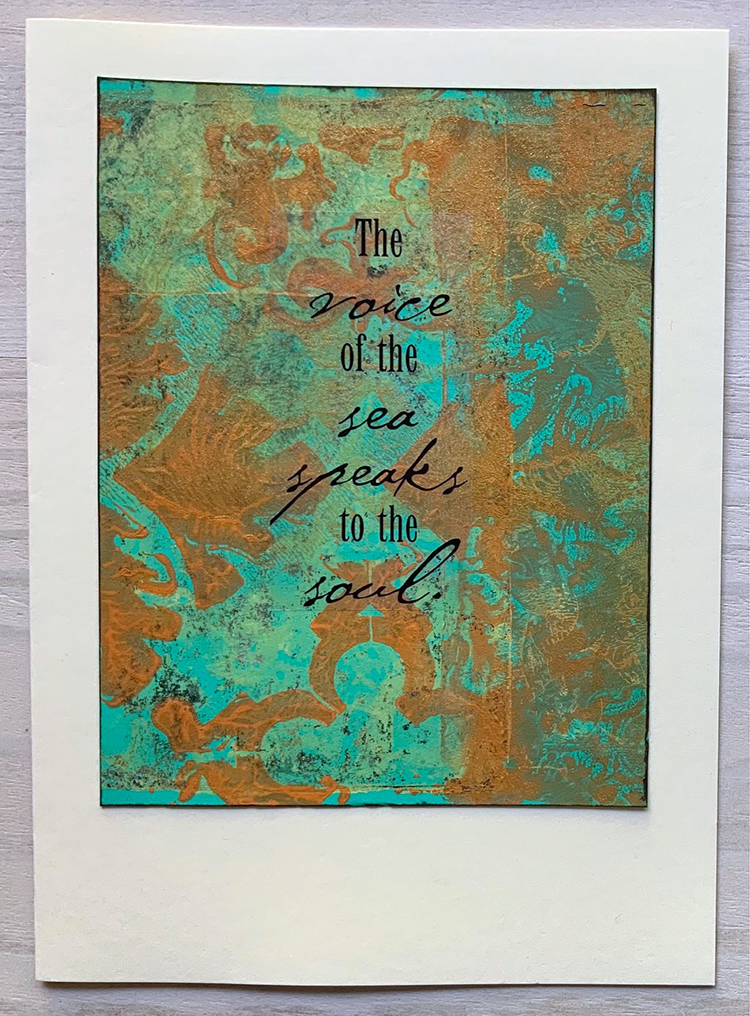
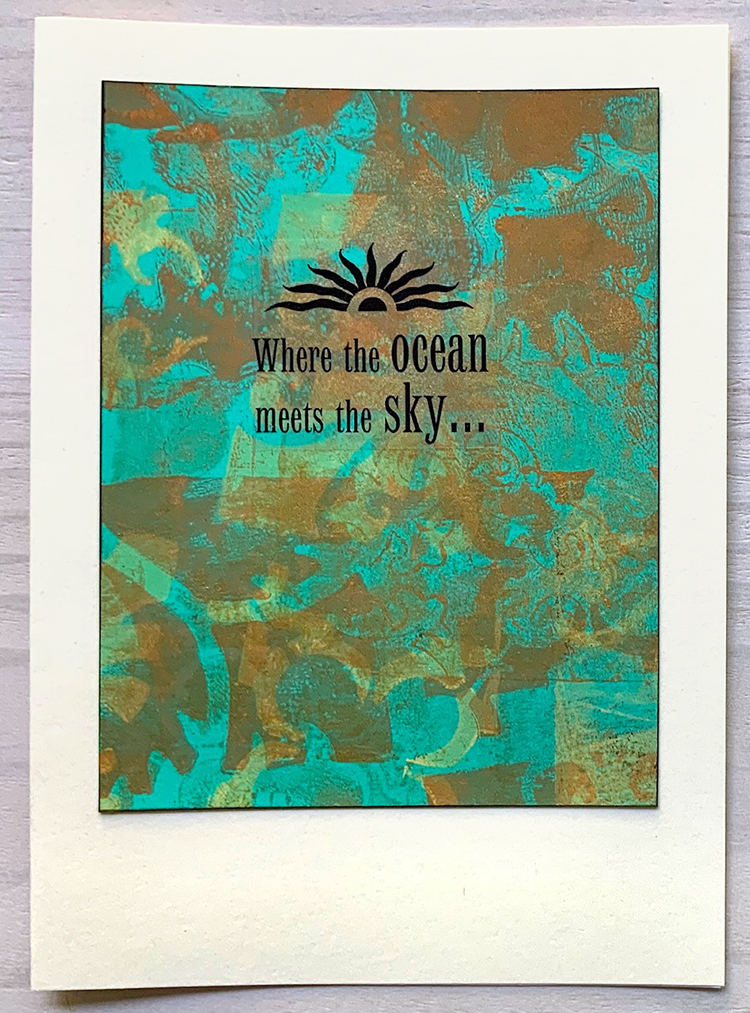
Judi used clear stickers for the words and phrases and it creates a seamless unity between the card’s sentiment and background.
She did her gelli prints on navy blue cardstock – giving them a nice depth of color.
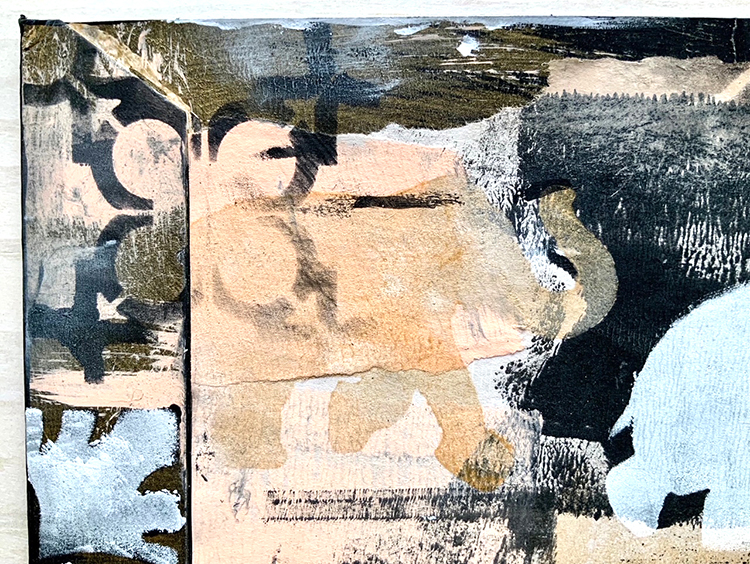
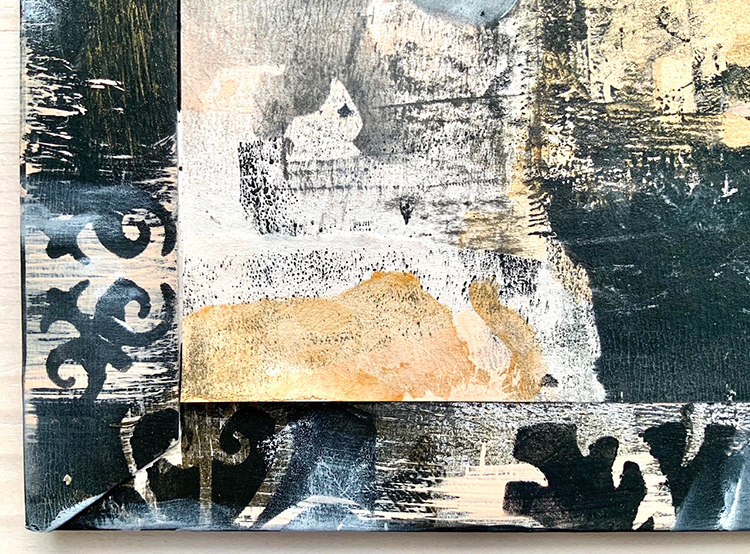
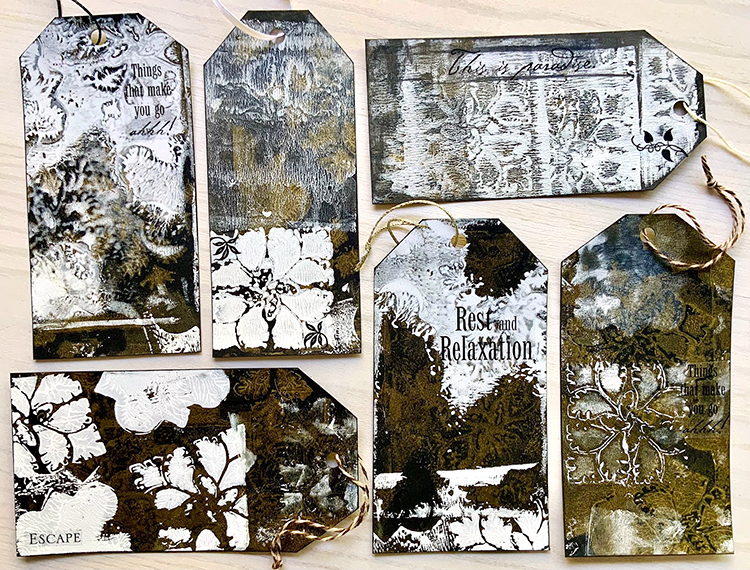
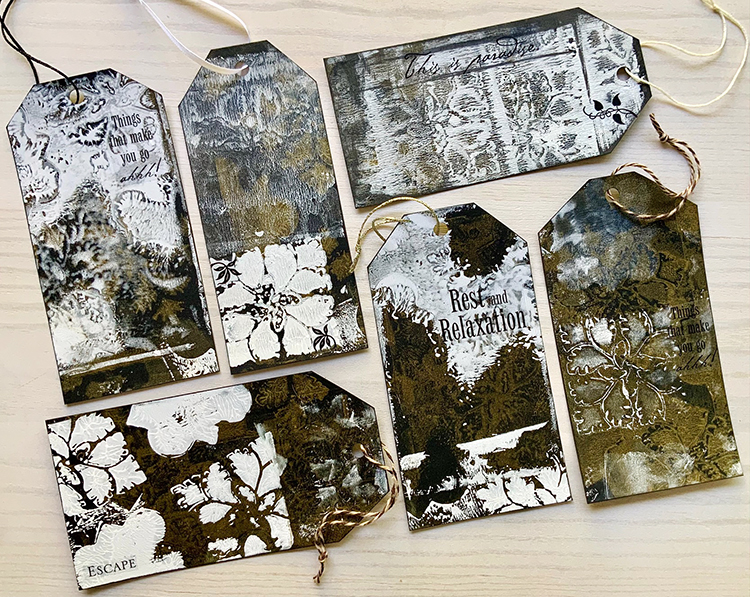
I’m sharing a suite of tags made by Creative Squad member Judi Kauffman today. With some stencils and just a few other supplies, Judi mixes big juicy texture, delicate layering, and bold pattern in these beauties.
She is using my StencilClub mash-up stencils that I designed with Mary Beth Shaw at StencilGirl Products. The 3 piece mash-up set is available exclusively to StencilClub members through this link.
Here are some of Judi’s tags using acrylic paint, a gelli plate, the stencils, and some word and phrase stickers:
I love how the patterns and colors blend and wash over each other. Here’s a closeup:
Judi is using black, vanilla, and bronze metallic paint.
Thank you Judi for sharing this grouping and for showing us how just a few stencils and colors of paint can yield so many lovely results.
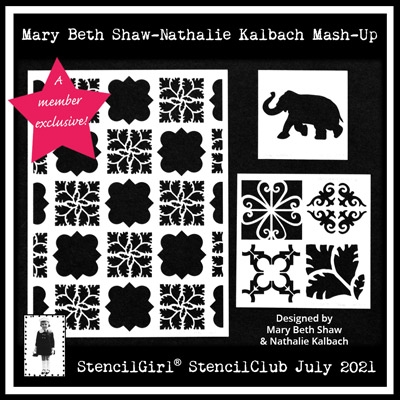
This month I am doing a stencil mash-up with StencilGirl’s very own Mary Beth Shaw for their StencilClub! This is an exclusive 3 stencil set for July 2021 if you are part of their StencilClub (Info here). It’s a mash-up so it includes design motifs from each of us, combined in a new way and new scale. Here is a little video introduction to the stencils with Mary Beth and myself:
I love how our patterns work together in this set and oh my, that little elephant is pretty cute! We had fun testing these out and I wanted to share a little sneak peak with you:
Here are the details: You get all three exclusive member stencils when you join StencilClub.
The large 9×12 inch stencil is easy to use to create repeating patterns. It evolved from Mary Beth’s Leaf Diamond and my Hamilton stencils.
The small 6×6 inch pulls in elements perfect for layering to create stunning patterns.
A baby elephant completes the set as a mini 4×4 inch stencil, open, so you can paint one color and then slide another stencil underneath and paint with a contrasting color.
You also get a Project video and PDF that Mary Beth and I made especially for you that you can download and keep.
The set ships out to members on July 15th. Can’t wait to see them in action!
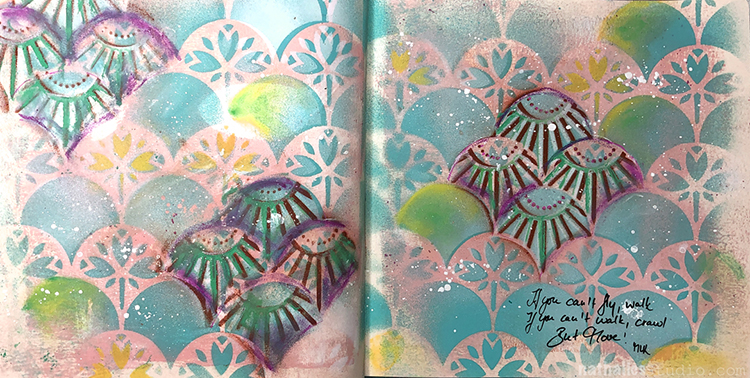
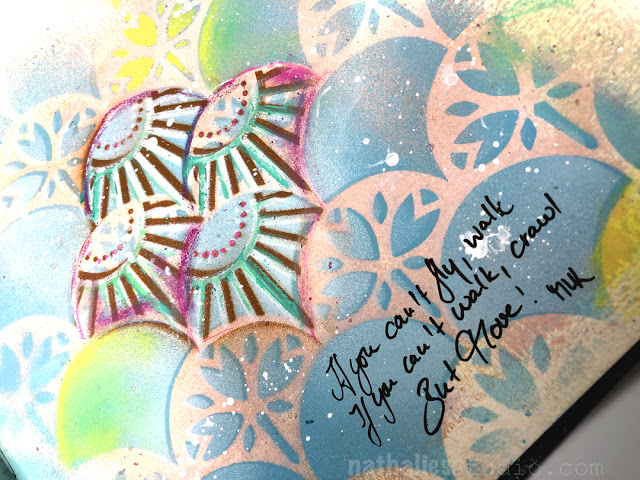
After tuning into Marsha Valk’s 100 day vlog on her instagram, I was so stoked to see her take the project one step further with this awesome gelli printed zine she shared on StencilGirl Talk here this week. She creates a charming little book of prints that is like one of her daily vlog posts, but in print form with tons of stencils, gelli plate printing techniques, and of course her cool signature style. Check out the video:
The outcome is a nifty permanent record of daily life these days – something tangible as an archive. I loved seeing the different subjects that have become so familiar in Marsha’s vlog, finding a place in the prints: that cup of hot deliciousness, her feet out on a walk, her workspace and so on. And watching her build her backgrounds with different stencils – including some of my own like Signals and New Orleans – is a nice zen moment that I hope you enjoy too :)
I designed these stencils with just this layering possibility in mind – they share the same fan design and scale and can be used together nicely. They also both include open areas for adding more of your own personal style through stamping, colors, or hand drawn elements.


Judi, these cards are stunning and speak to me of a beach visit!! Love the color combos too!
Reply