Creative Squad

Boldly Going – Maura Hibbitts

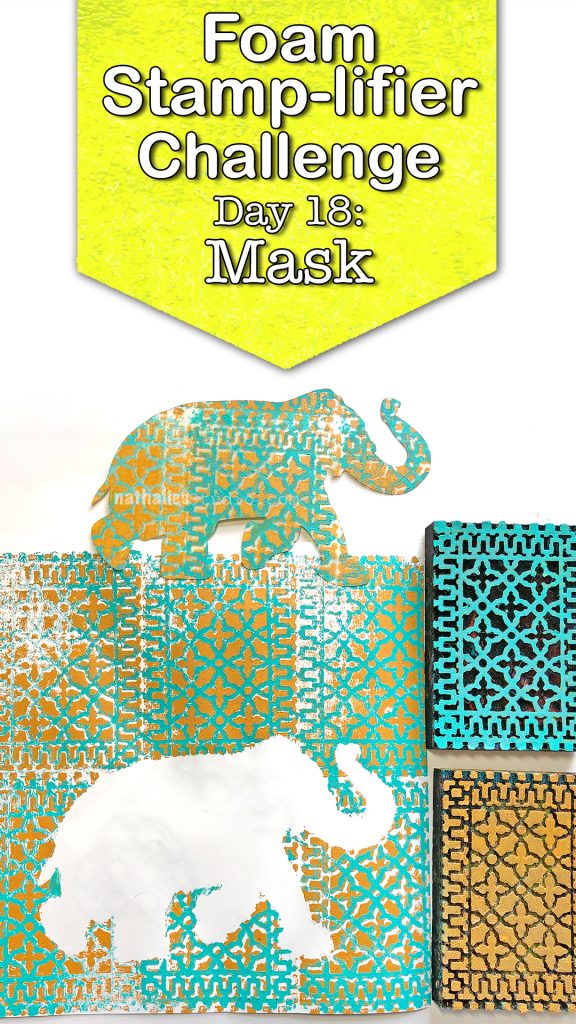
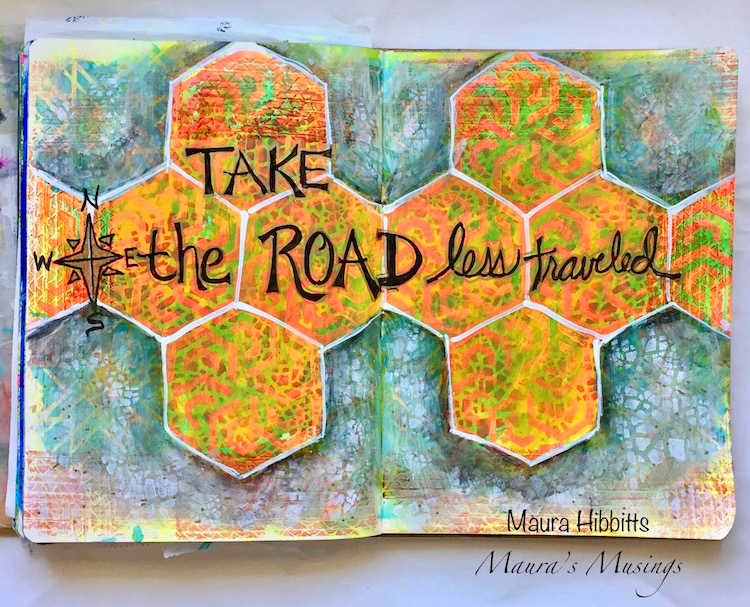
Happy Tuesday from the Creative Squad! Today we have a grouping of handmade cards from Maura Hibbitts that will really catch your eye! They feature bold colors and patterns including my Maze Hex and Groovy foam stamps and are inspired by the theme this month: Boldly Going – Go BOLD with color or pattern this month and really make something that is packed with visual POP! This is no time to be subdued or subtle. Go Bold!!!


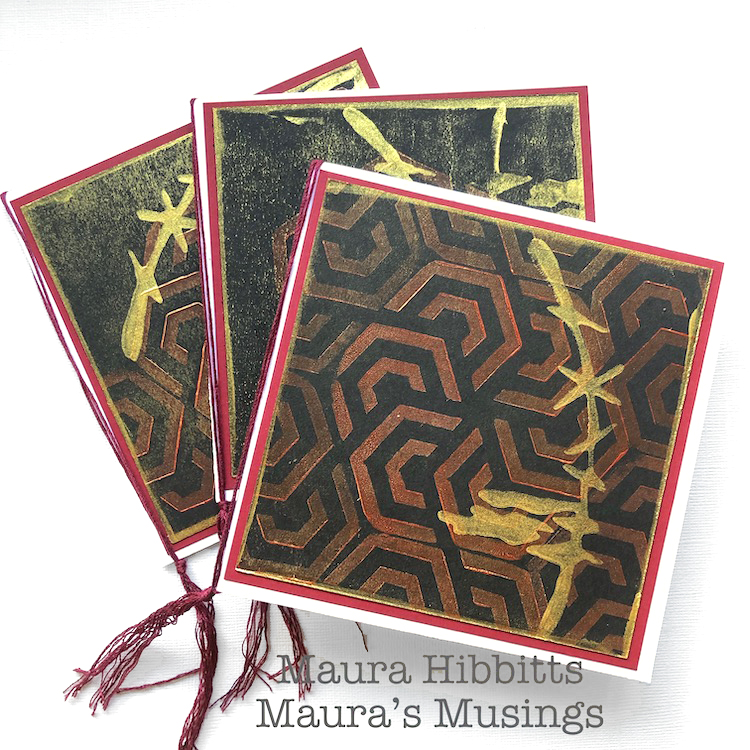
Why not make a statement with some bold, handmade cards? There are a lot of cute and pretty cards out there (I know, because I make some too), but every once in awhile, you just need an attention grabber. That’s when going bold with your design can be a lot of fun! I made a trio of square cards, shimmering with possibility.

My project uses a few simple materials.  I began by cutting the white card stock into the card base to make a 5.5 inch square card. (5.5” x 11”, and fold in half) The dark red paper is a 5.25 inch square, and the black is a 5 inch square.

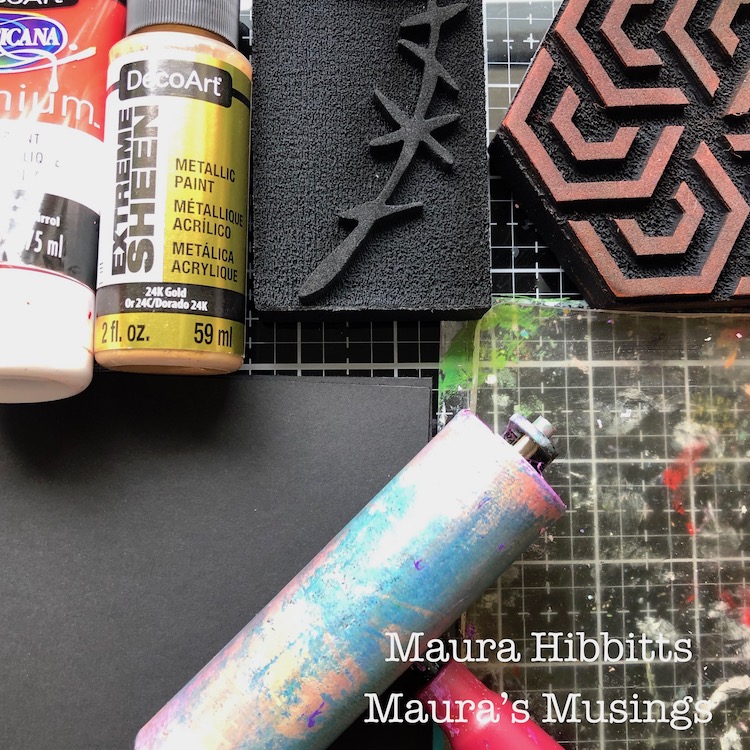
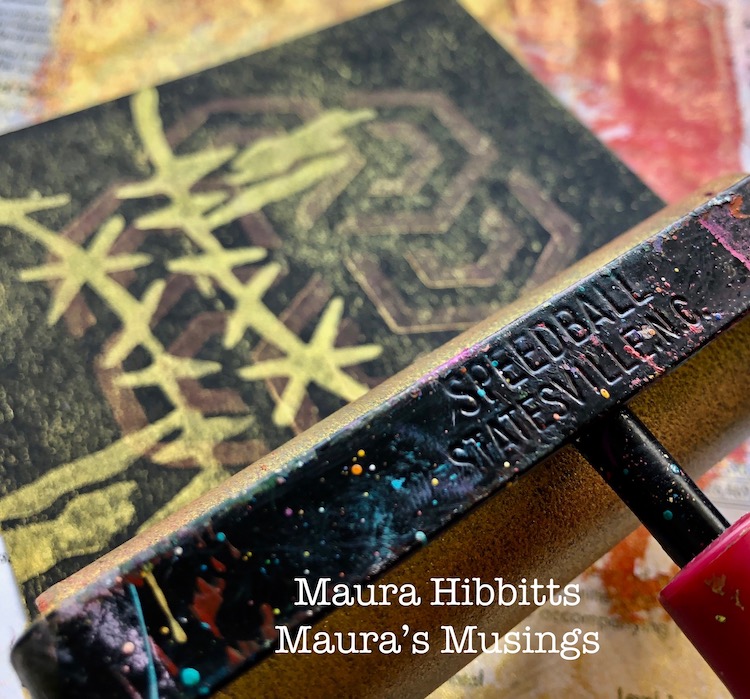
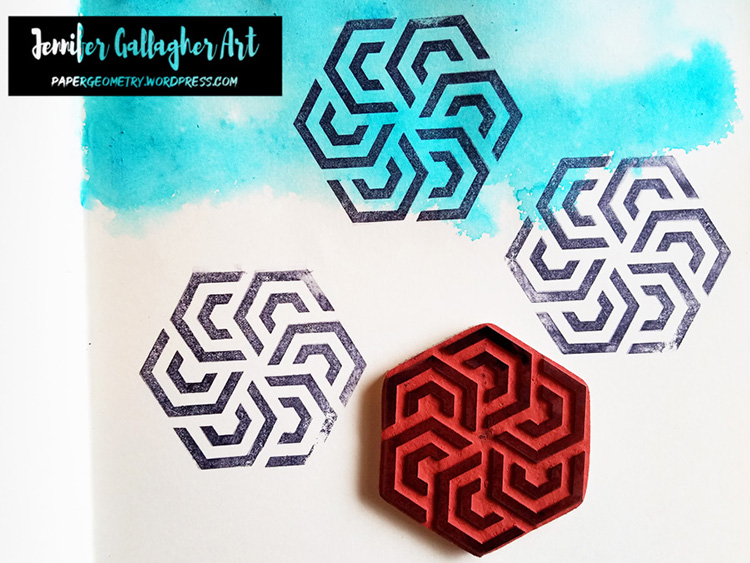
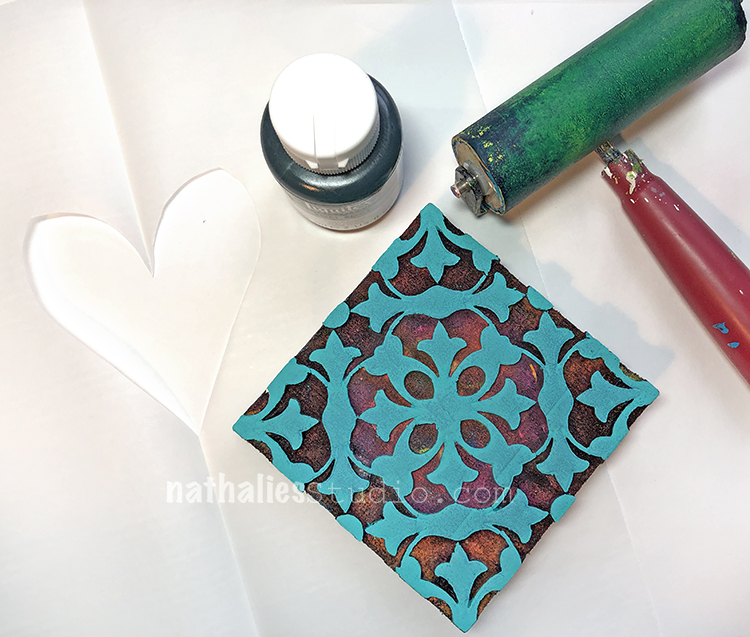
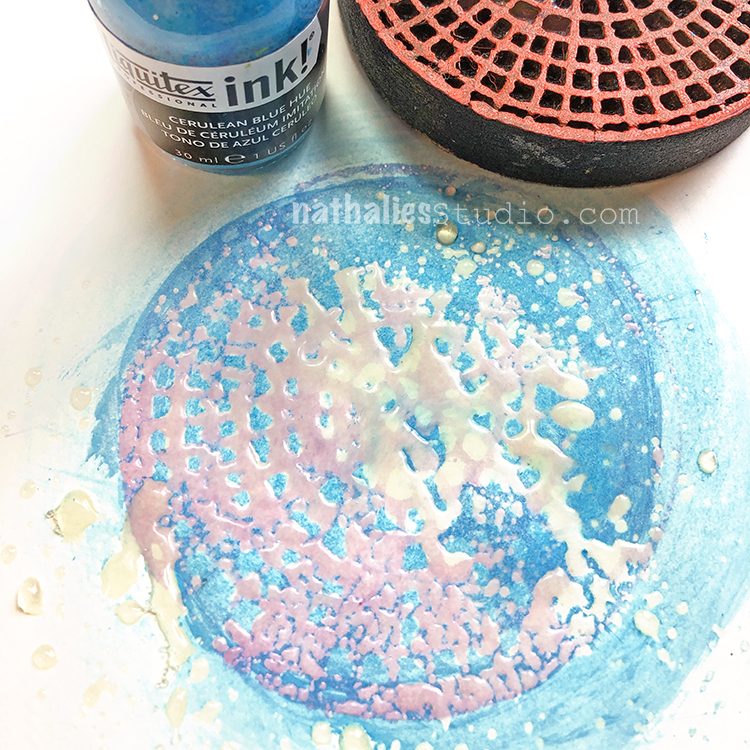
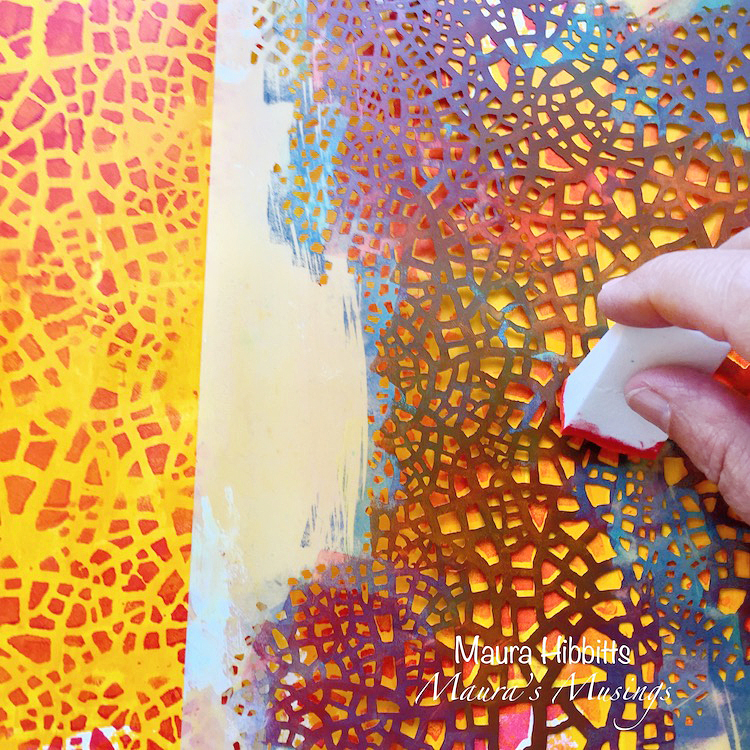
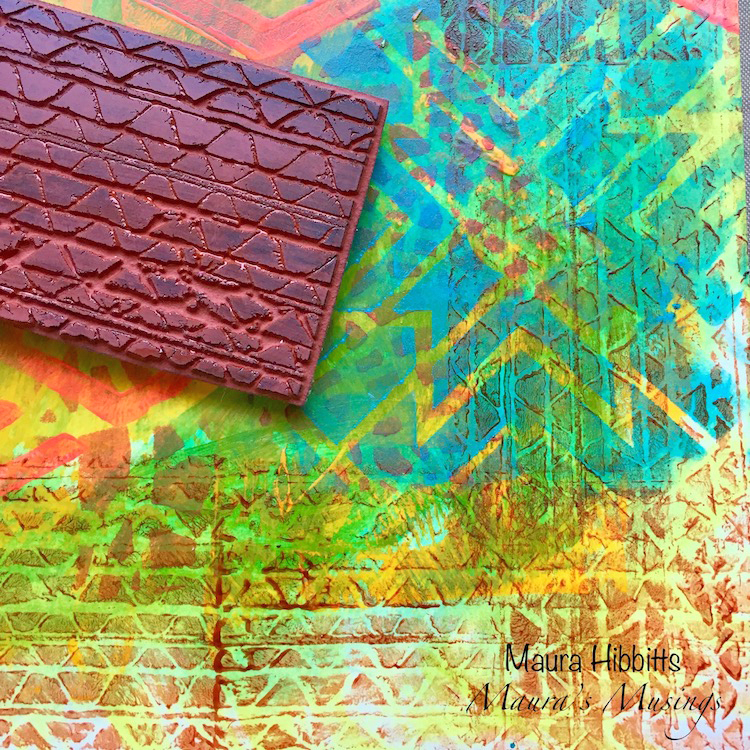
Whenever I am stamping with paint, I reach for a gel plate. This is the perfect tool to lay the paint on and smooth it out with a brayer, then stamp into, to pick up the paint. The foam stamps are amazing with paint, just be sure to clean the paint off right away, using a baby wipe or soap and water.

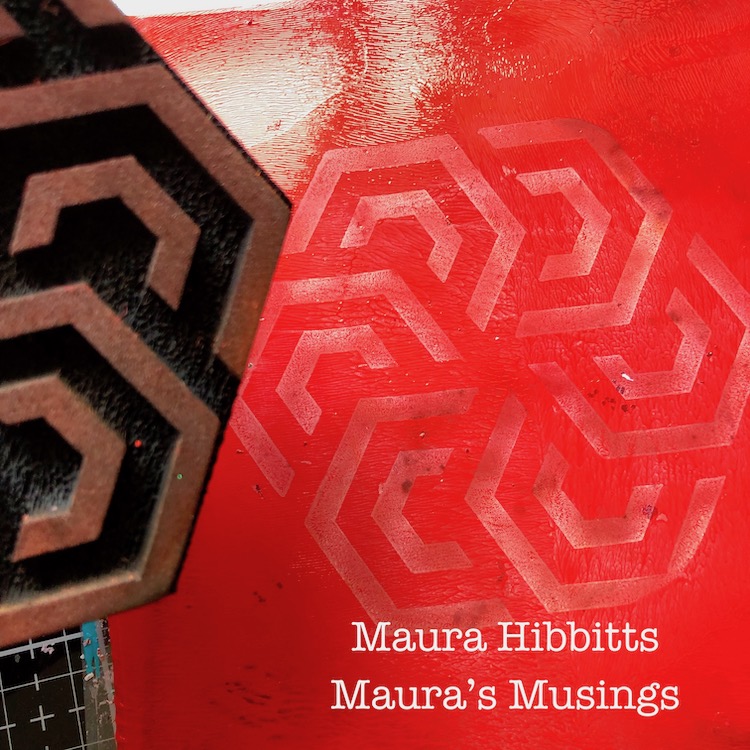
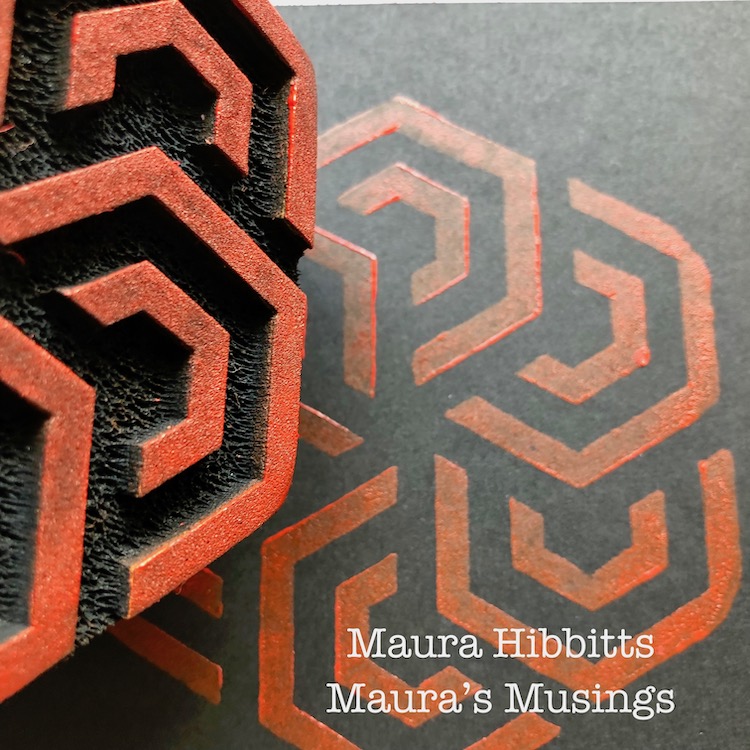
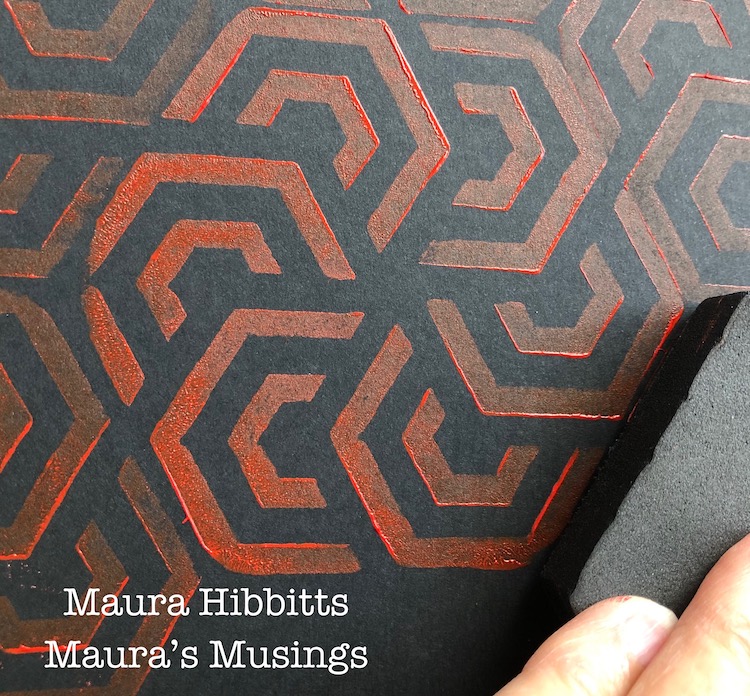
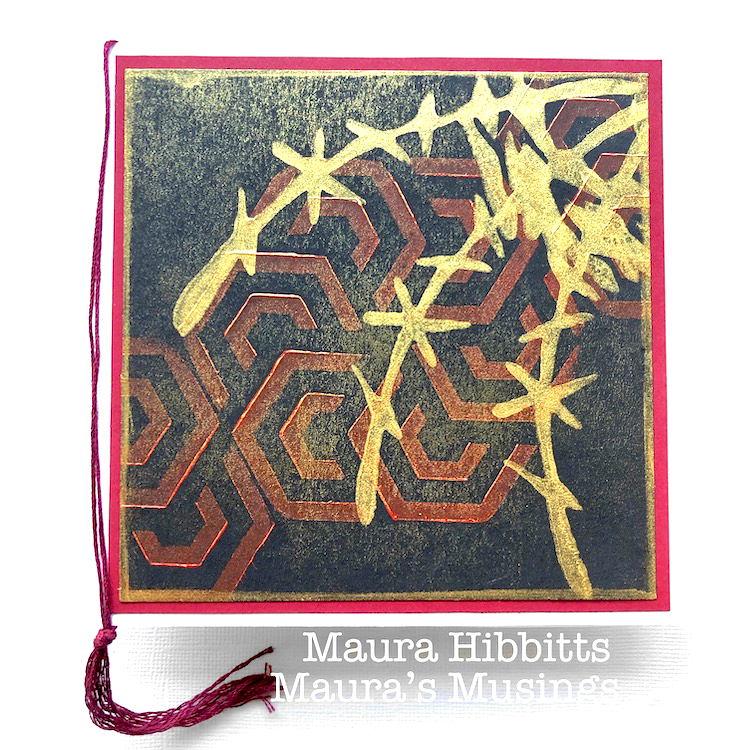
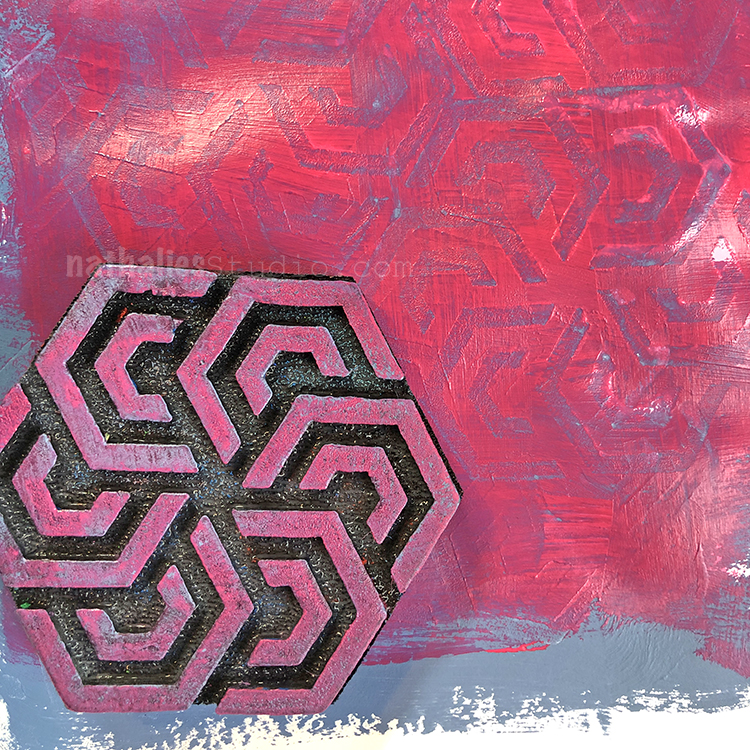
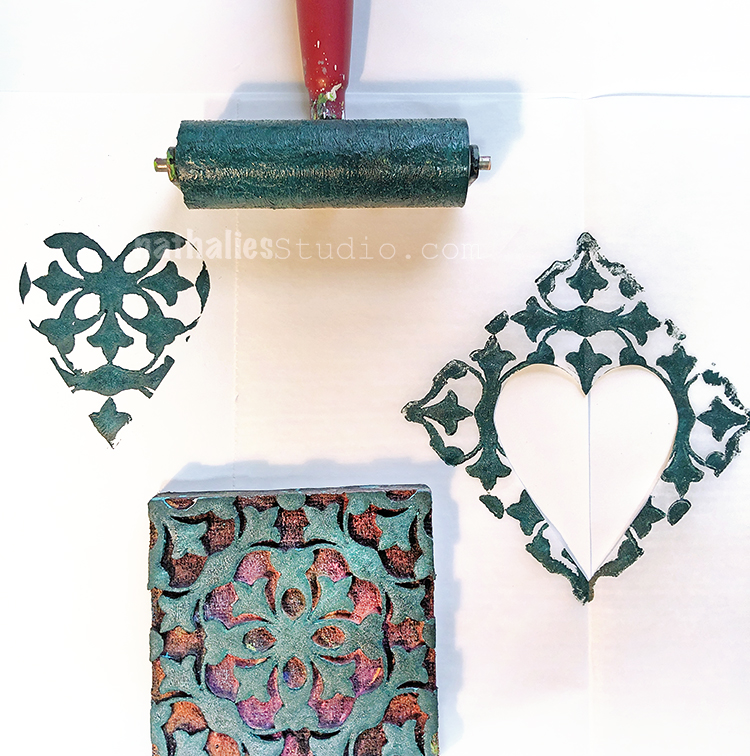
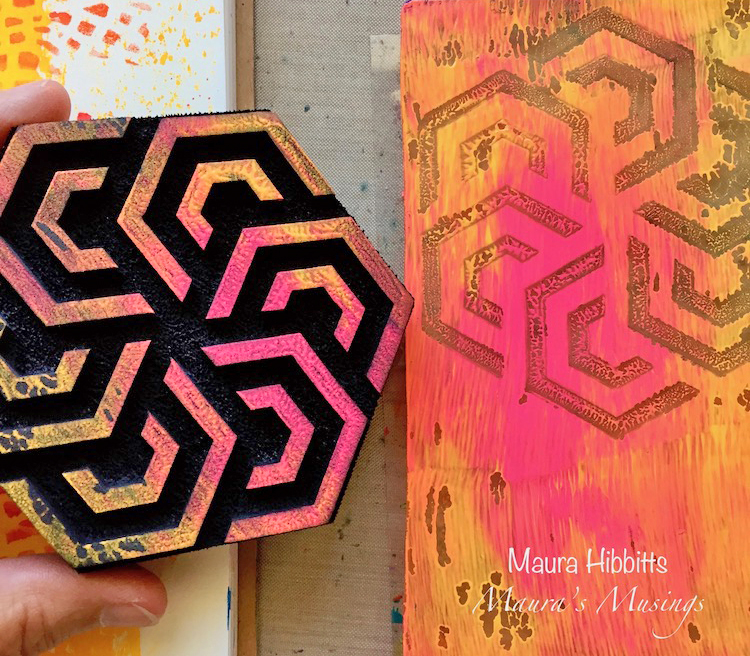
I’m using Pyrrole Red acrylic with the Maze Hex foam stamp. Since I am stamping the red onto black card stock, I got the paint nice and juicy on the stamp, so it would show up against the black. I made a single image on one card, and a diagonal image by stamping two partial prints on the edge. The third card has a central image, and then I stamped partial images all the way around. 

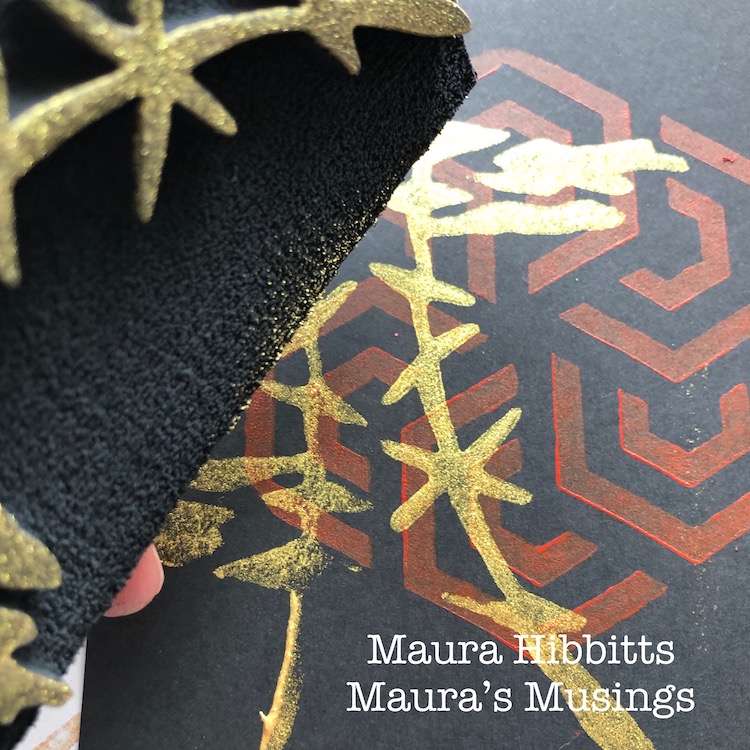
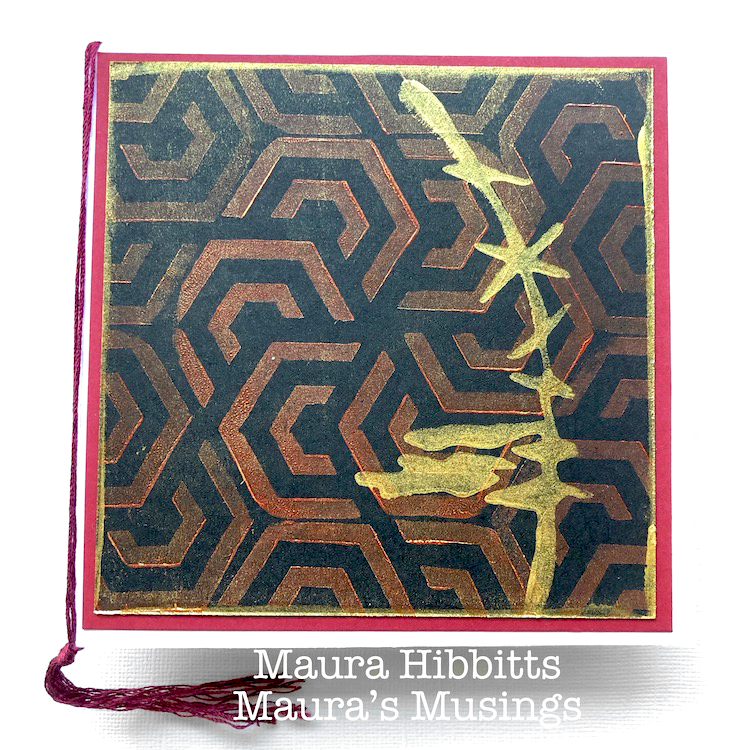
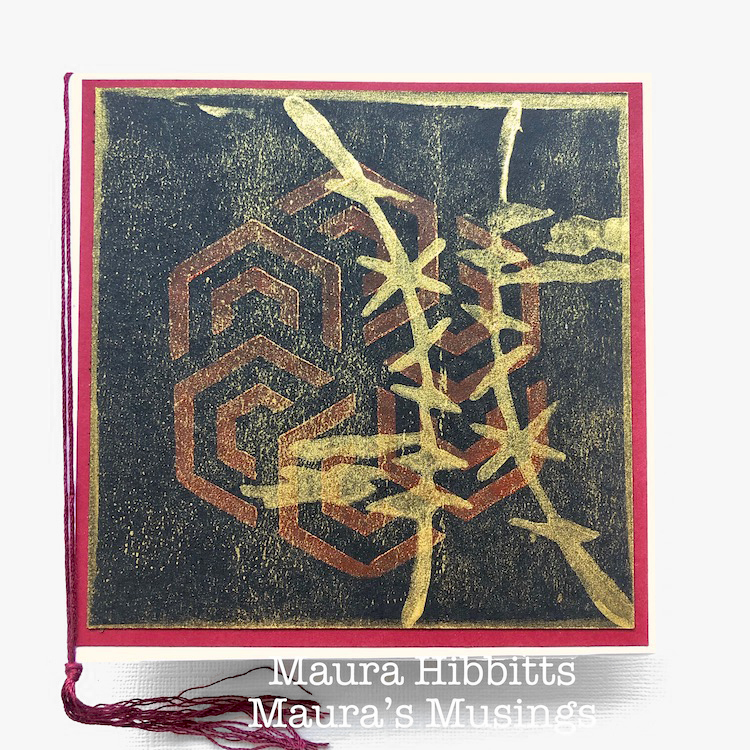
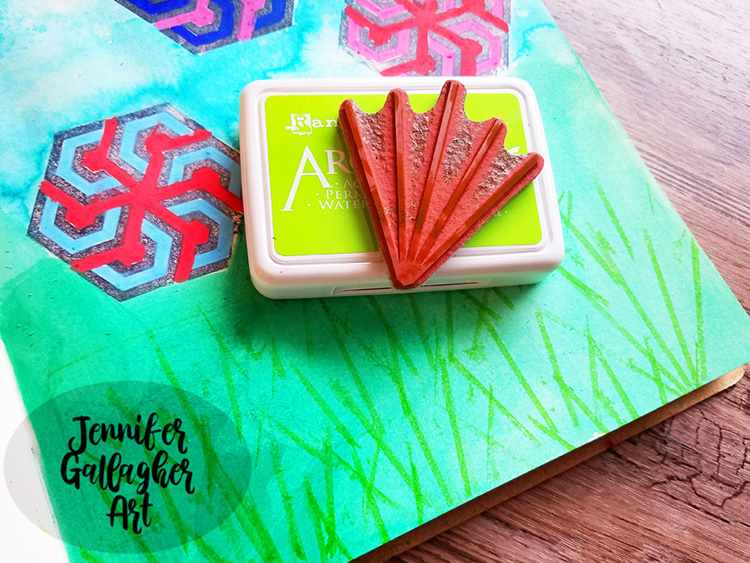
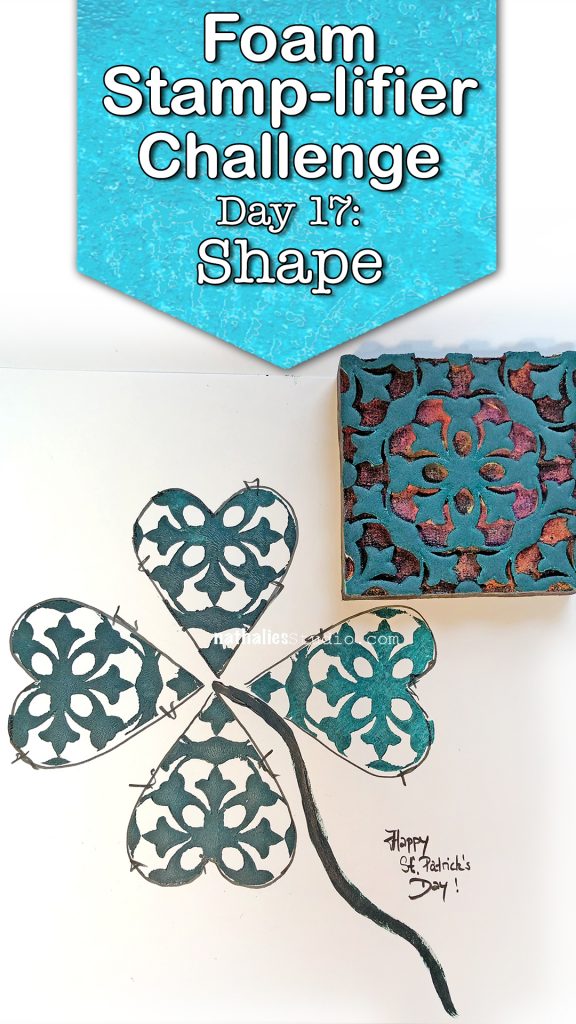
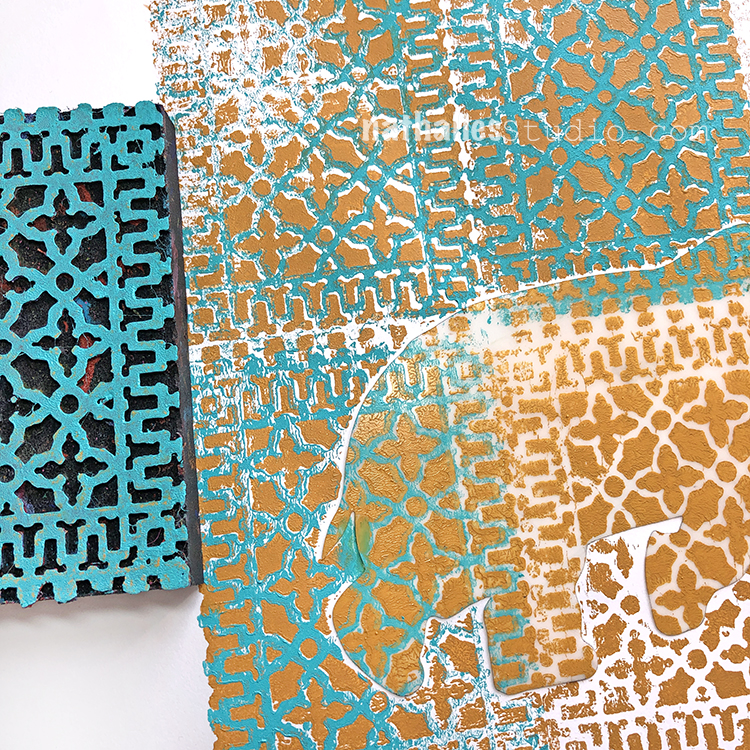
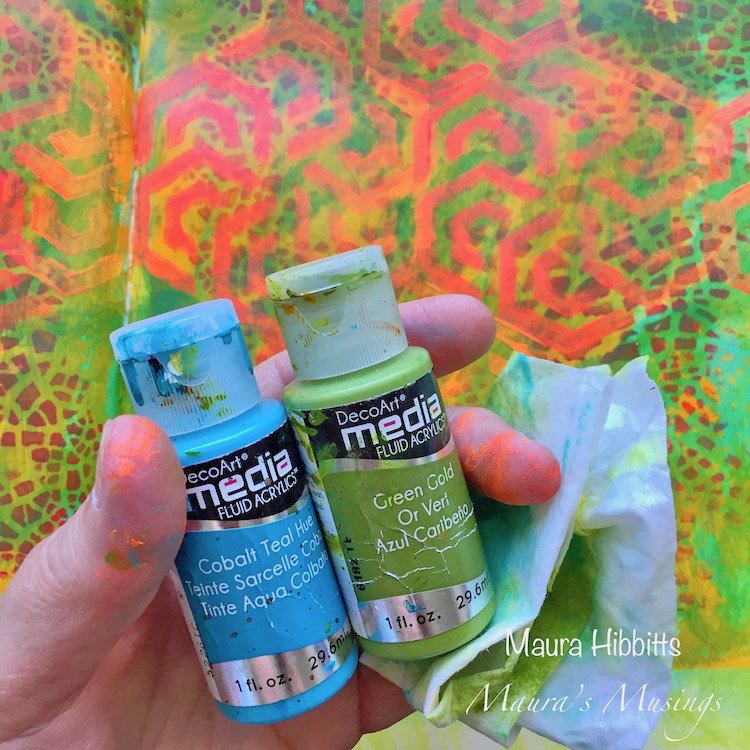
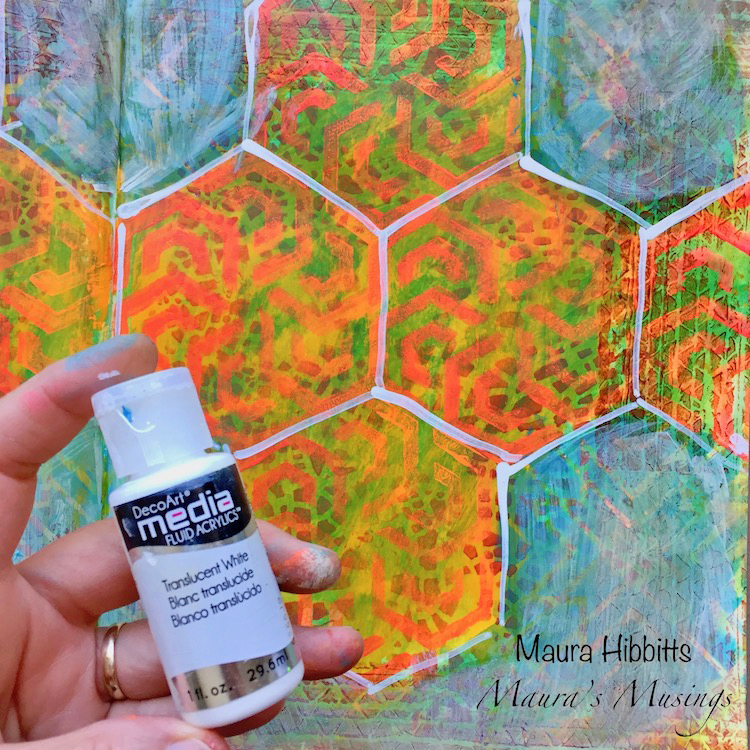
When I look at the Groovy stamp, I see an Asian image or a tree with clouds, which inspired me to stamp with Gold acrylic for a bold statement. Once again, you can brayer the gold onto the gel plate and stamp into it, to pick up a nice even coat of paint. Your other option is to use the brayer and roll it over the stamp. I varied the number of images on each card to create variety.

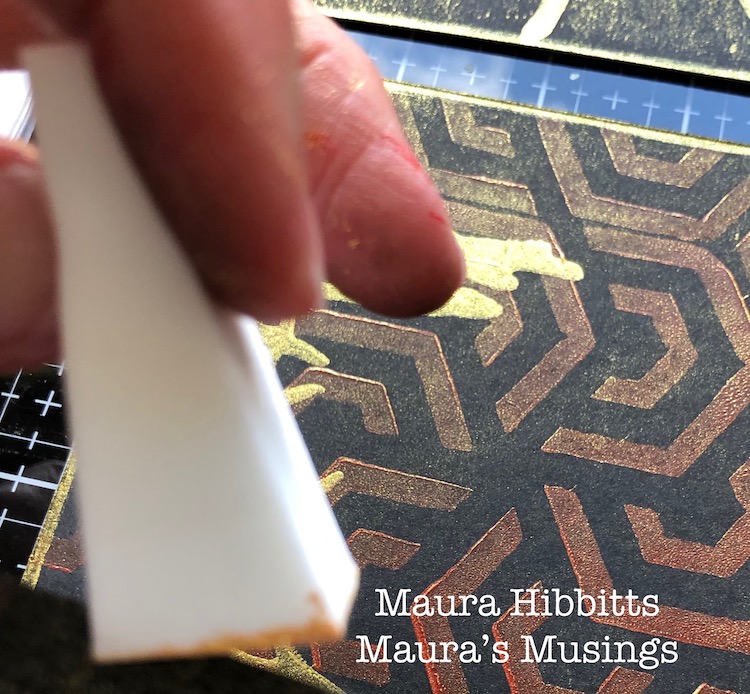
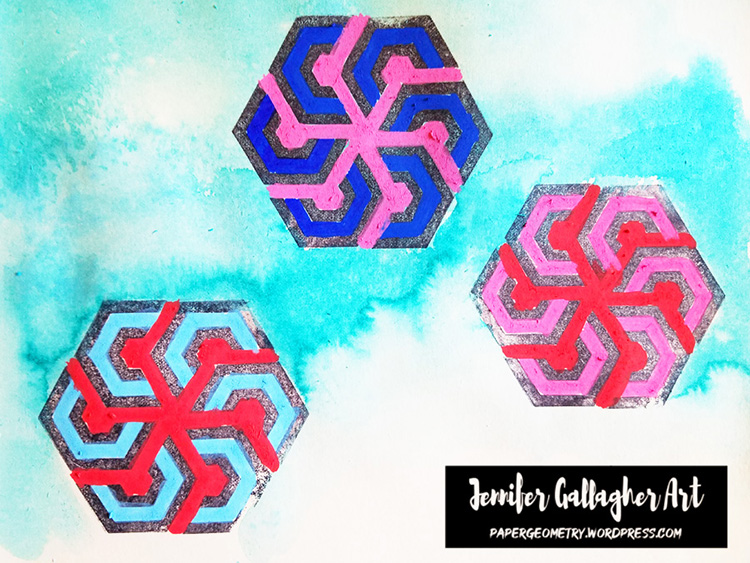
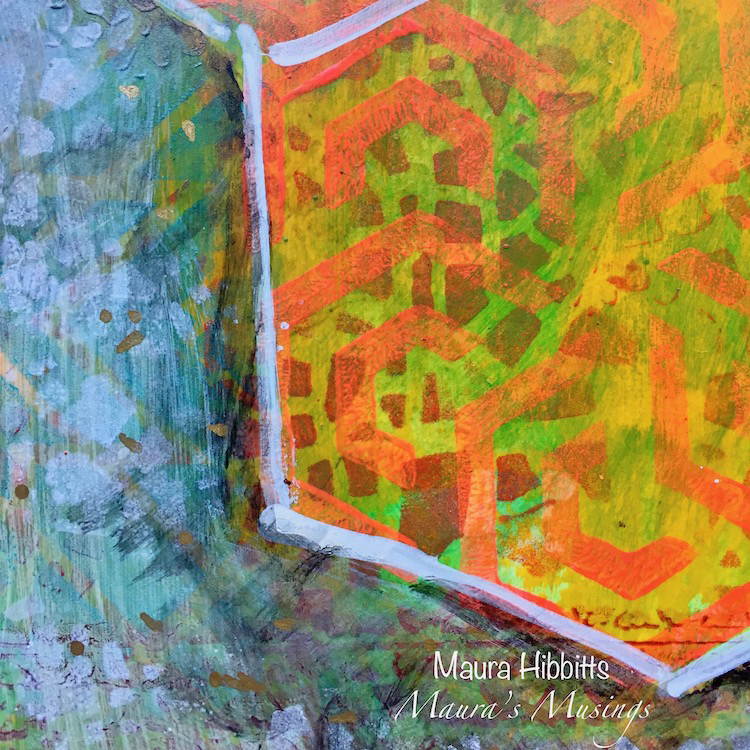
I had a bit of gold left on the gel plate, so decided to experiment by rolling a very light layer of paint with the brayer over my stamped images. Since, the red paint had some depth to it, edges of the hex design picked up the gold, giving it more definition.

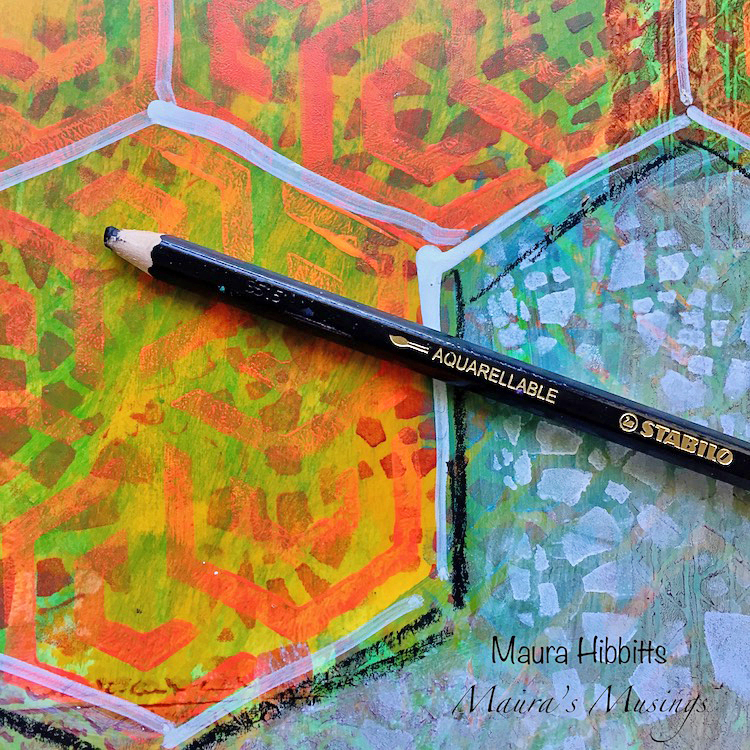
I went around the black card stock with gold paint using a cosmetic sponge to frame the design.

Finally, I tied a double layer of maroon embroidery floss around the card, tied it at the bottom, and separated the strands to create a tassel.

Now, I have a trio of bold and shimmery cards ready for the perfect occasion. Why not try making an easy set of stamped cards with paint, yourself?

Layer several colors of paper, use a couple of stamps and paint colors, and just imagine the variety of cards you could create! What occasions would you use these for? It’s time to Go Bold!


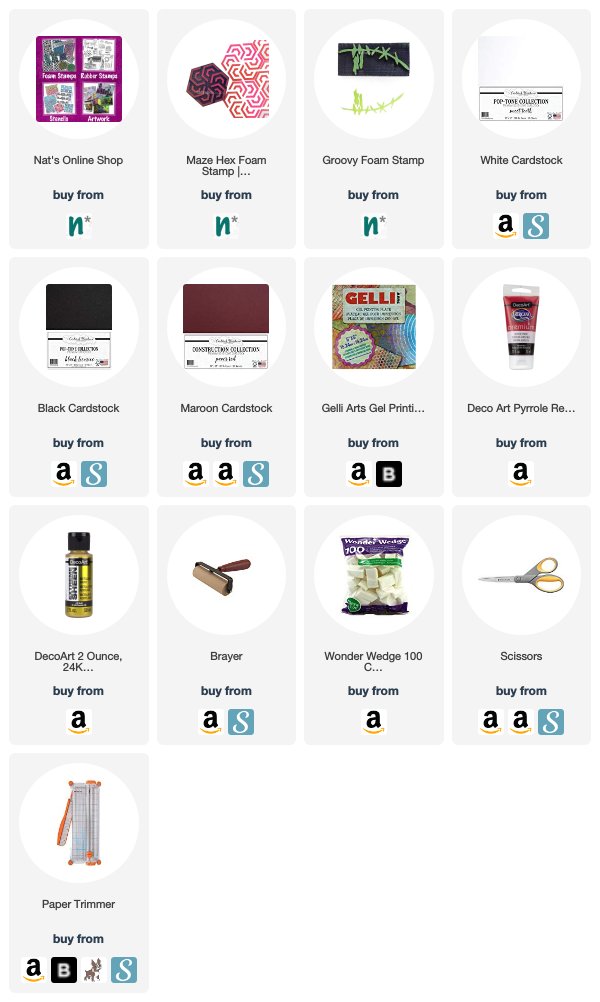
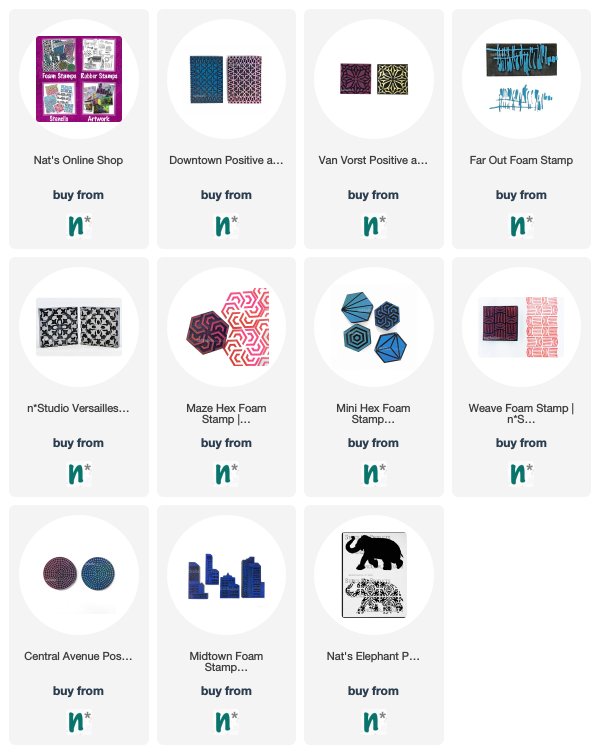
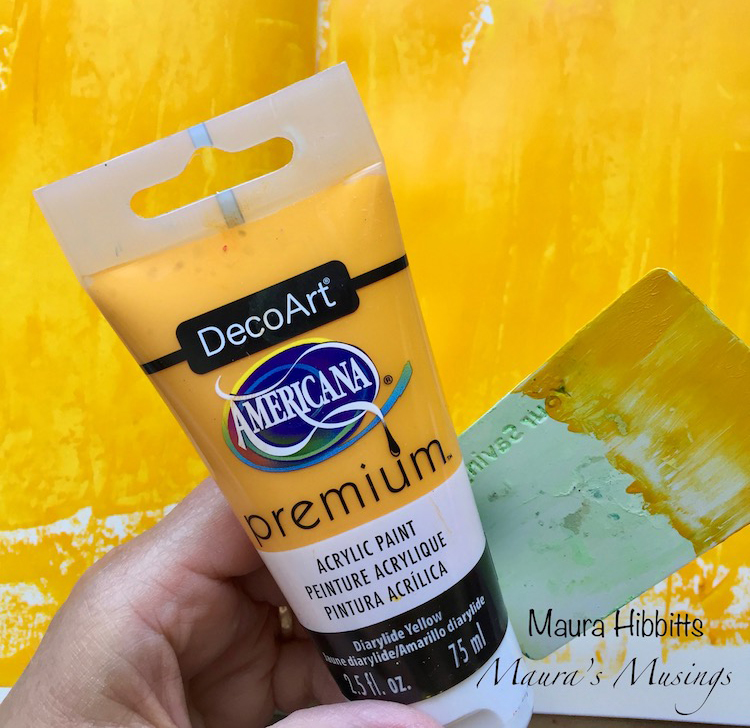
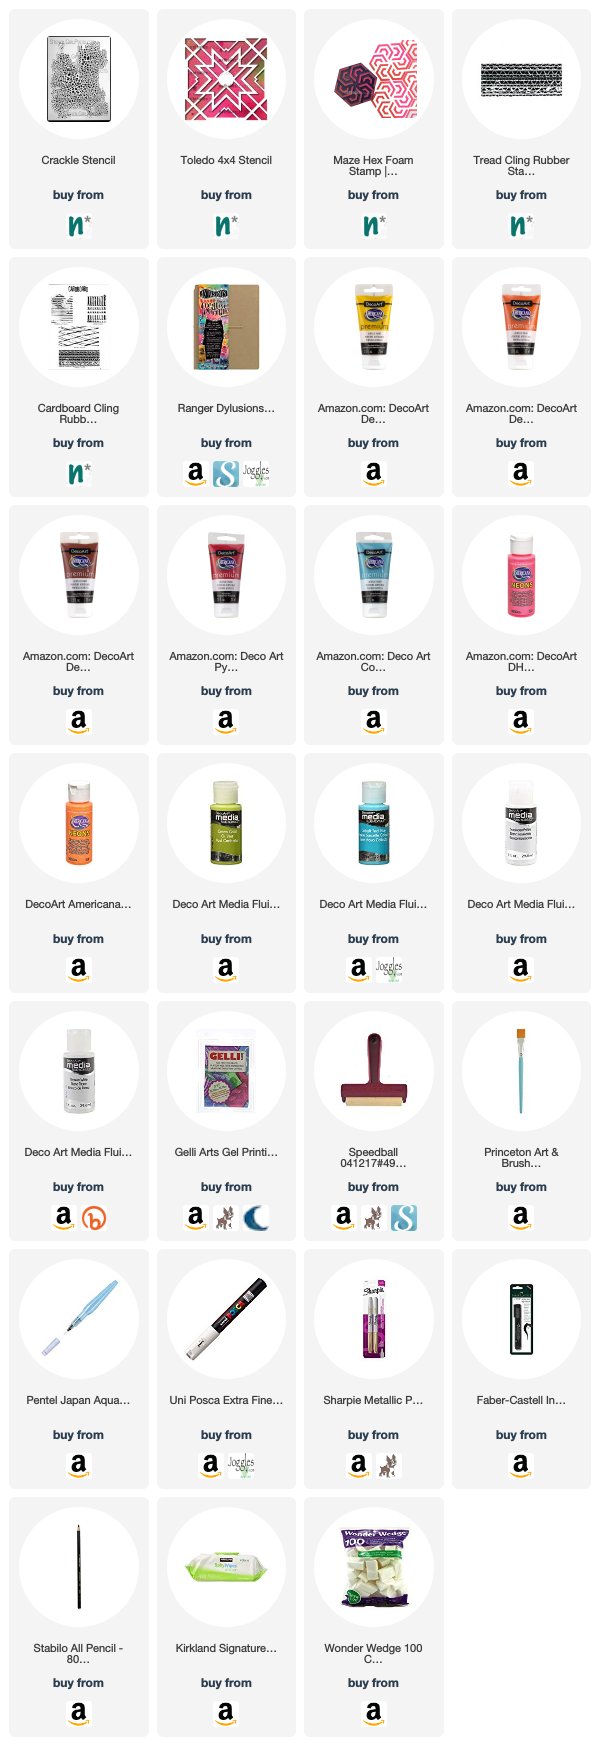
Thank you Maura! Love this combination of black red and gold! You can find all of my Foam Stamps in my online shop. Here are some of the other supplies Maura used:

Feel inspired? Working on something yourself that you’d like to share?  I love to see how you interpret our monthly themes. Email me how you used my stencils and stamps with the theme and email me an image – I would love to share your projects in my next  “n*Spiration From Around the Globe“.

Leave a comment

Hex Marks the Spot – Jennifer Gallagher

Happy Tuesday folks! It’s time for a post from my Creative Squad and today we have Jennifer Gallagher sharing a beautiful art journal page representing her family. She is using the stamps from my Hex Set Large rubber stamp set and this month’s theme: Hex Marks the Spot –In the days of pirates and lost treasure, a map would lead you to gold and jewels. Today we treasure all sorts of things – our family, friends, experiences, meaningful objects, accomplishments, etc. Think about what you treasure and how you found your way there.


This month we are talking about our treasures. My treasure is my family. It just so happens this week is my wedding anniversary. I decided to create an art journal page that reflects my love of family and how they are my most valued treasures. I have represented my husband and two sons as flowers using Nat’s Maze Hex stamp. I hope you enjoy this quick and easy tutorial for a fun and vibrant art journal page.

Start by applying a layer of distress stain and spritzing it with water. Move the page around the let the water travel. Dab with a paper towel to create extra interest and texture.

Stamp Nat’s Maze Hex stamp with black archival ink. These shapes will become your flowers so place them as your focal points.

Fill in your flowers negative space with posca pen acrylic markers.

Paint the bottom half of your page with green acrylic paint and a mini blending tool. Once dry, stamp Nat’s Beacon Positive stamp in vivid chartreuse archival ink to add blades of grass.

Using a black gelly roll pen, draw in petals around each flower, stems, and leaves. Add as much doodling as you like. Use a distress marker in peeled paint to color in your leaves.

Write in a sentiment that describes what your treasure is. I chose, “Where your treasure is, there your heart will be also.”

I hope this tutorial has shown you a creative way to use some of Nat’s Hex Set Large stamps. The Maze Hex stamp screams flower to me! What about you? What fun ways can you get more out of your n*Studio stamps? Be sure to play along and share your creations with us.


Thank you Jennifer – so cool to see the Maze Hex transformed into flowers! Great idea. You can find all of my rubber stamps in my online shop. In addition to green acrylic paint, here are some of the supplies Jennifer used:

Feel inspired? Working on something yourself that you’d like to share?  I love to see how you interpret our monthly themes. Email me how you used my stencils and stamps with the theme and email me an image – I would love to share your projects in my next  “n*Spiration From Around the Globe“.

Leave a comment

Foam Stamplifier Challenge Prompts 16-21

Day 16 – Ghost

No, no, don’t be scared- this is a friendly Ghost prompt. I love to apply paint on top of a dried paint layer and while the second layer is still wet, I take my slightly wet foam stamp and press it into the paint and lift it.

This will remove the second layer paint partly and create texture making for a subtle and nice imprint and revealing the color underneath. My favorite second color for this is white- it just gives a nice antique plaster effect.

Day 17 – Shape

Happy St. Patrick’s Day. I thought this would be a great day to amplifier your stamps using them to stamp out a shape…like a shamrock. Although …I guess I messed it up since a shamrock is a three-leaf clover ….oh well…you can tell I am not Irish- LOL – but hey, I tried.

Anyway you can use any shape of course and  you can cut it out of a piece of paper or like I do out of a piece of deli paper. Basically you are creating a stencil.

Then just fill in the opening with either one or more foam stamp patterns, and lift the stencil- the filled in area defining the actual shape.

Day 18 – Mask

Now of course you can also mask an area off and then define that area by stamping over the mask. Here I used one of my beloved Elephant Masks and my Downtown positive and negative Foam stamps.

You can easily cut out your own mask of course. And voila …there you have a it – love the background. So many options with this.

Day 19 – Spray

Another one of my super favorite foam stamplifier techniques is to use dye or ink sprays with my foam stamps.

Spray onto the stamps and print – I love the super vibrant watercolor effect this gives. So easy and yet so effective!

Day 20 – Texture

Another one of my old foam stamplify favorites. Use the spray paint we used yesterday as an embossing agent and create some nice grungy texture.

Spray your foam stamp with dye ink and stamp and while the ink is still wet sprinkle some UTEE or ultra thick embossing powder on top and then heat emboss it.

I love the raised water drop like texture this creates.

Day 21 – Brush

Using a brush to color in certain areas of a foam stamp is also a cool way to amplify the stamps.

When working with acrylic paint  you either have to work fairly quick in order to prevent the paints from drying to fast or you can use a little bit of retarder with your paints to extend the drying time a bit.

I hope you enjoyed this round of prompts. Here are the stamps I used for those:

Have you missed the prompt list? Here you go

See you tomorrow for a little Kaffeeklatsch! I’m showing off my new Rubber Stamps and chatting with you on Facebook. See you at 12noon EST :)

Leave a comment

Endless Summer – Maura Hibbitts


Hello from my Creative Squad this fine Tuesday! Today we have an art journal spread from Maura Hibbits who has expertly layered up a ton of pattern and visual texture to create a spread that is so fun to look at! There is so much to the layers, including my Crackle and Toledo 4×4 stencils, my Maze Hex foam stamp, and my Tread rubber stamp from the Cardboard stamp set. I love her take on this month’s theme: Endless Summer – The days are long, the sun is shining, the air is soft… it must be summer! Let’s take a stroll down memory lane and save a summertime memory forever.


When I was teaching, summer was the magic time to look forward to when I got to play and travel, and finally relax and rejuvenate for my next year. Now that I am retired, all the seasons are mine, so to speak, but summer still is very special. There are so many festivals, free music, barbecues, gardening and more to look forward to, but one of my favorite summer things is to do some traveling off the highways. I like to find the little roads that go through the towns and villages, even if it is just a crossroads with one building, there is so much more to see!  Do I ever get lost? Of course! But then I find my way again. Happy travels to you this summer!

I started by applying a thin layer of Diarylide Yellow with a key card onto my large Dylusions part journal. I swiped up and down in a random fashion.

Next, I sponged on Pyrrole Red and Cadmium Orange hue with the Crackle stencil. I moved the stencil around, and varied where I added the colors.

Ok, with my background started, now comes the fun! I squirted the Neon Torrid Orange and Sizzling Pink (hot summer colors, right?) onto a small gel plate, and spread it with the brayer. I stamped into the paint with the new ArtFoamie Maze Hex, and transferred this to my page. I repeated this step a number of times.

I wanted more of a contrast between my background and the neon stamped images, so added a bit of translucent color with the Green Gold and Cobalt Teal Hue. I wiped it back a bit with a baby wipe and blended it in.

Time for another stencil. This time it is the small Toledo stencil, and I sponged the heavy body Cobalt Teal hue on, focusing on the center of the stencil.

I stamped the Tread design around the edges with Quinacridone Gold, so it would be visible, but not overpowering.

Now that my pages are almost done, it’s time to add some detail. I went around each hexagon shape with a white Posca paint pen, and toned down the outer section with a layer of Translucent White.

Then I went around my neon hexagons with a graphite pencil and water brush, added my words, “Take the Road less traveled” with a black Pitt pen and Gold Sharpie. I decided to go around the outer section and add gold dots too.

You can see some of the details of the layers here.

Time to head out on the road and take the road less traveled. Happy Summer!


Thank you Maura – we love exploring all those little back streets too because it’s a great place to get all sorts of inspiration :) Here are some of the supplies that Maura used:


Do you feel inspired? I’d love to see what you’re working on with my stamps and stencils. I post projects almost every month in my Inspiration From Around the Globe posts!

SaveSave

Comments (1)

  • Sue Clarke

    |

    I am in love…with this page layout!
    Thanks for the step by step details Maura.
    I may have to “lift” some ideas from you.

    Reply

Leave a comment