Blog: Groovy Foam Stamp

April ArtFoamies Challenge – Day 15, 16 & 17

Are you playing along with Nat and Sarah’s April ArtFoamies Challenge ? You can follow along on my Instagram feed daily with videos and photos, and I post updates here on the blog too from time to time throughout the month. Today I’m recapping 15, 16, and 17. Enjoy!

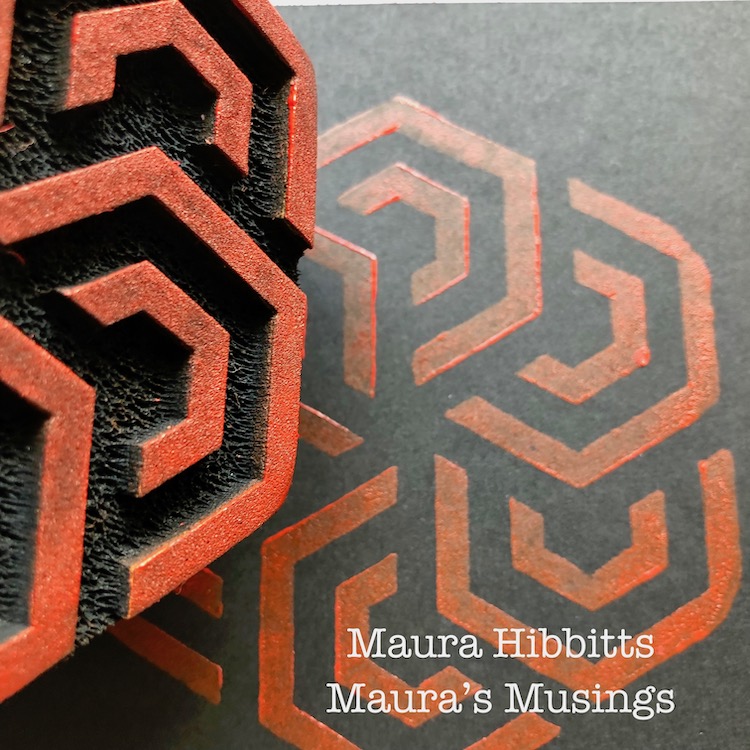
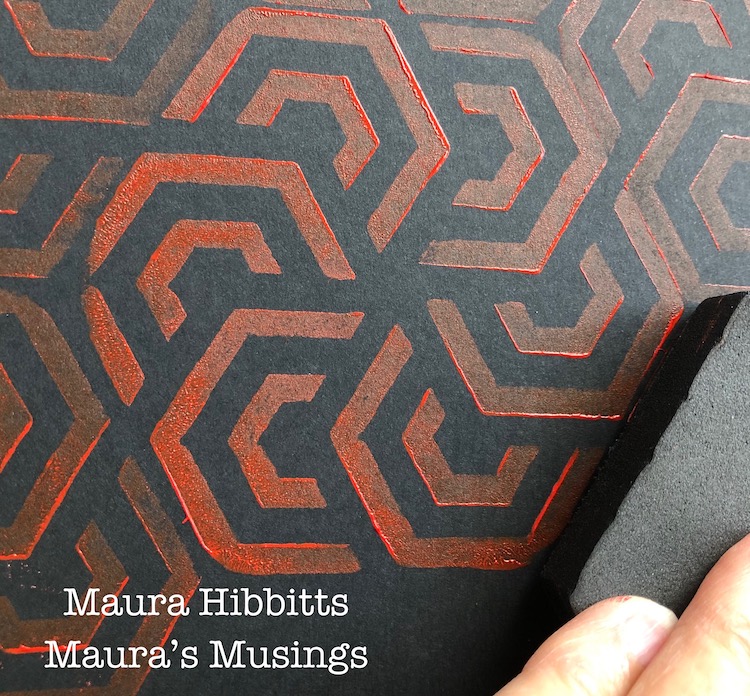
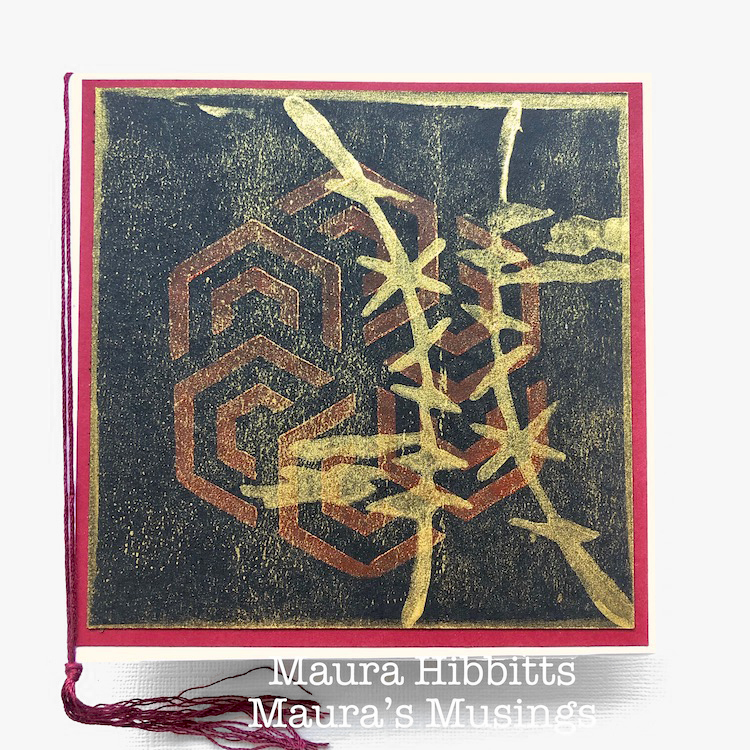
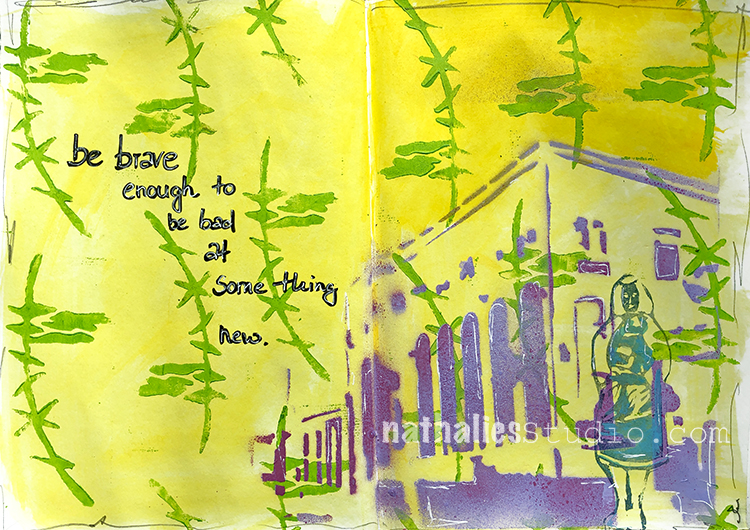
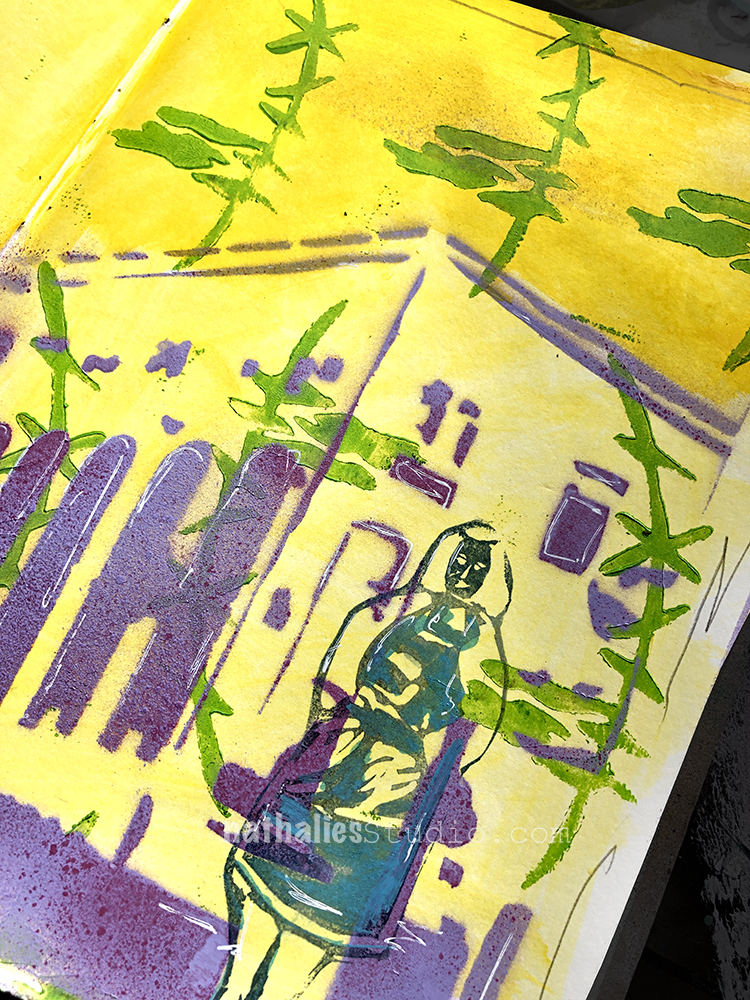
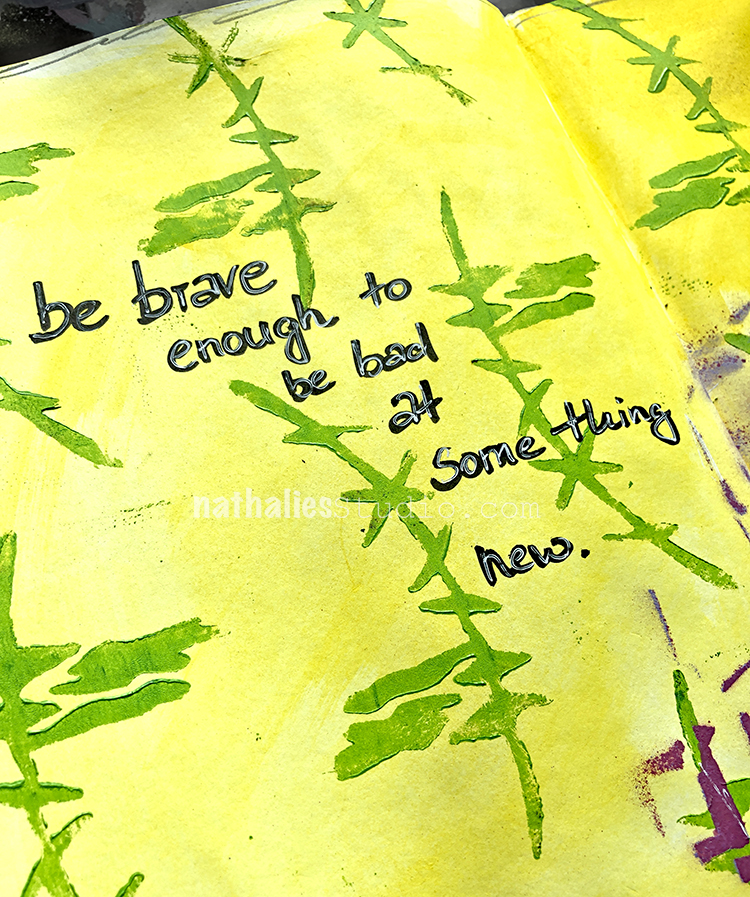
Day 15 – Plant – I love plants but unfortunately I am a really bad plant owner …so maybe printing a plant inspired pattern is a better idea ;) While my Jazzed and Groovy ArtFoamies were not designed with a plant pattern in mind- they definitely can stand in for that and I love the outcome. Wohoo for easy maintenance plants ;)


Here is a look at Day 15:


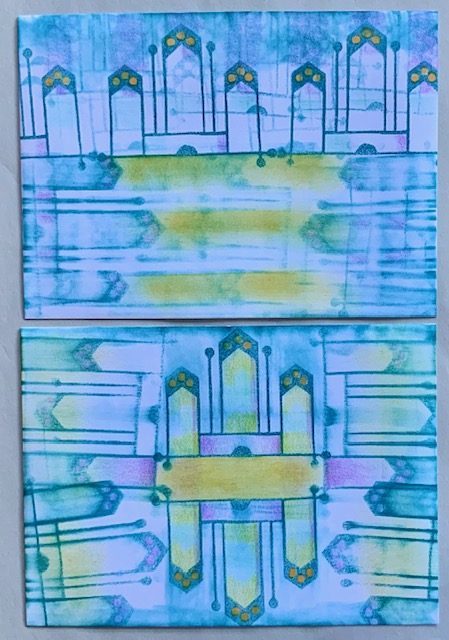
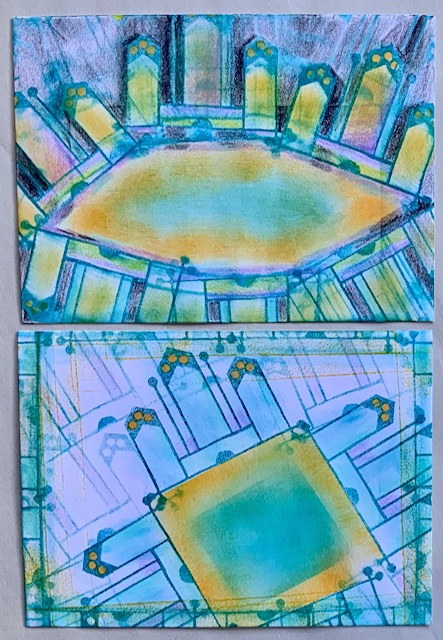
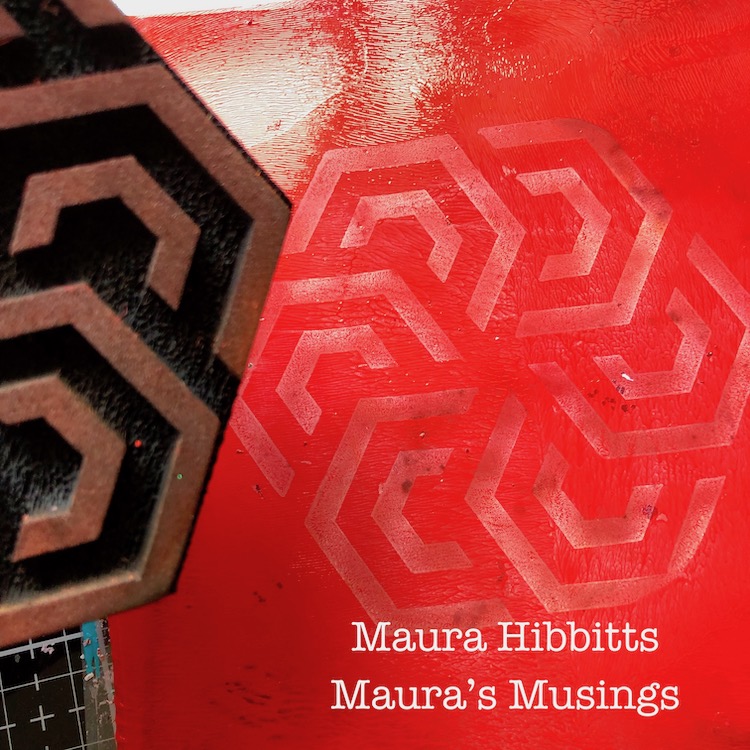
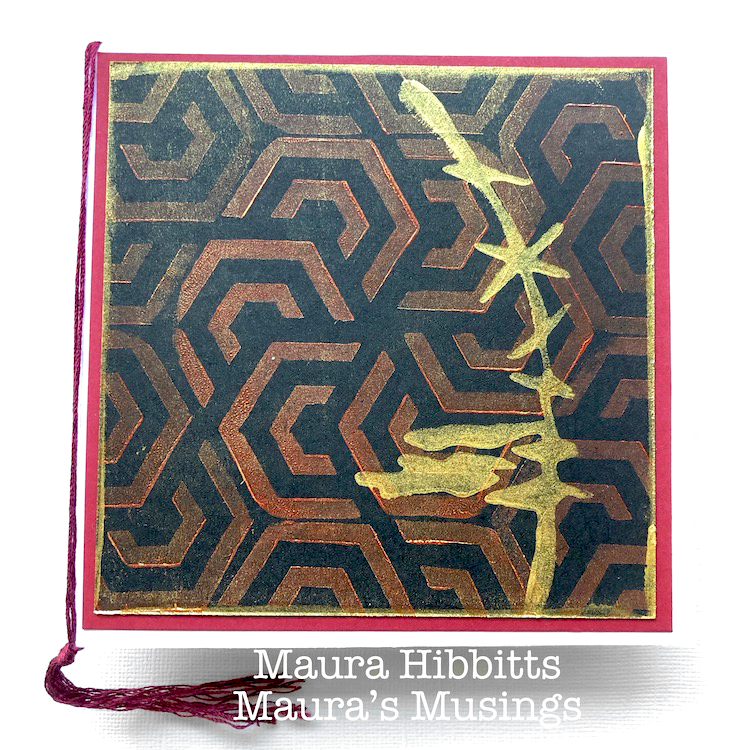
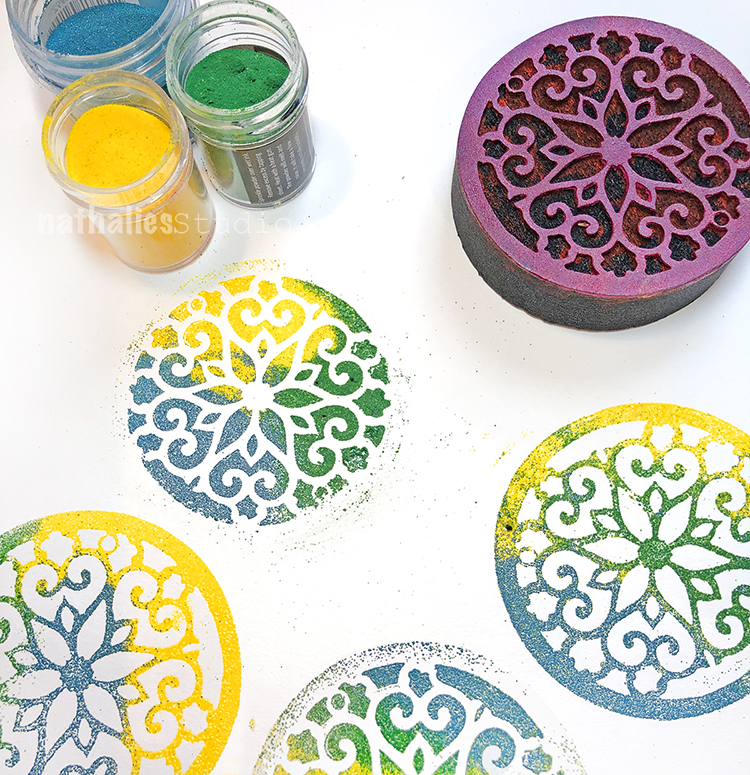
April 16 – Dots – Grove Street Positive and Negative Stamp is going to show off its dots today and since the Grove Street Path Station in Jersey City def. Is a route to get to Broadway… the Broadway Fan stamp made an appearance as well. I felt it needed a little bit of extra red omph, so for good measure I threw in one of my Rubber Stamps called Valley Road …because you know… sometimes you gotta change your plans.


And here is a look at Day 16:


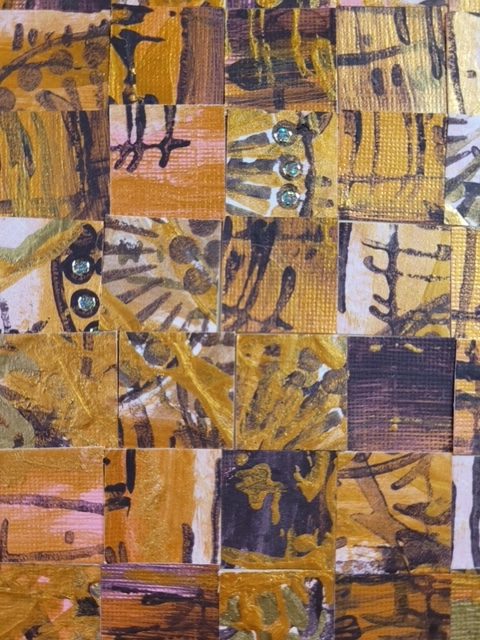
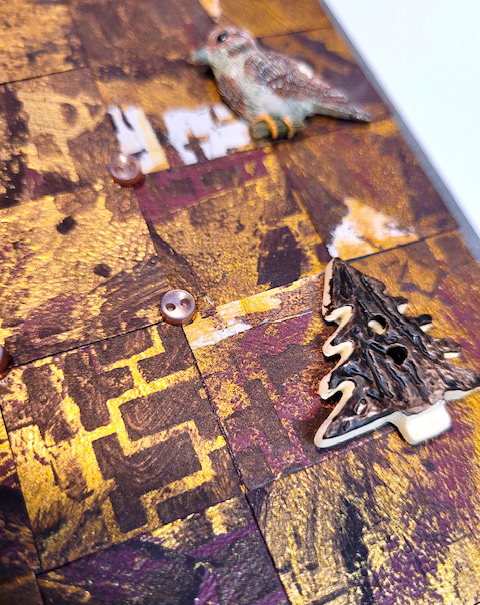
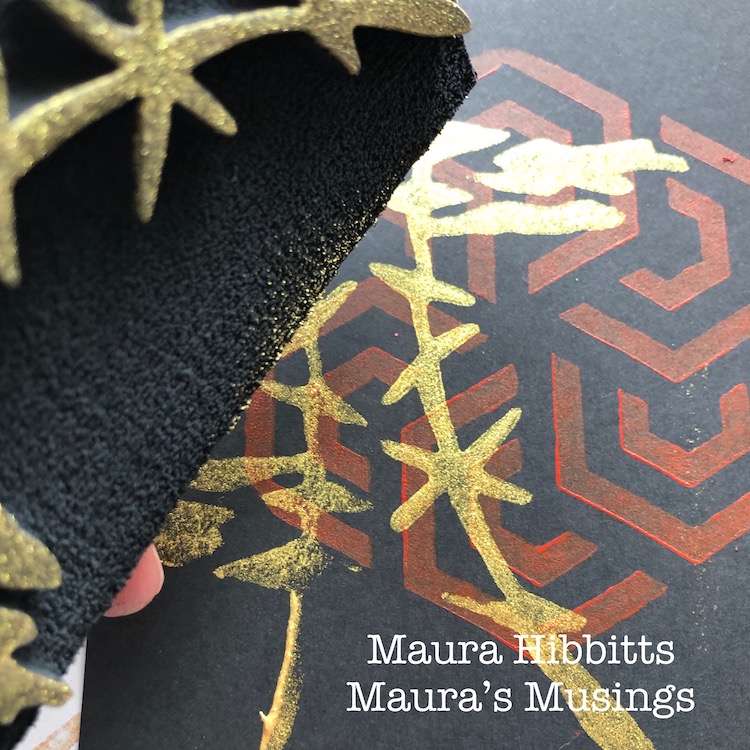
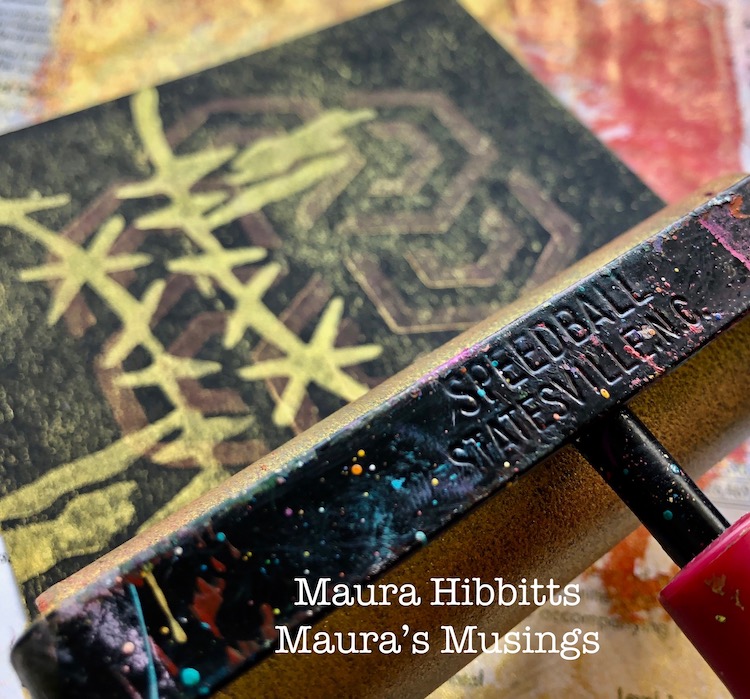
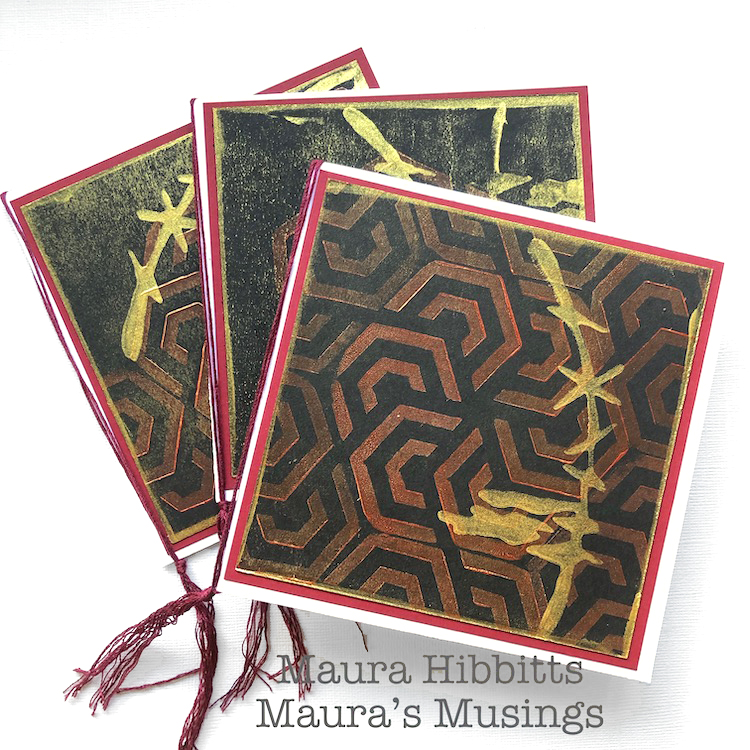
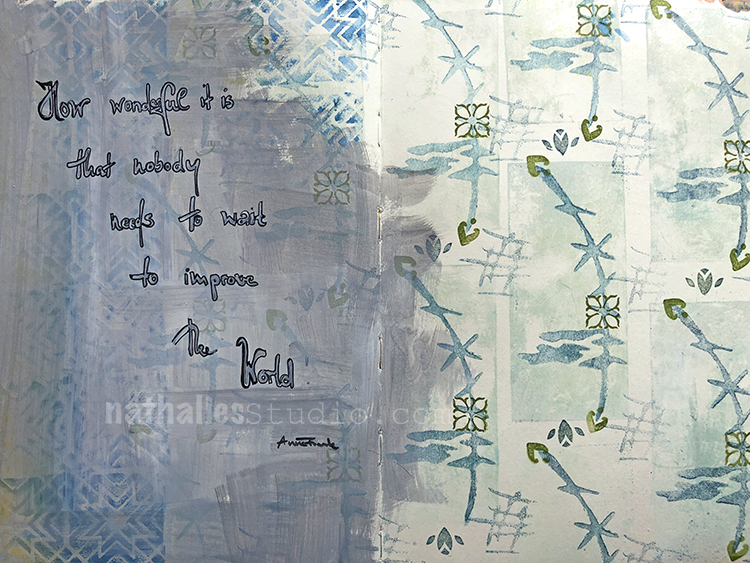
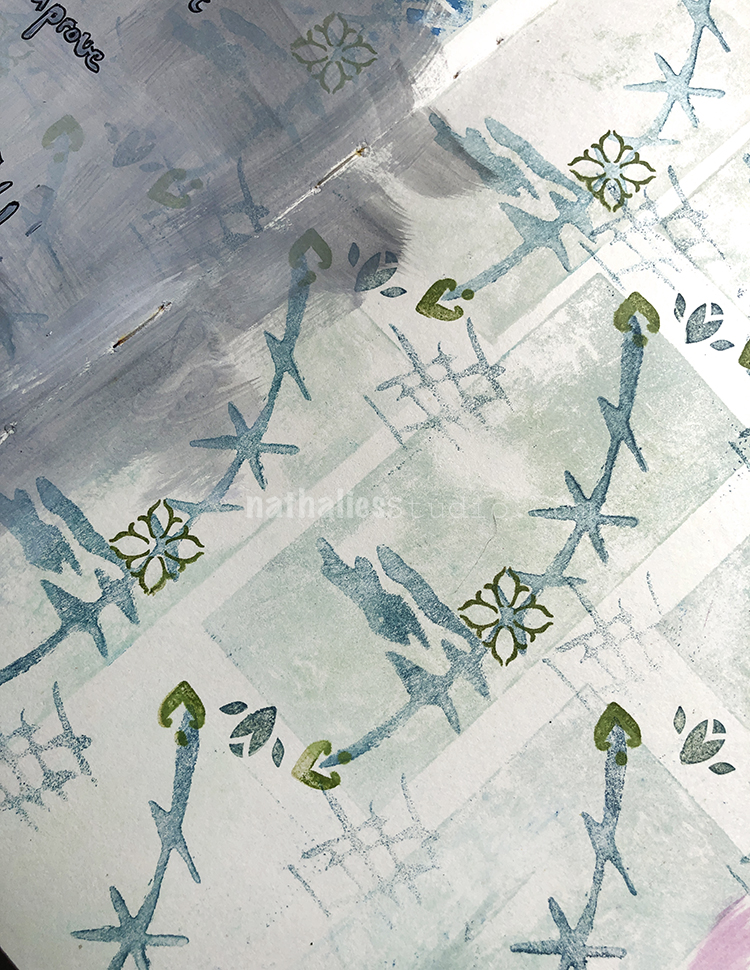
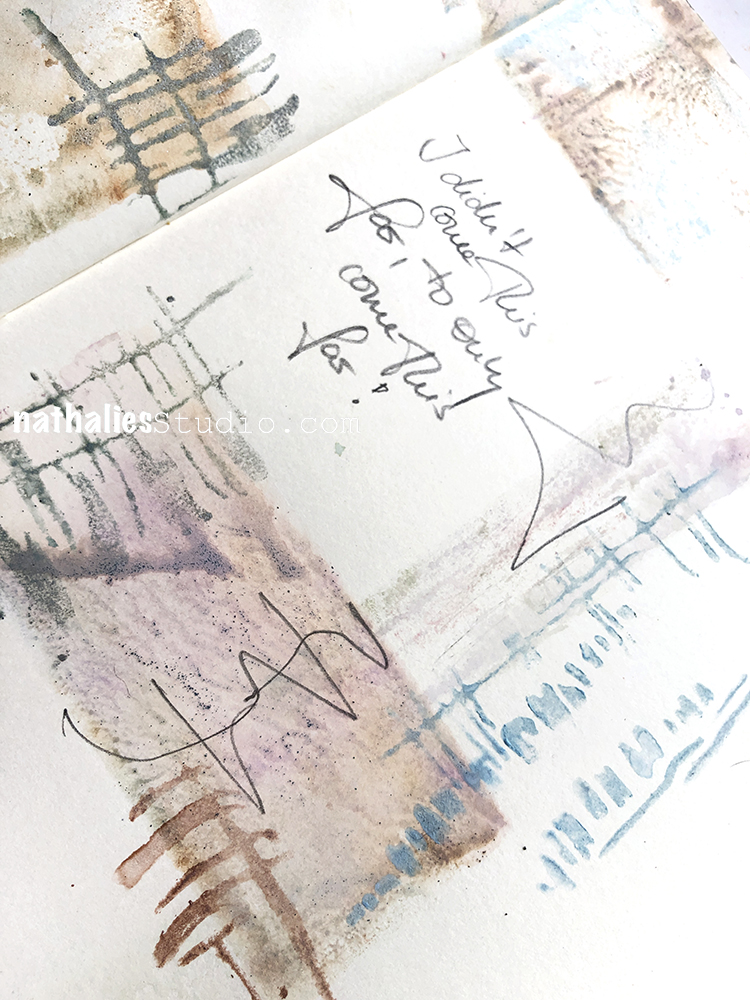
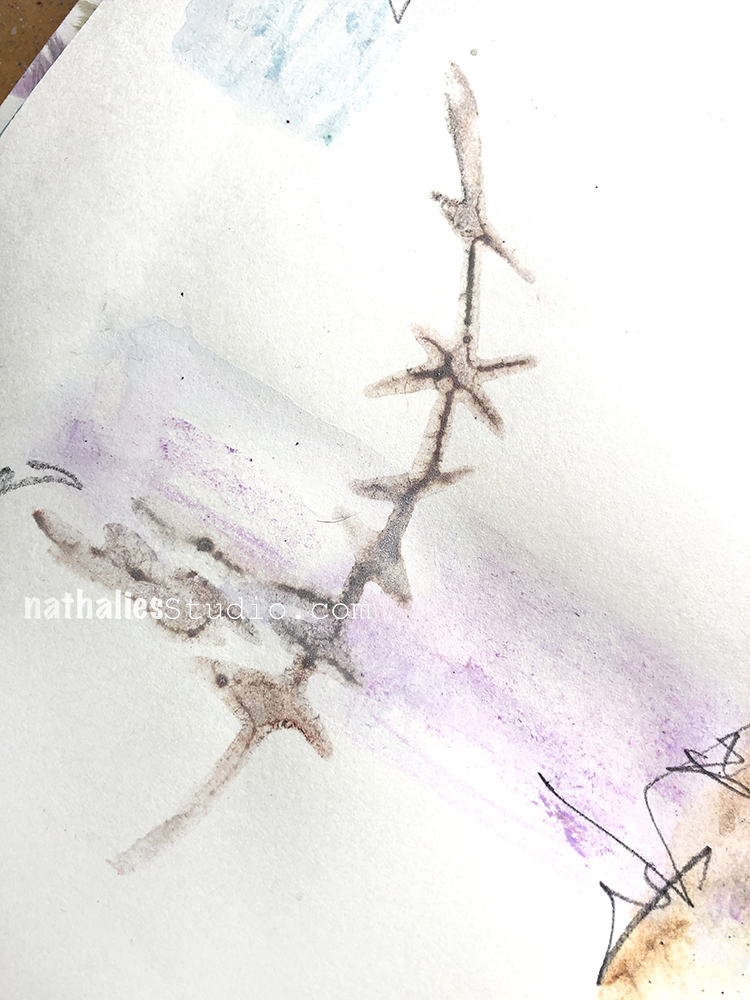
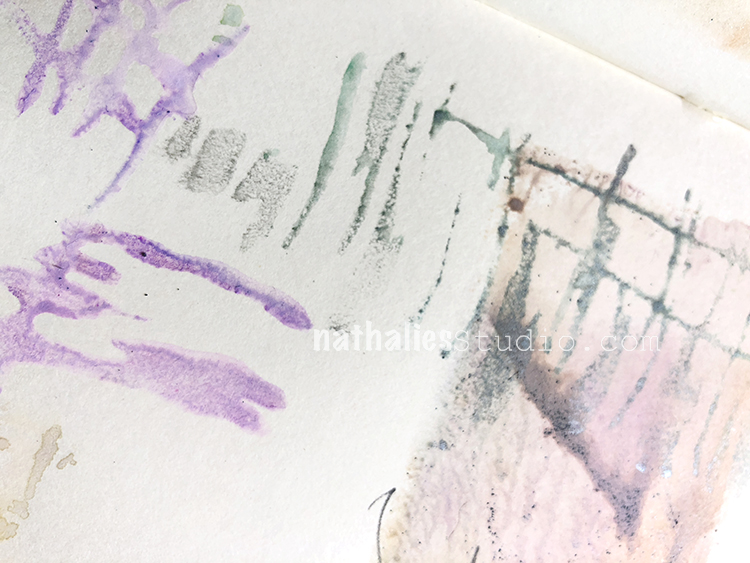
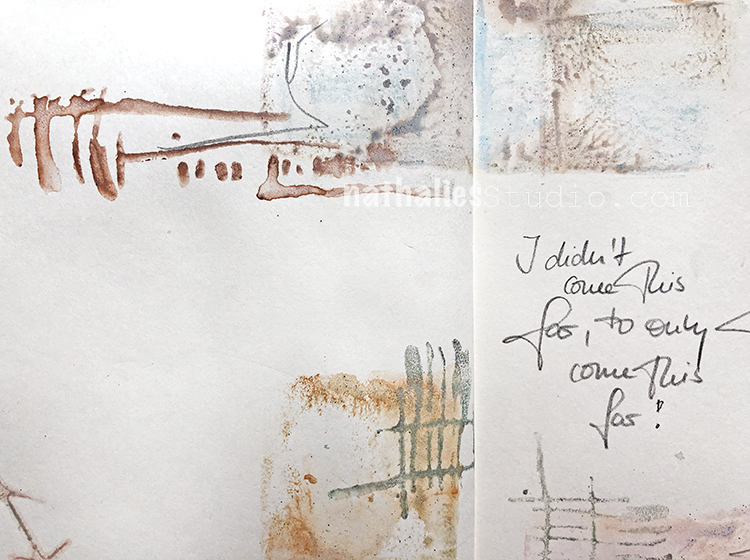
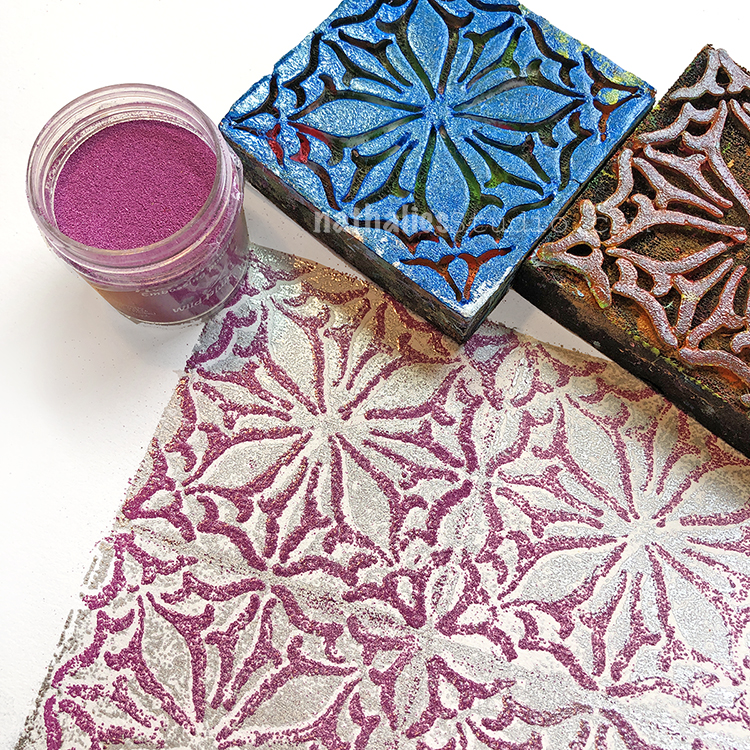
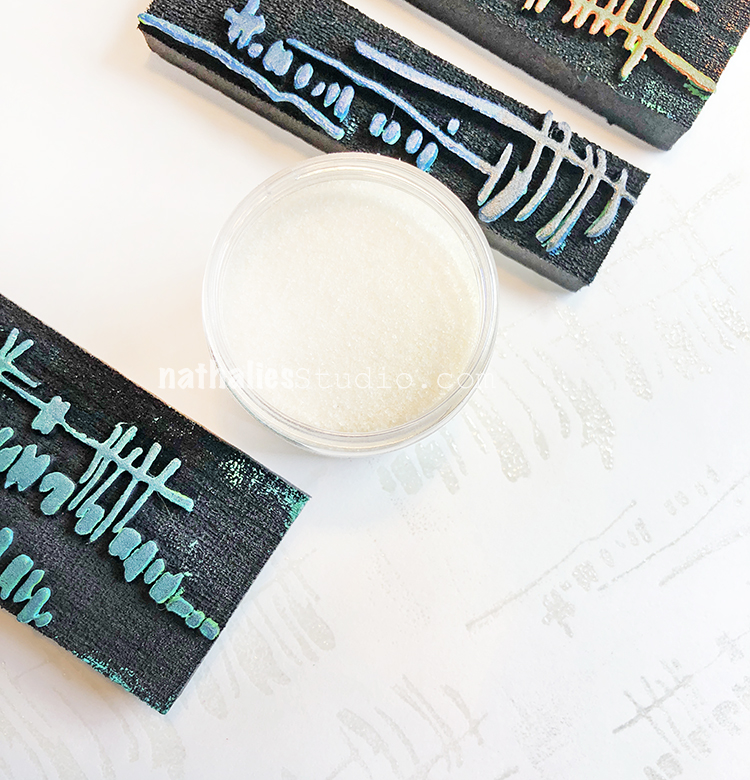
April 17 – Layers – I love using the same patterned stamps but in different sizes, like my Batik 3 and Mini Batik 3 and then my Batik 4 and Mini Batik 4 – this was fun to stamp …and yes, the ledger is barely visible but it still adds to the whole. Keeping every ledger page pristine is overrated because why even bother stamping into it if you do. #myledgermyrules


Here are some looks at April 17:

Follow along with the challenge on instagram  and post your artwork too with the hashtag #artcollabChallengeAccepted

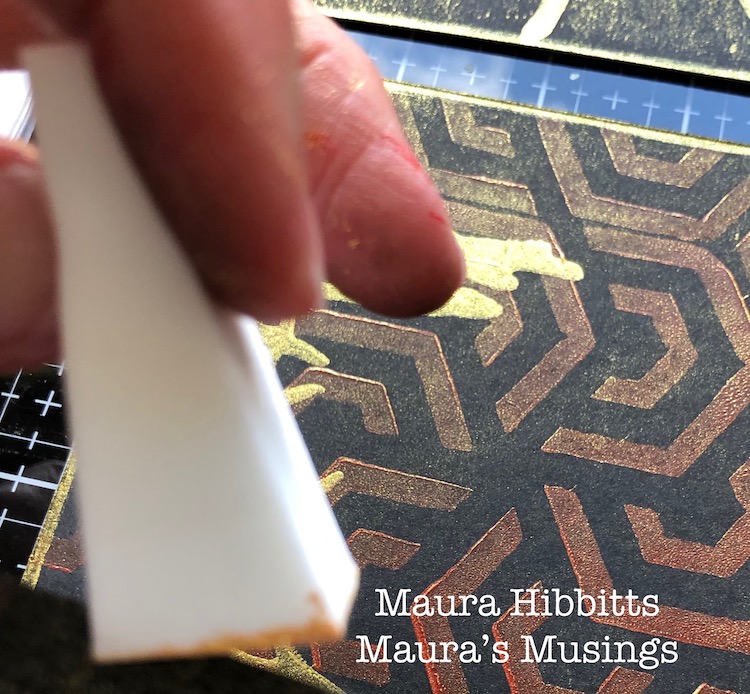
Everyone approaches Challenges differently. This ArtFoamies Challenge that Sarah Matthews and I came up with has had me thinking about how I want to approach it. In the past my Foam Stamplifier Challenge #foamstamplifierchallenge I used all kinds of different media, so I didn’t want to repeat myself. I also thought about how Sarah usually uses ArtFoamies with ink pads, while I use acrylic paints and the first parameter became clear: I will only use ink pads for the challenge. The other challenge is that I purchased an old ledger journal and I want to turn it into a pattern book. I usually make my own pattern books by binding loose printed papers into a book. This method has the advantage that if a print doesn’t turn out too great it can be discarded. By printing directly into this 125 year old ledger I have no out. So using my foam stamp designs to create patterns into a ledger book with ink pads is my challenge for this month.

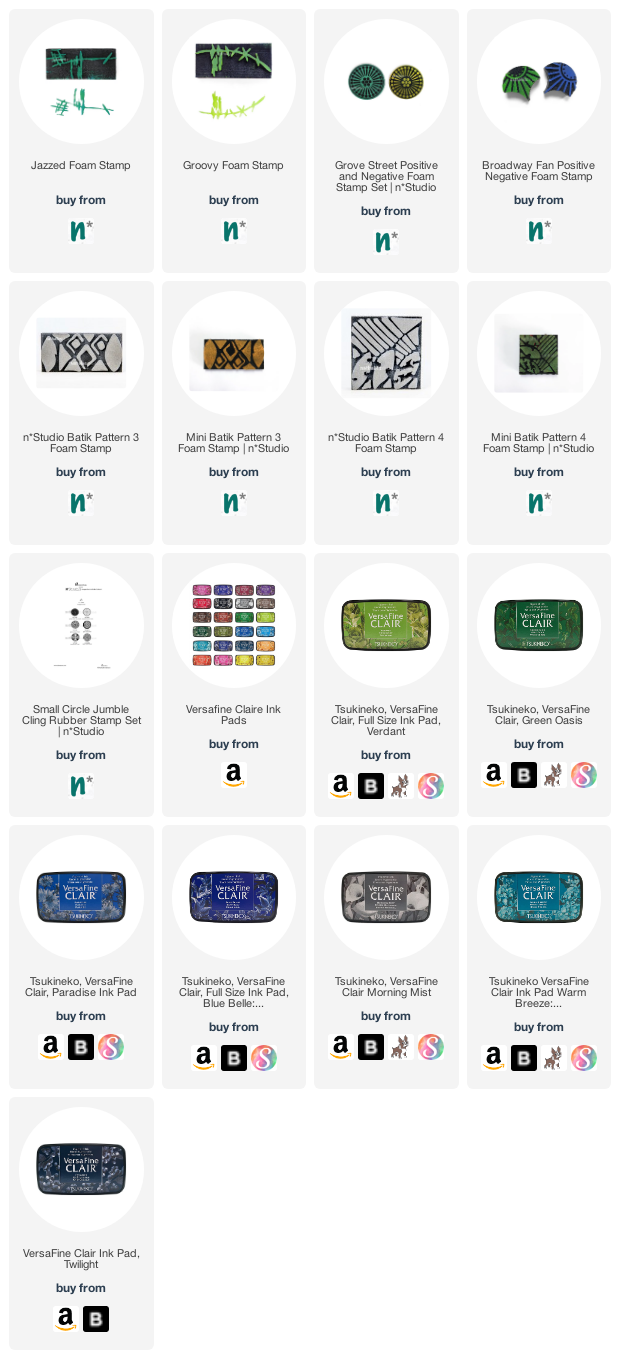
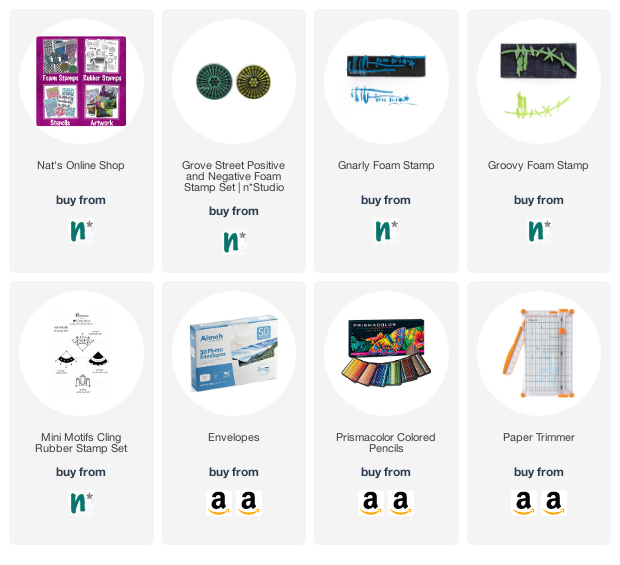
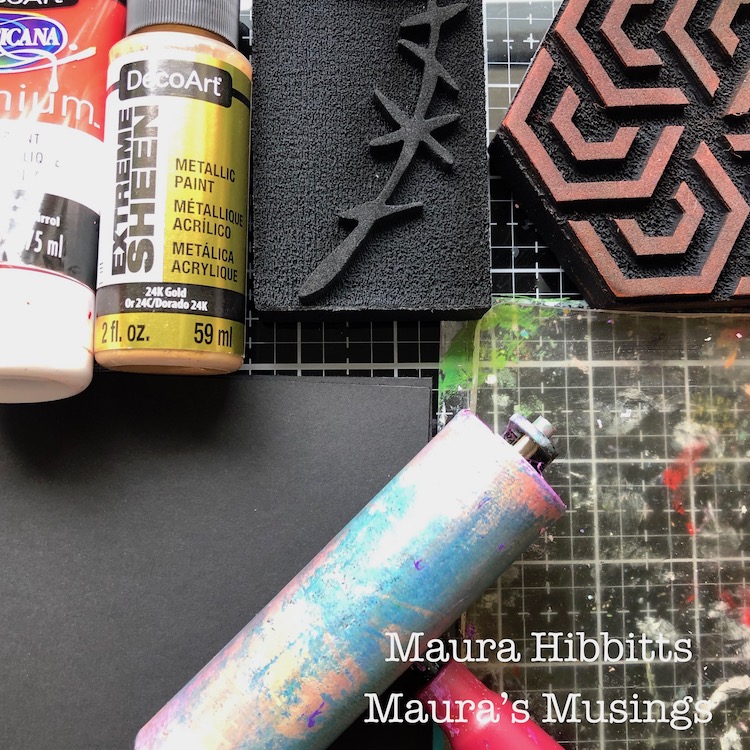
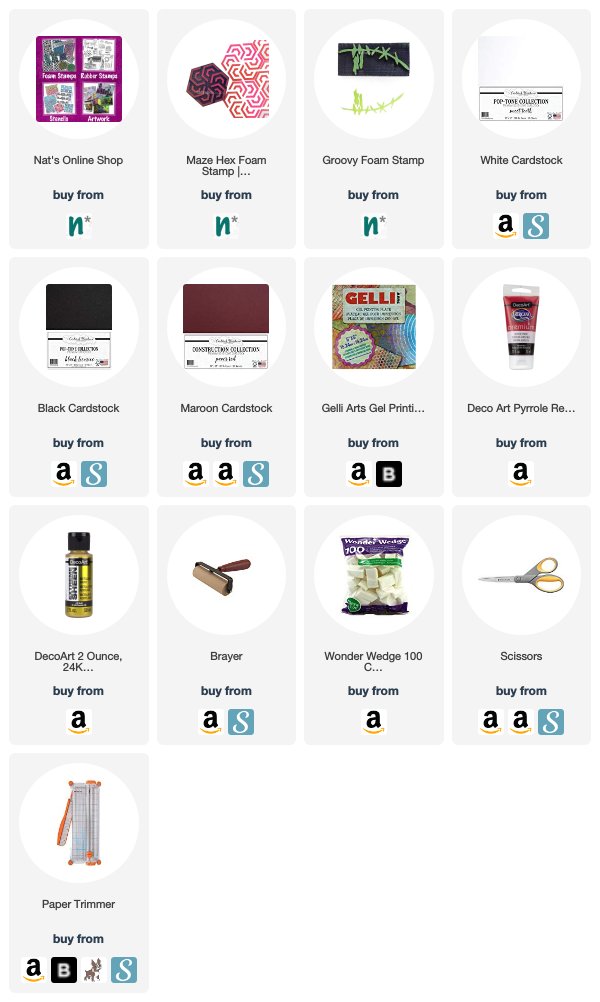
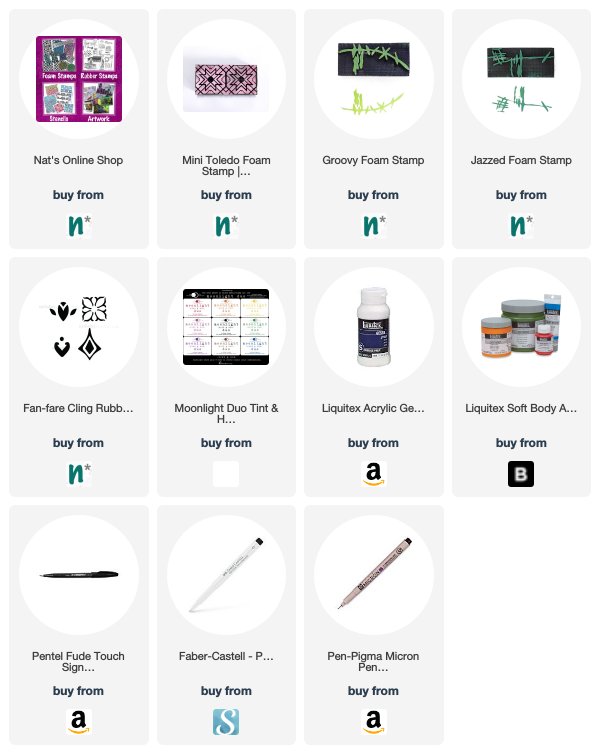
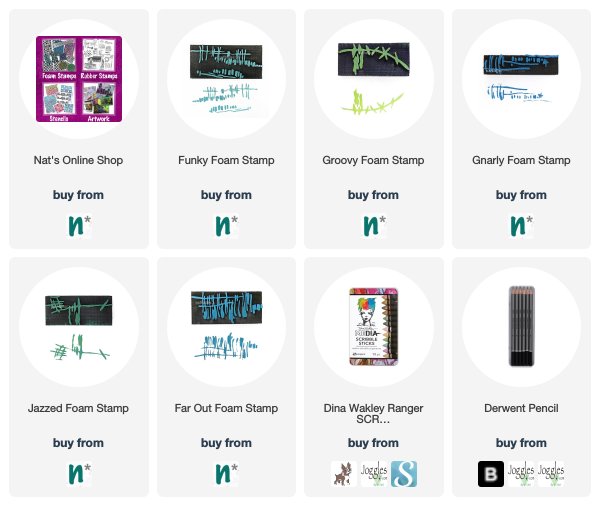
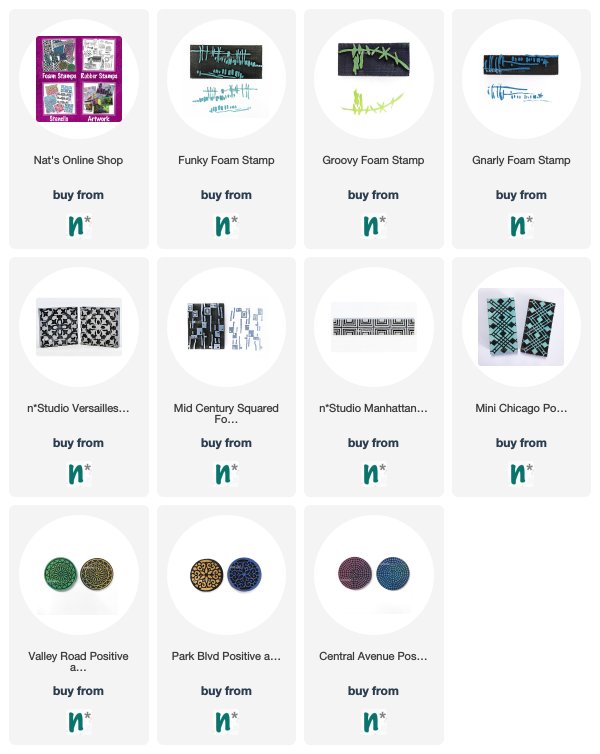
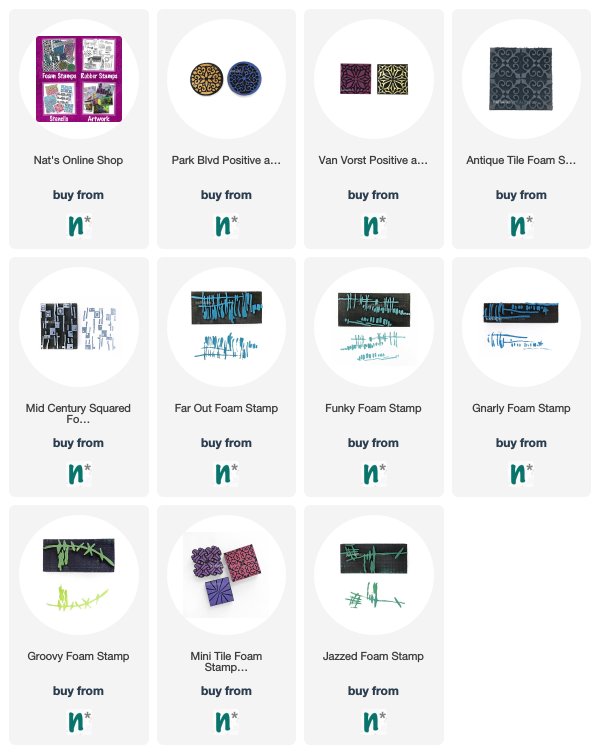
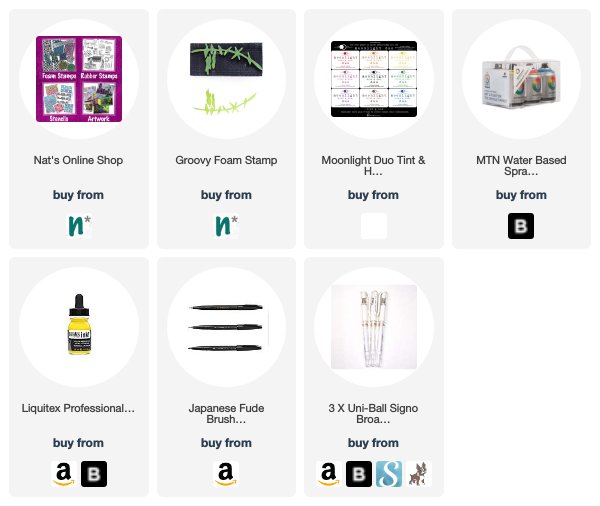
Here are some of the supplies I used:

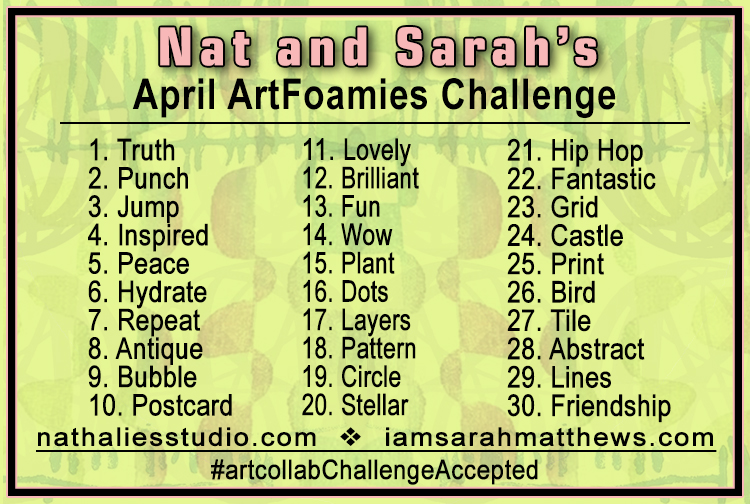
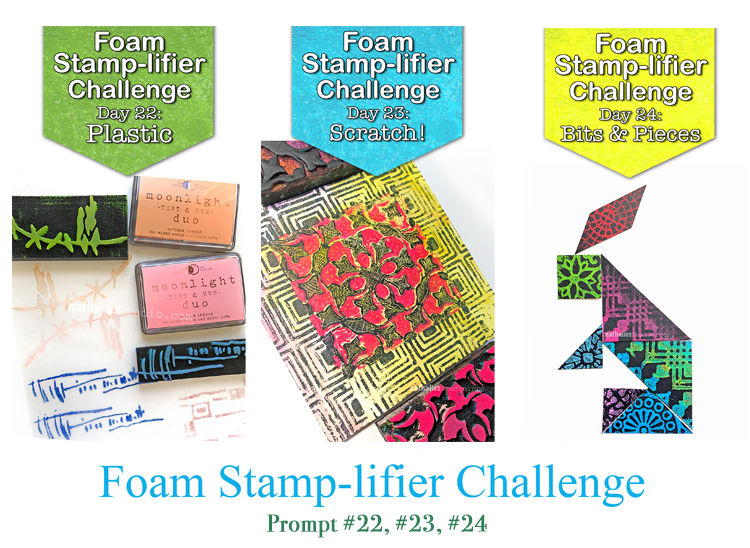
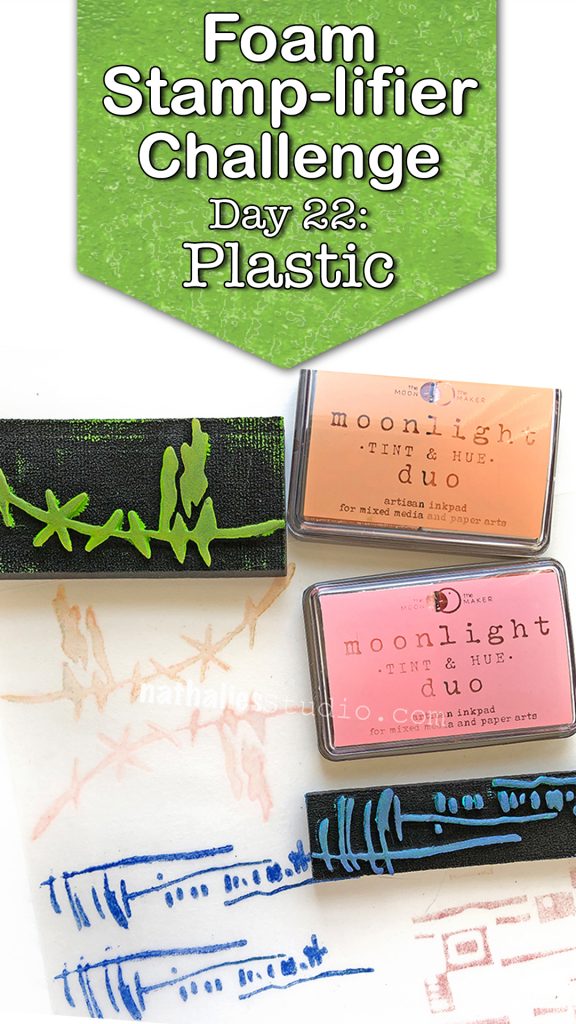
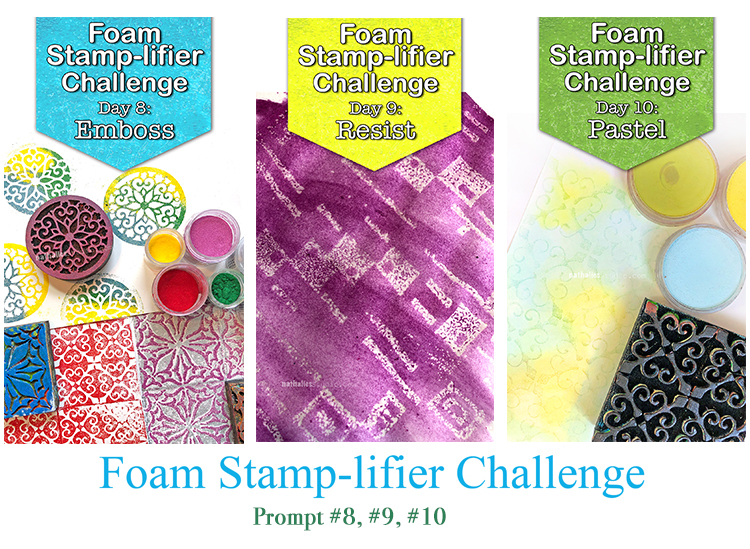
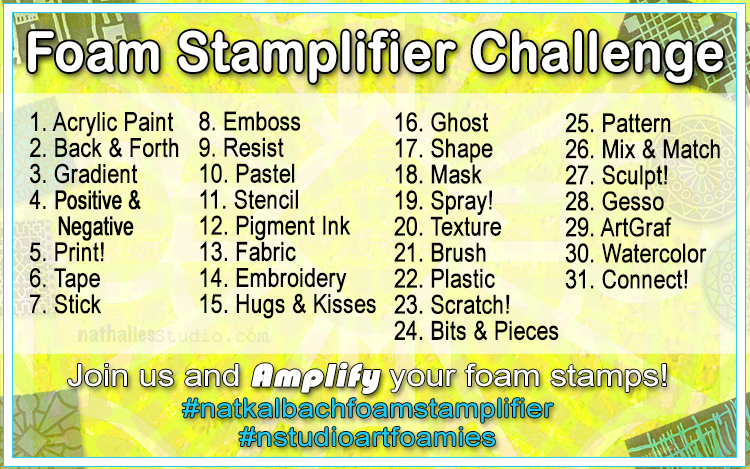
Play along with us and our daily prompts:

Leave a comment

Inspiration from my Creative Squad

Our friend and Creative Squad member Judi Kauffman shared some inspiring extras with us this month: an upcycled calendar collage and some beautiful envelopes.

Last year Judi created a calendar for the year ahead that we shared with you here in this post.

She used my Grove Street, Groovy and Gnarly foam stamps to create this page.

And then Judi totally surprised us this month with a reimagining of the calendar. She saved her stenciled calendar pages from 2020 and for most of the months she turned them into bookmarks and card fronts. But for this one she decided to cut the whole piece into 1” squares and reassemble it into a mosaic. She said it’s her way of giving visual form to this horrible year when everything felt like it had crumbled into tiny pieces by making it into something interesting and cohesive. It’s going to become the first calendar page for 2021! Turning over a new page, as it were.

Judi also created a fantastic wall hanging from another calendar page redo.

She writes, “I made mosaics out of another of the stenciled calendar pages, adding some dimensional bird, tree, and mini buttons for embellishments.”

What a fantastic idea for those old calendars.

Judi also shared with us some envelopes she created using my Mini Motifs rubber stamp set. She writes, “The method: My go-to “Stamp & Drag” where there’s the look of motion.” Love the look and the softer lines.

Envelopes definitely deserve just as much love as the cards that go inside them and we think these are beautiful! 

Are you sending snail mail these days? Follow Judi’s lead and try stamping some of your envelopes too.

Here are some of the supplies Judi used:

Leave a comment

Boldly Going – Maura Hibbitts

Happy Tuesday from the Creative Squad! Today we have a grouping of handmade cards from Maura Hibbitts that will really catch your eye! They feature bold colors and patterns including my Maze Hex and Groovy foam stamps and are inspired by the theme this month: Boldly Going – Go BOLD with color or pattern this month and really make something that is packed with visual POP! This is no time to be subdued or subtle. Go Bold!!!


Why not make a statement with some bold, handmade cards? There are a lot of cute and pretty cards out there (I know, because I make some too), but every once in awhile, you just need an attention grabber. That’s when going bold with your design can be a lot of fun! I made a trio of square cards, shimmering with possibility.

My project uses a few simple materials.  I began by cutting the white card stock into the card base to make a 5.5 inch square card. (5.5” x 11”, and fold in half) The dark red paper is a 5.25 inch square, and the black is a 5 inch square.

Whenever I am stamping with paint, I reach for a gel plate. This is the perfect tool to lay the paint on and smooth it out with a brayer, then stamp into, to pick up the paint. The foam stamps are amazing with paint, just be sure to clean the paint off right away, using a baby wipe or soap and water.

I’m using Pyrrole Red acrylic with the Maze Hex foam stamp. Since I am stamping the red onto black card stock, I got the paint nice and juicy on the stamp, so it would show up against the black. I made a single image on one card, and a diagonal image by stamping two partial prints on the edge. The third card has a central image, and then I stamped partial images all the way around. 

When I look at the Groovy stamp, I see an Asian image or a tree with clouds, which inspired me to stamp with Gold acrylic for a bold statement. Once again, you can brayer the gold onto the gel plate and stamp into it, to pick up a nice even coat of paint. Your other option is to use the brayer and roll it over the stamp. I varied the number of images on each card to create variety.

I had a bit of gold left on the gel plate, so decided to experiment by rolling a very light layer of paint with the brayer over my stamped images. Since, the red paint had some depth to it, edges of the hex design picked up the gold, giving it more definition.

I went around the black card stock with gold paint using a cosmetic sponge to frame the design.

Finally, I tied a double layer of maroon embroidery floss around the card, tied it at the bottom, and separated the strands to create a tassel.

Now, I have a trio of bold and shimmery cards ready for the perfect occasion. Why not try making an easy set of stamped cards with paint, yourself?

Layer several colors of paper, use a couple of stamps and paint colors, and just imagine the variety of cards you could create! What occasions would you use these for? It’s time to Go Bold!


Thank you Maura! Love this combination of black red and gold! You can find all of my Foam Stamps in my online shop. Here are some of the other supplies Maura used:

Feel inspired? Working on something yourself that you’d like to share?  I love to see how you interpret our monthly themes. Email me how you used my stencils and stamps with the theme and email me an image – I would love to share your projects in my next  “n*Spiration From Around the Globe“.

Leave a comment

Improve – Art Journal

“How wonderful it is that nobody needs to wait to improve the world.” – Anne Frank

I created a pattern with my Groovy foam stamp and even used the back of it to make the rectangular shapes. I added the hash mark area of the Jazzed foam stamp too, and some of the Fanfare rubber stamps. The whole thing reminds me of some vintage wallpaper – pretty and a little faded.

You can also see my Mini Toledo foam stamp peeking through in blue.

And now it is time to seize the day and start making the world a better place – in any little way that we can.

Here are some of the supplies that I used:


Leave a comment

Goals – Art Journal

“I didn’t come this far, to only come this far!”

I received the Scribble Sticks set 3 as a thank you for playing along in the Ranger Designer Challenge in January. I wanted to test them out with my foam stamps. Here is my Funky foam stamp getting a bit of blue…

I wet the foam stamp back and applied the scribble stick and then stamped for the blocks of color. I did the same with the front for the designs.

Here is my Groovy foam stamp design.

Here is a bit of my Gnarly and my Jazzed designs. I loved the colors in this new set – they work perfectly with these foam stamp patterns.

Pretty interesting effect with the back of the stamp too – nice texture. And who doesn’t need a bit of motivation to keep going for more?

Here are some of the supplies that I used:


Comments (1)

  • Sue Clarke

    |

    Wonderful and I have those stamps and scribble sticks…woot woot.

    Reply

Leave a comment

Foam Stamplifier Challenge Prompts 22-24

Day 22 – Plastic

Printing on top of plastic sheets or overhead foils is a fun way to create transparent elements for your work or nice dividers for your art journal but my favorite of all must be using Shrink Plastic. From wine charms, to embellishments to earrings. Using the foam stamps with inkpads of your choice, stamp your desired images.

Then heat the shrink film up as the manufacturer recommends and you will get a tiny version of your stamped image. Too cute! Here is a sample where I used the shrink film to create myself some new fancy earrings.

Day 23 – Scratch!

Another fun way to use Foam Stamps is to stamp onto some Ampersand Clayboard to create some great textured designs.


Stamp on top of the clay board with acrylic paint or spray ink or inks and then start scratching into the design. It is like doodling by scratching- better then coloring books- trust me!

Day 24 – Bits & Pieces

How about using bits and pieces of foam stamped paper to create something new?

You could create a tangram which is a puzzle which consists of 7 flat geographic shapes which put together can create a new shape.


Simply google tangram, print out the template, glue it on some white or black paper, start stamping with your foam stamps and cut it.

And then go and play …

Here are the different foam stamps I used for these prompts


In case you missed the prompt list  here you go:

Leave a comment

Foam Stamplifier Challenge Prompts 8-10

Day 8 – Emboss

I love to emboss with my foam stamps. The foam surface creates some added texture even if you use super fine embossing powder.

Simply press the clear embossing pad onto the foam stamp and then stamp on paper. You can add just one solid color of embossing powder to your image and then heat emboss.

Or for even more fun, add several different colors of embossing powder and heat emboss one after the other.

Another fun way to use embossing powder is to use the positive and negative sets and layer the embossing. I hope you try it

Day 9 – Resist

I am a huge fan of resist techniques and this has always been one of my favorite ones.

Apply clear embossing ink to your foam stamp. Stamp onto paper. Sprinkle UTEE (ultra thick embossing powder) on top and heat emboss. Let cool and then apply a very thin layer of acrylic paint or acrylic ink over the surface.

The paint or ink will dry slower on top of the UTEE as that area will resist the paint. Use a moist rag or a baby wipe and gently wipe over the raised UTEE pattern to remove the paint.

What remains is a wonderfully textured clear pattern.

Day 10 – Pastel

I love using Pastels with my foam stamps. In order to make the pigments stick you need a little trick though. I usually use a clear embossing ink pad and apply it to the stamp, then I stamp onto paper.

My favorite pastels are PanPastels but you can use over pastels as well.

I apply the pastel with a tool over the stamped surface and wherever the embossing ink is on the paper the pastel will accumulate more and collect more of the pastel.

The stamped design will appear darker.

Here are the foam stamps I used for those prompts. Hope you enjoying the Foam Stamplifier Challenge!


In case you missed the prompt list  here you go:

Leave a comment

Be Bad – Art Journal

Ha- lol – I am not sure if I like this or if I feel slightly pushed into a psychedelic 60s comic – but I sure had fun playing ;)

I loved mixing up a hand cut stencil, my hand carved rubber stamp and my new Groovy Foam Stamp. I used spray paint with the stencil, an ink pad for the rubber stamp and acrylic paint with the Groovy Stamp.

Once all was dried brushed on yellow acrylic ink over the whole spread – and there you go …you feel like you landed in a 60s Bugs Bunny comic LOL.

Here are some of the supplies I used


Leave a comment