Blog: Weave Foam Stamp

April ArtFoamies Challenge – Day 05, 06, 07

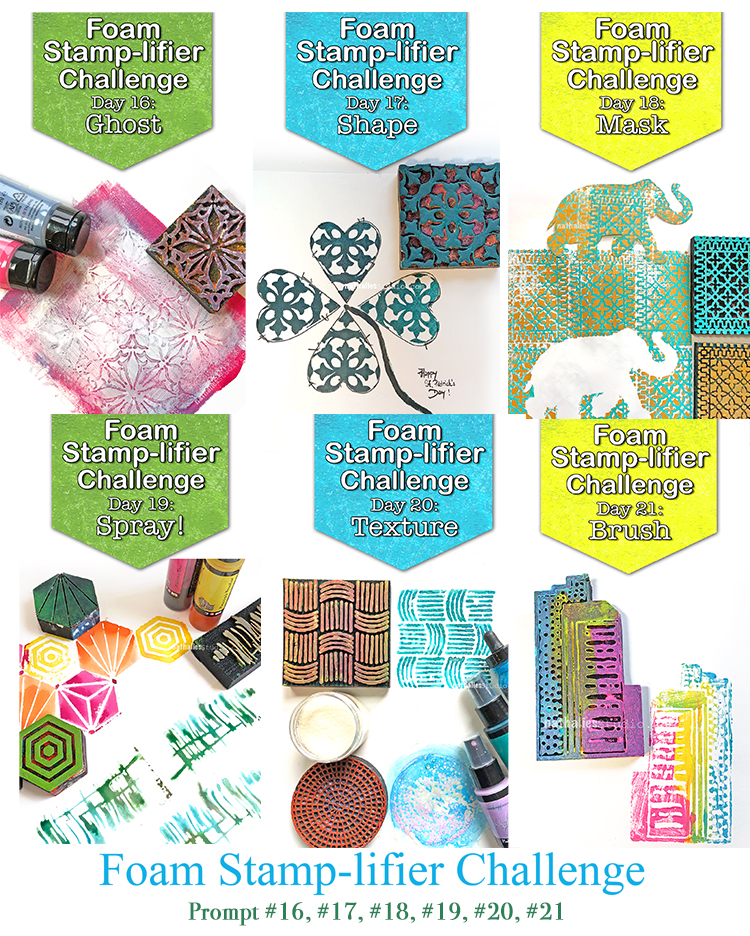
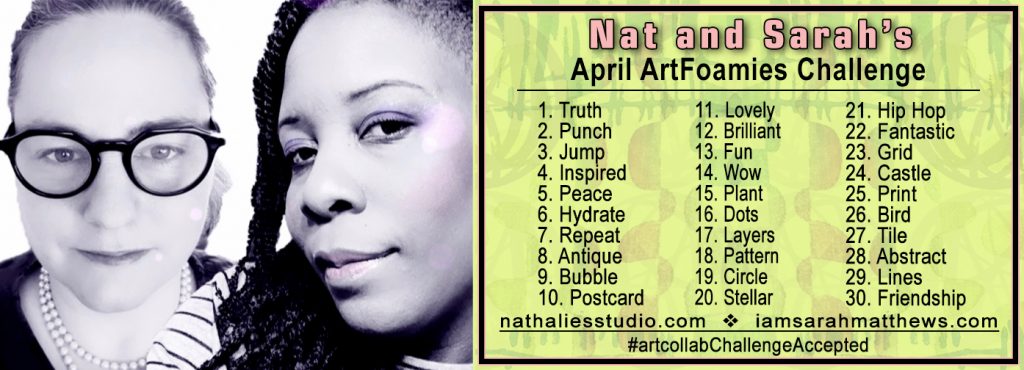
We’re recapping Day 05, 06, and 07 of Nat and Sarah’s April ArtFoamies Challenge today! You can follow along on my Instagram daily with videos and photos, and I will post updates here on the blog too from time to time throughout the month. 

Let’s get started!

April 5: Peace – Flowers always give me peace and this stamp with its tulips is called Amsterdam – very fitting no? This stamp called to be inked up with two different colors alternating and while it was a fast and quick spread, it was fun and a good reminder to do this more often, the ink pads give a good chance to do a multicolor print quick.


Here is a look at the April 05 page:


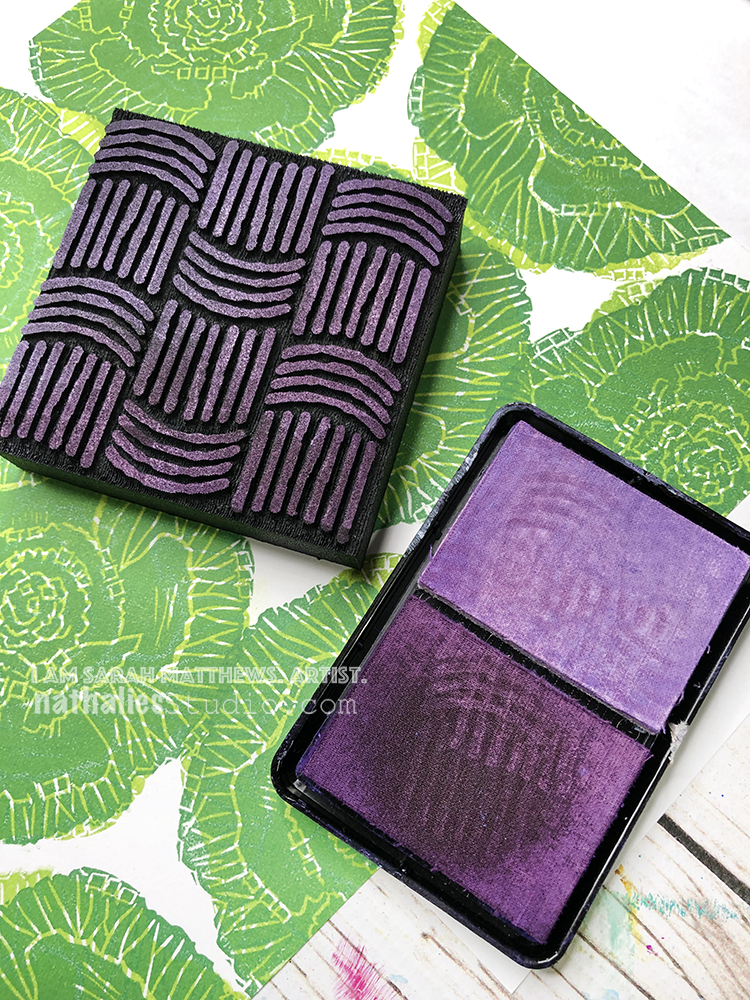
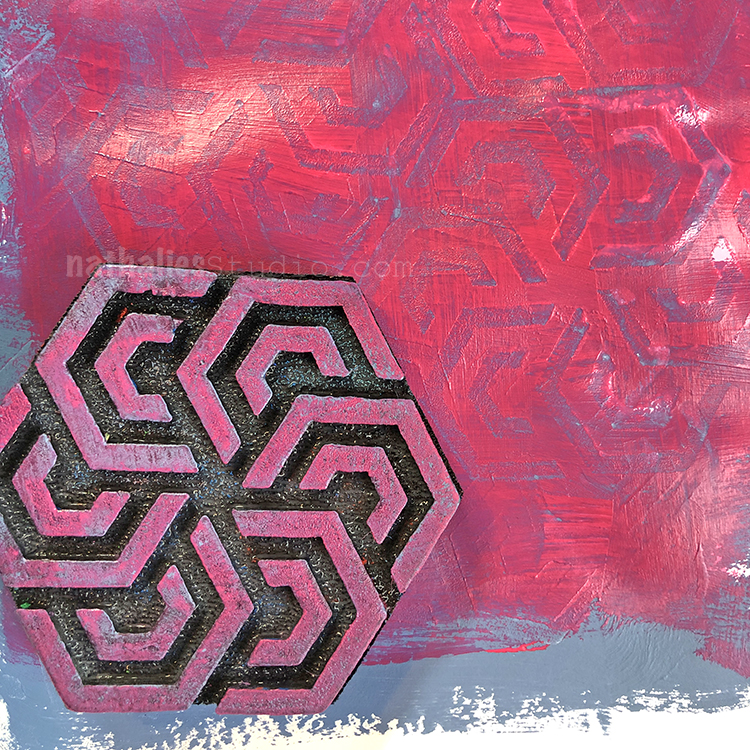
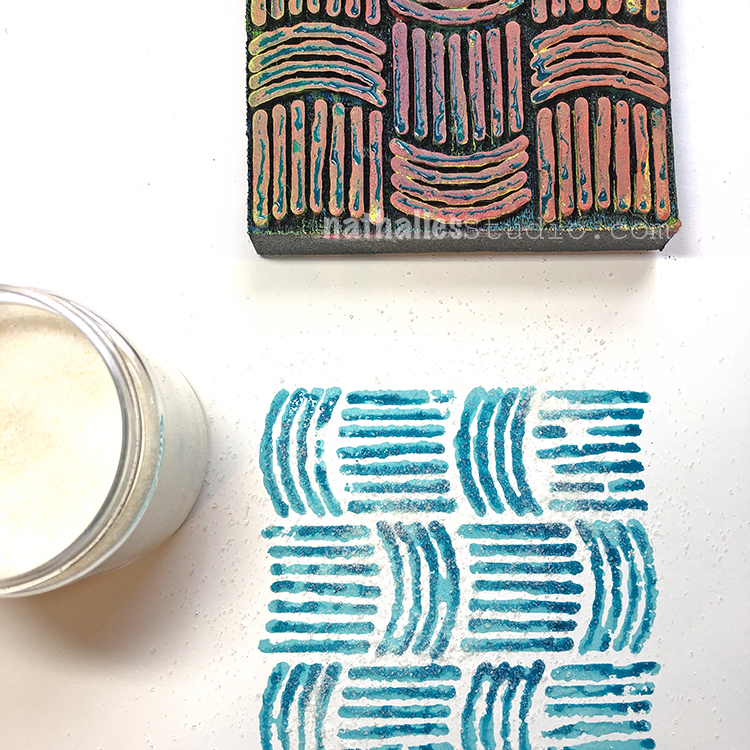
April 06: Hydrate – I used my Weave stamp because the pattern looks a bit like waves and as Sarah and I are meeting today to talk about Challenges and also about this Challenge I thought I should rock it out and do it like Sarah the Queen of Layers does. Oh boy …it worked well until I added the third color, crooked, not inked up well. What was I thinking? But then I kept going and I like part of it. I learned my lesson and I apologized to my ledger. So I am keeping up, the ledger is 125 years old, no way I am stopping now in this book.


Here is a look at the April 06 page:


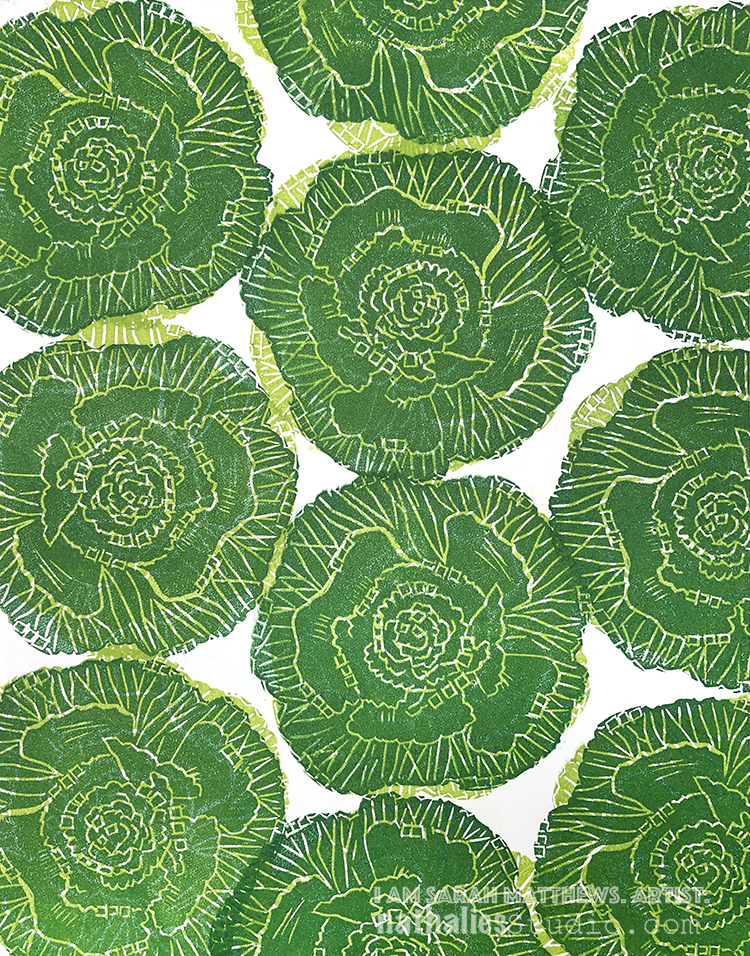
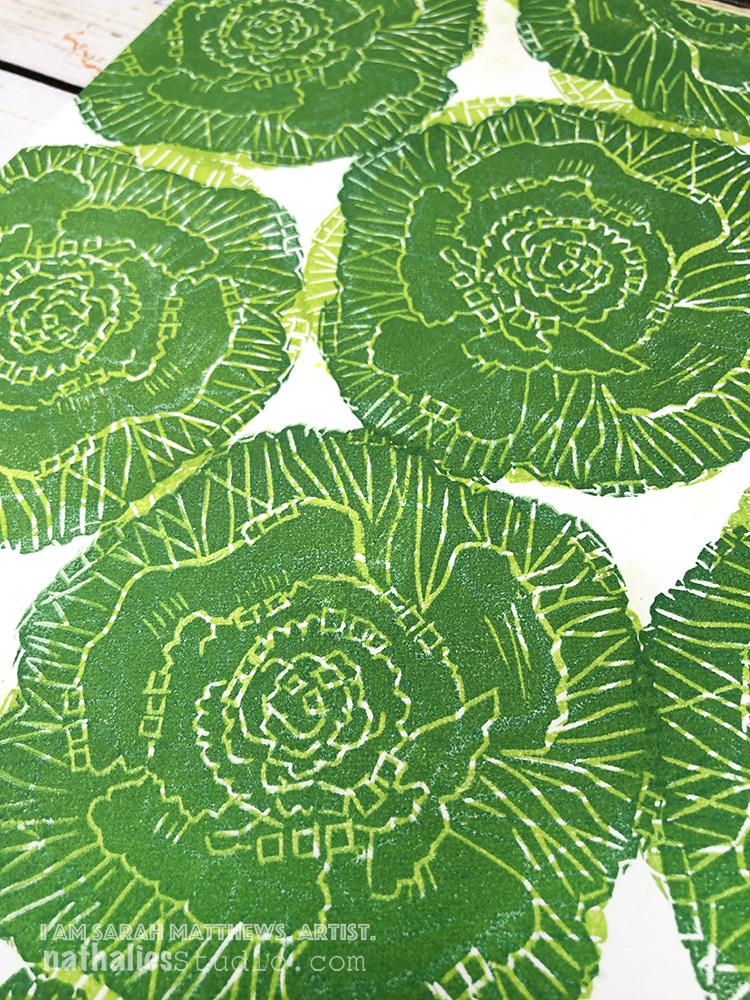
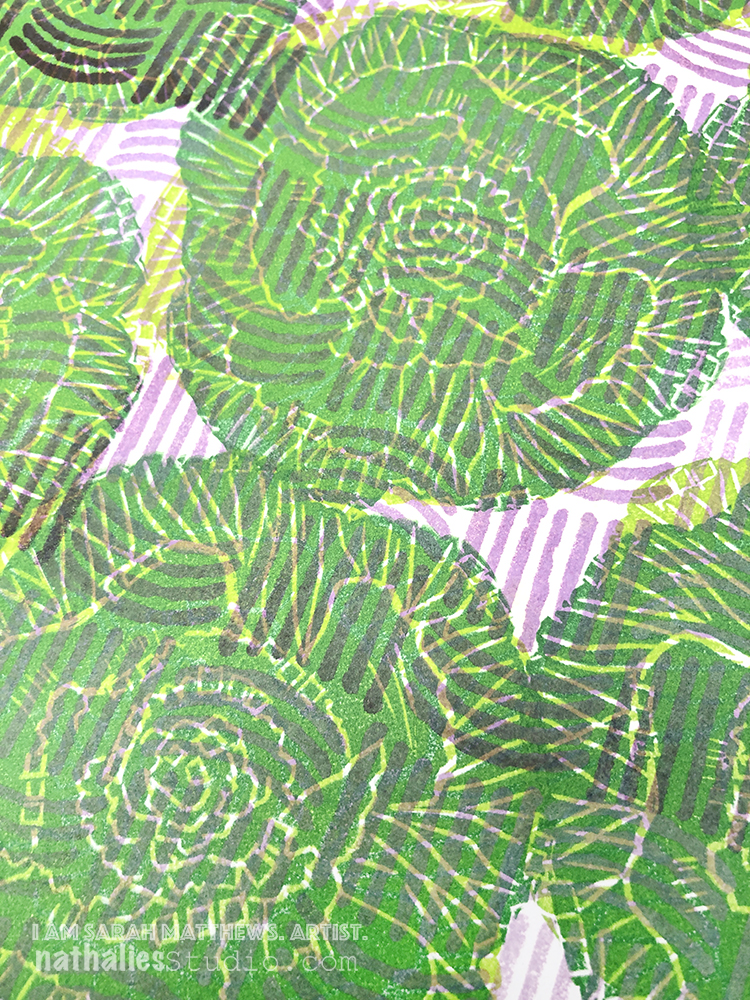
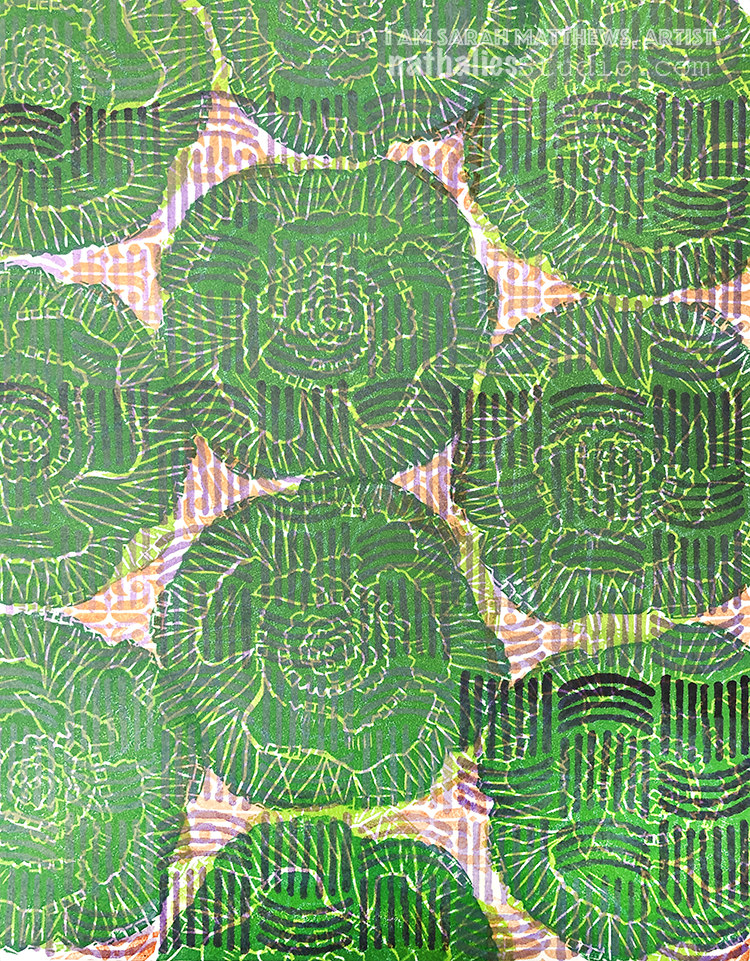
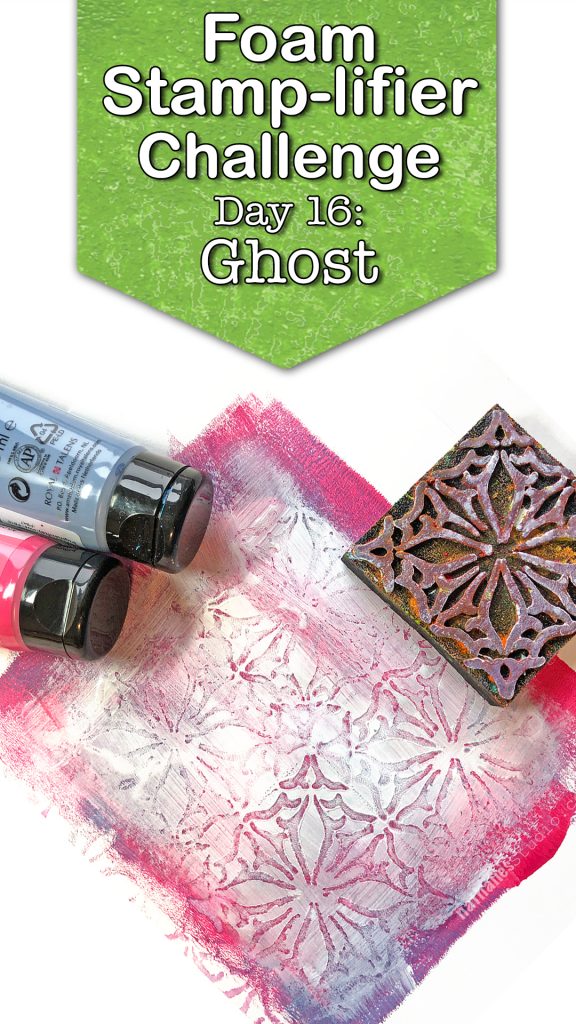
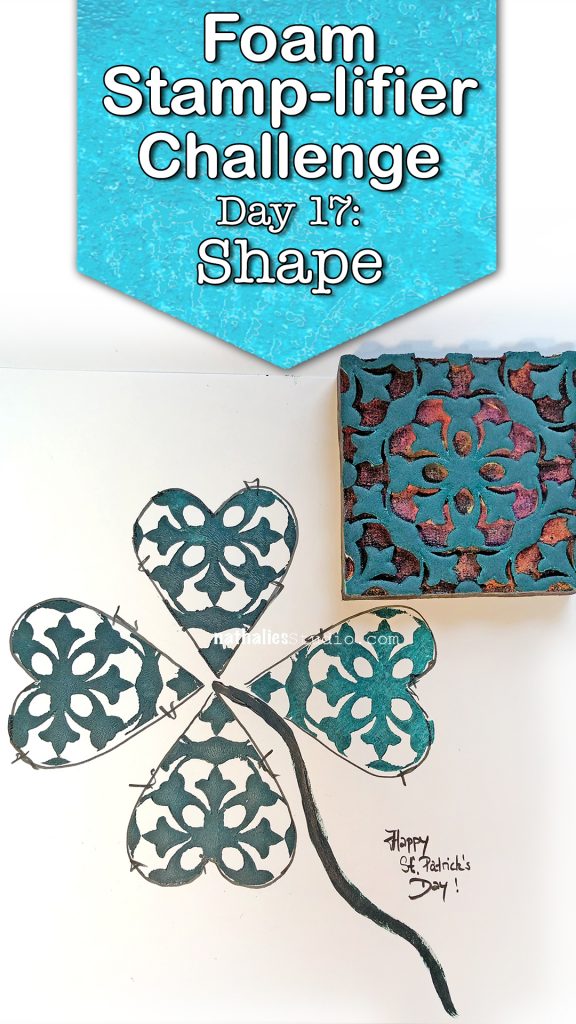
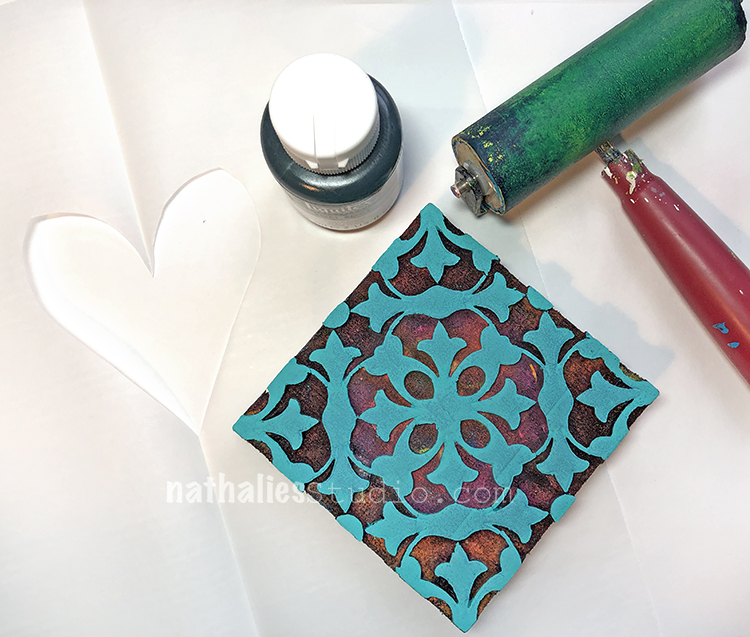
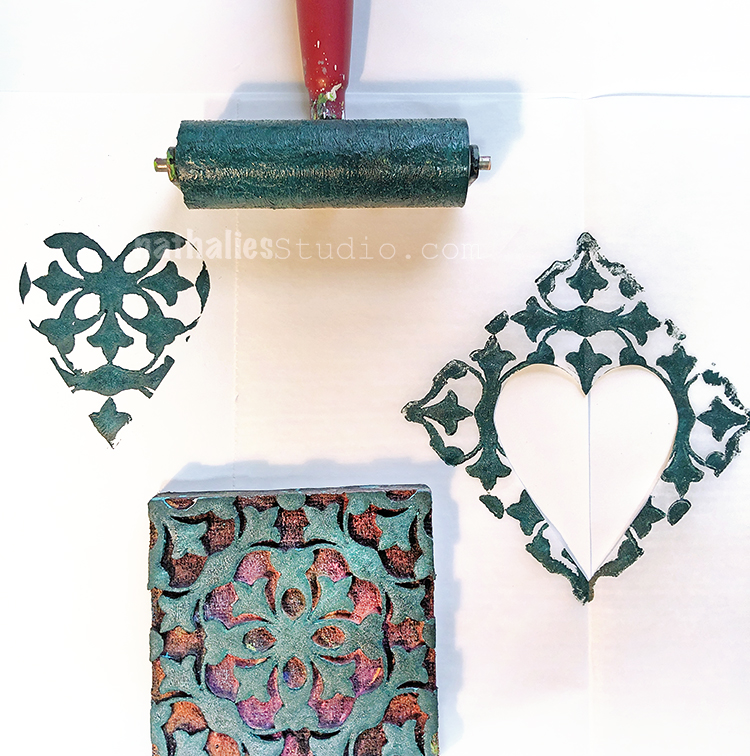
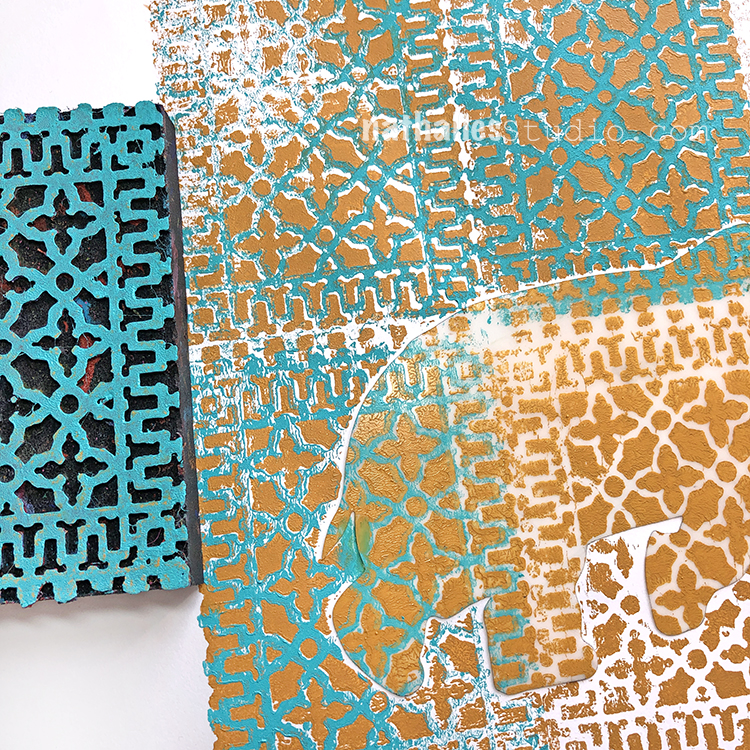
April 07: Repeat – Definitely repeating what I know with my Versailles positive and negative stamp. I love the faint stamping on the ledger as it lets the ledger peek out more but to be honest it is a good reminder for everyone that you should absolutely clean your foam stamps – especially when you use them with acrylic paint. If you do not they harden up with a thin layer of plastic – acrylic paint is essentially plastic – on top and it makes it hard with a non absorbent slick surface to use other paint media for example ink pads. So while in my workshops it is sometimes just not possible to have every student scrub their foam stamps, I really urge you to do this with the ones you purchase …unless you want to repeat your purchase with me ;) which I wouldn’t mind but I’d rather have you happy :)


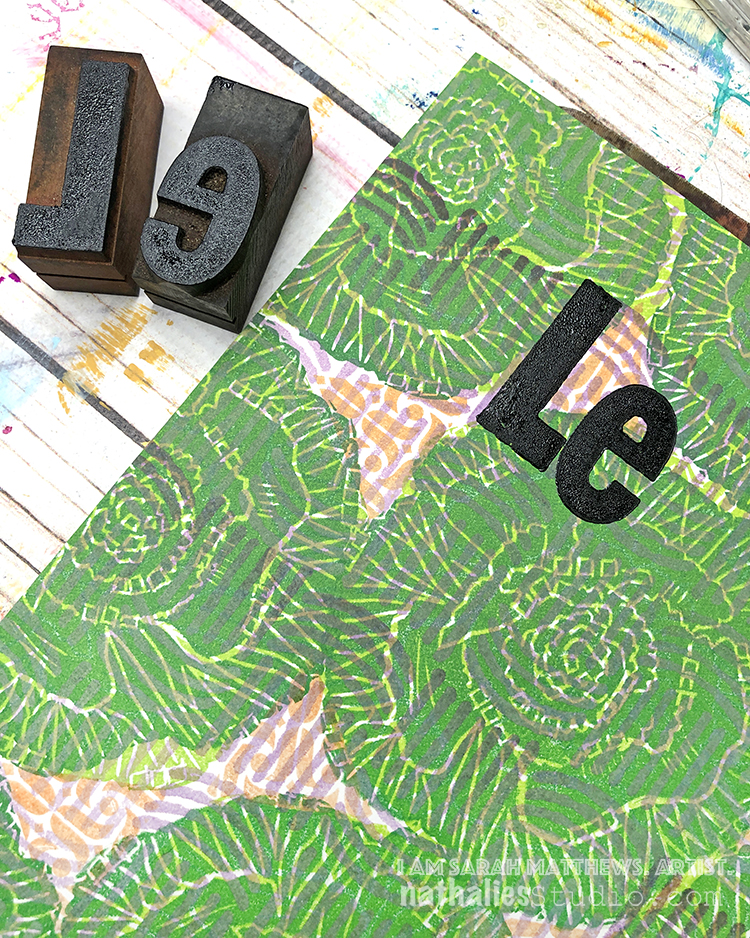
Here is a look at the April 07 page:

Follow along with the challenge on instagram  and post your artwork too with the hashtag #artcollabChallengeAccepted

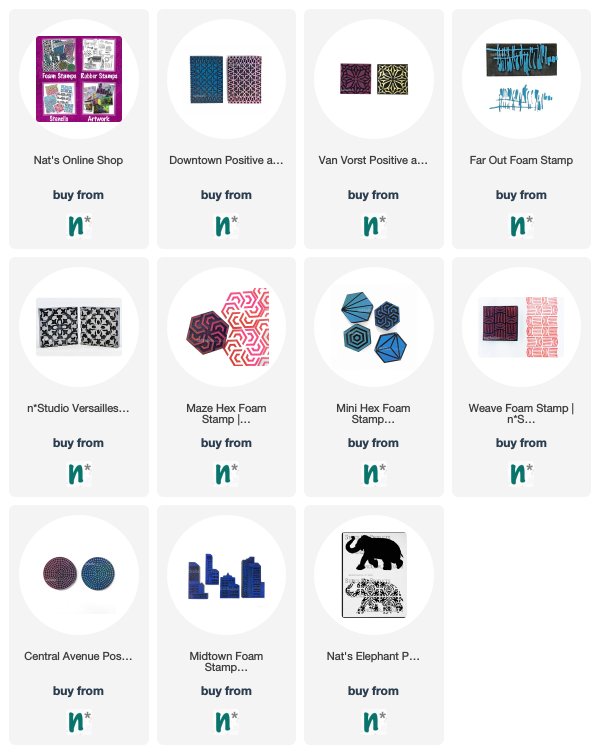
Here are some of the supplies I used:

Leave a comment

Lettuce Build a Better Tomorrow – Pass the Brush Collaboration

I hope you had a chance to tune into my Instagram Thursday and Friday for a takeover from the super talented printmaker, book artist, and artfoamies designer Sarah Matthews!

When Sarah and I talked about the process and got to know each other we decided we would want to challenge each other by sending each other a background which then the receiving artist would finish up – A real Collaboration …passing the brush so to speak. Here is what Sarah sent me!

I loved it right away – in one of our conversations I had mentioned that I had a garden and some lettuce and she thought of her carved lettuce stamp.

I love the background and cool layering – It was sooo precious- But then I got to work.

I started layering with some Moonlight Duo Ink and my Weave Art Foamie stamp.

I felt I needed to add just a little bit more and thought the intersections of the lettuces make a fun triangle area …and well …a garden has flowers…sometimes …if you do not forget to water them ;)

so I used the Tulip Triangle from my Triangle Love Set and added this to the print.

And then I felt I would really not want to cover it more as I wanted to keep Sarah’s background alive and so I went for a final addition of adding some text.

I pulled out my woodblocks and some Speedball inks and added this …

I am quite in love with our collaborative piece. And if you want to see her take on my background -she will share it with a video on Monday. I do hope we get to make more art together in the future and as I said Lettuce build a better tomorrow. 

Leave a comment

Foam Stamplifier Challenge Prompts 16-21

Day 16 – Ghost

No, no, don’t be scared- this is a friendly Ghost prompt. I love to apply paint on top of a dried paint layer and while the second layer is still wet, I take my slightly wet foam stamp and press it into the paint and lift it.

This will remove the second layer paint partly and create texture making for a subtle and nice imprint and revealing the color underneath. My favorite second color for this is white- it just gives a nice antique plaster effect.

Day 17 – Shape

Happy St. Patrick’s Day. I thought this would be a great day to amplifier your stamps using them to stamp out a shape…like a shamrock. Although …I guess I messed it up since a shamrock is a three-leaf clover ….oh well…you can tell I am not Irish- LOL – but hey, I tried.

Anyway you can use any shape of course and  you can cut it out of a piece of paper or like I do out of a piece of deli paper. Basically you are creating a stencil.

Then just fill in the opening with either one or more foam stamp patterns, and lift the stencil- the filled in area defining the actual shape.

Day 18 – Mask

Now of course you can also mask an area off and then define that area by stamping over the mask. Here I used one of my beloved Elephant Masks and my Downtown positive and negative Foam stamps.

You can easily cut out your own mask of course. And voila …there you have a it – love the background. So many options with this.

Day 19 – Spray

Another one of my super favorite foam stamplifier techniques is to use dye or ink sprays with my foam stamps.

Spray onto the stamps and print – I love the super vibrant watercolor effect this gives. So easy and yet so effective!

Day 20 – Texture

Another one of my old foam stamplify favorites. Use the spray paint we used yesterday as an embossing agent and create some nice grungy texture.

Spray your foam stamp with dye ink and stamp and while the ink is still wet sprinkle some UTEE or ultra thick embossing powder on top and then heat emboss it.

I love the raised water drop like texture this creates.

Day 21 – Brush

Using a brush to color in certain areas of a foam stamp is also a cool way to amplify the stamps.

When working with acrylic paint  you either have to work fairly quick in order to prevent the paints from drying to fast or you can use a little bit of retarder with your paints to extend the drying time a bit.

I hope you enjoyed this round of prompts. Here are the stamps I used for those:

Have you missed the prompt list? Here you go

See you tomorrow for a little Kaffeeklatsch! I’m showing off my new Rubber Stamps and chatting with you on Facebook. See you at 12noon EST :)

Leave a comment