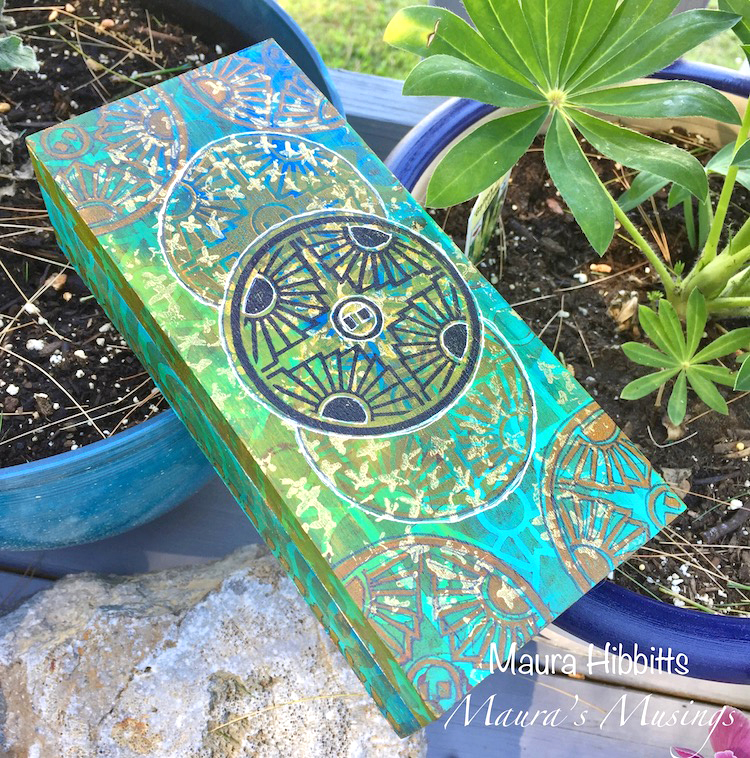
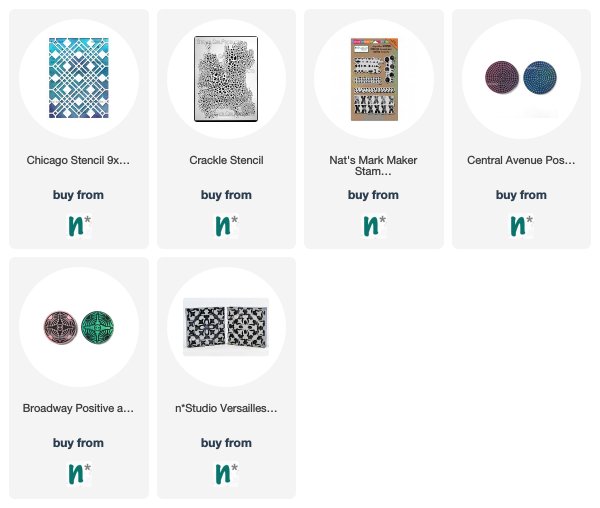
Hello my friends! Today we have a Creative Squad post from the very talented Maura Hibbitts. Her “Treasure Tea Box” is a gorgeous way to upcycle an old tea box and really shows off how to layer up multiple stencil and stamp patterns to create a rich design. Maura uses my Batik Pattern 1 and Broadway foam stamps, my Cross Circle rubber stamp, and my Buenos Aires and Batik stencils as well as inspiration from this month’s theme: All Shapes and Sizes – Circles and squares, big and small, let’s mix it up and play with different shapes and sizes this month. Just because things are different doesn’t mean they can’t look great together!
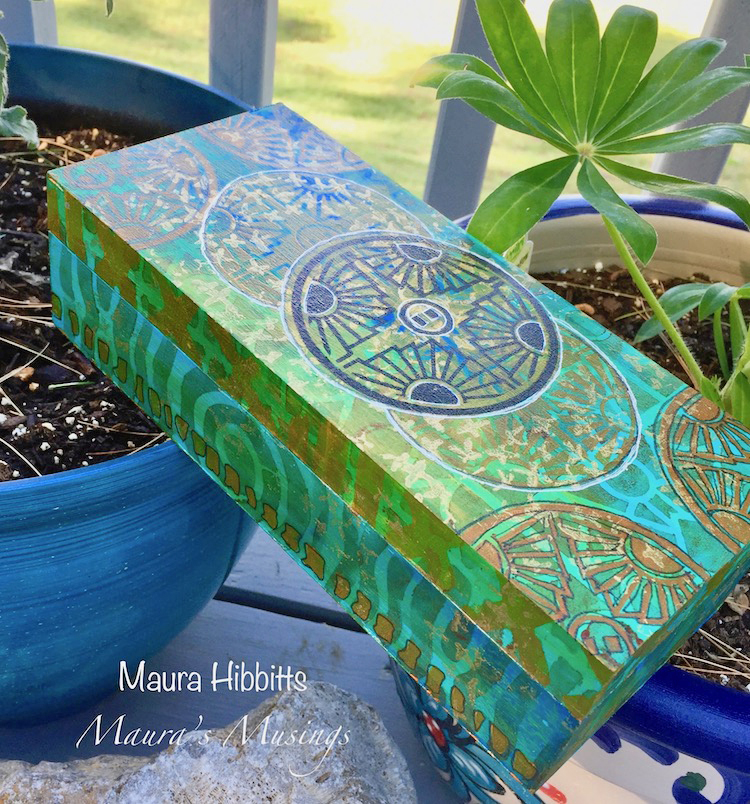
“Treasure Tea Box”
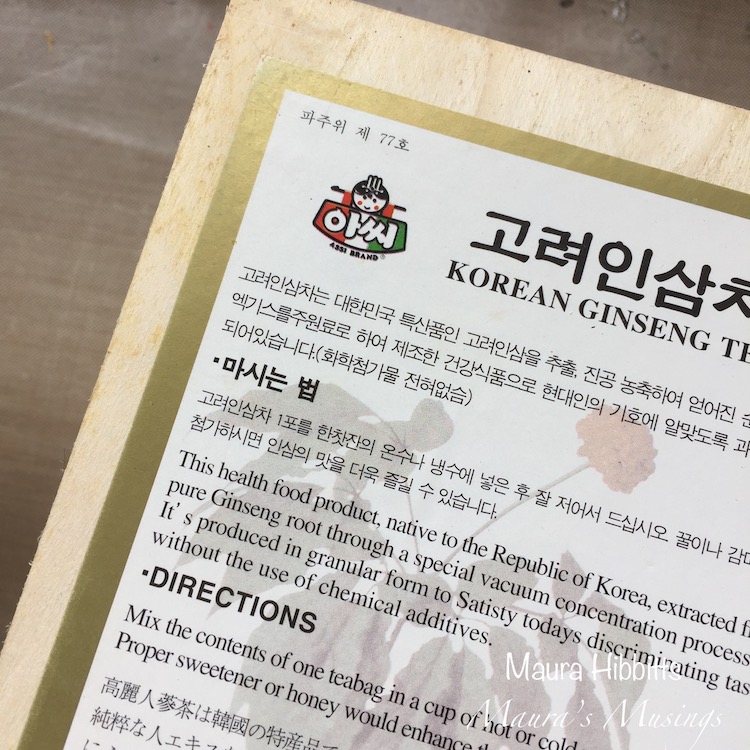
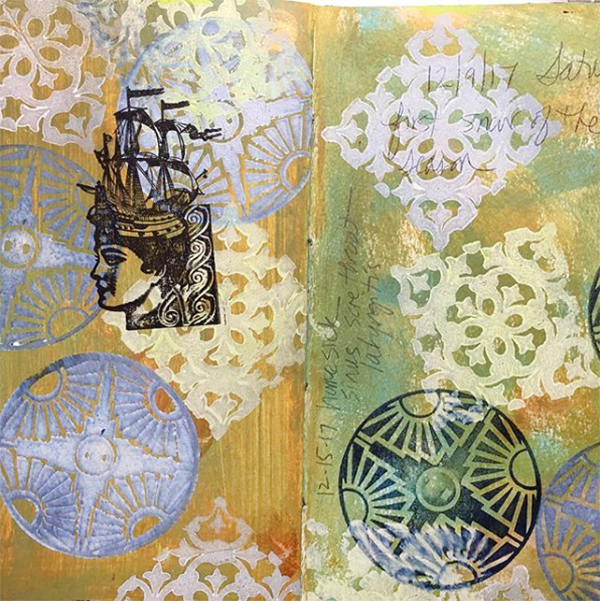
We drink a lot of tea at my house, and then have the containers they come in sitting around waiting to be repurposed. This tea came in a box that I thought was perfect to alter with paint, stencils and stamps. Now, it can hold treasures, pencils, jewelry, or even more tea!
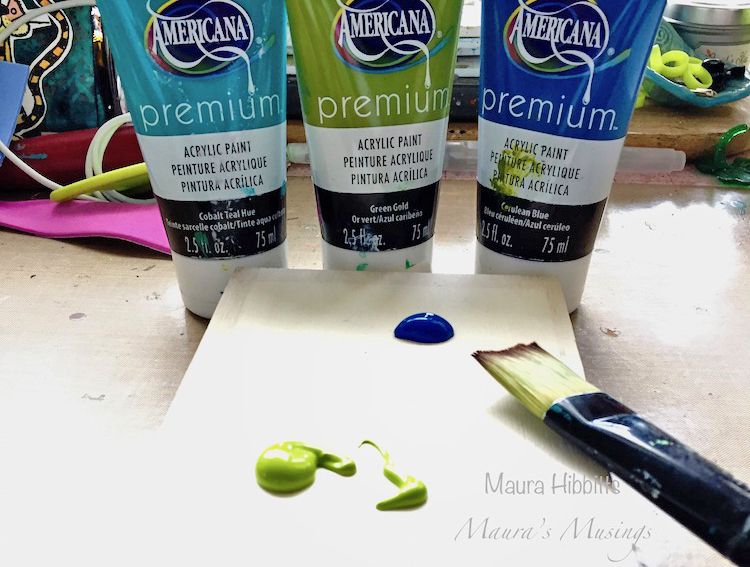
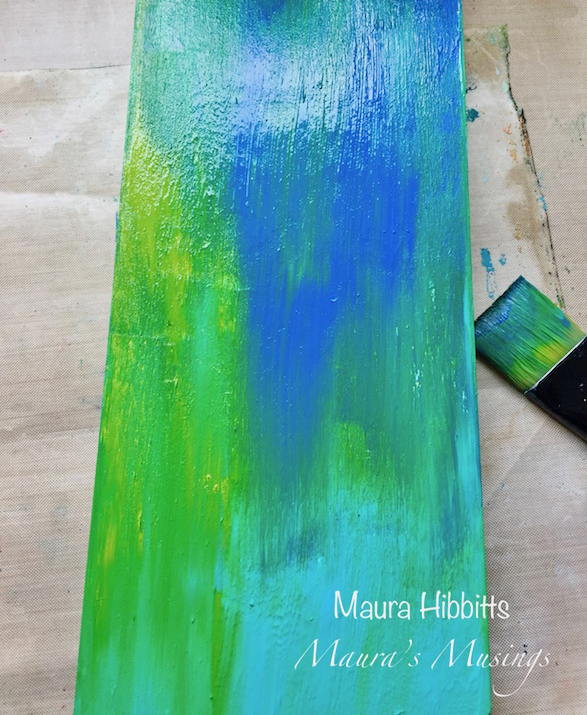
I started by painting a layer of white gesso on the outside of the box and let that dry. Next, I squirted on a bit of Cobalt Teal Hue, Cerulean Blue and Green Gold heavy body acrylics onto the box lid and bottom. I pulled the paint down the panel, and also brushed some over the sides and dried it thoroughly.
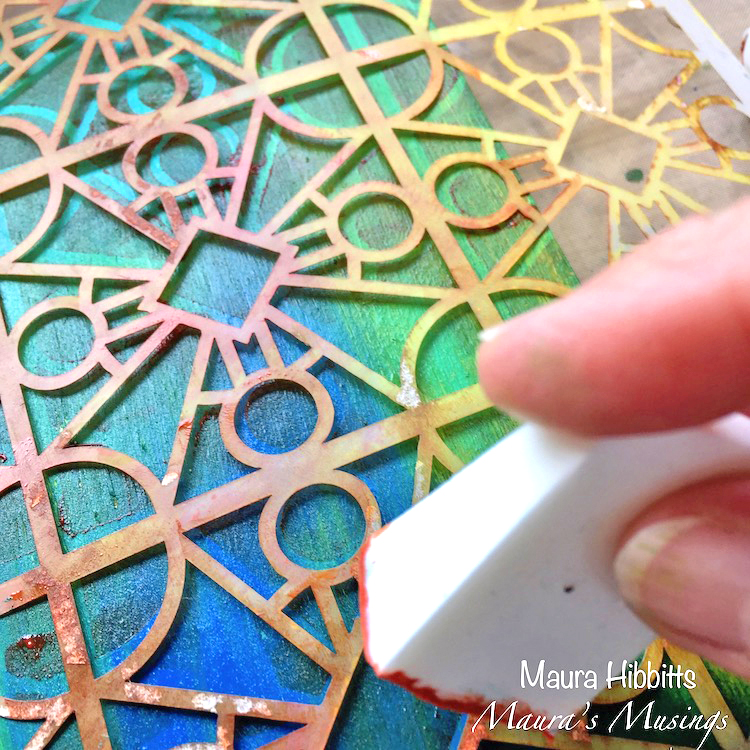
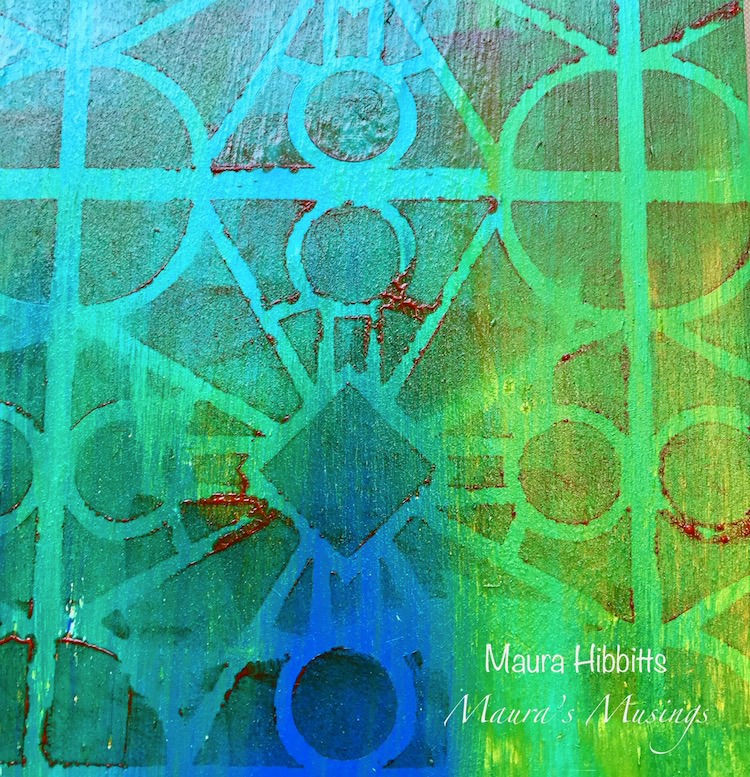
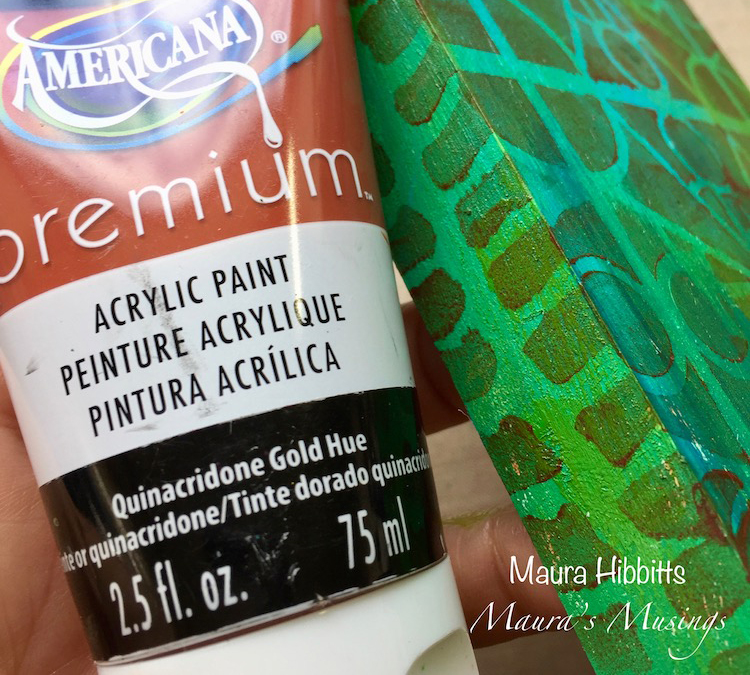
Next, I stenciled the box using the Buenos Aires stencil and Quinacridone Gold heavy body paint with a cosmetic sponge. I wanted to be sure my first layer was dry, so the new color would not blend with it.
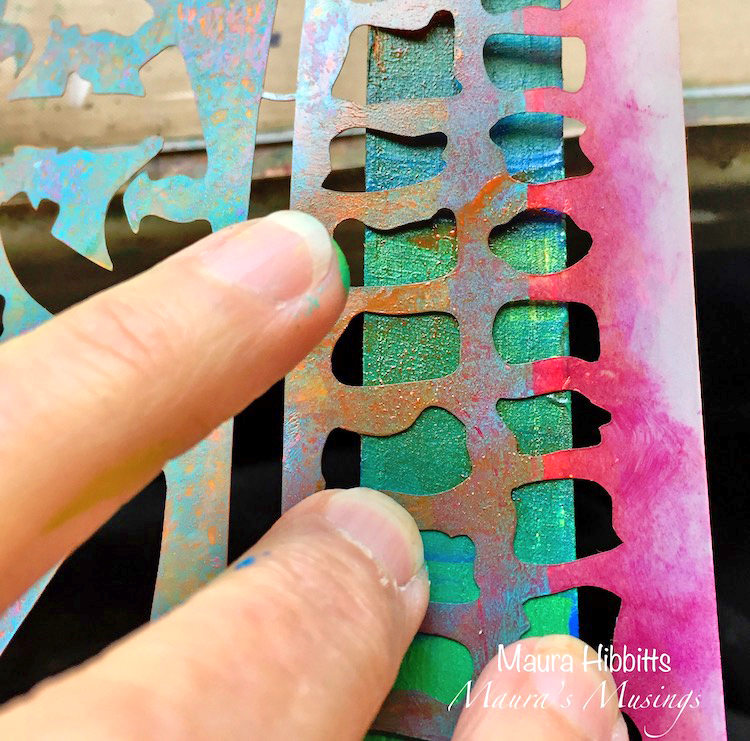
I also wanted to do some stenciling around the edges of the box, and took a section of the Batik stencil, held it carefully in place since the box was narrow, and sponged on the Quinacridone Gold.
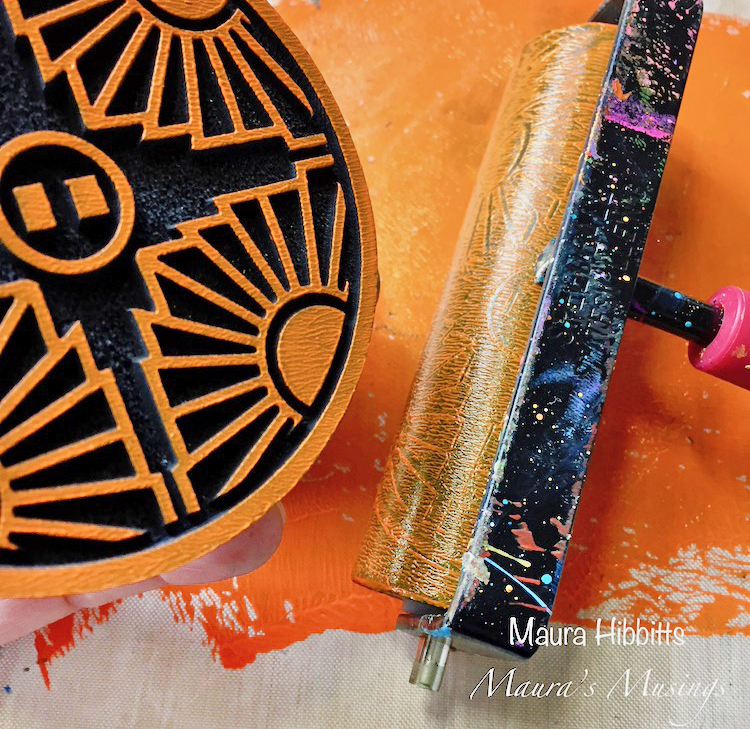
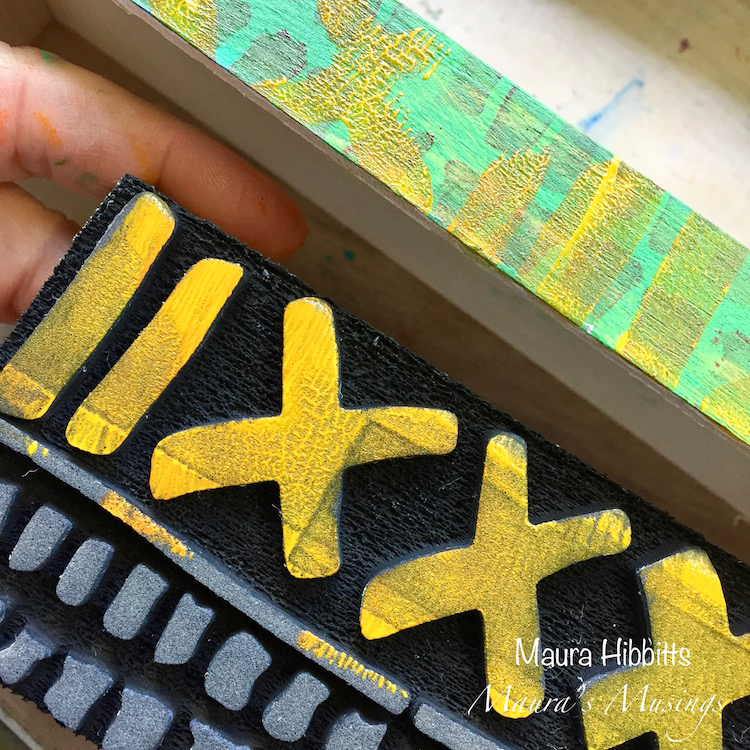
Time to do some stamping, and the Art Foamies Broadway set is perfect for adding a design layer. I added some Cadmium Orange Hue and Diarylide Yellow to a craft sheet, then used a brayer to add the paint to the foam stamp. I varied the hue a bit with the orange and yellow.
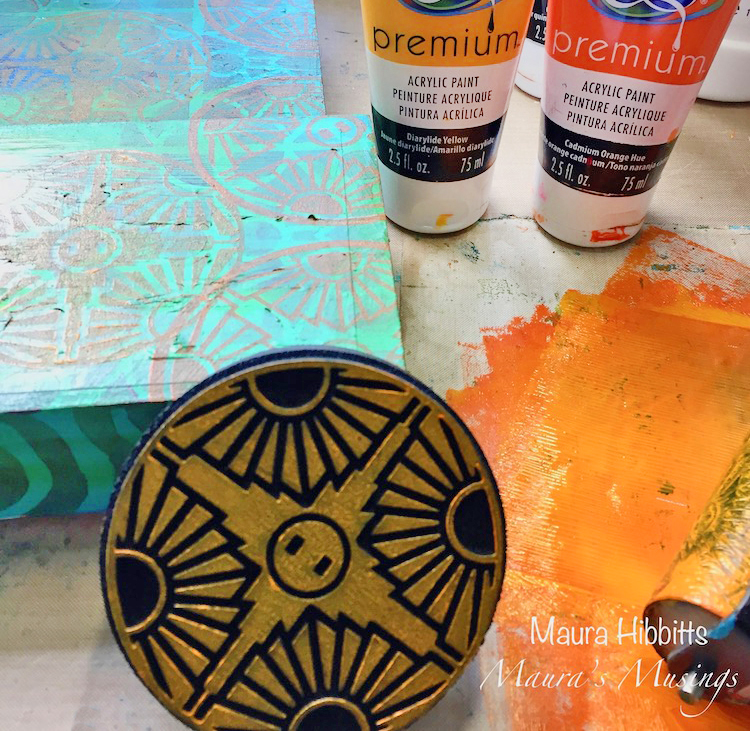
Then, I used the Batik Pattern 1 Art Foamie and brayered on some of the Diarylide Yellow paint and added part of the design to the box. More shapes and sizes added to the box.
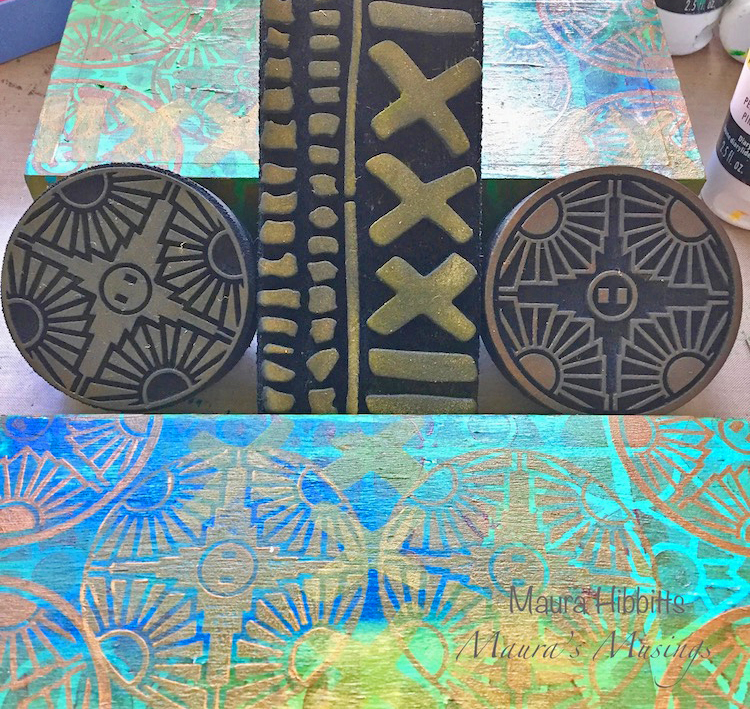
I wanted to add some gold, and spread some Glorious Gold onto my craft sheet with my brayer, then laid the Cross Circle stamp into the paint and dabbed the design on randomly all over the box.
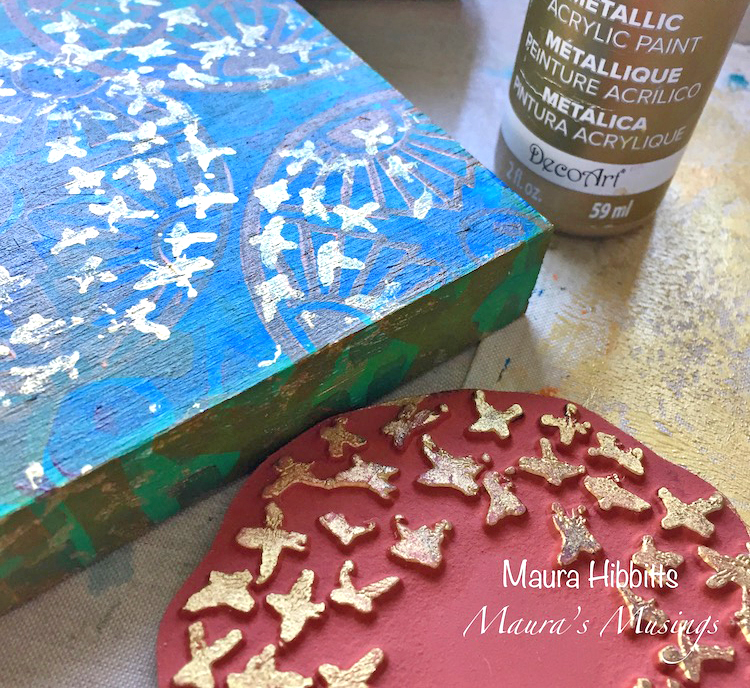
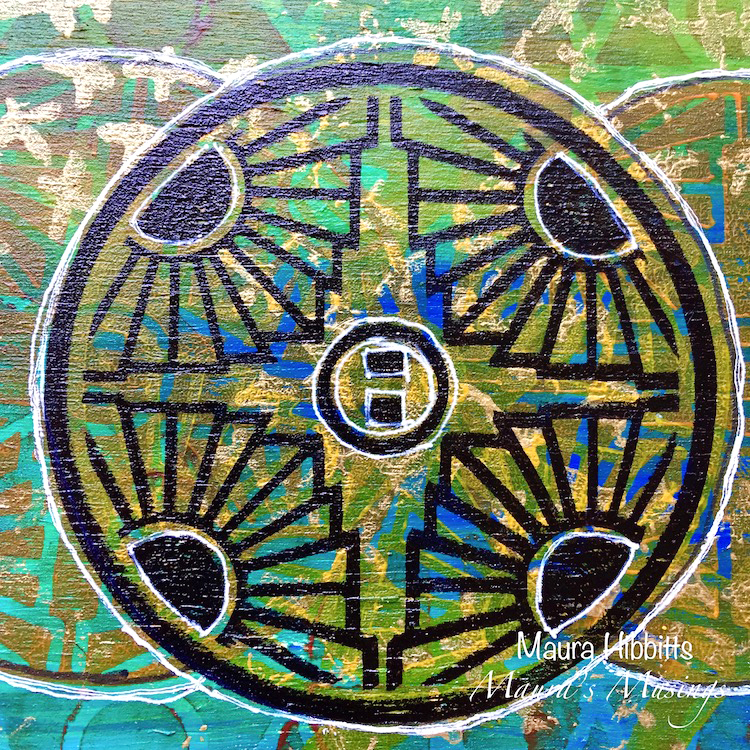
I felt like my box needed a focal point, so stamped the Broadway Art Foamie with black archival ink and added that dark image to the top. Later, I went around areas of the design with black and white pens.

I decided to add a layer of matte medium to the bottom of the box, so the acrylic paint wouldn’t stick when it gets humid around here, and I also cut a sheet of patterned paper to fit inside the lid and bottom of the box to finish it off. I love it when I can upcycle a piece into something brand new – yes, it is still a box, but now it is all dressed up!
Thank you Maura! I am a huge fan of repurposing things we already have, and this is such a beautiful reinterpretation :) In addition to her old tea box, Maura used the following supplies:

And if you feel inspired to share some of your own projects with my stamps and stencils, please send them my way. I post projects almost every month in my Inspiration From Around the Globe posts!


Comments (2)
julie b
| #
Beautiful and has an oriental flair too. Thank you!
Reply
Sue Clarke
| #
Gorgeous colors and patterns and useful to boot.
Thanks Maura!
Reply