Blog: upcylce

Foam Stamped Memory Game Tutorial

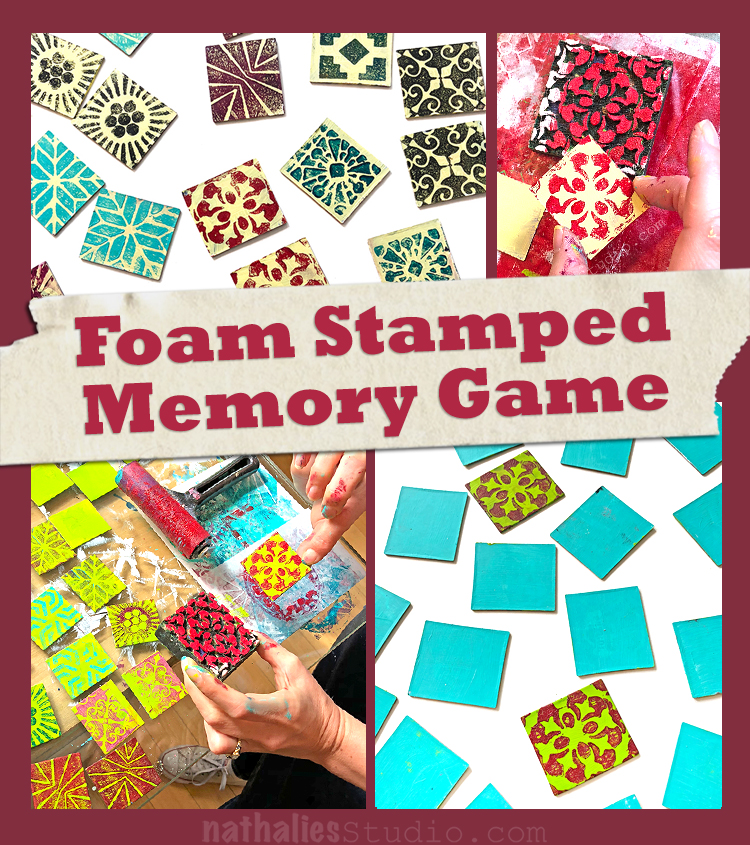
For our monthly playdate in October, Kim and I got together to make our own Memory Games. Remember those? Haha

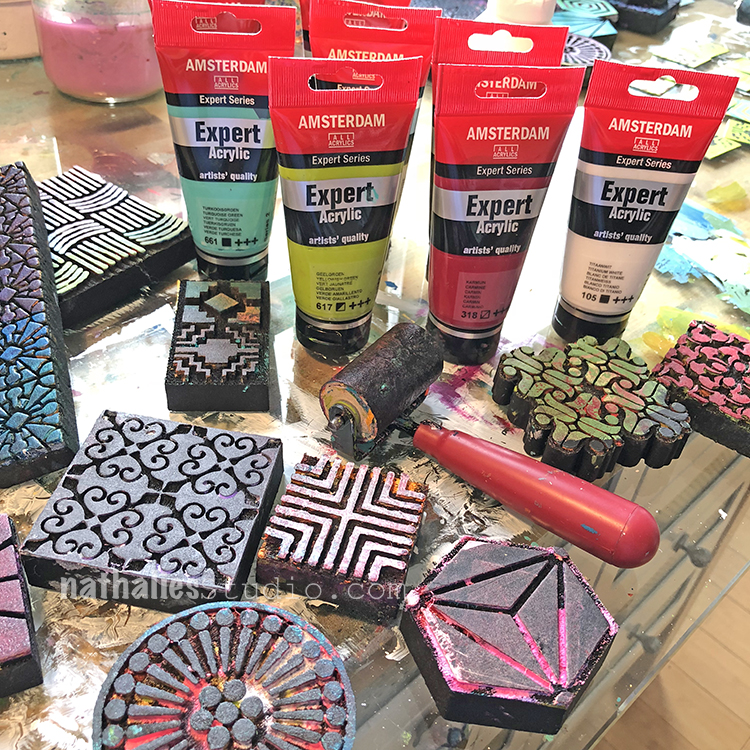
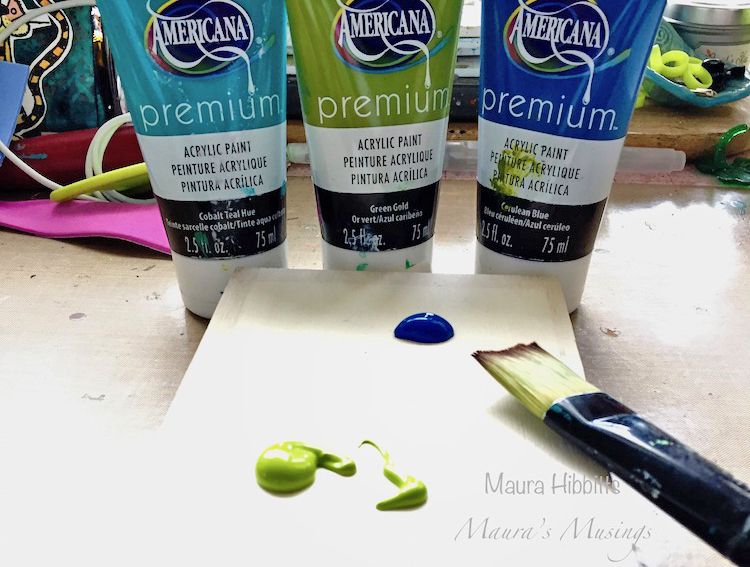
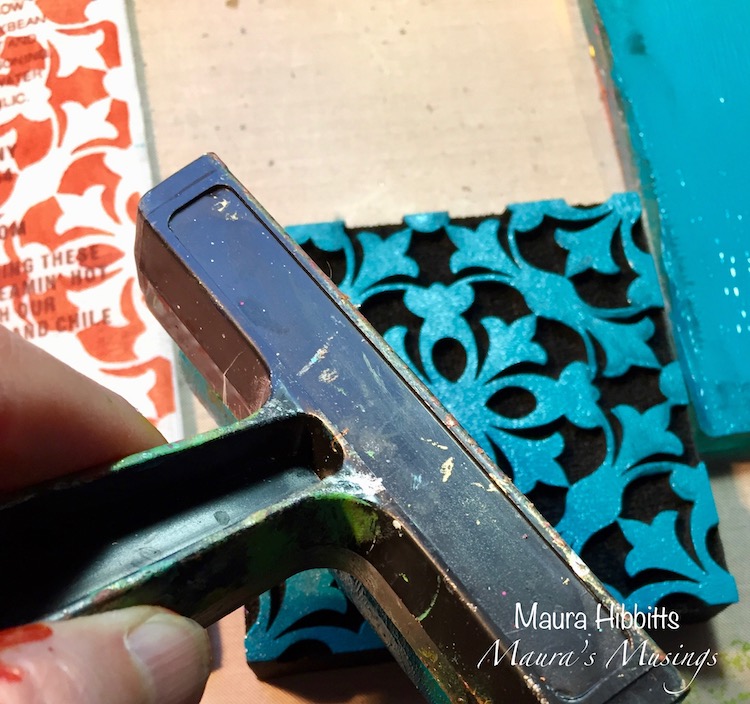
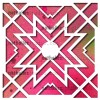
We gathered some acrylic paint, a brayer, and enough foam stamps to do 18 different patterns (our memory set included 18 pairs of cards). The Mini Foam Stamps are perfect for this because the patterns are small enough for the little cards. You don’t necessarily need 18 different foam stamps to do this either – you could use different color paint with the same pattern foam stamp to get your sets. That might even add a level of challenge to the game!

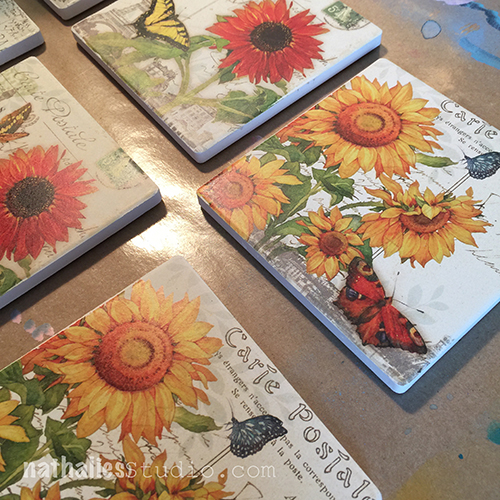
What did we use for cards? Well…

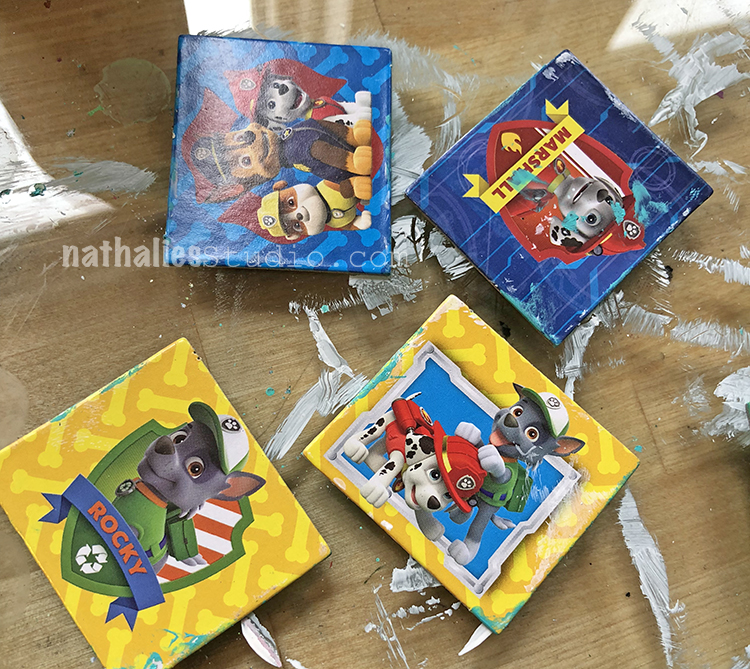
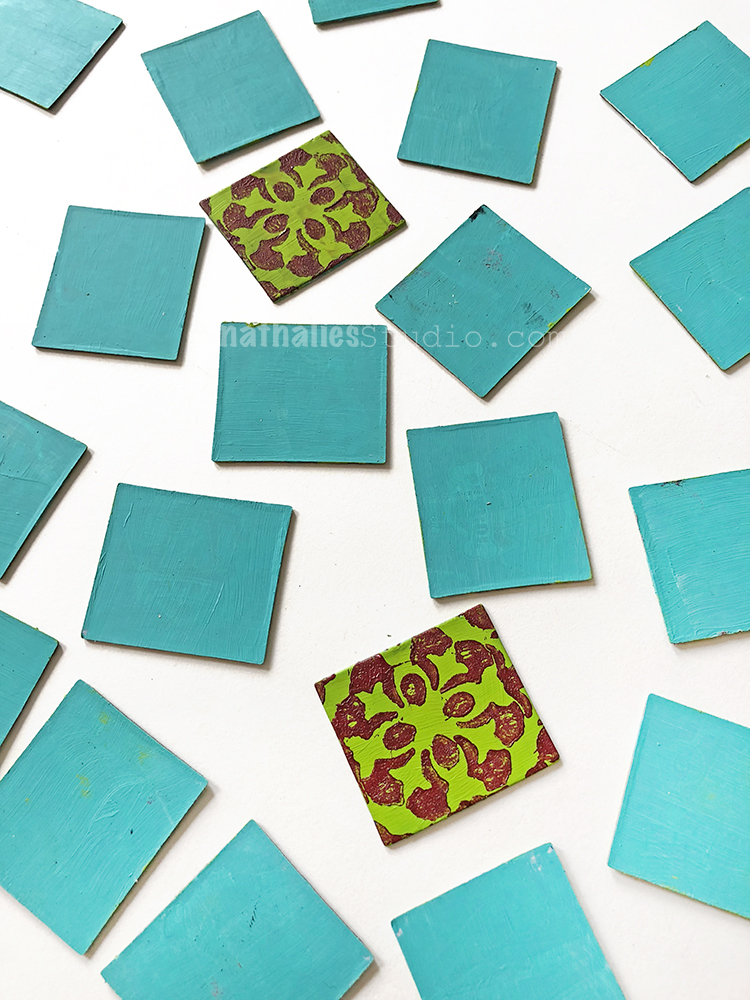
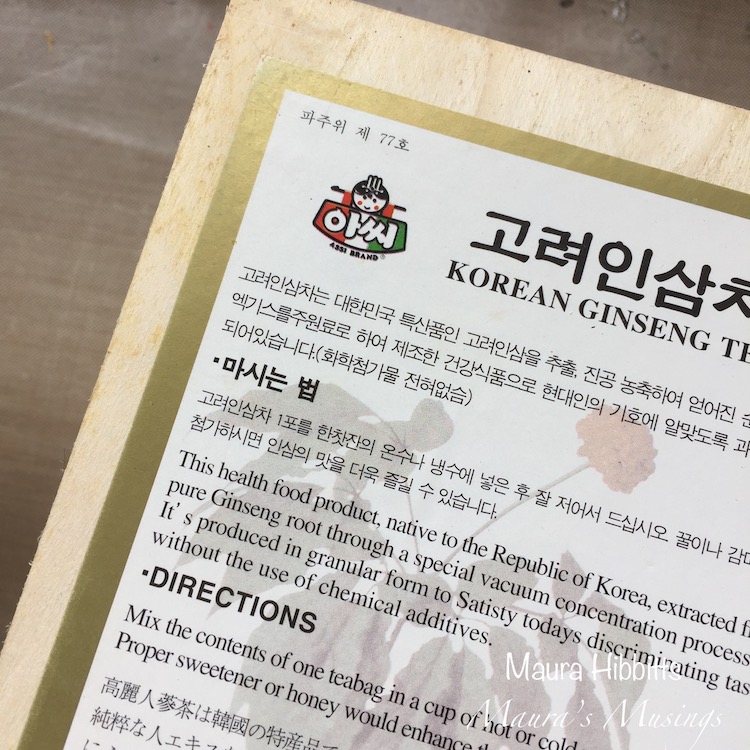
We found some really cheap sets online (you can see the one we used in the links below) and just repurposed them into our own awesome sets :)

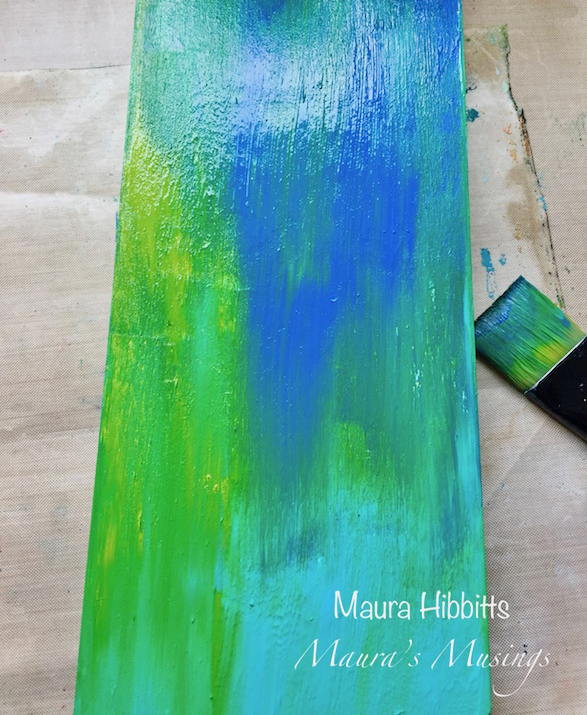
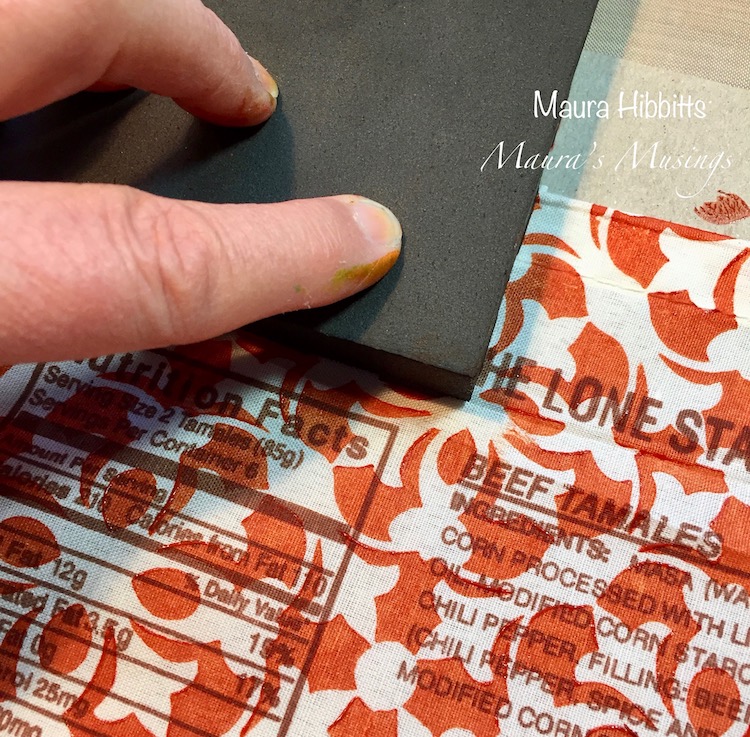
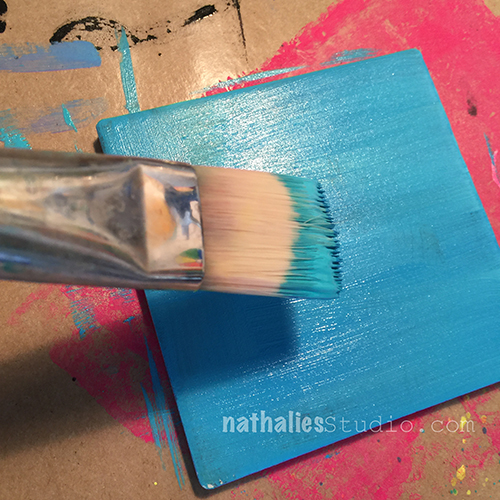
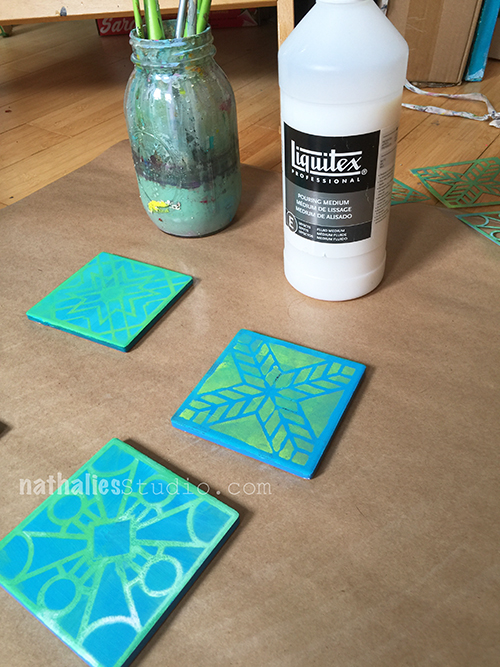
We just painted over the two sides with a solid color. It could take a couple coats of paint or a coat of gesso first and then a coat of paint.

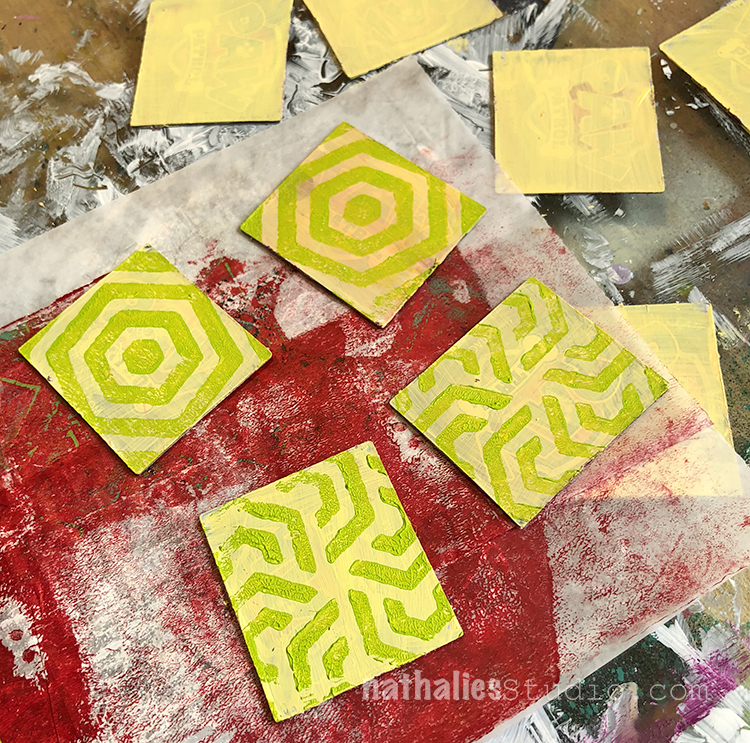
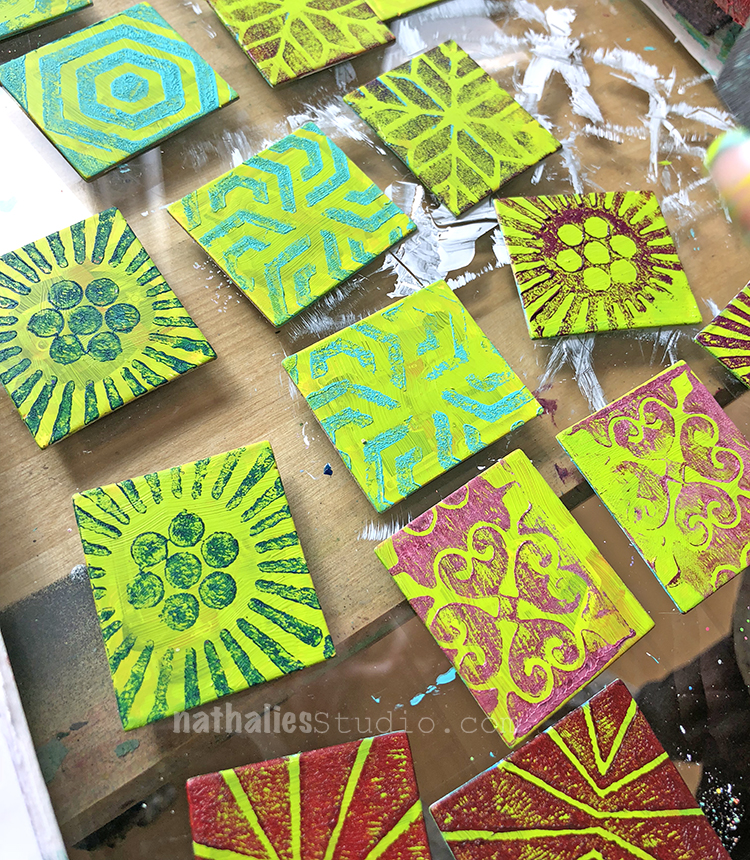
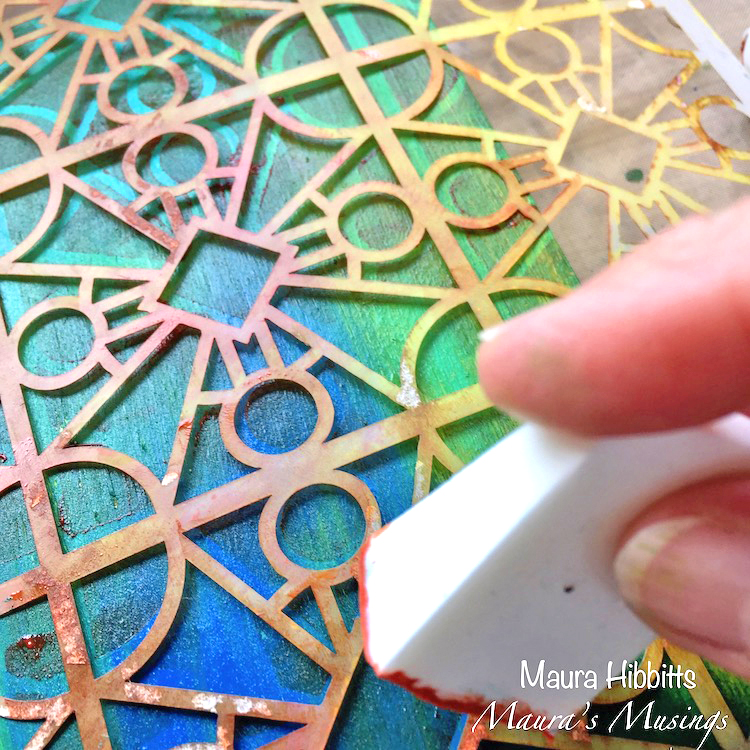
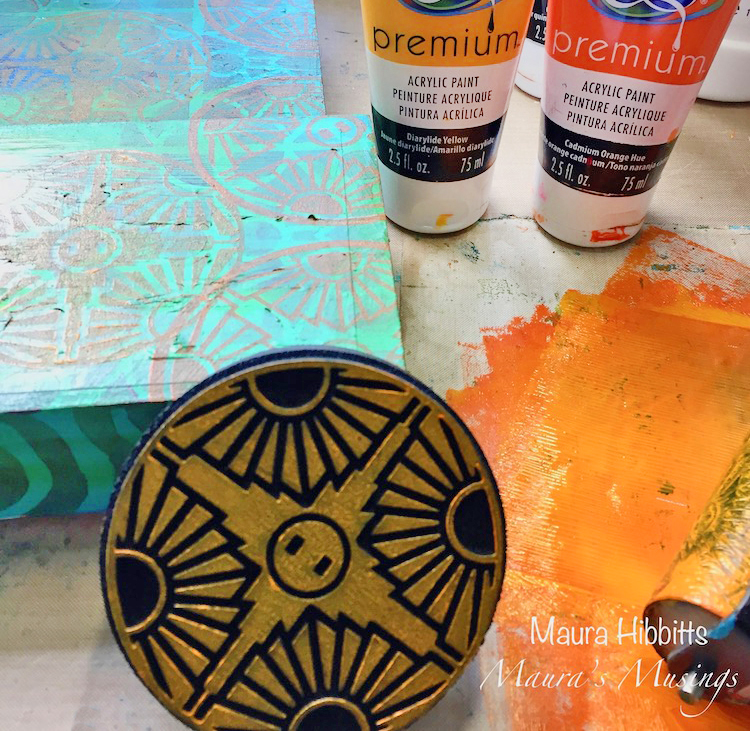
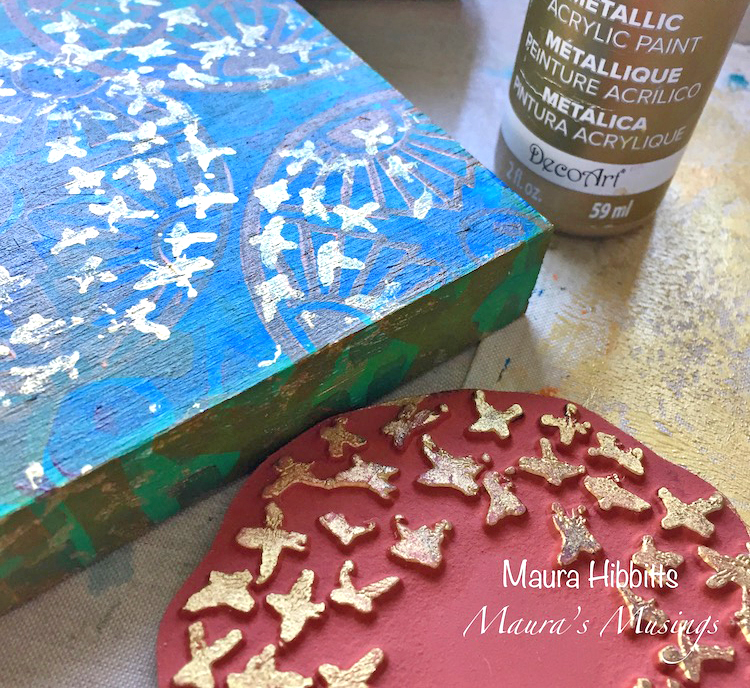
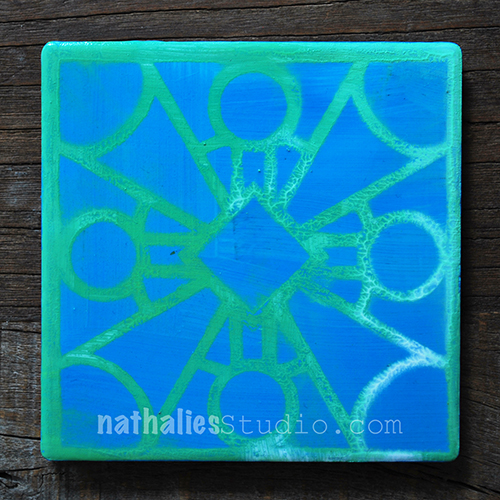
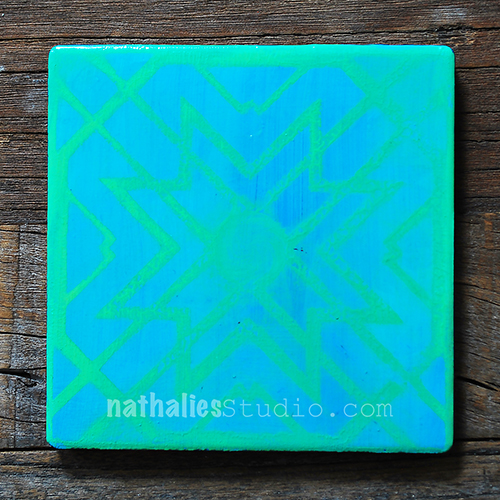
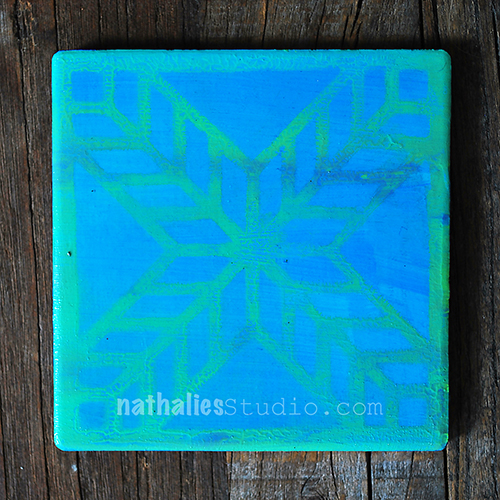
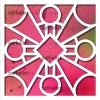
Then it was time to start making pairs… Here are some that use stamps from my Mini Hex Set.

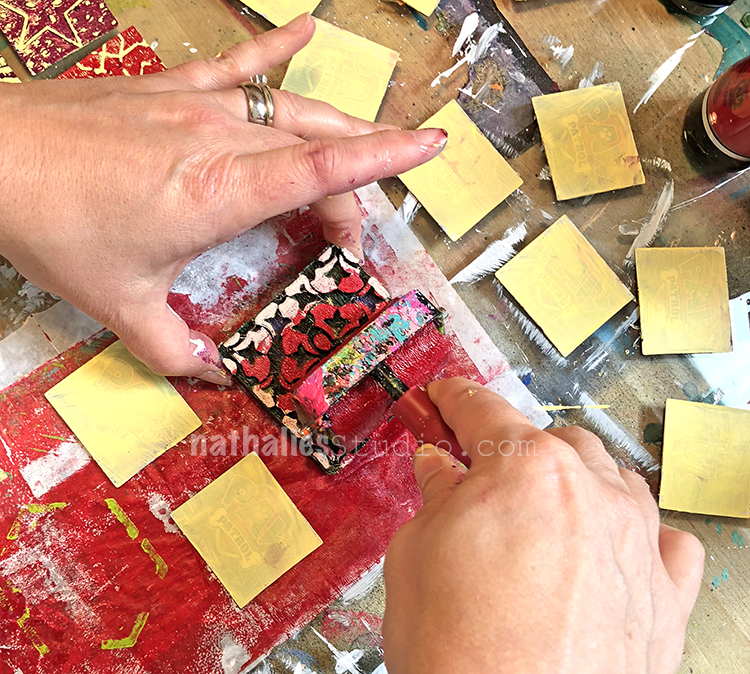
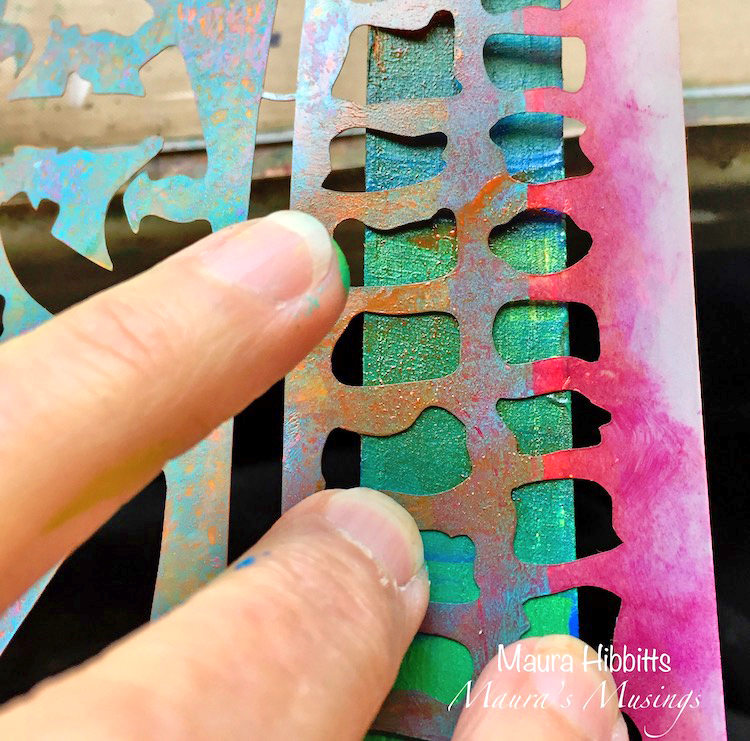
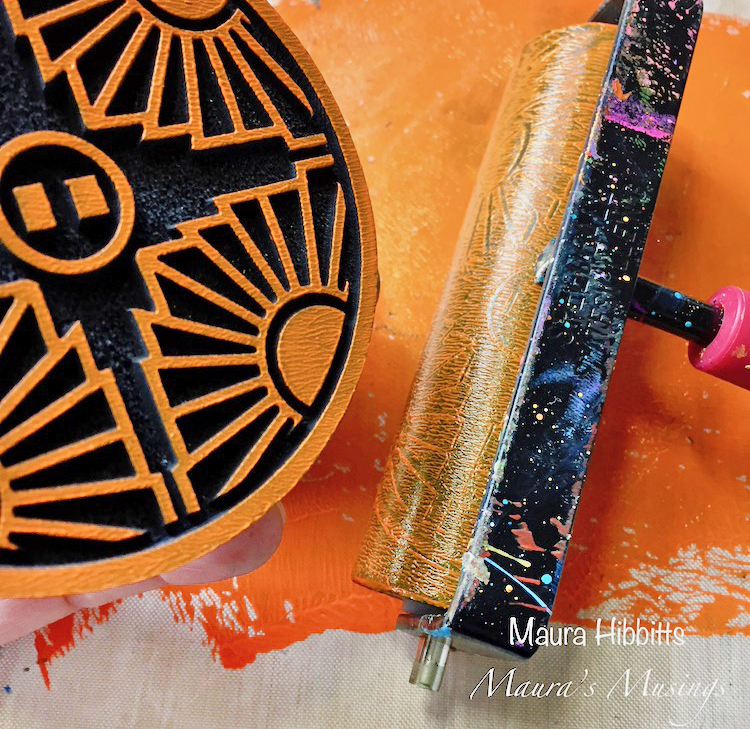
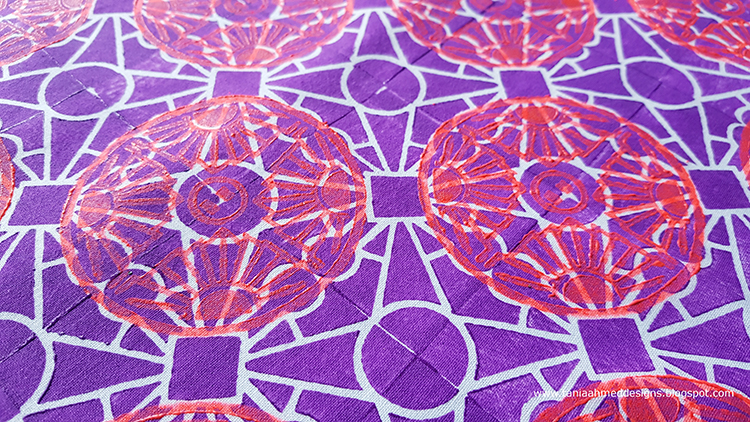
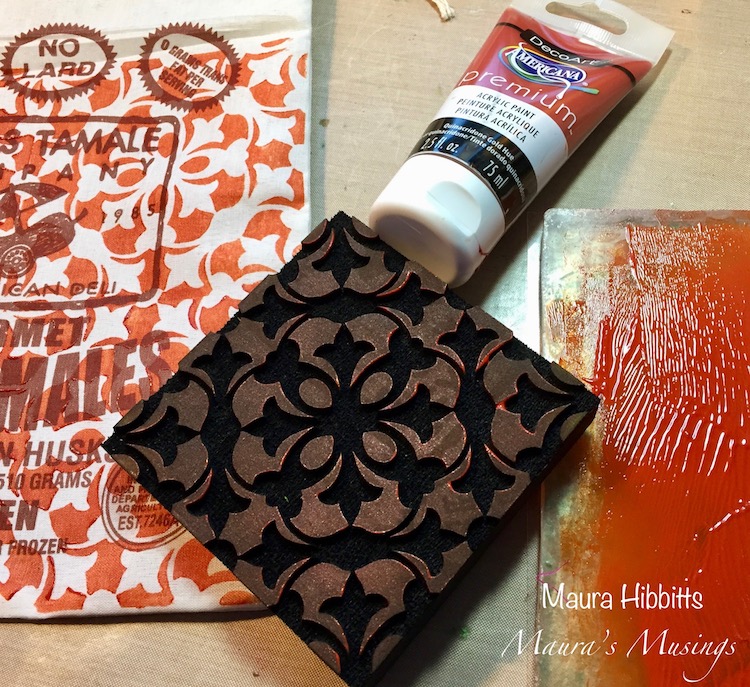
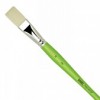
Here I’m using my Mini Versailles foam stamp and some bright red paint with a brayer.

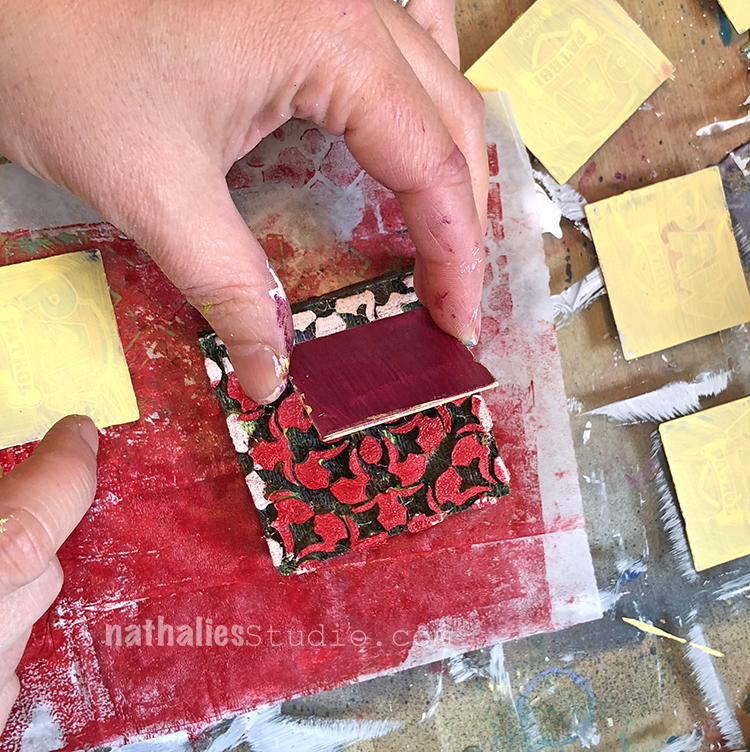
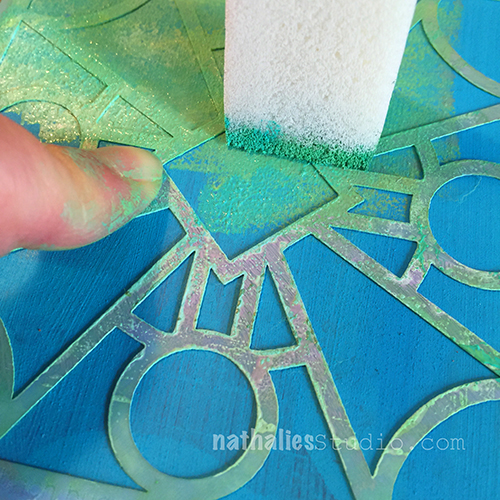
Then I placed the painted card onto the center of the stamp.

Pressing down evenly and firmly…

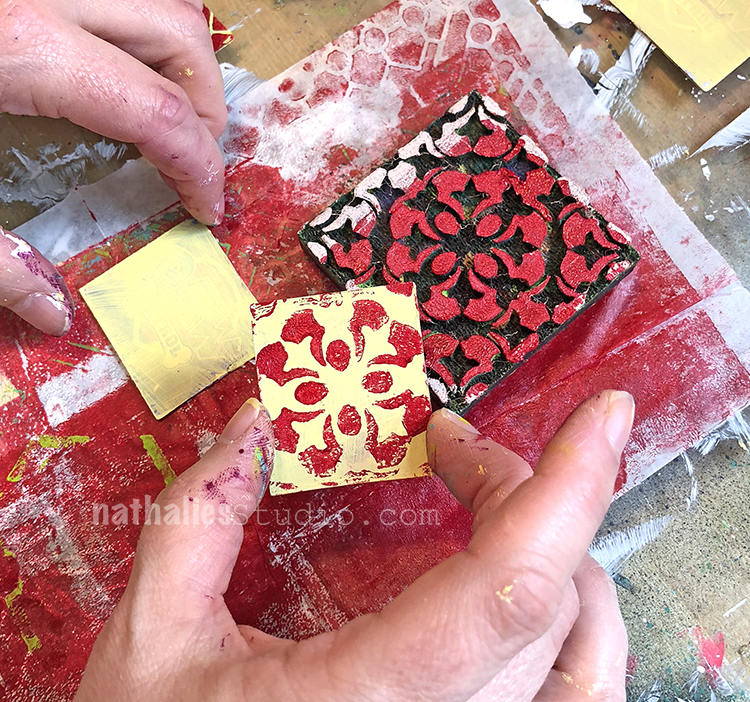
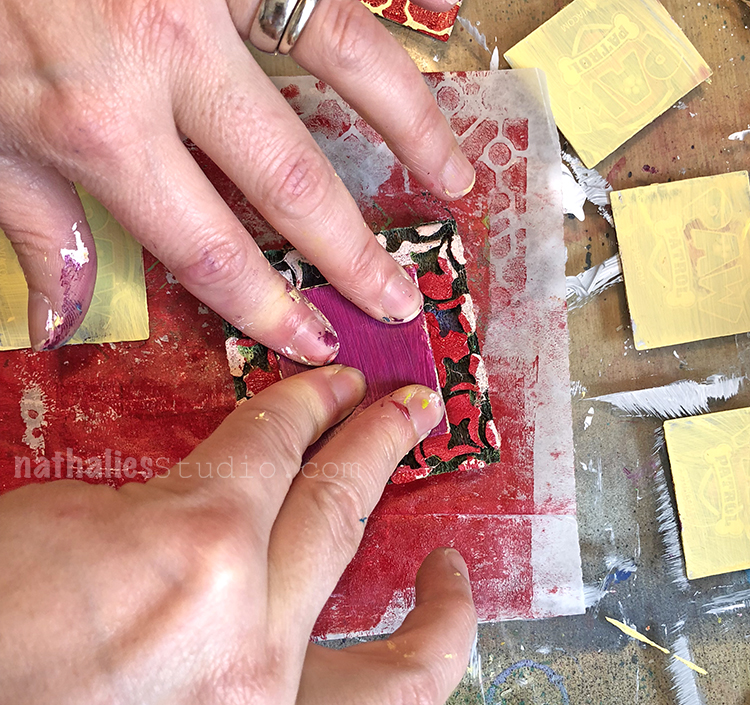
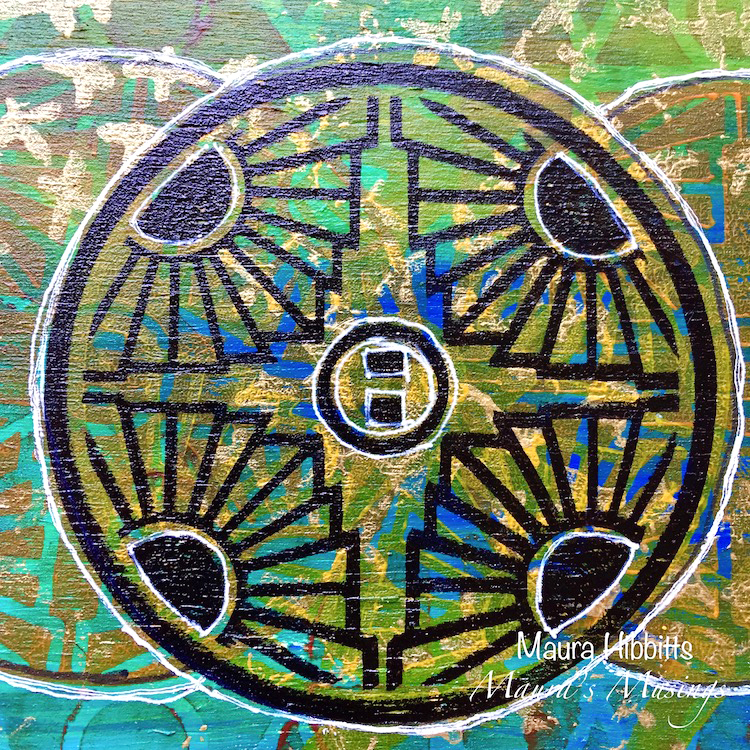
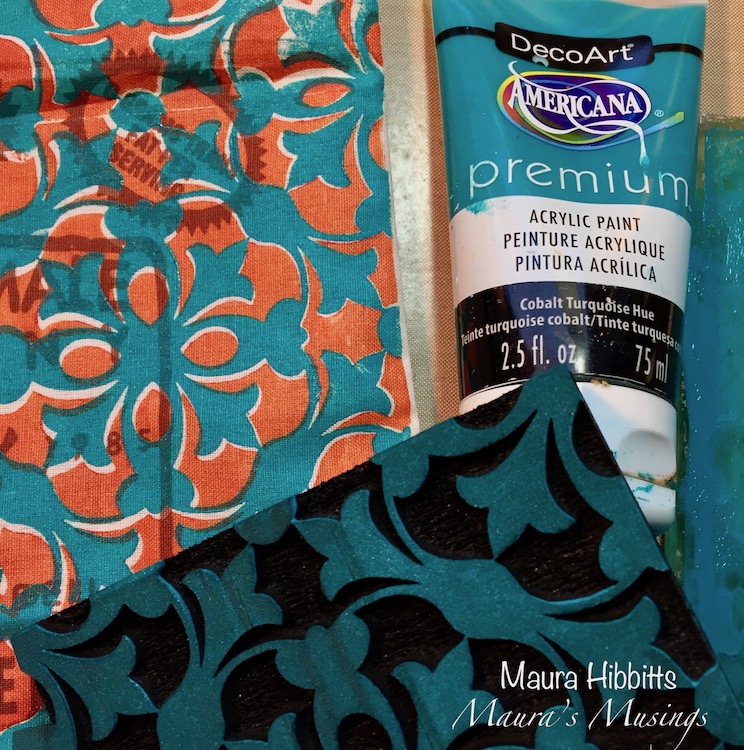
And Tada! One card of the matching set done. Repeat the process on the other to make the pair – we tried to line the pattern up in the same spot on the matching card – sometimes more successfully than others ;)

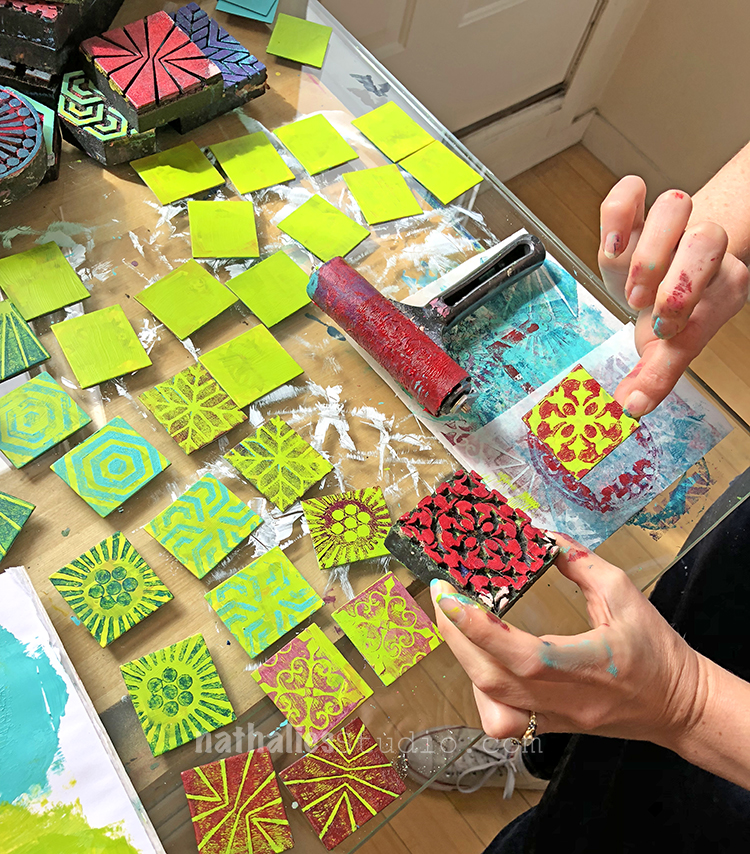
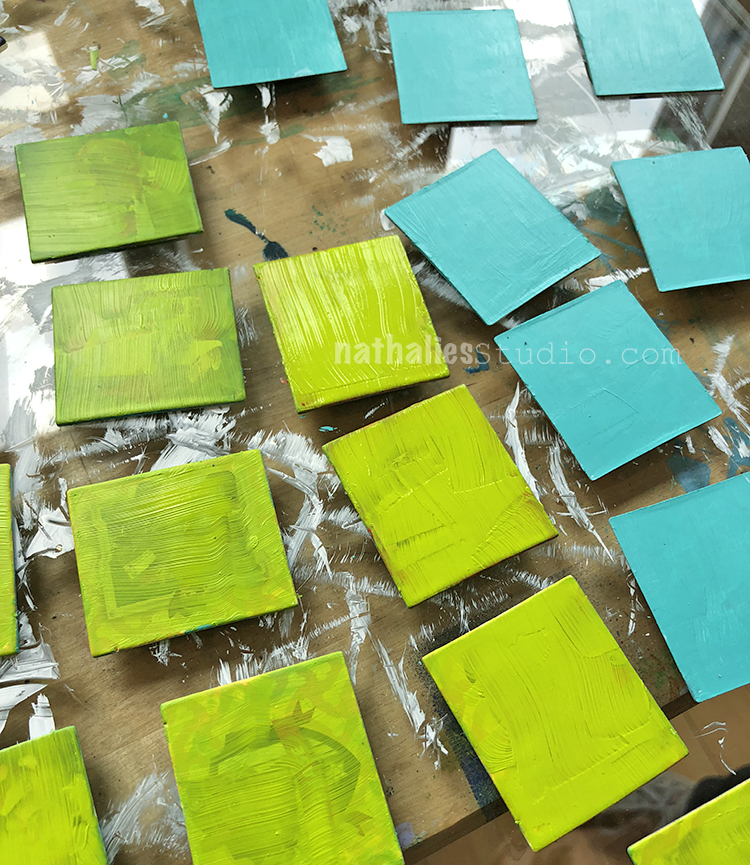
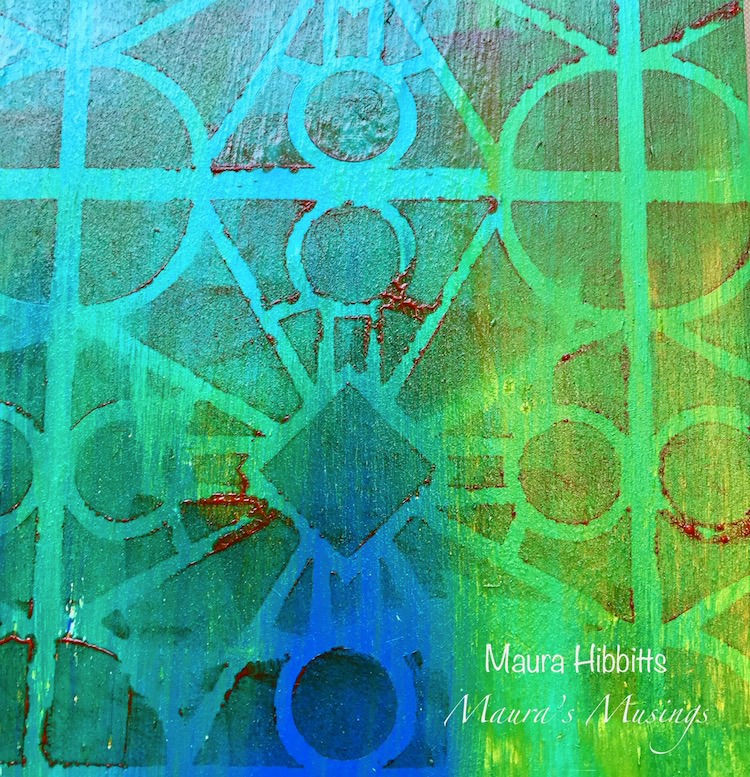
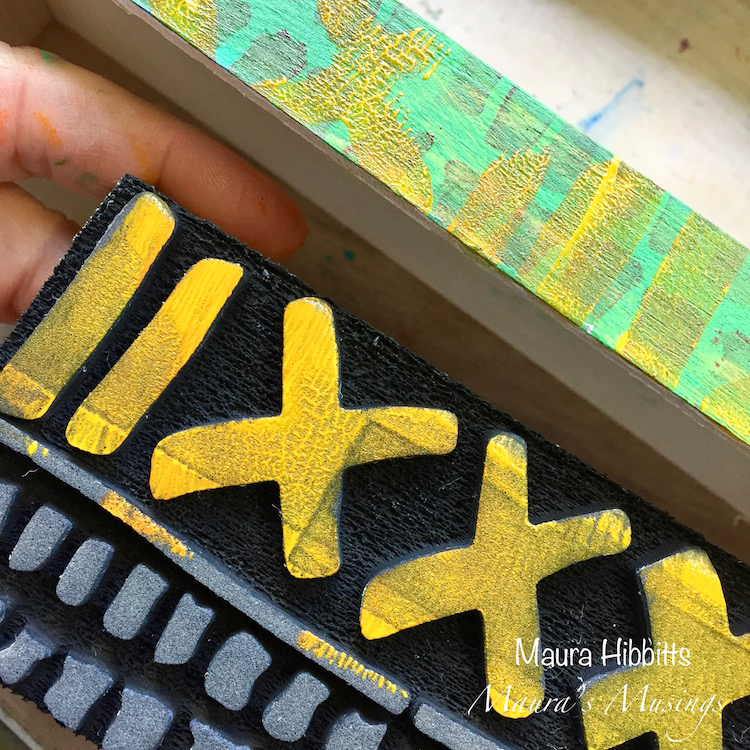
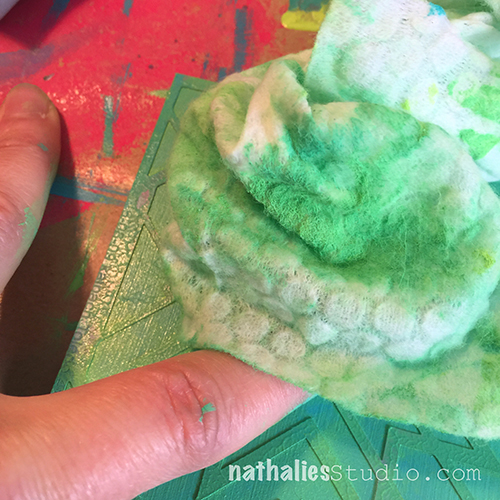
Kim worked on a bright green background and stamped out different matching pairs.

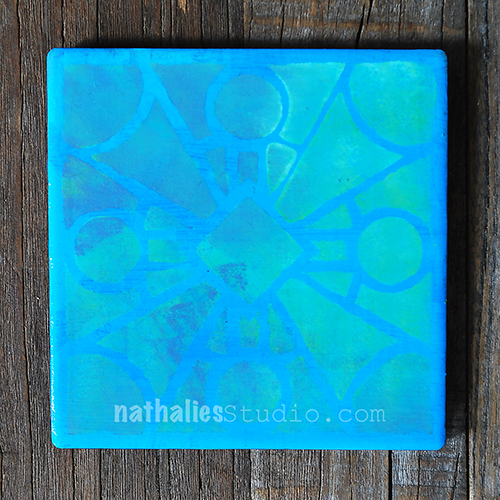
Some came out a bit grungy but this is your own unique set so it definitely doesn’t need to look perfect.

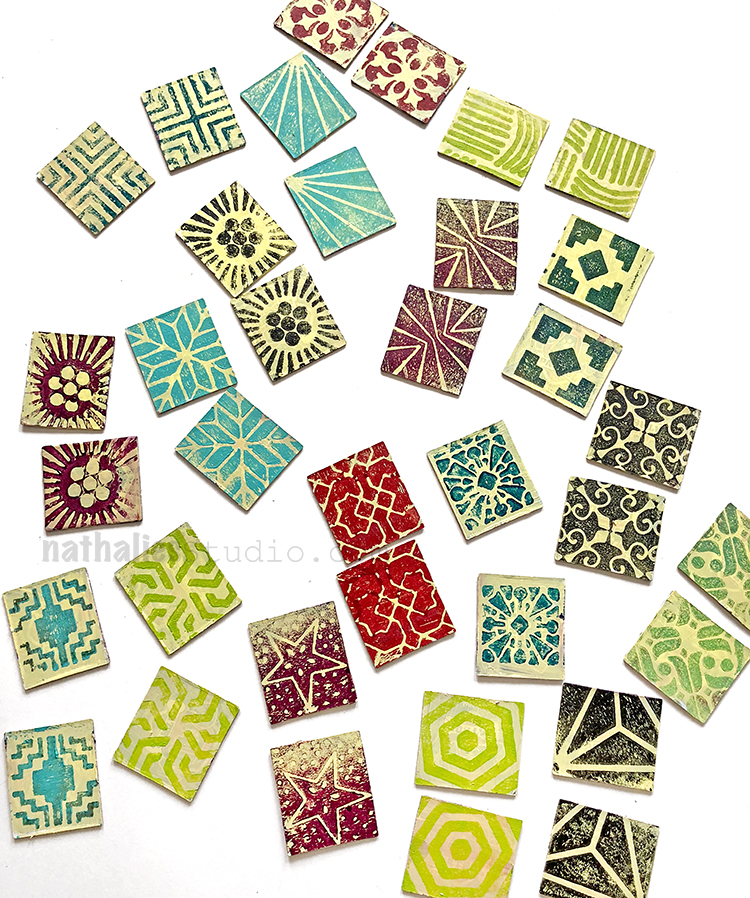
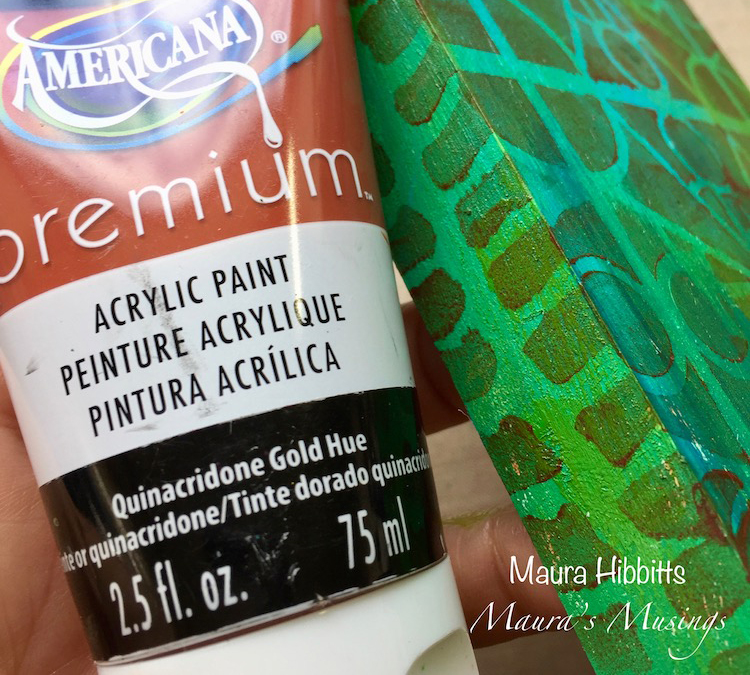
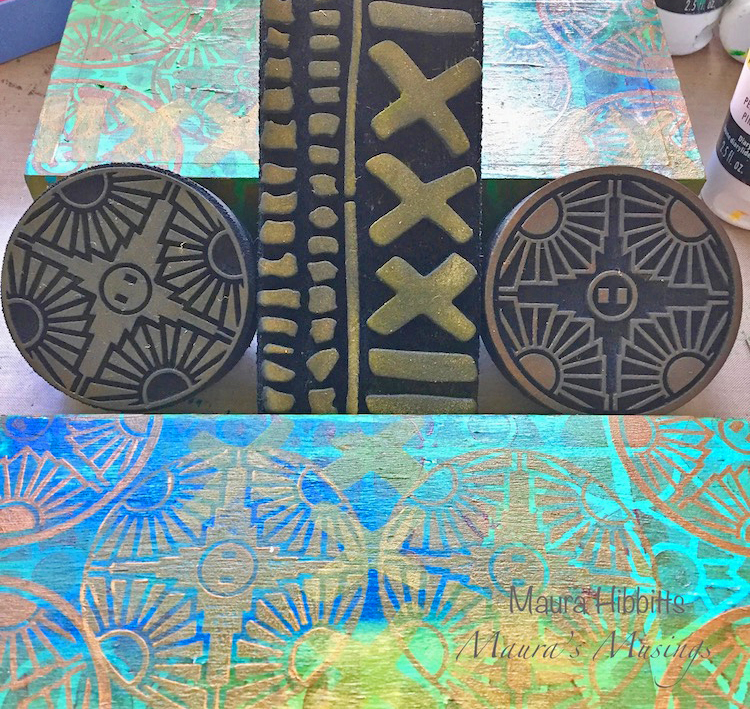
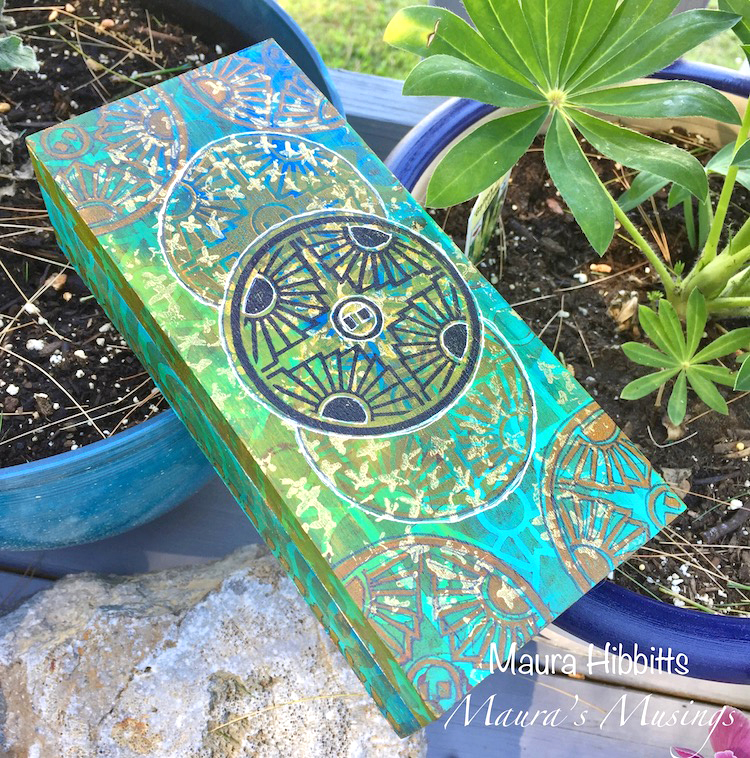
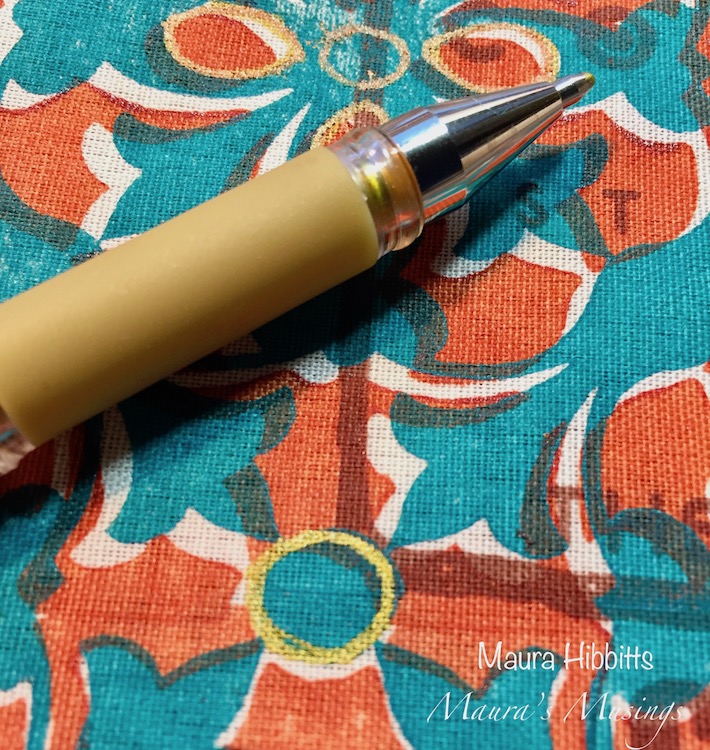
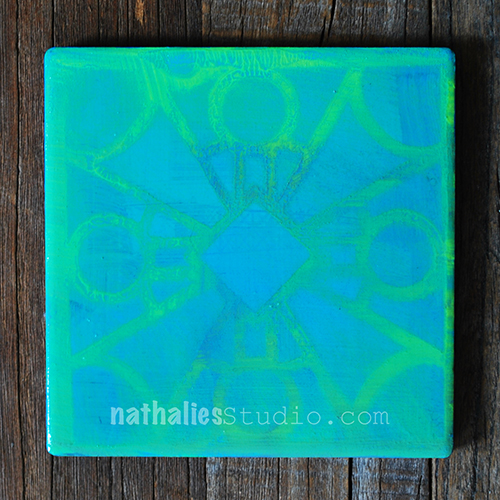
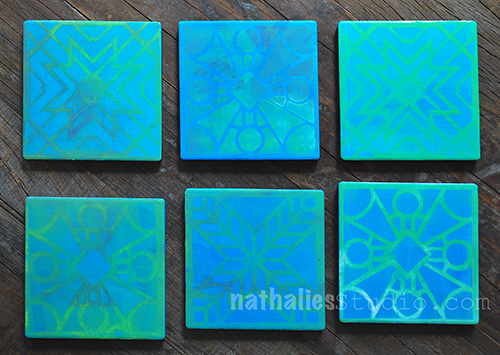
In the end I used lots of different patterns and colors.

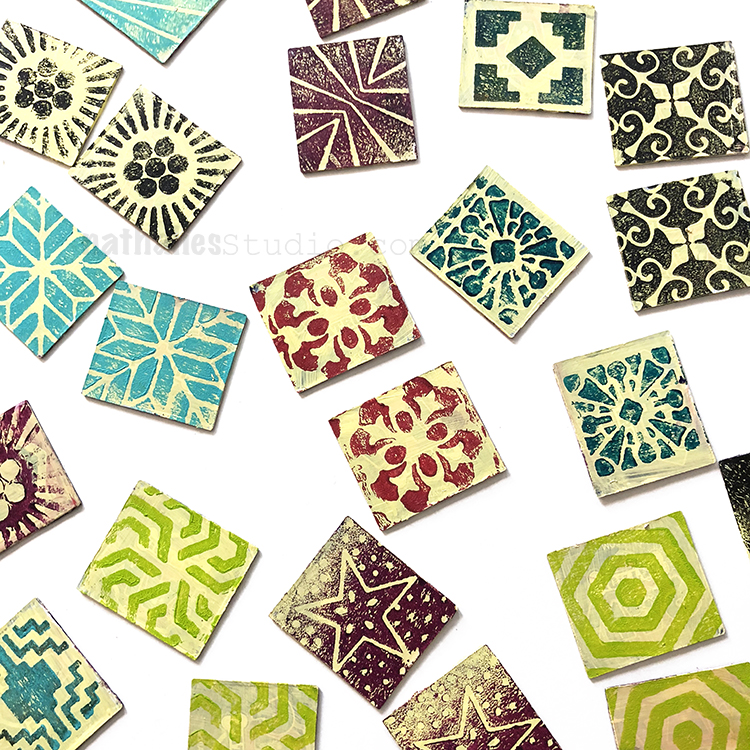
Definitely a fun and probably more challenging version of the original memory game!

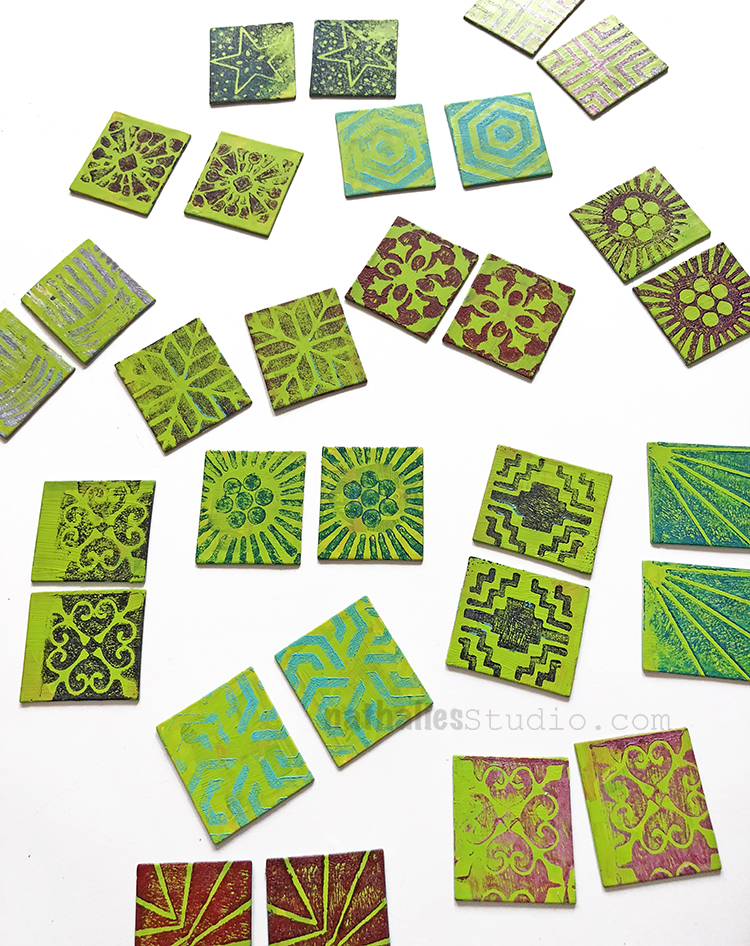
Here is Kim’s set on the green.

Who is ready to play? Just find the matching pairs :)

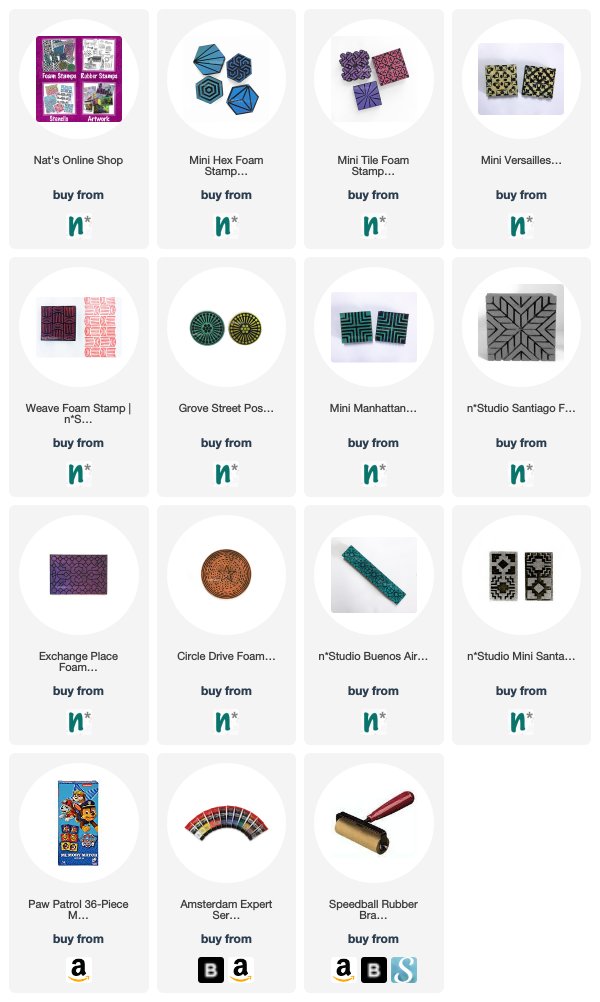
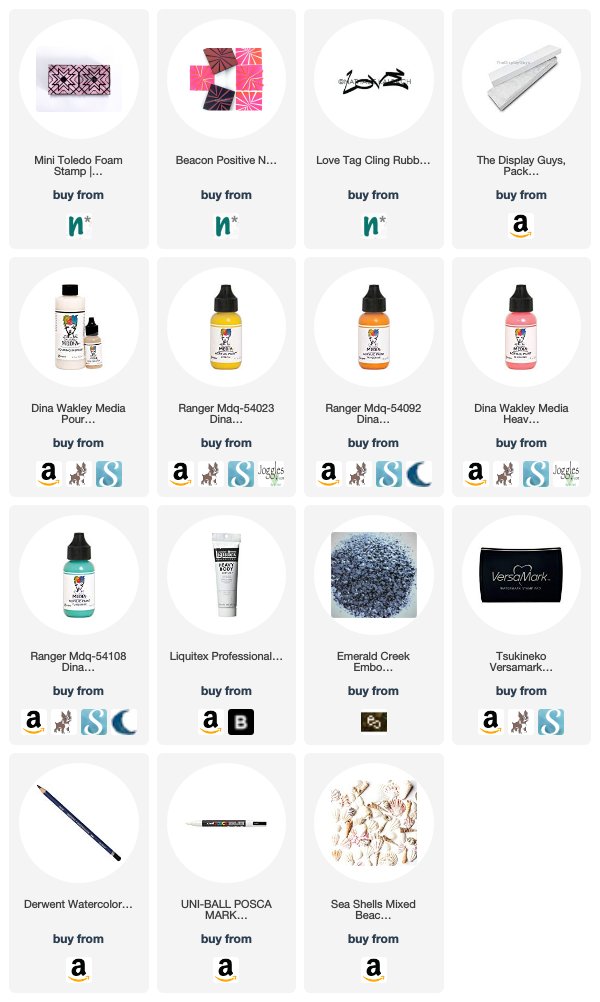
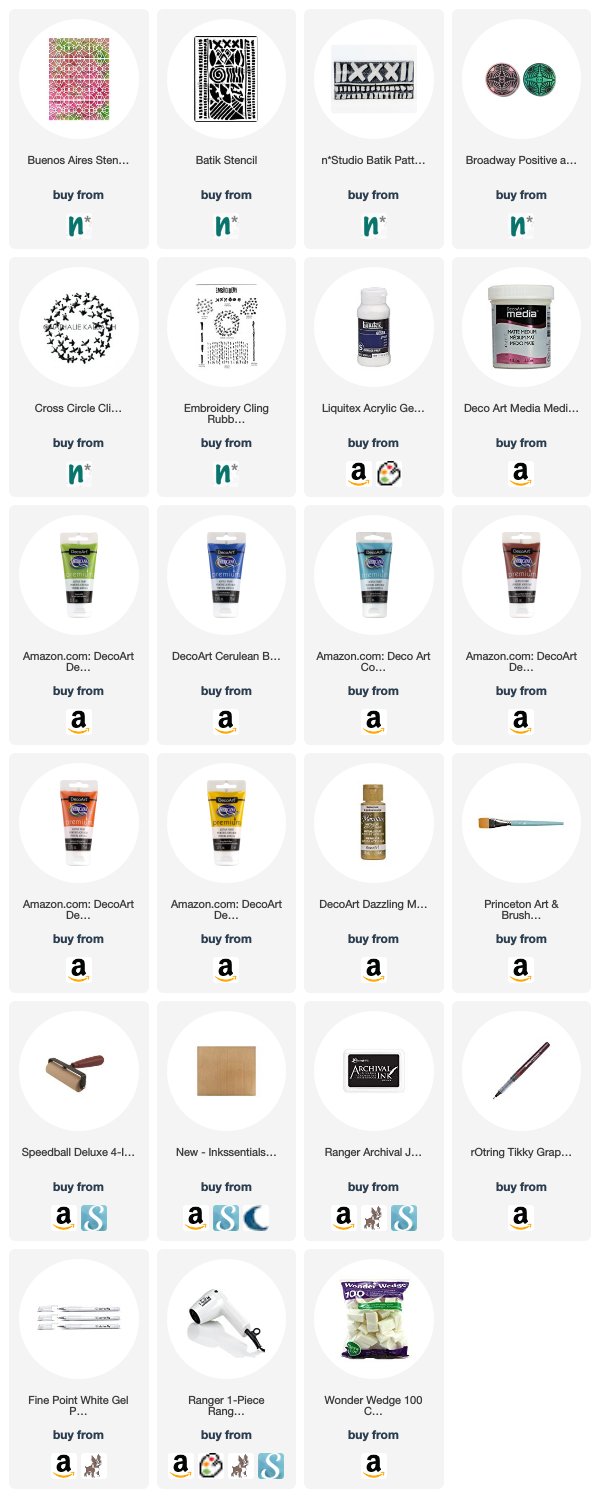
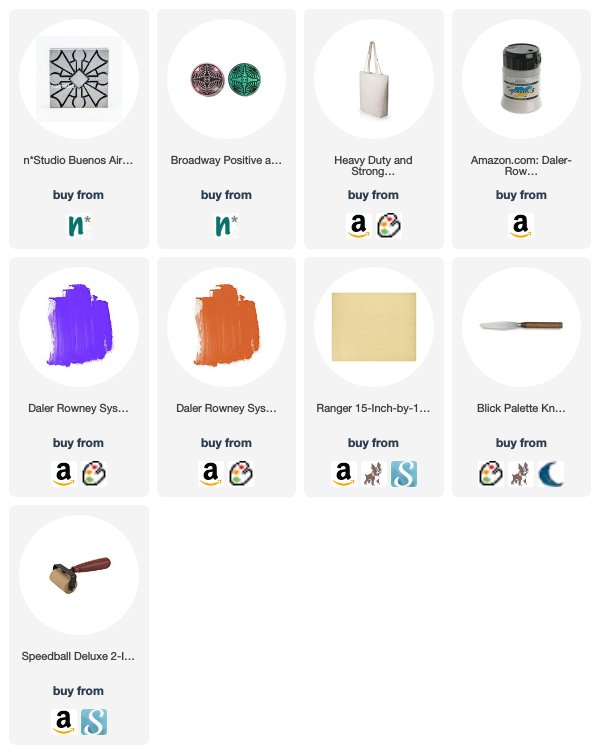
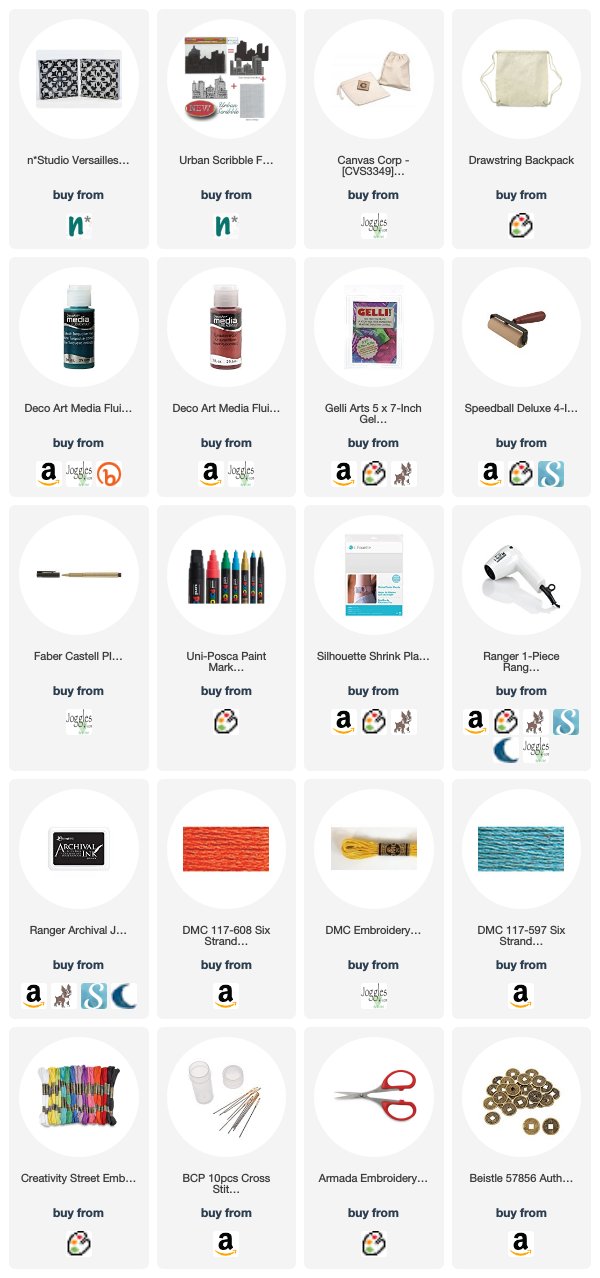
You can find all my foam stamps in my online shop. Here are some of the other supplies that we used for this playdate:


Comments (2)

  • Sue Clarke

    |

    Definitely more of challenge and quite clever but you did cover up dogs from that cute Paw Patrol show.

    Reply

Leave a comment

Raiders of the Lost Stash – Josefine Fouarge


Happy Tuesday from the Creative Squad! Today we have a cool upcycled jewelry box – something I know we all have in a drawer or closet somewhere just waiting for a new life – from Josefine Fouarge. Josefine is using my Beacon and Mini Toledo foam stamps, my Love Tag rubber stamp, and this month’s theme: Raiders of the Lost Stash – It’s time to raid your stash of art making stuff. Pick a few things you’ve tucked away for later and use them NOW. Maybe you have some leftover scraps or deli papers that you couldn’t bear to part with. Maybe you’ve squirreled away a new product that you’ve been meaning to try. The time is now! Raid your stash and try it :)


Wow, what a topic. I knew that I have a lot of “lost stash” but because we are renovating our house, there is even more that has come back to the surface. So, over the last weeks, I put aside a some of those lost items, thinking that they would be perfect for this theme – and I’m telling you, that stash was a hodge podge of stuff ;)

I really like this topic though. It gets you digging and you find some really neat things. For my project for the “Raiders of the lost stash” theme, I decorated a jewelry box. My idea was to do some paint pouring and then add a few of the little items all over it. Because paint pouring is so fun to watch and because I already knew that the decorating part would be a hot mess, I recorded everything. That probably makes it a lot easier to follow the process.

You might have seen more than two hands during the pouring process. These were my husband’s hands. He got into paint pouring a few months backs and we wanted to try the new Ranger pouring medium together. Everything afterwards is just me :)

As you can see in the close ups, the embossing powder melted beautifully and helped with creating a fuzzy outline of Nathalie’s Mini Toledo stamp. This way it looks old, as if this box has been through a tough time.

I also like the subtle pattern that the Toledo stamp left on the wood pieces. It looks like there is something going on, but only with a close look you get an idea of the pattern.

The “lost” gel print perfectly fits as a centerpiece in the middle of the jewelry box. It’s the right amount of contrast and different patterns to add to the entire look. I love contrasts and the entire box is a big contrast of everything.

I kept the bottom part simple though. At the end, you don’t see it as much and because of the pouring medium, it was already difficult to close the lids. So, I simply stamped the negative Beacon stamp all over it using a contrasting color.

I hope you enjoyed my little experiment. Don’t forget to look through your own drawers and boxes, I bet you have some amazing decorative pieces, leftover scraps, paints, pens and more laying around that just want to be tested and played with.


Thank you Josefine – I love watching you play in your video (and hubby too – so cool he was interested in trying out the pouring medium)! Here are some supplies that Josefine used and for my foam stamps and rubber stamps, be sure to stop by my online shop.


Feel inspired? Working on something yourself that you’d like to share?  I love to see how you interpret our monthly themes. Email me how you used my stencils and stamps with the theme and email me an image – I would love to share your projects in my next  “n*Spiration From Around the Globe“.

Leave a comment

All Shapes and Sizes – Maura Hibbitts


Hello my friends! Today we have a Creative Squad post from the very talented Maura Hibbitts. Her “Treasure Tea Box” is a gorgeous way to upcycle an old tea box and really shows off how to layer up multiple stencil and stamp patterns to create a rich design. Maura uses my Batik Pattern 1 and Broadway foam stamps, my Cross Circle rubber stamp, and my Buenos Aires and Batik stencils as well as inspiration from this month’s theme: All Shapes and Sizes – Circles and squares, big and small, let’s mix it up and play with different shapes and sizes this month. Just because things are different doesn’t mean they can’t look great together!


“Treasure Tea Box”

We drink a lot of tea at my house, and then have the containers they come in sitting around waiting to be repurposed. This tea came in a box that I thought was perfect to alter with paint, stencils and stamps. Now, it can hold treasures, pencils, jewelry, or even more tea!

I started by painting a layer of white gesso on the outside of the box and let that dry. Next, I squirted on a bit of Cobalt Teal Hue, Cerulean Blue and Green Gold heavy body acrylics onto the box lid and bottom. I pulled the paint down the panel, and also brushed some over the sides and dried it thoroughly.


Next, I stenciled the box using the Buenos Aires stencil and Quinacridone Gold heavy body paint with a cosmetic sponge. I wanted to be sure my first layer was dry, so the new color would not blend with it.

I also wanted to do some stenciling around the edges of the box, and took a section of the Batik stencil, held it carefully in place since the box was narrow, and sponged on the Quinacridone Gold.

Time to do some stamping, and the Art Foamies Broadway set is perfect for adding a design layer. I added some Cadmium Orange Hue and Diarylide Yellow to a craft sheet, then used a brayer to add the paint to the foam stamp. I varied the hue a bit with the orange and yellow.

Then, I used the Batik Pattern 1 Art Foamie and brayered on some of the Diarylide Yellow paint and added part of the design to the box. More shapes and sizes added to the box.

I wanted to add some gold, and spread some Glorious Gold onto my craft sheet with my brayer, then laid the Cross Circle stamp into the paint and dabbed the design on randomly all over the box.

I felt like my box needed a focal point, so stamped the Broadway Art Foamie with black archival ink and added that dark image to the top. Later, I went around areas of the design with black and white pens.

I decided to add a layer of matte medium to the bottom of the box, so the acrylic paint wouldn’t stick when it gets humid around here, and I also cut a sheet of patterned paper to fit inside the lid and bottom of the box to finish it off. I love it when I can upcycle a piece into something brand new – yes, it is still a box, but now it is all dressed up!


Thank you Maura! I am a huge fan of repurposing things we already have, and this is such a beautiful reinterpretation :) In addition to her old tea box, Maura used the following supplies:


And if you feel inspired to share some of your own projects with my stamps and stencils, please send them my way. I post projects almost every month in my Inspiration From Around the Globe posts!

SaveSave

SaveSave

Comments (2)

  • julie b

    |

    Beautiful and has an oriental flair too. Thank you!

    Reply

  • Sue Clarke

    |

    Gorgeous colors and patterns and useful to boot.
    Thanks Maura!

    Reply

Leave a comment

All Shapes and Sizes – Tania Ahmed


Welcome to a post from my wonderful Creative Squad! This week we have Tania Ahmed and her super cool tote bag project using my Buenos Aires and Broadway ArtFoamies stamps. I love using these foam stamps on fabric and Tania shares a video with us that shows just how easy it can be to get a great looking result. Tania was inspired by the new theme this month: All Shapes and Sizes – Circles and squares, big and small, let’s mix it up and play with different shapes and sizes this month. Just because things are different doesn’t mean they can’t look great together!


I have had a love for block prints all my life and have grown up wearing colourful prints with handmade patterns. Nat’s Art Foamies are perfect for creating backgrounds and patterns and are so very easy to line up.

The challenge this month was “All Shapes and Sizes” and I was inspired to create a repeating pattern on a canvas bag that I had been saving for a while.

I made my own fabric paints using some fabric medium that creates paint that is the perfect texture for stamping on to cloth. Plus it makes it more durable.

Watch the video below to see how I decorated the canvas bag:


Thank you Tania! There are so many ideas for this one – spiffing up those shopping totes, maybe a new summer beach bag, or even a tote for summer library books. Here are some of the supplies that Tania used:


Feel inspired? Working on something yourself that you’d like to share?  I love to see how you interpret our monthly themes. Email me how you used my stencils and stamps with the theme and email me an image – I would love to share your projects in my next  “n*Spiration From Around the Globe“.

Comments (2)

  • Tracy Evans

    |

    Fantastic project , colours and step by step video. Thank you. Tracy x

    Reply

  • maura

    |

    Awesome bag, Tania! Love the colors you used, and how you left part of the bag natural. Maura

    Reply

Leave a comment

Vacation Mode – Maura Hibbitts


Happy Tuesday from the Creative Squad! Today we are excited to share with you a wonderful little upcycled travel bag from Maura Hibbitts. She is using my Versailles foam stamp set and my Urban Scribble stamp set (no longer available but if you’re looking for building stamps here is a good place to start) along with this month’s theme: Vacation Mode – Here in the Northern Hemisphere, we are slogging through winter with only one thing on our minds – vacation! Whether it’s Spring Break, a weekend getaway, or an hour with a good book, everyone needs an escape to Vacation Mode now and again.


When I go on vacation, I like to take along an art project or travel journal to capture my experiences. I up cycled a small canvas bag that came filled with some yummy tamales for my project. You could use a purchased canvas bag, or sew one yourself if desired. (Mine is about 8 x 10 inches/20.5 x 25.5 cm) I like how the printing peeks through my stamped design. Now I have a fun bag I can fill with art supplies, or use to fill with found treasures on my vacation.

Start by inserting a piece of cardboard into the canvas bag. This will keep the paint from leaching through the other side.

I found the best way for me to get good paint coverage on the Versailles ArtFoamies stamps was to use my gel plate and a brayer to adhere the Quinacridone Gold paint onto the foam. You could also use a palette instead of the gel plate. Do both sides of the bag, and be sure this paint layer is completely dry.

Through trial and error, I discovered I was able to match the stamped images up better if I started with the negative impression, and then stamped the positive with the Cobalt Turquoise Hue acrylic paint. Let dry. As you can see, there are a lot of imperfections in matching the images, but I’m ok with that.

I used a gold pen, and a Posca metallic orange pen to add some doodles to the bag on both sides. I don’t plan to wash this bag, so did not worry about using washable pens, but take that into consideration if you plan to wash your bag.

Now, it’s time to add some embroidery. I used turquoise thread and stitched the bottom of the bag with a Blanket Stitch. Next, on the front panel, I added French Knots inside the circles I’d drawn with the pens, using a yellow orange thread.

I wanted to make a charm to add to the bag, so I stamped the Urban Scribble image onto Shrink Plastic with archival black ink, and cut a section of it to use. Punch a hole into the plastic, then heat it and shrink it with your heat gun.

My final touches on the bag were to add the shrink and metal charms with embroidery thread, and tie loops of bright orange and yellow orange threads to each section of my blanket stitch at the bottom. Once I’d tied the loops on, I trimmed them to the same length. Now I just have to plan my next trip and decide what to fill my artsy travel bag with!


Thank you Maura! I could see using this bag for a fun evening out too! I just love the bold colors and the embroidered details – so cool!! In addition to an upcycled canvas bag (there are some possible choices in the list below) and some cardboard, Maura used the following supplies for her project :


Feel inspired? Working on something yourself that you’d like to share?  I love to see how you interpret our monthly themes. Email me how you used my stencils and stamps with the theme and email me an image – I would love to share your projects in my next  “n*Spiration From Around the Globe“.

SaveSave

Comments (1)

  • Sue Clarke

    |

    I absolutely love this Maura! The color and the tag you made are awesome.

    Reply

Leave a comment

Upcycled , Recycled: Stenciled Coasters Project

kalbachcoasterscollage

These coasters were so much fun to make. A couple years ago, someone had given me those coasters, which were pretty, but not quite my taste. Time to upcylce and recylce!

kalbachcoaster10

I painted all coasters in the same color  mix of two different blues with acrylic paint and let them dry.

kalbachcoaster11

Then I grabbed the Buenos Aires, Santiago and Toledo 4×4 stencils which fit exactly onto the coaster. For some coasters I simply placed the stencil on top of the surface and stenciled with a different acrylic paint color through.

kalbachcoaster12

For some I layered some color directly on top of my blue background and then placed the stencil in the wet paint surface and removed paint through the stencil with a baby wipe.

kalbachcoaster13

Once all the stenciling was done and the paint was dry, I coated the coasters with Pouring Medium. I let everything dry overnight and gave them another coating with Pouring Medium to seal the surface off and also to give the coasters some depth and sheen.

kalbachcoaster14

And here you go – the different coasters

kalbachcoaster02

kalbachcoaster03

kalbachcoaster04

kalbachcoaster05

kalbachcoaster06

kalbachcoaster07

I gave those to my sister in law and she really loved them as they are in her favorite colors. Now …time to make some for myself…maybe for Thanksgiving .

kalbachcoaster01

Here are the supplies I used to make those coasters – some are affiliate links:

supplies


What have you put aside to upcylce or recylcle, but haven’t gotten around to do it yet?

Comments (2)

  • Joi@RR

    |

    These turned out so much more YOU Nat! Perfect way to showcase your stencils. Xj.

    Reply

Leave a comment