Creative Squad

Creative Squad – October Vibes

The air is crisping up and the leaves are changing. I’m beginning to think about Halloween. I’m feeling the October Vibes and loving it. How about you? Do you love the colors and sights of this time of year? How about a little roundup of Creative Squad projects to get you also in the seasonal mood.

Over the years my Creative Squad has produced so many amazing projects that it’s fun to go back and look through for inspiration. (You can see the archive of all this awesomeness here on the blog.) This time Halloween and Autumn were on my mind and I wanted to share some projects that the Squad has created that are so fun and so now.

Let’s take a look!

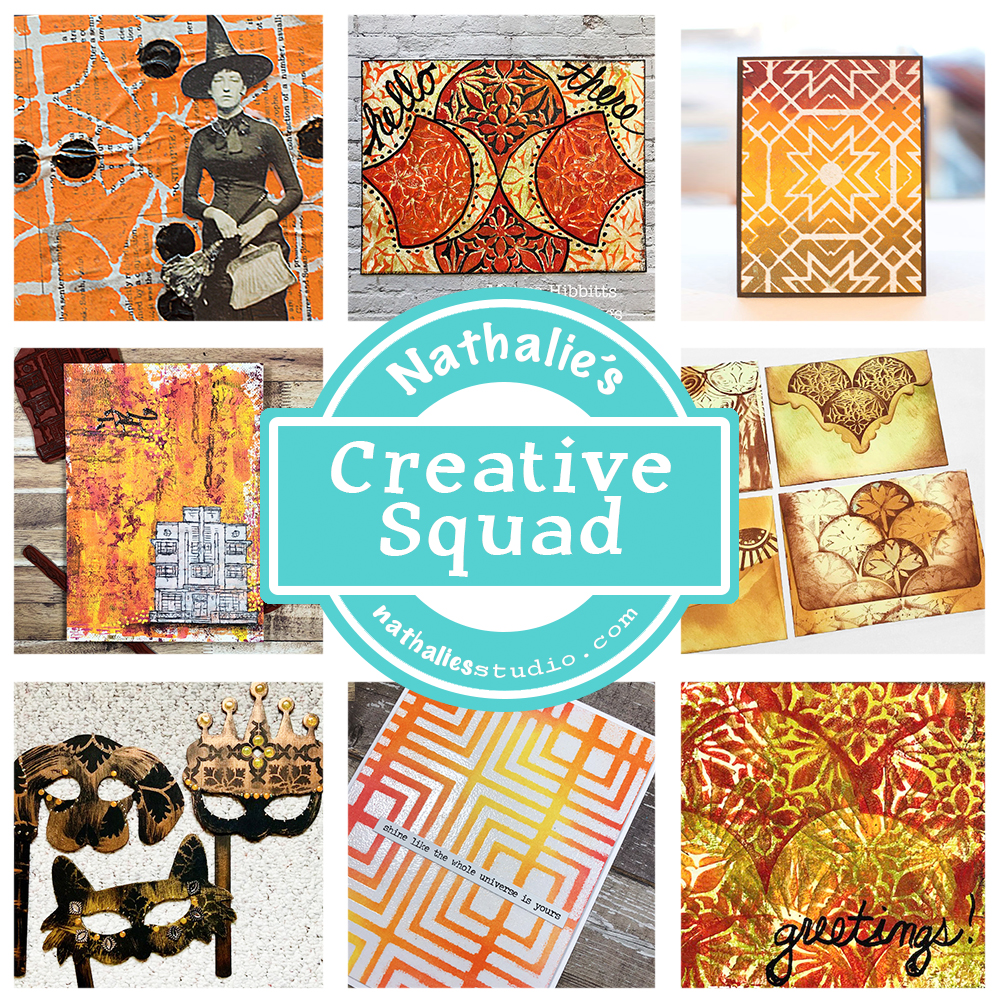
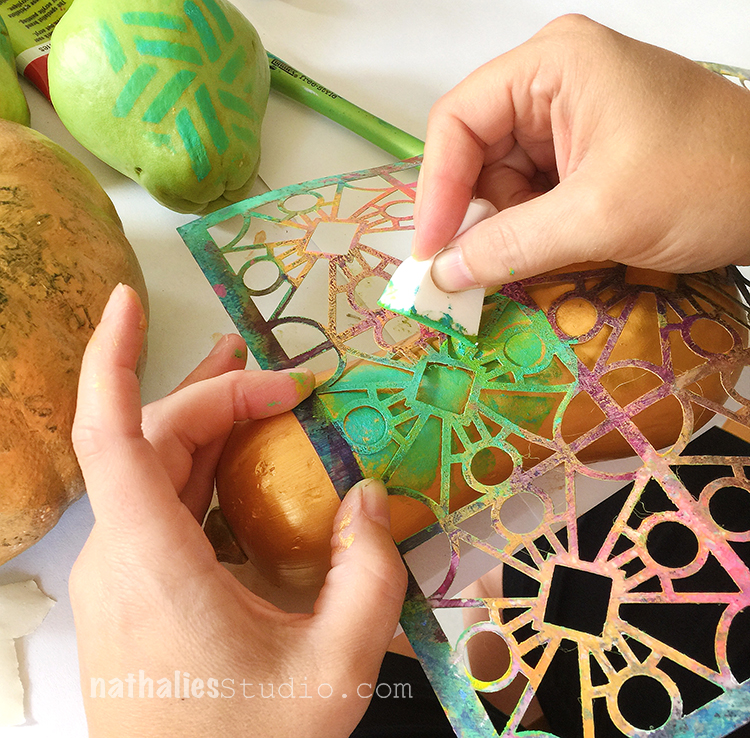
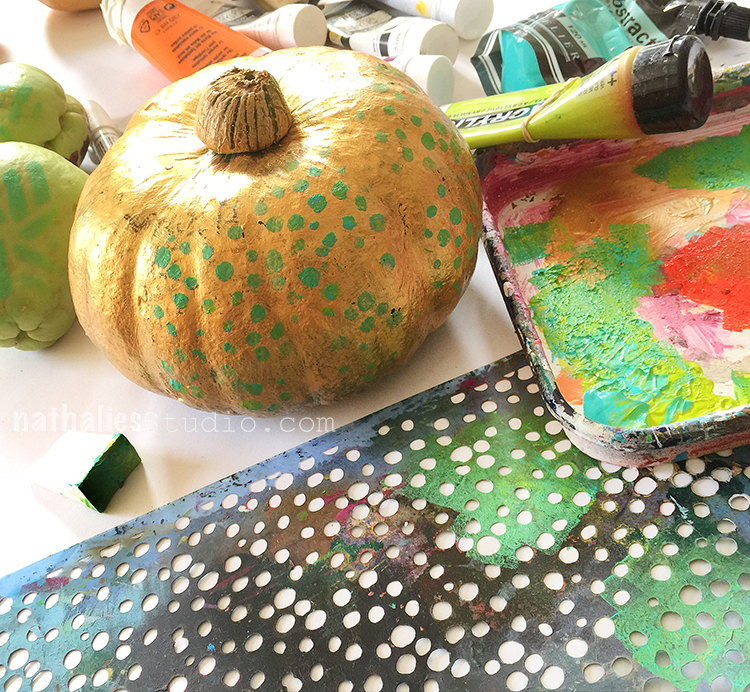
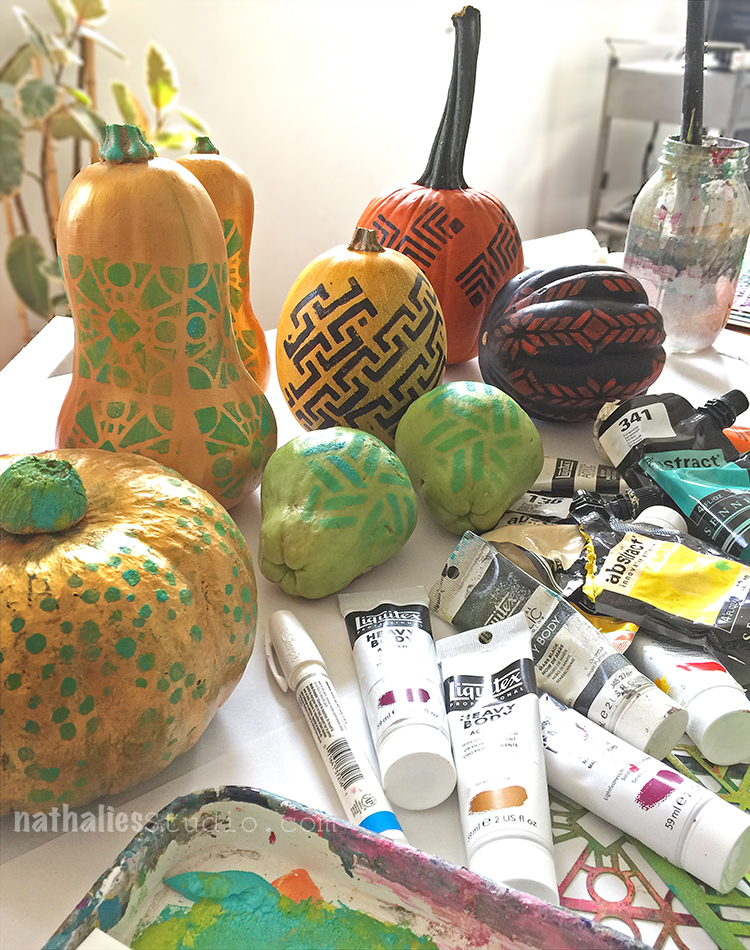
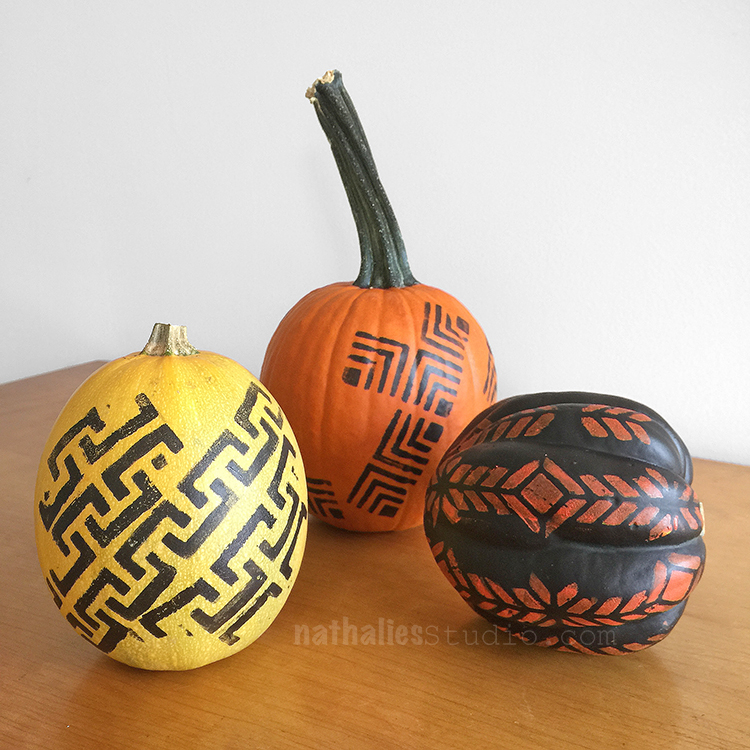
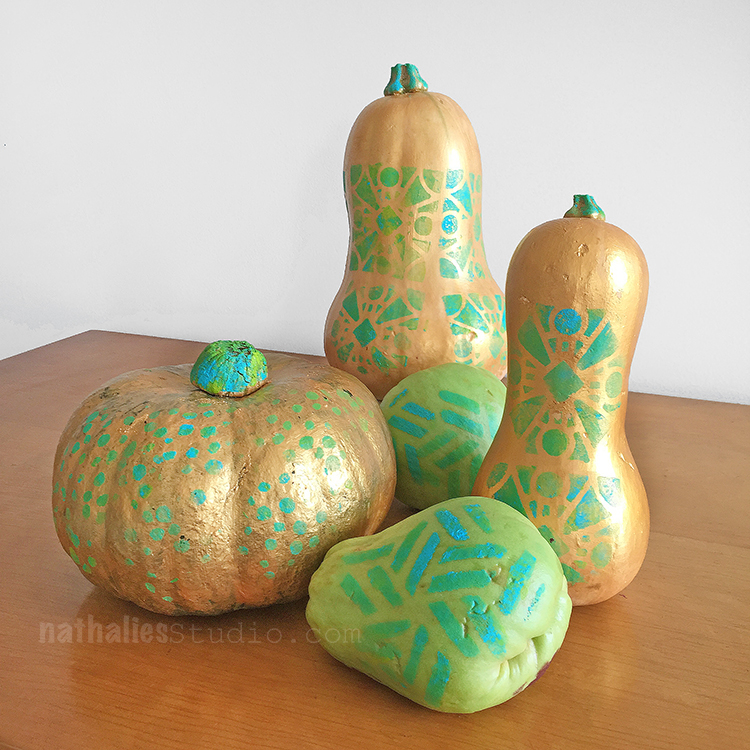
First up is Judi Kauffman and a suite of masks using rich metallic gold paint and my stencils over black for a bit of style and drama. Check out the post here for her how to.

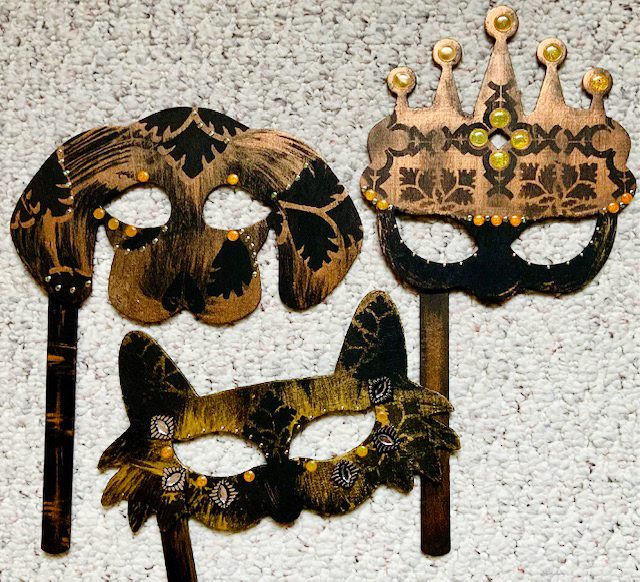
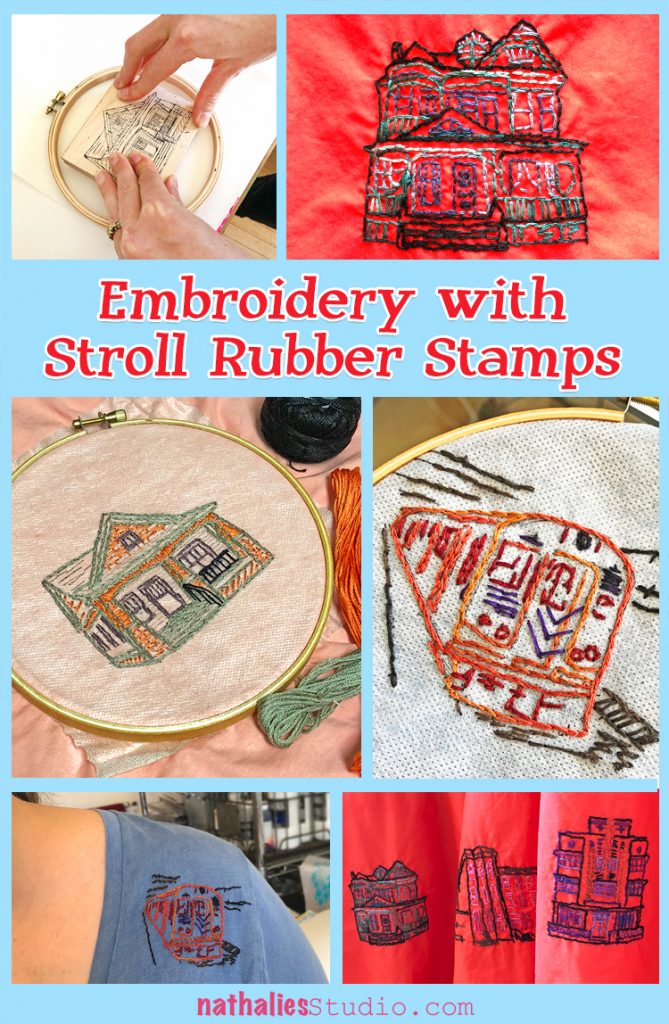
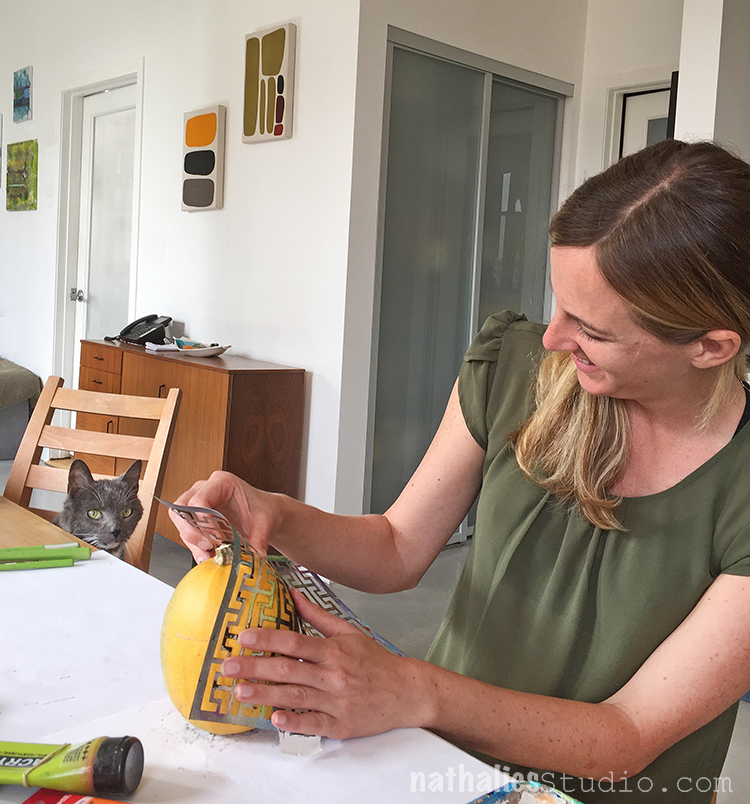
Even if you’re staying in these days, you can still get into the spirit through your artmaking. Making a seasonal inspired canvas is one idea. In this project our Squad alum Josefine Fouarge created a layered piece using my Art DecoArt TagChain Link, and Cross Circle rubber stamps. How does your neighborhood look this time of year?

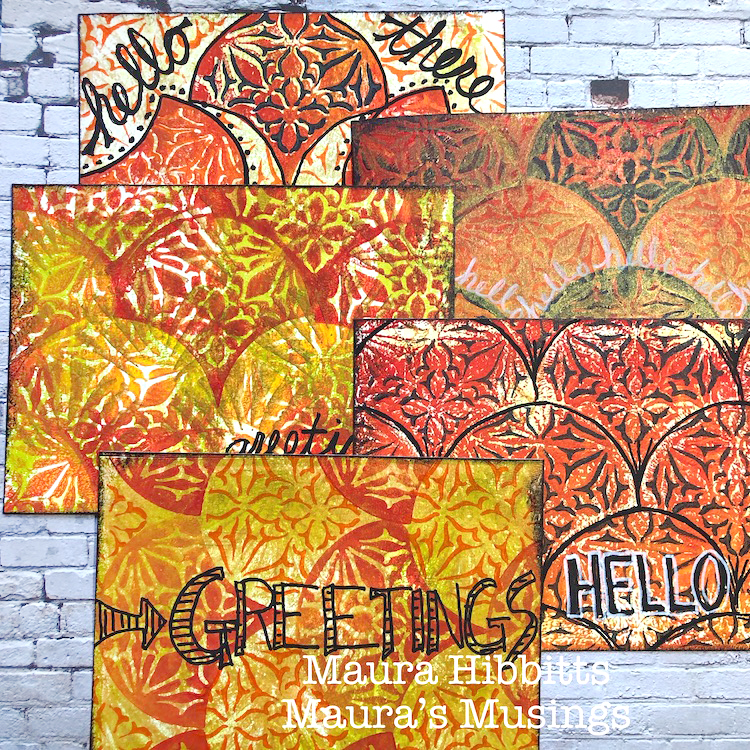
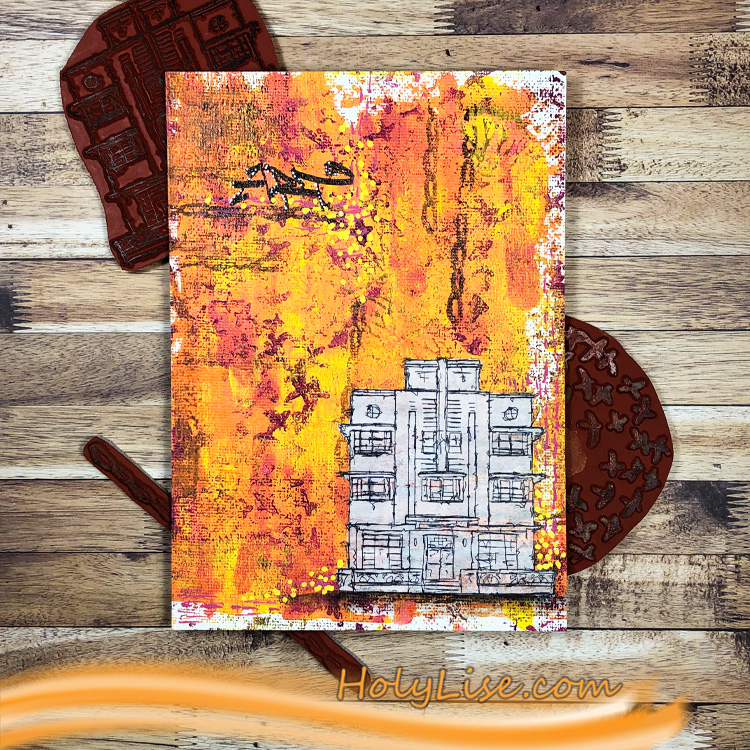
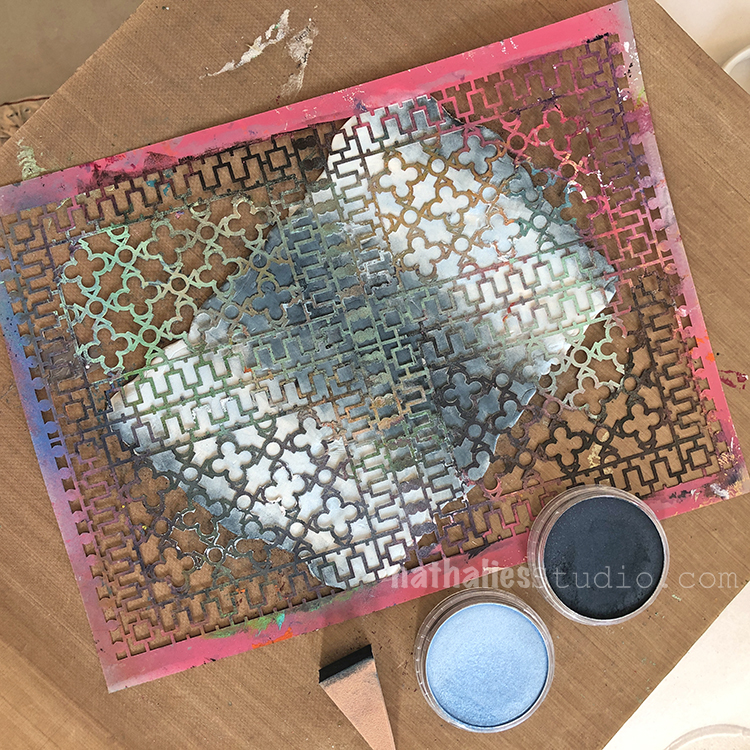
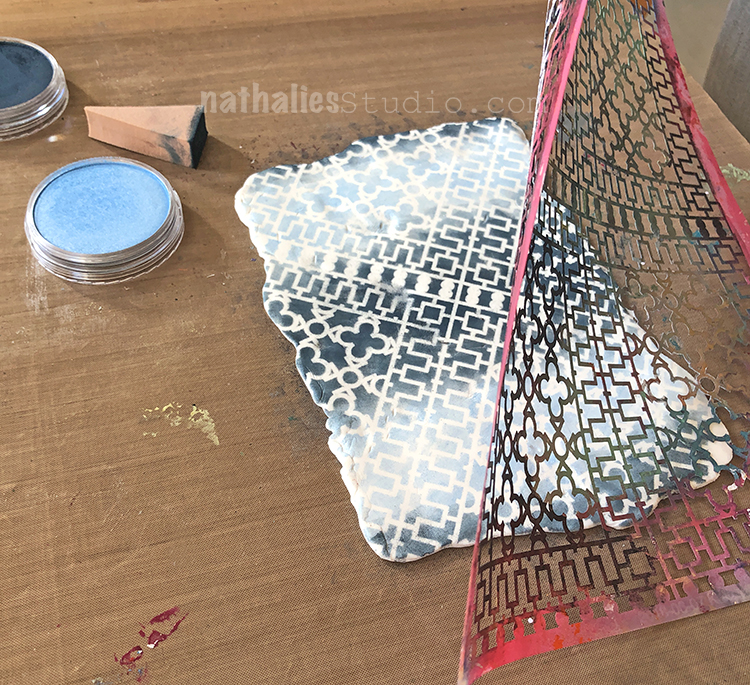
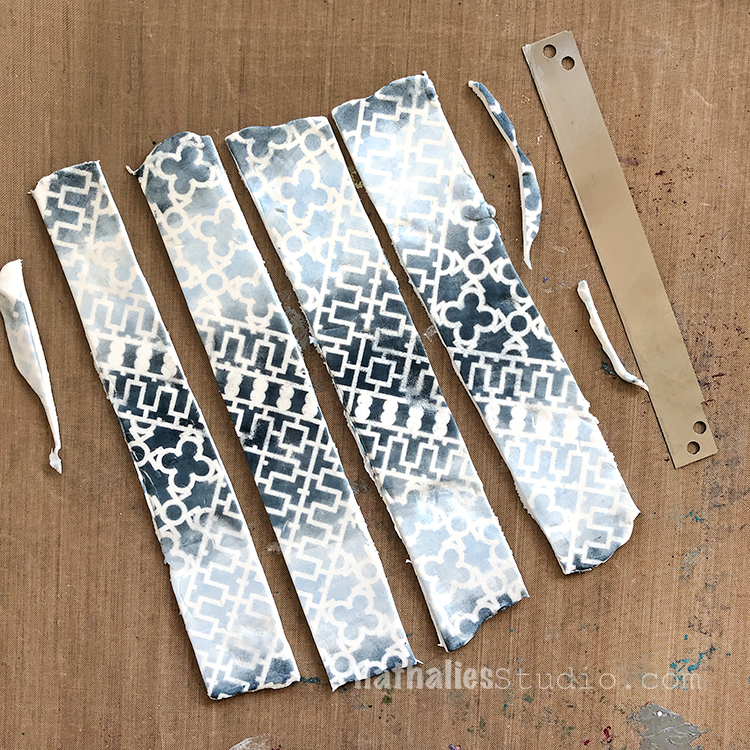
Card making is another way to express the colors and vibe of the season. Maura Hibbitts used my Van Vorst Fan Positive Negative foam stamps and my Art Deco Wallpaper stencil to create these richly hued cards in this post.

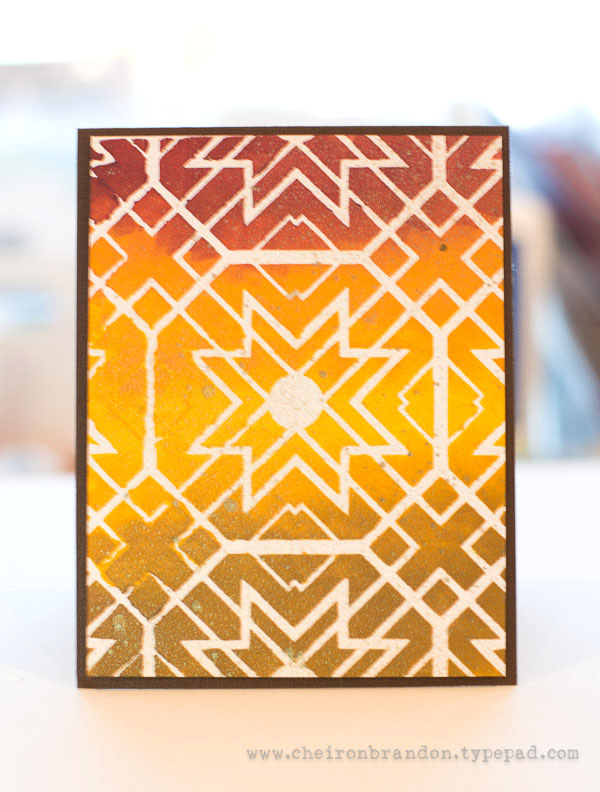
Squad alum Josefine created this cool card using embossing powder, Distress inks, and my Manhattan stencil. Love the result and you can see how she does it here.

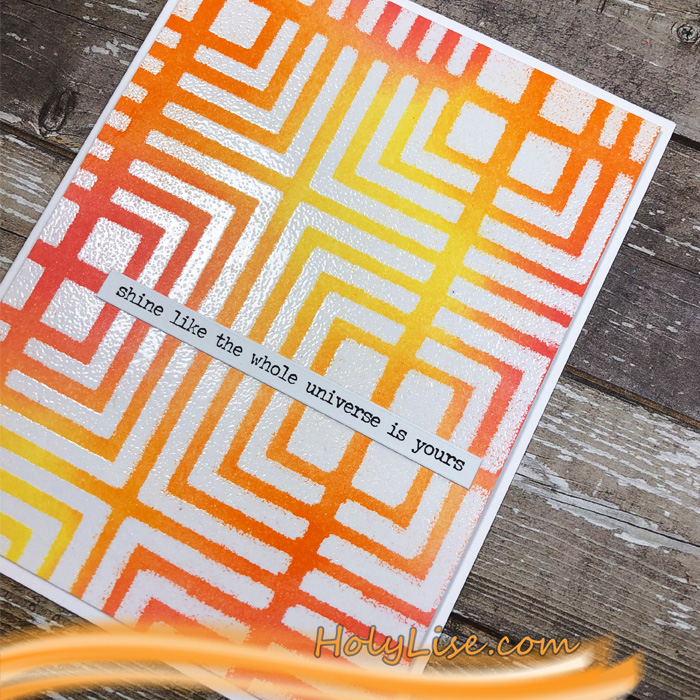
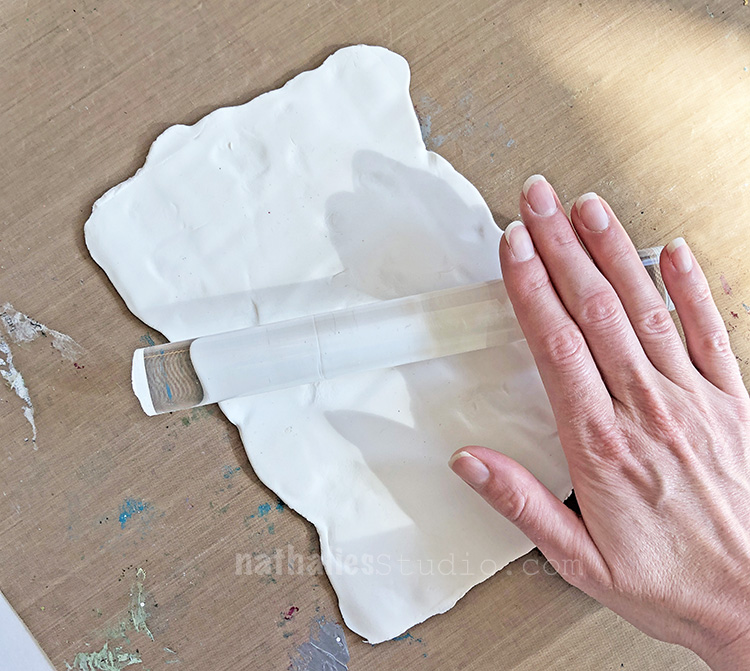
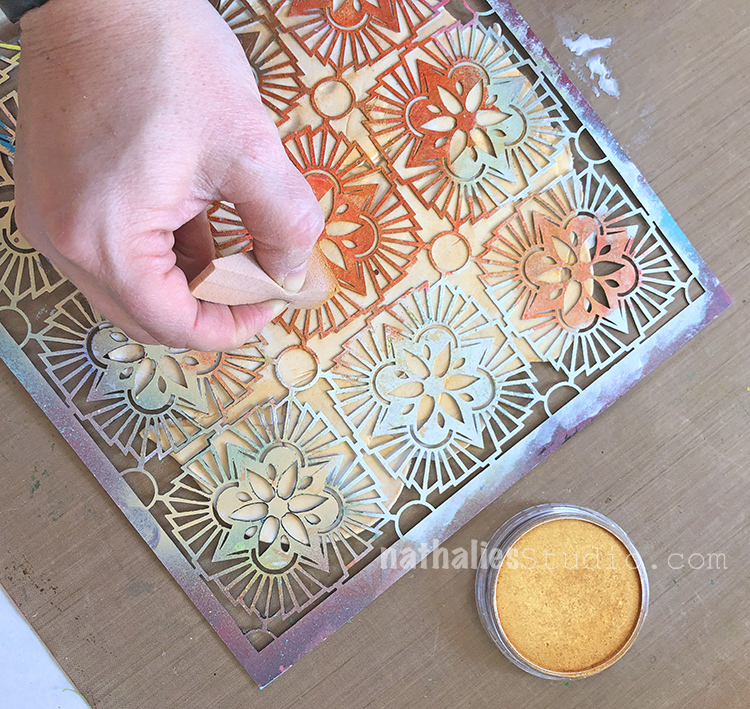
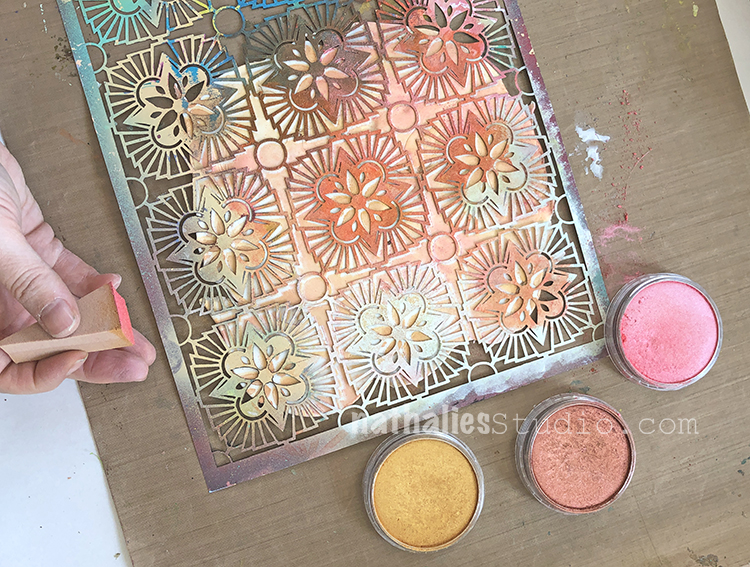
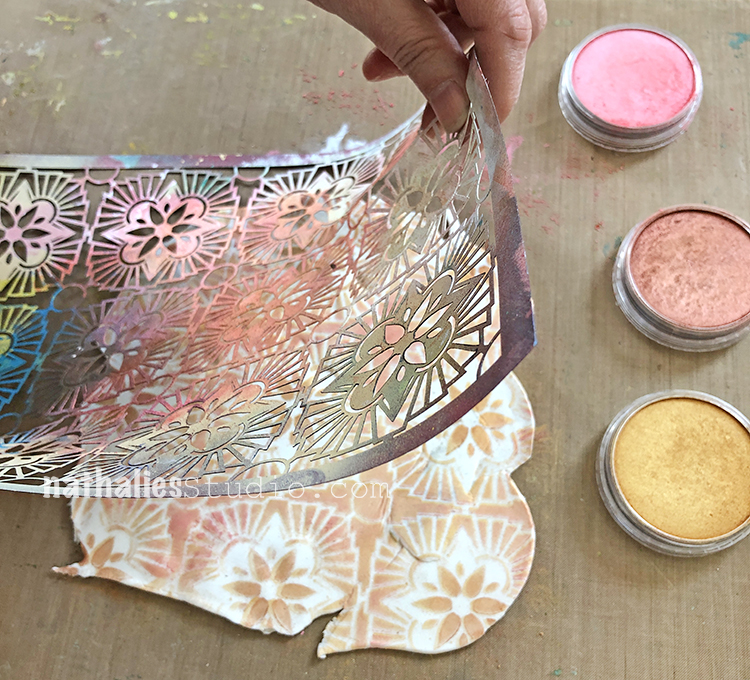
With just a few simple supplies like acrylic paint, cardstock, and a stencil (like Toledo), Squad alum Cheiron Brandon shows us another inspiring card idea here. It’s all about those autumnal colors and that bold pattern.

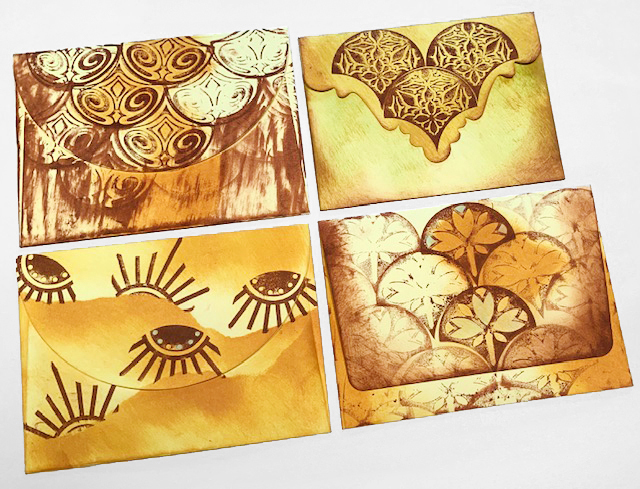
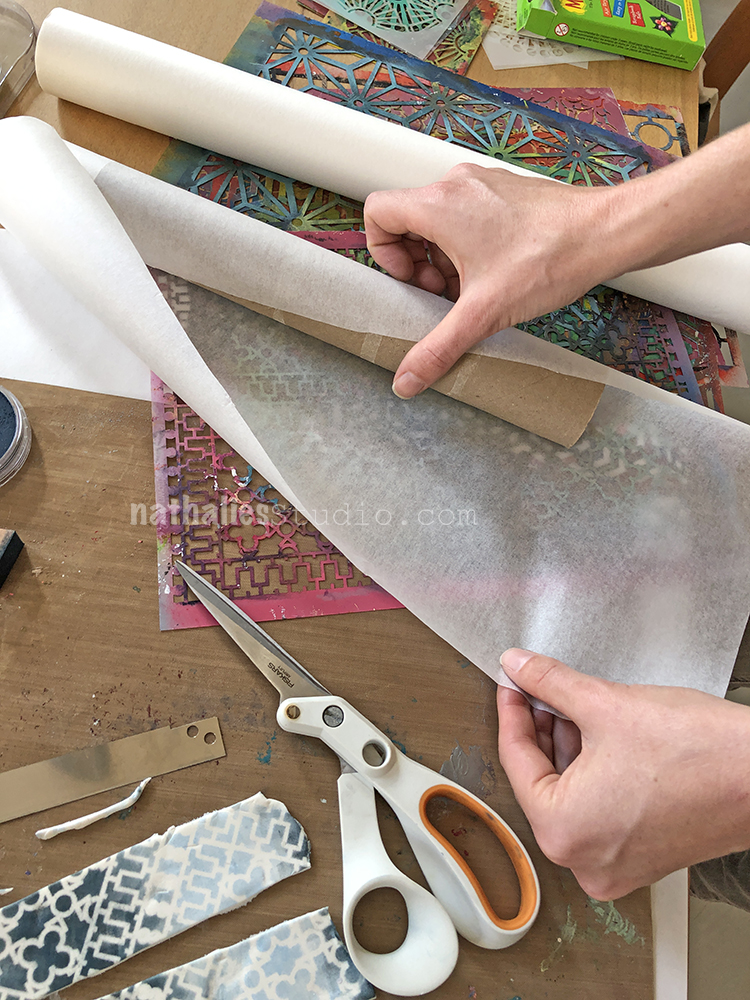
Now you’re going to need some envelopes right? Judi has us covered with this post using my Mini Fan Foam Stamp Set and inks in the colors of the season.

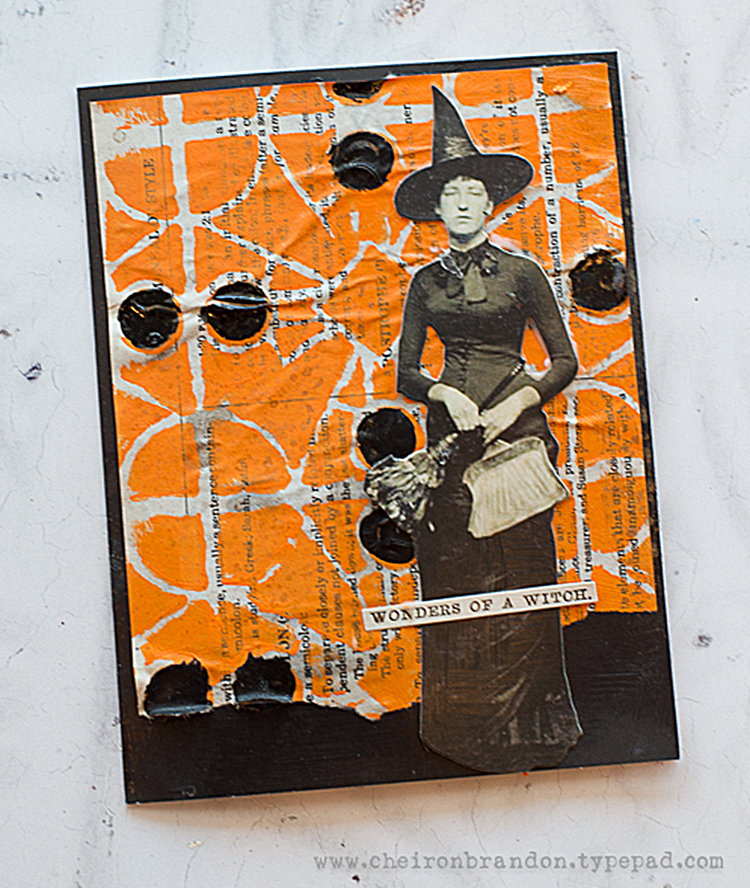
Let’s finish up with a classic for this time of year – a Halloween card idea from Cheiron from this post. She combined collage papers, orange acrylic, and my Buenos Aires stencil for big impact.

I hope you feel inspired to create a few things with an autumn or Halloween vibe to them and have some fun celebrating.

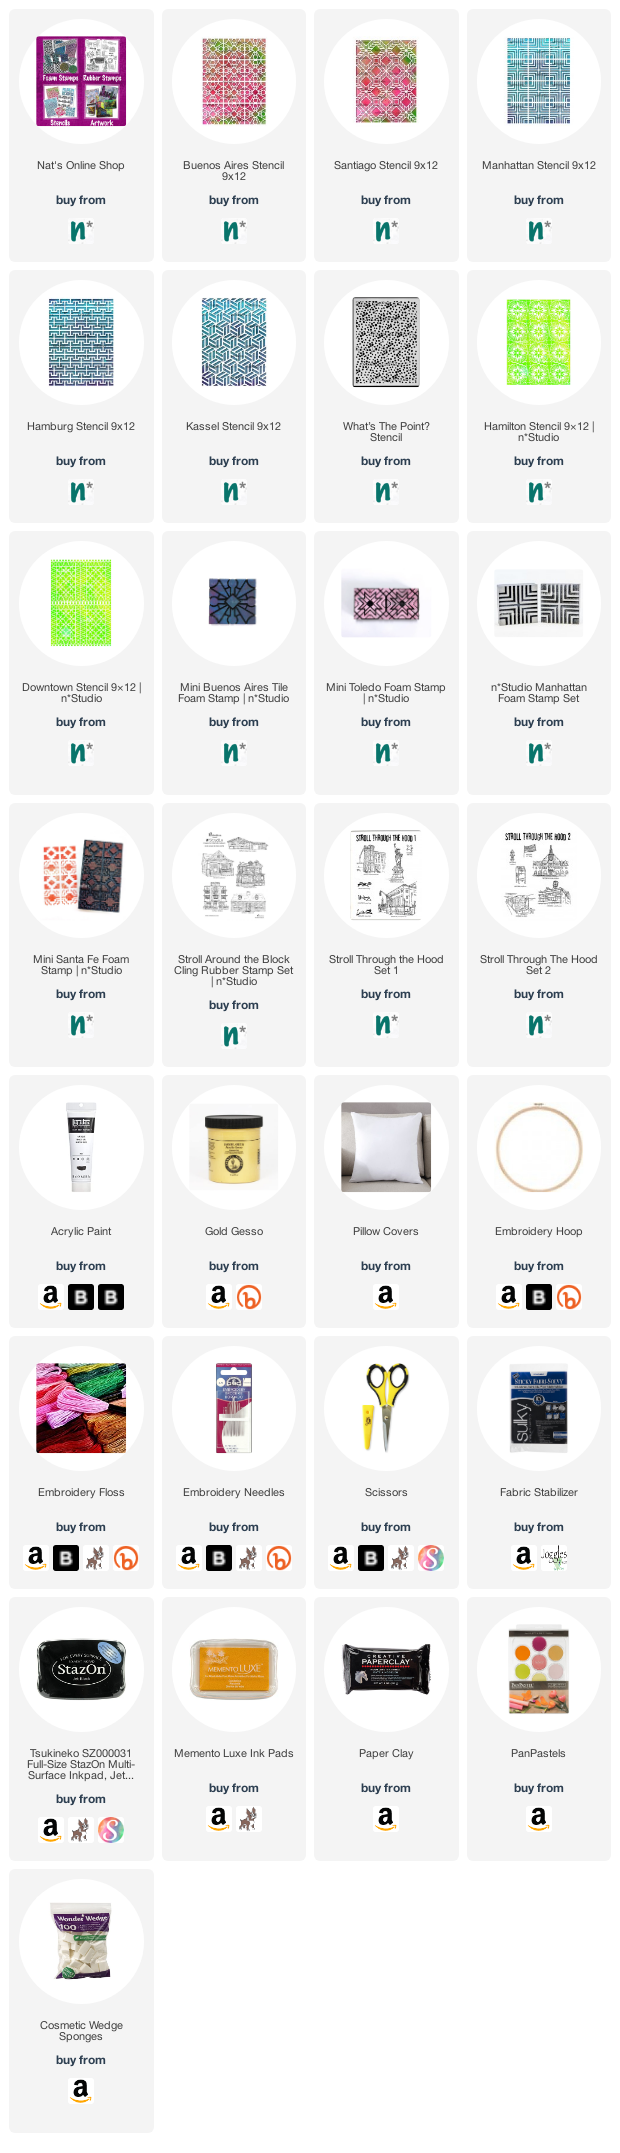
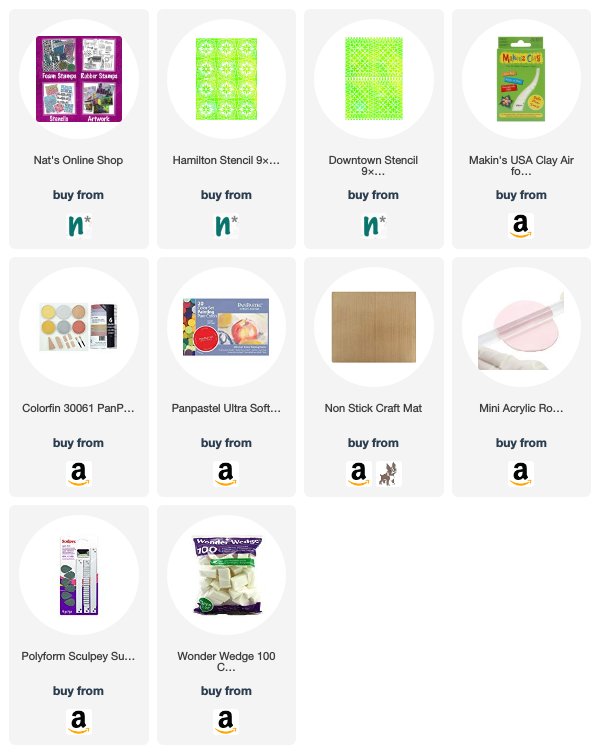
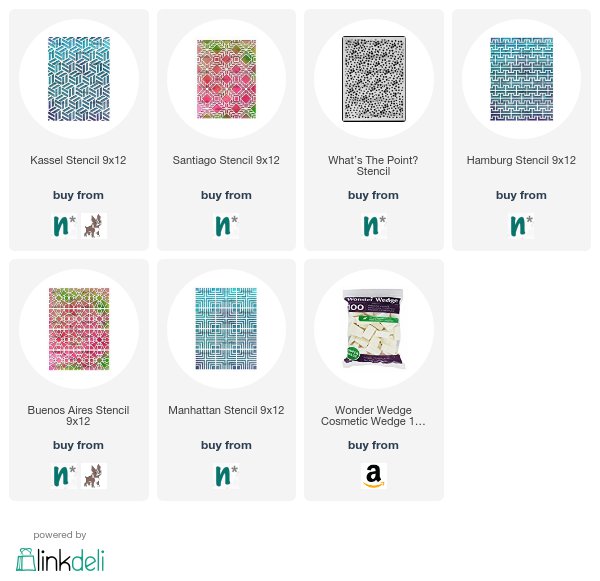
Here are some of the supplies used in these posts:

Leave a comment

A Look Back – Cool Stuff You May Have Missed 21 – Fall Play Dates

A Look Back – This time I’m looking at some fun fall play dates that Kim and I had back when we could get together in person and play with my stamps and stencils. Some of these are very seasonal (pumpkins) and others are just nice ideas for when you need an indoor activity to do. Read on and I hope you try some of these project ideas too!

A Look Back is a blog series to show you some projects and posts that you may have missed – sometimes going WAY back in the archive. I think it will be fun to revisit a few ideas that we haven’t seen for a while. I’m excited to see how a little look back might inspire something new in the future :)


This project was a great way to decorate pumpkins without getting out the carving knife and spreading gourd guts all over your kitchen LOL. We used my stencils and acrylic paint and came away with some very cool decor. Check it out here.


Here is a project that you can pull together with all those collage papers and deli papers you have in your stash. We gussied some of ours up with my foam stamps and acrylic paint and then cut out simple leaf shapes for a wall hanging. This is an easy fall project for all ages and abilities. Check it out here.


Has colder weather and shorter days got you thinking about indoor activities, curled up in front of a fireplace? Embroidery is an ideal activity if you just want to relax and chill. We used my Stroll Around the Block and Stroll Through the Hood 1 and 2 rubber stamps as a guide for our colorful stitched projects seen here in this post.


Thinking about sprucing up your decor while spending more time at home? We used my foam stamps and fabric ink to create modern pillow covers for our living rooms here in this play date post.


Your Thanksgiving table may be a little smaller this year but it doesn’t have to be any less Instagram worthy – check out these napkin rings we created using my stencils and pan pastels for a one-of-a-kind holiday tablescape.


I hope you enjoyed this look back and are inspired to try a few of these craft ideas.

Here are some of the supplies we used:

Leave a comment

Stenciled Napkin Rings for Thanksgiving – DIY Play Date

This week my friend Kim and I got together to have a little pre-Thanksgiving play date :) Our project idea was to make something new for the table for entertaining and we decided to make stenciled napkin rings. It was a fun and pretty simple technique and a new way to use stencils – with clay and pan pastels!

We got some air dry clay (this box was just right to make 4 napkin rings), Pan Pastels, a bunch of my stencils to choose from, a non stick craft mat, a small polymer clay rolling pin, and a paper towel tube for a mold.

First we flattened out the clay into a rectangle with our fingers and then smoothed the surface with the rolling pin. The rectangle needs to be big enough to cut into 4 long strips and to wrap around the tube, so we made ours about 6″ x 8″.

Time to choose a stencil. A small intricate pattern works best to fit the scale of the rings. I am using the Hamilton stencil.

And I decided to use warm, autumnal Pan Pastel colors. Pan Pastels are so lovely to work with, just take a cosmetic sponge and start dabbing on the pigment.

You can blend in other colors too.

Kim choose my Downtown stencil and some blue colors to match her dinnerware.

The big reveal! I love how the navy blue pattern pops.

Mine will look great with my ivory and gold china.

We used a polymer clay knife to cut the clay into strips and trim the uneven edges. Maybe use a ruler to make them equal… we didn’t… Oops! Also maybe smooth the edges as much as possible – it will look better in the end with smooth clean edges.

Prepare the mold by covering the tube with waxed paper.

And wrap the strips around, squishing the ends together. Be careful not to rub the pigment design too much – it will smear.

Let them dry overnight.

We dried them resting on the seam, just to encourage it to stay stuck.

The next day they were firm and ready to go.


You can spray them now with fixative to set the Pan Pastel pigment.

My table set with those pretty new stenciled napkin rings.

You can match them to your decor or go holiday-specific with your color choices.

The Pan Pastels I chose were metallic and look very festive.

Kim’s table in ivory and blues with a bold pattern napkin ring. So unique and a nice touch when you want your table to be memorable for Thanksgiving or any occasion.

We had fun making these – it was pretty quick and you don’t need a lot of supplies. And the Pan Pastels really made the stencil patterns crisp and clean. Give it a try for your tablescape this season!

You can find my stencils in my online shop. Here are some of the supplies that we used:


Comments (2)

  • Sue Clarke

    |

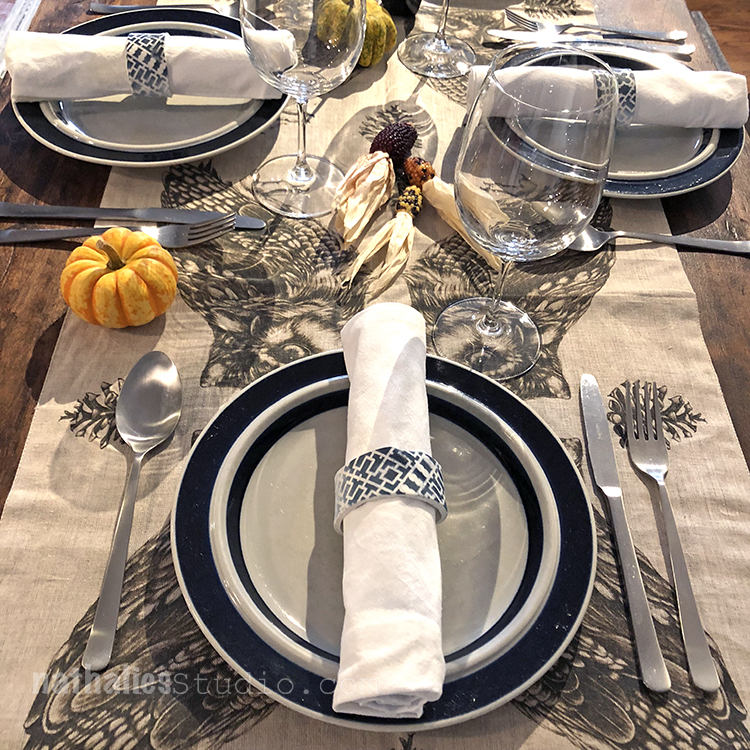
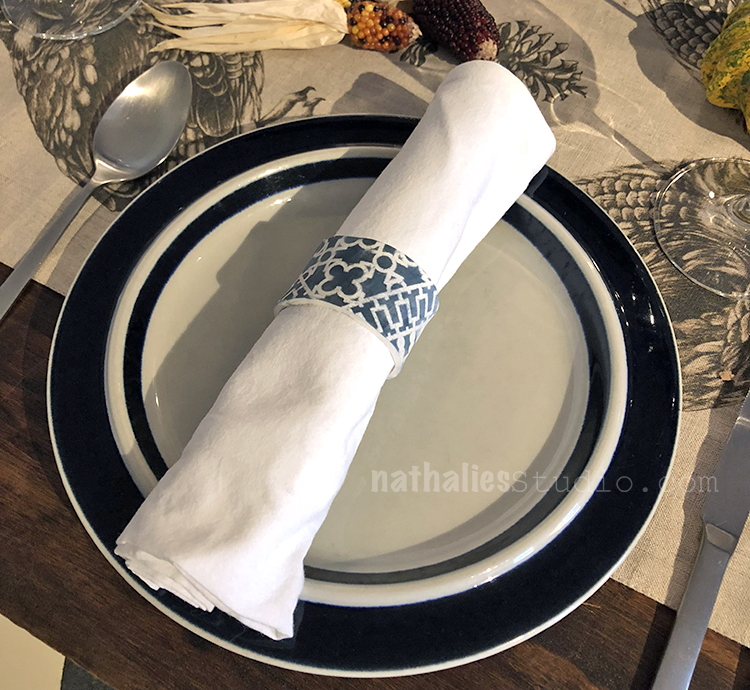
    Love that bold navy and the candle on the table made with one of your stamps as well.
    Wishing you a Happy Thanksgiving Nat and Kim!

    Reply

    • kimnstudio

      |

      Happy Thanksgiving Sue! Good eye spotting that candle – that was back from a previous play date with Nat and another project that I loved :)

      Reply

Leave a comment

Fall Fun: Stenciled Pumpkins

Kim and I had our playdate for October and of course…Pumpkins had to be the stars. I am so amazed by all the different shapes and sorts of pumpkins- I went a bit overboard and bought everything I could find- LOL. I think Kim laughed secretly about that.

We gathered some of my stamps, StencilGirl stencils, brushes and cosmetic sponges and off we went.

I decided I wanted to go with a gold and lime green theme and painted some of the pumpkins with gold.

Kim decided to go with a black and orange theme and she painted the acorn squash black before stenciling with a cosmetic sponge using orange paint on top. We held the stencil mostly in place by hand, since the pumpkins have a lot of uneven ridges.

We used a mixture of heavy body and soft body paints- for now real reason but using what we have.

on the squash above the paint didn’t stick very well- and it crackled a bit – a coat of gesso underneath would have prevented this …but at the end of the day…hey- let’s not go super crazy and I came to like the grungy look :)

We also had fantastic supervision by Niles – he just wanted to make sure we are doing it all right …I guess also if there was really no treat falling down the table …;)

That was an easy and fast and fun project and one that you can make as elaborate as you want- or as easy as we did.

Here are Kim’s geometric patterned pumpkins

and here is my gold and lime/teal green bunch.

Grab your stencils – decorate a pumpkin and get into the fall mood – I am ready for some pumpkin pie now…and I don’t even like pumpkin that much ;)


Hope you have a wonderful start into the fall so far!

Comments (2)

  • Sue Clarke

    |

    Nice pumpkins and so wonderful of Niles to supervise.

    Reply

  • Carole Morrison

    |

    Well, aren’t these just the cutest things ever!!! A refreshing change from the usual “Jack-O-Lanterns”!!! Thanks, gals!! Super project!!!
    Carole from Chicago

    Reply

Leave a comment