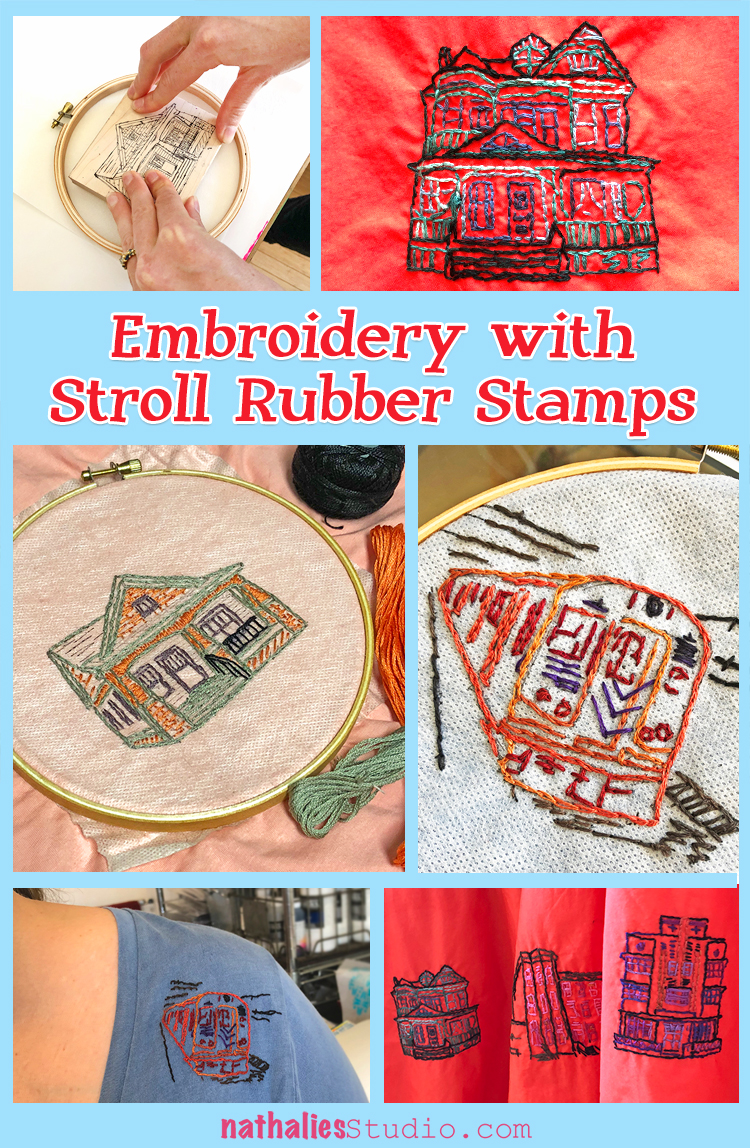
This month my friend Kim and I decided to do an embroidery play date. I am loving this new hobby and it is so nice to settle into a movie at night and do a little bit of embroidery. It’s relaxing, creative, and a fun way to add a personal touch to clothing. Kim and I chose some clothing items to embroider, and went straight to my Stroll Around the Block and Stroll Through the Hood rubber stamps for our designs.
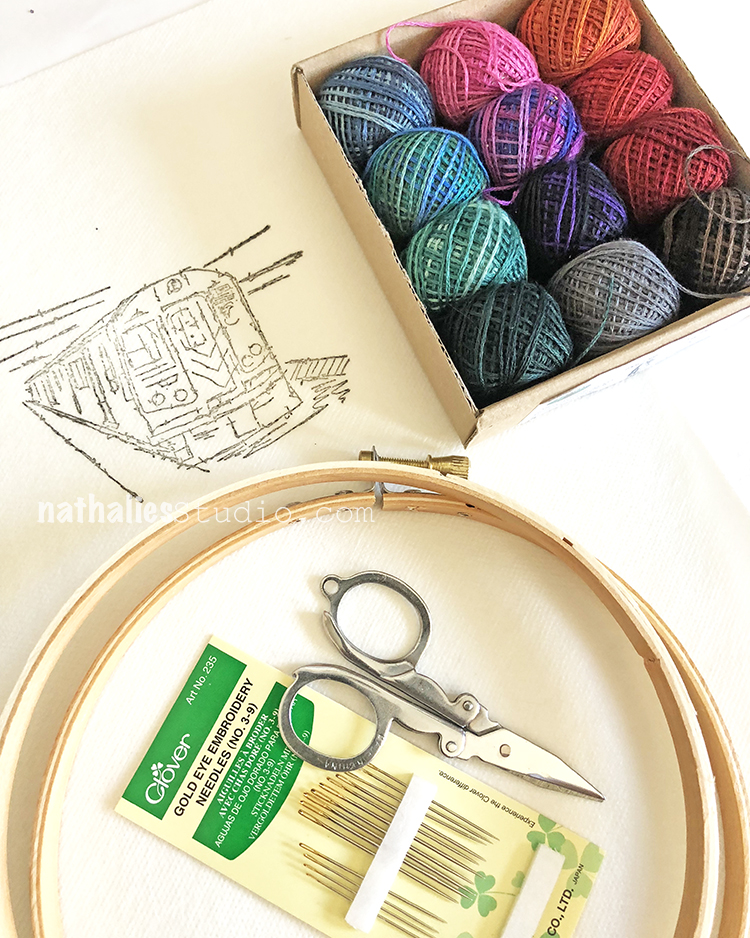
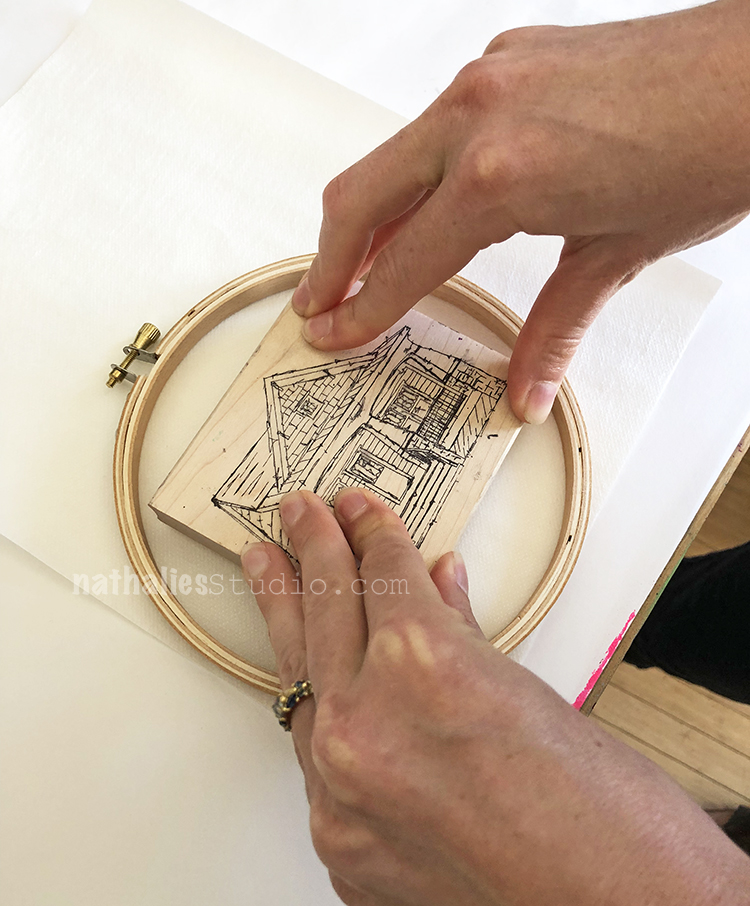
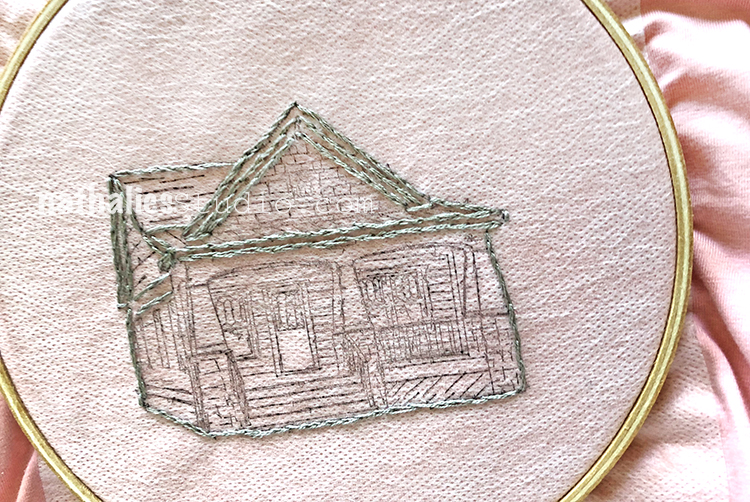
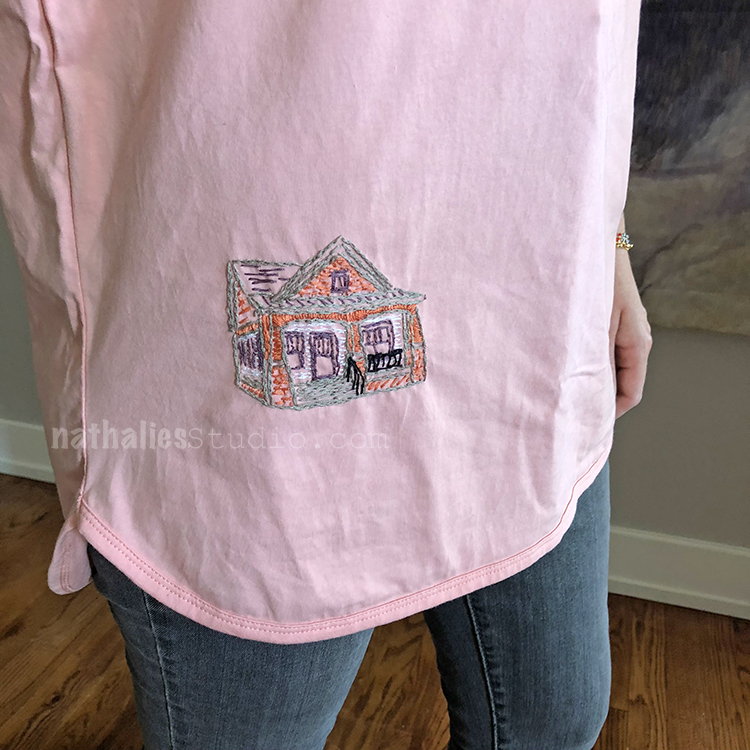
You don’t need much to pull this off: embroidery thread, needles, scissors, a hoop, and a super nifty adhesive fabric stabilizer from Sulky that dissolves in water (see the link in the supplies below). Then you just choose a rubber stamp design and stamp on the fabric stabilizer. Kim chose the Craftsman stamp from my Stroll Around the Block set. It fits right in a 6″ hoop with some room to spare.
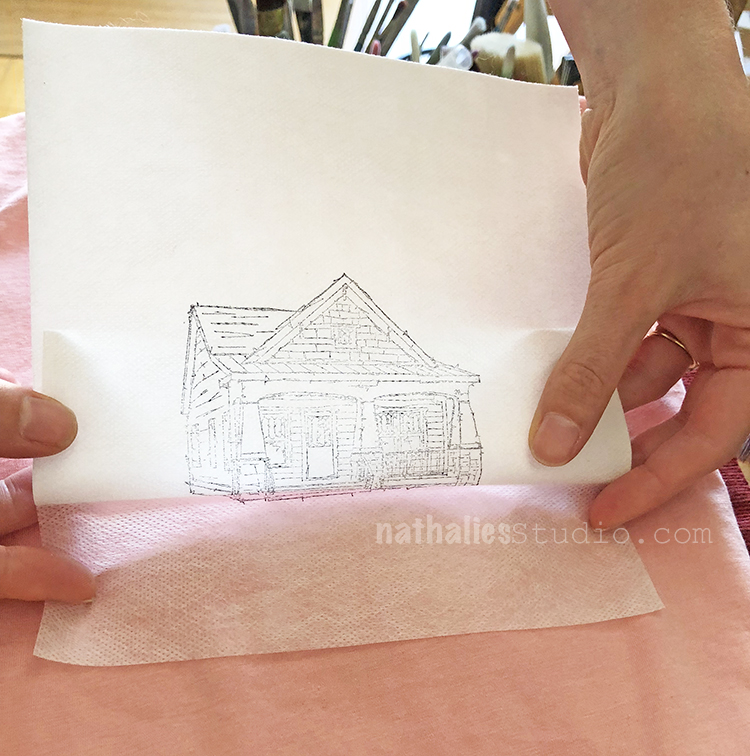
Then she carefully peels the backing off the stabilizer, removing the bottom a little to position and stick onto her tshirt. It is important to make sure the tshirt is flat underneath with no wrinkles and do not stretch the tshirt either. Slowly peel away the backing and press the stabilizer firmly onto the fabric.
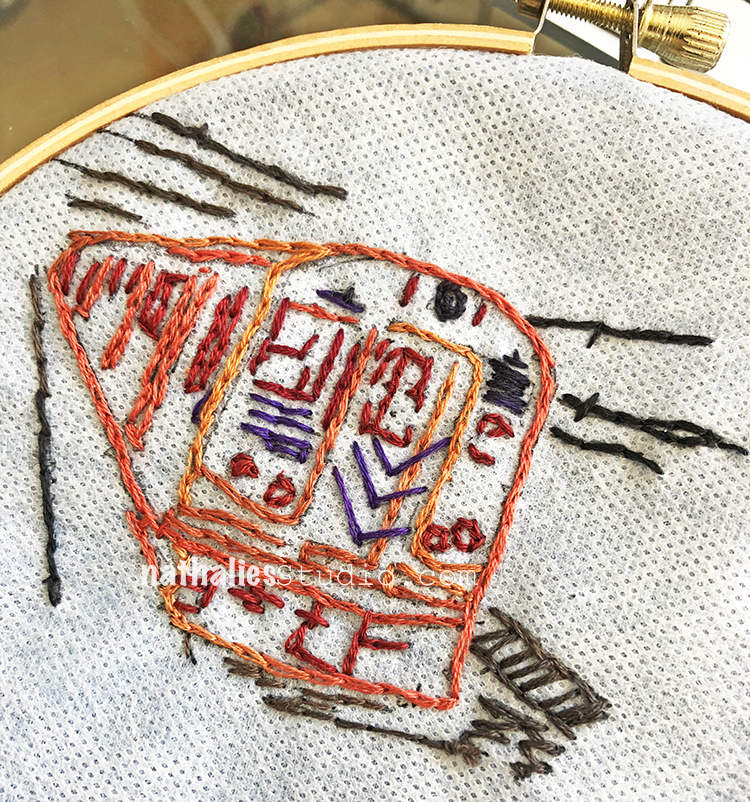
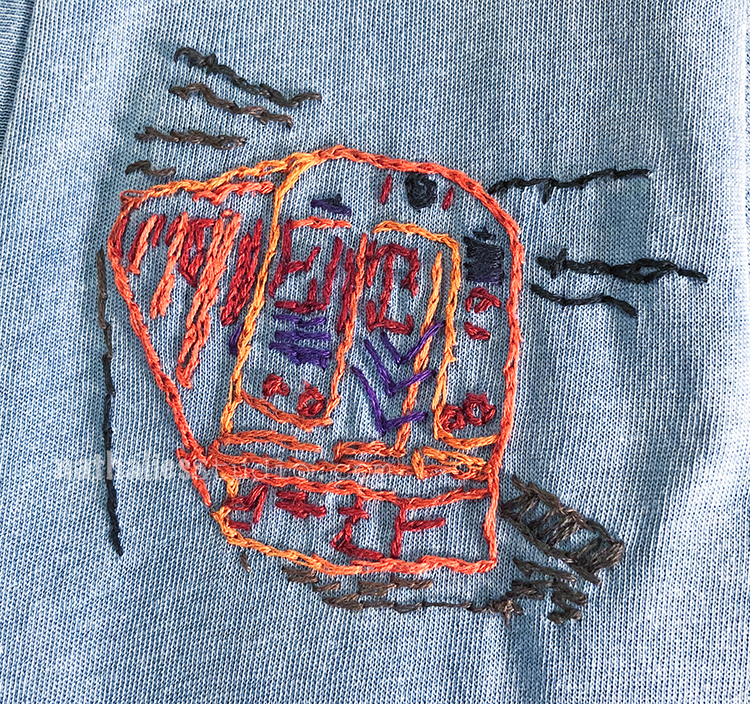
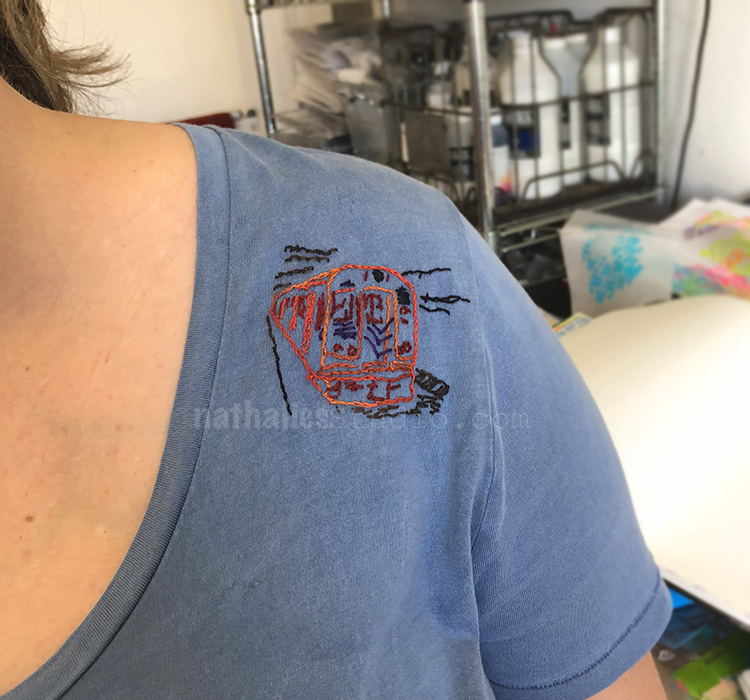
I chose my E-Train rubber stamp from the Stroll Through the Hood 2 set. It fits nicely on the shoulder of this tshirt.
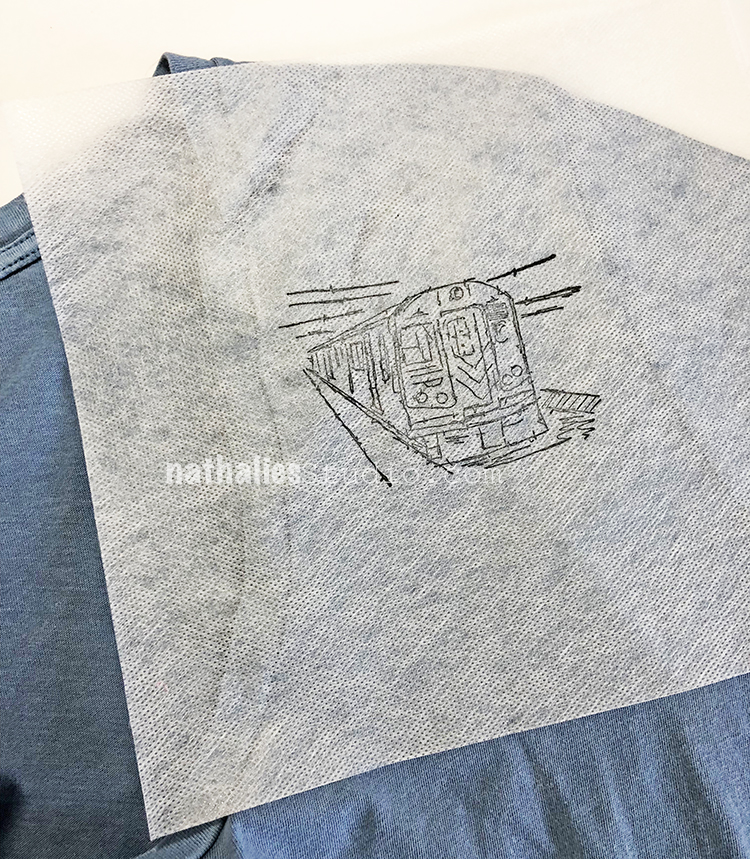
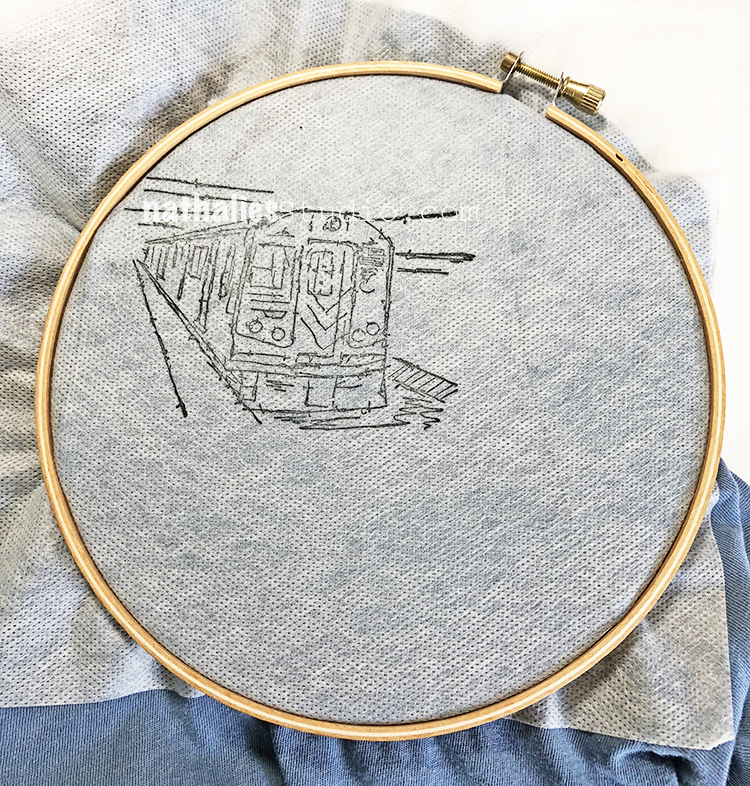
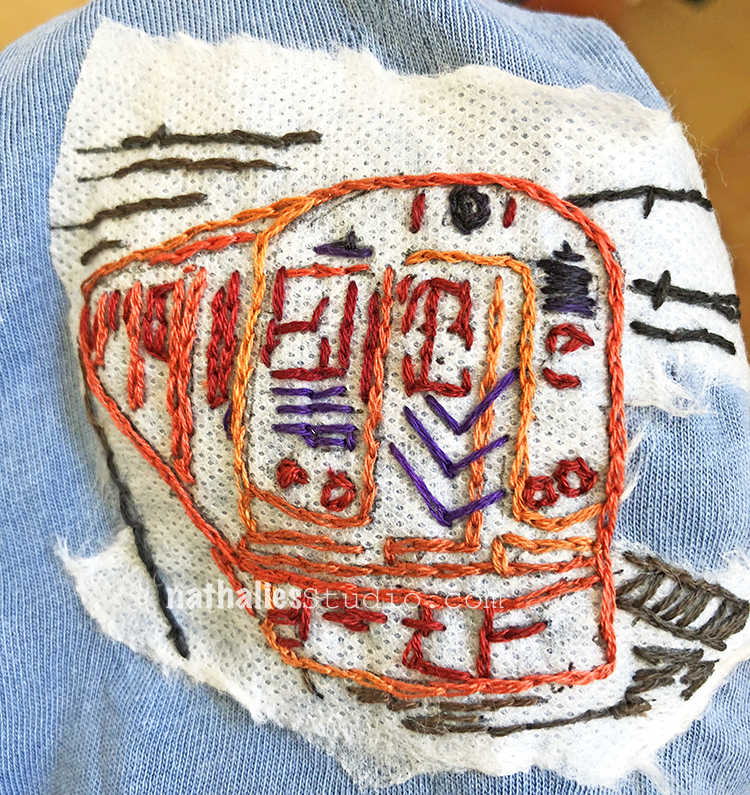
I next put the embroidery hoop on, careful to not stretch or distort the fabric. It should be taut but not stretched. Because of the neck opening, I had to position the image off to one side so that the hoop could grip the fabric all around.
Kim got to use my new StazOn stamp pad that I got in Japan with the cute cat cover…

Now the fun begins, and we begin to embroider, stitching to follow the stamped designs.
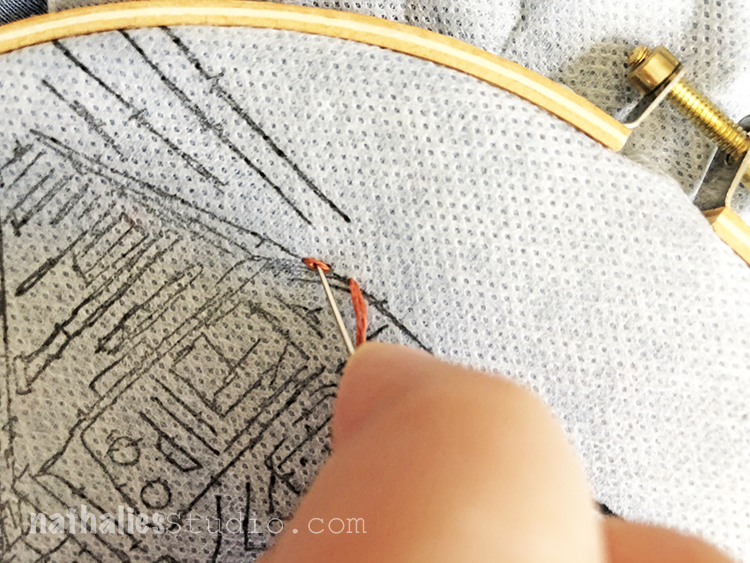
I like to make a stitch, then double back and go through the stitch to make a quasi “split stitch”. I am no expert on embroidery, and the main thing here is that you don’t have to be! Just make stitches and follow the design.
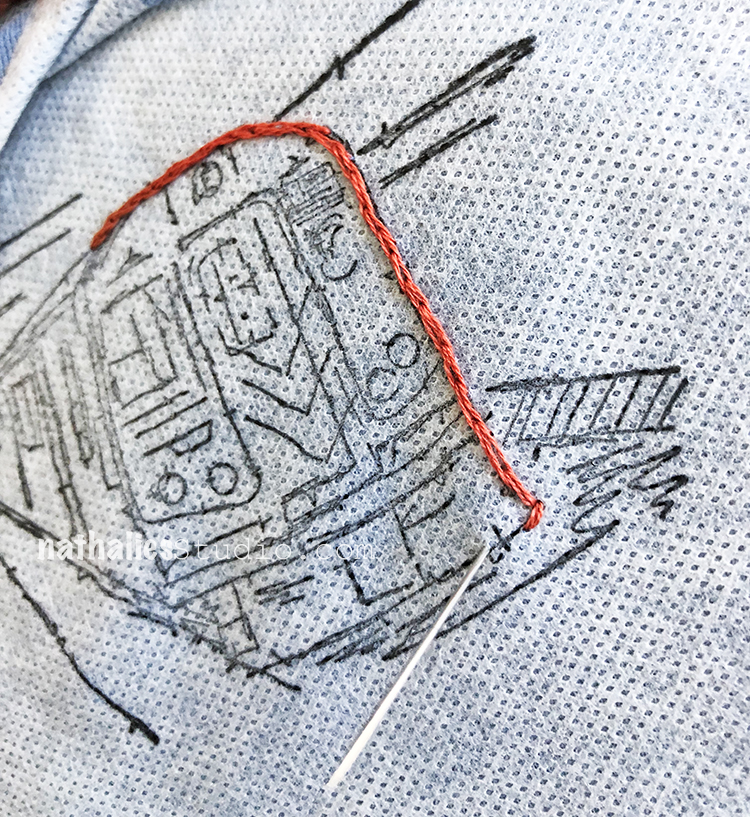
I trace the outline of the E-train stamp and Kim traces the Craftsman house…
It’s fun to begin to choose colors and mix things up in the design. If you don’t like what you did, you can always gently loosen the stitches back with your needle and cut the threads out. I also found that I could trace the design with a colored pencil to help envision how a color would look.
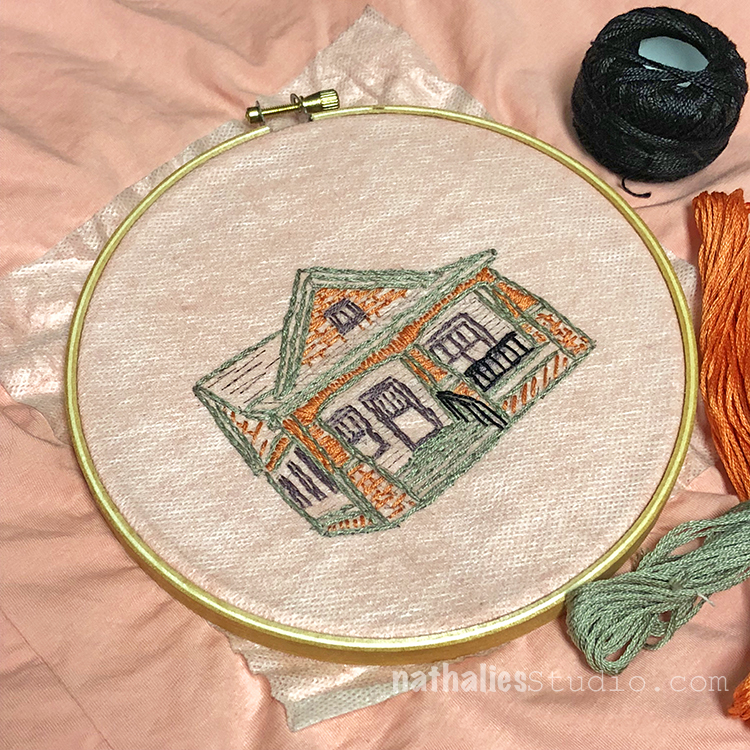
Here are our designs, coming along.
When I finished, I loosened the hoop and slipped it off, and tore off the excess stabilizer.
Next you wash it gently under running water and the stabilizer melts away, leaving just the embroidery. Be gentle and make sure to get under the stitches if you have dense areas.
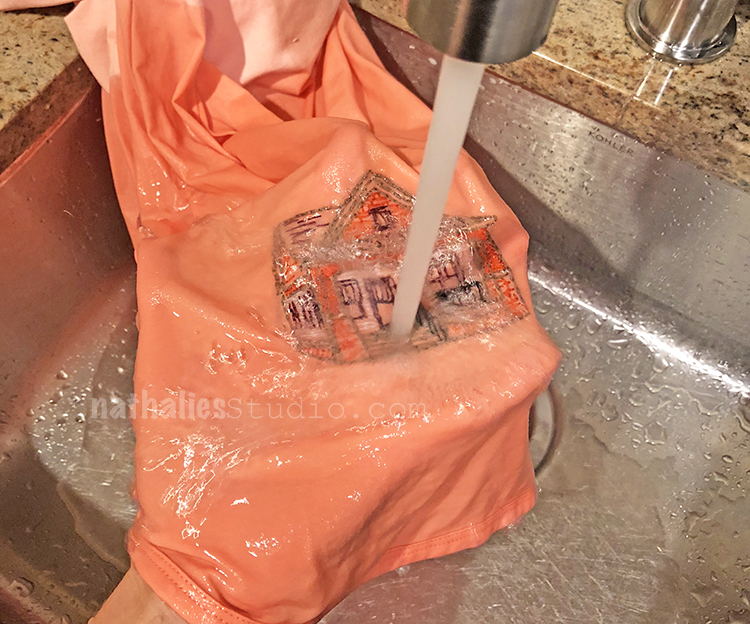
Now your piece is ready to be laundered to take any additional adhesive off.
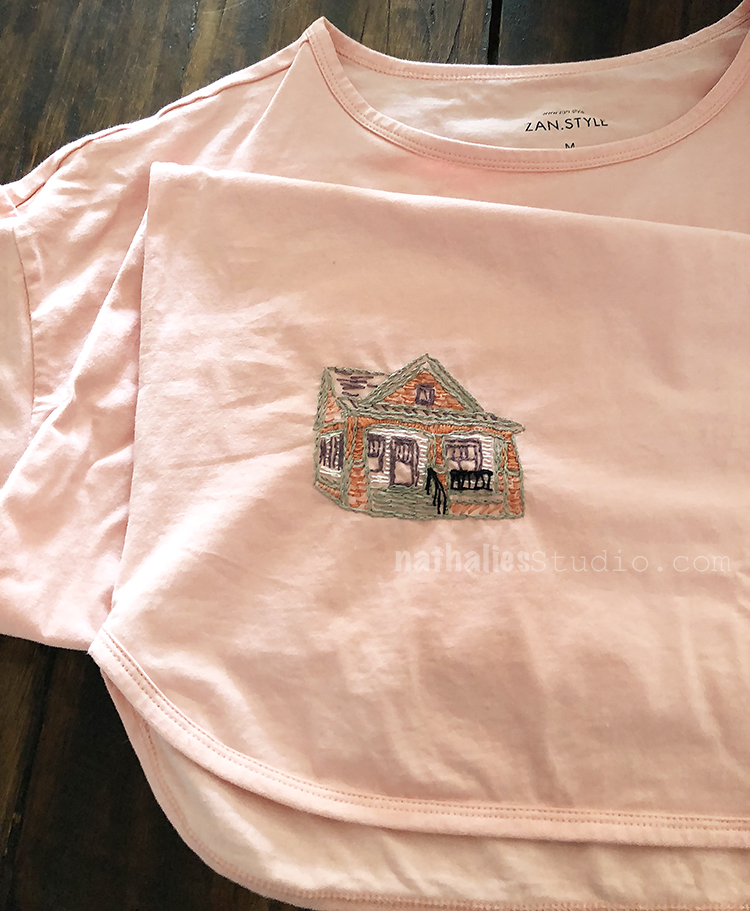
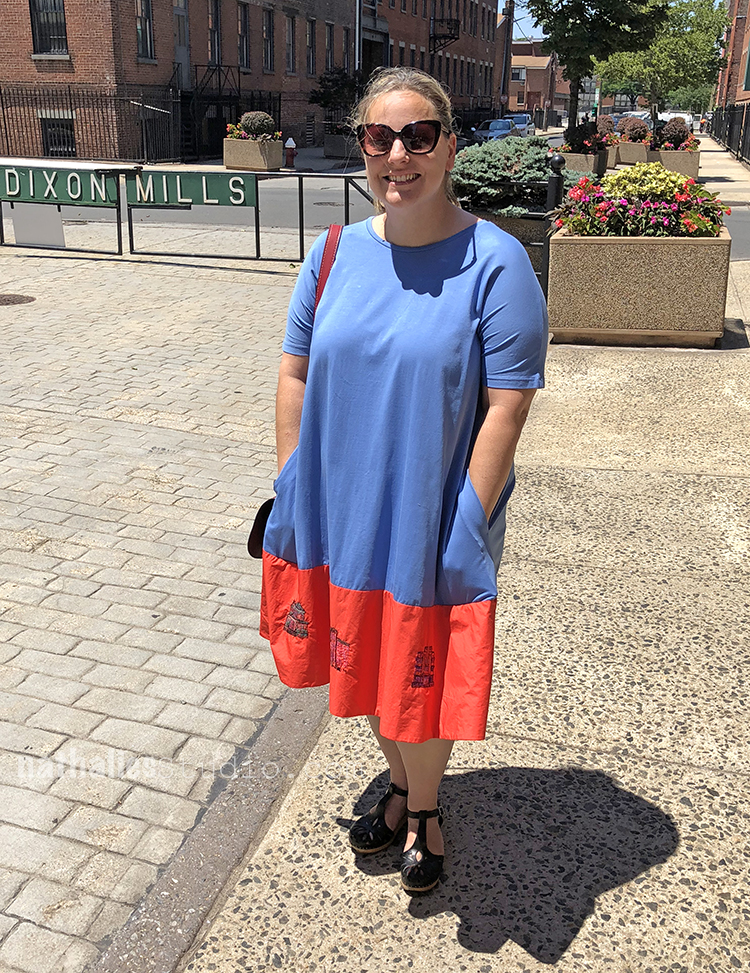
Then you can wear your new personalized shirt :)
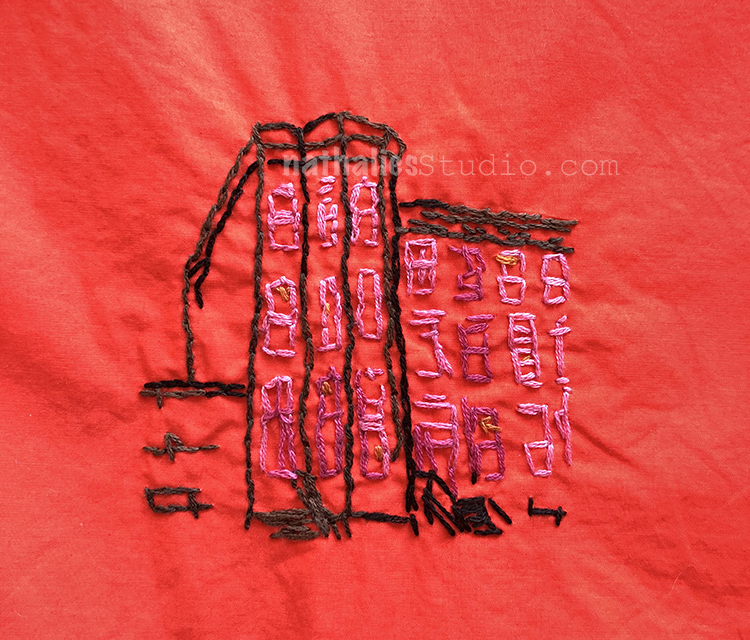
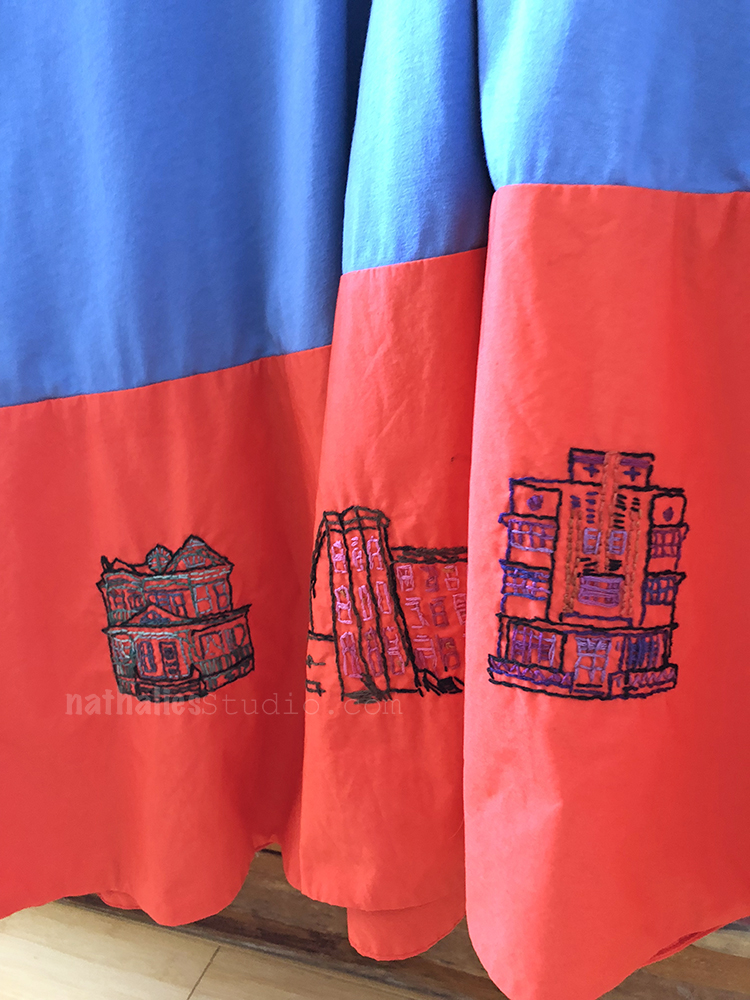
And of course I didn’t stop there. I had a dress with a red hem that was calling for some decoration…

I began with my Brownstone stamp from the Stroll Through the Hood 1 set.
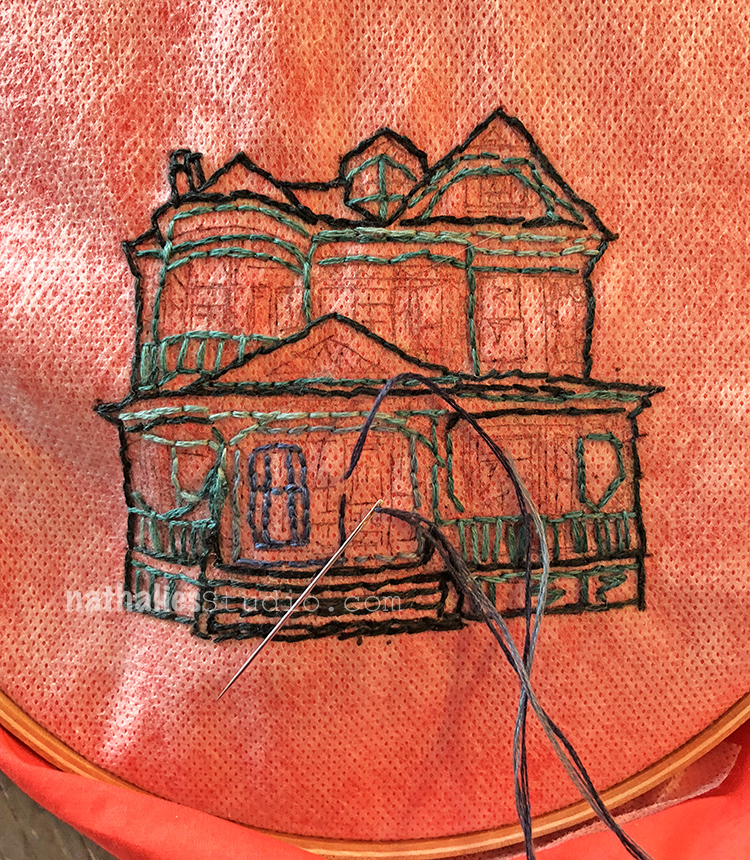
And then the Queen Anne house from the Stroll Around the Block set…

And finally the Art Deco stamp from the Stroll Around the Block set!
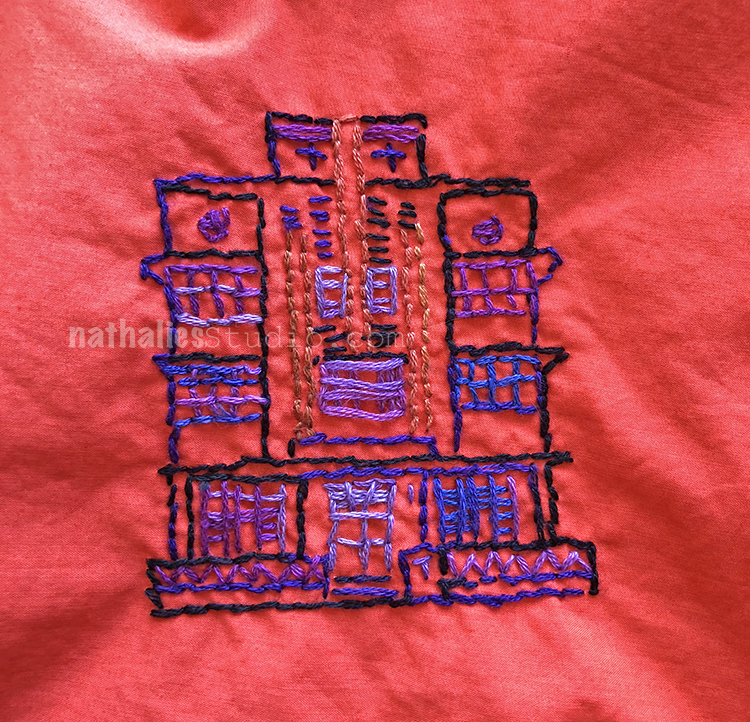
Here they are on the hem of the dress:
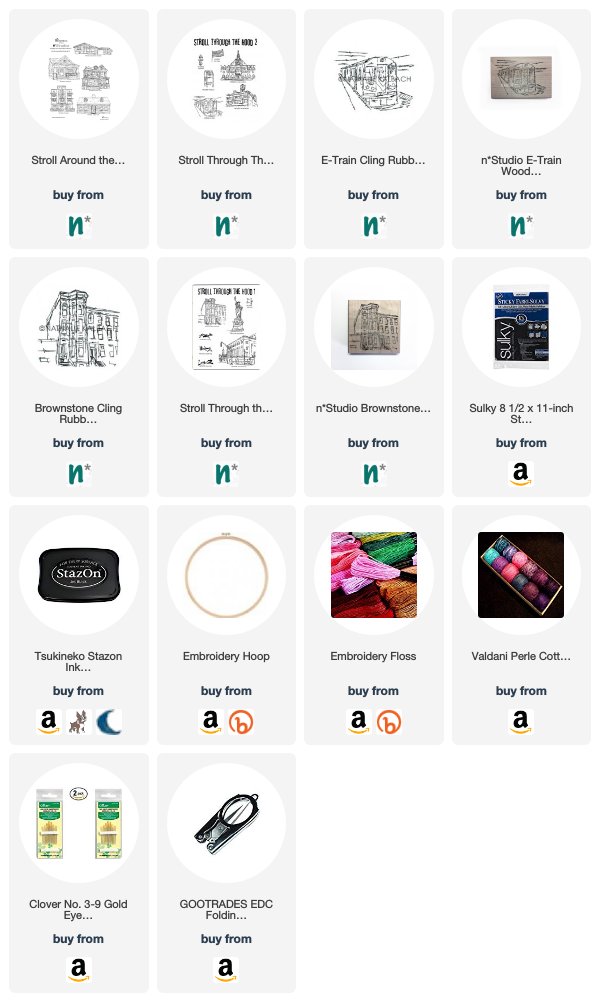
I loved taking some clothing items and making them more interesting so I might now wear them. And the embroidery is so easy to pick up and have fun with, especially if you use the rubber stamped design on the stabilizer sheet. Give it a try! Everything you need to get started is below:

Comments (4)
Nancy Sapp
| #
I LOVE, LOVE, LOVE ALL the embroidery ideas from your stamps, Nat!!! I just wish I was good at embroidering!!
Reply
nathalie-kalbach
| #
thank you so much ! I am not good at embroidery at all and this was really easy- promised!
Reply
Sue Clarke
| #
Clever…unique…love it!
Reply
nathalie-kalbach
| #
Awe thank you so much Sue!!!
Reply