Blog: Star Tag

Better World – Art Journal

“It is in your hands to create a better world for all who live in it.” – Nelson Mandela

… Use your damn hands!

I used my new Lady Liberty foam stamp – a nice big stamp with the oomph that I wanted for this page. To get my color I rolled out two acrylic paints with a brayer – soft acrylic paints in teal and green – and then stamped. I wanted the look of some patina – like the statue itself.

I added some stars with my Star Tag rubber stamp.

…and used a Fude pen for the journaling.

Here are some of the supplies I used:

Leave a comment

VOTE Cards

This is my first Presidential Election and so a ballot box really had to go into this stamp set. I thought it would be nice to use my new Ballot Box stamp in my #keepyouposted set to send out some cards to remind folks to get out and vote. Then I just had fun playing :)

I used my Ballot Box and also the Blank Postage Stamp and a colorful selection of Moonlight Duo ink pads…

I even added my Solid Square Small stamp for a pop of red (red, white, and blue!)

Then I played with my Star Tag, Solid Square Large, and stamps from the #keepyouposted set. Getting my pattern groove on!

And then some more stars…

So all my friends here in the US – get out there and vote!!! And tell your friends also… maybe with some new stamps lol

Here are some of the supplies I used:

Comments (2)

Leave a comment

Each Day is a New Adventure – Marsha Valk


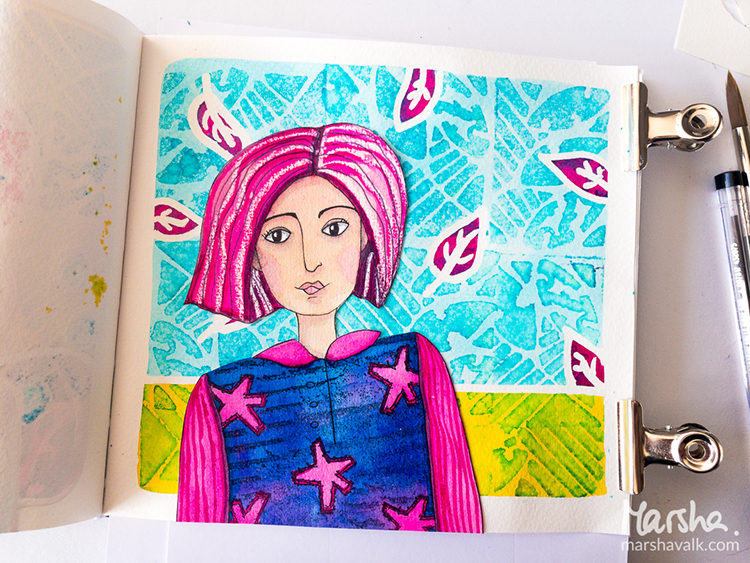
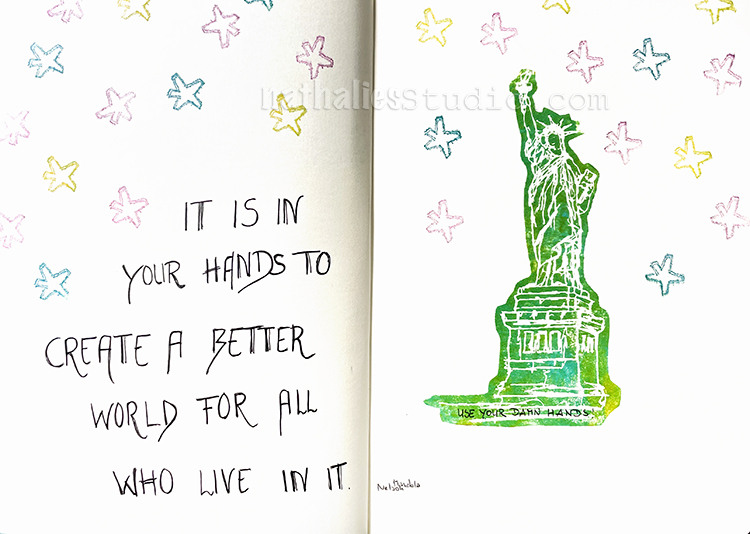
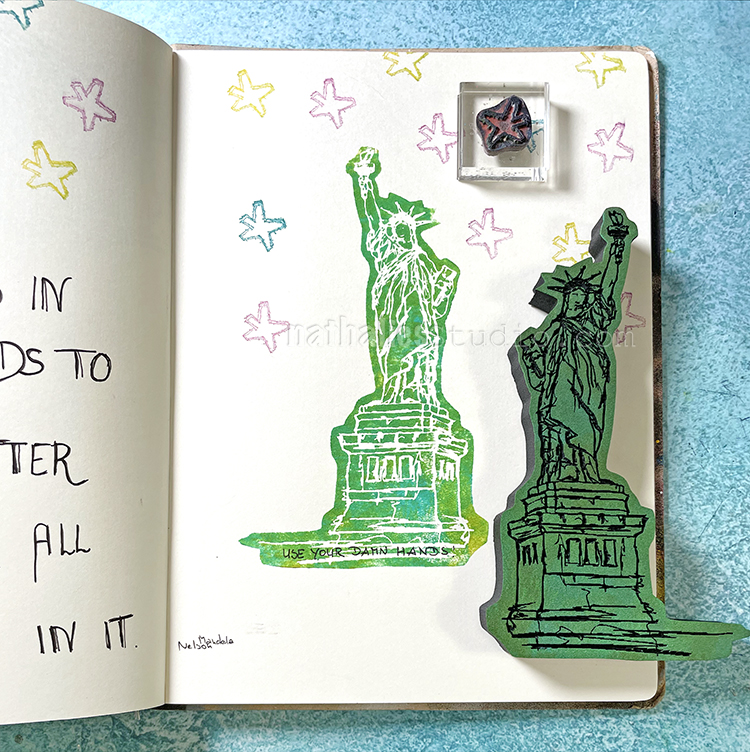
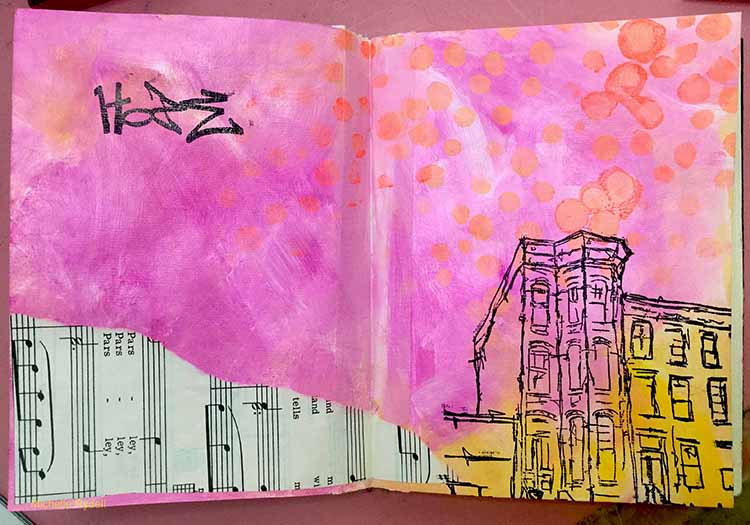
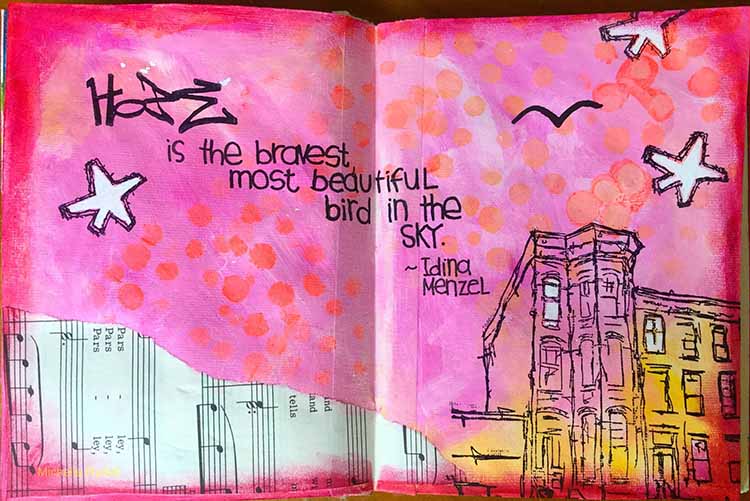
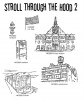
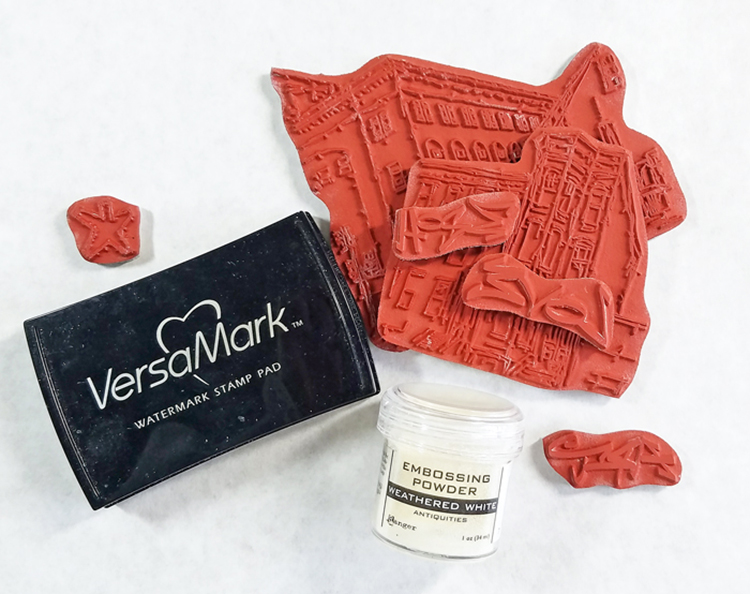
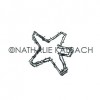
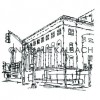
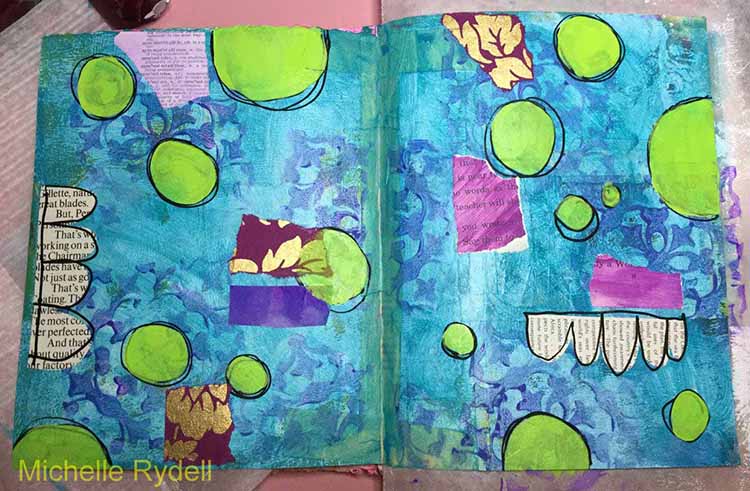
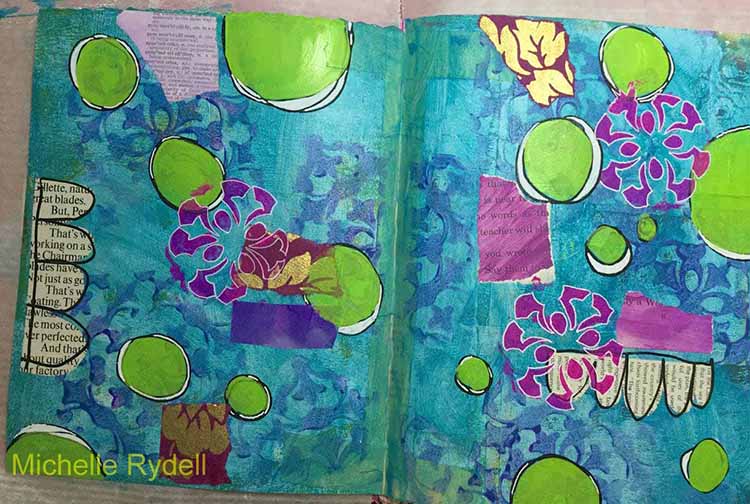
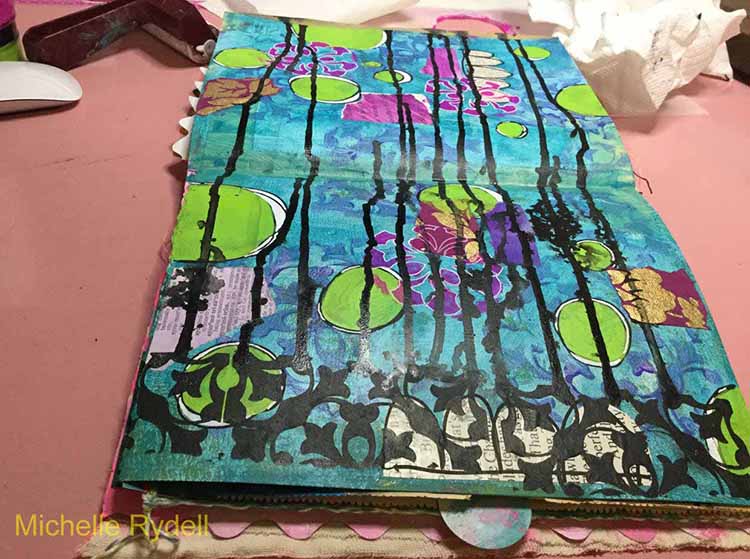
Hello from the Creative Squad! Today we have a fun art journal page from Marsha Valk.   Marsha uses my Mini Batik Pattern 4 foam stamp, my cute little Star Tag stamp , and my Torn Layers stamp to create a colorful page with this month’s theme: Each Day is a New Adventure – Be adventurous this month and try something new in your art-making! Use a new tool, medium, or technique that you’ve been meaning to try for too long now. Go on a new adventure TODAY!


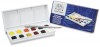
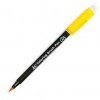
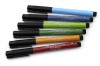
Liquid watercolour Ecoline has been around forever. It’s a staple you can find in every Dutch school art room, and it’s very likely that the first time I ever used it was in kindergarten. I was very excited to see that Royal Talens was releasing Ecoline brush pens and I bought three or four colours the moment I could get my hands on them. I always intended to buy more, but once I had them, I couldn’t find a good use for them besides brush lettering, and I forgot about them.

Fast forward to last week. Ecoline brush pens were back on my radar, and I treated myself to a big set. With no intended purpose, just for play. Then I read this month’s n*Studio Squad theme… And it was the perfect excuse to break in my new pens!

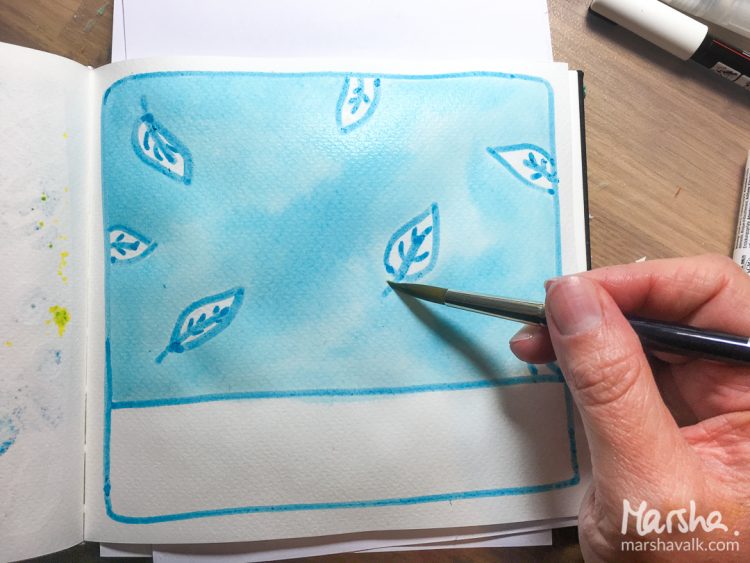
Start with drawing some doodles with masking fluid. Leave to dry completely.

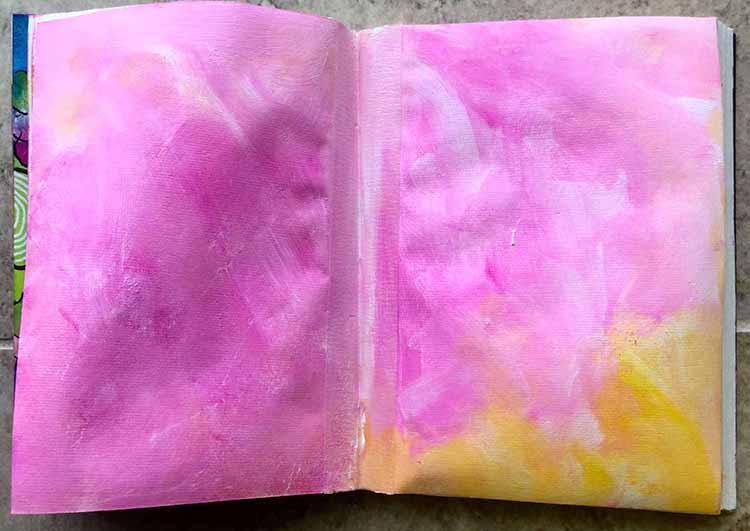
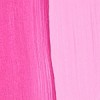
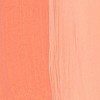
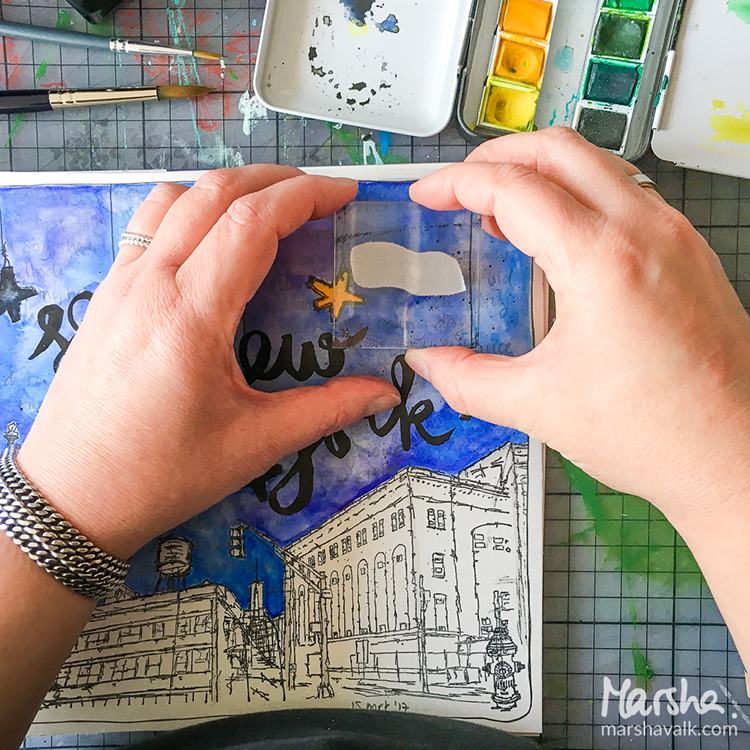
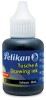
Apply Ecoline to the paper. Ecoline works just like watercolour, so you apply it straight out of the pen or from the bottle with a brush. Or you can wet the page with a brush first and then apply the Ecoline to let it spread. Wait for the Ecoline to dry.

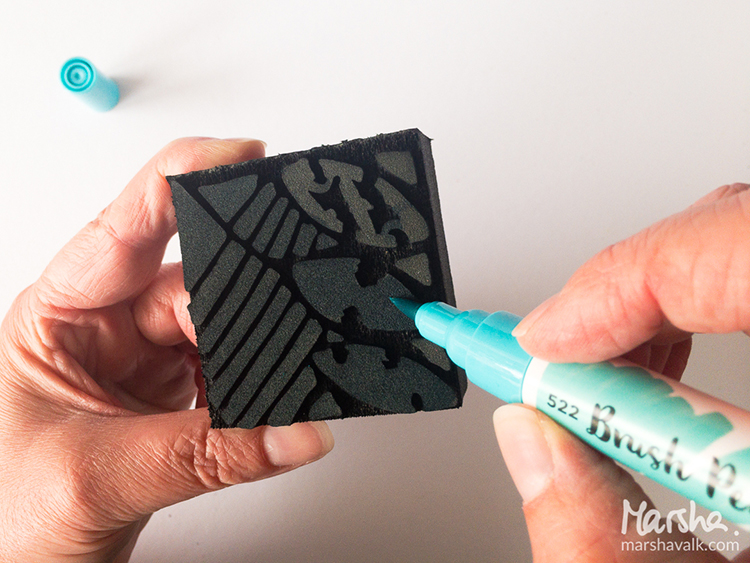
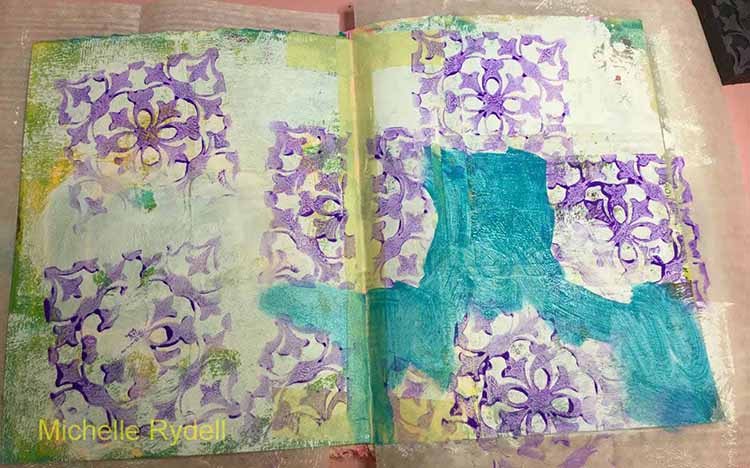
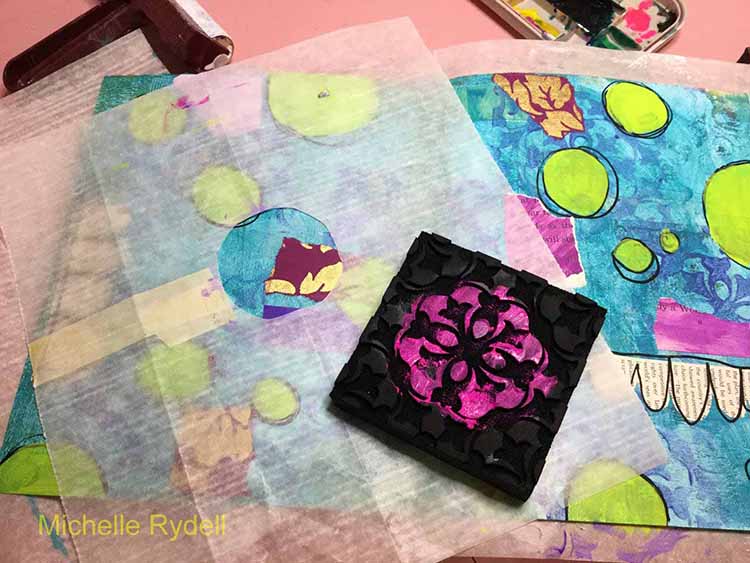
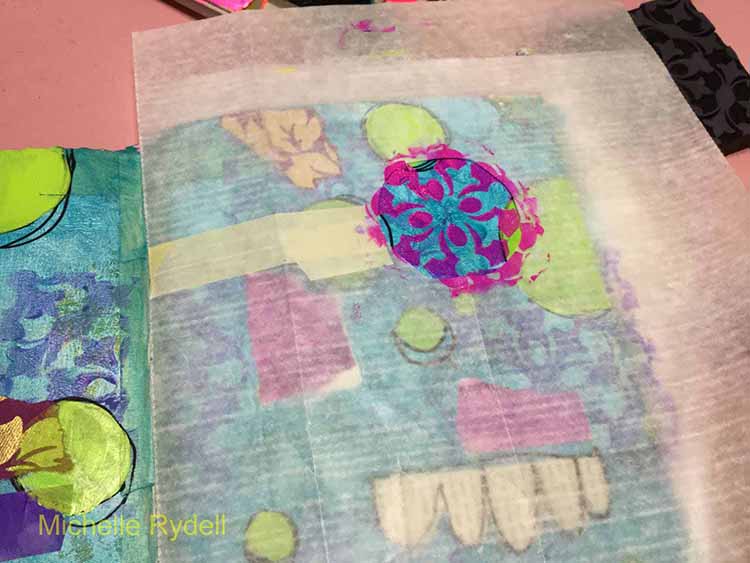
Colour the Mini Batik Pattern 4 ArtFoamies stamp with an Ecoline brush pen and stamp the pattern on the page.

You can get multiple images from one layer of Ecoline if you lightly spritz some water (from a distance) onto the foam stamp in between stamping.

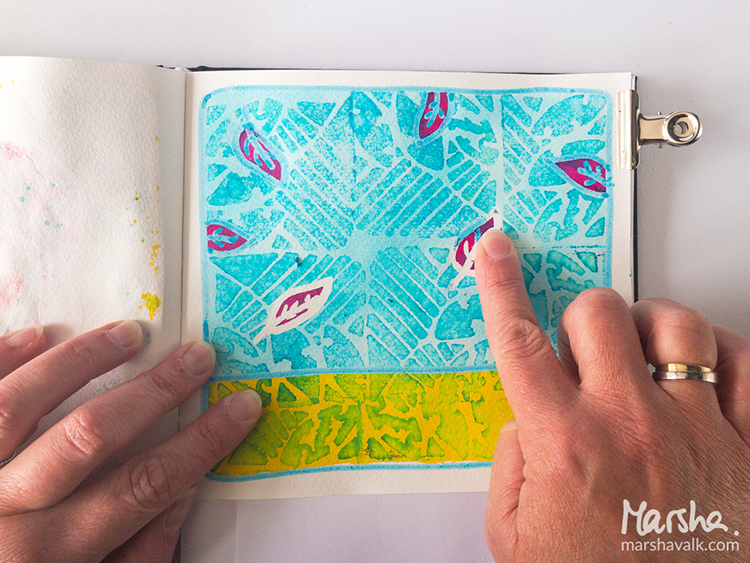
Rub away the masking fluid once the paper is completely dry.

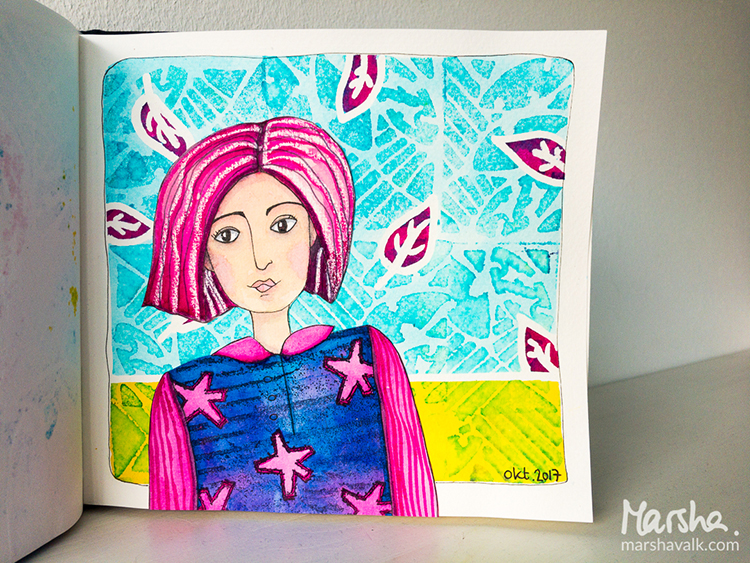
Take a separate sheet of paper and use a pencil to draw a girl.

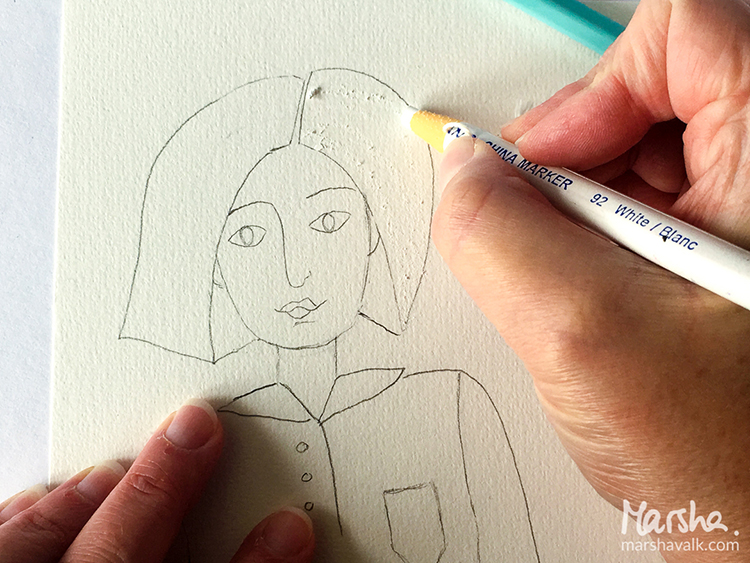
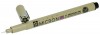
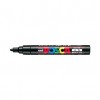
Use a China Marker or a crayon to add a couple of white stripes to the hair. The grease in the marker will create a resist when you apply Ecoline over it.

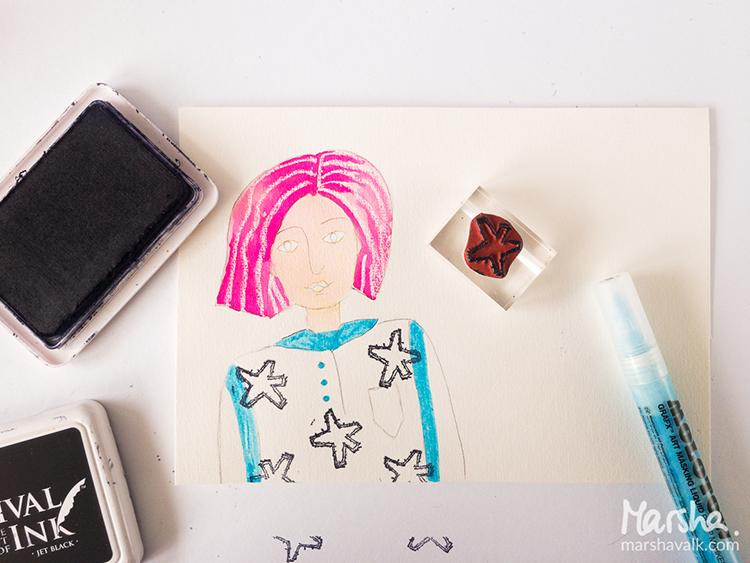
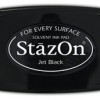
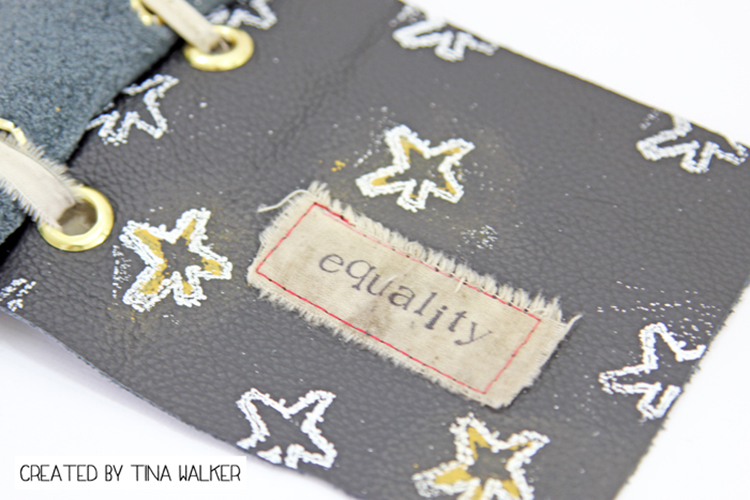
Add some interest to the girl’s outfit by stamping a couple of stars on her sweater with the Star Tag stamp and a permanent stamping ink.

Use masking fluid or post-it tape to mask off any areas you do not want to be stamped.

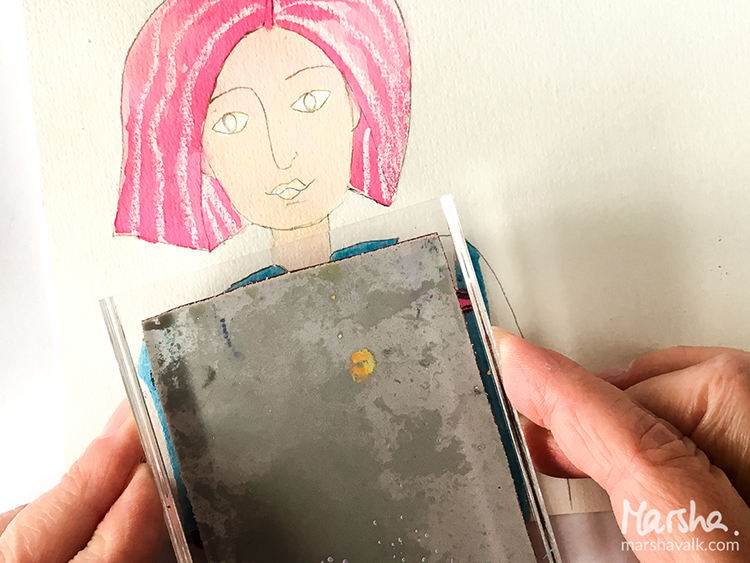
Then use the Torn Layers stamp to add texture to the sweater.

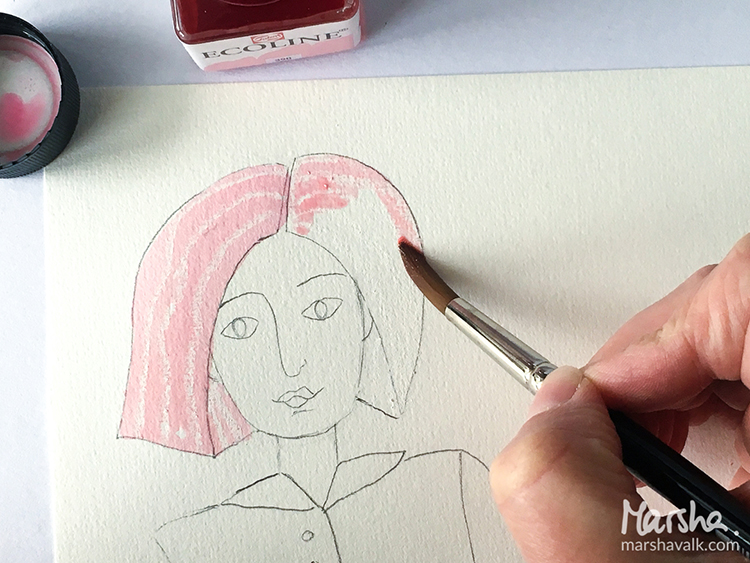
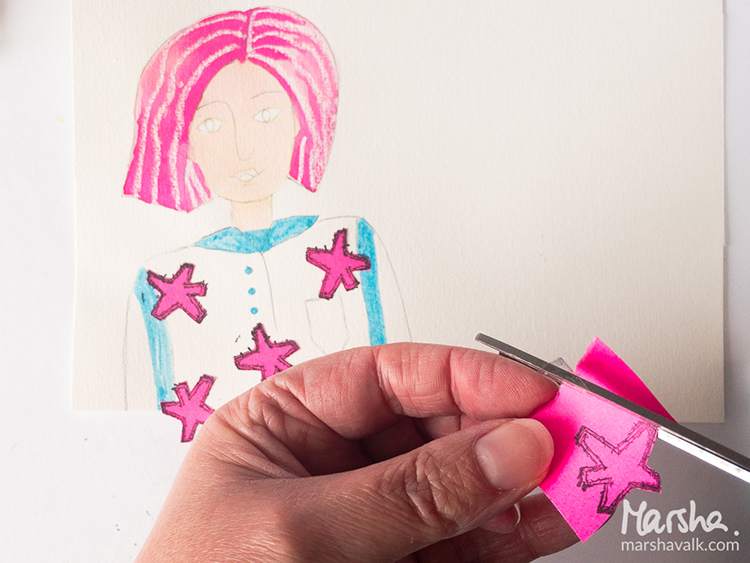
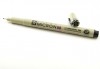
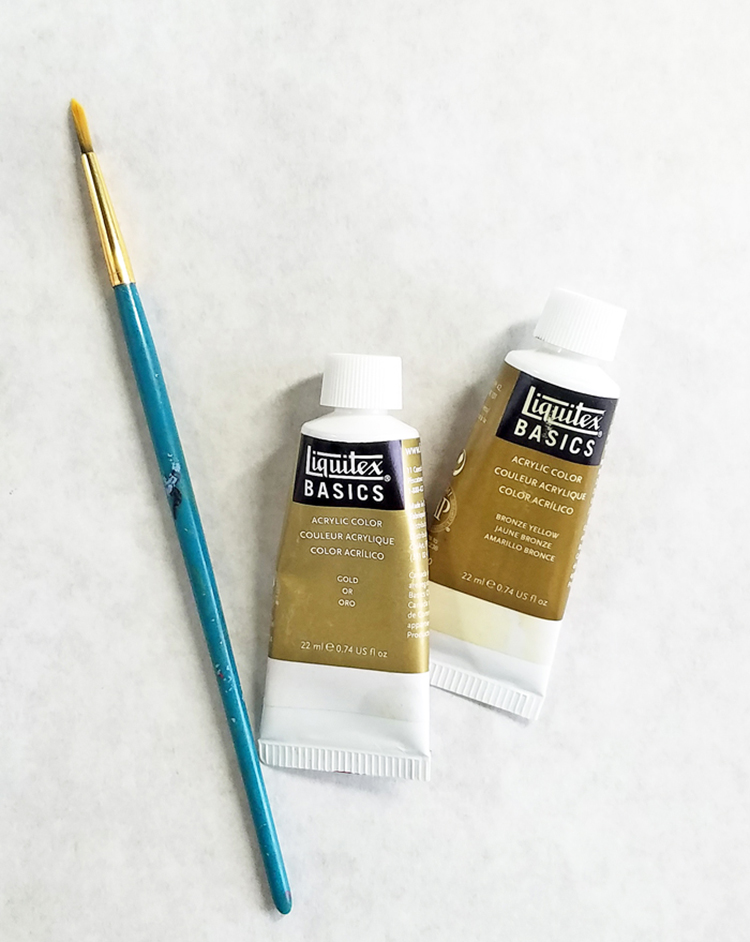
Finish colouring the girl with Ecoline and Ecoline brush pens. Add details with a black waterproof fineliner. Use a black ballpoint pen instead if you need to draw over the China Marker.

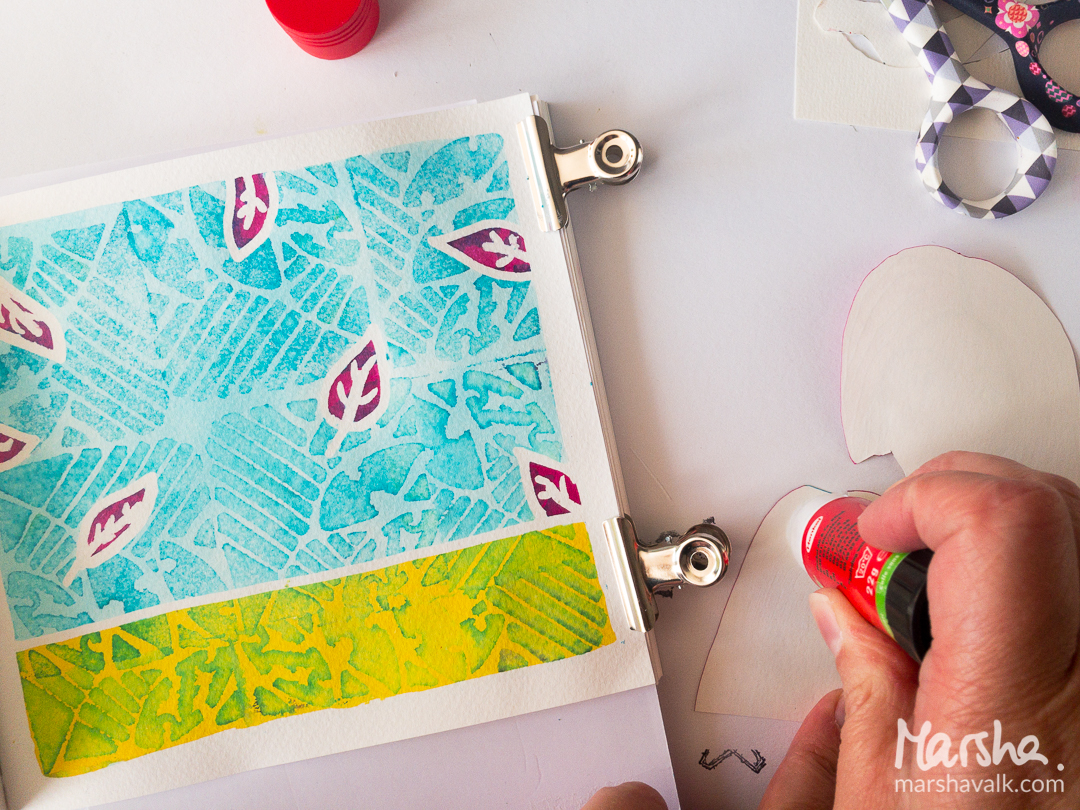
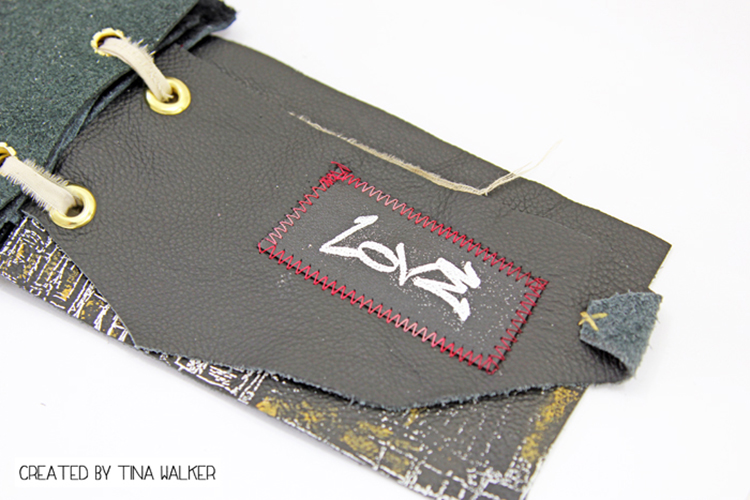
Cut out the girl and adhere her to the background page.

Happy November!


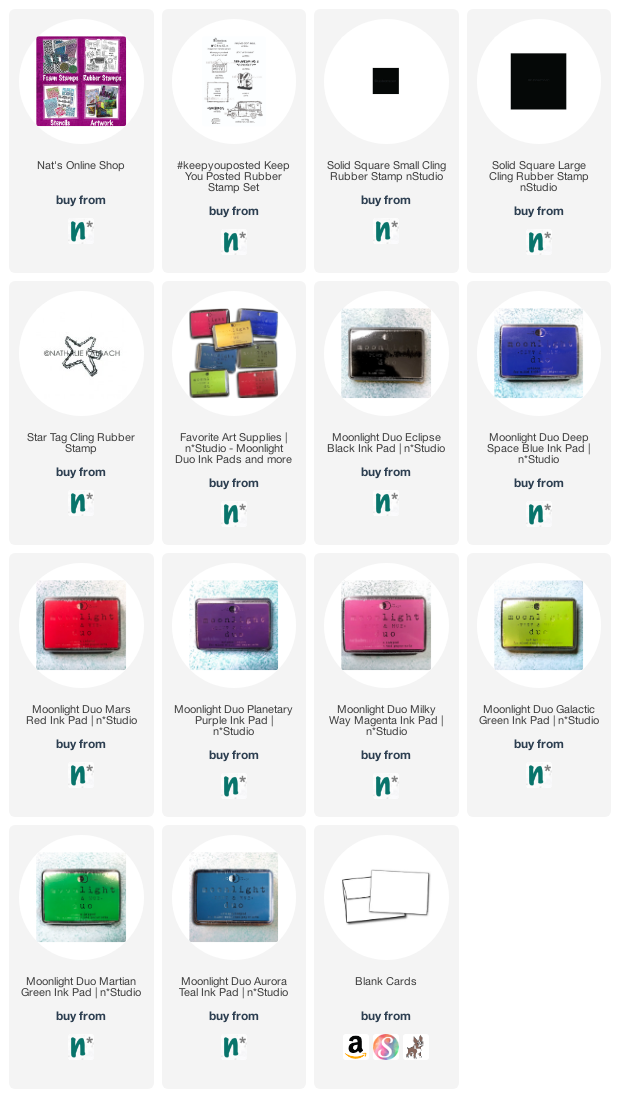
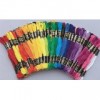
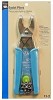
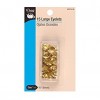
Thank you Marsha – now we’re super excited to try the Ecoline brush pens on my foam stamps too! In addition to her art journal, Marsha used the following supplies (some are affiliate links):


Play along with us too: I love to see how you interpret our monthly themes. Email me how you used my stencils and stamps with the theme and email me an image – I would love to share your projects in my next  “n*Spiration From Around the Globe“.

SaveSave

SaveSave

Leave a comment

Say It Like You Mean It – Michelle Rydell


It’s Tuesday and time for a post from my Creative Squad! Today we have a fun and uplifting art journal spread from Michelle Rydell. She used my Stroll Through the Hood #1 stamp set for her take on this month’s theme Say it like you Mean it – Let your unique voice be heard and tell us what’s on your mind. Be bold. Be yourself. We all have something to say and sometimes we need to shout it!


One thing I have always been passionate about is music. I grew up with a lot of music in our house – my mom played the piano, and my dad loved to sing. I was fortunate enough to take dance and piano lessons too. Now, as an adult, music inspires a lot of my art. In fact, I am currently working on a mini-journal dedicated to song lyrics.

Today, I want to share a quick and easy way to make a journal page, using Nat’s Stroll Through the Hood set #1 stamp set! I’m creating this spread in my 4” x 5” mini journal. The song I am using as inspiration is “Hope” by Idini Menzel. I want to reflect the soft and gentle spirit of the song, so I start with some pink, orange and yellow paint, swirled with white to create a soft background

Next, I added a small strip of sheet music for texture, and pounced some coral paint thru Nat’s “What’s the Point” stencil to create movement in the sky. The “Brownstone” stamp creates the scene, and the lyric starts with the word hope, which is emphasized by using the “Hope Tag” stamp.

I wrote in the rest of the lyric with a journaling pen, added some stamped “Star Tags” to the sky, drew in a little bird, used a poster paint pen to color in the stars, and added highlights to the building. I finished the page by adding a border with an oil pastel, smeared with my fingers to create a softened effect. Here’s the final page…

Now that I’ve done a page with the Hope Tag stamp, I can’t wait to try one with the Art Tag and Love Tag stamps too!


Thank you Michelle for this gorgeous little masterpiece! In addition to some sheet music, Michelle used these supplies – some links are affiliate links:


Play along with us! I love to see how you interpret our monthly themes. Email me how you used my stencils and stamps with the theme and email me an image – I would love to share your projects in my “n*Spiration From Around the Globe“.

Comments (2)

  • Julie Tucker

    |

    Wowwwwwww! This is gorgeous! LOVING that quote, the music paper and the buildings!!!!!!!!!!

    Reply

Leave a comment

Say It Like You Mean It – Marsha Valk


Welcome to another post from my Creative Squad! Today we have a beautiful piece from Marsha Valk who used my Stroll Through the Hood #1 and #2 cling stamp sets to give her personal take on this month’s theme Say it like you Mean it – Let your unique voice be heard and tell us what’s on your mind. Be bold. Be yourself. We all have something to say and sometimes we need to shout it!


There are a lot of things on my mind: work and business, national politics, environmental and sustainability issues and even something as mundane as interior design. At this moment, as I’m typing this, current affairs in the US just aren’t in the forefront of my mind. But the Stroll Through the Hood #1 set is about a stroll through urban America. Not urban the Netherlands… So what was I going to do? I didn’t want to make another ‘I don’t want to’ spread. So I decided to turn off my mind and let the theme and the stamps do the talking.

Each time I read the theme ‘Say it like you Mean it’, I have a bad case of ear worm: the song ‘Sewn’ by The Feeling instantly starts playing in my head. But… I wasn’t sure what to do with it and I started thinking about songs that fitted the New York City feel of the stamps. And because I’m not currently in an empire state of mind, I thought of ‘I can’t see New York’ by Tori Amos. Also not sure about that song, I decided to go with both songs. They certainly were on my mind now!

I stamped some of the images in a notebook whilst I was working out what to do and that’s where the idea for the stars hanging from the sky came from. Then I stamped an urban scene at the bottom of the page.

Whilst I watercoloured the sky, I thought: you can’t see the city if there is no light. So that’s when I coloured the stars black. But the brief was to use one of the tag stamps and I chose ‘Hope’, so I felt that at least one star should shine its light.

In the end I needed to decide whether I wanted to colour the urban scene. I didn’t want to make it a black cityscape and colouring it would make it too visible, so I only added light grey lines and kept the rest bare.

The penciled and smudged words are the lyrics of ‘Sewn’ and the title in india ink refers to the Tori Amos song.


Thank you Marsha! We can always count on you to take the theme and really pull it apart to see what it means to you :) And the results are a gorgeously composed scene with beautiful colors and a couple surprises – like that cute suspended Star Tag lighting up the night sky. Marsha used these supplies – some links are affiliate links:


Play along with us! I love to see how you interpret our monthly themes. Email me how you used my stencils and stamps with the theme and email me an image – I would love to share your projects in my “n*Spiration From Around the Globe“.

Comments (1)

  • Sue Clarke

    |

    Nice take on the guidelines Marsha. I can’t help but hear the Billy Joel song I’m in a New York State of Mind while reading your words. Now I’ve dated myself for sure. The stars are a nice addition.

    Reply

Leave a comment

Say It Like You Mean It – Tina Walker


Hello from the Creative Squad! This week Tina Walker is kicking off a new theme for us with a beautiful and very meaningful book that I am so happy to share with you today. Along with my new Stroll Through the Hood #1 cling stamp set, Tina created something very powerful using the new monthly theme Say it like you Mean it – Let your unique voice be heard and tell us what’s on your mind. Be bold. Be yourself. We all have something to say and sometimes we need to shout it!


Hi! Tina Walker here today with my take on this month’s theme, ‘Say it like you mean it’. The U.S. is in a pivotal period of transition and the theme this month is a perfect way to support and vocalize my feelings and thoughts. I am saddened by what is occurring in the current administration and I am standing up and fighting for my rights and the rights of others. I am incredibly proud of my project and it is one of the favorite things I’ve made in many years. It really does prove that when you are passionate and inspired, creating reflects a piece of your heart.

The pages for MY VOICE mini, are scraps of black leather. I cut them into various rectangle shaped pieces, both small and large.

Using stamps from the Stroll Through the Hood #1 collection, heat emboss each page with the various stamps from the set. I really love the white embossing against the black leather.

For just a bit of color, dry brush several sections of each stamped image. The idea is not color the image, but add highlights.

I am a person of few words. Instead of filling my mini with paragraphs and paragraphs of many words, I choose several that say exactly how I feel. My words of support and protest are stamped on scrap pieces of fabric. Machine stitch the journal strips to the leather pages.

Using small scraps of leather, heat emboss the graffiti words from the stamp collection and stitch to the pages with a decorative zig zag stitch.

The binding for my mini are large eyelets. It was a challenge to get the large eyelet holes through the leather, but in the end, it was worth it.

Do you create and put your thoughts and feelings to paper or fabric? Do you find personal liberation when writing or creating with your feelings? I’d love to hear how you voice your mind.


Wow. Thank you Tina for a such an honest and meaningful project. You are right – when passion and creativity come together in art, something truly special comes out of it. In addition to scrap fabric, a sewing machine, and various embellishments and jewelry, Tina used these supplies – some links are affiliate links:


Play along with us! I love to see how you interpret our monthly themes. Email me how you used my stencils and stamps with the theme and email me an image – I would love to share your projects in my “n*Spiration From Around the Globe“.

+ Expand this article
0comments

Leave a comment

Dream a New Dream – Michelle Rydell


Hello! Today Michelle Rydell from my Creative Squad is sharing a super happy art journal spread using my Versailles Positive and Negative Foam Stamp set, my new Star Tag Cling Rubber Stamp, and her take on this month’s theme: Dream a New Dream. This January, let’s focus on all the possibilities of a fresh start.  What are your dreams for this year?  Whether it’s art-making, family, travel, or work related, January is a great time to dream about what the future could hold.


This month’s theme is sooo perfect for me, because New Year’s Eve/Day is my favorite holiday!  I adore the fresh start and the time to “Dream a New Dream!”

I had a quote that I wanted to document in my journal, and this was the perfect opportunity…

I’m creating this spread in my 8” x 10” junque journal. For reference, here’s what the pages looked like before I started…

I started building the background with a coat of gesso, some random stamping of one of the Versailles stamps (the negative), and a thin coat of turquoise paint.

The second layer was done with paint pen doodles and a couple of paper bits.

Third layer includes more scraps of paper – purple to bring out the underlying stamped images, and lime green for contrast…

One of the cool things about the Versailles stamps, is that, when I look at them I see designs within designs! Here, I wanted to bring out the circular part of the stamp, so I cut a circle in some deli paper – just the size of the part of the stamp I wanted to capture; then painted up the positive stamp and stamped thru the hole in the deli paper.  (You could actually do this without the deli paper, if you were a little more careful than I was with the paint application)…

I outlined the circle patterns with a white paint pen…

Then I turned the spread sideways, stamped the negative stamp with black paint along the left edge, and added some flow paint along the bottom. Lifted the page so it dripped randomly down the page.  These drips would work as journaling lines for my quote…

To finish the page, I filled in the spaces on the border and added the quote with a paint pen, used a Faber Castell Pitt Brush Pen to darken the background in places, and added some embossed white stars, using Nat’s new Star Tag stamp.


Thank you Michelle! I love Michelle’s uplifting quote and how she used the drips as journaling lines! In addition to some collage paper, Michelle used these supplies – some links are affiliate links:


Play along with us! I love to see how you interpret our monthly themes. Email me how you used my stencils and stamps with the theme and email me an image – I would love to share your projects in my “n*Spiration From Around the Globe“.

Comments (3)

  • Sharon Fritchman

    |

    Michelle, your style is absolutely amazing. I love everything about your art journal spread and your take on the theme.

    Reply

  • Jessica Sporn

    |

    What a gorgeous page and a great tutorial. I love that quote, the stamps, and Michelle’s exuberant style!

    Reply

Leave a comment