Creative Squad

Creative Squad: Favorite Art – My Way – Maura Hibbitts

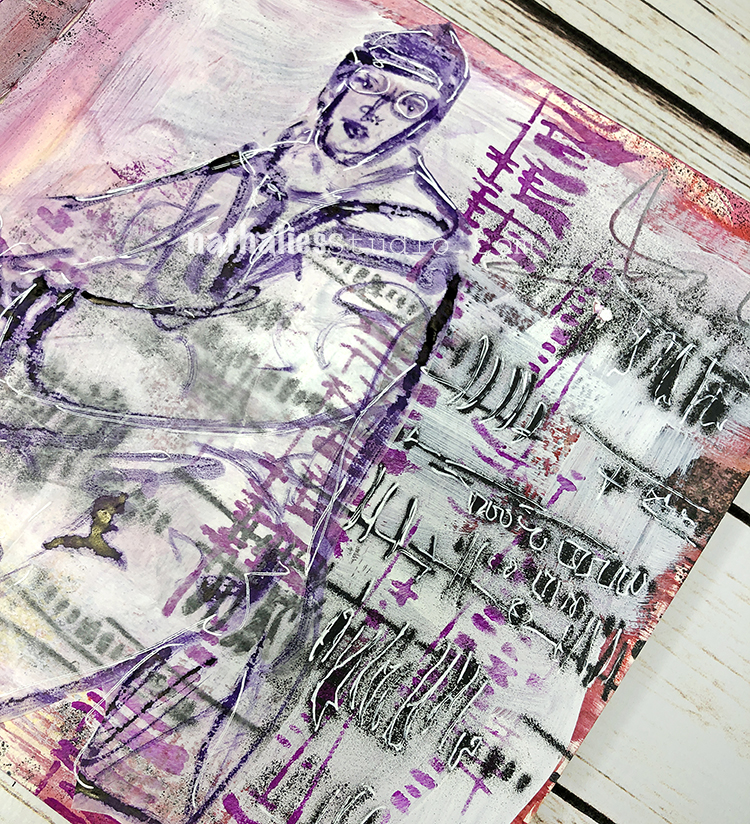
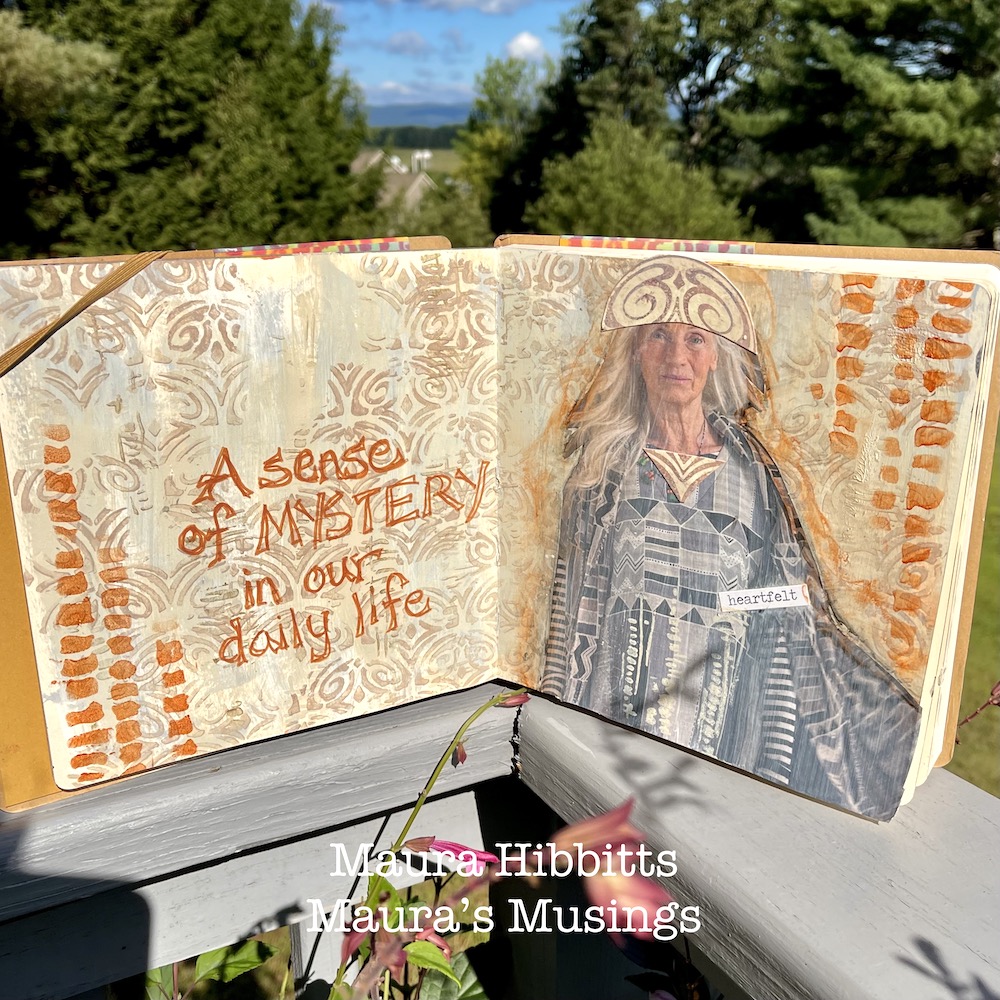
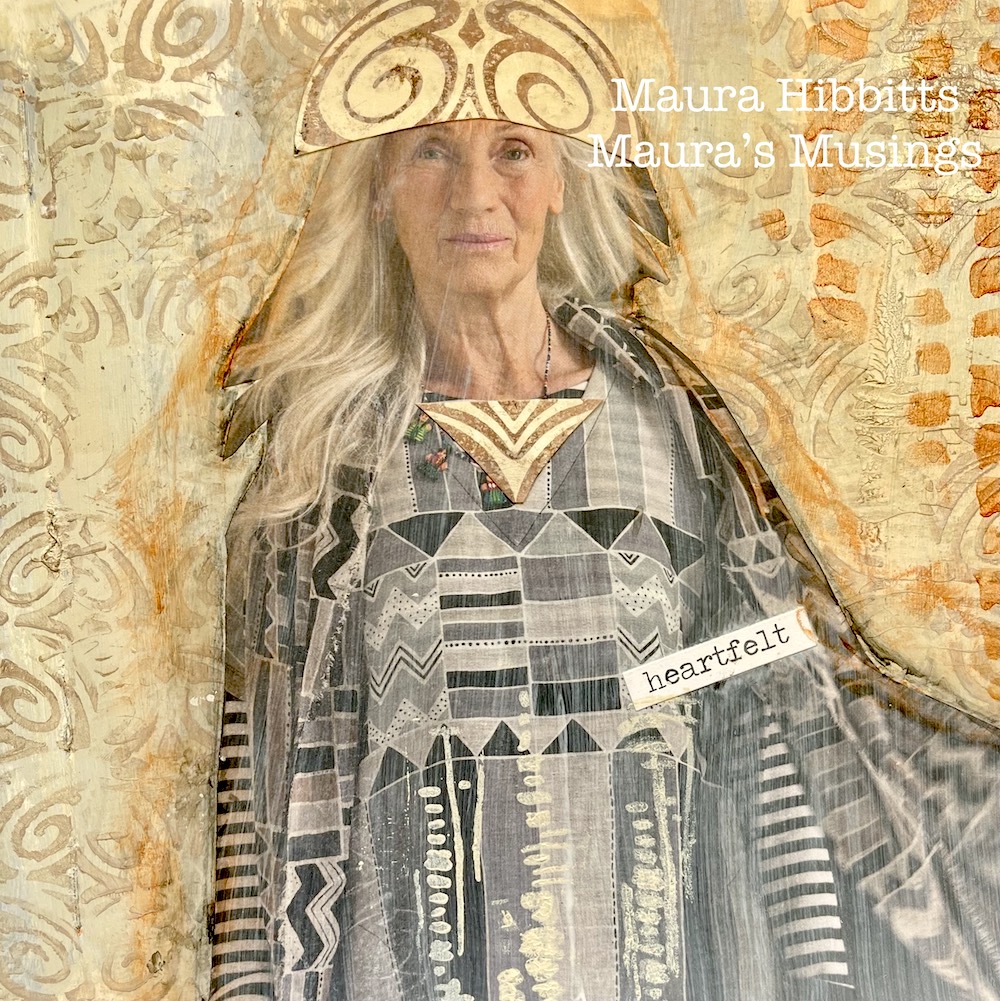
Hello from my Creative Squad! Today we have a mysterious and serene art journal spread from Maura Hibbitts using my Art Deco Fairview, Batik, and Tokyo stencils and my Fairview Fan rubber stamp for our new theme: Favorite Art – My Way – Look at a favorite work of art and create something inspired by it, drawing from the colors, shapes, subject matter, feeling etc. that strikes you most when you look at it.
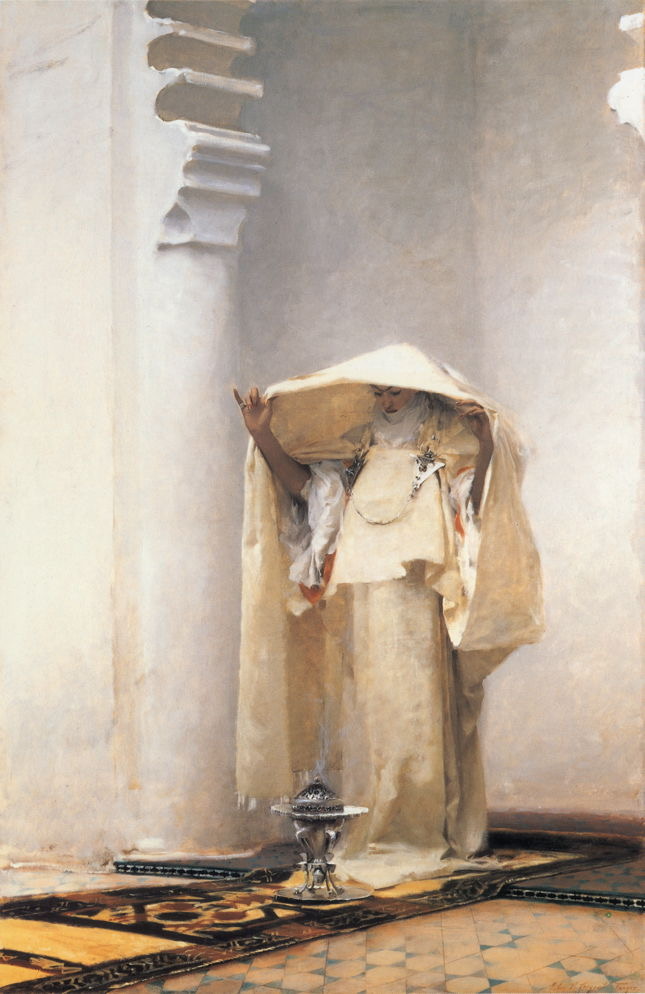

For reasons I don’t completely understand, I’ve been drawn to “Smoke of Ambergris” by John Singer Sargent, since I first saw this painting in a museum. Usually, bright colors call to me, but this painting is soaked in neutrals. Maybe it’s the hints of far off lands seen in the echo of architecture and floor tile. Maybe it’s the feeling of serenity as the woman lifts her veil over the brazier. There is a mystery here that is both simple and complex, an insight into another time and place, that intrigues me.

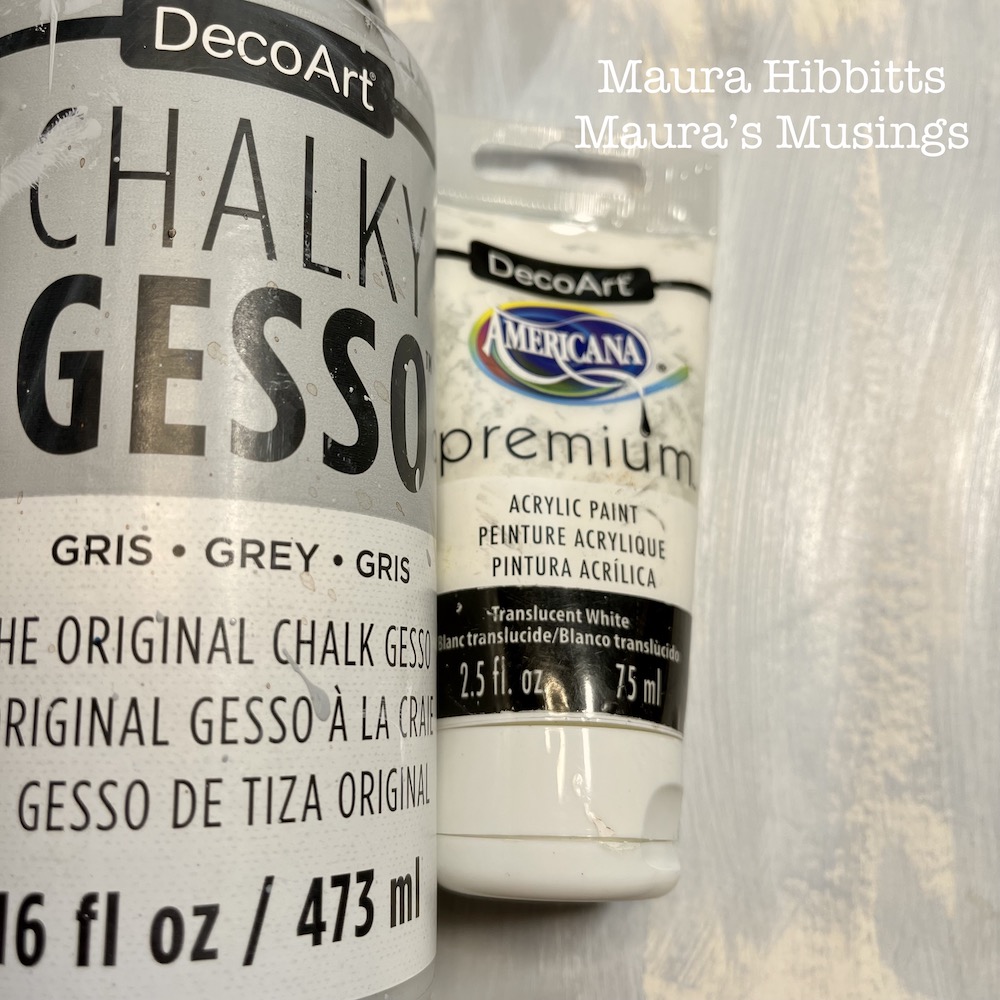
I began by brushing chalky grey gesso up and down my art journal pages, leaving some open areas. Next, I added a layer of translucent white paint, again using vertical strokes, to mimic the vertical lines in the painting. I also felt like this created the hint of shadows.
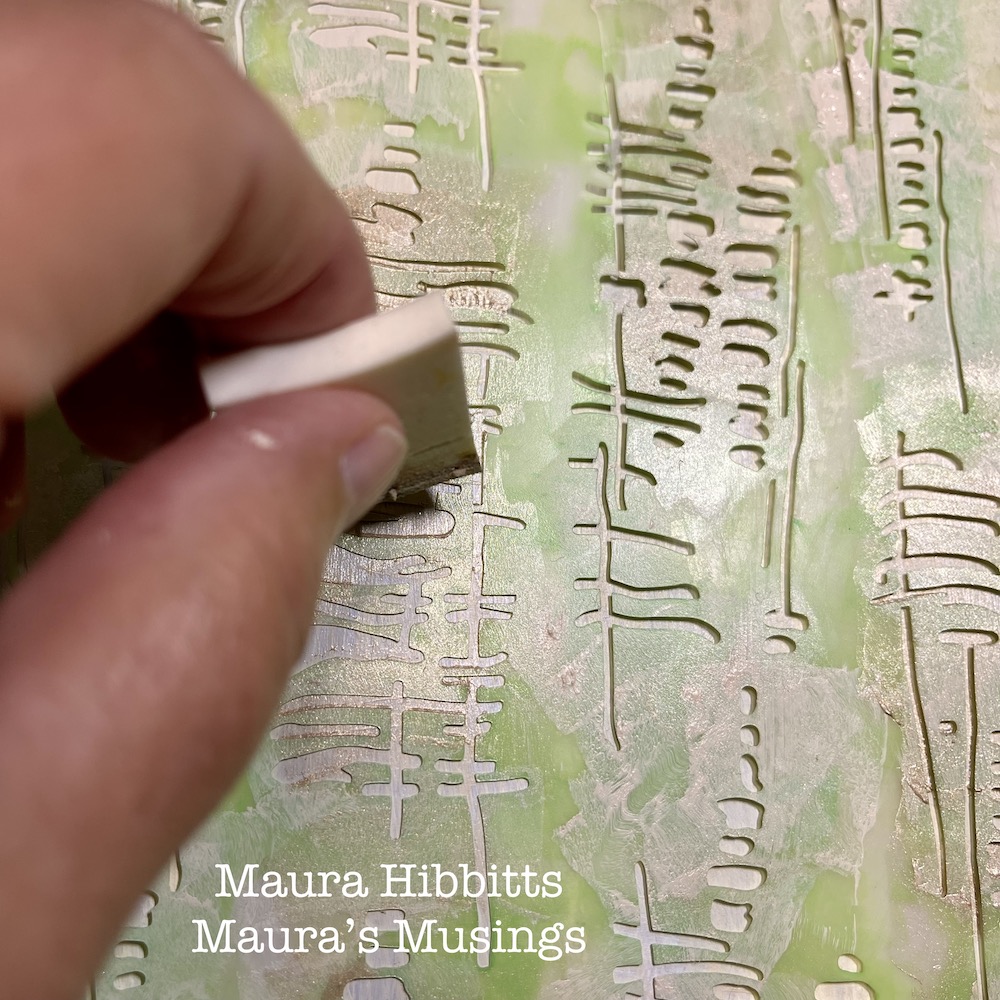
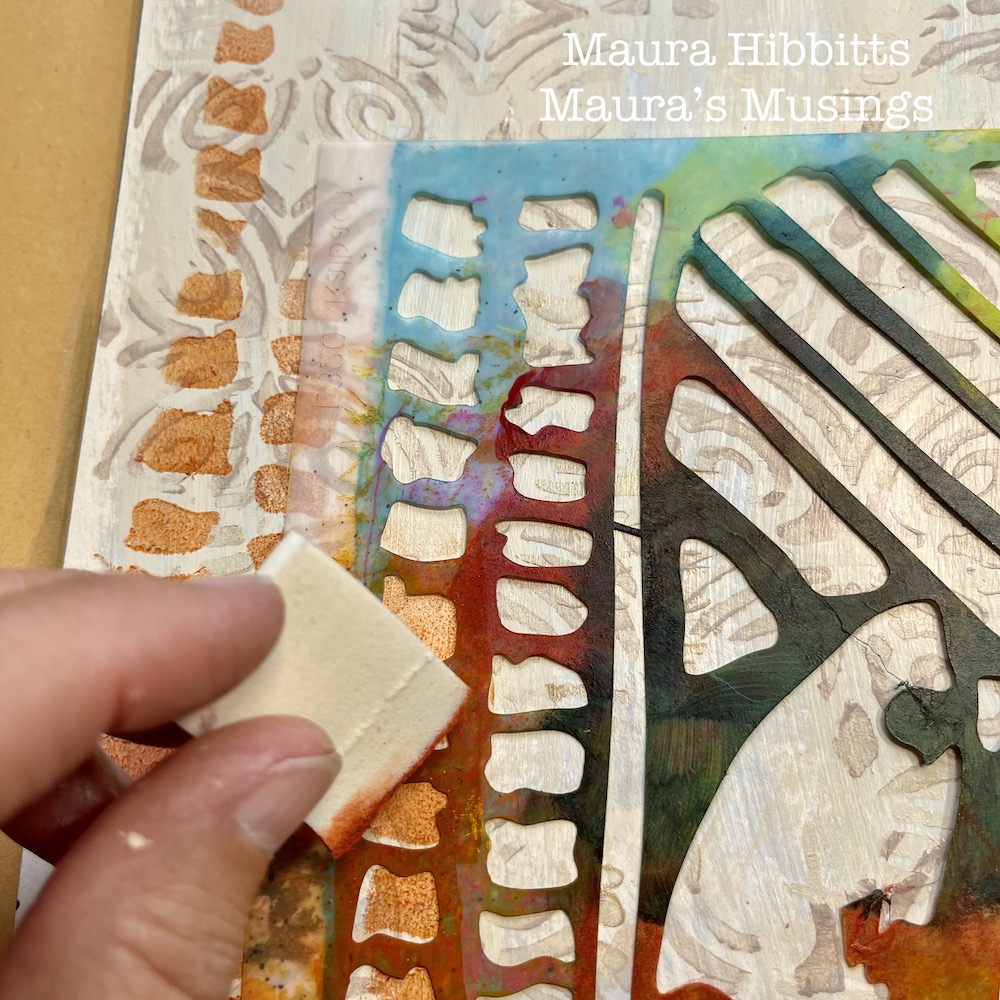
I added a stenciled layer to the dry background using Nat’s Tokyo stencil and pale gold paint.  I like to use a cosmetic sponge for this step, and you always want to use a light touch with the paint to keep the design crisp.
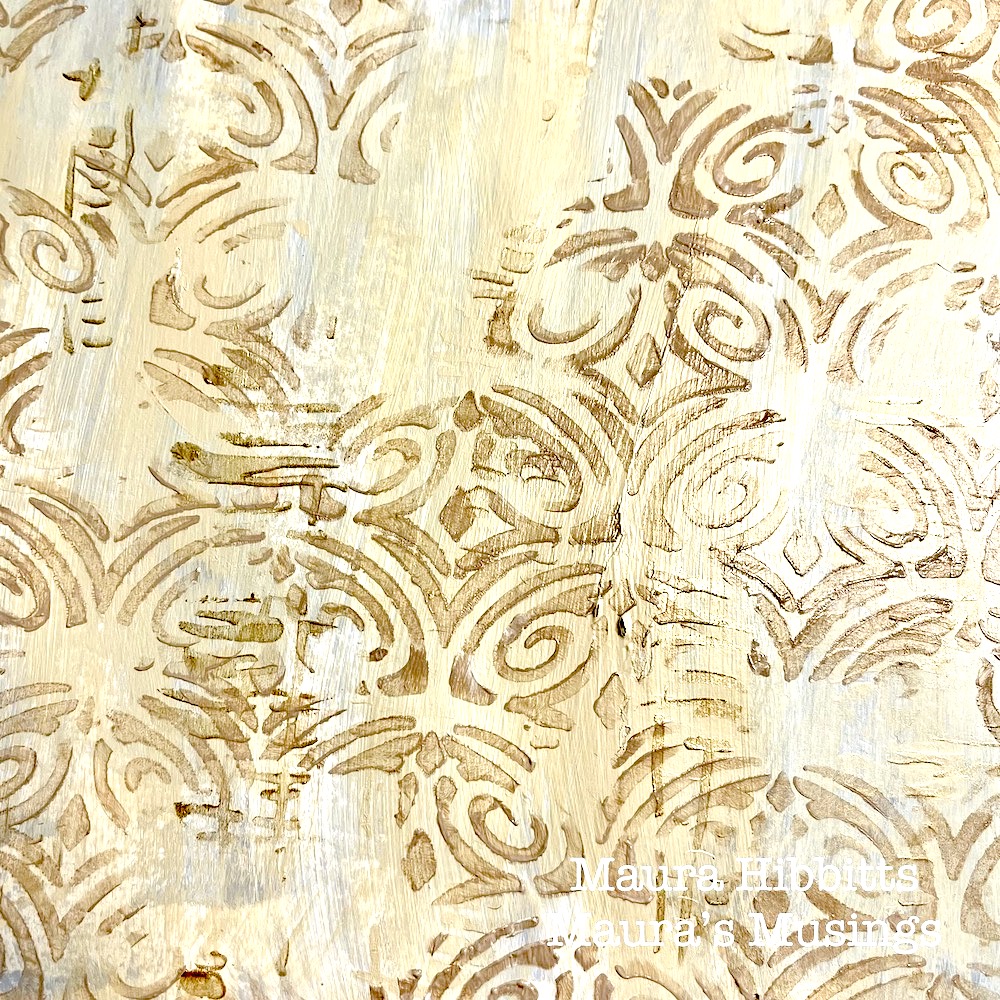
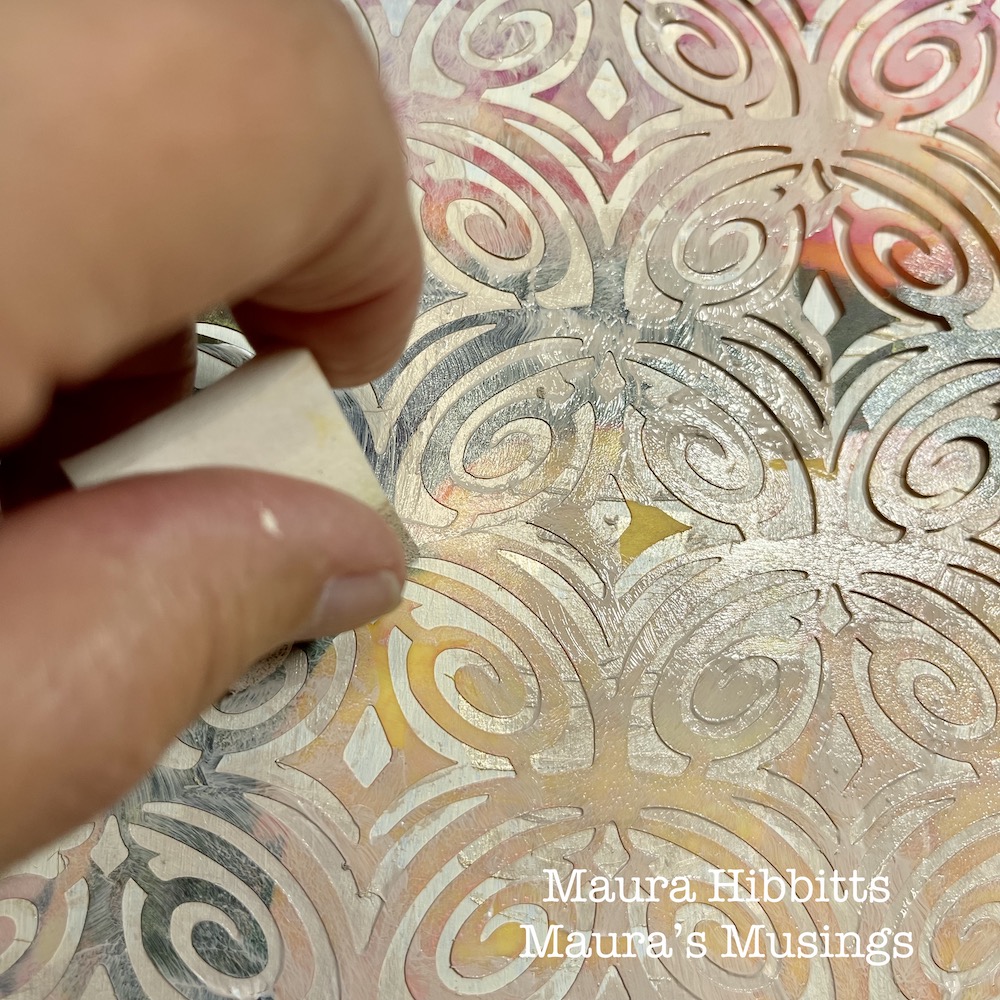
Next up, another stenciled layer. This time, I used Nat’s Art Deco Fairview stencil and a blend of titan buff and burnt umber paints. The layers are building…
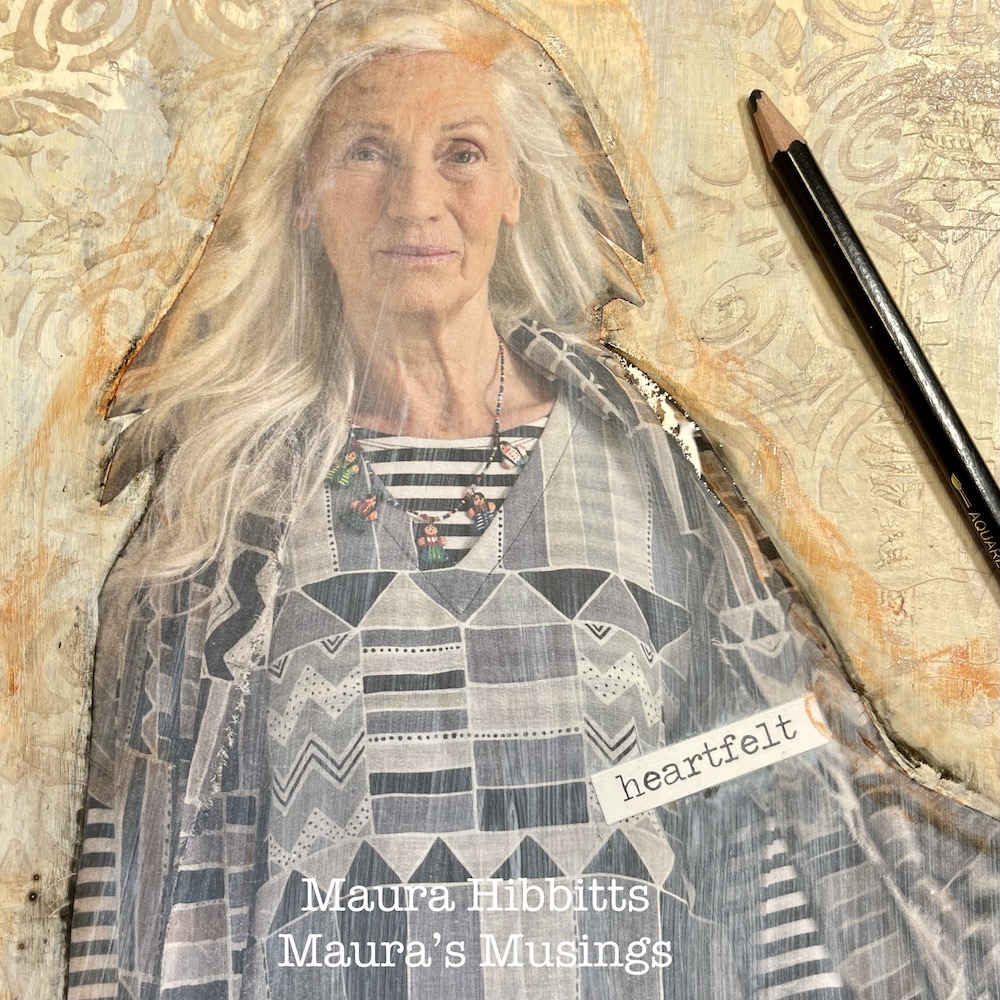
Cut a figure out of a magazine or catalog and adhere to the page using collage medium. I added a word sticker over a label on the clothing. I chose this particular figure for the neutral clothing.
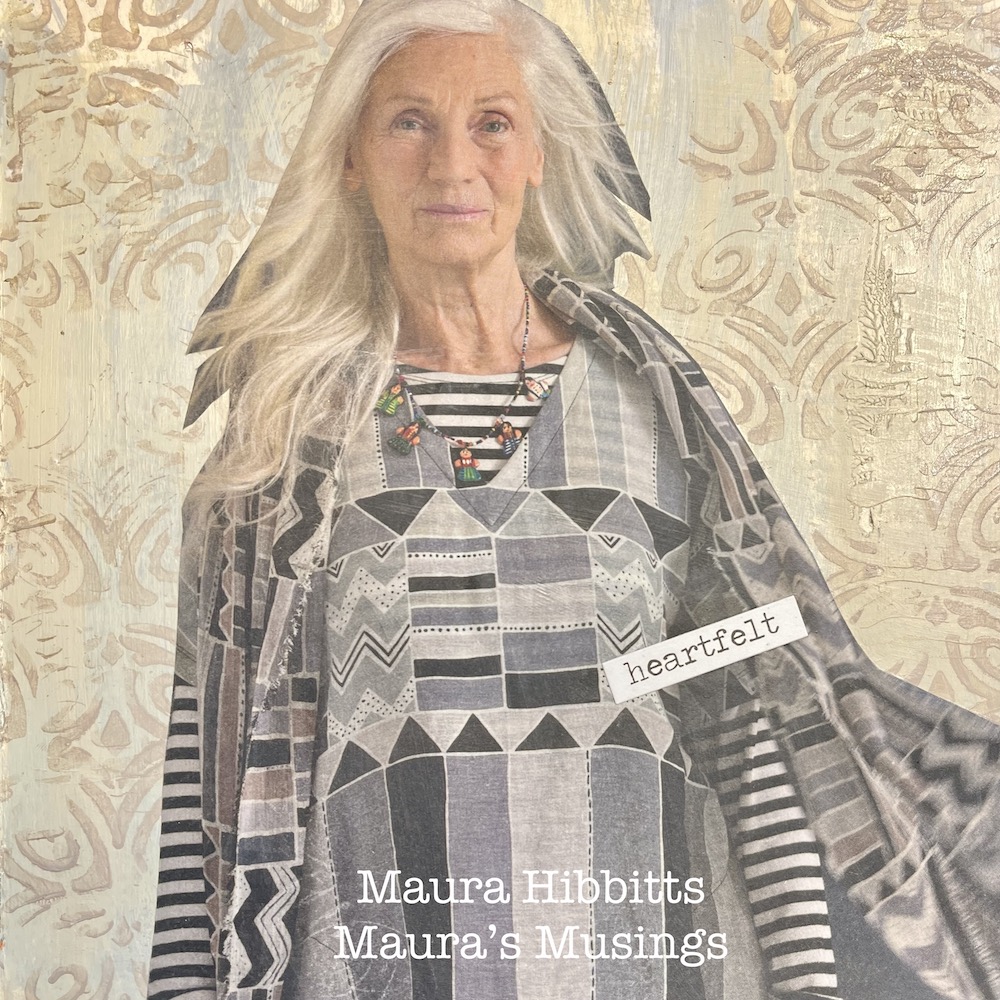
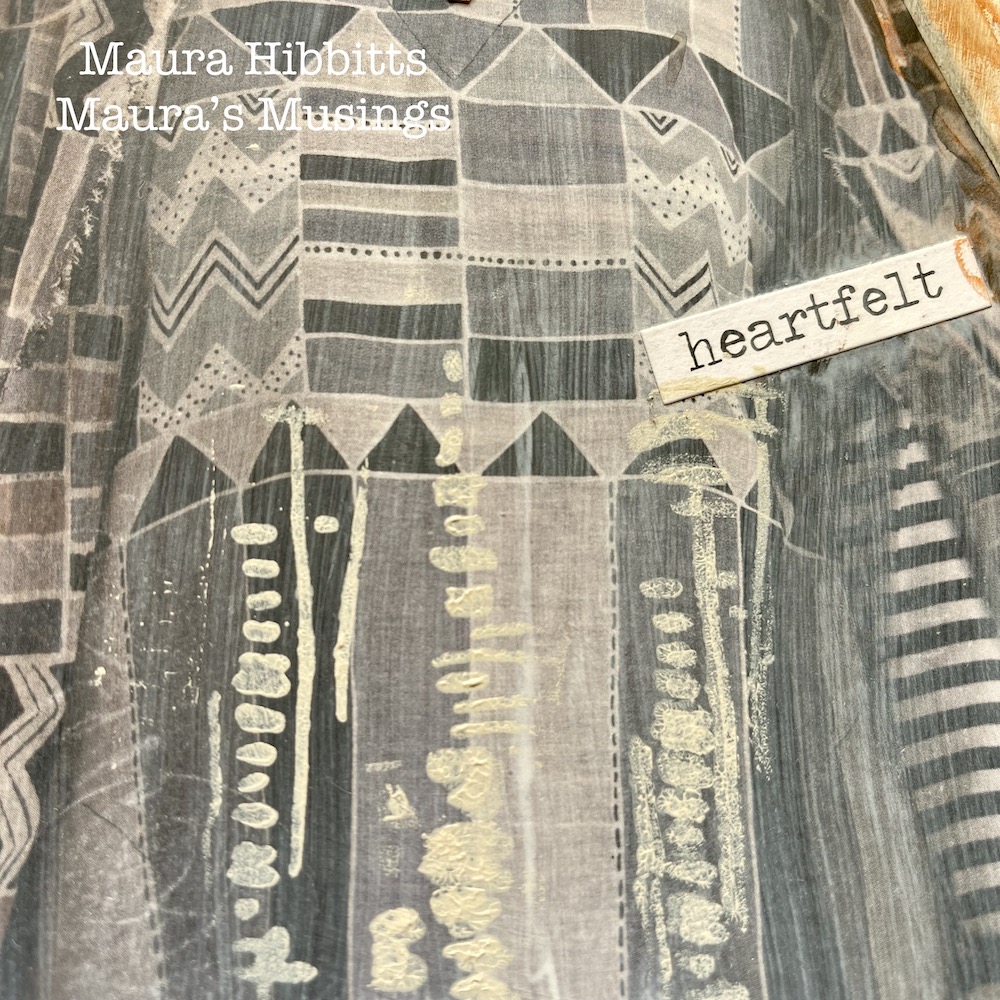
I added a bit of stenciling to the dress using Nat’s Tokyo stencil and titan buff paint.
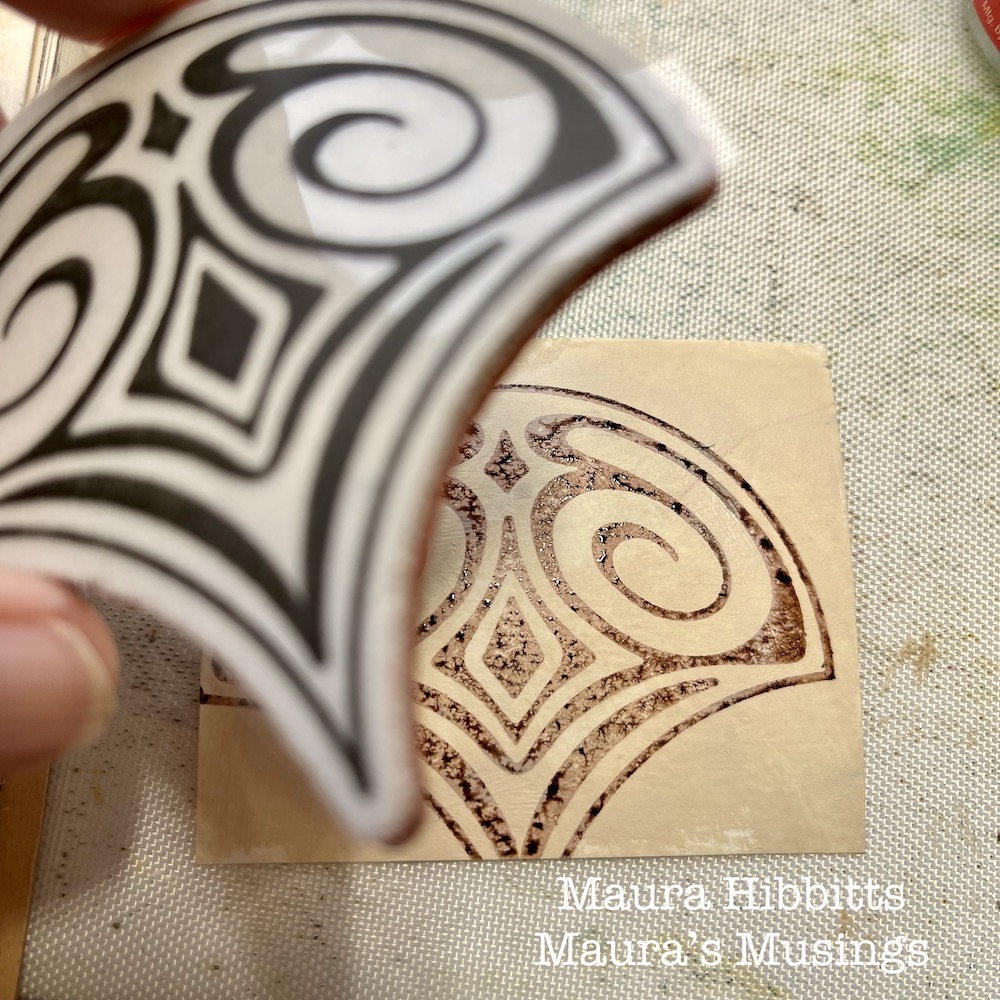
On a piece of watercolor paper, paint it with titan buff and let dry. Next, stamp Nat’s Fairview Fan stamp onto it, using ground espresso distress ink (or any brown ink).
Smudge quinacridone gold paint around the figure and let dry. Edge the figure with a graphite pencil, then use a water brush to create a shadow.
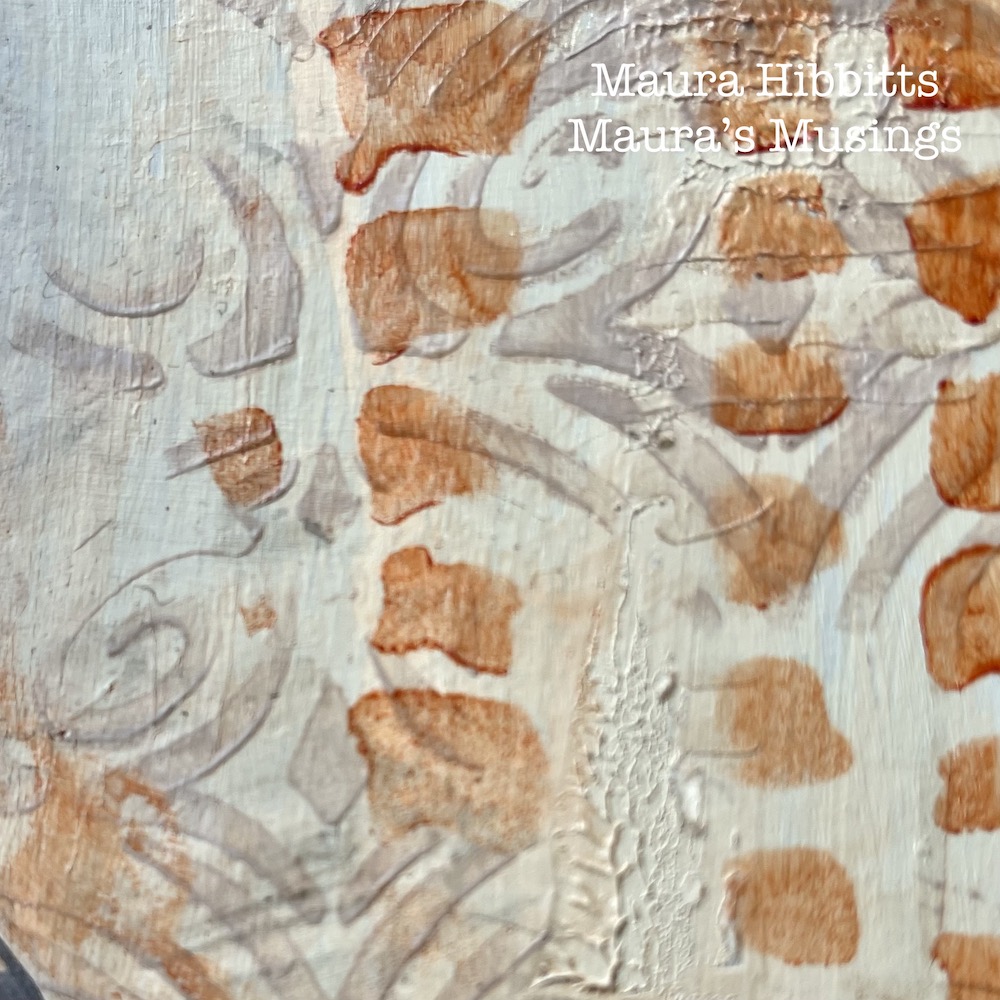
Add three vertical stripes on the opposing corners of the pages with Nat’s Batik stencil and quinacridone gold paint.
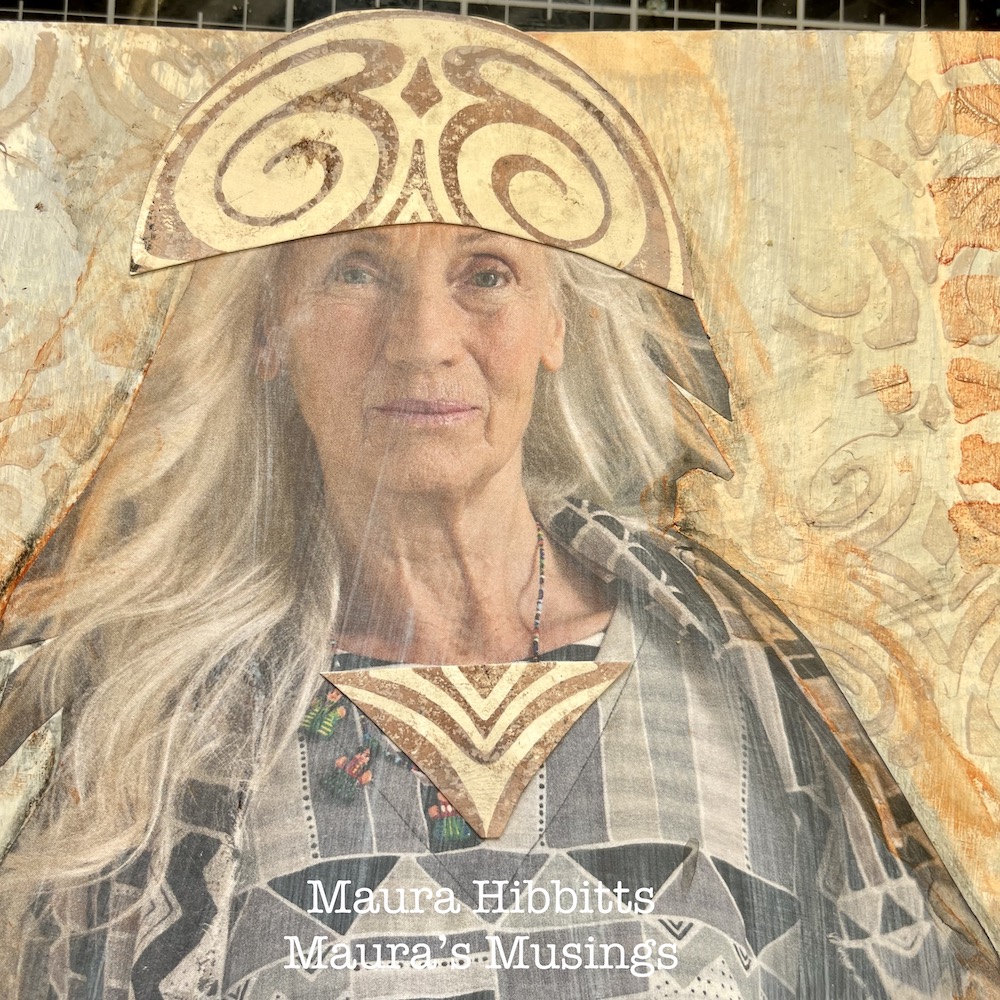
Cut the stamped image into a hat to represent the veil in the painting. Also add a portion to the dress.
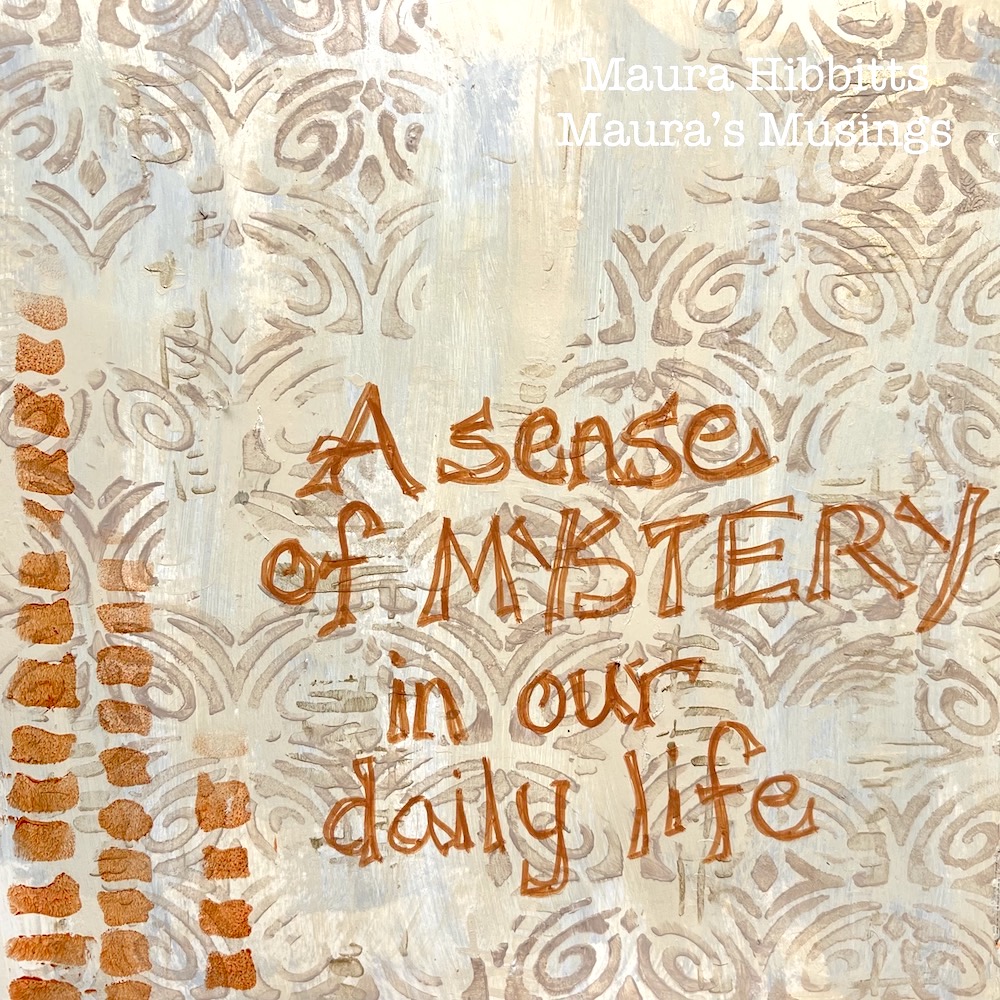
Hand letter some words to the open page with a brown Posca pen. I chose the words “A sense of mystery in our daily life.” I feel the mystery in the painting “Smoke of Ambergris”, but also sense this is a ritual for the woman in the painting. I wanted to echo the neutral tones of the painting and vertical lines, as well as bringing in a hint of the east into my art journal. Get inspired by a favorite piece of art and create! Maura
Thank you Maura! I love that painting too and how you interpreted the color palette and elements is very pleasing to the eye :)

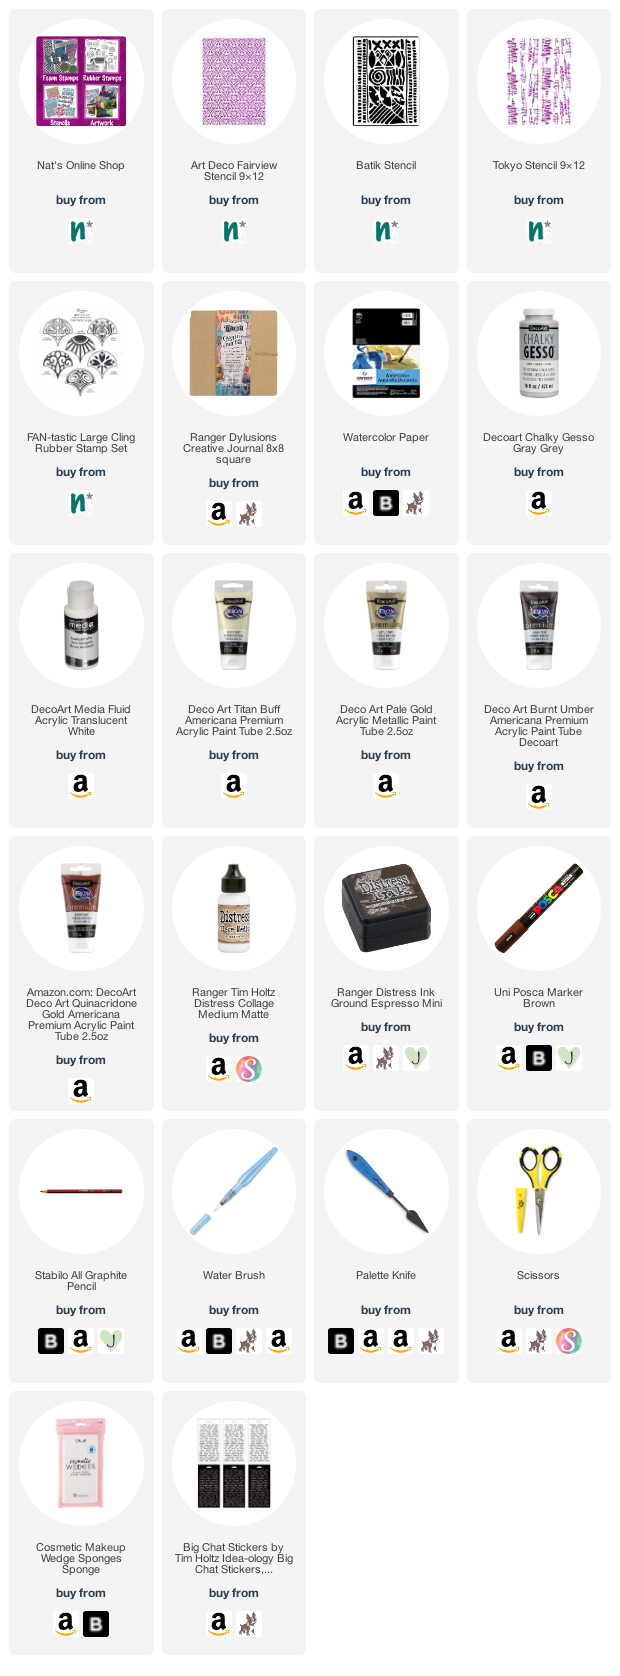
Give it a try: you can find all my Stencils and Rubber Stamps in my Online Shop and in addition to her magazine image, here are some of the supplies Maura used:
Looking for more projects? Follow the Creative Squad on Instagram here.

Comments (2)

  • Sue Clarke

    |

    Love love love this Maura!
    The original is peaceful and you’ve captured the feeling perfectly and made it modern.
    This gives me some ideas.

    Reply

    • Maura

      |

      Thanks so much Sue! I am so glad you enjoyed this, and it gave you some creative ideas. Have fun creating! Maura

      Reply

Leave a comment

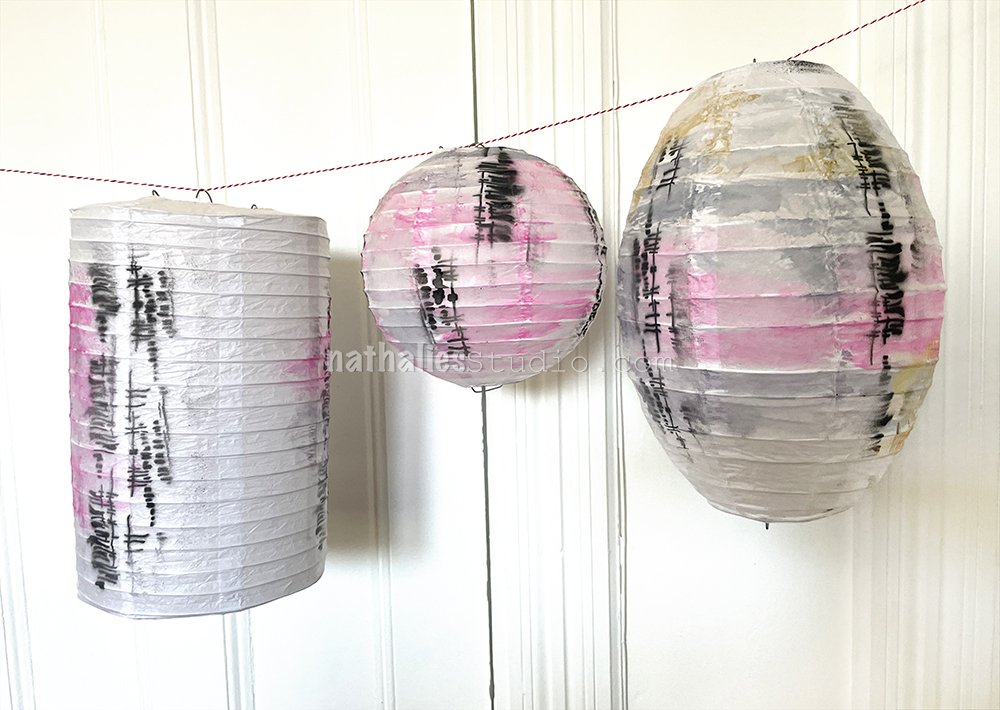
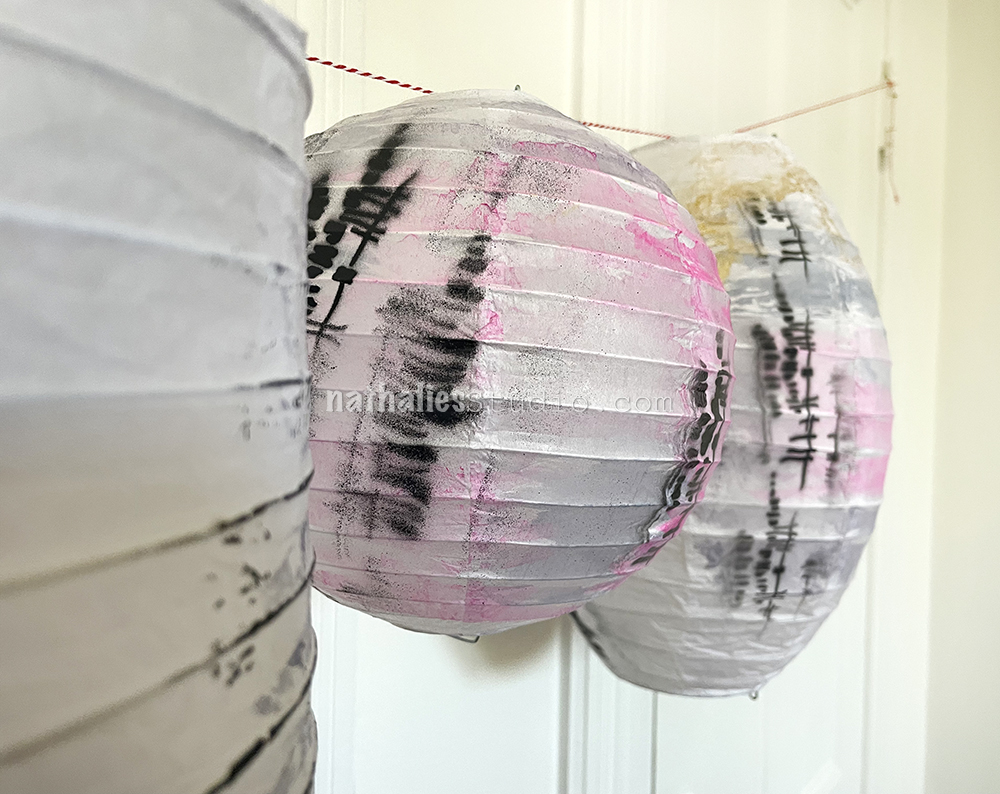
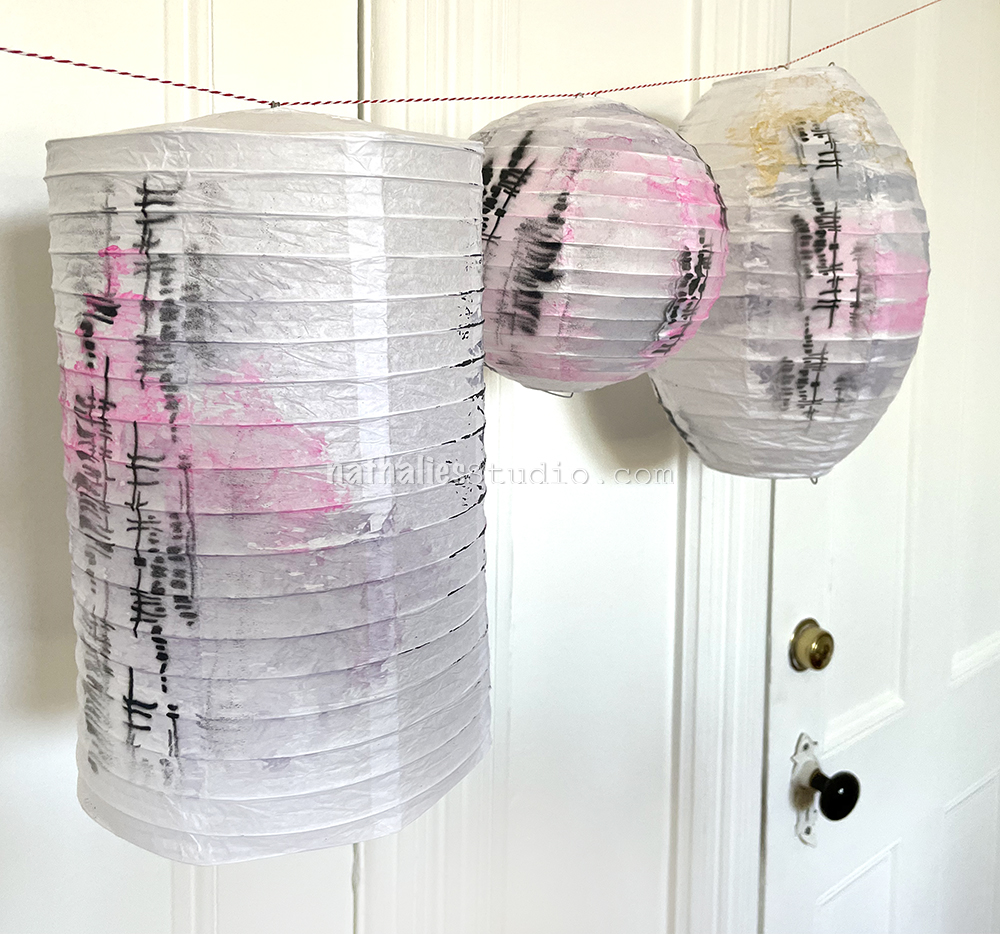
Victorian Inspired Paper Lanterns – Play Date

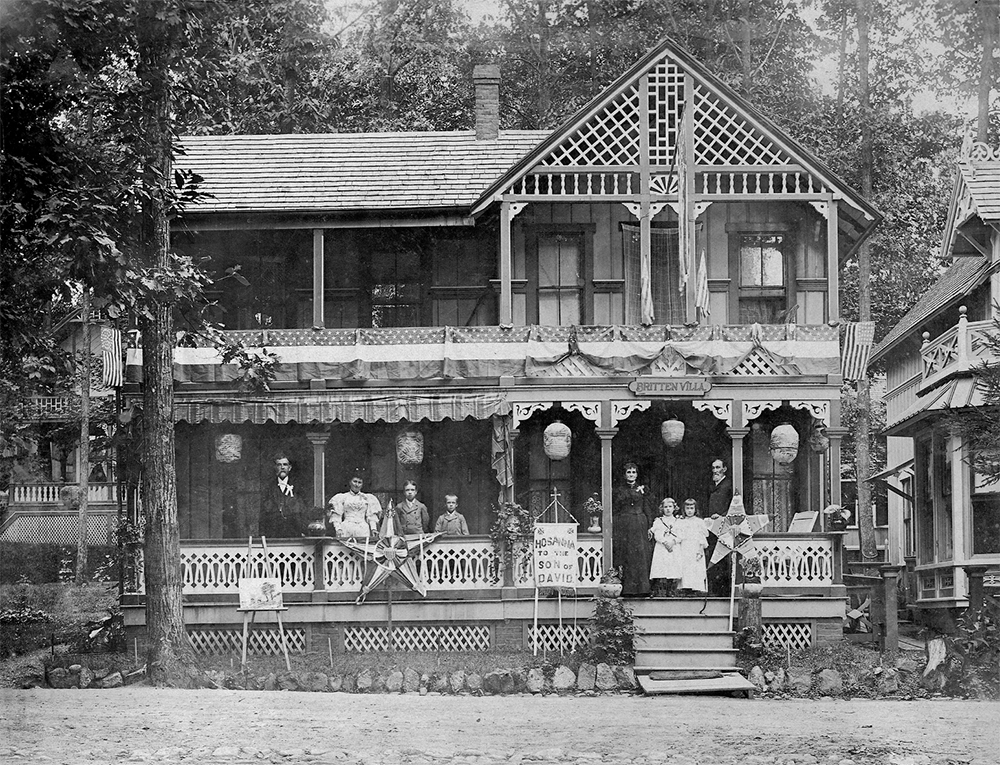
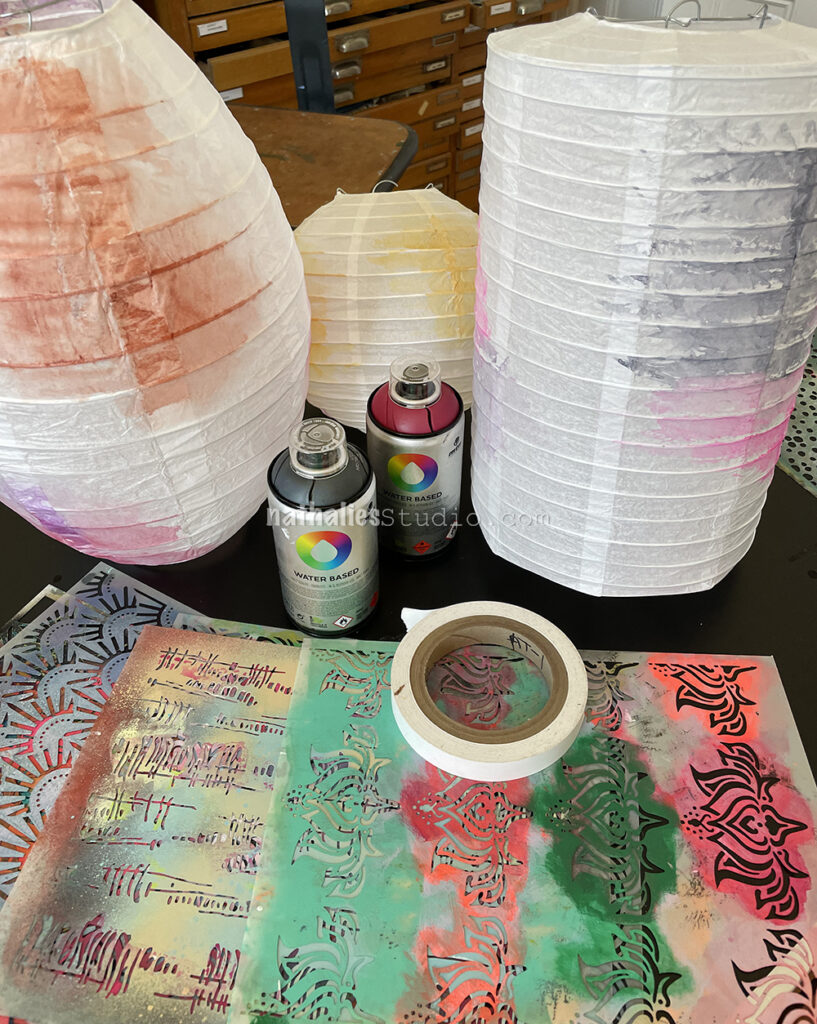
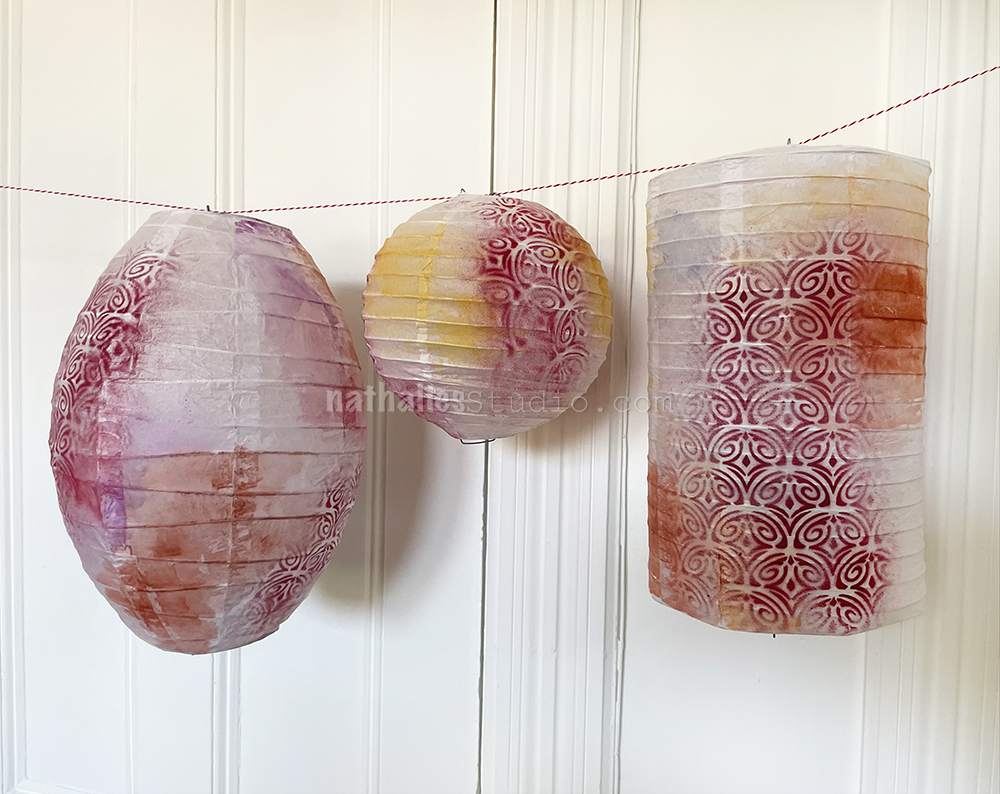
While I was researching some of the previous owners of my home, I came across an image of a place where they would go in the summers for a type of retreat from the city. Each summer the whole family would head out to their cabin in Mount Tabor NJ, and they participated in the tradition of hanging painted paper lanterns along the front porch to celebrate “Children’s Day”.

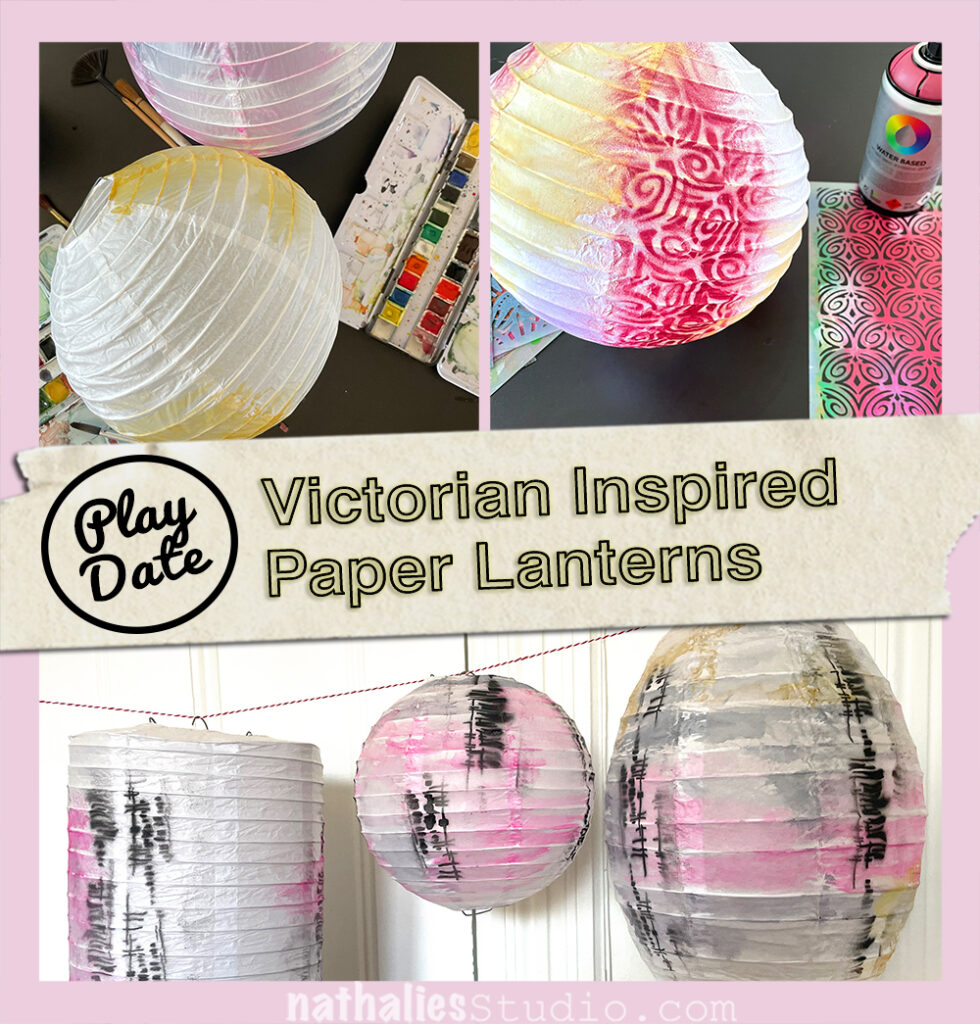
I have since seen examples of these Victorian age paper lanterns in antique stores and thought it would be an excellent Play Date for Kim and I for the summer. Although you could choose to paint or stamp them using a variety of media, we decided to do watercolor washes and then stencil them with water based spray paint.

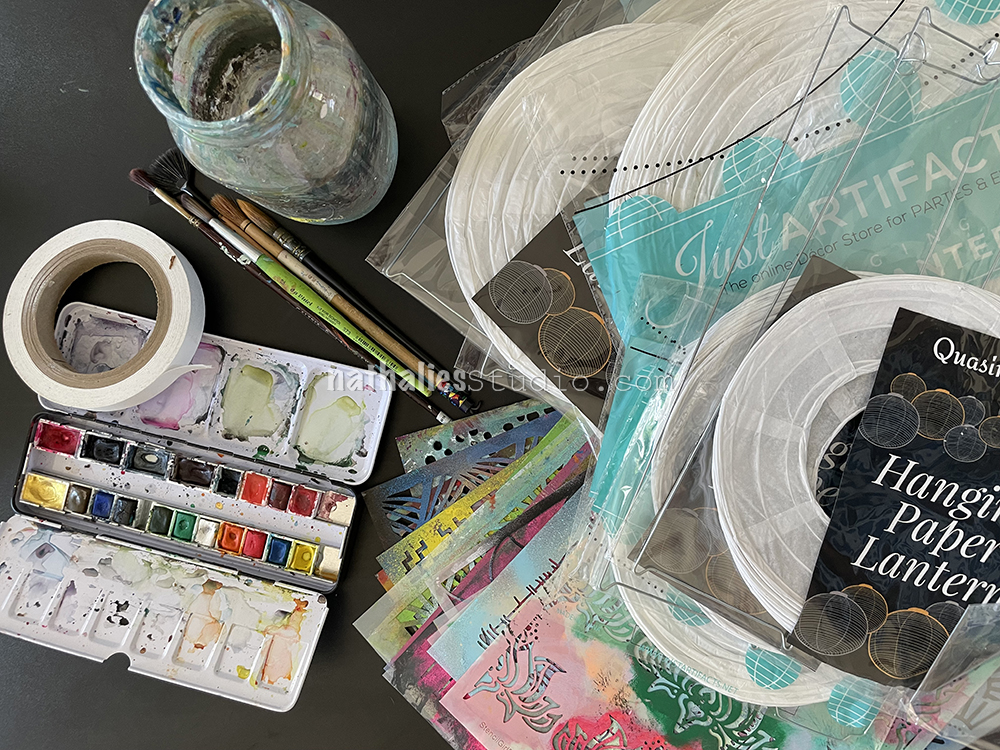
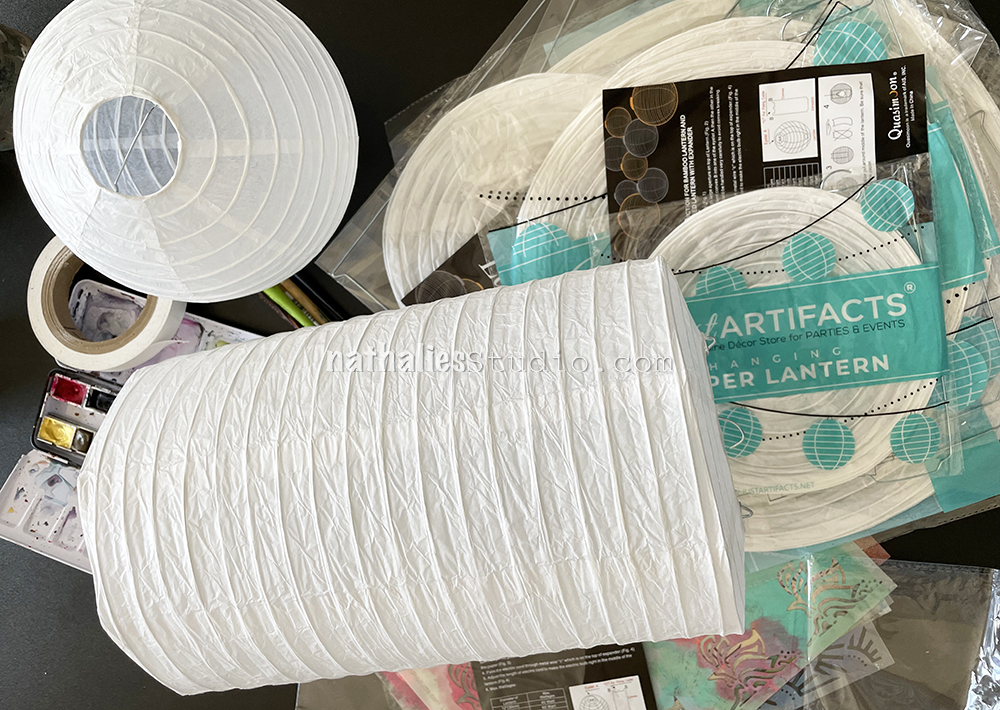
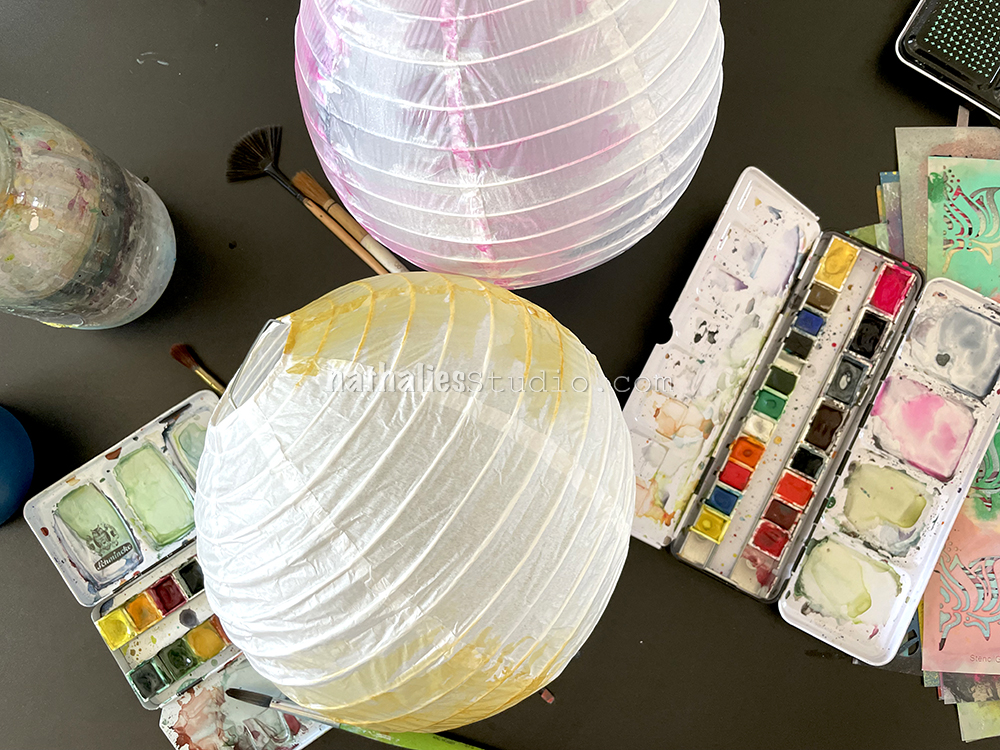
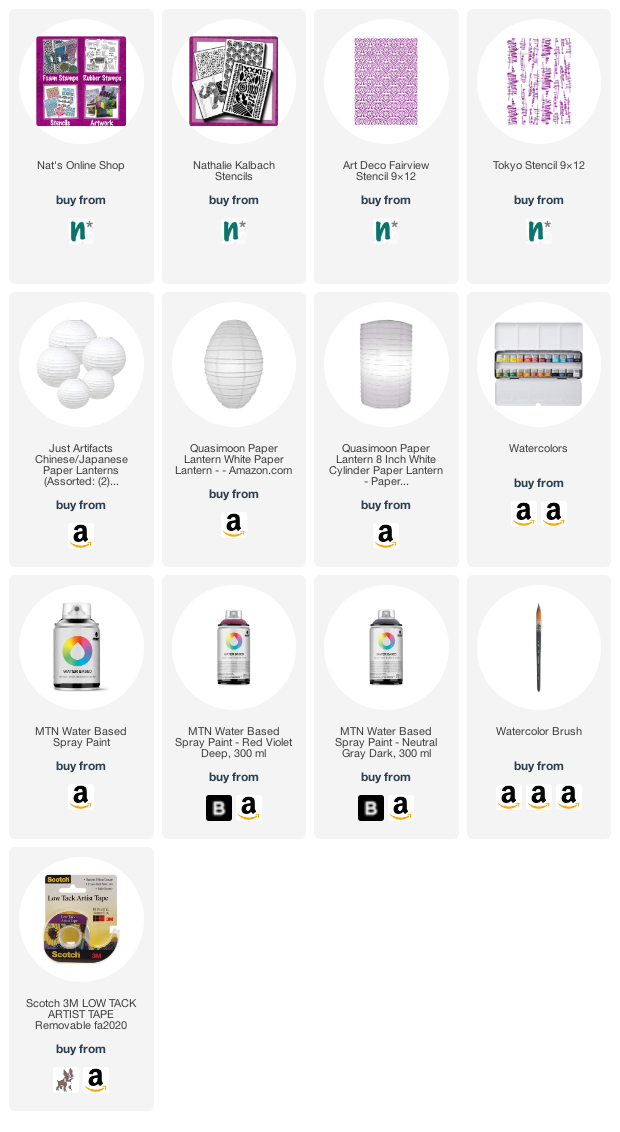
For the version that we did, you’ll need paper lanterns, watercolor paint and large watercolor brushes, water based spray paint, stencils, and maybe low tack tape.
The paper lanterns come in a variety of shapes and sizes and arrive flat. Ours included simple instructions on how to expand them.
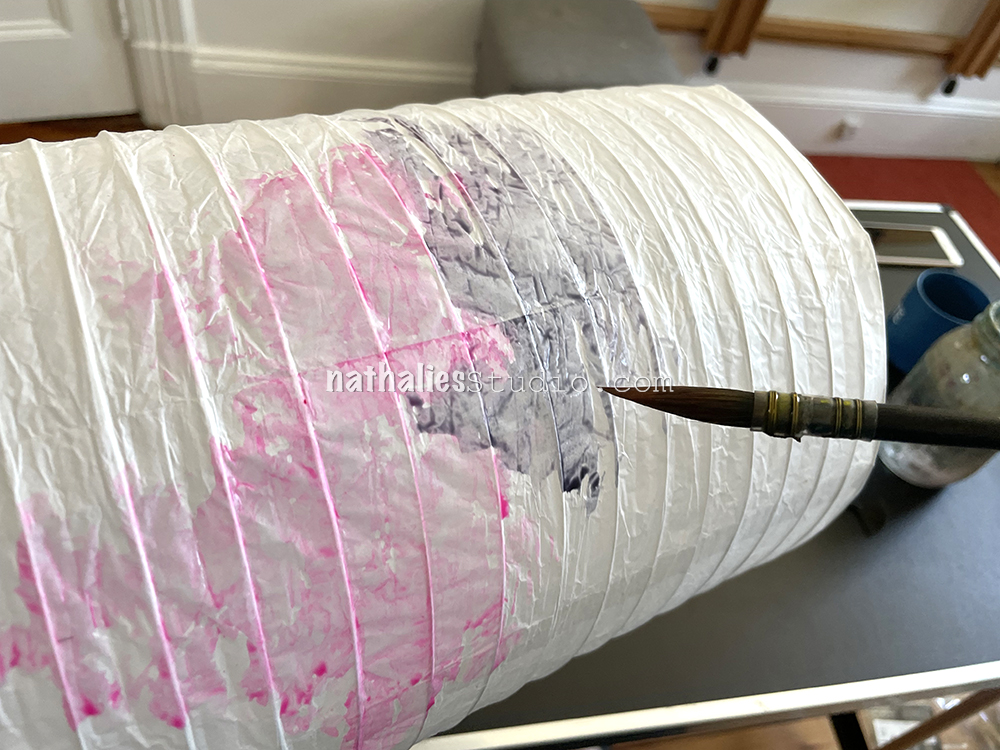
We applied watercolor in large patches but left some blank spots too. Be careful not to work the surface too much or apply too much water – these are made of very thin paper.

We kept this application free and loose and allowed drips and areas of less and more color.

They were already looking great at this point. Our next step was stenciling but from here you could also paint freehand designs on them.

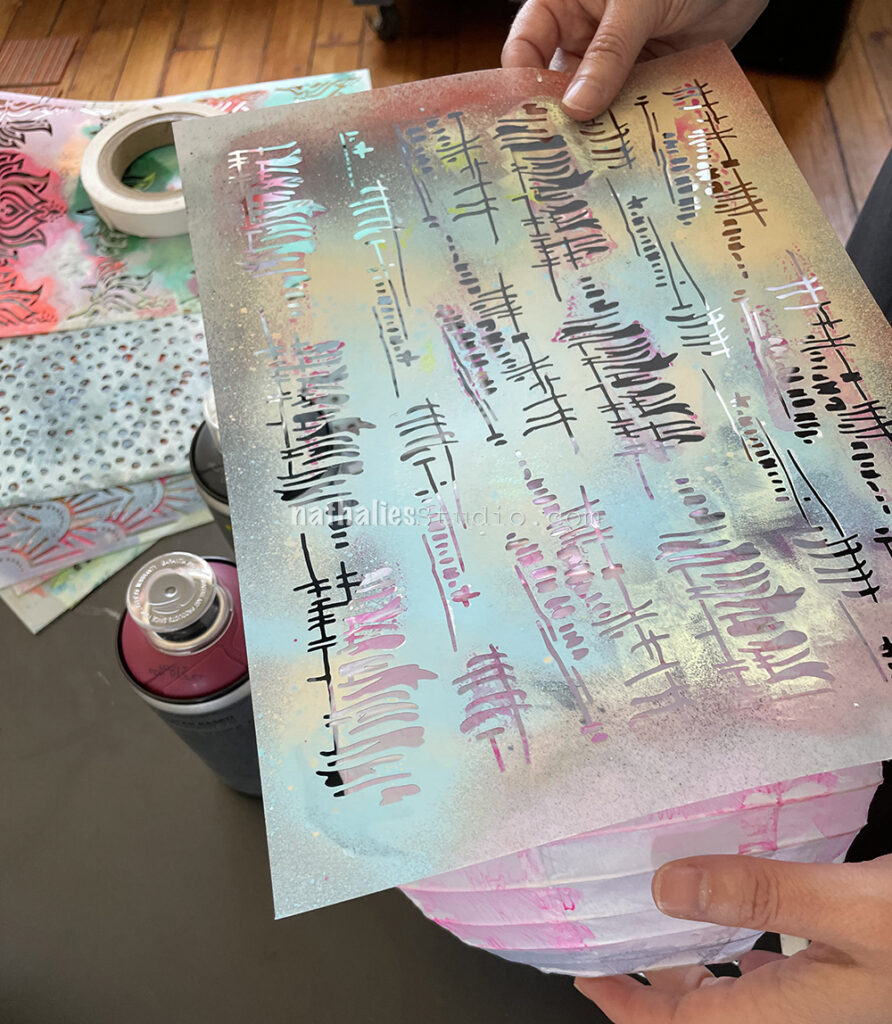
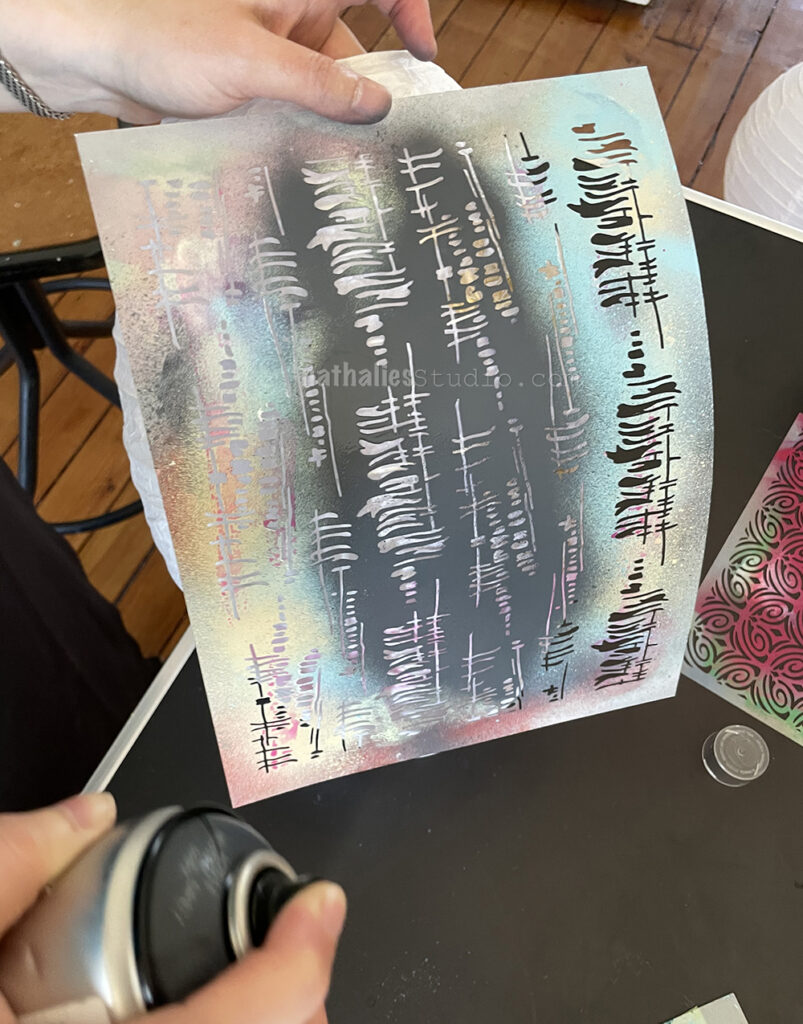
We used a matte finish water based spray paint. You may want to use low tack tape to hold the stencil in place but we also found that holding it with one hand and spraying with the other worked well too.

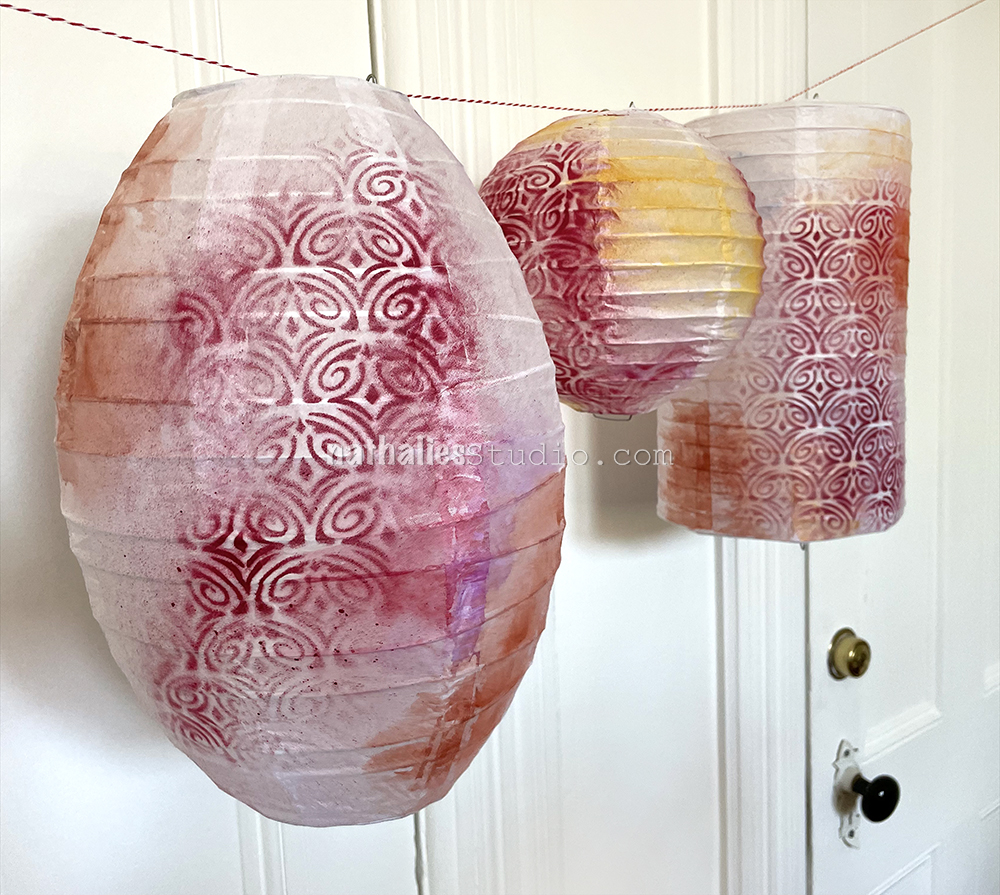
I decided to use my Tokyo stencil and a gray paint. The scale and pattern worked well on the size of the lanterns.

With the spray paint we found that less is more on these curved surfaces – short light bursts of spray gave the best results.

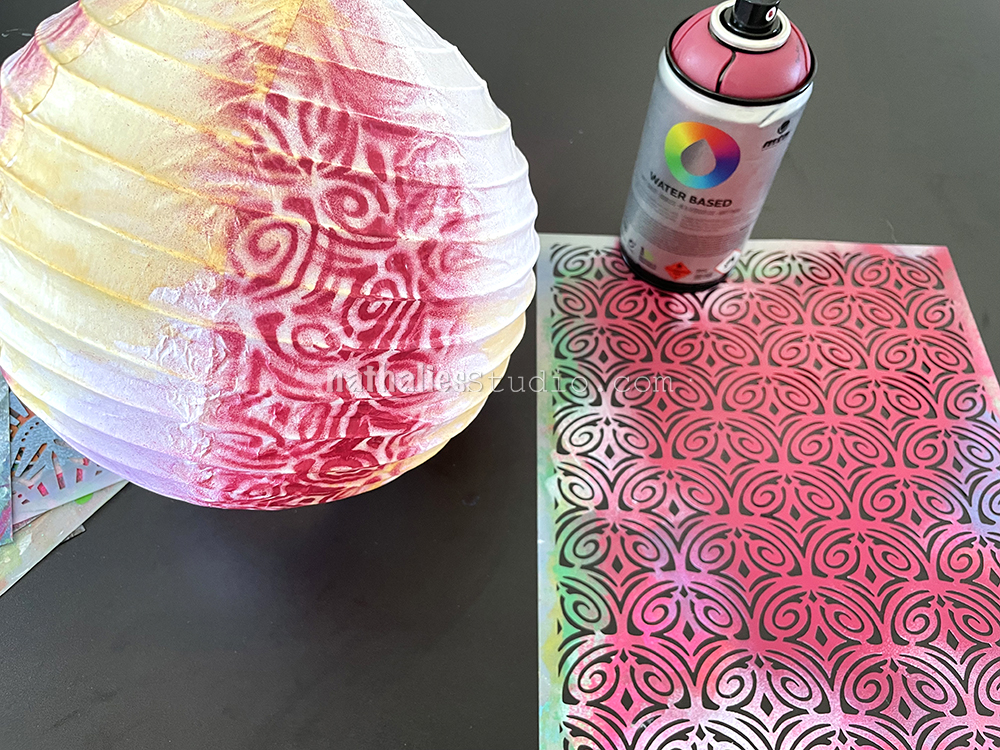
We did not cover the entire surface with stenciling or watercolor, leaving white areas to balance out areas of pattern and color. Here Kim is using a raspberry pink spray paint and my Art Deco Fairview stencil.

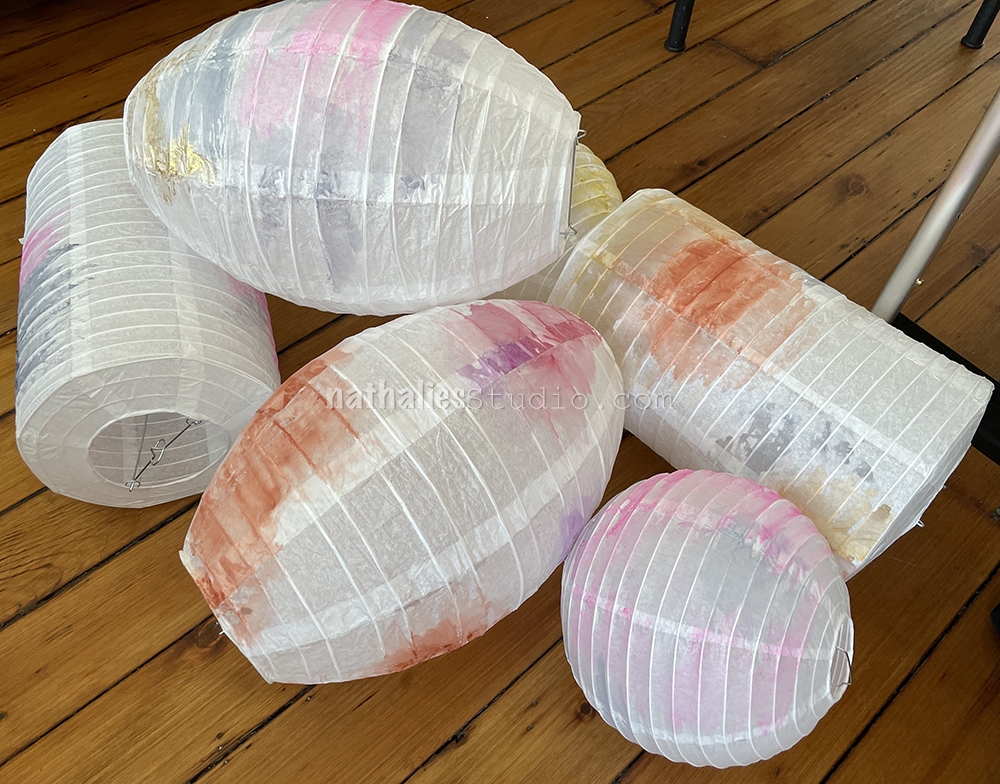
I love the abstract results of these and I think it’s an interesting modern interpretation of an old tradition.

Overspray, drips, and lighter applications of the pattern all look great and add to the character of these decorations.

Depending on your lanterns, you may be able to hang them on cafe lights or add an LED light within to complete the magic.

You can also go with whatever colors and patterns make sense for your decor or maybe a special holiday that you would like to celebrate.

I would love to see these strung up outside for an event and with the lanterns being fairly affordable, it wouldn’t be tough to do a bunch for a real impact. I hope you enjoyed and maybe will give it a try too.

Here are some of the supplies we used:

Leave a comment

The Fear of No – Art Journal

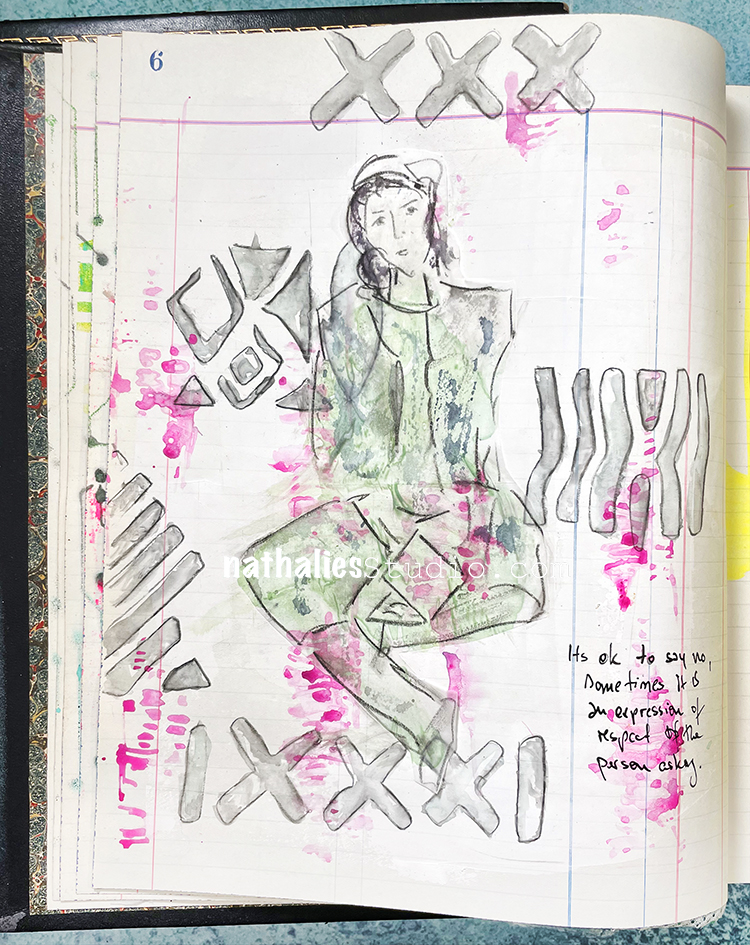
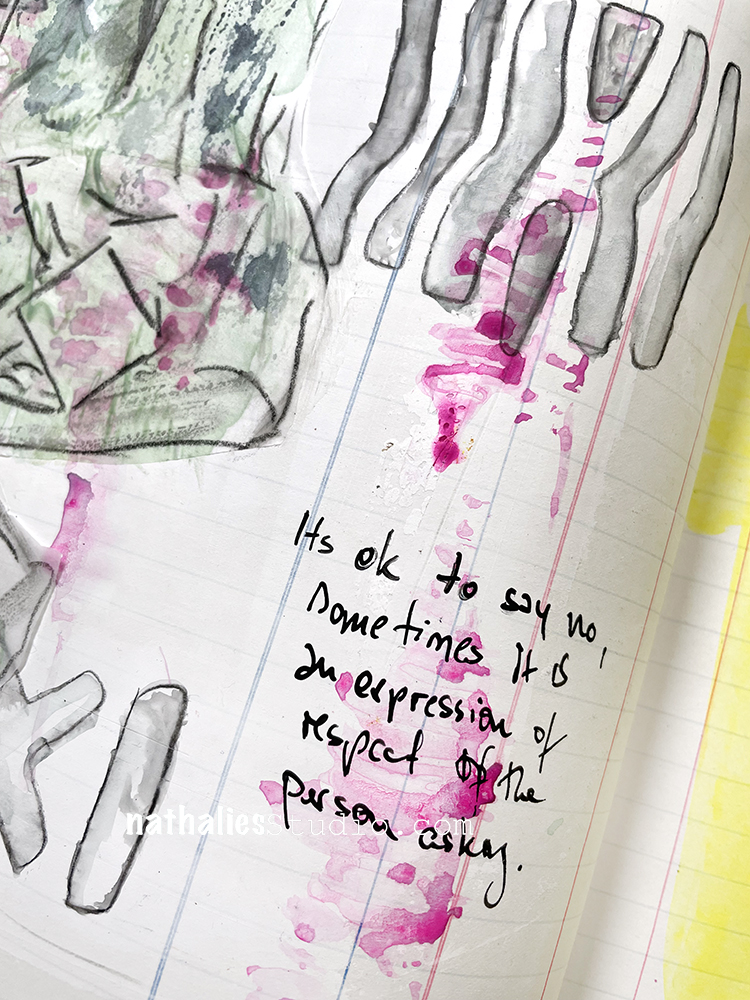
“It’s OK to say no, sometimes it is an expression of respect of the person asking.”

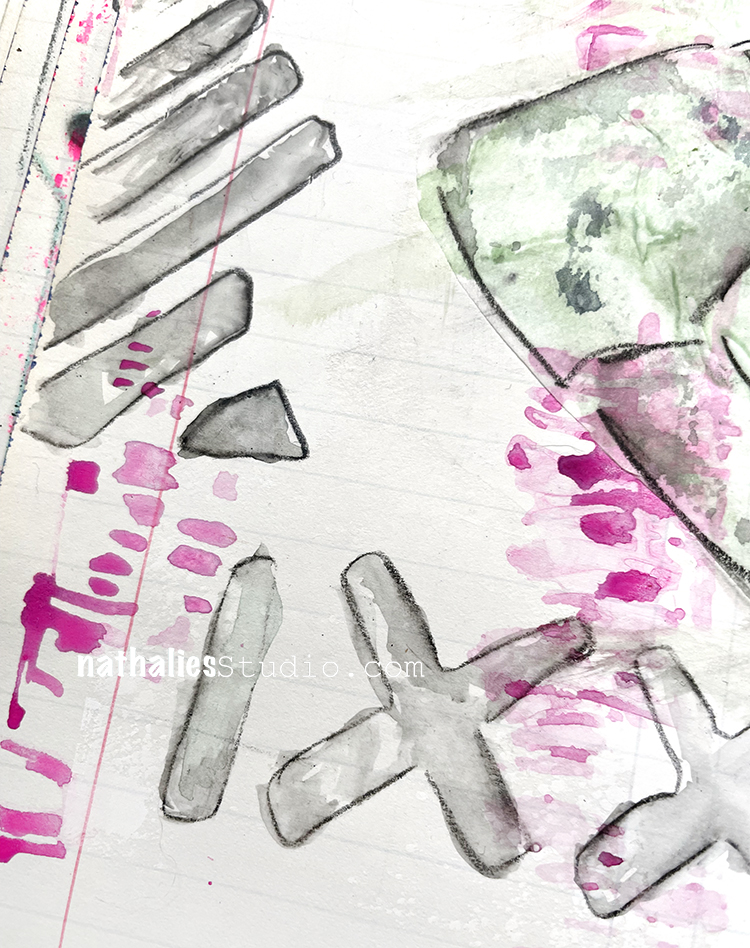
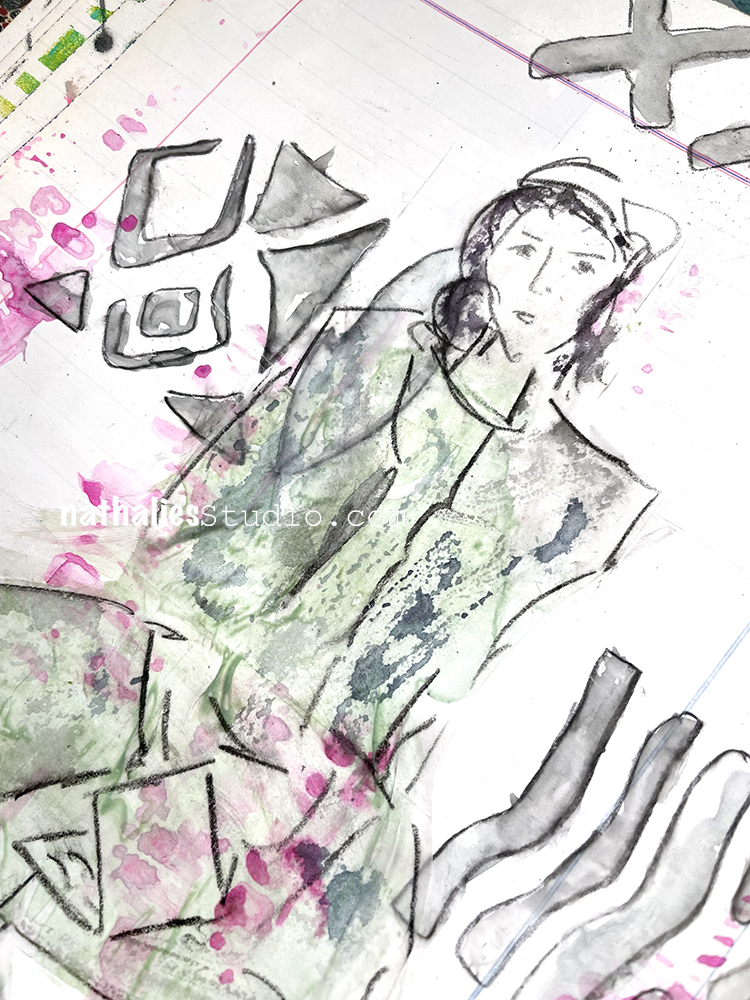
First I primed the ledger page with some light gesso as I did not know how the paper would take water. I used my Batik Stencil and traced parts of the pattern with a Derwent water soluble sketching pencil, then used a wet brush to pick up some of the pencil lines, dragging some grey coloring into the shapes.

I also used my Tokyo Stencil with a brush and watercolor and went over the stencil, knowing that it would not be a defined stenciled image, but liking it.

I added a sketch on deli paper, also done with the water soluble pencil, and adhered it with gel medium.

I finished up my page by journaling with a black Posca marker – a super thin one.

Here are some of the supplies I used:

Leave a comment

Interrogating Fear – Art Journal

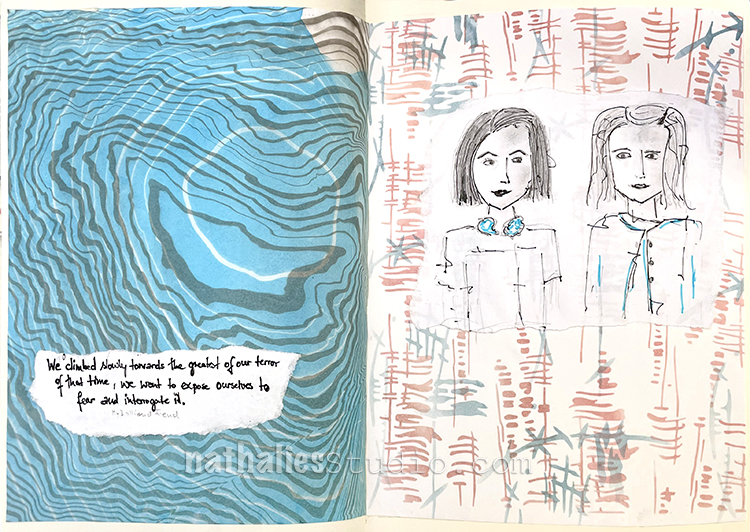
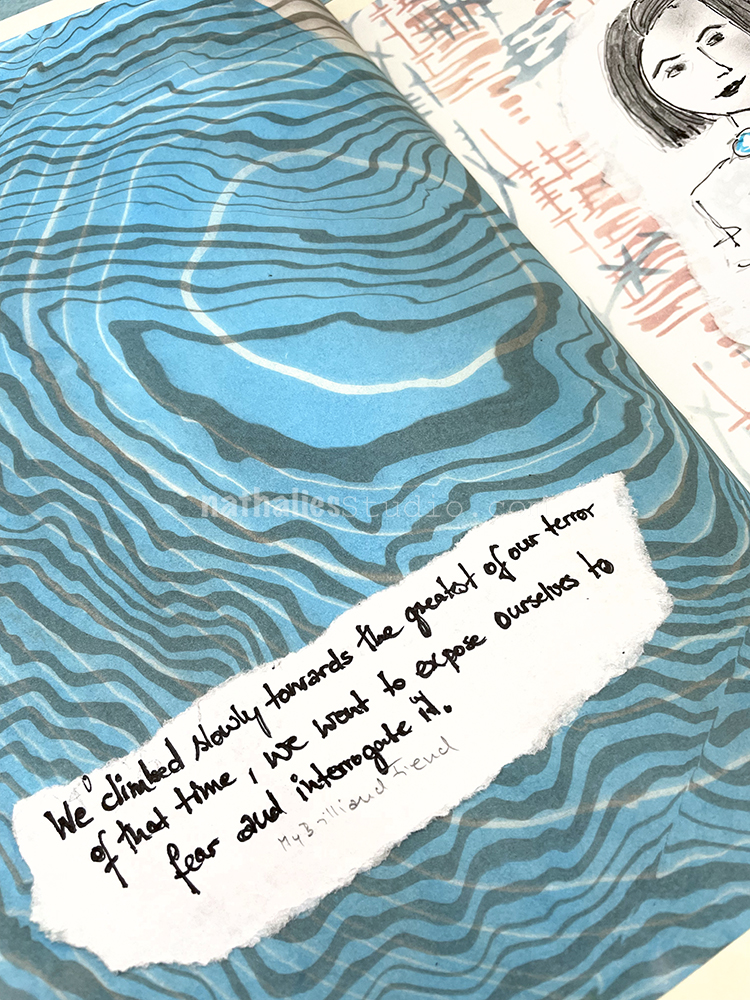
“We climbed slowly towards the greatest of our terror of that time, we want to expose ourselves to fear and interrogate it. ” – My Brilliant Friend

Are you interrogating your fears? Pretty hard to do but they say it’s one of the best ways to overcome things. I was mulling it over when I created this page.

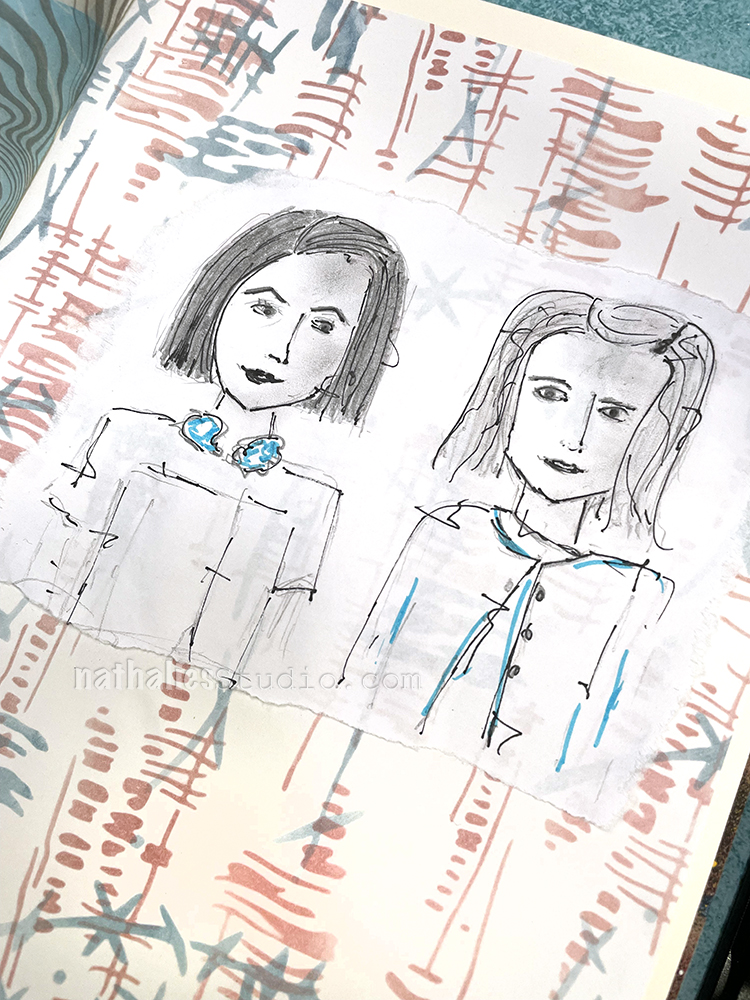
I still have paper from my Suminagashi Session so I used one of those prints as a background. Suminagashi is a Japanese paper marbling technique that is very doable at home and yields some beautiful results for collage, bookbinding, art journaling etc.

For the facing page, I used a sheet I made with my Kyoto and Tokyo stencils along with Distress Oxide inks and a blending tool. The sketch I made on normal printing paper, and then adhered on top with a glue stick. 

Here are some of the supplies I used:

Comments (1)

  • Sue Clarke

    |

    What a wonderful design and quote!

    Reply

Leave a comment

Be Stubborn – Art Journal

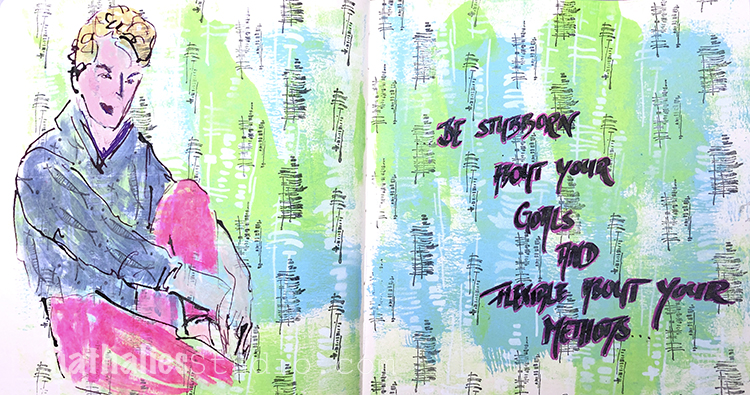
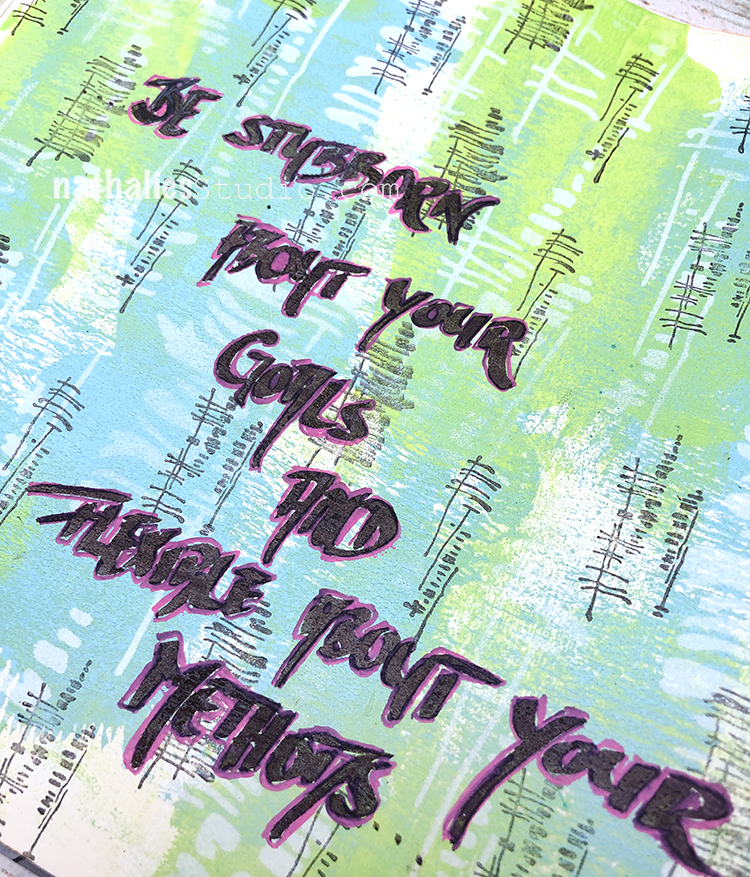
“Be stubborn about your goals and flexible about your methods…”

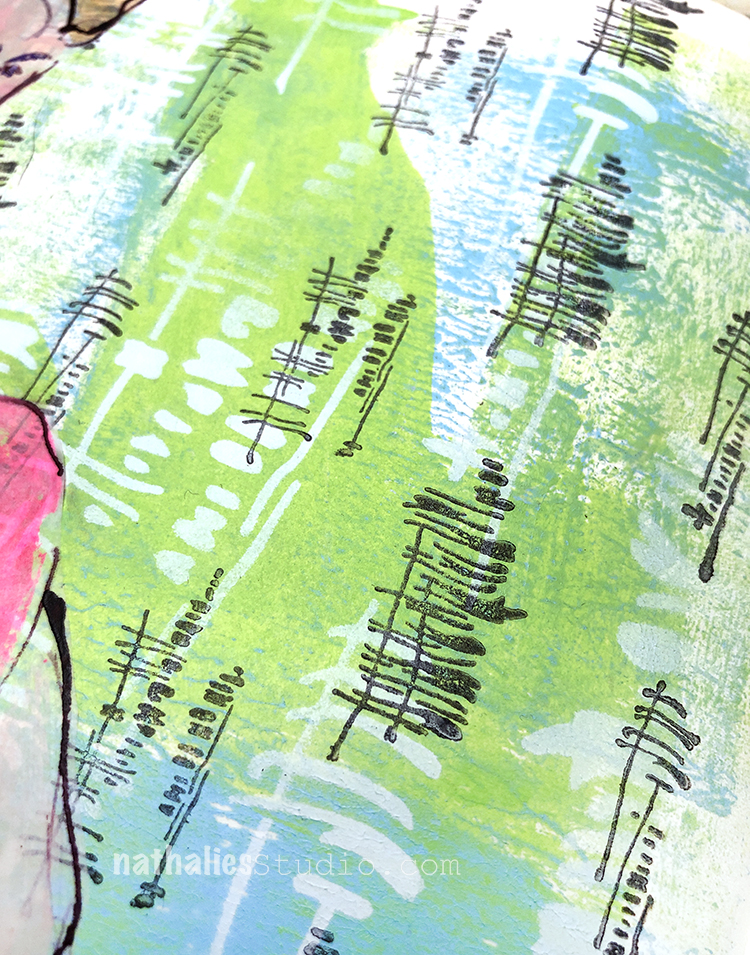
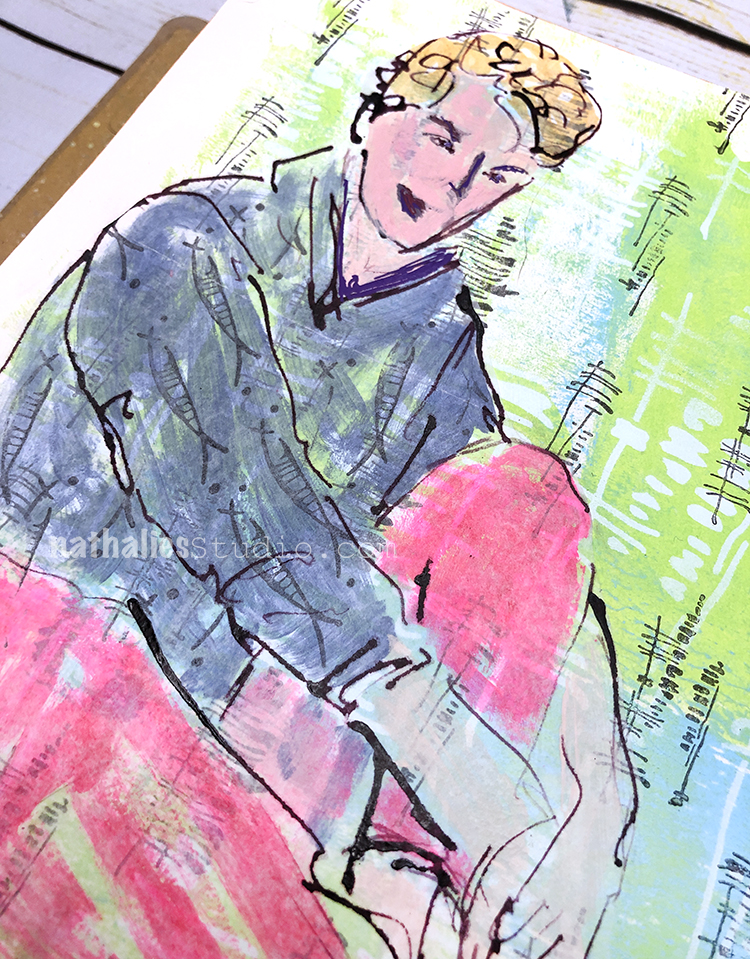
For my background I used some bright colors of acrylic paint and gouache, my Wabi Sabi rubber stamp set, my Tokyo stencil, and spray paint. I think having the two scales of this pattern together with the Tokyo stencil and the Wabi Sabi stamps is a nice visual mix.

For the figure I used a bamboo sketching pen and I stamped the back of the deli paper and painted over it, then I pasted it down with gel medium.

I used one of my favorite calligraphy journaling pens and posca markers for a little color.

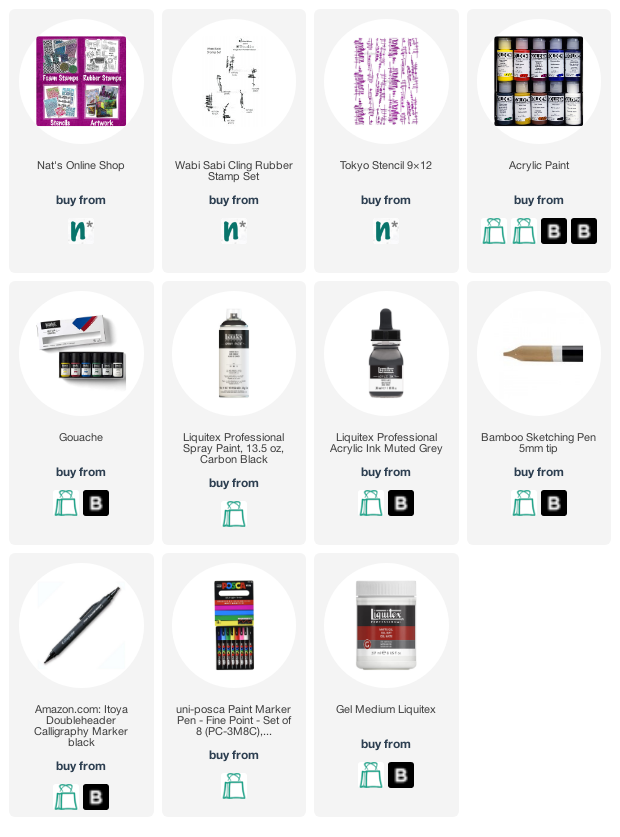
Here are some of the supplies I used:

Leave a comment

We Shall Overcome – Art Journal

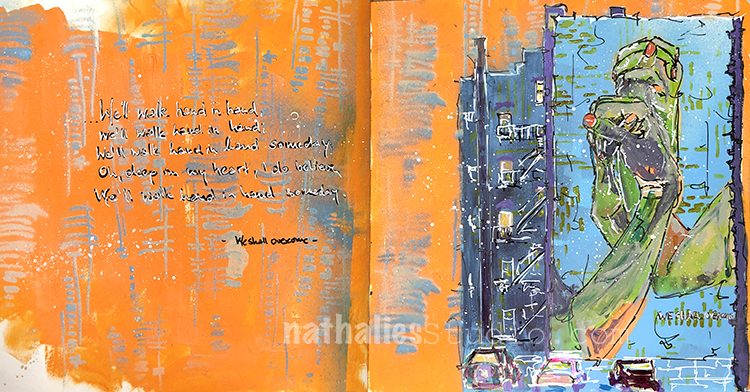
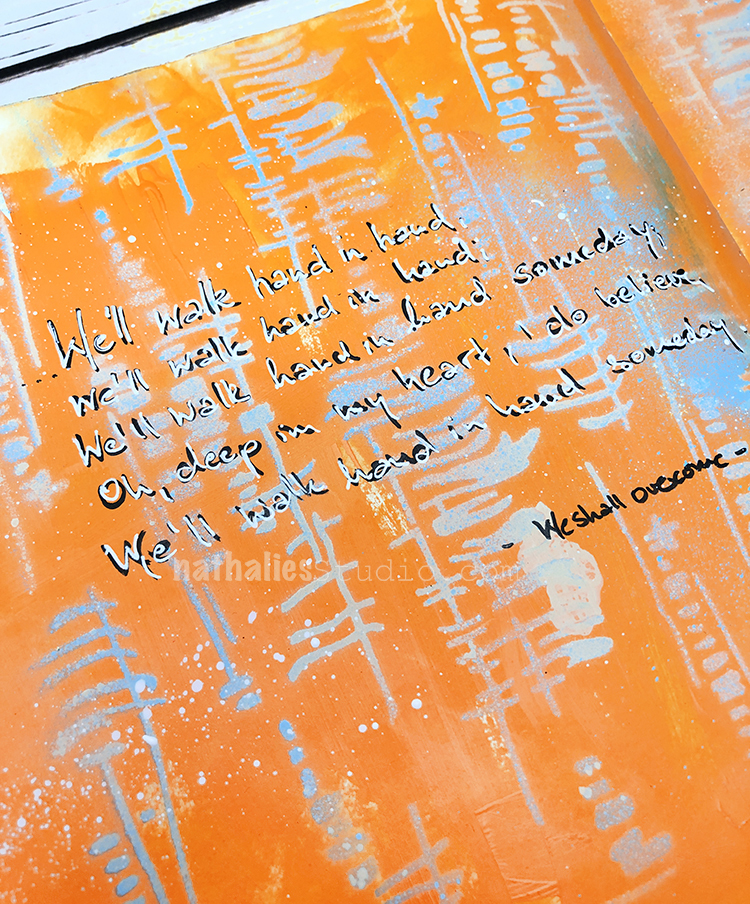
We’ll walk hand in hand, we’ll walk hand in hand,
We’ll walk hand in hand someday;
Oh, deep in my heart, I do believe,
We’ll walk hand in hand someday.

– “We Shall Overcome”

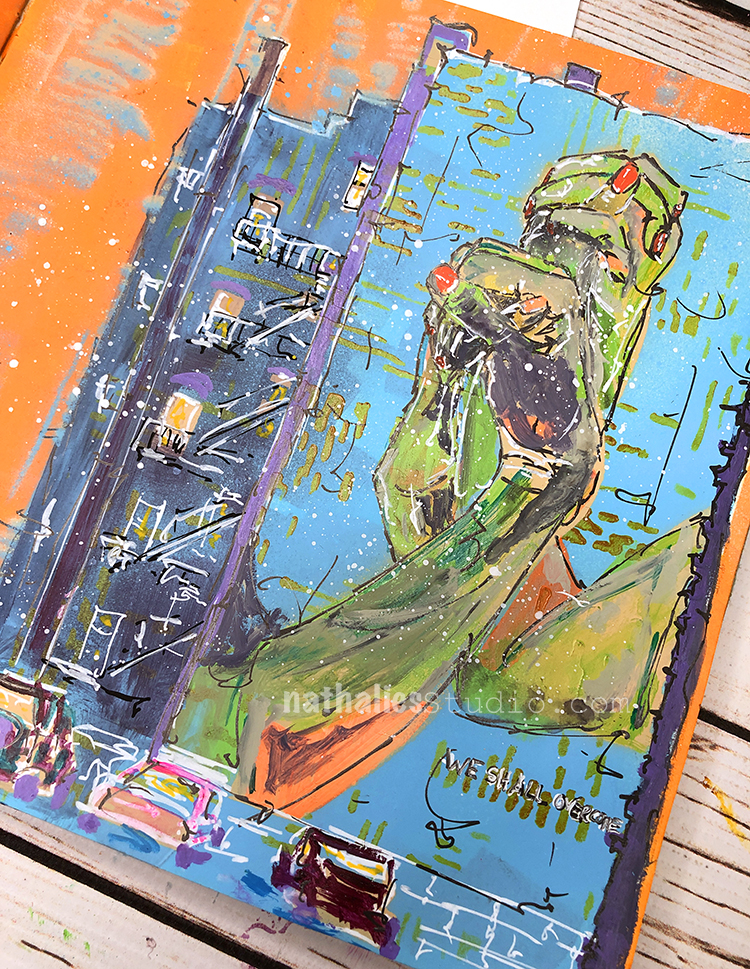
This art journal page is a study for a painting – one that is very of-the-moment you could say. I used acrylic paint, spray paints, gouache and markers and decided to go really bold with colors. I used my Signals stencil for added texture on the building.

I used my Tokyo stencil for the pattern in the background.

Here are some of the supplies I used:

Comments (1)

  • Sue Clarke

    |

    I have sung this song so many times in the past.
    For/with battered women and to fight that stigma of mental illness…it’s such a great way to unite people around an “issue”.

    Reply

Leave a comment

Make a Mark – Art Journal

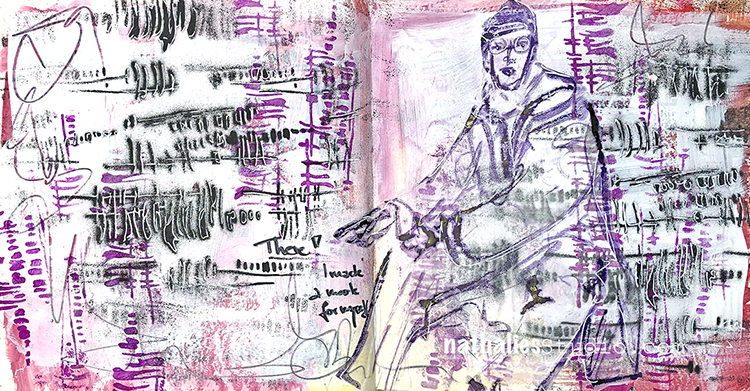
“There! I made a mark for myself!” There is a lot going on in this spread, including marks :)

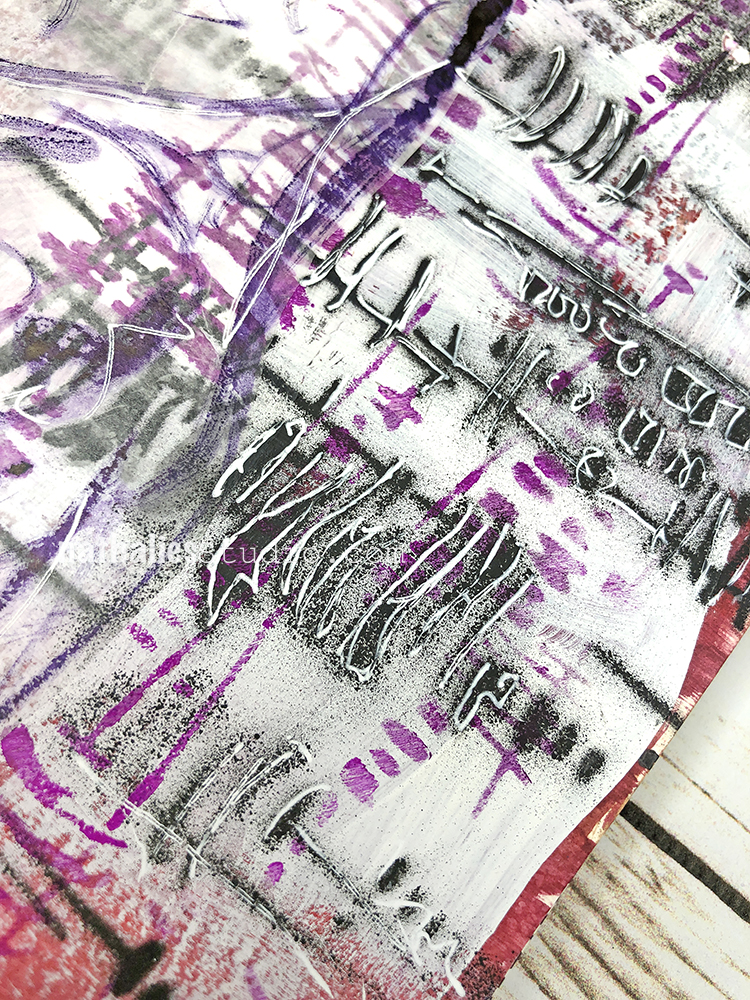
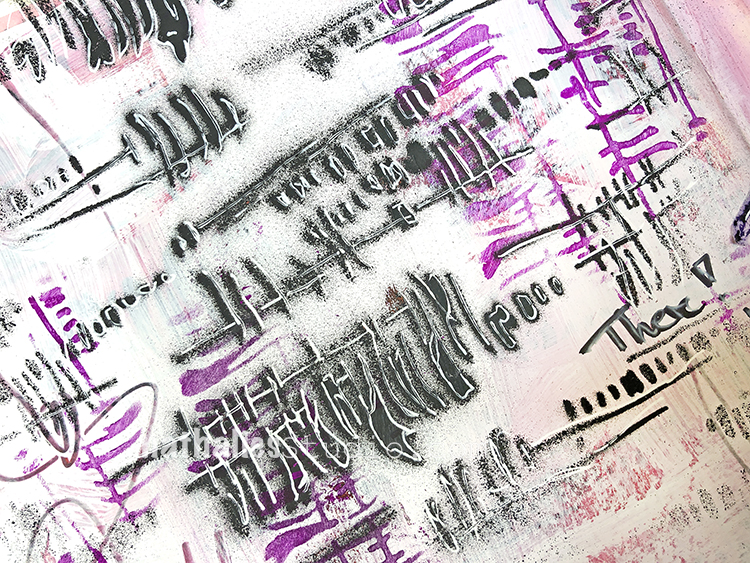
I used acrylic ink in my background and a mix of black liquitex spray paint and acrlyic paint. Lots of layers and visual and actual texture… and mark-making with my new Tokyo stencil for the pattern.

Then I went in and traced the stencil with a white signo pen.

And then acrylic ink for my drawing.

Here are some of the supplies I used:

Leave a comment