Creative Squad

Happy Holidays – Maura Hibbitts

Hello from my Creative Squad and a post today from Maura Hibbitts. Maura is sharing with us a super cute ornament and gift tag idea using my Grove Street stencil and my Large and Small Circle Jumble rubber stamps. This month’s theme is: Happy Holidays – It is a time of year where we are celebrating and coming together and enjoying some merriment. Create something holiday related (whatever holiday you may be celebrating) and enjoy the season!


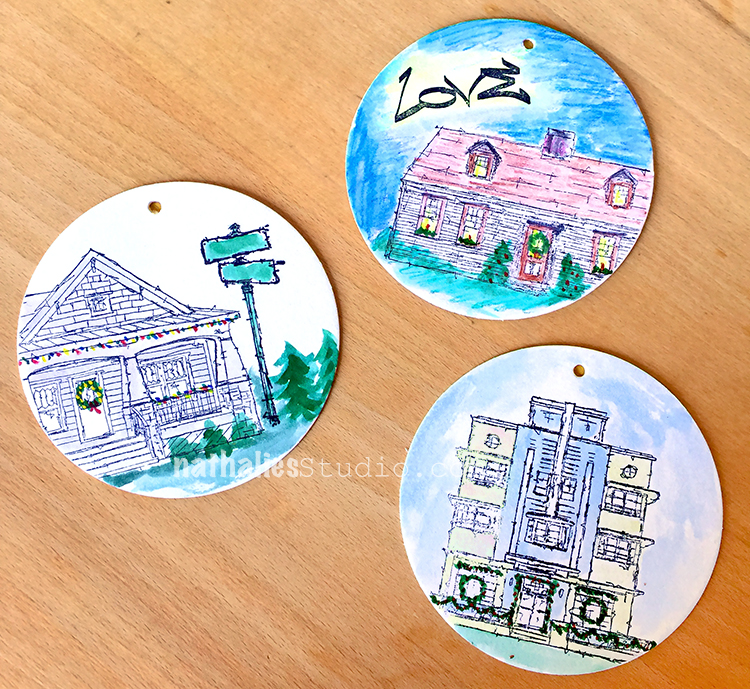
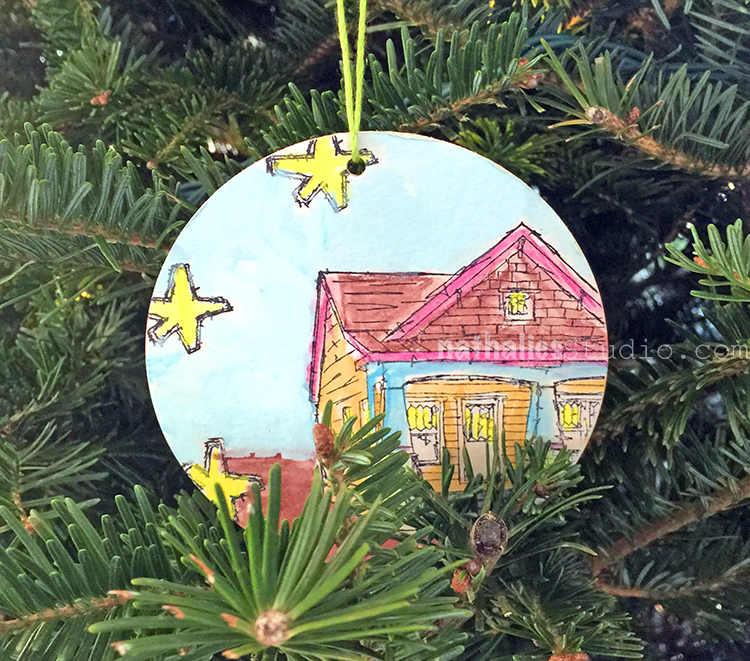
Wishing you all a very merry holiday season! Here in the U.S. it’s a really short run between Thanksgiving and Christmas this year, with the usual hustle and bustle of meeting up with friends and family, baking extra goodies, and looking for the perfect gifts. I’ve been busy already working on cards and small items for friends, so our theme for this month is perfect to get a bit more completed. I decided to work in traditional green and red, and make some tree ornaments and tags.

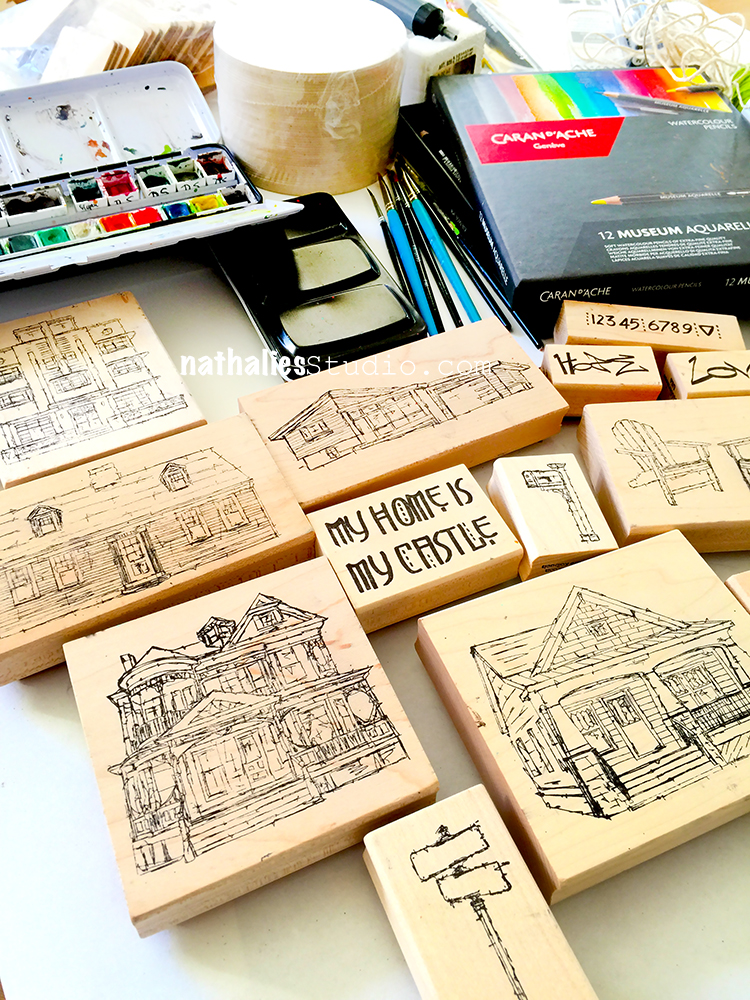
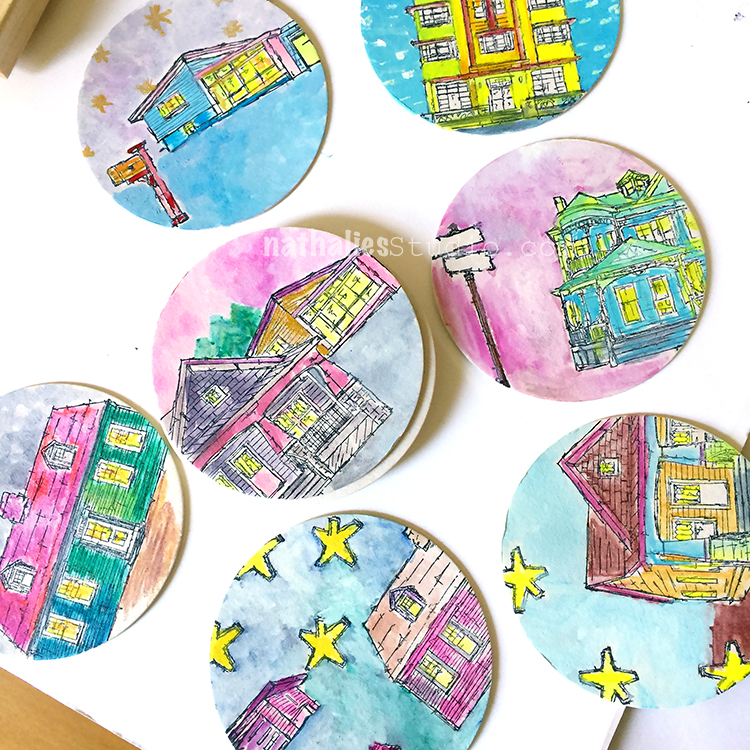
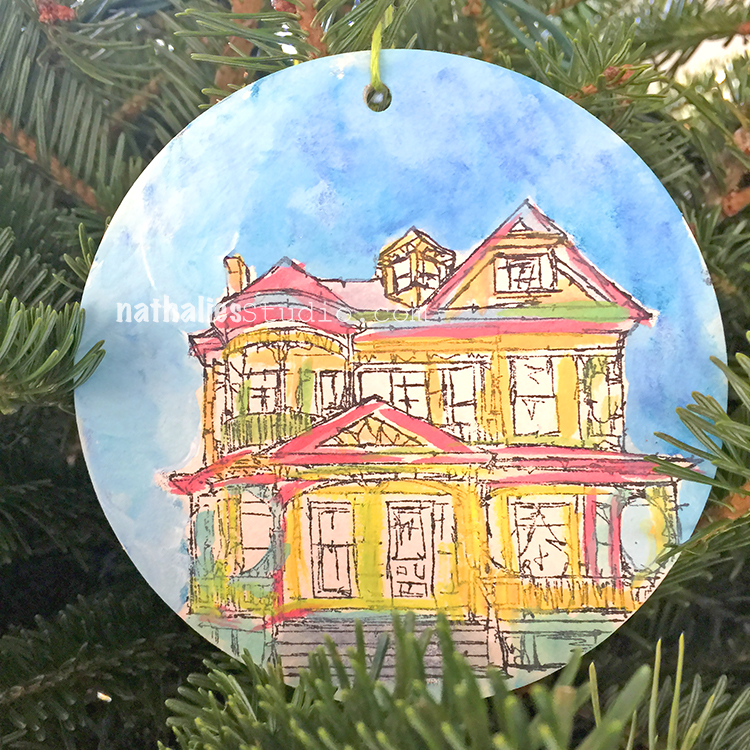
I’m using one design, and repeating it in several sizes, with the Grove Street stencil and Small and Large rubber stamps.

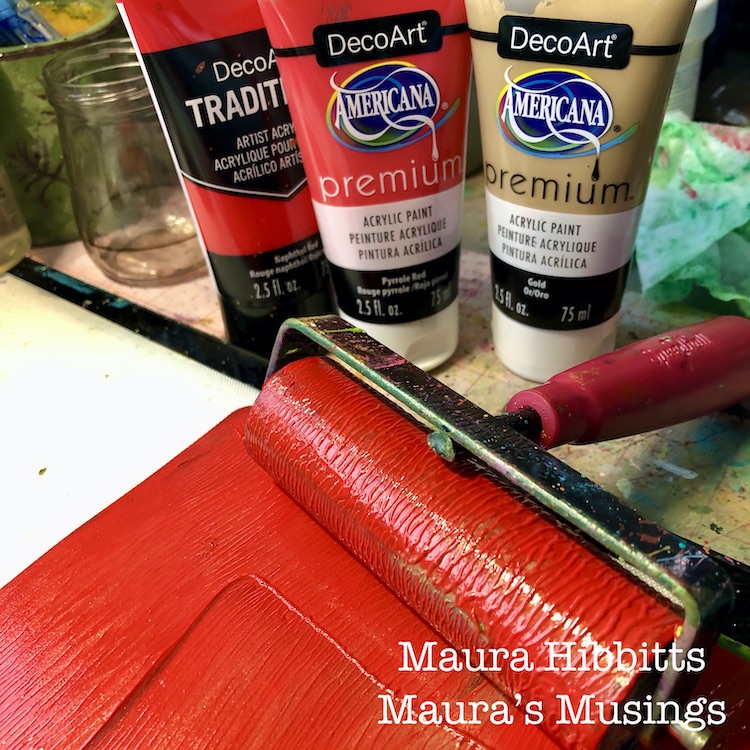
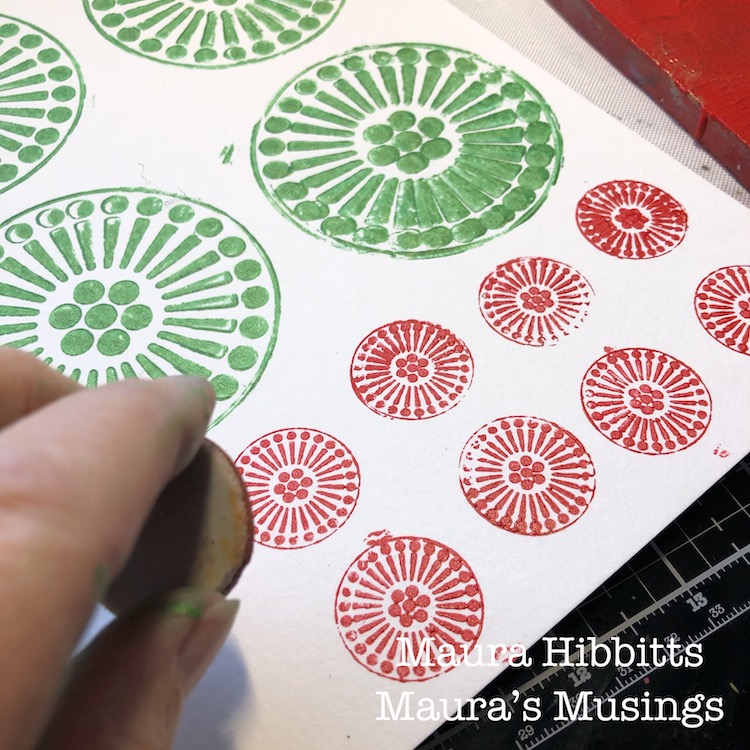
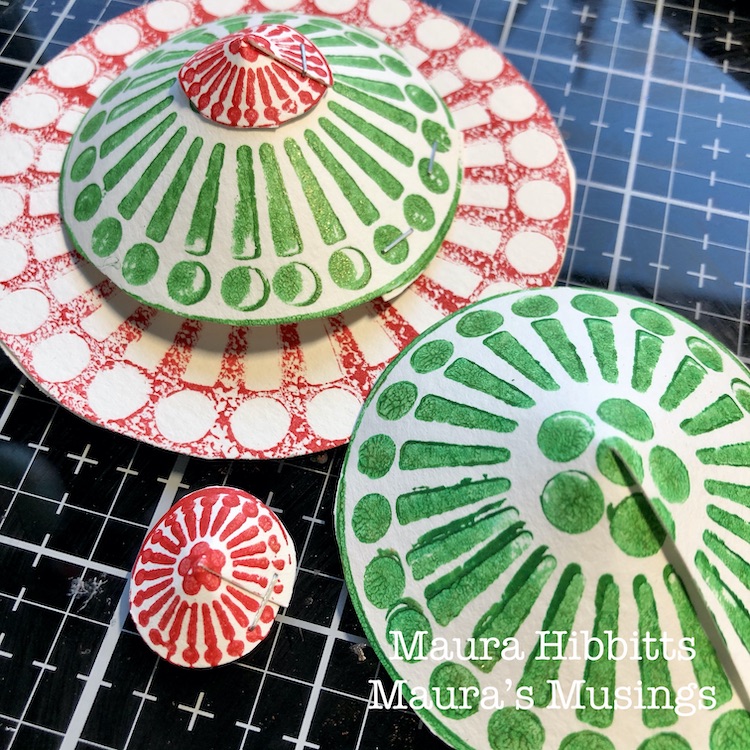
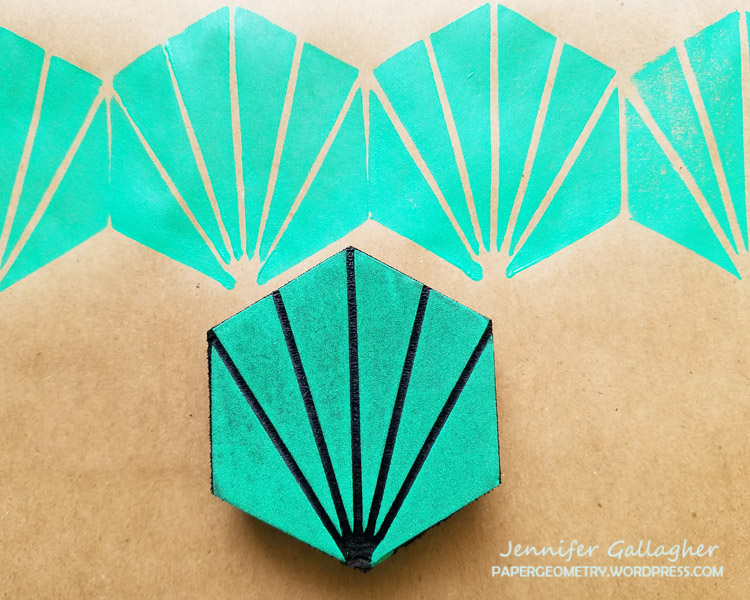
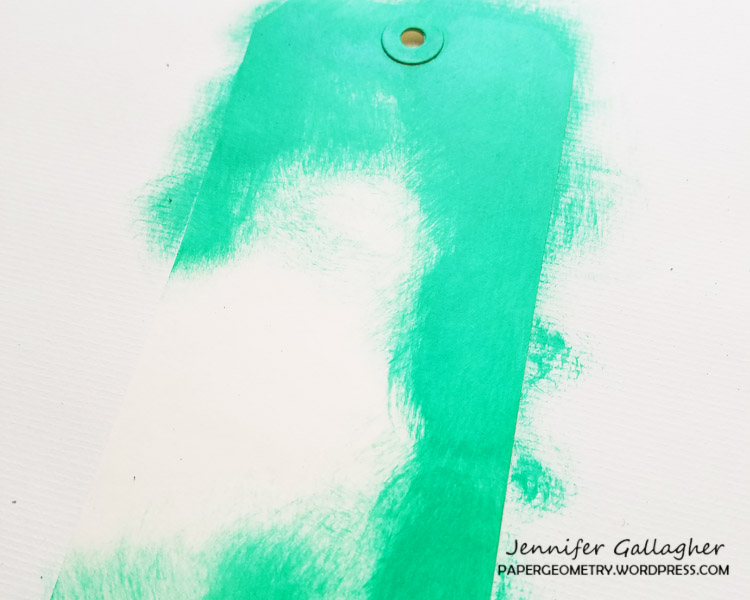
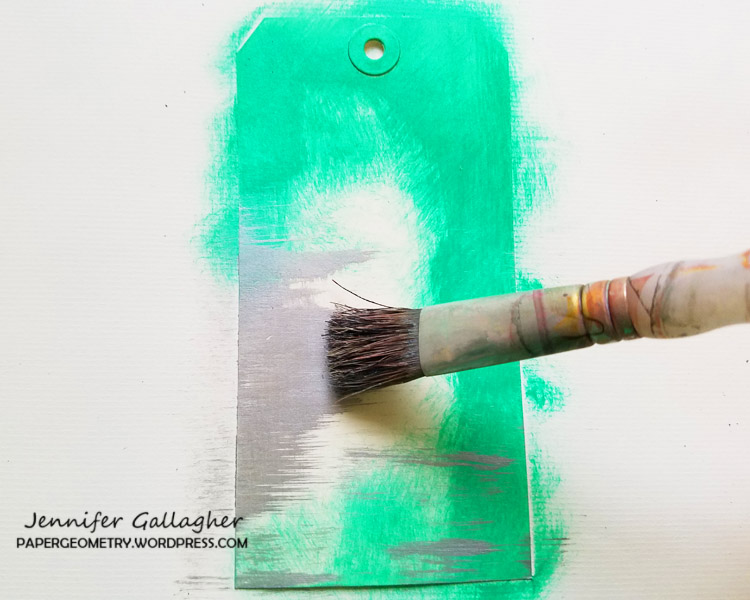
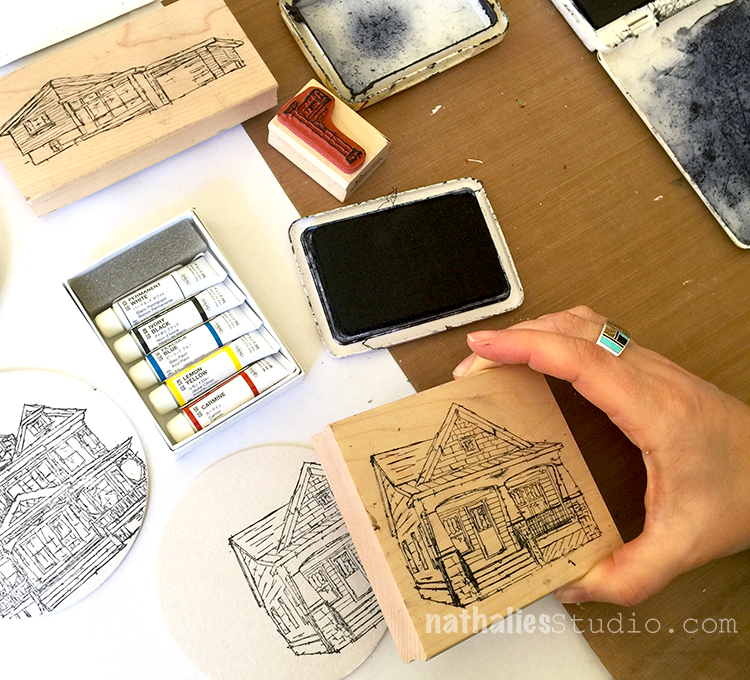
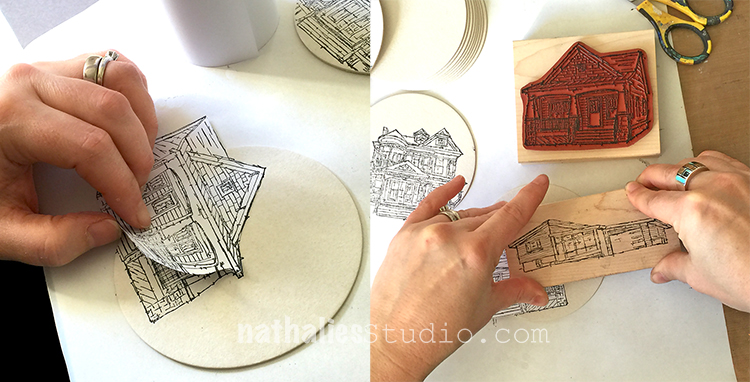
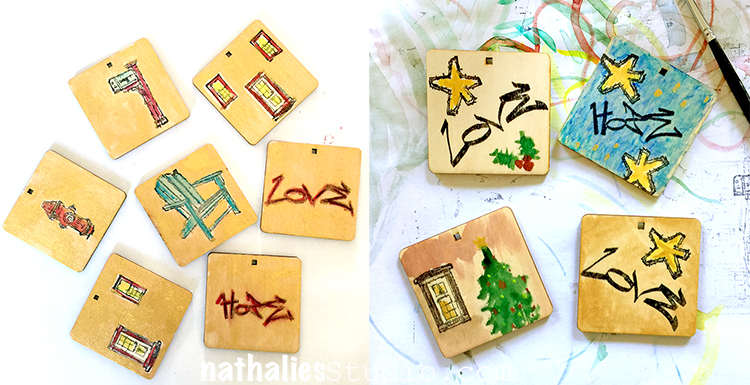
I started with a mix of the green paint on my gelli plate, then added a bit of gold, stamped onto the plate with the large stamp, and transferred the image to heavy watercolor paper.

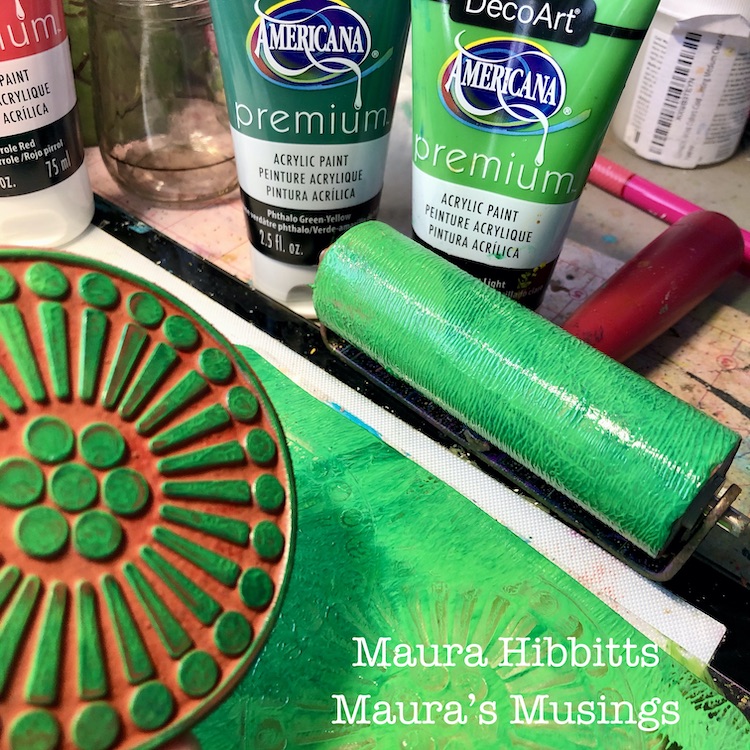
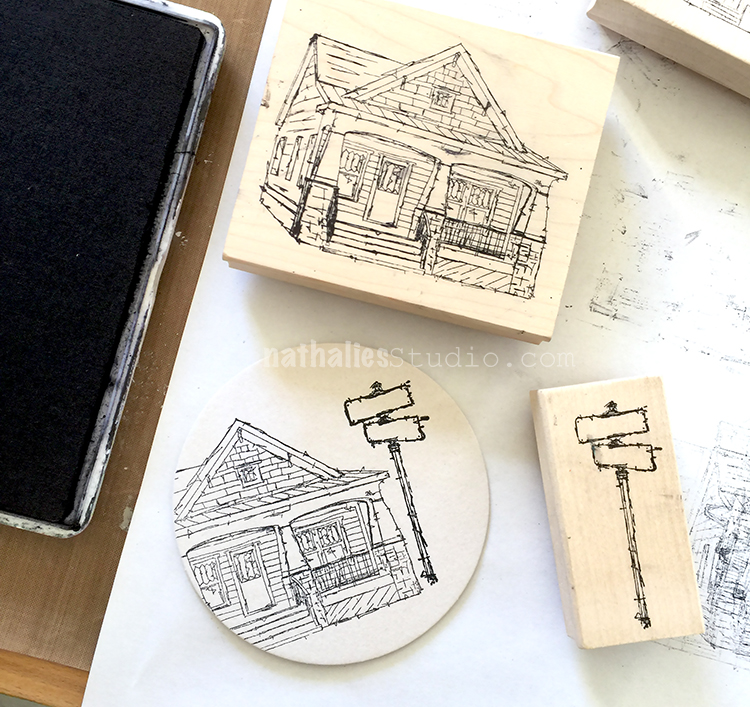
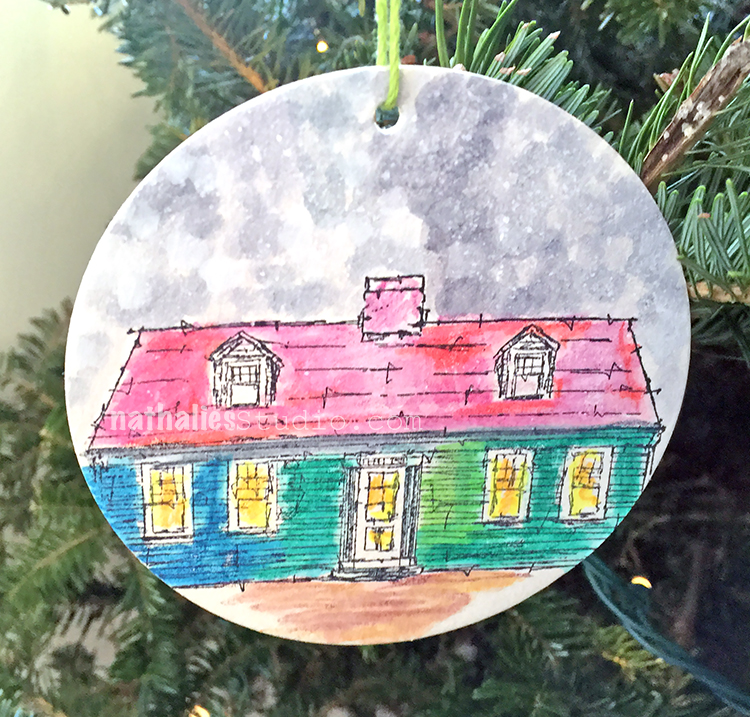
I knew I wanted to mix the colors with the sizes, so next up on the gelli plate is a mix of red and gold. I used the small stamp with the red paint, and stamped these images on the watercolor paper also. Note – be sure to clean the acrylic paint off your stamps right away.

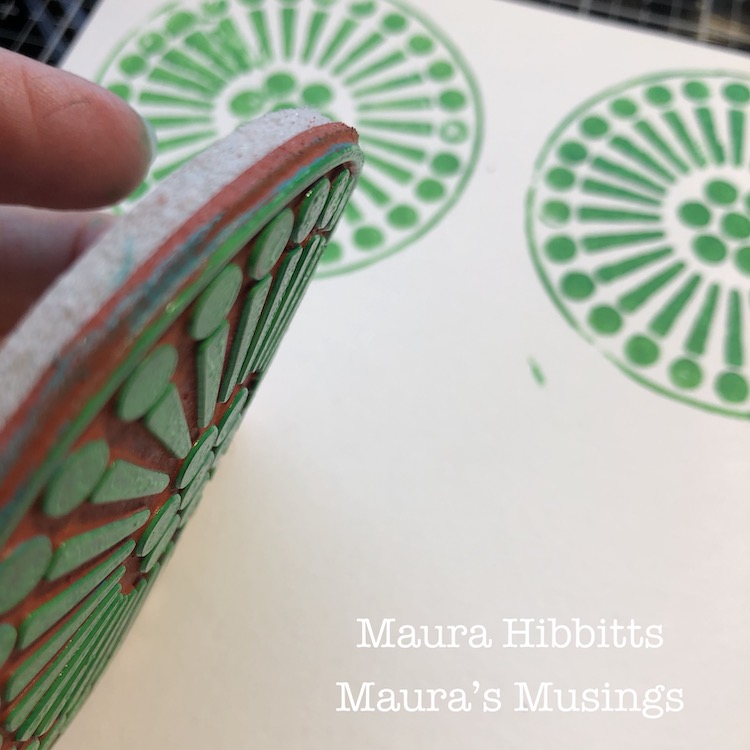
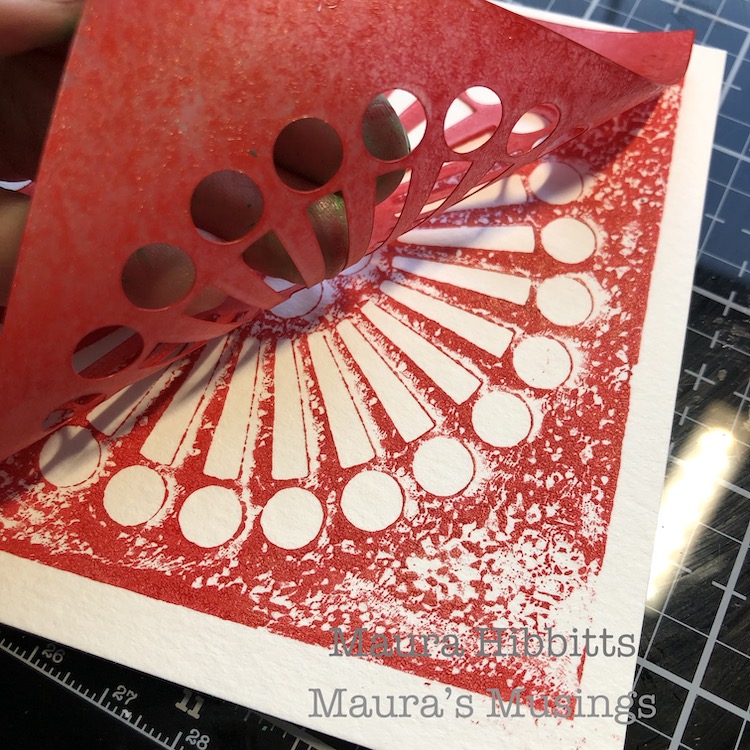
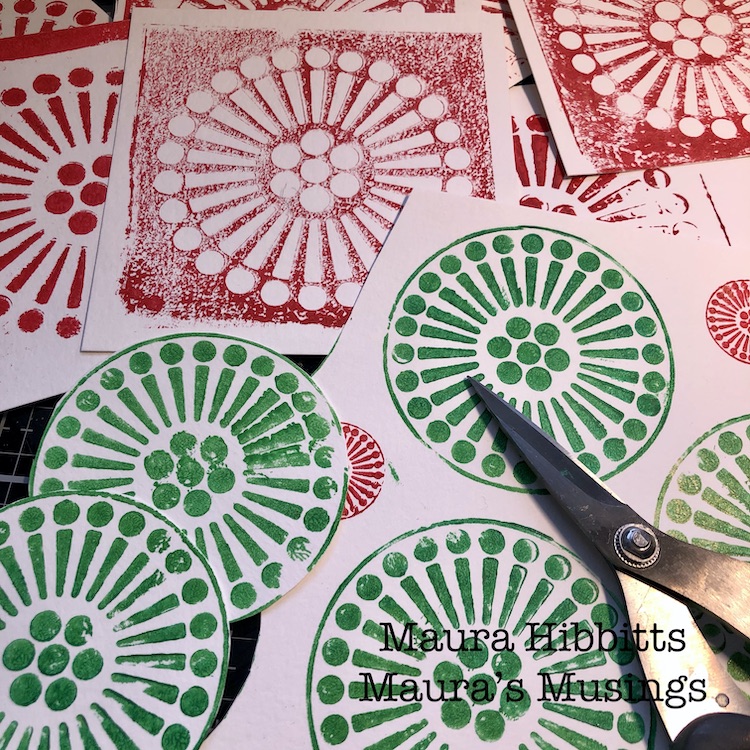
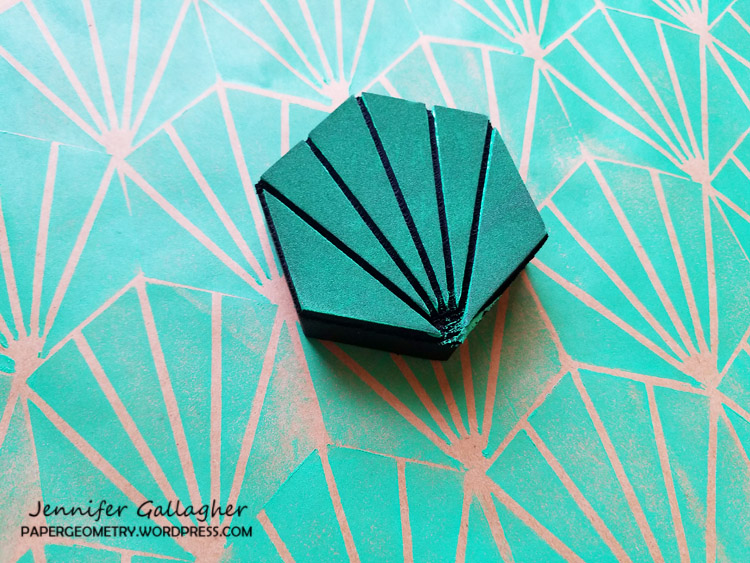
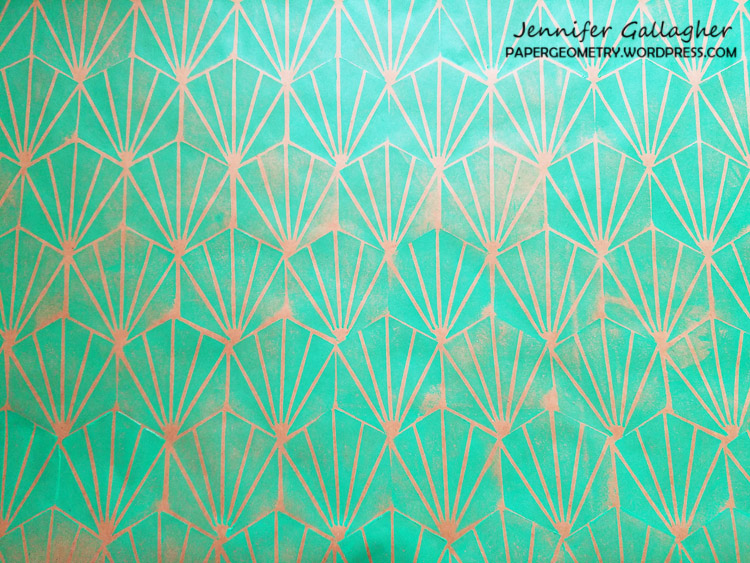
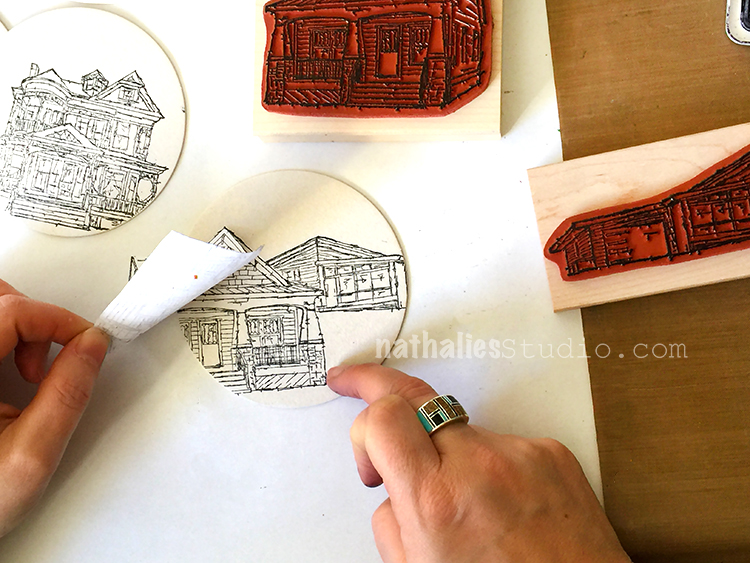
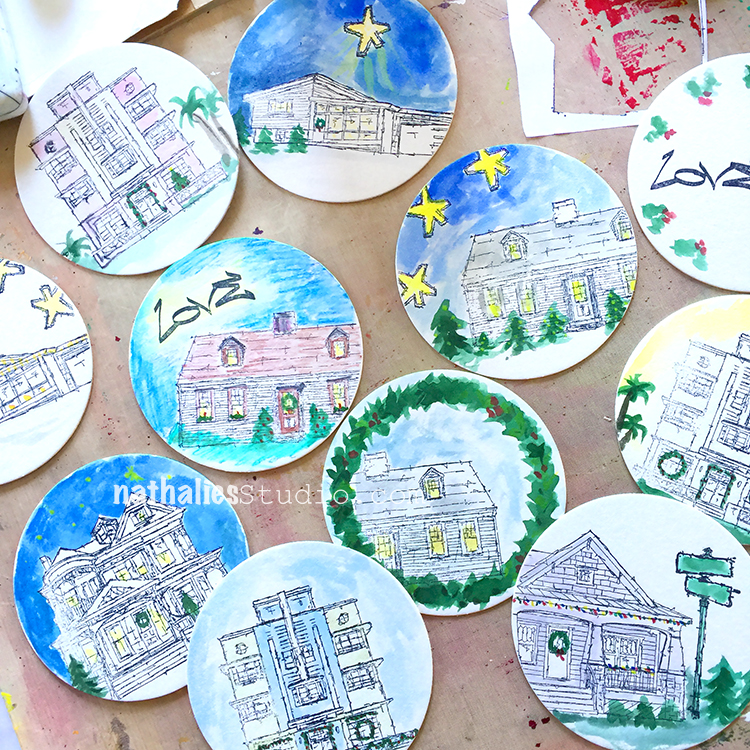
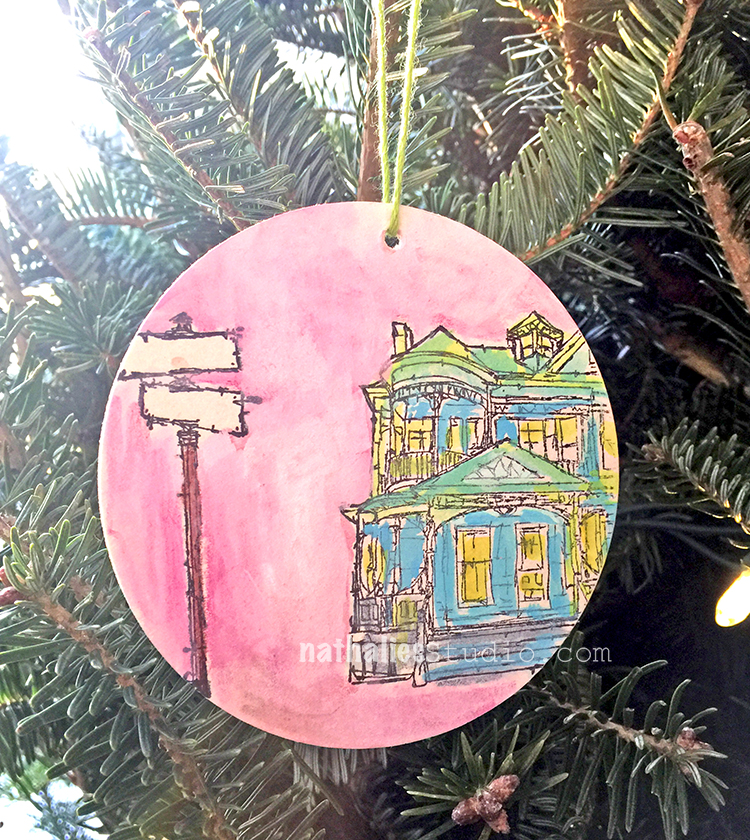
The Grove Street stencil is the largest image, and I laid the stencil down on the red paint on the gelli plate and pressed the paper down onto it. Then I lifted the stencil and pressed it onto another paper, so I would have both a negative and a positive print.

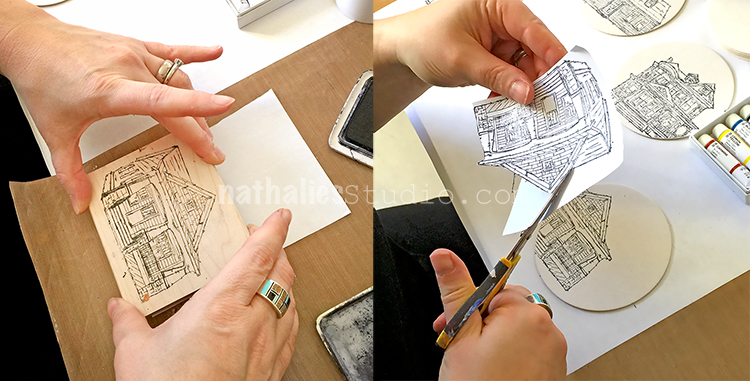
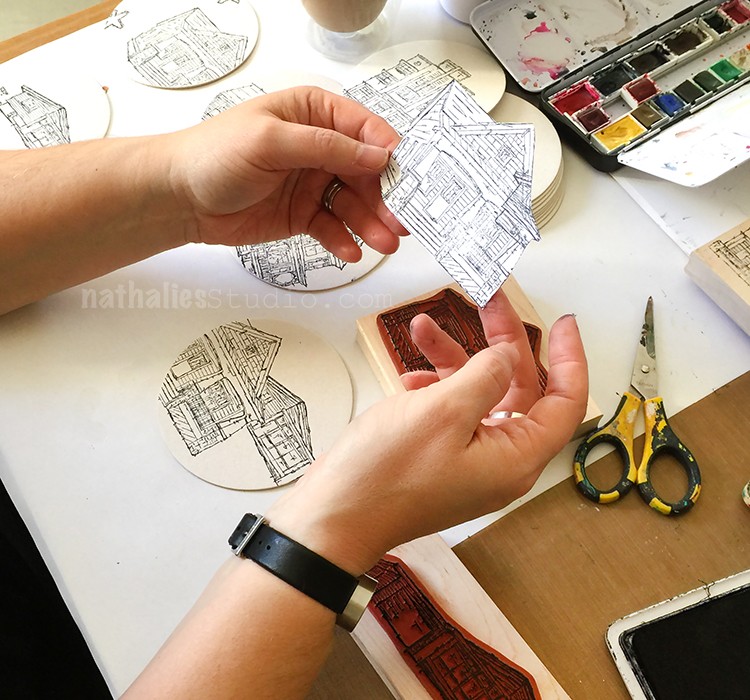
Once all the paint is completely dry, it’s time to cut them out. I just do it with scissors, but if you had a punch in the correct size that would work well.

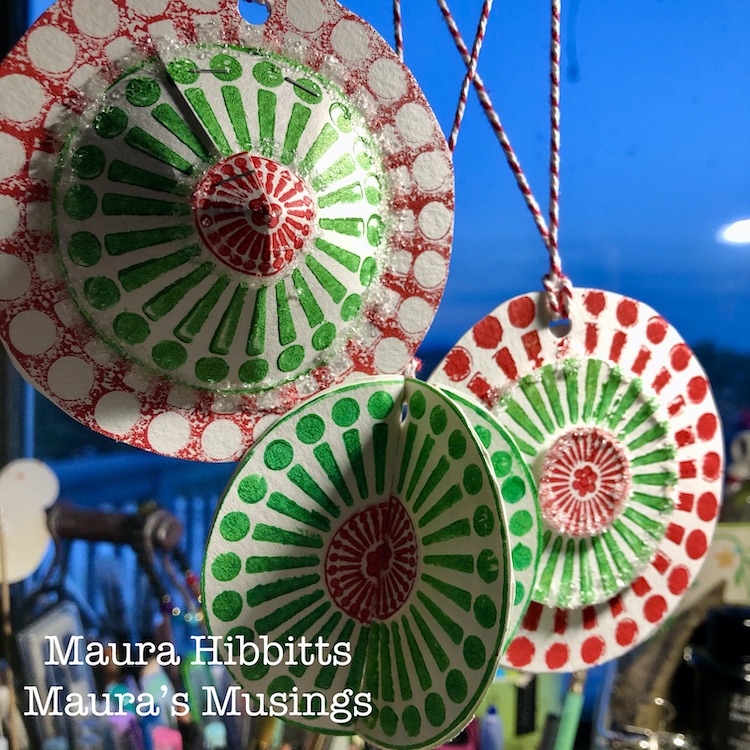
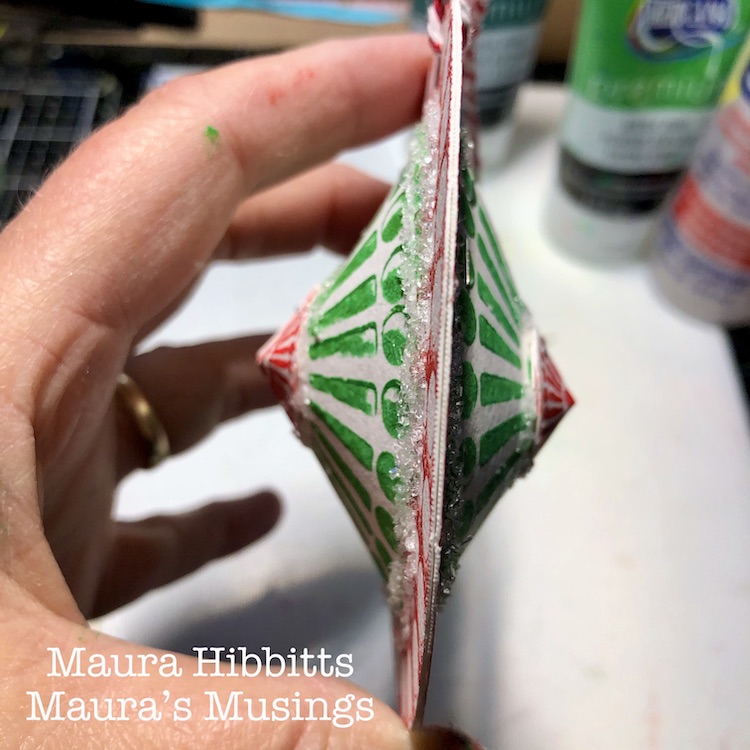
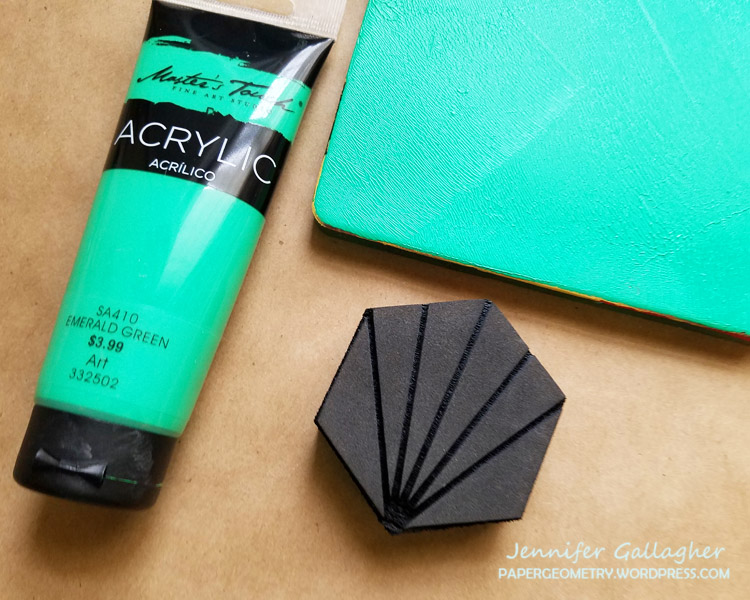
I got the idea in my head that I could make a 3D ornament, so I started by gluing two of the stenciled circles together. Next, on two green and small red circles, I cut a slit to the center, then formed it into a cone and stapled it. I made sure the little red one fit onto the green circle, and glued the cap on. I added a layer of glue to the bottom of the green circle and attached it to the stenciled circle. I had to apply pressure and hold in place for awhile to get the glue to hold. I repeated the process on the other side, then decided it needed a bit of glitter, so added a bit more glue and glittered it up.

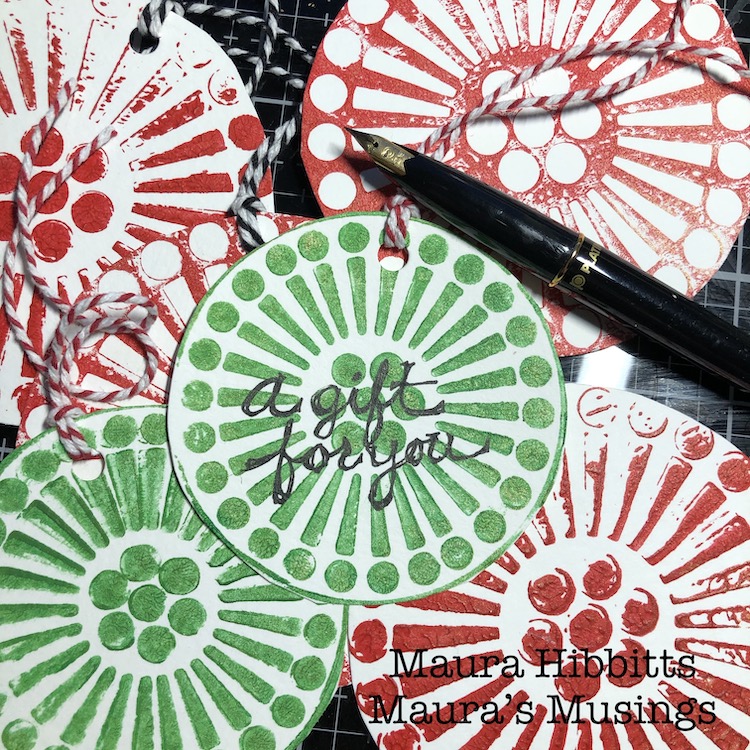
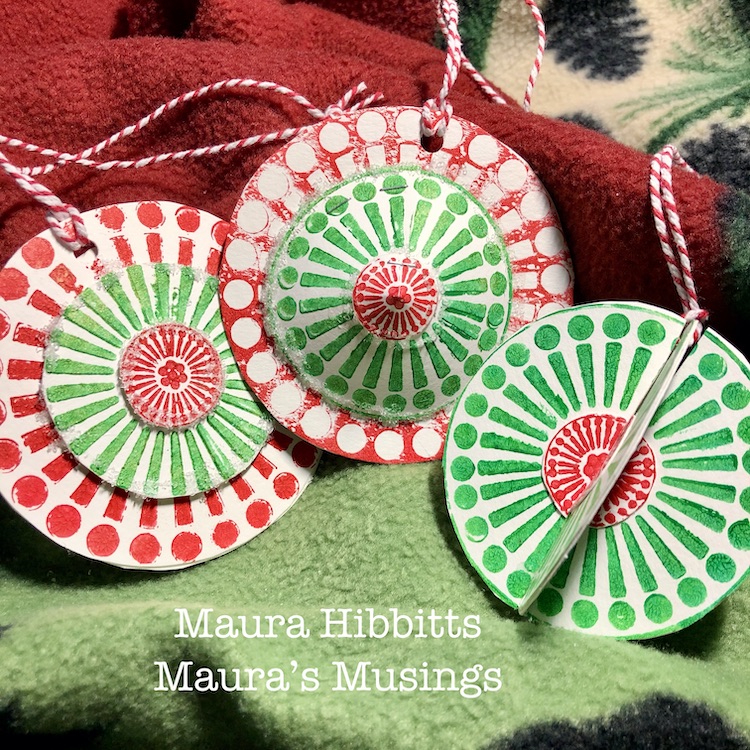
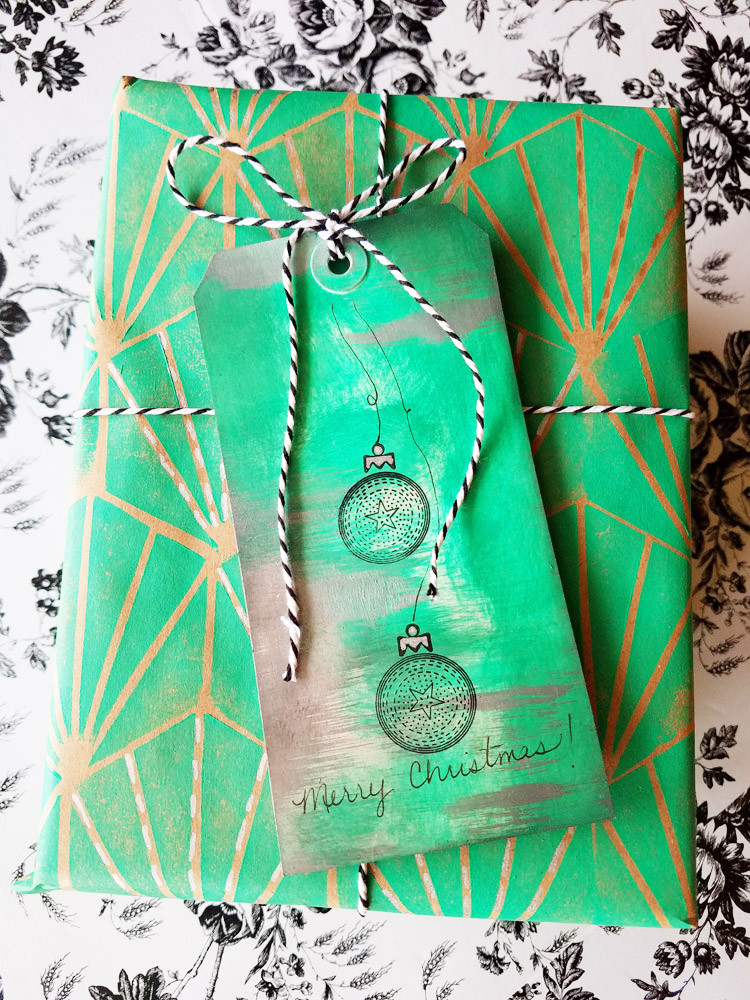
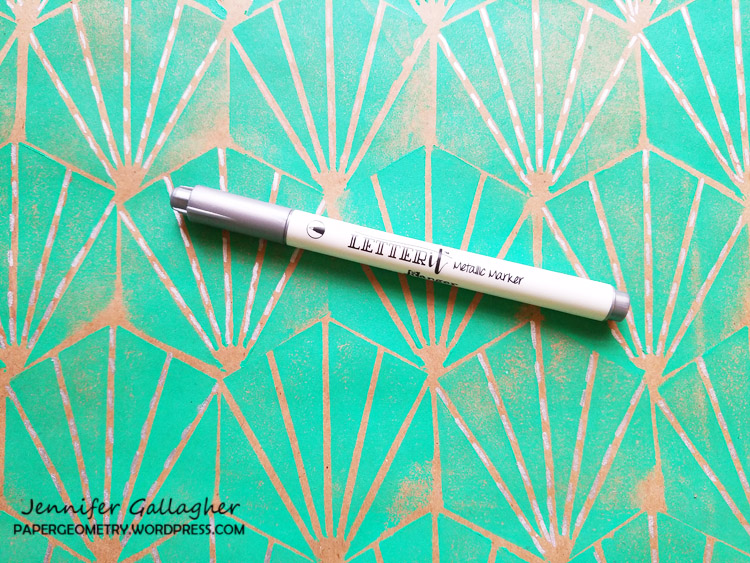
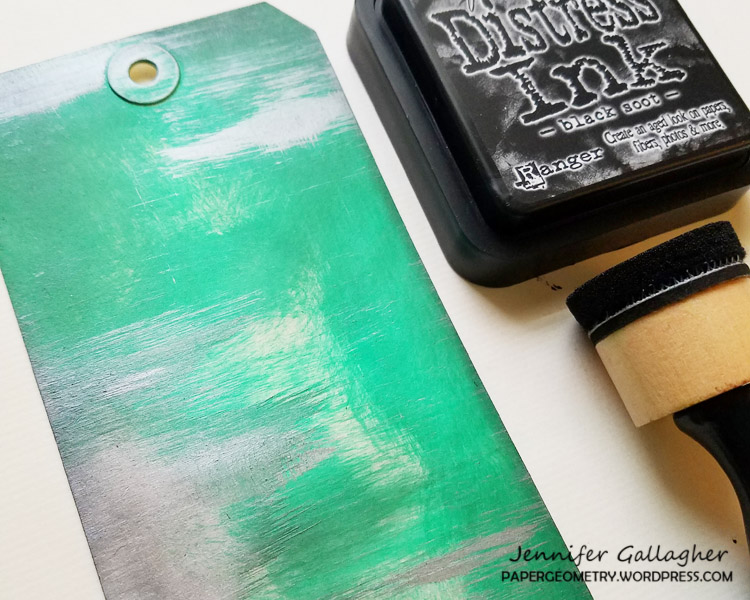
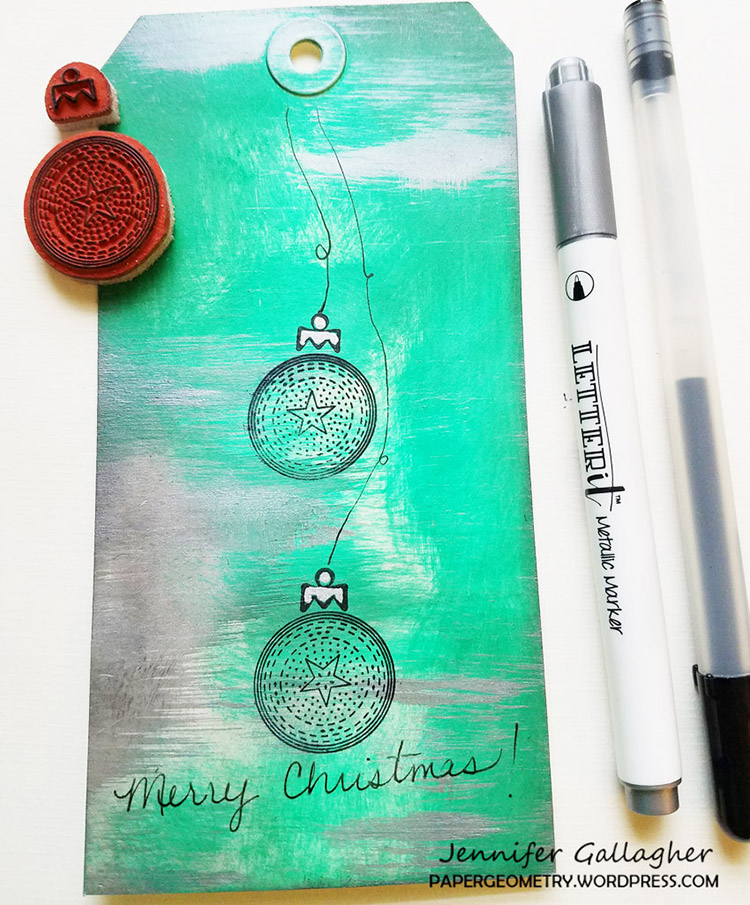
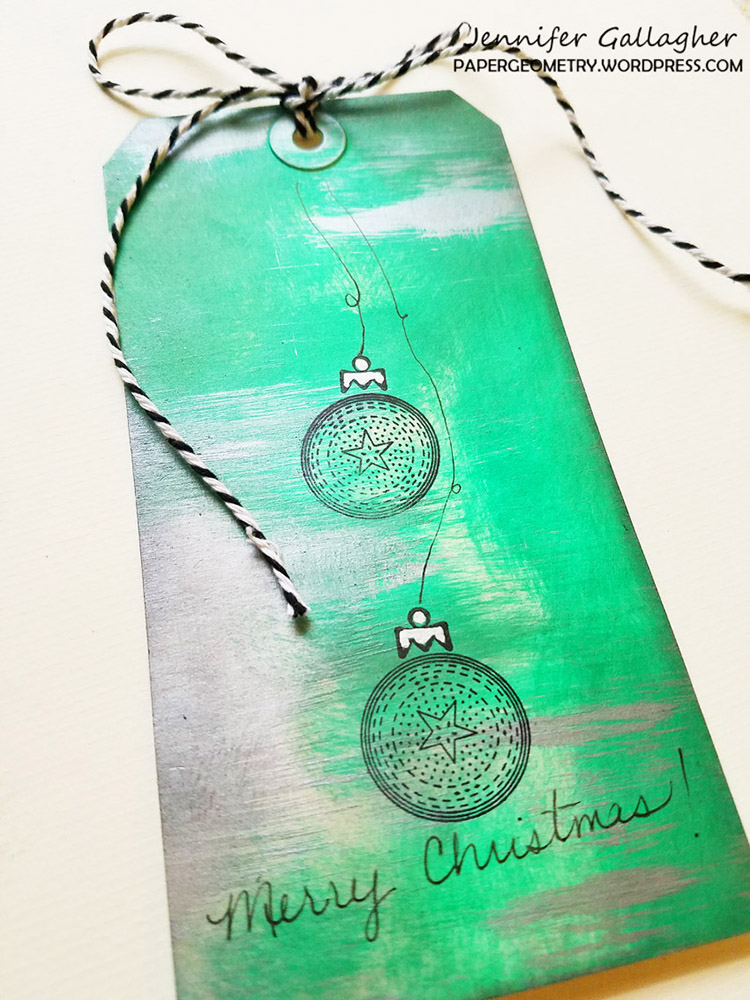
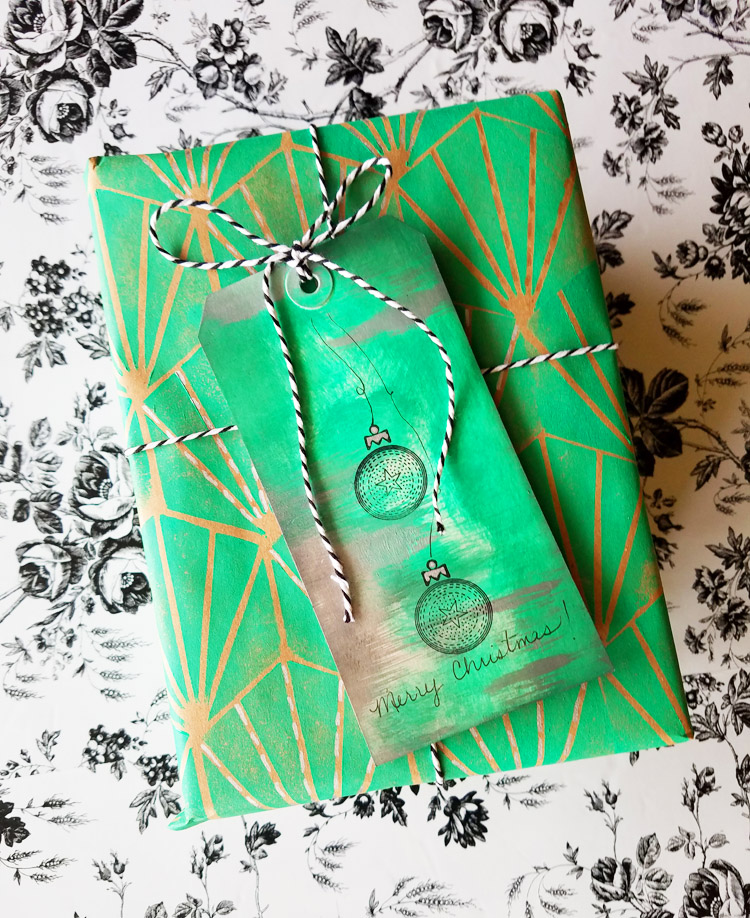
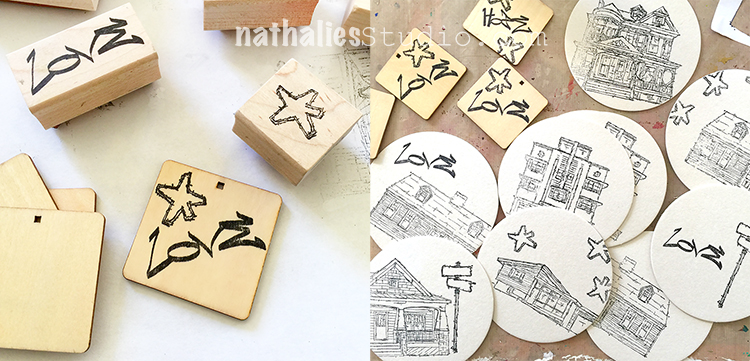
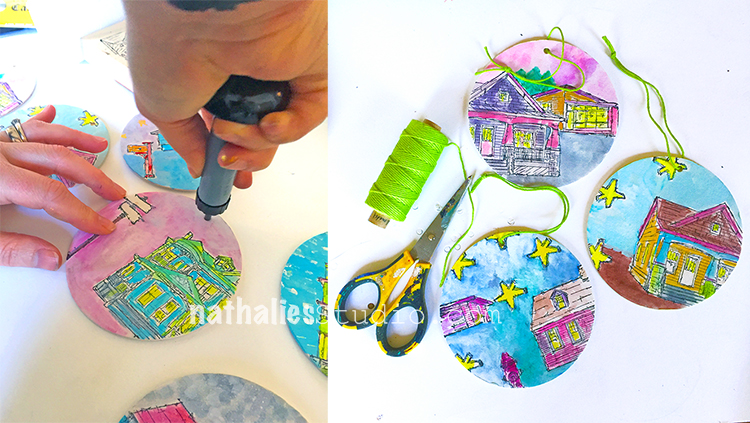
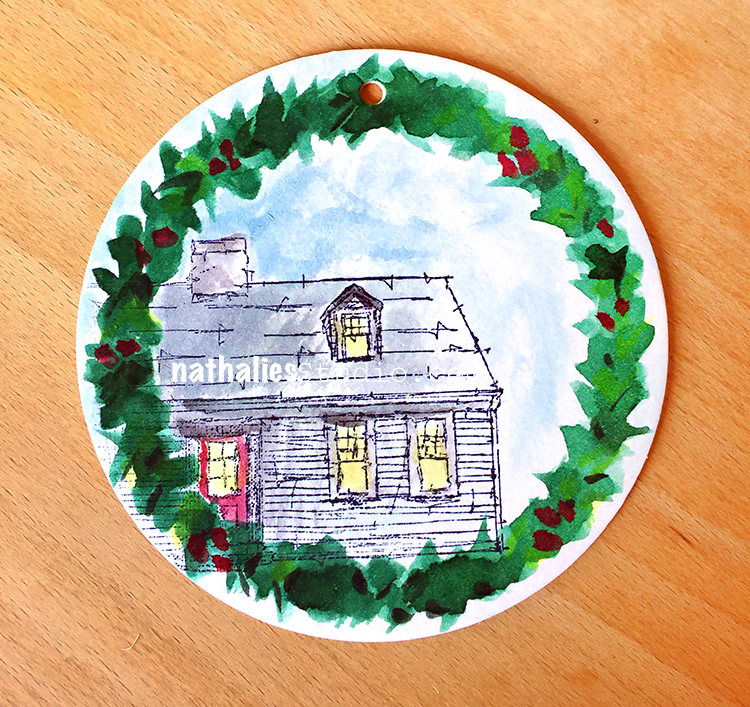
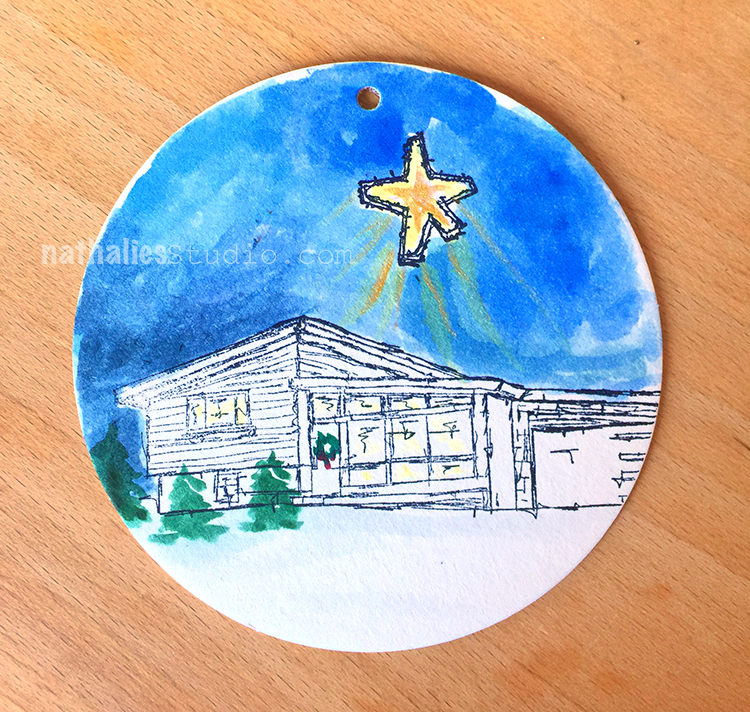
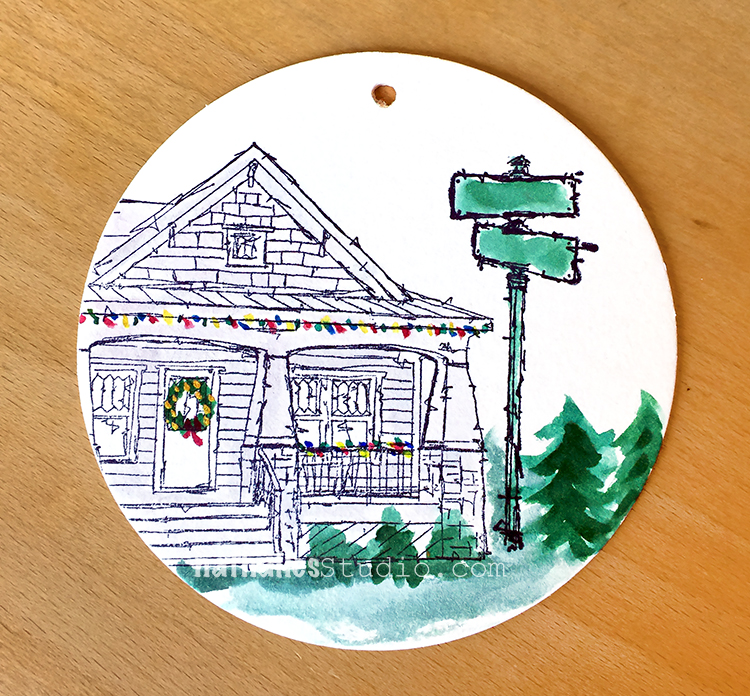
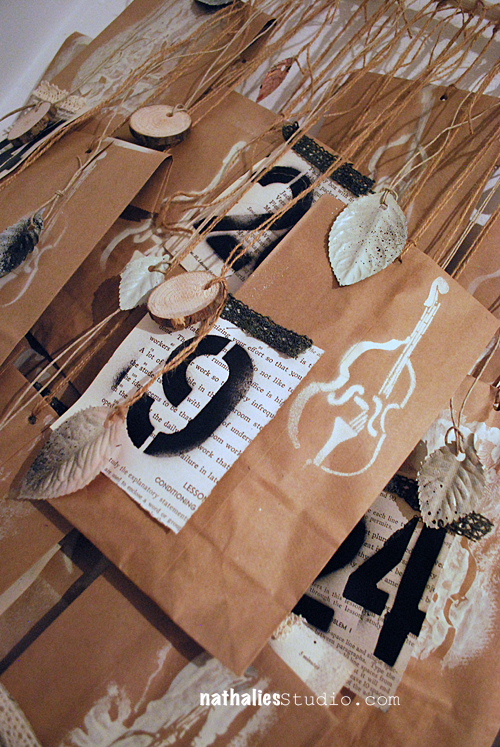
I made two more ornaments, a flat one, and another 3D one in which I cut slits into both circles to the center and slid them together. On each of these, I glued a double layer together and added glitter to the flat one. I had a lot of circles remaining, so turned these into gift tags. I punched holes in the tags and ornaments and attached some bakers twine. It’s easy to add words on the acrylic paint with a carbon ink pen.

I like how the ornaments came out looking unique, while using the same materials. These are ready to hang on the tree.

I love adding a bit of homemade to the holidays! I always hope when someone receives a handmade gift or card, they feel that extra bit of love that went into it. Wishing you and yours a joyous holiday season and blessings for the new year! -Maura


Thank you Maura – love how you created some 3D ornaments and those tags are such a great idea for giving gifts with a personal touch.

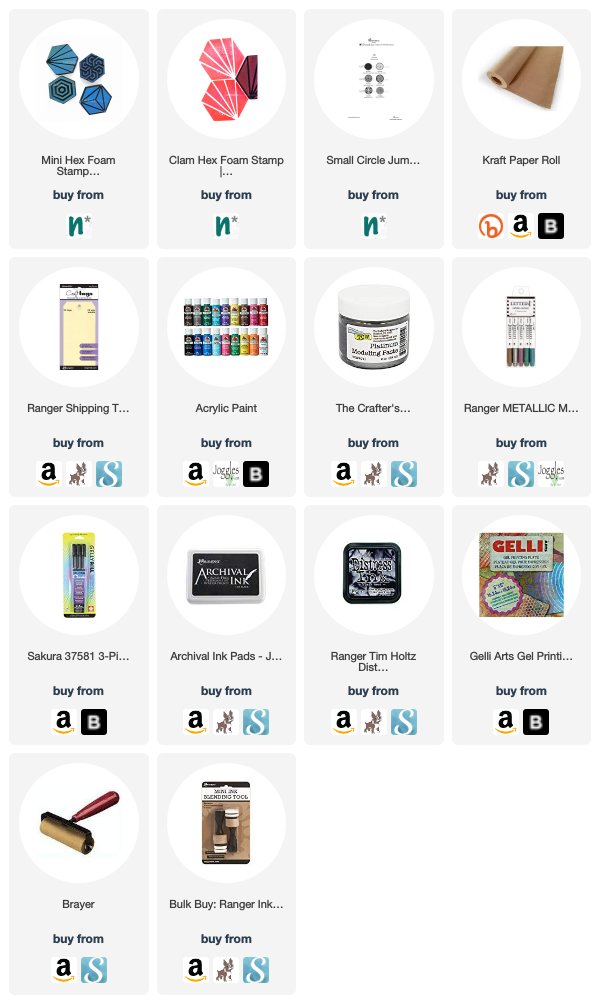
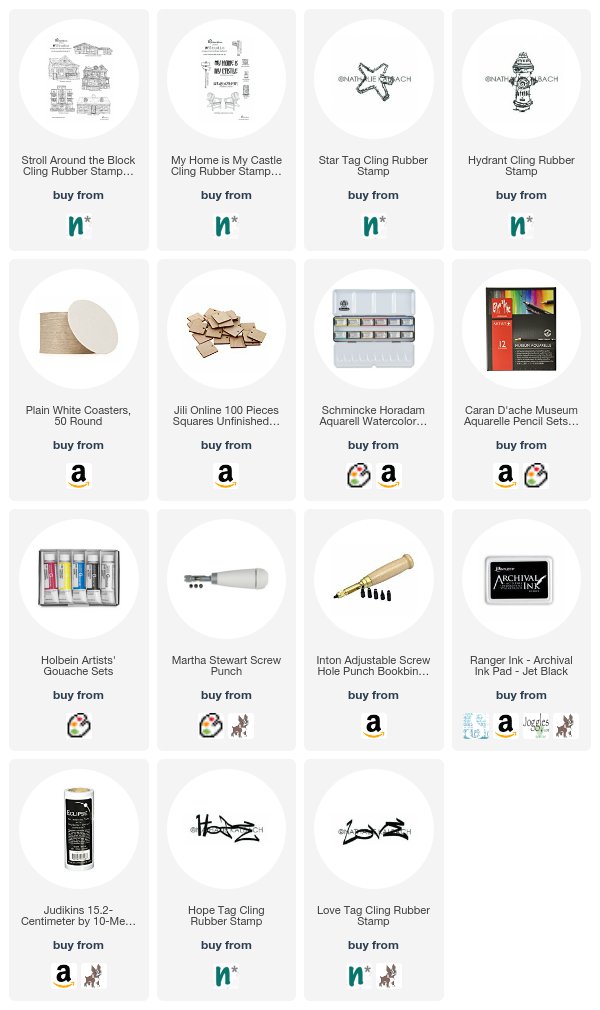
Want to give Maura’s project a try? You can find all my Stencils and Rubber Stamps in my Online Shop and here are some of the other supplies Maura used:

Feel inspired? Working on something yourself that you’d like to share?  I love to see how you interpret our monthly themes. Email me or tag me #natkalbach how you used my stencils and stamps – I would love to share your projects in my next  “n*Spiration From Around the Globe“.

Leave a comment

Doin’ My Thing -Jennifer Gallagher


Hello from my Creative Squad! Today we have a post from Jennifer Gallagher to inspire you this holiday season with some creative gift wrapping ideas. Jennifer is using my Mini Clam Hex foam stamp and my Small Circle Jumble stamp set, along with this month’s theme: Doin’ My Thing – We all have a unique artistic style and way of working with supplies. This is the time to rock it! Be yourself. Do your thing.


This month we are doin’ our thing over on the n*Studio blog. So, what is my thing? That is hard to nail down because I love so many products and techniques. Then I realized that using my supplies to create useful items that others will enjoy is definitely ‘my thing’.

Often when we think of seasonal gift wrapping our minds go straight to decorated trees and snowmen. But who says that you can’t create beautiful, nontraditional holiday wrapping using some of your favorite n*Studio art supplies? Let’s break out our artfoamies and stamps and create some one of a kind paper!

Start with an inexpensive roll of kraft paper. I found mine at a local dollar store. Lay the paper down on a flat surface and tape down the corners and edges with painters tape. This will help keep the paper from rolling up as you work. Brayer out some paint onto your gel plate and press your artfoamie into the paint. I am using Nat’s mini clam hex foam stamp. Now firmly press the stamp onto your kraft paper.

Repeat this process creating whatever design you wish.

Add some pizzazz and additional interest with metallic markers. I have added dashed lines with my silver Letter It Metallic Marker by Ranger.

What would a beautifully wrapped package be without a gift tag? Start with a #8 mixed media tag. Apply the same emerald green paint onto the tag in a haphazard fashion using a mini blending tool.

Thinly apply platinum modeling paste with a dry coarse bristled brush in some areas of your tag. You can continue to layer the green acrylic and platinum modeling paste until you achieve an affect you like.

Add black soot distress ink around the edges and throughout the tag to add additional interest.

Next, stamp a few of the negative circle drive small stamps from the Small Circle Jumble Stamp Set – don’t forget to add the ornament topper. Draw a few strings from the ornaments and add a little silver highlights.

Thanks for joining us. We would love to see what unique and creative gift wrapping you can come up with using your favorite n*Studio products. And be sure to stop by each Tuesday to see what the Creative Squad is up to.


Thank you Jennifer! We can’t wait to try some papers of our own this year. You can find all of my foam stamps and rubber stamps in my online store and here are some of the other supplies that Jennifer used:


Feel inspired? Working on something yourself that you’d like to share?  I love to see how you interpret our monthly themes. Email me how you used my stencils and stamps with the theme and email me an image – I would love to share your projects in my next  “n*Spiration From Around the Globe“.

Leave a comment

Rubber Stamped Ornament Merriment

Kim and I had our monthly playdate and made some Christmas Ornaments and Gift Tags. OH that was so much fun!

We mostly used my new RubberMoon Stroll Around The Block and My Home is My Castle stamp as well as some small stamps from the release before.

We used some chipboard drink coasters and stamped on top of them with black archival ink

For some I used Eclipse Tape – which has a tacky side, stamped on top to duplicate the stamped image and mask off the image on the coaster.

It is such an easy and fun way to create a scenery by working from the foreground to the background.

Here is the midcentury house now appearing behind the craftsman house.

The cool thing about the Eclipse Tape is that you can reuse it.

We also stamped on top of some wooden small tags.

And then we were ready to start the fun.

We used watercolors

and watercolor pencils- I love he vibrancy of the Caran D’Ache Museum Aquarelle pencils.

I also mixed the pencils with some Gouache paint. Love how the the transparency of the watercolor pencils and the opacity of the gouache work look together.

Here are my ornaments

and here are Kim’s

and on the left my gift tags and the right Kim’s.

Using my very old, very beloved Japanese Screw Punch we made holes into our ornaments and threaded some string through it for hangers.

Look at the details in Kim’s ornaments- I love this so much – She created little Christmas lights, and wreath and garlands, and even some candles in the window.

And the wreath in watercolor around the Cape Cod – soooo love it.

I think this was our favorite Playdates so far :)

And here are mine hanging in the tree- I really like how they look like- the colors really pop off the tree

Hope you enjoyed our playdate and give it a try . Here is a list of the supplies we used:


Hope you have a wonderful holiday season!

Comments (2)

  • stephanie

    |

    Oh my gosh — What fun. These are so cute. Merry Christmas!

    Reply

    • nathalie-kalbach

      |

      thank you so much Stephanie!!! hope you had a wonderful christmas!!!

      Reply

Leave a comment

Grungy Advents Calendar or …Welcome to the Handmade Holidays Blog Hop

Handmade Holidays Blog Hop 2013 Logo


Welcome to the Third Annual Handmade Holidays blog hop!! I was invited to join some wonderful crafters, designers, and makers to come together to create and share  a series of thoughtful, handmade gifts for the holidays during this 3 day blog hop. Our goal is to inspire you to create something from the heart this holiday season as well as share how to use products in fun, innovative ways. We intend this hop to serve as a resource to you for this holiday season and for years to come.

Hop along to each blog in the list. Each day, from November 1 through November 3, 2013, we’ll be posting a brand new list of blogs to hop to. Comment on each blog, share your favorite posts over social media, and then use the Rafflecopter widget at the bottom of each post to enter to win the Grand Prize, a gift basket filled with crafty swag from the companies on the hop! We’re ready to inspire, share, and create – are you ready to hop?
Here is my Project:
NatKalbach_GrungeCalendar06
Advent Calendars are an old German tradition and they are used to count down the days till Christmas. In Germany we have a huge variety of Advents Calendars filled with Chocolate treats or little gifts and sometimes also just pictures. It is a a big token of Love when you give someone an Advents Calendar and I have always loved creating my own with little tiny gifts and give it to a dear friend or my hubs. This year I created one for a special friend…and since the task of collecting 25 little gifts is already a bit time consuming – I kept the creating of the Advents Calendar easy, fast and fun . Let’s go :)
NatKalbach_GrungeCalendar01
Besides the Supplies listed below I also gathered some old book paper – or music sheet paper. I started off with spraying Liquitex Parchment Spray Paint through my StandUp Bass Stencils I designed for StencilGirl Products onto 25 Kraft Lunch Bags. I also flipped the Stencil once in while to rub off the excess paint and receive a negative stencil print. ATTENTION: Either wear a mask when spraying with Liquitex Spray Paint or do this outside!
NatKalbach_GrungeCalendar02
I love using these Spray Paints as you can work so quick and there is not much bleeding on the kraft paper since it is Acrylic Paint.
NatKalbach_GrungeCalendar03
Then I used some Cardboard Stencil Numbers to spray the days from 1-25 on the book paper – I used black here.
NatKalbach_GrungeCalendar04
This is probably the most time consuming part of creating the Advents Calendar but I love the stenciled look.
NatKalbach_GrungeCalendar05
Next I spray painted the Prima Leaves a bit so that they would fit the calendar
NatKalbach_GrungeCalendar07
Then I filled the lunch bags with my gifts, attached the numbers with a stapler and added some lace to the bag. I folded the opening of the bag to the back and then used a Japanese Screw Punch to make a hole through the flap. I love the Japanese Screw Punch – a very sharp tool (use a craft mat!) which makes no noise -perfect when you share your place with other people :)
NatKalbach_GrungeCalendar08
Then I started attaching the bags on a string to the clothes hanger. The good thing about a clothes hanger is, that it can be hung anywhere – on a closet, on a nail, on a shelf edge – the possibilities are endless for the person who receives this calendar and then …after Christmas…they have another hanger… ;)
NatKalbach_GrungeCalendar09
Try to add the bags picking up different days  – I had sorted them in groups of five and then picked from each group one bag to make sure to mix it up nicely. Also make sure you keep the balance on the hanger  – you get the picture ;)
At the end I just added the Wooden Disks which I had drilled wholes into and the sprayed leaves as a little grungy decoration and voila- done :) Of course you can alter this fitting your taste- so if you do not like the grungy look you are very welcome to use for example red & white baker’s twine and add nice red cardboard numbers onto doilies instead of the book paper- and there it is- same concept – different look :) Make someone happy this holiday season with an Advents Calendar – I promise you it is well worth it when you see how much the person loves it !
NatKalbach_GrungeCalendar11
Here are the supplies and tools I used:
nSupplies

Enter here for the grand prize and comment also on my blog :)
a Rafflecopter giveaway

Now hop on over to the next person on the list:

Jen Goode http://www.100directions.com/

Here is the complete blog hop list for today

Sizzix – Eileen Hull Designs http://eileenhull.blogspot.com/
Nathalie Kalbach www.nathaliesstudio.com (you are here :) )
Tanner Bell   http://www.craftteen.com
Jennifer Priest http://hydrangeahippo.com
Vicki O’Dell http://vickiodell.com/
Have a wonderful creative day and huge hugs

Nat

LogoBlogSignature

Comments (36)

  • Susan Wilder

    |

    Really awesome looking! Thank you!

    Reply

  • Ursula

    |

    Auch eine schöne Idee, den Adventskalender an einem Kleiderbügel aufzuhängen. Bei mir gibt es dieses Jahr wieder einen ATC- Kalender, den ich in meinem Stammforum organisiert habe… Und für Junior brauche ich noch eine Idee, aber is ja noch ein “bischen” hin ;))
    LG Ulla

    Reply

  • Laura

    |

    This is fab Nat :)

    Reply

  • Janis in ID

    |

    Really different and very cool idea!!
    <3 J

    jwoolbright at gmail dot com

    Reply

  • Amante del Papel

    |

    Fantastic calendar!!!

    Reply

  • Laura Strack

    |

    Hi Nat! Very cool advent calender! Love that chalkboard paint!! TFS!

    Reply

  • Janine

    |

    I gotta start working on my advent calendars as well!

    Reply

  • Kimberly

    |

    What a great idea for an advent calendar!!

    Reply

  • Lynn Hardy

    |

    This is really unusual and a great way to be able to give slightly larger advent gifts! Thanks for the ideas!

    Reply

  • Viki B

    |

    Such a unique idea for an advent calendar!

    Reply

Leave a comment

If Our Tree Could Speak…

treespeak

…well there were a lot of stories to tell…

treetransport

….how the poor thing got carried through a snowy cold day through the city…and then up the fifth floor and then left out for a night in the dark and cold hallway

ornaments

….how the next day it was brought in and all kinds of shiny boxes started to appear next to it

Babushka

…how Babushka said “don’t you worry….I came all the way from New York , my home was Anthropologie and I have a good home here for many years now” and then clonked down and weighs heavy on the branch ever since

bazookaguy

…how Bazooka Guy made a scary appearance but then said…”hey…I am just a good guy representing childhood games of the guy called “hubs” – I will take care of you!”

Canadaeh

…how this thing with a funny accent said “No worries, I am new here too, eh?” and then said something about coming all the way from Canada and being a present from Barbara

Felti

…how Felti from Maine made by Cat, said “Dude, at least you have it warm here!”

Heirloom

…how the shiny dented ball said “uhhh it is nice and airy here, I haven’t been out of aunt Margot’s basement for many many years- I like it – I will shine!”

RURUTGERS

…how the Santa Dude in the Balloon said “We made it to the big ten, RU RU Rutgers” and is waving his big foam finger ever since

SantaMouse

…how Santa Mouse from New Jersey, made by Karen sighed and said “oh no…not again…” dangling from a lower branch and being attacked once in a while by a hairy monster called Niles

Standupbass

…how the Standup Bass constantly pouts because it’s bigger brother in the next room is so much louder

Treelighted

…how cozy and warm and beautiful sparkly it all looks in the evening and how much the tree is enjoyed by the peeps living in this household.

What stories would your tree tell? (go ahead if you want- grab the logo and share your tree’s story!)

nat

Leave a comment