Stroll Through The Hood

Stroll Through the Hood – November 2019

Strolls through my hood get me out of my studio, they help me get unstuck and often I get inspired by what I see and get new ideas to create something. It is part of my philosophy about Artful Adventures in Mixed Media – which is the subject of my book. Here are some photos that I gathered in the last couple weeks.

What a couple weeks this has been so far! just shortly after we moved in I had the film crew of Sketchbook Skool come over to shoot my part of Mixed Media Journaling – an amazing class with Seth Apter, Kecia Deveney , Mary Beth Shaw and yours truly. Check it out if you haven’t yet. It was so much fun and also weird to see this still new to me studio transformed into a filming studio …As you can see I was just my own goofy self ;)

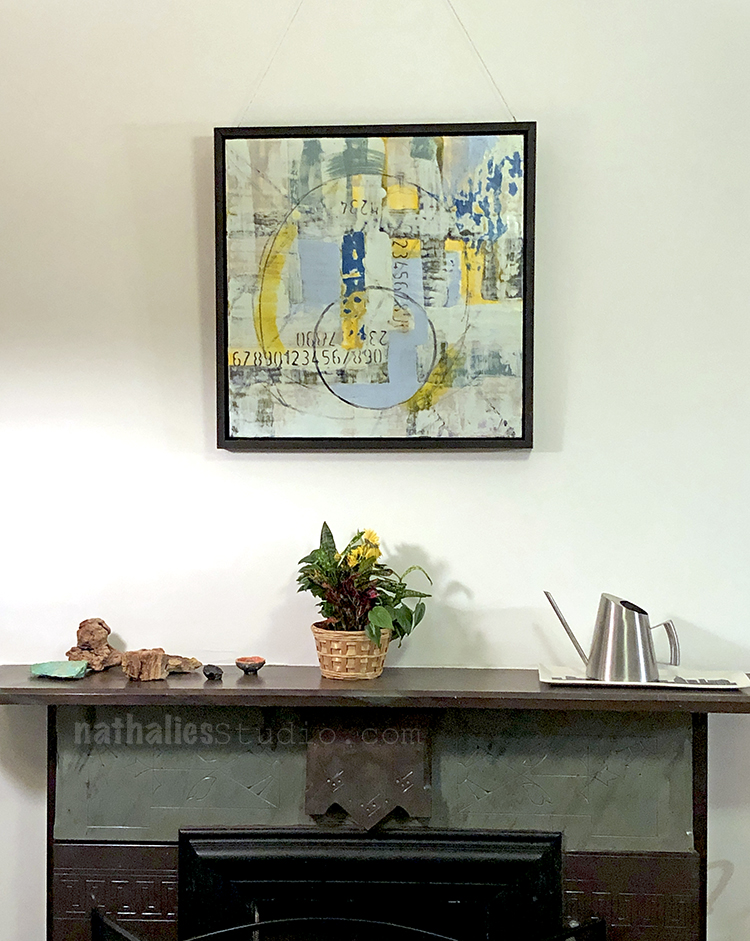
We are also slowly putting artwork up and I love this piece we bought at the Art and Studio tour in Maplewood NJ. It is encaustic and by Kathy Cantwell. I loved seeing her process and also her transition from her older pieces like this to her newer pieces.

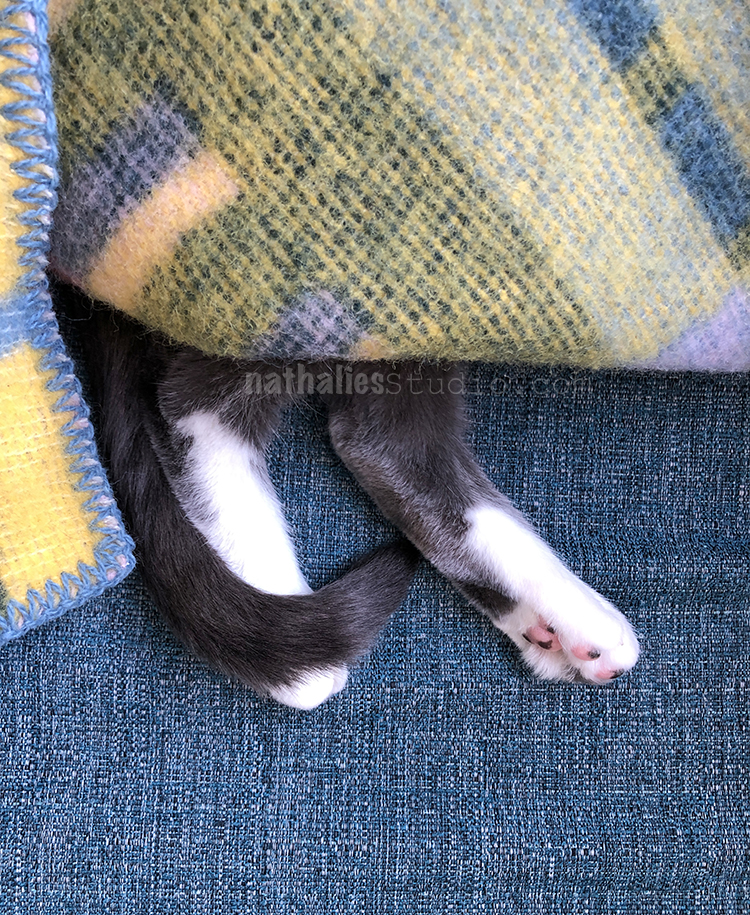
Bobby Pretzel also loves the house -his favorite is a new blanket – especially under the blanket spot ;)

As we are new garden owners we slowly adapt to the chores of having a garden – plus during the construction it was terribly abandoned and the parking ground for all kinds of debris and construction stuff. I like this little oasis a lot and since it is right off my studio I think it will provide me with some inspiration in the warmer months :)

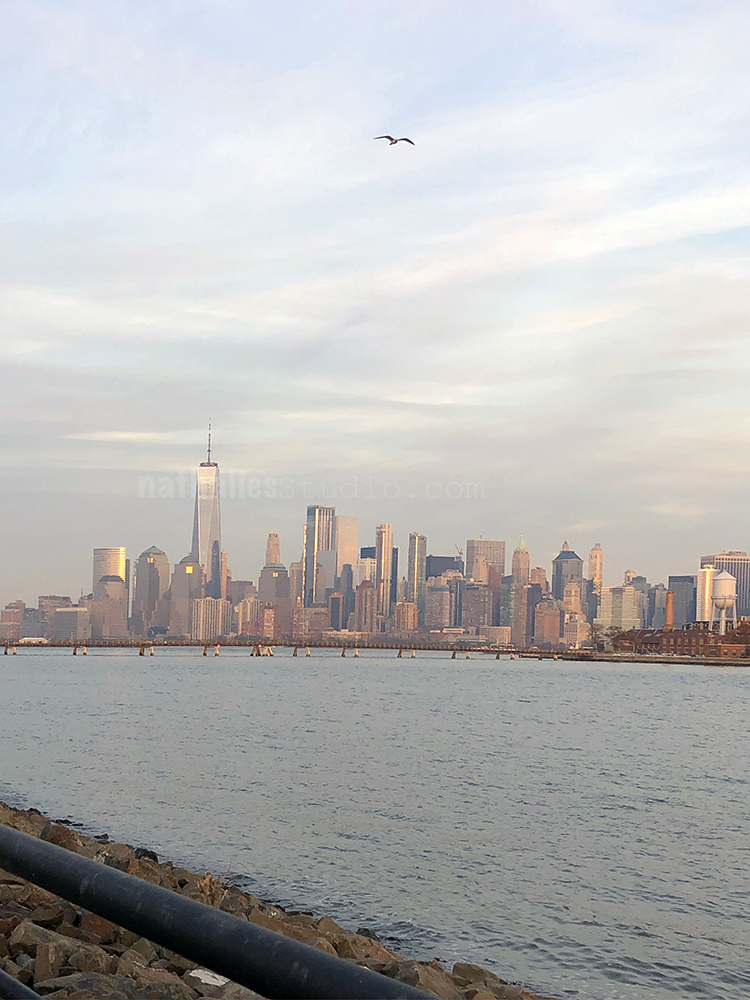
I never get tired of this view from Liberty State Park – each time of the day and season change it ever so slightly.

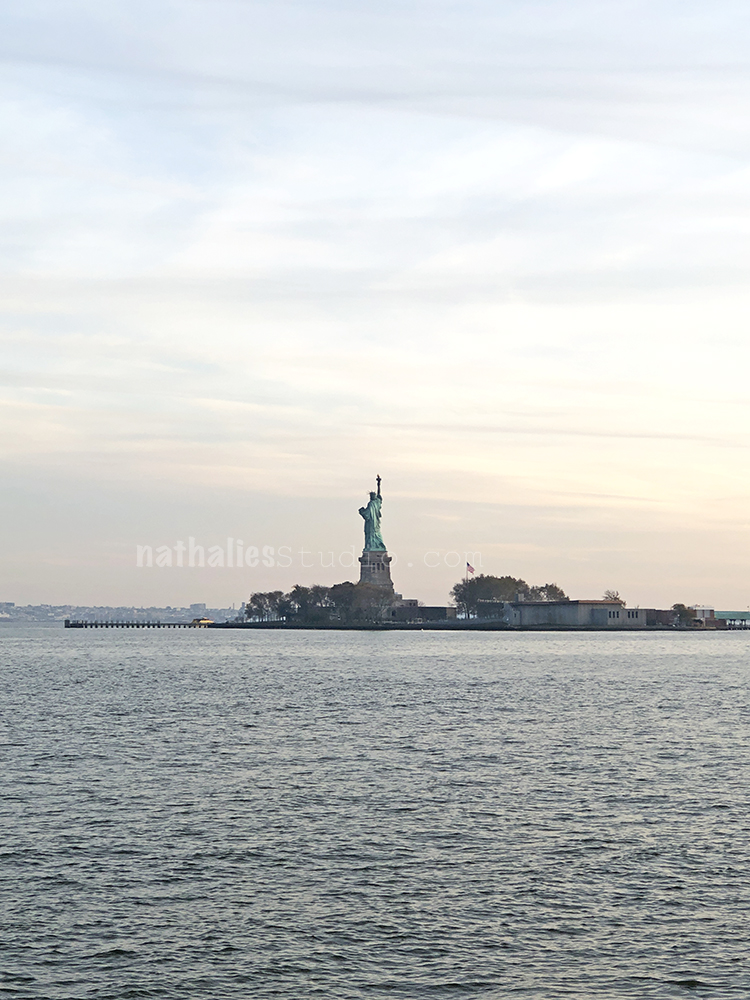
Those views always make me realize how lucky I am to be able to see this every day if I want to – we often take things for granted after a while and it is good to hold on and think about the blessings in our life.

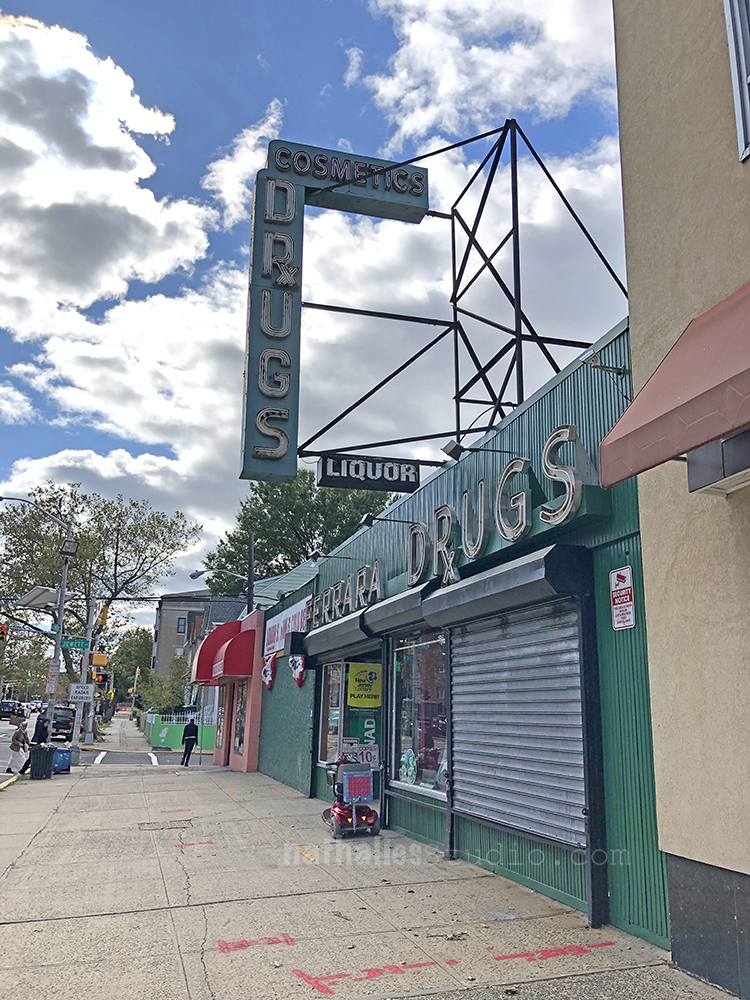
I love this massive sign on this store. Also …Cosmetics and Drugs ..I mean LOL- common!

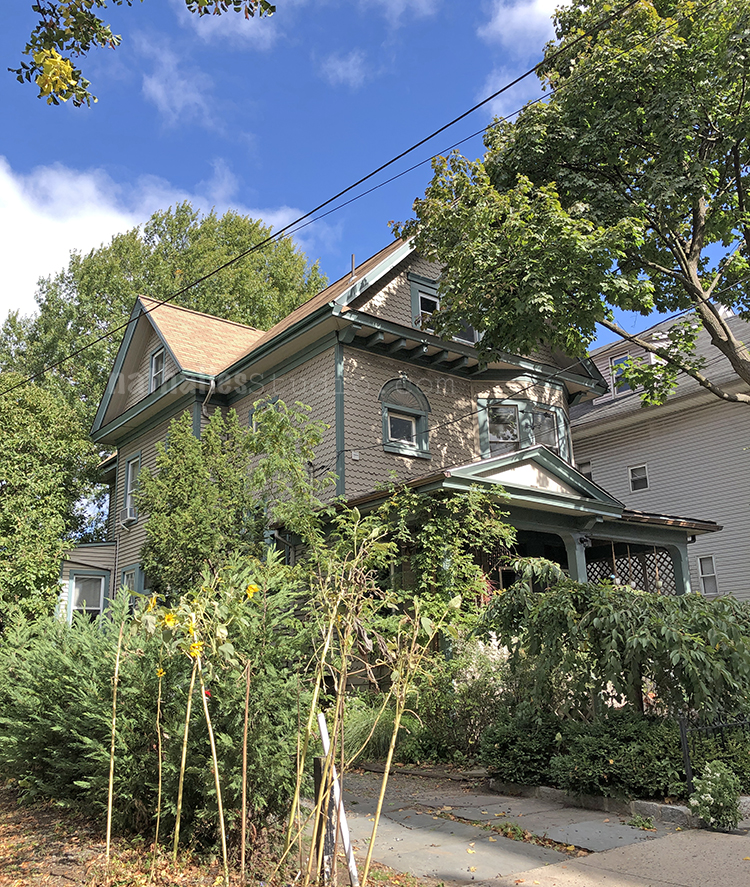
I know I have been posting so many houses around my new neighborhood. There are all these little cute places …well some are massive – and it is funny how just a couple blocks away everything is quite calm all of a sudden and it is still a city but feels less like a city.

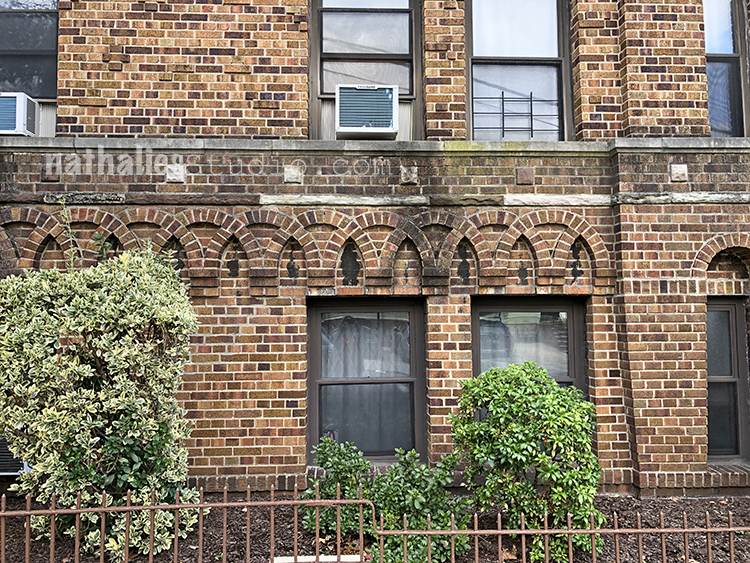
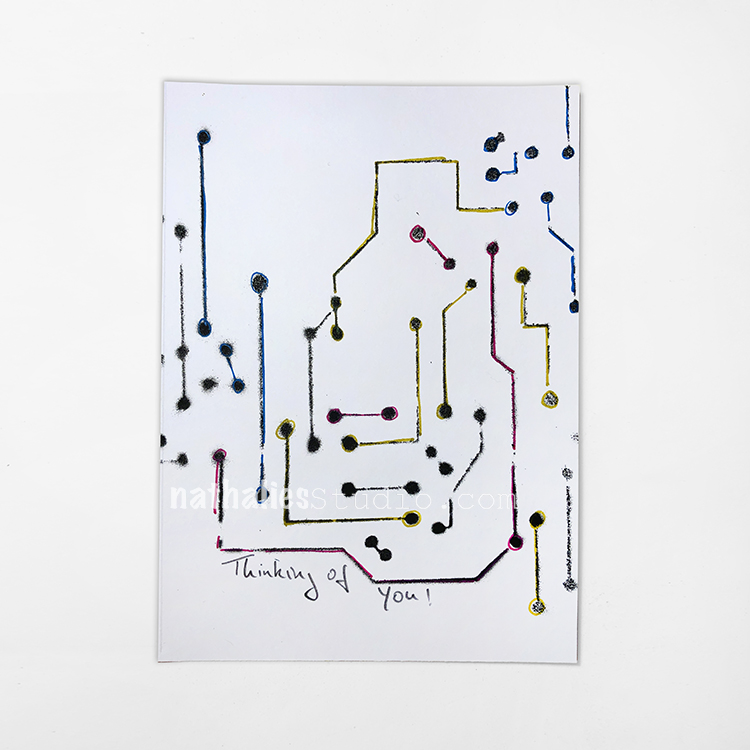
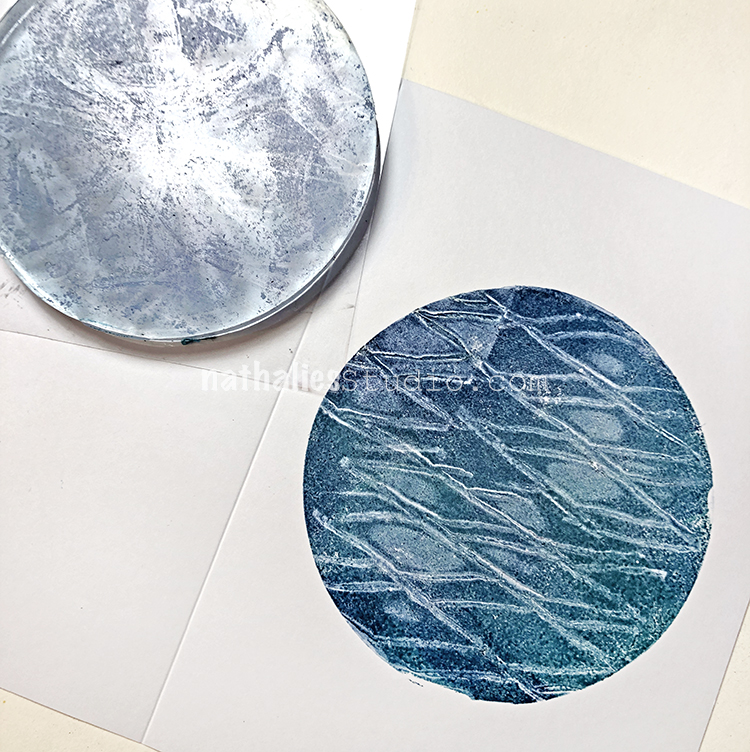
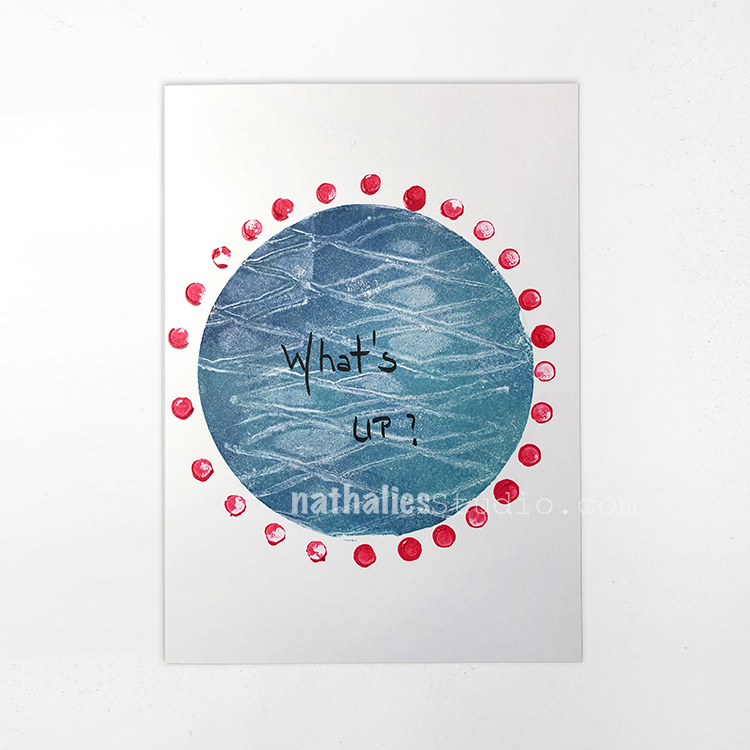
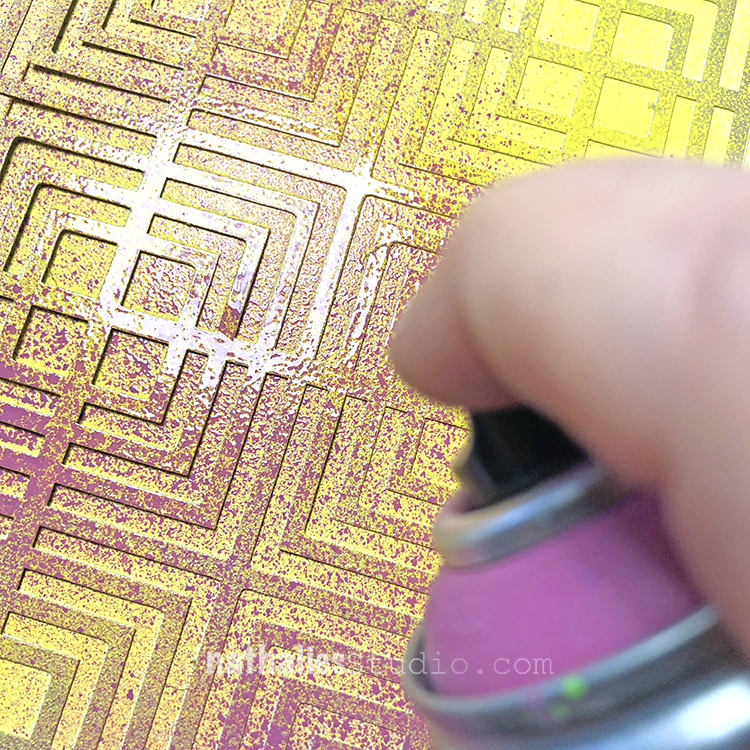
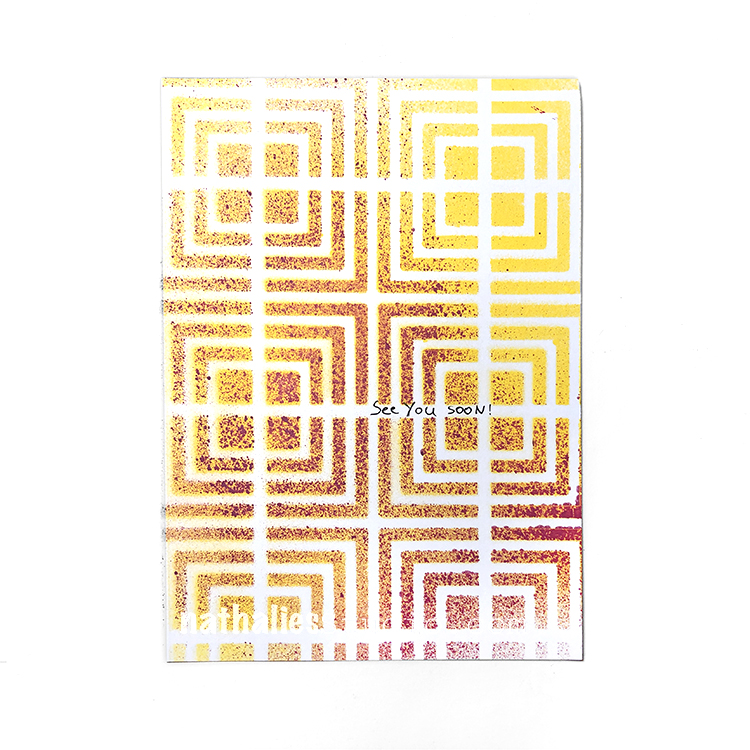
I love the facade of this apartment building and I actually already turned the arched brick part into a stamp. I have been carving a ton of stamps lately inspired by all kinds of little architectural elements in my neighborhood. It feels good to have more time in the studio again and to be able to turn some of the inspiration from my strolls through the hood into art. 


I hope you enjoyed this stroll through the hood and I hope I see you next month for the next one :) Have a gorgeous day

Leave a comment

Deck of Cards Challenge – Prompts 22 & 23

Today I am recapping Days 22 and 23 of my Deck of Cards Challenge that is running all month long on Instagram. This week we are focusing on funny friendship cards and words. 

Here is a recap of Prompts 22 and 23:

Day 22 – You are my Sunshine

I love that nice lyric “You are my sunshine” and thought hey my Broadway Fan Large rubber stamp kinda looks like a sunrise – perfect.

I stamped it in gold and then added some color with Liquitex paint markers in warm hues. I tucked my sentiment right in the pattern.

Day 23 – You Got This

Time for some encouragement in my Deck of Cards Challenge!

I created a background using Lindy’s Starburst Spray in two colors.

Then I stamped my Millie and my sentiment from the Actually I Can rubber stamp set. This card is just the thing for someone who needs a bit of a boost in motivation.

Here are some of the supplies I used for these cards:

Join us for the Challenge on Instagram and share your work with #docchallenge. Here are the prompts:

Leave a comment

Card Making Workshop in Jersey City – Dec 12

I hope you can join me on Thursday, December 12th for a festive evening of holiday card making in Jersey City! I am teaching a workshop at a new space in my hood and am excited to be bringing some stamping and watercolor fun to help you make a batch of 12-15 cards for your holiday wishes.

It will be a relaxing good time with lots of creating and some refreshments also will be served. Spend an evening with old friends and new, enjoying a holiday activity that will help you spread some joy too :)

You can learn more and sign up HERE

Leave a comment

Deck of Cards Challenge – Prompts 19, 20, & 21

Today I am recapping Days 19, 20, and 21 of my Deck of Cards Challenge that is running all month long on Instagram. This week we are focusing on just because cards and dots and lines. 

Here is an over view of Prompts 19, 20, and 21:

Day 19 – Miss You

My card today is Miss You – sniff sniff! For that person who has been gone too long.

I used my Love Knots and Running stamps from my Embroidery rubber stamp set and an ombre ink pad from Hero Arts.

I almost feel like the Running stamp could be rain or even some serious tears. Either way, this card gets the feeling across.

Day 20 – Thinking of You

We’re on Prompt 20 of my Deck of Cards Challenge and today we’re making a card just to let someone know they are in our thoughts.

I started with my Circuit stencil and black spray paint and then I oomphed it up a bit by going back in with Graphik Line Painters.

Day 21 – What’s Up

This is the final day for my Just Because cards, focusing on Lines and Dots.

I used an ombre ink pad to ink up a round gelli plate.

Then I stamped my Pie Top rubber stamp into it to remove ink.

When you press the gelli plate on a card the stamp pattern gives a nice effect.

I added some eraser dots and then my sentiment. This is definitely a light hearted card.

Here are some of the supplies I used for these cards:

Join us for the Challenge on Instagram and share your work with #docchallenge. Here are the prompts:

Leave a comment

Mirror Mirror – Nicole Watson

Hello and welcome to a post from my Creative Squad! Today we have Nicole Watson sharing with us a nice and easy card project – just perfect to go along with my Deck of Cards Challenge this month on Instagram :) She is using my Valley Road stencil and this month’s theme: Mirror Mirror – A mirror can be a reflection of many things. We look into them every day and can see who we are outside and in. But they can also just be a fun visual tool to play with as we flip and reverse images and patterns. Play with reflection this month.


Since Nathalie is doing a card-making challenge this month, I decided to make cards for this tutorial! These mirrored cards are quick, easy, and require minimal supplies.

Here is a video of my process and below the video you can find the step by steps with photos


First, grab some fall colored paint. I used Golden’s Open Acrylic paint since it has a longer drying time, and I wanted to pull multiple prints before the paint dried. Begin by squirting several colors of paint on your gel plate and spreading it around with your brayer. I like to brayer off my excess paint in a book. Then, place your stencil in the middle of your plate. Now it’s time to pull some prints!

If you’ve never gel printed before, don’t worry. This is very simple printing and a good place to begin. Simply place your white paper on top your plate and stencil and smooth over it several times with your hand. I like to concentrate on the stencil (I’m using Nat’s Valley Road stencil here) with more pressure to make sure the paper contacts the paint inside the stencil holes. The more detailed your stencil is, the harder it is to ensure this happens. Gently pull your paper from the plate and admire your print! Repeat this process about two more times. You should be able to get three really nice pulls before the paint runs out.

Now it’s time to create the mirrored image. Carefully pull your stencil off the plate to not disturb the paint that was masked by the stencil. Place your stencil paint side up (We’ll use it in a minute!). Grab your white paper and you should be able to get two nice pulls. You will also be able to get one nice pull from the stencil itself. Place the stencil paint side up on your gel plate and use a white paper to pull the paint off the stencil. This will clean it for the next colors, and give you one more print.

Continue this process until you have a bunch of prints. Be creative and use different color combinations so when you put the mirrored images together, they are different.

Once your prints are dry, pair them together: one negative and one positive print that you think work well together. Then, cut these prints in half. This is where you can be a precise measurer or just eye-ball it like me. Use some washi tape to gently tape each half together to make a whole print and trim your squares down for card fronts. I made cards that are 5 inches by 5 inches, so I trimmed by stenciled fronts down to 4.75×4.75. Carefully remove the washi tape and adhere your prints to the front of your folded card base.

That’s it! Super simple but beautiful fall cards. You can take them further by stamping a sentiment or writing one on the front. These would make great cards to send as a thank you this month or even tie a bunch together with a ribbon to give away. They would also make super-cute place cards at your Thanksgiving table. And, your extra prints are perfect for using in your art journal or other projects.


Thank you Nicole and love that you were inspired by my card making challenge – what gorgeous results :)

Want to give Nicole’s project a try? You can find all my Stencils in my Online Shop and here are some of the other supplies she used:

Feel inspired? Working on something yourself that you’d like to share?  I love to see how you interpret our monthly themes. Email me or tag me #natkalbach how you used my stencils and stamps – I would love to share your projects in my next  “n*Spiration From Around the Globe“.

Leave a comment

Deck of Cards Challenge – Prompts 17 & 18

Today I am recapping Days 17 and 18 of my Deck of Cards Challenge that is running all month long on Instagram. This week we are focusing on just because cards and dots and lines. 

Here is an overview of Prompts 17 and 18:

Day 17 – See You Soon

For my Deck of Cards challenge today I am making a card for that special someone who maybe you are going to visit, or who is coming home soon.

I used water based spray paint and my Manhattan stencil because spray paint and stencils are an excellent duo! I love how the colors blend back and forth. 

And yum it makes a pattern look good! Super easy way to make some beautiful cards.

Day 18 – You are a Star

Today my Deck of Cards Challenge is a card for someone that has been rockin’ it in your life.

I started off with using an old hotel key card and laying out a bit of pink paint. Then I came in with my Beacon foam stamp and blue.

Finally I finished the background off with yellow marks all over and my sentiment: You are a Star!

Here are some of the supplies I used:

Leave a comment

Deck of Cards Challenge – Prompts 15 & 16

Today I am recapping Days 15 and 16 of my Deck of Cards Challenge that is running all month long on Instagram. This week we are focusing on just because cards and dots and lines. Check it out!

Here is an overview of Prompts 15 and 16:

Day 15 – Long Time No Hear

In my Deck of Cards challenge it is time for some “just because” cards for your friends and such. Also this week we’re going to focus on dots and lines so here we go with the first card, for your long lost friends :)

I dipped the edge of some cardboard in paint and made some marks on the card – cool little abstract trick. Then I used the triangle off my Numerals stamp for a bit more to the pattern.

Next I added more dots, a bit of color in the triangle, and my message. Now it’s time to send this off and reconnect!

Day 16 – Hello Again

Welcome to another day of my Deck of Cards Challenge – today my card is using an interesting cardboard pattern as a stamp with acrylic paint.

I love finding ways to use the crazy amount of packing material that comes in everything these days. It makes me feel a tiny bit less bad about it if I can reuse it.

So then I also used my pencil eraser for dots – one of the best ways to get nice same sized dots wherever you need them.

Here are some of the supplies I used:

Leave a comment

A Look Back – Cool Stuff You May Have Missed 11

A Look Back – a blog series to show you some projects and posts that you may have missed – sometimes going WAY back in the archive. I think it will be fun to revisit a few ideas that we haven’t seen for a while. I’m excited to see how a little look back might inspire something new in the future :)

This time I’m looking at Distress Inks and Distress Oxide Inks – a fun ink to play with that is very blendable and soft, and also comes in so many wonderful colors. Enjoy this Look Back!


Wow ok first is a card I made and posted about back in 2009!!! So just about 10 years ago. In it I used Distress Inks for the background, and you can see how I was able to make some beautiful transitions between those warm colors. The original blog post is here.

Now we are jumping forward to 2017 and my Artful Adventures Stroll Challenge. Here is an art journal spread I created using Distress Inks in the background and then removed ink with a baby wipe through my Manhattan and Kassel stencils. Then I went in and created a subway scene using my E-Train rubber stamp.

In 2018 I released some new stencils and in playing with them, I created this art journal page. I filled the background with Distress Oxide ink and then used a clean wet ink blending tool through my Broadway stencil to remove some of the ink.

In 2019 my Creative Squad member Tania Ahmed created this card using Distress Oxide inks for both the blended background and to color my Maiko stamp.

Finally, in May of this year as I was playing along with the Stencilfied Journal challenge, I created this art journal spread. I used Distress inks along with my Chicago stencil.


I hope you enjoyed A Look Back through my archive and maybe you are inspired to try some different things now too.

Here are some of the supplies I used in these posts:

Leave a comment