Creative Squad

Return to the Light – Marsha Valk

cs-december-theme

Today, Marsha Valk from my Creative Squad is sharing a wonderful and illuminating project using my small Santiago, Toledo, and Buenos Aires stencils for this month’s theme: “Return to the Light.” As we pass through the Winter Solstice here in the Northern Hemisphere, the ever lengthening nights turn to ever lengthening days. This ancient marker in the calendar has always been a celebration of light and the promise of a new day. Let’s Return to the Light with some bright and luminous mixed media projects!


marsha-dec-headshot

I do not like the dark days of December. I mean: it’s OK when the sun comes out for a couple of hours, but here in the Netherlands December weather is mostly gloomy and grey… Candles and fairy lights are a must, because they make even the greyest days a bit brighter.

marshavalk_nstudio_light-4

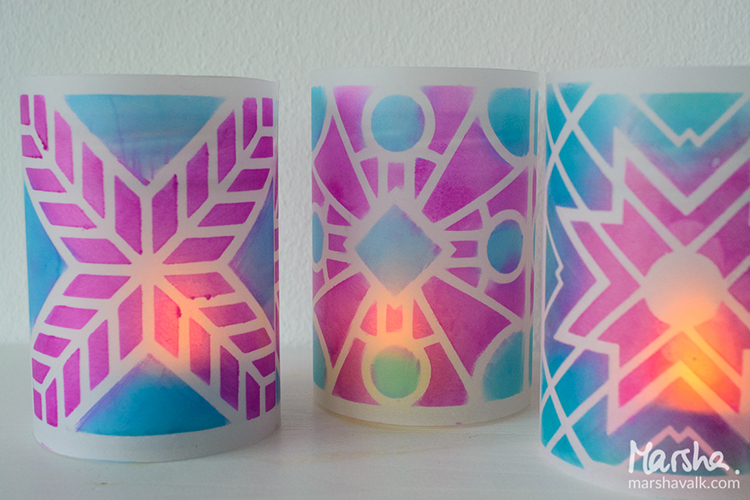
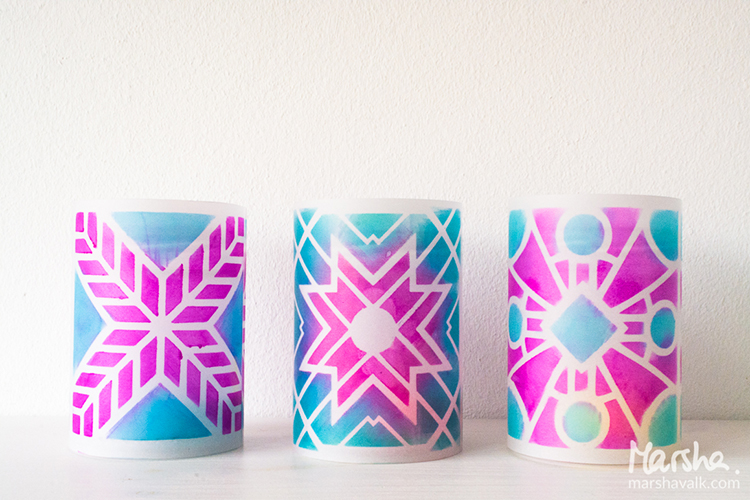
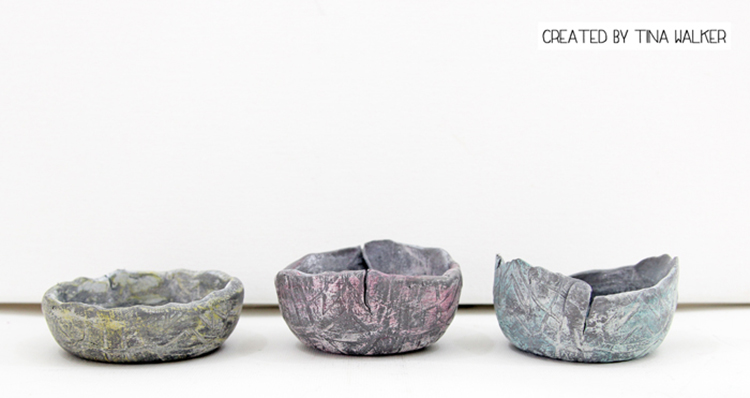
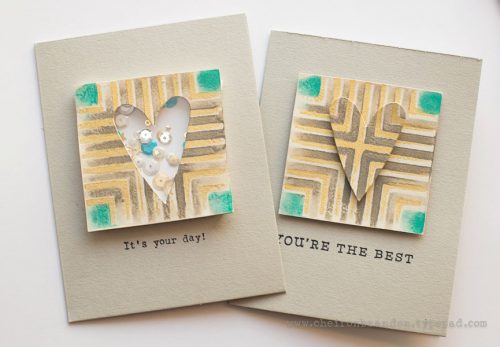
These votives do not take long to make and chances are that you already have everything you need to make them. They look cute on a festive table, but they will also keep until after the holidays!

marshavalk_nstudio_light-step-1

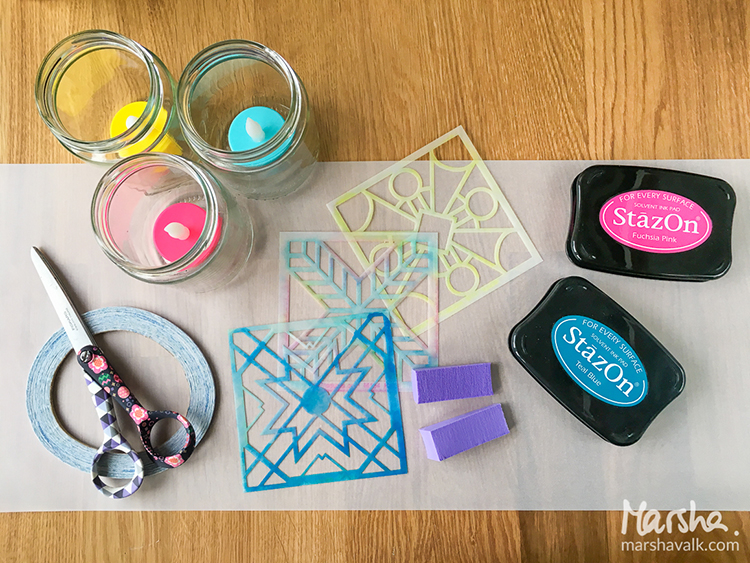
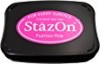
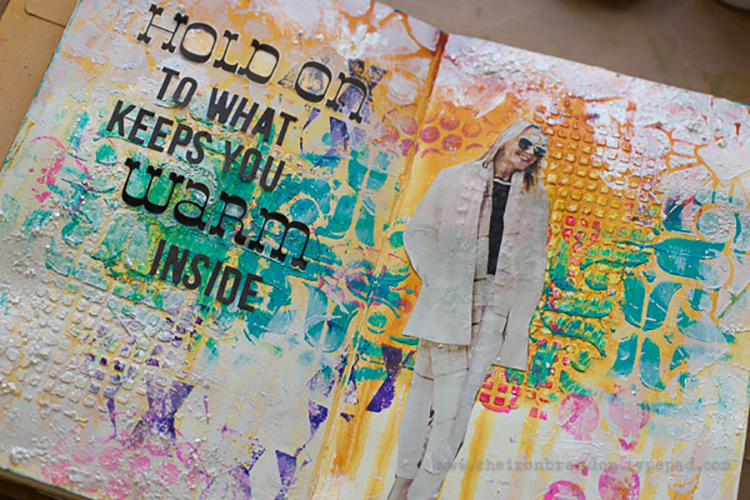
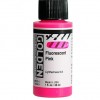
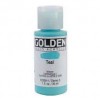
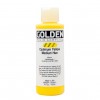
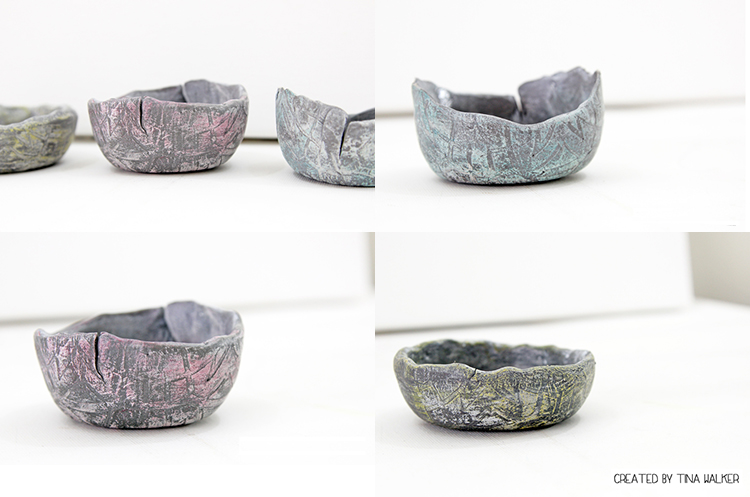
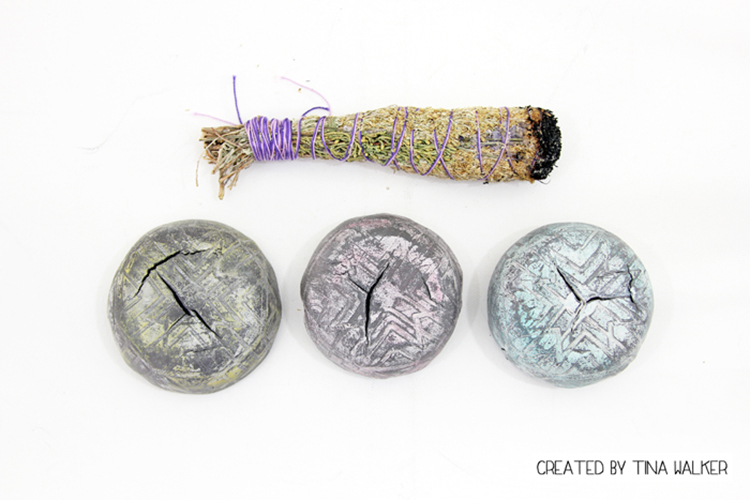
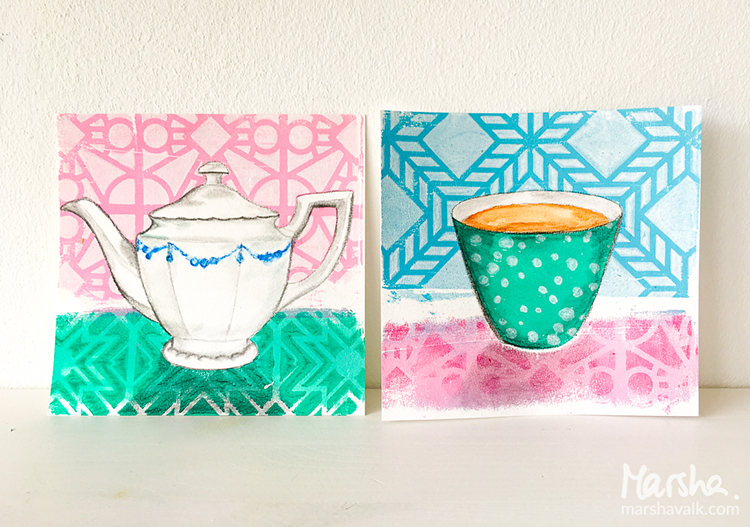
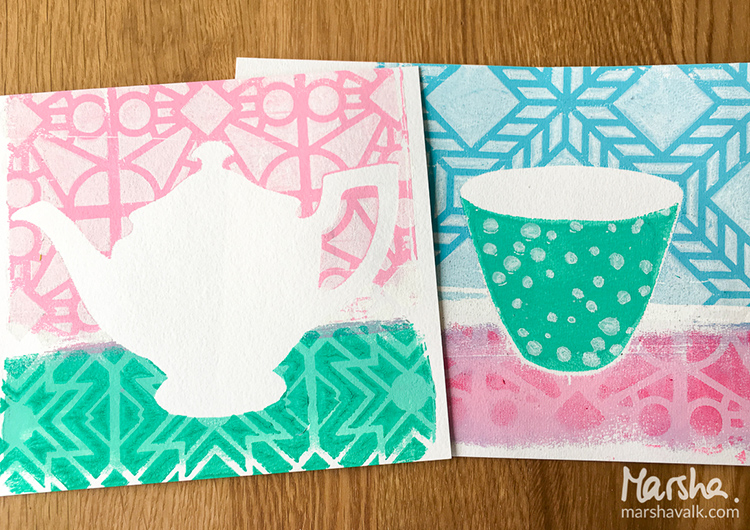
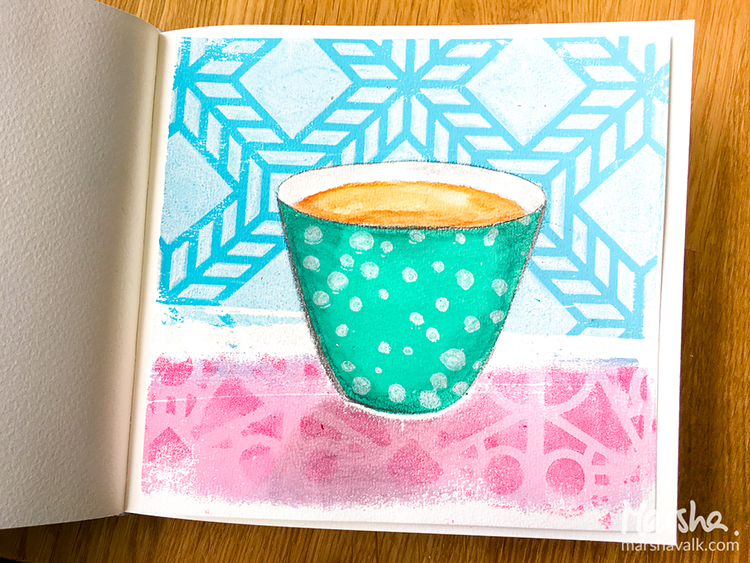
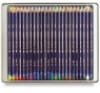
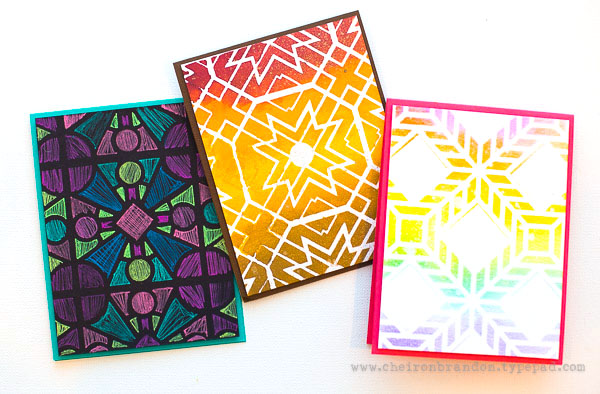
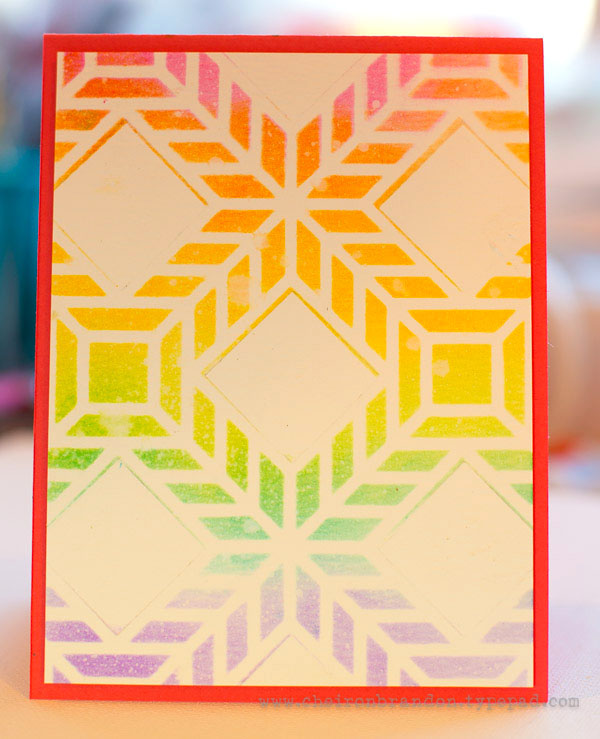
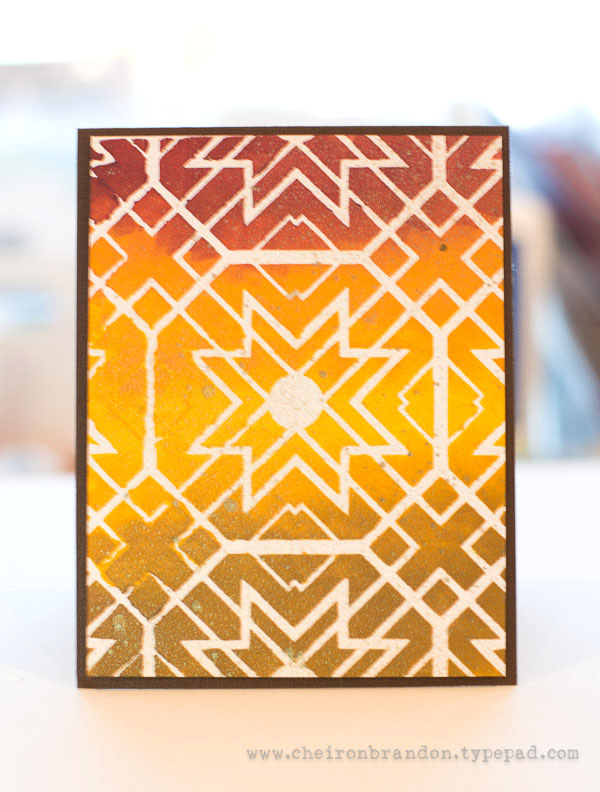
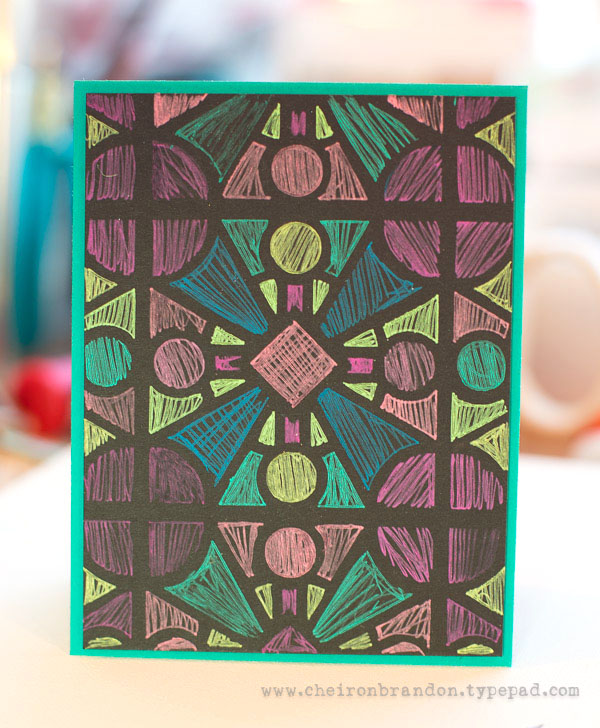
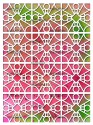
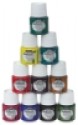
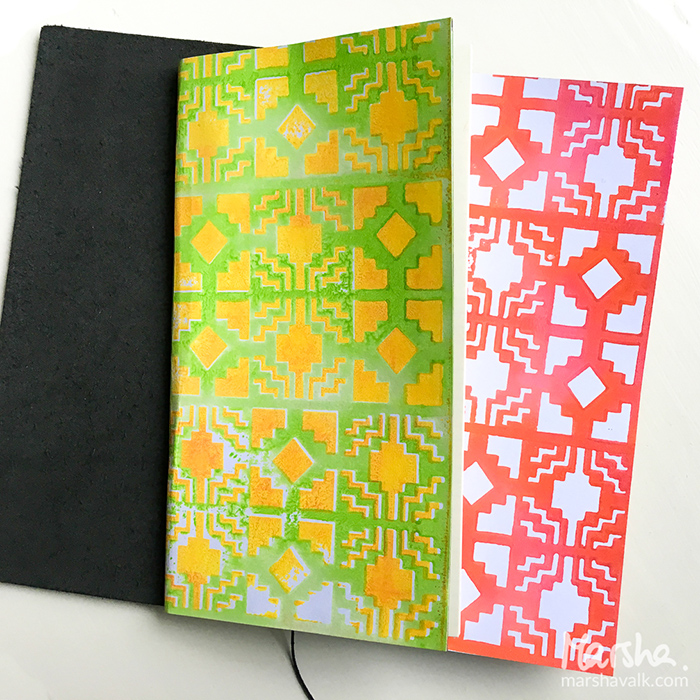
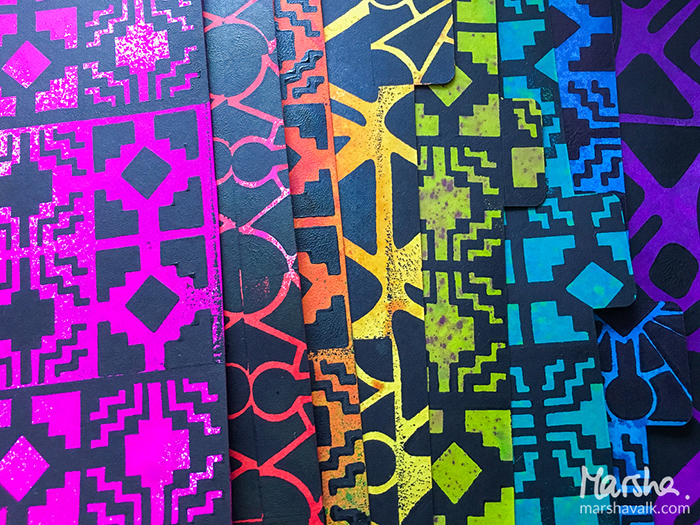
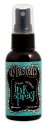
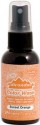
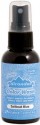
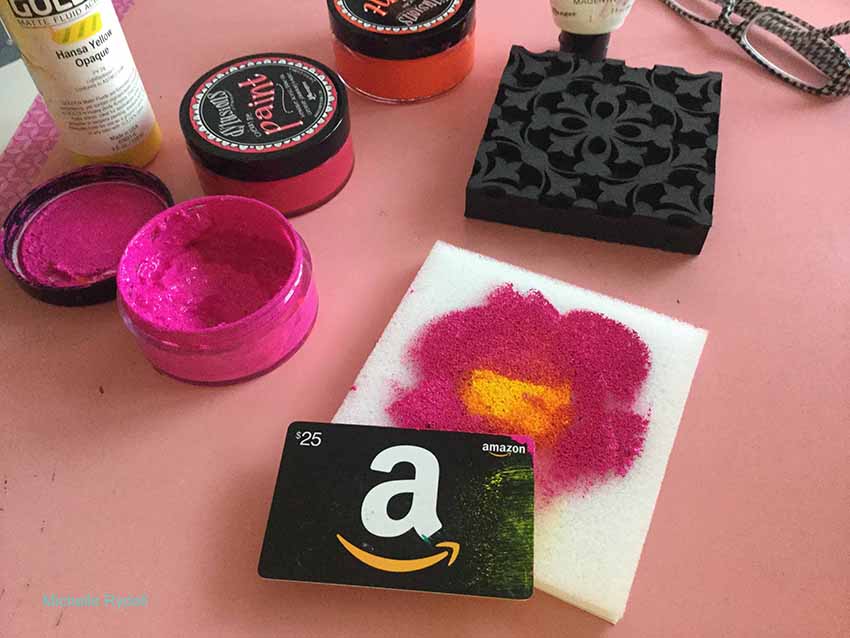
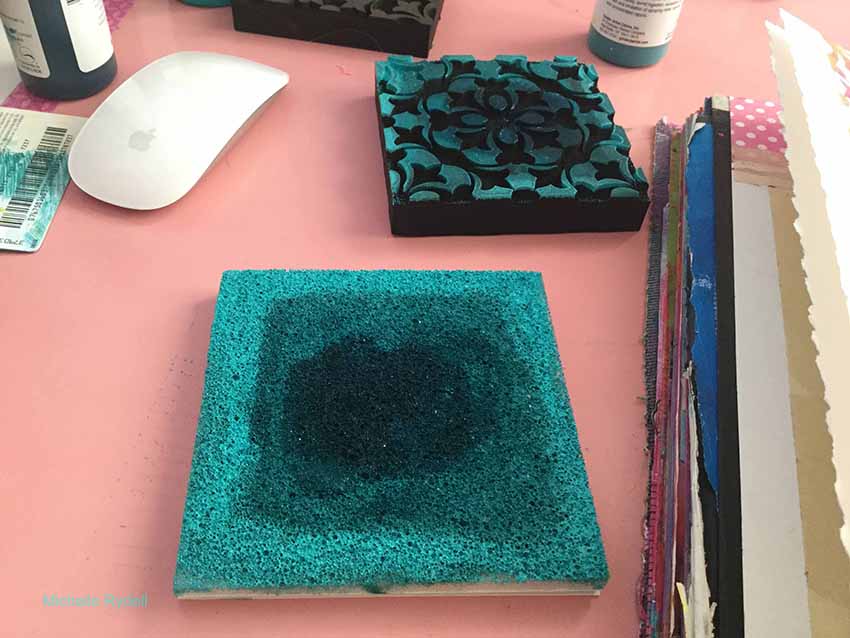
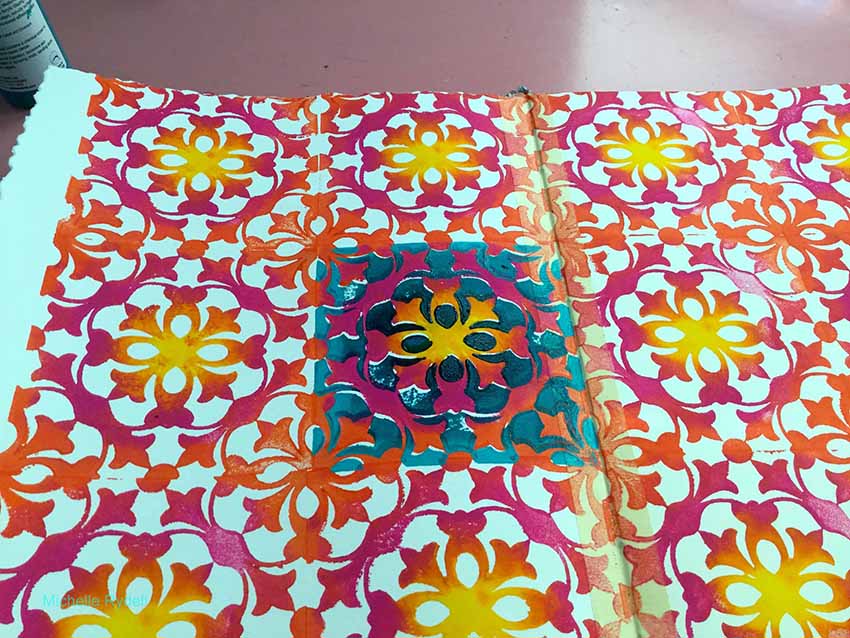
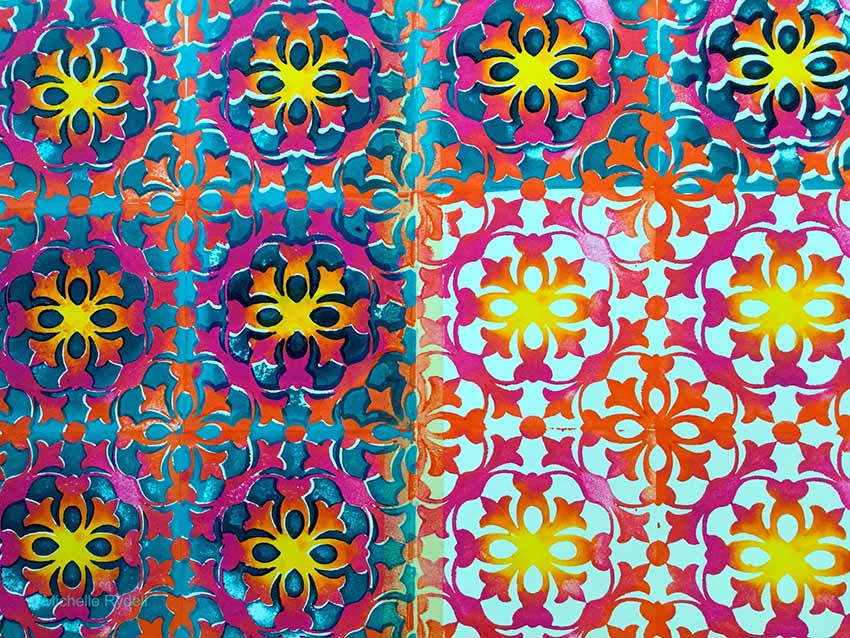
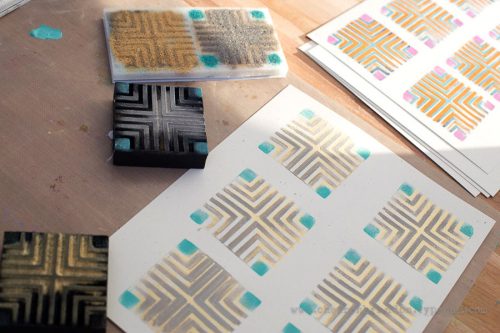
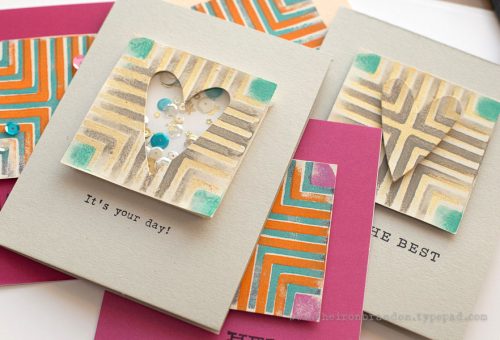
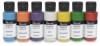
Choose two colours of StazOn ink that when blended will make a third colour. In my sample I chose teal and pink and those two colours together make a purple shade. Darker shades will ensure that your stenciled pattern is still visible once a tealight is lighted inside the jar.

marshavalk_nstudio_light-step-2

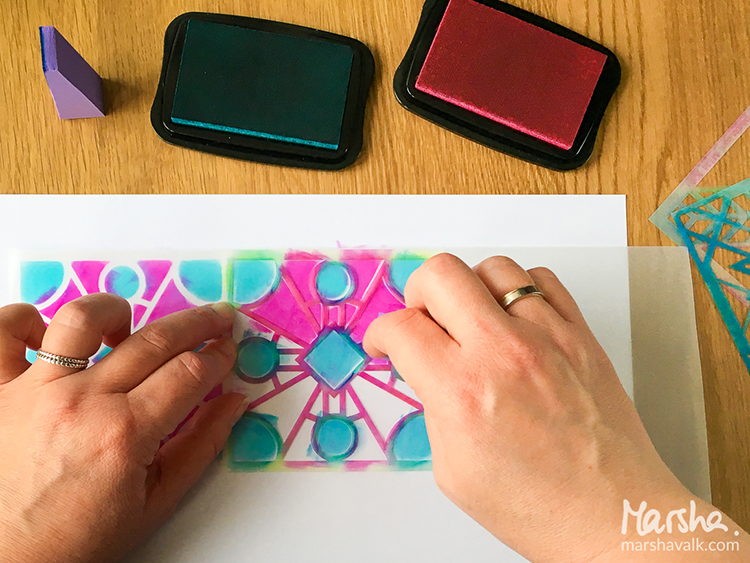
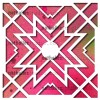
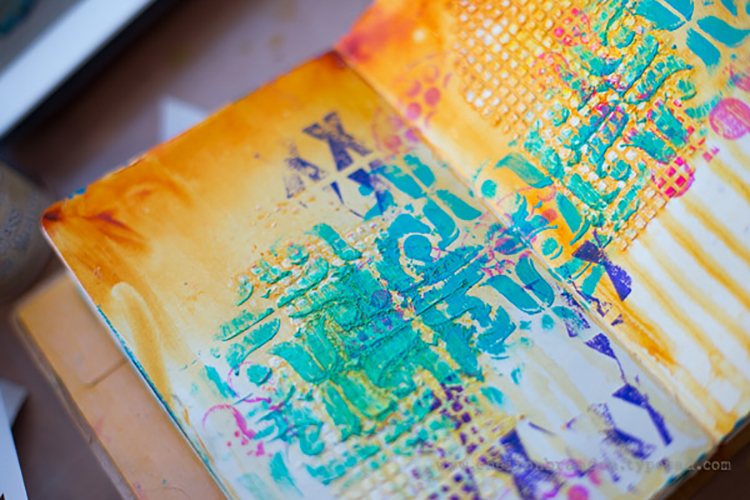
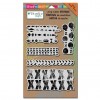
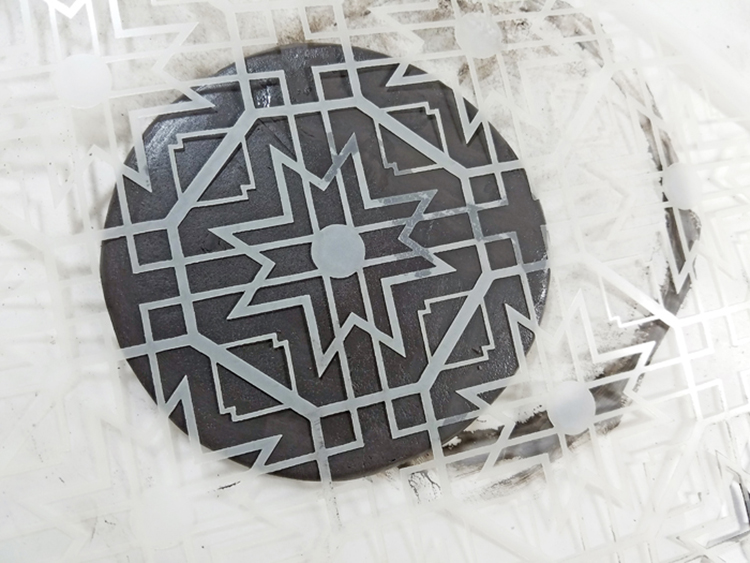
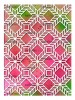
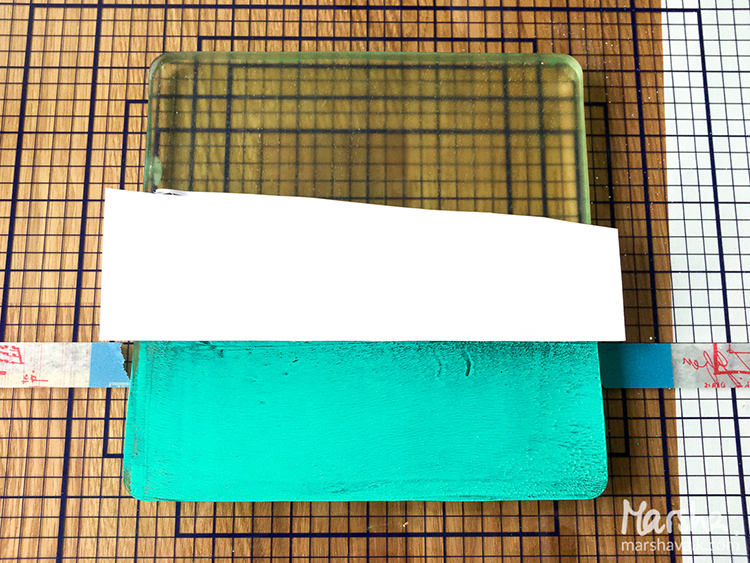
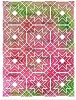
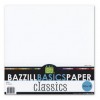
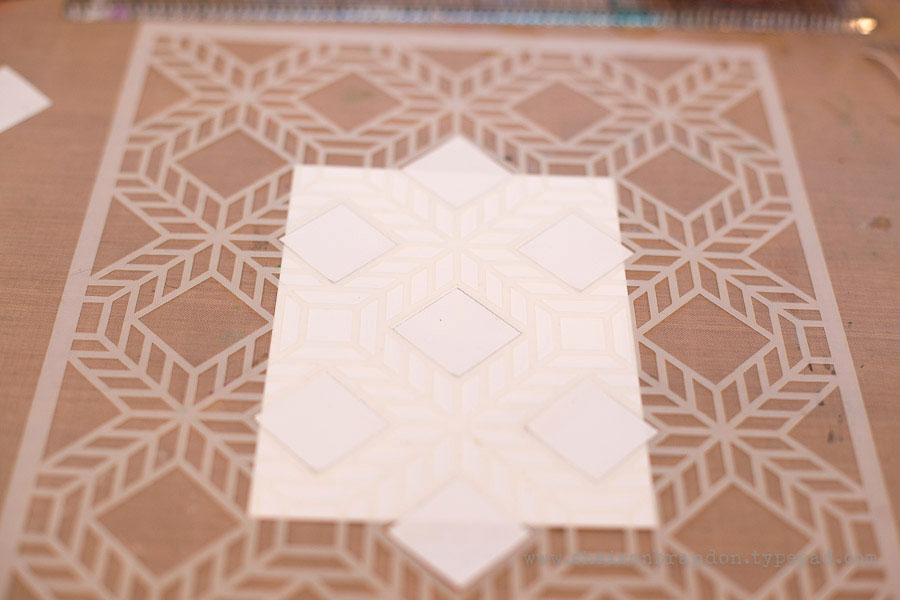
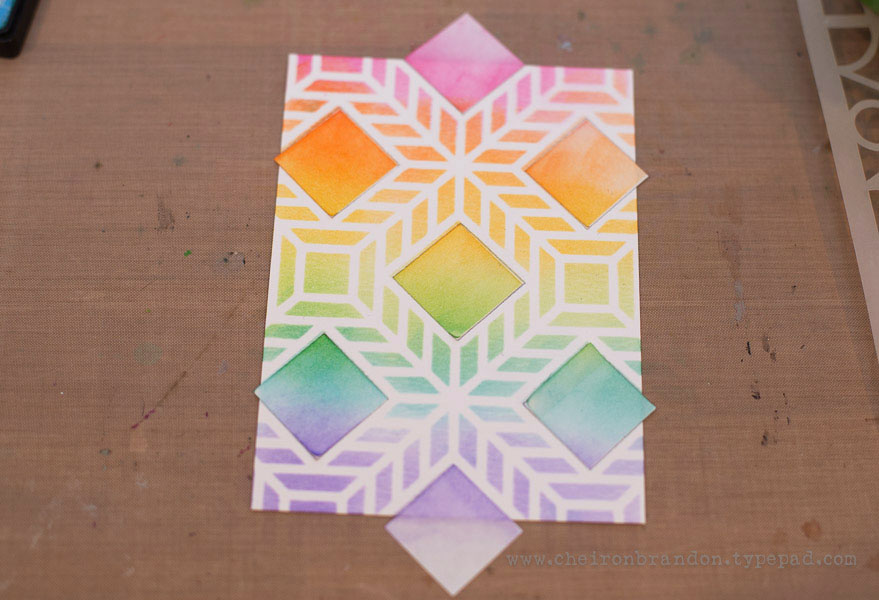
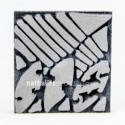
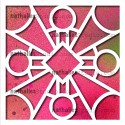
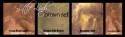
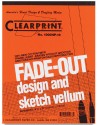
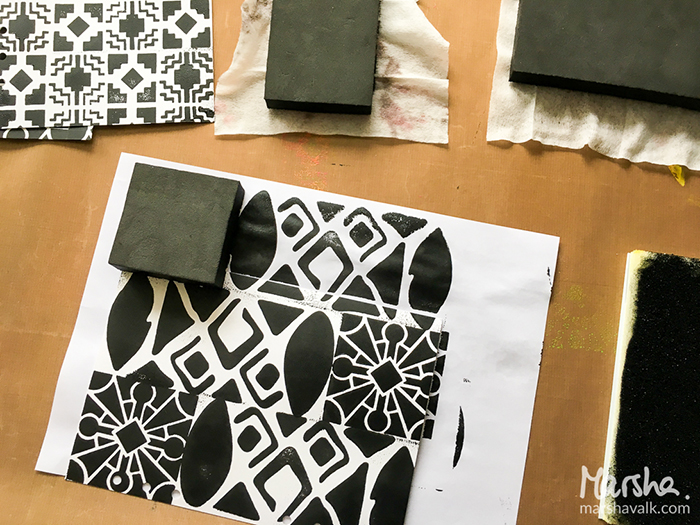
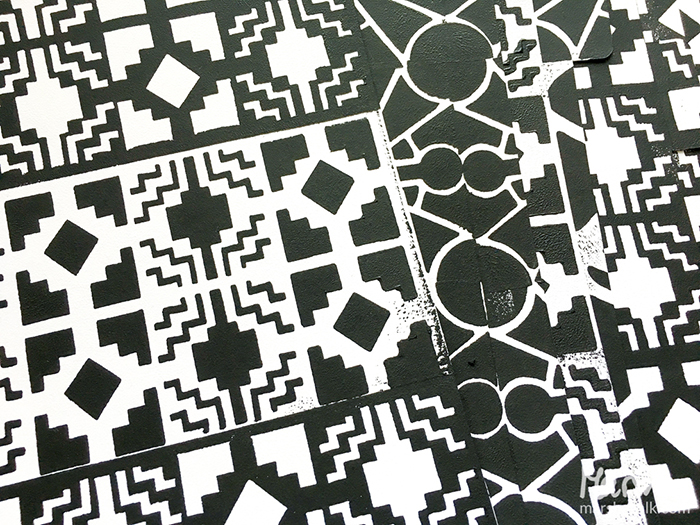
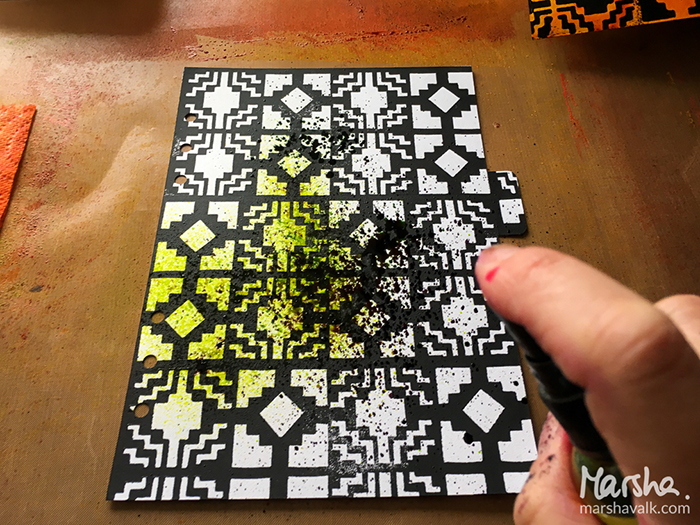
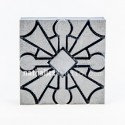
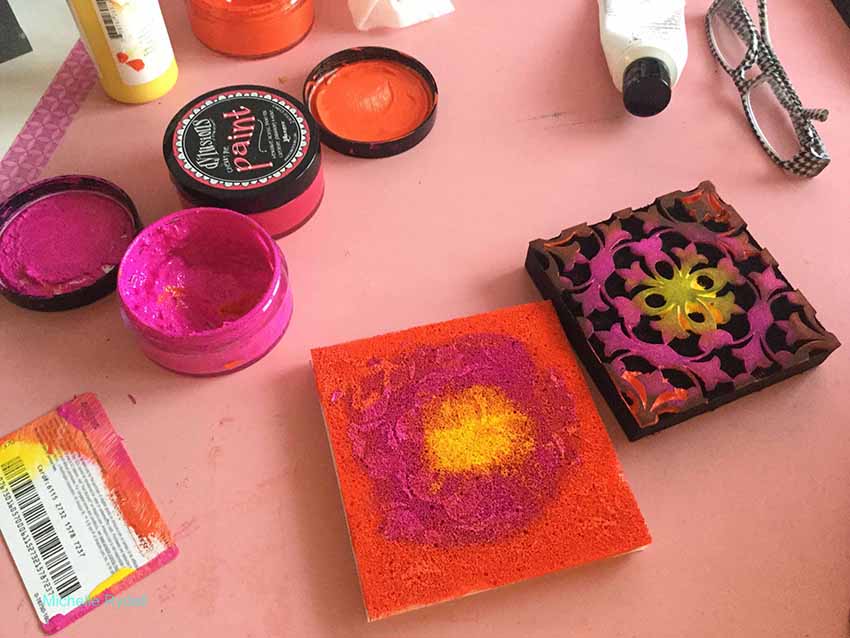
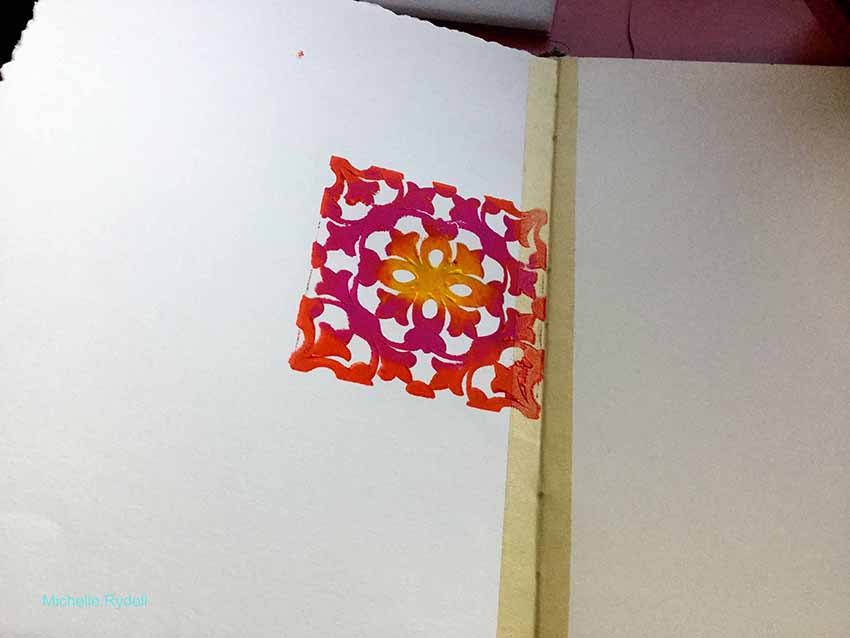
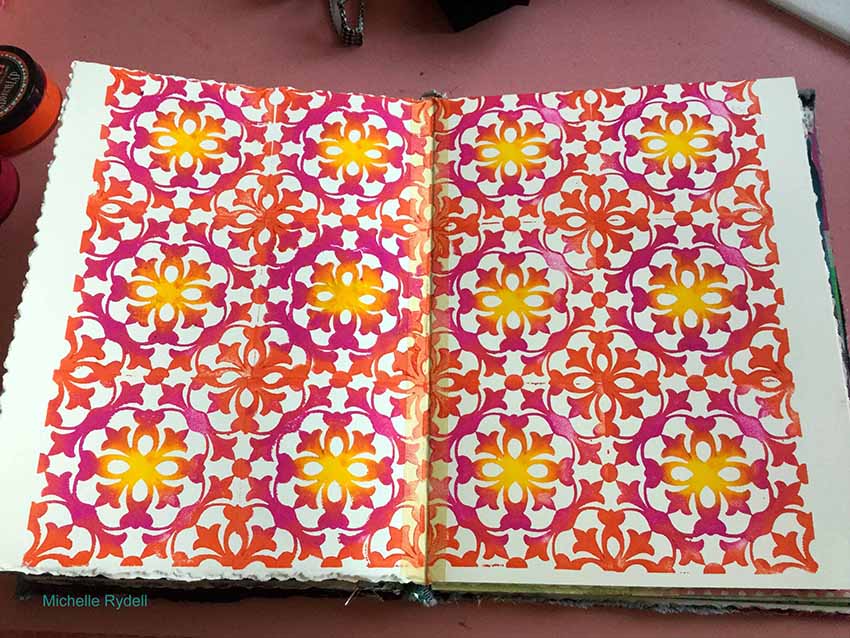
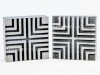
Use a cosmetic sponge to apply StazOn ink through your stencil onto a sheet of vellum. I used Nathalie’s Buenos Aires, Santiago, and Toledo stencils.  Just dab the cosmetic sponge onto the ink pad and then lightly dab the ink onto the vellum.
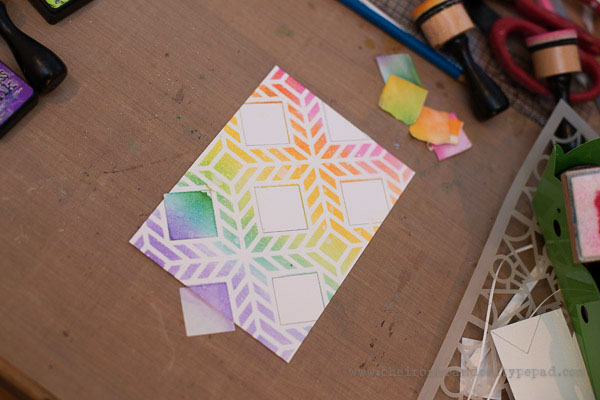
Tip: Use rubbing alcohol to clean your stencils afterwards.

marshavalk_nstudio_light-step-3

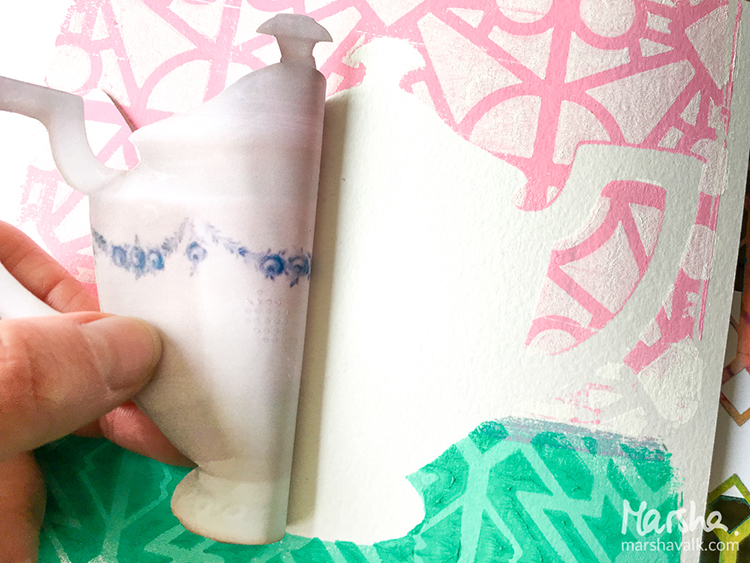
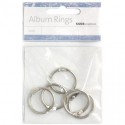
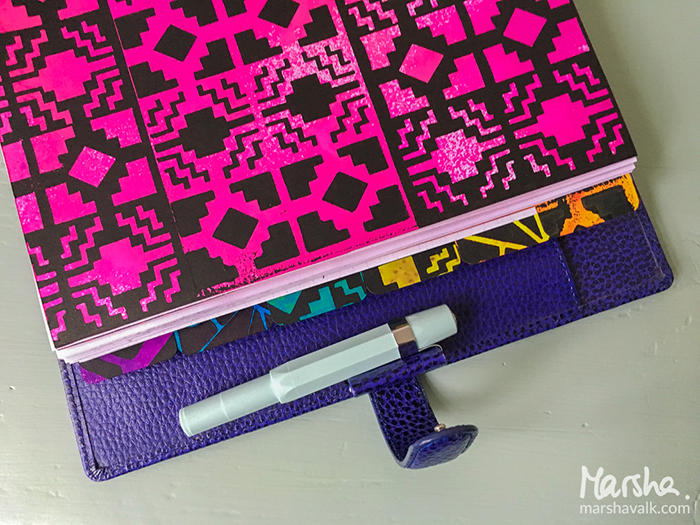
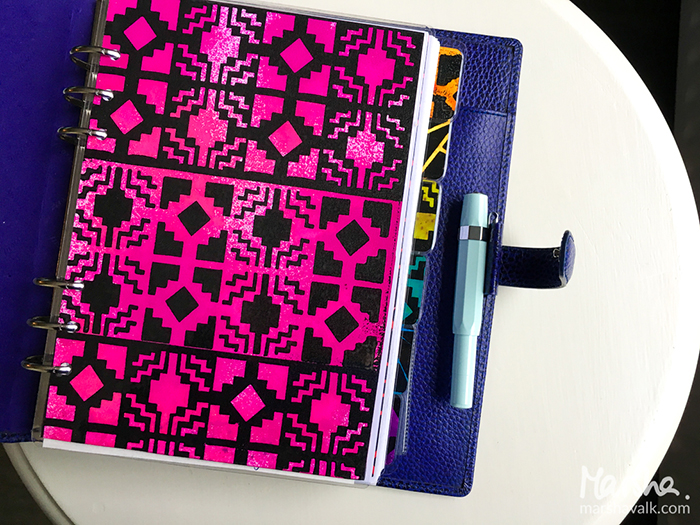
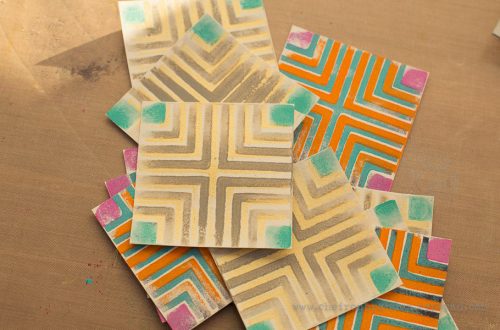
Find three small jars and cut the vellum to size so you can wrap the vellum around the jars.

marshavalk_nstudio_light-step-4

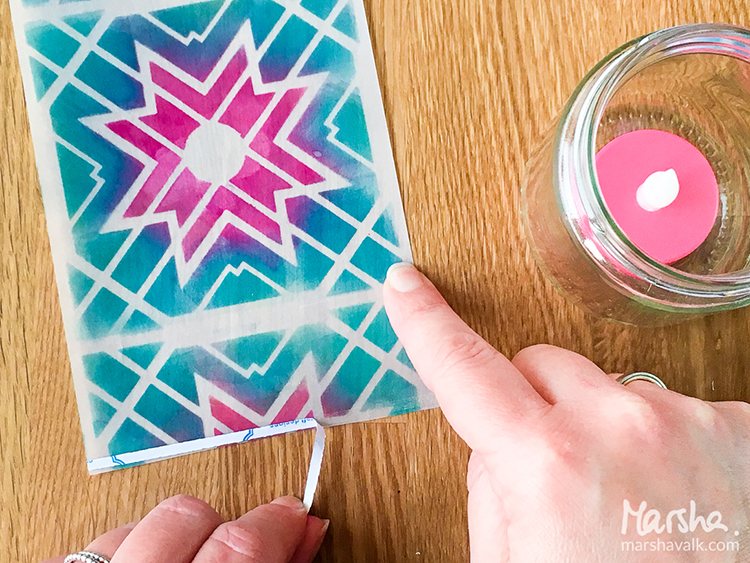
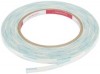
Add a strip of double-sided adhesive to one side of the vellum, remove the backing and then place the vellum around the jar.

marshavalk_nstudio_light-step-5

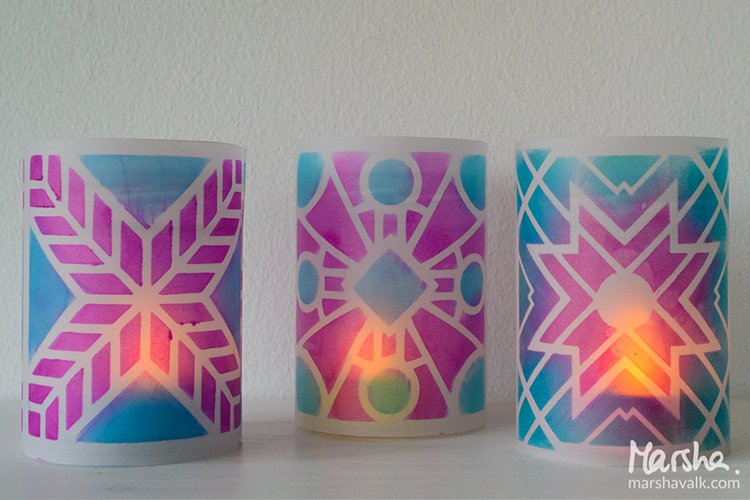
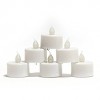
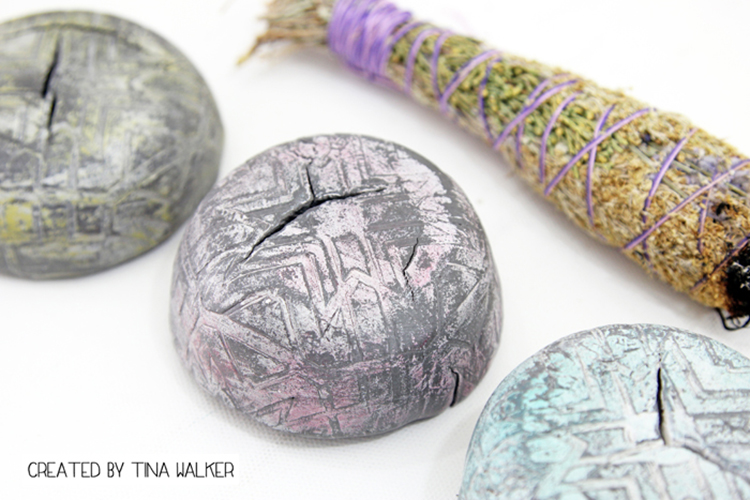
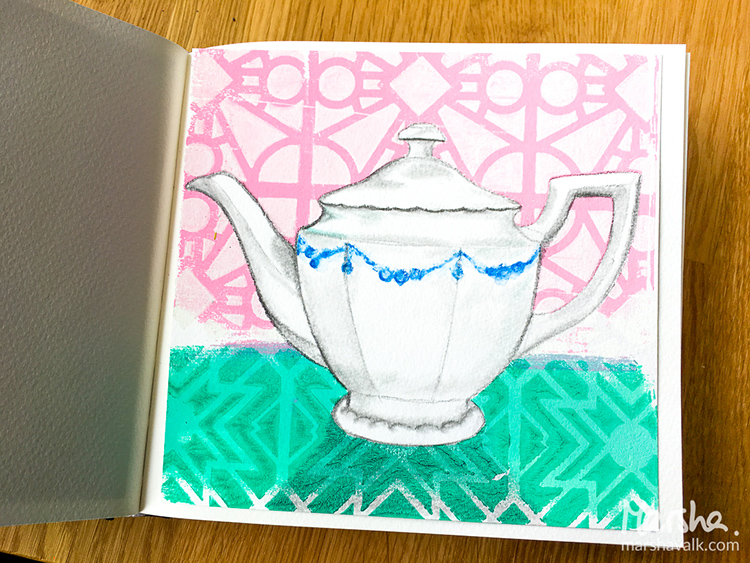
Add LED tealights and enjoy the lights!

marshavalk_nstudio_light-1

marshavalk_nstudio_light-3


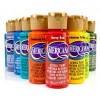
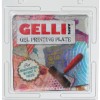
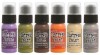
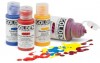
Thank you Marsha for brightening these dark winter days!  I love this idea – it is simple and yet so beautiful.  It’s definitely something I’m going to make. In addition to some small jars, Marsha used these supplies – some links are affiliate links:

supplies


Play along with us! I love to see how you interpret our monthly themes. Email me how you used my stencils and stamps with the theme and email me an image – I would love to share your projects in my “n*Spiration From Around the Globe“.

Comments (6)

Leave a comment

Return to the Light – Cheiron Brandon

cs-december-theme

Today, Cheiron Brandon from my Creative Squad is sharing a beautiful art journal spread using my Buenos Aires stencil and this month’s theme: “Return to the Light.” As we pass through the Winter Solstice here in the Northern Hemisphere, the ever lengthening nights turn to ever lengthening days. This ancient marker in the calendar has always been a celebration of light and the promise of a new day. Let’s Return to the Light with some bright and luminous mixed media projects!


cheiron-dec-headshot

Hi there, Cheiron here with my December post on the Return to the Light theme. I am not a big fan of winter at all, and the only thing that gets me through is waiting for summer! I don’t look forward to the sky growing dark before I even leave work, and I look forward to any sunshine I get. I certainly don’t mind bundling up in some warn winter clothes and heading out for a walk in the snow just to get a little sun. My journal page this month reflects just that…a bundled up gal enjoying some sun while the ground is covered with snow.


cheiron-photo-1


I started this page by creating texture and warmth with a lot of stamps and stencils in bright colors.


cheiron-photo-2


I added a coat of snow to my page by adding white matte paint mixed with a bit of pearl and mica flakes to create a snowy scene.


cheiron-photo-3


I hope this page gives you a bit of warm for the winter if it is cold where you are!

Thank you Cheiron for reminding us that winter is tolerable – as long as the sun is shining ;)  And I just love those bright colors all layered up using some of my stencils!  In addition to her art journal, a magazine cut out, and some alphabet stickers from her stash, Cheiron also used these supplies – some links are affiliate links:

supplies


Play along with us! I love to see how you interpret our monthly themes. Email me how you used my stencils and stamps with the theme and email me an image – I would love to share your projects in my “n*Spiration From Around the Globe“.

Comments (2)

  • shelley-rydellie

    |

    I love how you used the stamps and stencils to create such beautiful color and texture! It makes me feel warmer just to look at it!

    Reply

  • Gerrie Johnnic

    |

    Ohhhh, luv this spread! Color, texture and such a great feeling! Thanks for posting!!

    Reply

Leave a comment

Return to the Light – Tina Walker

cs-december-theme

Today, Tina Walker from my Creative Squad is sharing a very creative clay project using my Toledo stencil and this month’s theme: “Return to the Light.” As we pass through the Winter Solstice here in the Northern Hemisphere, the ever lengthening nights turn to ever lengthening days. This ancient marker in the calendar has always been a celebration of light and the promise of a new day. Let’s Return to the Light with some bright and luminous mixed media projects!


tina-dec-headshot

Hi! Tina Walker here today to kick off the new month with a new Theme. This month, our theme is ‘Return to the Light’. I thought long and hard about how I wanted to interpret the theme and searched deep within myself for meaning. As part of my creative ritual, I cleanse my art space and remove negative energies from my creative aura by burning sage and pinion resin. The ‘lightening’ of these ancient plants allows me to connect with my inner soul and celebrate a new day.

If you have a creative ritual and use smudge pots in your cleansing, love to create with clay, or are just looking to try a new technique, today’s project is just what you’ve been looking for.

dec-tw1

Using any brand of air-dry clay, condition a small portion of clay, per manufacturer’s instructions. (Clay portion depends on the size of bowl you will make.)

dec-tw2

Flatten clay using a rolling pin or piece of PVC pipe. Flatten to approx. ¼ inch thick. As you flatten, continually flip clay over to ensure even thickness.

dec-tw4

Using your favorite Nathalie Kalbach StencilGirl stencil such as Toledo as seen here, place stencil on clay and press into clay using a brayer.

dec-tw5

Place the stenciled clay over the bottom of a used yogurt container or other small round shape. Gently form clay around container to desired shape.

Allow to dry per instructions. (It took approx. 3 days for my bowls to completely dry).

Note: My bowls cracked on the bottom, so I’m not sure if I didn’t condition my clay properly, stretched the clay over the container too much, or just user error. Since my bowls were not containing liquid, I was okay with the cracks.

dec-tw6

Dry brush acrylic paint over bowl, allowing the stencil design to ‘appear’. I would brush and remove layers of paint to create a worn, aged look.

dec-tw7

You can use the same technique with any stencil and create any size of clay bowl. I would love to create an entire collection of handmade bowls. How cool would that be?

I now have three handmade smudge bowls that are just perfect for smudging.

dec-tw11

dec-tw12

Thank you for taking time to visit us today. See you next month.


Thank you Tina for such a cool and unique project to do with my stencils!  I love how the dry brushing and cracking gives these smudge pots an almost ancient feel.  In addition to a PVC pipe or rolling pin and some empty yogurt containers, Tina also used these supplies – some links are affiliate links:

supplies


Play along with us! I love to see how you interpret our monthly themes. Email me how you used my stencils and stamps with the theme and email me an image – I would love to share your projects in my “n*Spiration From Around the Globe“.

Comments (1)

  • shelley-rydellie

    |

    Wow! What an awesome project! Tina, you are so creative!

    Reply

Leave a comment

Good Things Just Keep Happening – Marsha Valk

cs-november-good-things

Today, Marsha Valk from my Creative Squad is sharing two gorgeous prints using this month’s theme: “Good Things Just Keep Happening.” I invite you to join me and my Creative Squad this November, in the spirit of the Thanksgiving holiday in the US, to remind ourselves to be thankful for even the smallest things.  Every once in a while it feels nice to slow down and recognize the good stuff that’s all around us.  What Good Thing happened to you today?


marsha-november-headshot

I already had a long and hard thought about the theme before it occurred to me that the answer had been staring me in the face each morning:
One of the smallest things that I’m thankful for nearly every single day is the pot of tea that my husband prepares before he leaves to go to work. So each week day morning, when I get up and go into the kitchen, there’s a warm pot of tea sitting there to greet me. Just for me! It’s the small things that count and I know this is just one of those things that will be etched in my memory forever.


marshavalk_nstudio_goodthingsjustkeephappening-7


So the idea for my project formed in my head and I wanted to use the Gelli Plate to execute it. That meant that I needed a mask of the teapot. I decided that the easiest way was to just take a photo, print it and then use the print as the mask.


marshavalk_nstudio_goodthingsjustkeephappening-1
marshavalk_nstudio_goodthingsjustkeephappening-2


I wanted the backdrop for the teapot to look like wallpaper, so I printed solid colours on the background first and then I printed over those colours using n*Studio stencils.


marshavalk_nstudio_goodthingsjustkeephappening-3
marshavalk_nstudio_goodthingsjustkeephappening-4


To get a (fairly) crisp edge I masked off the edge in the middle before placing the stencil on the Gelli Plate. I also stuck the teapot mask to the already printed paper before I pulled the stencil print and I used the lines on my glass mat to line up the paper.


marshavalk_nstudio_goodthingsjustkeephappening-5


Once the printing was done I sketched in the details with graphite pencil and I used a paper stump to create the shadows. I also added a little bit of colour with Inktense pencils. That’s it!


marshavalk_nstudio_goodthingsjustkeephappening-8
marshavalk_nstudio_goodthingsjustkeephappening-9

Ohh , I love this – thank you Marsha!  Looks wonderful and is such an awesome idea.  I love the teapot!
Here are the supplies Marsha used to create her prints – some links are affiliate links:


supplies


Play along with us!  I love to see how you interpret our monthly themes. Email me how you used my stencils and stamps with the theme and email me an image – I would love to share your projects in my “n*Spiration From Around the Globe“.

Leave a comment

Good Things Just Keep Happening – Cheiron Brandon

cs-november-good-things

Today, Cheiron Brandon from my Creative Squad is sharing three wonderful cards using this month’s theme: “Good Things Just Keep Happening.” I invite you to join me and my Creative Squad this November, in the spirit of the Thanksgiving holiday in the US, to remind ourselves to be thankful for even the smallest things.  Every once in a while it feels nice to slow down and recognize the good stuff that’s all around us.  What Good Thing happened to you today?


cheiron-november-headshot

Hi there! It’s Cheiron with my post for November and we are playing with the theme of Good Things just keep happening. I am thankful today that I finally have my own studio in my house where I can create and I get to relax there every night even if its just for a small amount of creative time. I couldn’t wait to try out Nat’s new stencil release and wanted to try out all the patterns. You know I am a card maker, so I cut a bunch of card panels, took out the stencils and made 3 cards with 3 different techniques.

cheiron-nov-photo-1

For my first card, I wanted to do some basic ink blending through the Santiago stencil, but decided that I wanted to keep the squares in the center white…so I masked them off with some masking paper.

cheiron-nov-photo-3

Then I blended my inks through the stencil with the foam blending tool.

cheiron-nov-photo-4

Once that was done I removed the masking paper

cheiron-nov-photo-5

And then adhered the panel with foam tape to a card base:

cheiron-nov-photo-2

For my second card, I played around with some Distress Paints in Fossilized Amber, Aged Mahogany, Gathered Twigs and Spiced Pumpkin and pounced paint through the Toledo stencil. Then I sprayed the entire thing with a bit of Tarnished Brass Distress Mica Spray. This one will be perfect to send as a Thanksgiving card!

cheiron-nov-photo-6

For my last card, I pulled out my Gelly Roll Moonlight pens and colored through the Buenos Aires stencil, I have not played with these in a while and forgot how good they look on black paper.

cheiron-nov-photo-7

I am thankful today that I got to play with these fun new stencils and that I get to create something almost every day! 

————————————————————————————————————————————————————————————————————————————————–
Thank you Cheiron for those amazing cards! I love them all so much – the Gelly Roll – Card blew me away though – it looks like stained glass- yum!
Here are the supplies Cheiron used to create her cards- some links are affiliate links:
supplies


Maybe you will even play along with us -I would love to see how you interpret our monthly themes. Email me how you used my stencils and stamps with the theme and email me an image – I would love to share your projects in my “n*Spiration From Around the Globe“..

Comments (1)

  • Joi@RR

    |

    Love them. So fun, cheerful and unique. j.

    Reply

Leave a comment

Good Things Just Keep Happening – Tina Walker

cs-november-good-things

Today, Tina Walker from my Creative Squad is sharing two beautiful mini book journals and a bonus project using this month’s theme: “Good Things Just Keep Happening.” I invite you to join me and my Creative Squad this November, in the spirit of the Thanksgiving holiday in the US, to remind ourselves to be thankful for even the smallest things.  Every once in a while it feels nice to slow down and recognize the good stuff that’s all around us.  What Good Thing happened to you today?


tina-november-headshot

Hi! Tina Walker here today to kick off the new month with a new Theme. This month, our theme is ‘Good Things Just Keep Happening’. This is a great mantra and reminder as we enter the month of Giving Thanks.

I have been through a lot in my short 50+ years and staying positive every day can be a challenge. I have had relationships come and go, as well as jobs and cities, but I’ve always been thankful for what adventures I’ve had and for what is to come.  Creatively, my life has been a whirlwind of excitement, wishes, and success. Art is something that makes me feel complete and fulfilled. In order to celebrate my life and good fortune, I created two pocket sized journals that can be used to record those special thoughts and memories no matter where I am.  Let’s check them out!

Floral Fabric Mini Book

nov-tw1

Apply fabric paint to a piece of vintage cloth using your favorite Nathalie Kalbach new ArtFoamies stamp. I used the Batik Pattern 4 foam stamp. Set paint per manufacturer instructions.  When applying the stamp to the fabric, stamp the image twice, back to back. This way, you will have the image on the front and back of the book. Do this step twice, one double stamped image for the outside of the book, and one double stamped image for the inside of the book.

Here’s a picture of the front and back of the book for reference.

nov-tw2

Add hand-stitching embellishments to one of the stamped images. I choose the image that would be on the outside front of the book. Sew a button to the outside front and back layer. The buttons will serve as the closure.

Sandwich a layer of cotton batting between the two stamped pieces, wrong sides together. Hand-stitch the 3 layers together using a blanket stitch.

nov-tw4

Cut to size, 3 signatures of 7 pages each. I used vellum paper for my paper inserts.  Sew signatures to book using a three hole saddle stitch and Enjoy!

nov-tw5

Vintage Paper Mini Book

nov-tw7

This mini book uses the same beginning techniques as above, except we will be using your favorite Nathalie Kalbach stencils for this one, I chose the new Buenos Aires 4×4 and the Buenos Aires 9×12 stencils.

Using the same stencil, apply modeling paste to an 8.5 x 11 piece of chipboard. Spray with your favorite spray mist.

Cut stenciled chipboard to your mini book size and adhere fabric stenciled image with heavy gel medium. Allow to dry completely.

nov-tw8

Cut to size various vintage papers. I used vintage music paper, receipt paper, glassine paper, tags, lined paper, plus others.

nov-tw10

Using a Crop-a-dile or similar tool, cut three holes in the front and back and each piece of paper. Assemble and bind with 3 metal o-rings.

nov-tw15

After I was done creating my mini books, I had several pretty scraps that were too nice to throw away. So I created a mini hanging, using the leftover stenciled chipboard and fabric pieces. Bonus!

nov-tw16

nov-tw17

What good things are happening to you? Do you create art to celeberate? I’d love to hear about it! Thank you for taking time today to take a peek at my projects. See you next month.


Thank you Tina for these gorgeous ideas!  I’m gathering my own collection of papers to turn into some mini books now. Besides some vintage fabric, vintage buttons, vintage papers and gun metal metallic casting powder, here are the supplies Tina used – note that some of the links are affiliation links:

supplies


Maybe you will even play along with us -I would love to see how you interpret our monthly themes. Email me how you used my stencils and stamps with the theme and email me an image – I would love to share your projects in my “n*Spiration From Around the Globe“.

See you next time for another project from the Creative Squad and DON’T FORGET: As we are celebrating the launch of my new website, everything in the n*Studio Store and all Online Workshops are 20% off until Sunday November 6th!  Use the coupon code NEWNAT20 during checkout to take advantage of the savings!

nstudiowebsitelaunch-coupon-code-graphic

Comments (1)

  • Joi@RR

    |

    Your mini-books are darling Tina but my fav is the wall hanging… so pretty – love the stars and stitching.

    Not too many celebrations at our house since it’s just the two of us now but… since I paint every day, if I was celebrating I probably wouldn’t paint! I would be more likely to write about it!!!

    Thanks bunches for such lovely inspiration with these great patterns. j.

    Reply

Leave a comment

Today is the Day – Marsha Valk

cs-october-theme

Today, Marsha Valk from my Creative Squad is sharing two brilliant projects to help us get organized!  She is using my new Santa Fe, Batik Pattern 3, and Buenos Aires Tile foam stamps, and this month’s theme: “Today is the Day.”  I invite you to join me and my Creative Squad to stop procrastinating and to make today the day you finally tackle that artsy thing you’ve been meaning to get to for so long.  Start that new project you’ve been planning for months.  Try out that new product you bought ages ago.  Experiment with that new technique you read about last year.  Try it!  Today is the Day!


marsha-october-headshot

Today is the day that I got organized and ready for 2017! I know it’s still early days, but my first try-outs with the new Art Foamies ended up as covers for a couple of Travelers Notebooks and that inspired me to create new planner dividers for my Filofax planner in similar patterns.

marshavalk_nstudio_todayistheday-14

marshavalk_nstudio_todayistheday-5

I bought a Silhouette cut-file to cut the tab dividers months ago, so this was the chance to finally put that to use too. I cut the tab dividers from sturdy cardstock and then I stamped black acrylic paint patterns onto them with the Santa Fe, Batik Pattern 3 and Buenos Aries Tile Foam Stamps.

marshavalk_nstudio_todayistheday-1

marshavalk_nstudio_todayistheday-2

Once the paint was dry I applied spray ink in rainbow colours on top of the patterns so that I could have 8 tabs in rainbow order. I hadn’t really used my spray inks in a while and it was fun to get inky again!

marshavalk_nstudio_todayistheday-3

marshavalk_nstudio_todayistheday-4

I took the new divider tabs for a test run first. I like to print handy stuff like school holidays on the back of my tabs, so I did that first before I laminated them all. I used A5 pouches for the two dividers without tabs and A4 pouches for the ones with tabs. I just trim the excess after laminating.

marshavalk_nstudio_todayistheday-9

marshavalk_nstudio_todayistheday-6


Marsha just made organization look really awesome!  I love how she used black paint to make the stamp designs extra bold against those beautiful ink colors.  Here are the supplies Marsha used – note that some of the links are affiliation links:

supplies

Maybe you will even play along with us -I would love to see how you interpret our monthly themes. Email me how you used my stencils and stamps with the theme and email me an image – I would love to share your projects in my “n*Spiration From Around the Globe“.

See you next time for another project from the Creative Squad!

Comments (4)

  • Dee

    |

    Love these, the black makes things pop!

    Reply

  • Michelle Rydell

    |

    Great idea Marsha! I love how the bright colors really made the designs pop!

    Reply

    • marsha.

      |

      Thanks Michelle!!

      Reply

Leave a comment

Today is the Day – Michelle Rydell

cs-october-theme

This Tuesday, Michelle Rydell from my Creative Squad is happy to share with you a gorgeous art journal spread using my new Versailles ArtFoamies and inspired by this month’s theme: “Today is the Day.”  I invite you to join me and my Creative Squad to stop procrastinating and to make today the day you finally tackle that artsy thing you’ve been meaning to get to for so long.  Start that new project you’ve been planning for months.  Try out that new product you bought ages ago.  Experiment with that new technique you read about last year.  Try it!  Today is the Day!


michelle-october-headshot

I have seen Art Foamies videos on youtube and always thought they looked like fun. I love their chunky look, and have been especially intrigued by the concept of the “stamp buddy” that comes with each foam stamp!  I was so excited to find out that Nat has a new line of gorgeous Art Foamies stamps! So finally, Today is the day I get to try them out!  I decided to use the Versailles set – I love how the intricate patterns of the two stamps fit together!  Here’s what I did to create my page…

I got out some warm colors of acrylic paint – yellow, pink and orange; and scraped them onto the stamp buddy, with the lightest color in the middle and the darker colors radiating outward. At first I used a credit card, but then decided it would be more fun to use my fingers – ha…

rydell-today-1

rydell-today-2

I pressed the stamp into the stamp buddy to distribute the paint, and stamped it onto my art journal spread. WOW it looked gorgeous!  I was so excited to see how the colors created an ombre effect!

rydell-today-3

I decided to cover the whole page with this stamp, and I did not have to re-ink the stamp buddy at all!  That thing really holds a lot of paint!!! When I was done it reminded me of a tiled wall.  I almost didn’t want to do anything else to it!

rydell-today-4

I decided to repeat the ombre effect with the second stamp in the set; only this time use all cool colors, and instead of having the lightest color in the middle, I put the darkest.

rydell-today-5

I stamped the second stamp onto my page and actually said EEK out loud – it looked so pretty!  I LOVE how the images fit so easily together.  This is truly a new experience in stamping!

rydell-today-6

rydell-today-7

I wanted to cover up the blank edges of the page, so I decided to paint a black, cloud-like frame to make the colors pop even more.  At that point I just stared at the pattern for a minute, to see what I could see… and out came a flower!  I used part of the pattern for a colorful center, and drew and colored the petals and stem with paint pens. After that I realized that I needed to differentiate the flower from the background a little more, so I added a magenta glaze to the background.  You can just see the beginnings of that behind the bottom left few petals in this photo…

rydell-today-8

And here is my finished page.  I finished glazing the background, did some doodling in the black frame area, and added a quote with a white paint pen…

rydell-today-9-1


I love the super juicy background that Michelle created by using both the positive and negative Versailles stamps together!  And the whole thing really pops with that cute black and white frame around it.  Here are the supplies Michelle used – note that some of the links are affiliation links:

SuppliesCJS

Maybe you will even play along with us -I would love to see how you interpret our monthly themes. Email me how you used my stencils and stamps with the theme and email me an image – I would love to share your projects in my next “n*Spiration From Around the Globe“.

See you next Tuesday for another project from the Creative Squad!


Comments (10)

  • Dee Spillane

    |

    Wow! This is wonderful. Fantastic stamps with great color yay!

    Reply

  • Cindy

    |

    Always love your work, Michelle … so colorful and bold, and happy!

    Reply

  • Jessica Sporn

    |

    This is just beautiful. I love Nat’s foams and what you created with them. Gorgeous.

    Reply

  • Meg

    |

    Michelle, this is gorgeous!!! ❤️

    Reply

  • Kim

    |

    This is just a stunning page … big fan of Julie’s ArtFoamies, so the product is wonderful, but this takes it to a whole new level with the negative stamp included as a set, WOW. Always love seeing your work … thanks for sharing!

    Reply

  • Marit

    |

    I love how you explain every step and thought along the way from beginning to end… awesome post Michelle!

    Reply

  • Kandy Gordecki

    |

    So creative! You amaze me how your ideas just keep coming!

    Reply

  • Sue Clarke

    |

    I really enjoyed seeing how the pages progressed and ended up with such a colorful, full two pages of pattern. Delightful!

    Reply

  • Kathy P

    |

    Totally awsome—I love it!!!! So colorful, cool design!

    Reply

  • Julie Tucker

    |

    This is GORGEOUS! LOVING how you created that background!!!!!!!!!!!!

    Reply

Leave a comment

Today is the Day – Cheiron Brandon

cs-october-theme

This Tuesday, Cheiron Brandon from my Creative Squad is happy to share with you some amazing cards using my new Manhattan ArtFoamies and inspired by this month’s theme: “Today is the Day.”  I invite you to join me and my Creative Squad to stop procrastinating and be inspired to make today the day you finally tackle that artsy thing you’ve been meaning to get to for so long.  Start that new project you’ve been planning for months.  Try out that new product you bought ages ago.  Experiment with that new technique you read about last year.  Try it!  Today is the Day!


cheiron-october-headshot

Hi there! It’s Cheiron here with my monthly post for N*Studio. This month ‘Today is the day’ is our theme, and our mission was to tackle the artsy thing you’ve been meaning to get to. As a card maker, I make tons of cards…but I never seem to have one when I need to send for a birthday, thank you etc. I kept saying I would make a stack of cards, like at least a dozen to have on hand for occasions that come up. I also always say that I will take new products and spend some just for fun playtime with them, but that does not always work either. I set aside two hours the other day to play with Nat’s new art foamies and two things happened 1) I had a great time playing, and 2) I made a dozen cards! 
 
I started out just playing with the Manhattan foamies. The set includes a positive and a negative, so you can add two different layers of color to the stamped image. I tried them out with all different kinds of paints including Distress Paints, Golden Fluid Acrylics and Blick Matte Acrylics and got great results with all 3! 
 
n-studio-oct-photo-1
 
Once I was finished stamping, I cut all the images into squares.
 
n-studio-oct-photo-3
 
Then I turned them into cards. For some cards I used just the square and a simple sentiment. For a couple I turned them into a shaker card and used the cut out heart on the shaker card on another card. I think you can be real simple or fancy depending on the recipient. It sure feels good to know I have built up my card stash AND have managed to throw in some play time at the same time!
n-studio-oct-photo-4
n-studio-oct-photo-5
——————————————————————————————————————-
Aren’t these cards awesome! I colors Cheiron used and the shakerbox is just too cute!
Here are the supplies she used to make those cards – note that some of the links are affiliation links:
SuppliesCJS

Maybe you will even play along with us -I would love to see how you interpret our monthly themes. Email me how you used my stencils and stamps with the theme and email me an image – I would love to share your projects in my next “n*Spiration From Around the Globe“.

See you next Tuesday for another project from the Creative Squad!

Leave a comment