Creative Squad

My Fire Burns Bright – Josefine Fouarge


It’s Tuesday and time for a post from my Creative Squad.  Today we have a beautiful art journal page from Josefine Fouarge that shows how sometimes you just gotta go with your gut and create! Josefine is using my Midtown Foam Stamp Set, Toledo 9×12 stencil, Art Deco Wallpaper stencil, and a few of my cling rubber stamps along with this month’s theme: My Fire Burns Bright – Creativity is a passion that can come from deep within the heart and soul of the maker. Sometimes this fire gets ignited by an event or an influential person in our lives, and other times it can be ignited by a love for a material or just simply the enjoyment that comes from making. What makes your creative fire burn bright?


Welcome to the December Creative Squad topic “My fire burns bright”.

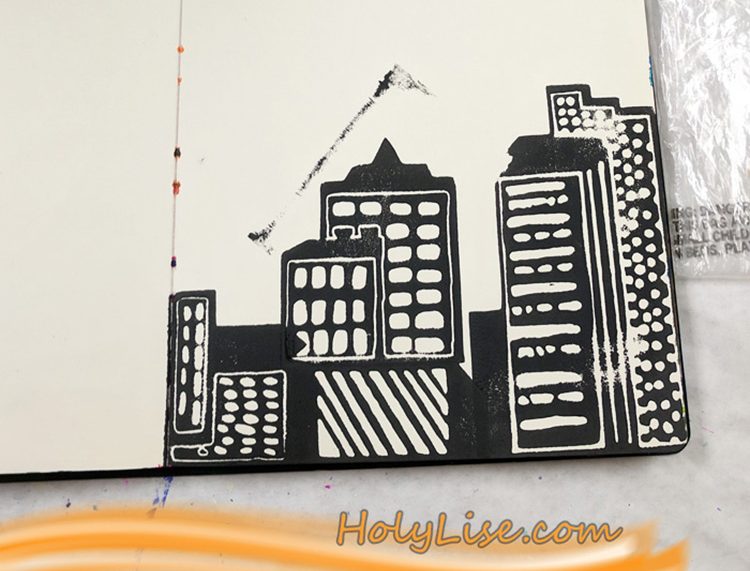
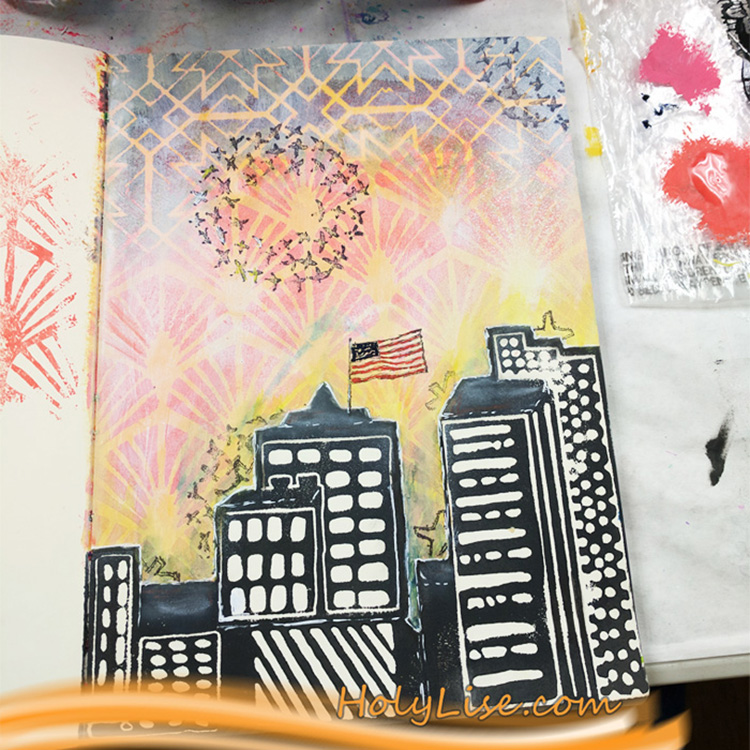
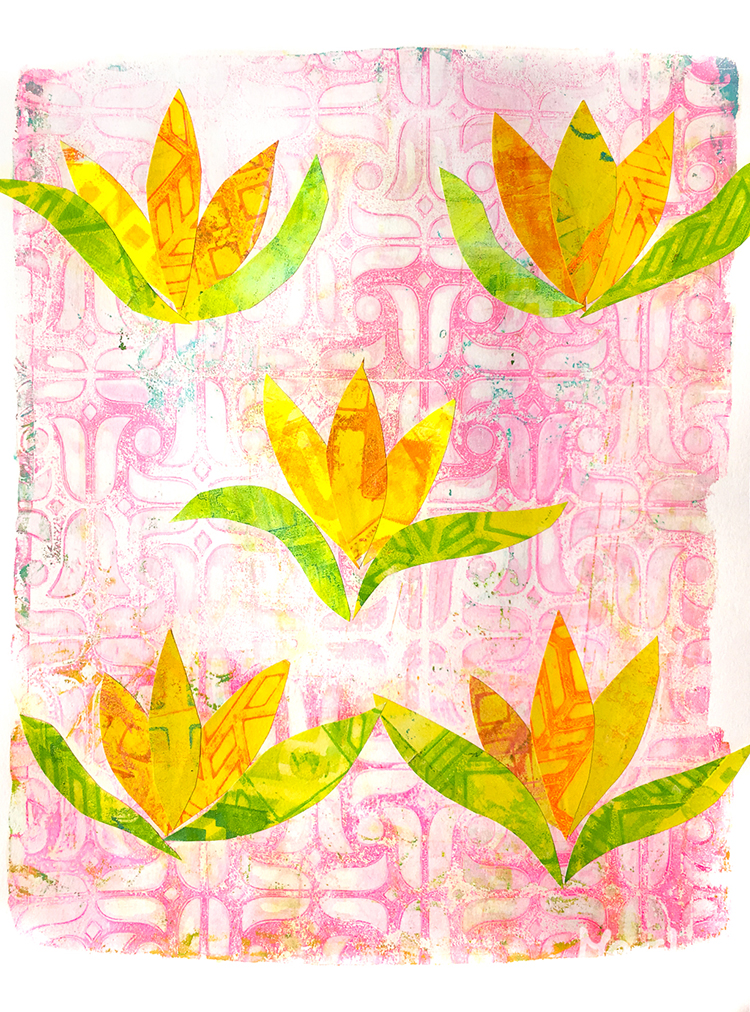
I don’t know why, but my first thought when I read this theme was sunrise. Instead of trying to analyze it, I decided to just go with it and create a scene using the Midtown foam stamps. I stamped three of them onto my art journal page. One of them is actually supposed to be standing up, but I think it works out pretty well laying down.

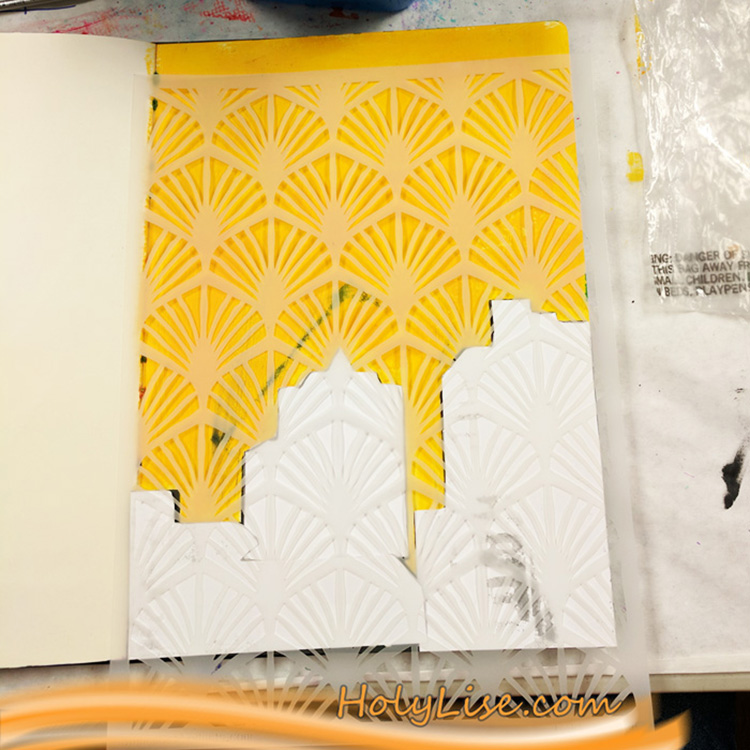
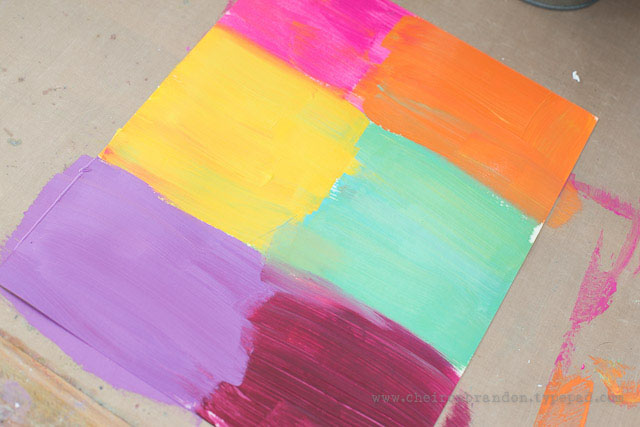
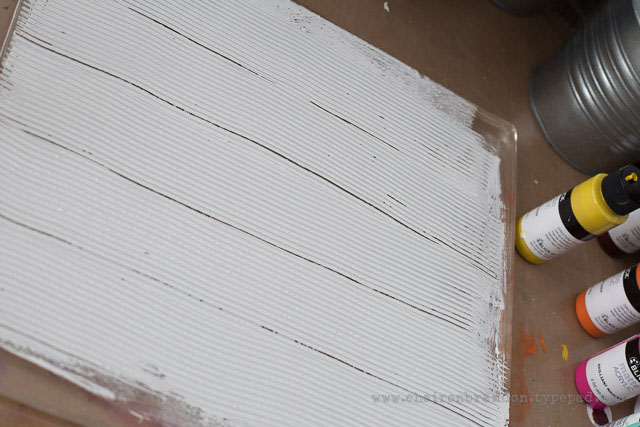
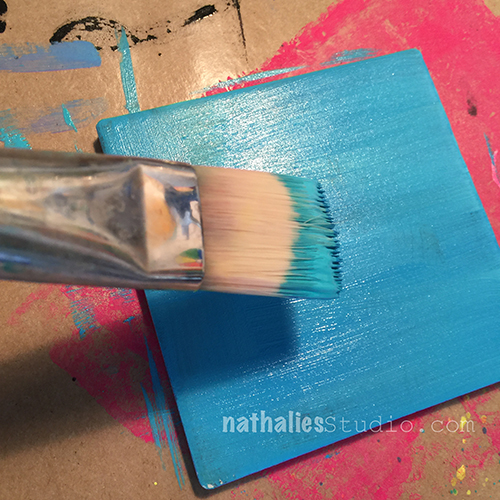
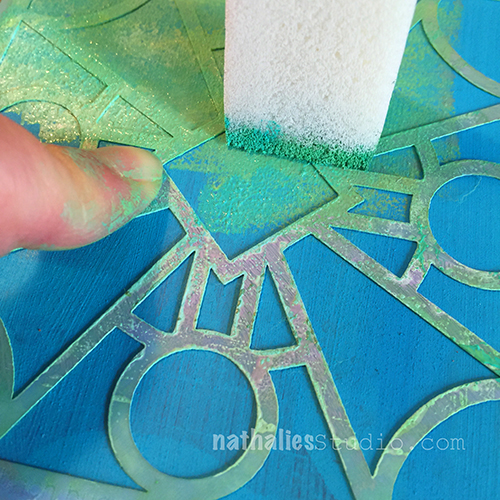
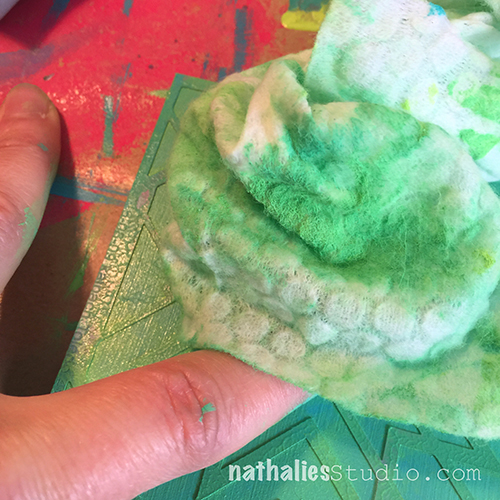
Next up I created some simple masks for the houses to cover them while I was working on the background. I used a yellow paint for the first layer. Then I added some texture using the Art Deco Wallpaper stencil. In order to blend the orange colors in, I used my brush in a dapping motion. I mixed the paint with water, so it was a little easier to blend them as well.

For the night sky I decided to use the Toledo stencil and a few darker shades of red and blue. After I was done, I felt that the background was too bright, so I sprayed gesso over it. That helped blend the two areas together a little more and made the skyline pop again.

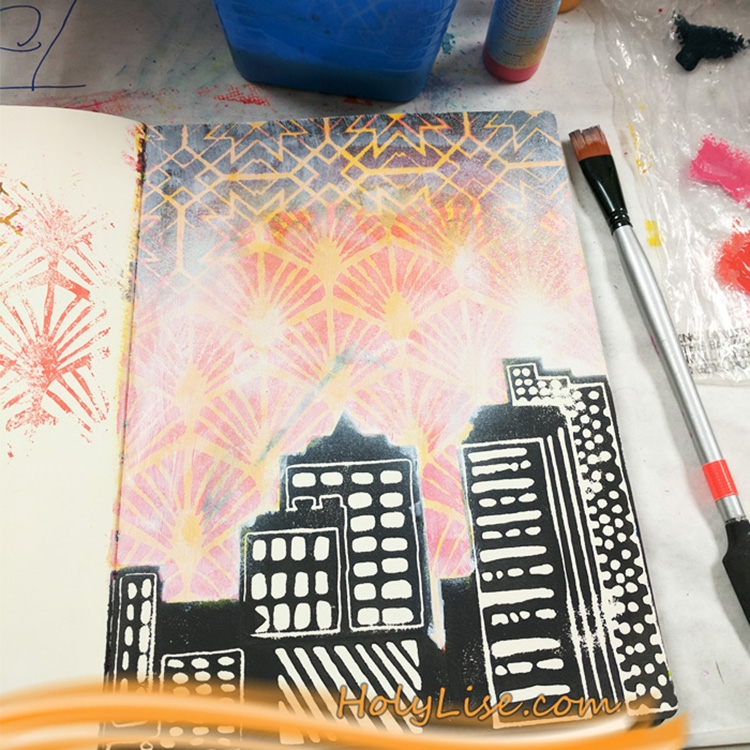
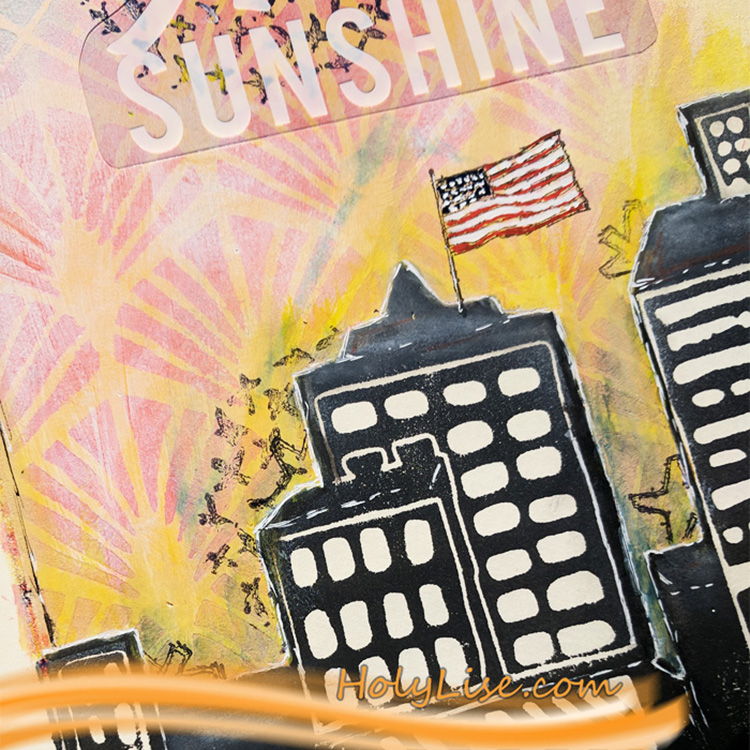
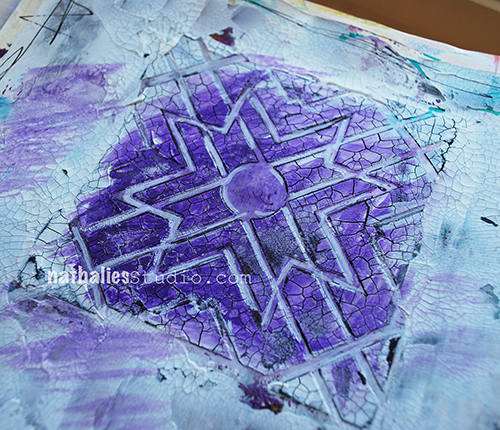
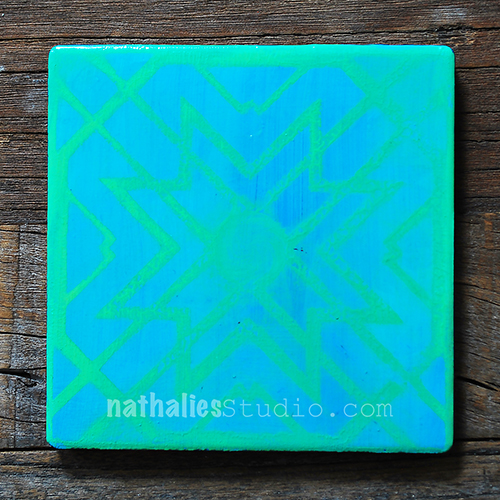
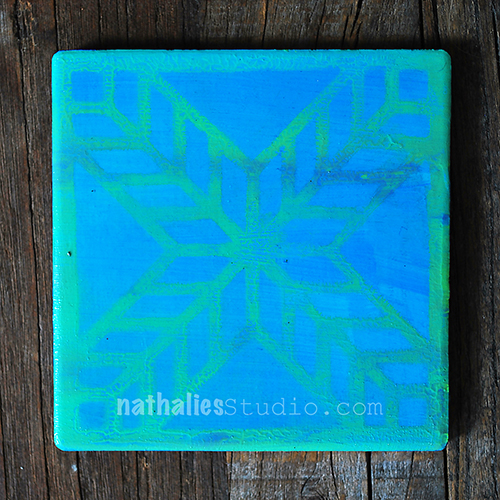
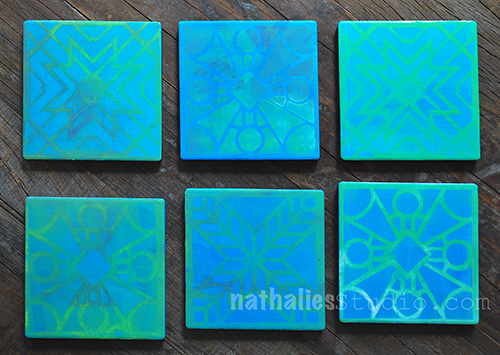
Now on to the finishing touches. I started by stamping Nat’s Star Tag stamp and Cross Circle stamp all over the page. I added more dimension by “hiding” them behind the skyline. For that effect, I covered the house with my mask and stamped over it. When I removed the mask only the partially stamped image stayed on the page.

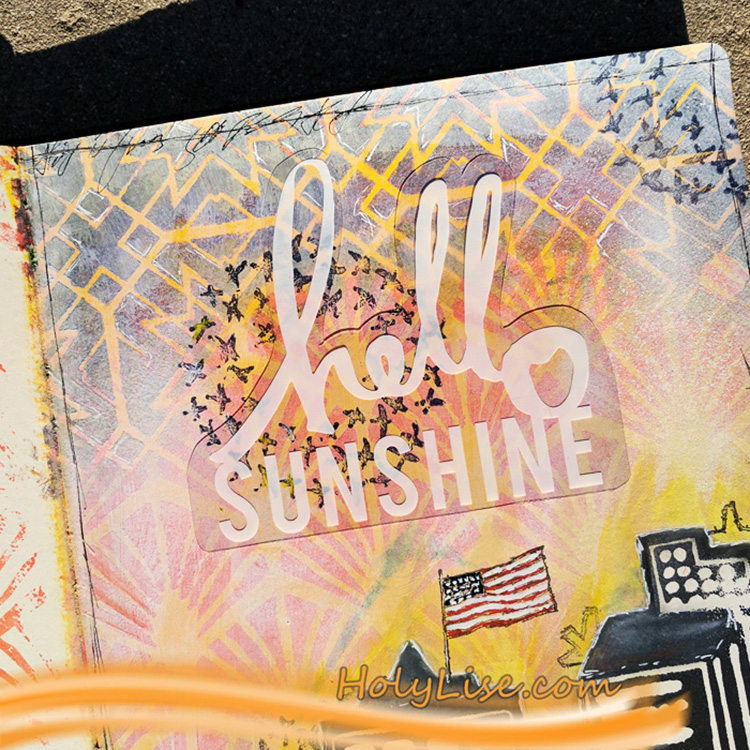
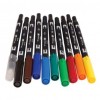
To make the sun even brighter, I outlined the skyline with two different shades of yellow using my Liquitex ink pens and blended the ink out with my finger. My scene was all set, it just missed a little extra – the U.S flag stamp on top of one of the skyscrapers.

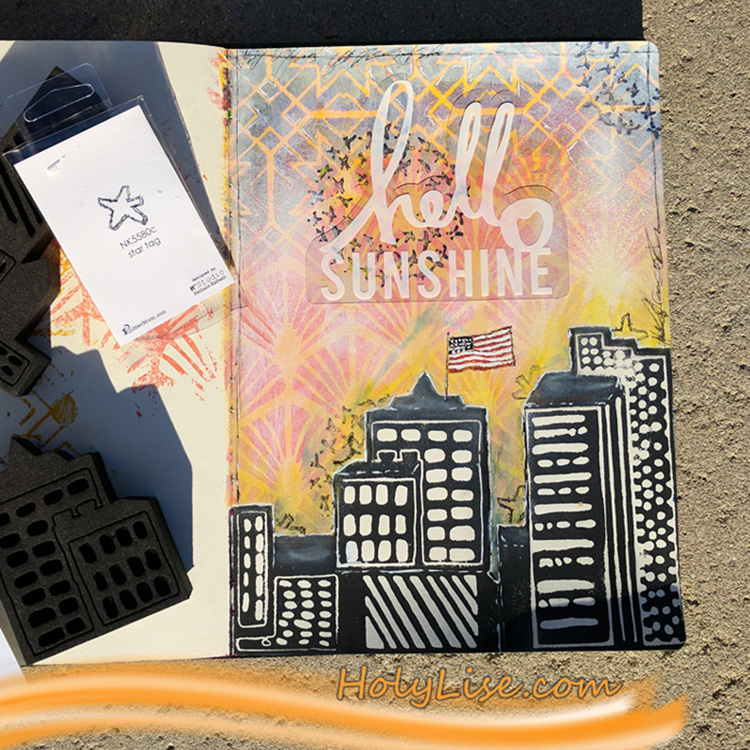
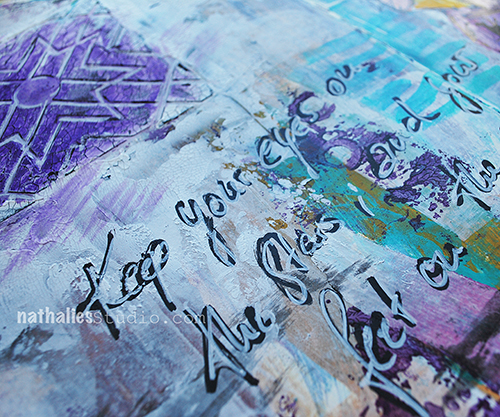
At the end the page needed a frame and a sentiment. I started with adhering the “hello sunshine” acetate piece to the middle of the page. Then I drew in a scribbled border and some random text.

The fires are now burning bright on this page, introducing a new day for whomever lives in that city J


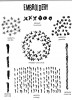
Thank you Josefine! In addition to her art journal, Josefine used the following (some are affiliate links):


Play along with us too: I love to see how you interpret our monthly themes. Email me how you used my stencils and stamps with the theme and email me an image – I would love to share your projects in my next  “n*Spiration From Around the Globe“.

SaveSave

Leave a comment

Pattern Lovers – Cheiron Brandon


Hello from the Creative Squad! Today Cheiron Brandon is sharing a beautiful and colorful art journal page using my Toledo stencil and my Embroidery stamp set. This month’s theme is: Pattern Lovers Love Patterns: We admit it – sometimes we go a little crazy over cool patterns. We see them everywhere and whether it’s in the human-made stuff all around us or in the designs by Mother Nature, we love them all. So this month we’re playing with pattern and giving it the attention it deserves!


Hi there! It’s Cheiron here to share a monthly project with you. For this month’s project I created a journal page. You may notice it’s not actually in a journal, but it will be! I like to create pages outside of my journal, especially when I am using the gelli plate, then tip them back into the journal I am working on. Let me walk you through how I created my page….

To begin my project, I painted some Matte Acrylic paints in various colors. I know it doesn’t look like much, but this will really make the next step pop.

I rolled out some titanium white paint onto my gelli plate, to give some added texture, I went through the paint with a comb tool. Then I laid my Toledo stencil on the gelli plate and pressed my already colored panel into the white paint that has been covered with the stencil.

This is what it will look like. That colorful background really makes the white pop!

I never like to waste paint, so I pulled off the stencil and placed another piece of paper into the paint that was left.

This will leave you with a nice textured piece of paper. Since it’s white paint, you could always use this as a resist with ink too.

To add even more pattern to my page, I stamped with the RunningStar Fish, and Grannies stamps from the Embroidery set all over the page in coordinating colors.

I cut a tag out of the 2nd white textured piece, and stamped on that too.

I added some letters and the Chain Link stamp from the Embroidery set in black to give the tag some contrast. I also inked around the edges.

I did the same thing on a piece of old ephemera.

I glued everything down with collage medium and added some butterfly dies.

When it was all done, I stamped a few more images from the Embroidery set over the entire page. I hope you enjoyed this tutorial and will try making some easy patterns with stencils on your own!


Thank you Cheiron! In addition to a piece of ephemera, Cheiron used the following supplies (some are affiliate links):


Play along with us this month and join the 30 day Artful Adventures Stroll Challenge! I love to see how you interpret our monthly themes. Email me how you used my stencils and stamps with the theme and email me an image – I would love to share your projects in my “n*Spiration From Around the Globe“.

Comments (1)

  • Stephanie

    |

    Great project jump start technique! Thanks.

    Reply

Leave a comment

Live Like It’s Spring – Marsha Valk


Hello from the Creative Squad! Today Marsha Valk is officially ushering in spring with a collection of gorgeous collages using a whole bunch of my stencils and the monthly theme Live Like it’s Spring – Springtime is when Mother Nature kicks it into high gear. It’s the time to wake up and approach life with renewed energy.  Let’s join Mother Nature in this reawakening and create some things in the Spirit of Spring!


When it’s Spring again I’ll bring again… Tulips from Amsterdam! They’re actually from my craft room about 50 km east of Amsterdam… but that’s near enough I think ;-).

I started with mono printing a bunch of greenish, reddish and yellow/orangey prints on copy paper with my Gelli plate and Nathalie’s Buenos Aires, Manhattan, Mesa Verde, Santiago, and Toledo stencils. Once dry I cut them up into tulip leaves and stems.

I wanted to use Nat’s ‘Amsterdam’ stencil, with the tulip pattern, for the background. To achieve a softer ‘ghost’ print, I had to pull four prints: I applied paint onto the Gelli plate, layered the stencil on top and pulled two prints to remove most of the paint.

Then I removed the stencil and pulled another print to remove even more paint. And then for the final print I applied white paint onto the Gelli plate and pulled a last ghost print. And this last print is what I used for the background.

The last step was to collage the tulip parts onto the Gelli printed backgrounds.


Thank you Marsha! I love how you combined all those different stencil patterns with those gorgeous spring colors. In addition to some white copy paper, Marsha used these supplies – some links are affiliate links:


Play along with us! I love to see how you interpret our monthly themes. Email me how you used my stencils and stamps with the theme and email me an image – I would love to share your projects in my “n*Spiration From Around the Globe“.

Leave a comment

Return to the Light – Michelle Rydell

Today, Michelle Rydell from my Creative Squad is sharing an uplifting art journal page using my Toledo stencil for this month’s theme: “Return to the Light.” As we pass through the Winter Solstice here in the Northern Hemisphere, the ever lengthening nights turn to ever lengthening days. This ancient marker in the calendar has always been a celebration of light and the promise of a new day. Let’s Return to the Light with some bright and luminous mixed media projects!


There’s something very magical about the winter solstice for me.  It’s our darkest day, but it’s also a time of hope – a time where we acknowledge our slow return to the lightness of spring.
 
I decided I wanted to play with the Toledo stencil for this project…
 
First, I sprayed a myriad of colored ink thru the Toledo stencil …


Then, so as to not waste any of that beautiful spray, I turned the stencil over onto a blank page, and cleaned it with a baby wipe…


I looked at the result, and it reminded me of a sunset! I envisioned a raven looking up to the sun, acknowledging the returning light. So I went about making that happen.
 
First, I sketched a basic raven shape with pencil.


I went over the raven with a Sakura Glaze pen. I then filled in the design on the bottom part of the page with tombow markers, to differentiate the ground from the sky. I used a lid from some gesso as a template to draw a circle in the sky; and colored in the white areas with a gold marker to represent the sun.


The raven got a coat of black paint, and the ground got some turquoise, magenta and purple marker added.


I blended the ground area with water. When dry, a thin coat of matte medium was added to make it waterproof.  I knew I wanted to add a white title, and the matte medium barrier would allow the white to stay white.


And here is the finished page. The black words around the sun were added with Pitt Pen, and the white on the bottom with a Sharpie Poster Paint Marker.


I love how Michelle always creates a scene and story in her work!  This one is a beautiful reminder that Spring will return. Michelle used these supplies – some links are affiliate links:


Play along with us! I love to see how you interpret our monthly themes. Email me how you used my stencils and stamps with the theme and email me an image – I would love to share your projects in my “n*Spiration From Around the Globe“.

Comments (2)

  • Rosie Grey

    |

    This is amazing!

    Reply

Leave a comment

Return to the Light – Marsha Valk

cs-december-theme

Today, Marsha Valk from my Creative Squad is sharing a wonderful and illuminating project using my small Santiago, Toledo, and Buenos Aires stencils for this month’s theme: “Return to the Light.” As we pass through the Winter Solstice here in the Northern Hemisphere, the ever lengthening nights turn to ever lengthening days. This ancient marker in the calendar has always been a celebration of light and the promise of a new day. Let’s Return to the Light with some bright and luminous mixed media projects!


marsha-dec-headshot

I do not like the dark days of December. I mean: it’s OK when the sun comes out for a couple of hours, but here in the Netherlands December weather is mostly gloomy and grey… Candles and fairy lights are a must, because they make even the greyest days a bit brighter.

marshavalk_nstudio_light-4

These votives do not take long to make and chances are that you already have everything you need to make them. They look cute on a festive table, but they will also keep until after the holidays!

marshavalk_nstudio_light-step-1

Choose two colours of StazOn ink that when blended will make a third colour. In my sample I chose teal and pink and those two colours together make a purple shade. Darker shades will ensure that your stenciled pattern is still visible once a tealight is lighted inside the jar.

marshavalk_nstudio_light-step-2

Use a cosmetic sponge to apply StazOn ink through your stencil onto a sheet of vellum. I used Nathalie’s Buenos Aires, Santiago, and Toledo stencils.  Just dab the cosmetic sponge onto the ink pad and then lightly dab the ink onto the vellum.
Tip: Use rubbing alcohol to clean your stencils afterwards.

marshavalk_nstudio_light-step-3

Find three small jars and cut the vellum to size so you can wrap the vellum around the jars.

marshavalk_nstudio_light-step-4

Add a strip of double-sided adhesive to one side of the vellum, remove the backing and then place the vellum around the jar.

marshavalk_nstudio_light-step-5

Add LED tealights and enjoy the lights!

marshavalk_nstudio_light-1

marshavalk_nstudio_light-3


Thank you Marsha for brightening these dark winter days!  I love this idea – it is simple and yet so beautiful.  It’s definitely something I’m going to make. In addition to some small jars, Marsha used these supplies – some links are affiliate links:

supplies


Play along with us! I love to see how you interpret our monthly themes. Email me how you used my stencils and stamps with the theme and email me an image – I would love to share your projects in my “n*Spiration From Around the Globe“.

Comments (6)

Leave a comment

Keep your eyes on the stars !

kalbachkeepyoureyesaj01

“Keep your eyes on the stars and your feet on the ground” – what a wonderful advice this is. Truly something to follow :)

kalbachkeepyoureyesaj03

For this art journal spread I used some gesso to blend over the background which was colored from some scrape off paint from other painting sessions. I stamped over the background with the Grunge Stamp set and stenciled with the Batik Stencil to add some pattern and tie everything more together.

kalbachkeepyoureyesaj02

I applied some crackle paste through the Toledo 4×4 Stencil, let it dry and then lightly spread some purple ink over the crackled areas.

kalbachkeepyoureyesaj04

I added the journaling with a black marker, overwrote it with a white marker and painted over a magazine image to finish the page up.

Here is a list of the supplies that I used for the page -some links are affiliate links:

supplies


I hope you enjoyed the page and have your eyes on the stars and actually reach them  :)

Leave a comment

Upcycled , Recycled: Stenciled Coasters Project

kalbachcoasterscollage

These coasters were so much fun to make. A couple years ago, someone had given me those coasters, which were pretty, but not quite my taste. Time to upcylce and recylce!

kalbachcoaster10

I painted all coasters in the same color  mix of two different blues with acrylic paint and let them dry.

kalbachcoaster11

Then I grabbed the Buenos Aires, Santiago and Toledo 4×4 stencils which fit exactly onto the coaster. For some coasters I simply placed the stencil on top of the surface and stenciled with a different acrylic paint color through.

kalbachcoaster12

For some I layered some color directly on top of my blue background and then placed the stencil in the wet paint surface and removed paint through the stencil with a baby wipe.

kalbachcoaster13

Once all the stenciling was done and the paint was dry, I coated the coasters with Pouring Medium. I let everything dry overnight and gave them another coating with Pouring Medium to seal the surface off and also to give the coasters some depth and sheen.

kalbachcoaster14

And here you go – the different coasters

kalbachcoaster02

kalbachcoaster03

kalbachcoaster04

kalbachcoaster05

kalbachcoaster06

kalbachcoaster07

I gave those to my sister in law and she really loved them as they are in her favorite colors. Now …time to make some for myself…maybe for Thanksgiving .

kalbachcoaster01

Here are the supplies I used to make those coasters – some are affiliate links:

supplies


What have you put aside to upcylce or recylcle, but haven’t gotten around to do it yet?

Comments (2)

  • Joi@RR

    |

    These turned out so much more YOU Nat! Perfect way to showcase your stencils. Xj.

    Reply

Leave a comment

Good Things Just Keep Happening – Marsha Valk

cs-november-good-things

Today, Marsha Valk from my Creative Squad is sharing two gorgeous prints using this month’s theme: “Good Things Just Keep Happening.” I invite you to join me and my Creative Squad this November, in the spirit of the Thanksgiving holiday in the US, to remind ourselves to be thankful for even the smallest things.  Every once in a while it feels nice to slow down and recognize the good stuff that’s all around us.  What Good Thing happened to you today?


marsha-november-headshot

I already had a long and hard thought about the theme before it occurred to me that the answer had been staring me in the face each morning:
One of the smallest things that I’m thankful for nearly every single day is the pot of tea that my husband prepares before he leaves to go to work. So each week day morning, when I get up and go into the kitchen, there’s a warm pot of tea sitting there to greet me. Just for me! It’s the small things that count and I know this is just one of those things that will be etched in my memory forever.


marshavalk_nstudio_goodthingsjustkeephappening-7


So the idea for my project formed in my head and I wanted to use the Gelli Plate to execute it. That meant that I needed a mask of the teapot. I decided that the easiest way was to just take a photo, print it and then use the print as the mask.


marshavalk_nstudio_goodthingsjustkeephappening-1
marshavalk_nstudio_goodthingsjustkeephappening-2


I wanted the backdrop for the teapot to look like wallpaper, so I printed solid colours on the background first and then I printed over those colours using n*Studio stencils.


marshavalk_nstudio_goodthingsjustkeephappening-3
marshavalk_nstudio_goodthingsjustkeephappening-4


To get a (fairly) crisp edge I masked off the edge in the middle before placing the stencil on the Gelli Plate. I also stuck the teapot mask to the already printed paper before I pulled the stencil print and I used the lines on my glass mat to line up the paper.


marshavalk_nstudio_goodthingsjustkeephappening-5


Once the printing was done I sketched in the details with graphite pencil and I used a paper stump to create the shadows. I also added a little bit of colour with Inktense pencils. That’s it!


marshavalk_nstudio_goodthingsjustkeephappening-8
marshavalk_nstudio_goodthingsjustkeephappening-9

Ohh , I love this – thank you Marsha!  Looks wonderful and is such an awesome idea.  I love the teapot!
Here are the supplies Marsha used to create her prints – some links are affiliate links:


supplies


Play along with us!  I love to see how you interpret our monthly themes. Email me how you used my stencils and stamps with the theme and email me an image – I would love to share your projects in my “n*Spiration From Around the Globe“.

Leave a comment

You and I or … In My Art Journal Today

kalbachyouandiaj01

“You and I are more than just friends…We are like a really small gang”

Don’t you feel sometimes like this with your bestie? I had a  great time playing with my new Toledo 9×12 Stencil.

toledobackground-watermarked

love working with this stencil – it is delicate and yet has some impact

kalbachyouandiaj02

I used the stencil on a painted background and spray painted in blue on top of it. The magazine images were painted with acrylic markers and pens.

kalbachyouandiaj03

Here is a short list of what I used – note some links are affiliate links:

supplies


I hope you have  wonderful start into the week!

Comments (1)

  • Joi@RR

    |

    Love the variety of colors in the design made with your toledo stamp Nat and good lookin guys too!! YES – great way to start the week – thanks bunches!! Xj.

    Reply

Leave a comment