Creative Squad

Creative Squad: Creating Connections – Robin Seiz

Hello from my Creative Squad! Today we have a post from Robin Seiz who is sharing a mixed media piece using my LOVE foam stamp, Running rubber stamp, Crackle stencil and our theme: Creating Connections – We’re playing along with the Creative JumpStart 2022 theme Creating Connections and exploring how our artwork connects us to the world around us, our community, our favorite supplies, or maybe our artmaking choices. Connections are everywhere when we create!


Happy New Year Friends. I hope your New Year has started out full of possibilities. Like many of you I have been following along with Creative Jump Start 2022 and it’s been wonderful. There are so many talented artists and I always learn something. In keeping with the theme of CJS our January blog focuses on Creating Connections. 

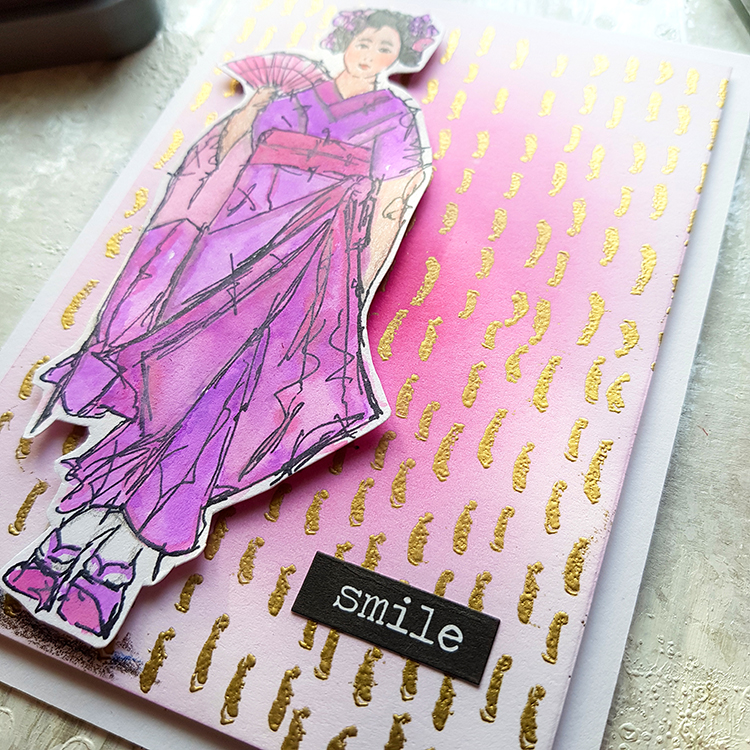
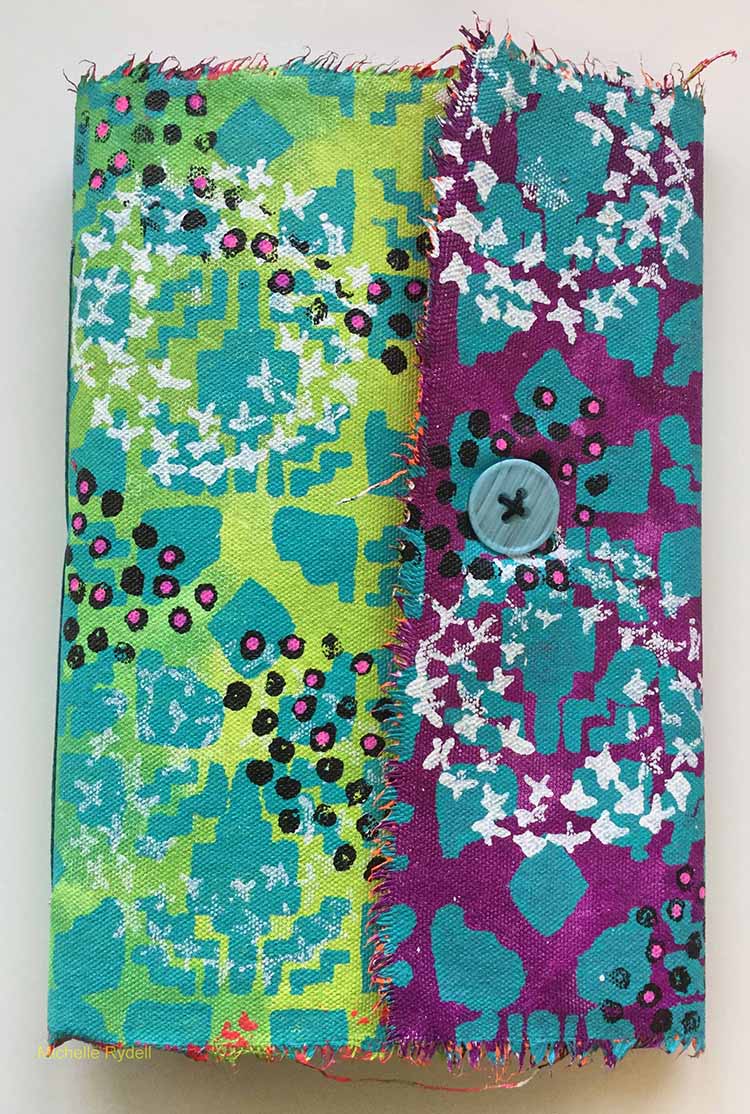
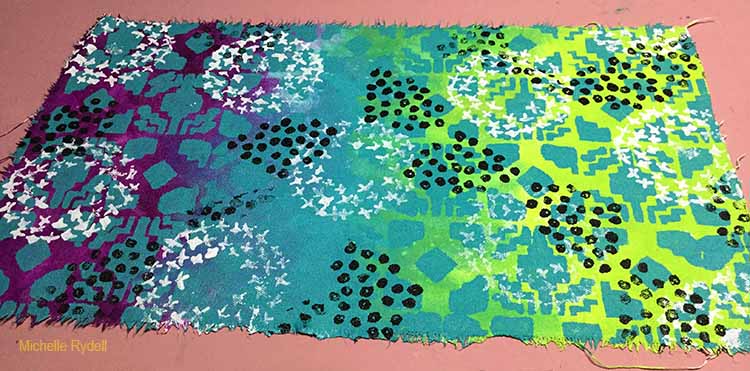
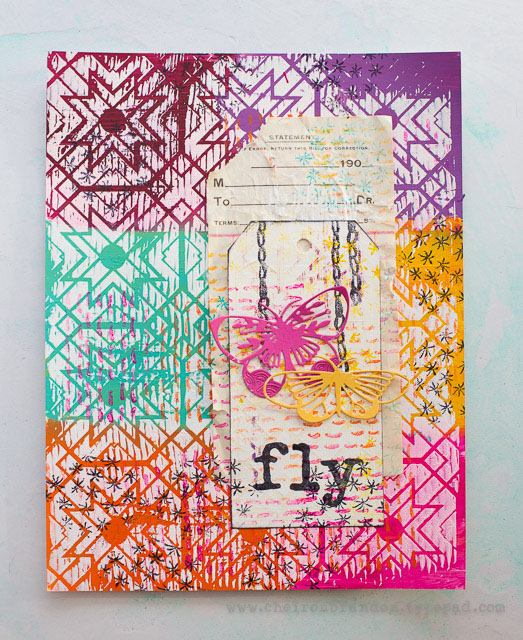
This project I created uses Nathalie’s LOVE stamp,  Crackle stencil, and Running Rubber Stamp. When I started out in mixed media several years ago, the first projects I created were made by machine stitching on paper. I always left the strings hanging; the pieces had a messy organic look to them. Today, I often incorporate sewing in my mixed media projects. 

I have recently started slow-stitching; it has the magical power of connecting me to myself. It’s a mediative process which slows me down and allows me to be in the present with every stitch. It has had the added benefit of connecting me to a whole new on-line community of artists. This project has brought me back to where I started using some new skills I have learned along the way.  

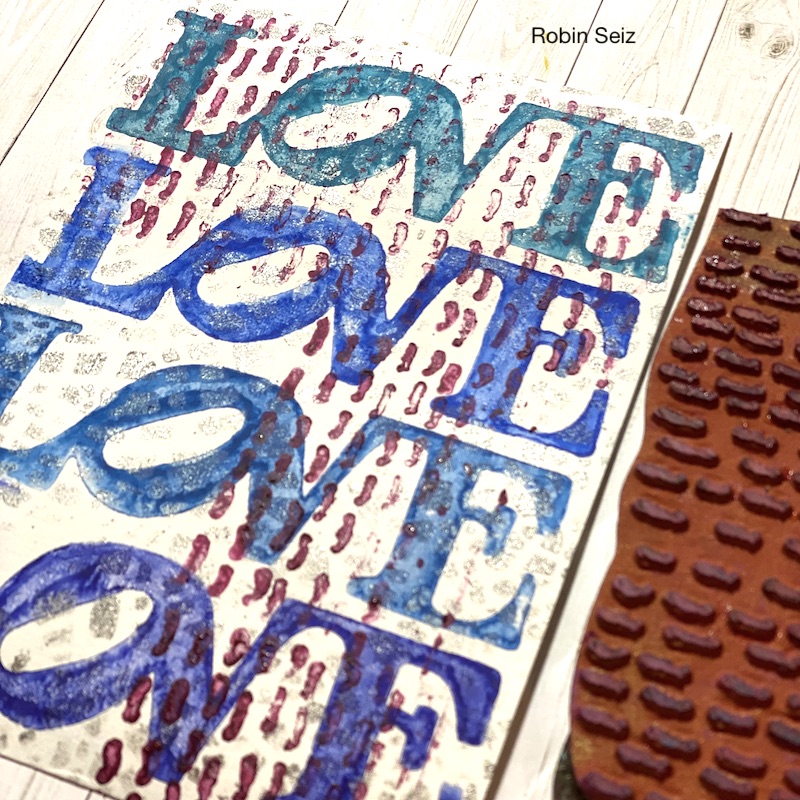
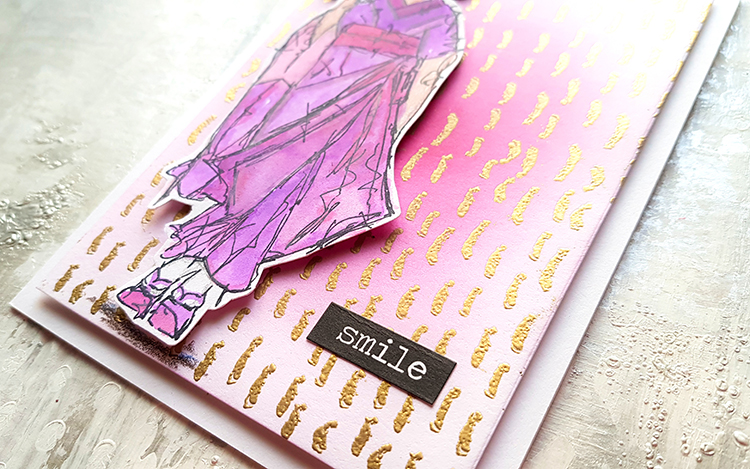
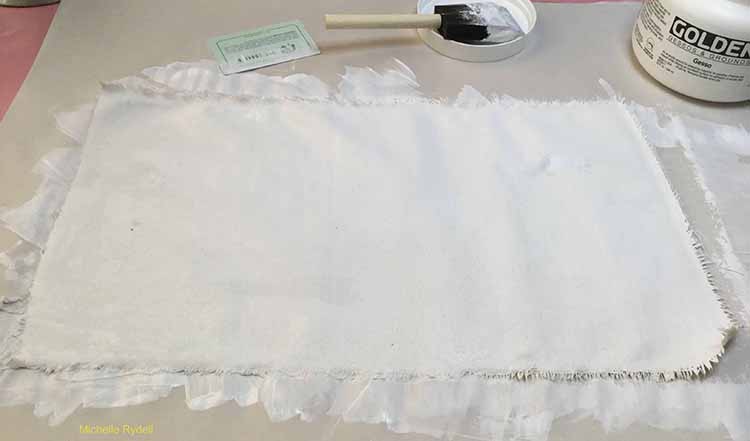
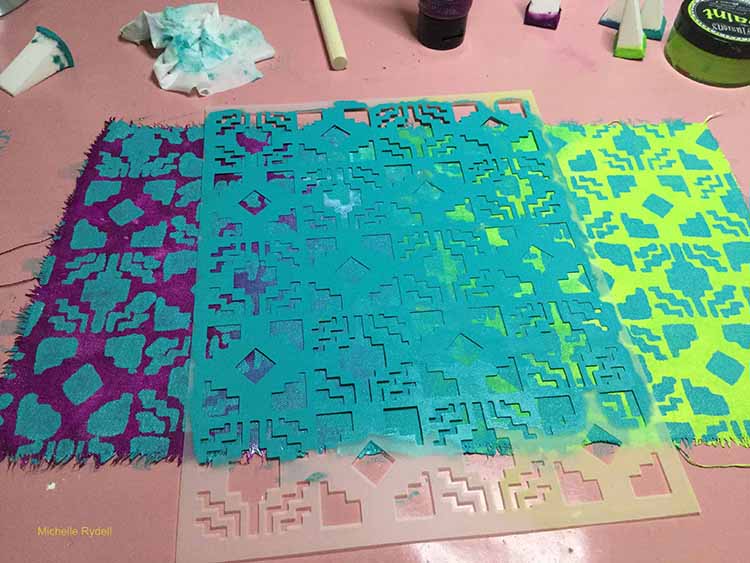
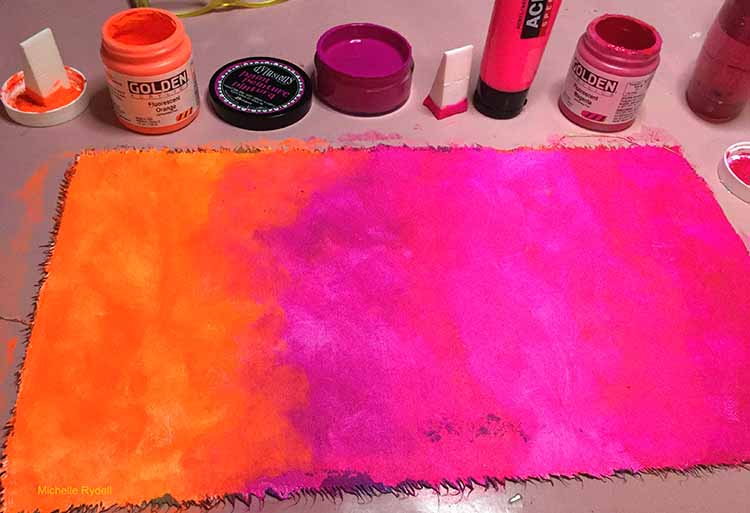
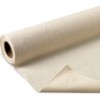
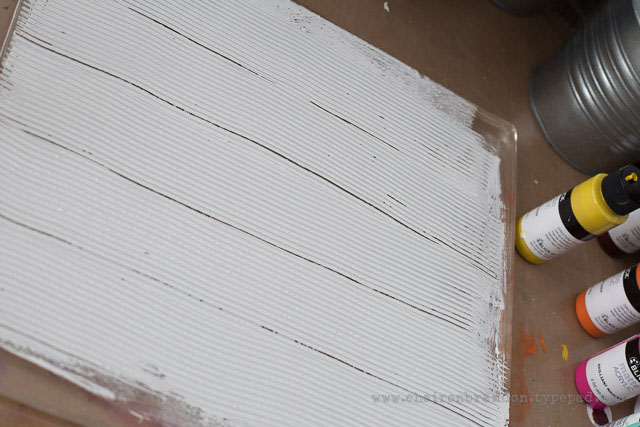
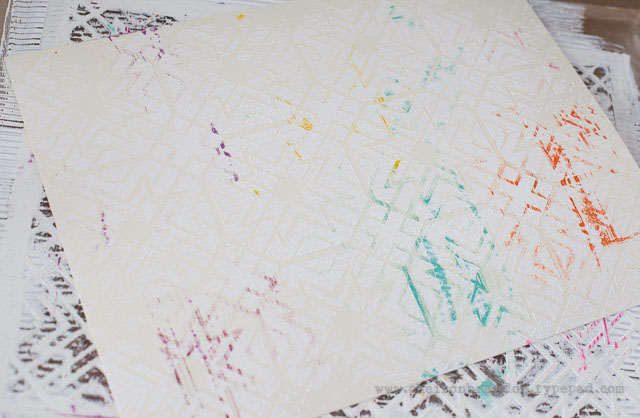
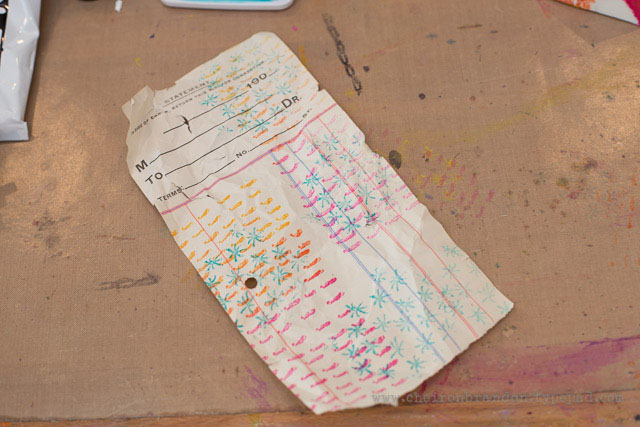
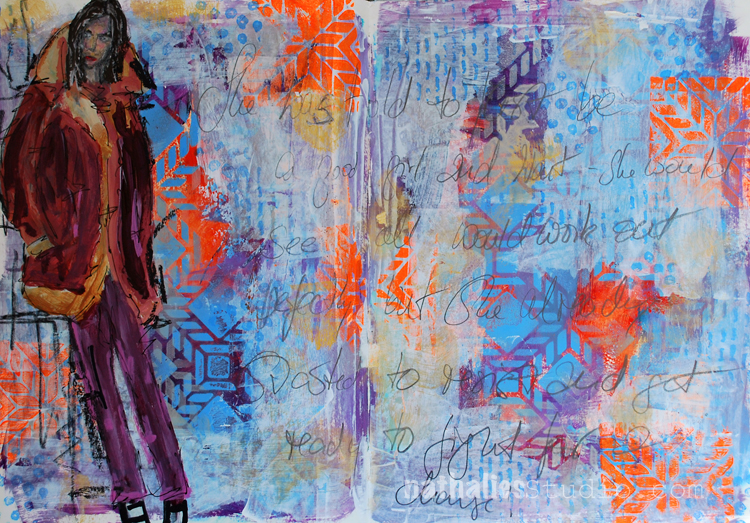
I began with a piece of 5’ x 7” watercolor paper. I spread watercolor grounds on the paper because I wanted more texture on the paper and I wanted a grungy look. Once it was dry, I used Nathalie’s crackle stencil and applied Golden’s fluid Iridescent Stainless Steel with a make-up sponge. 

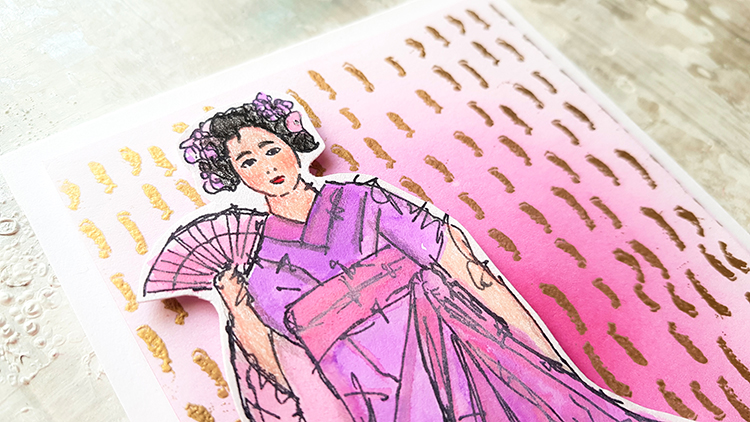
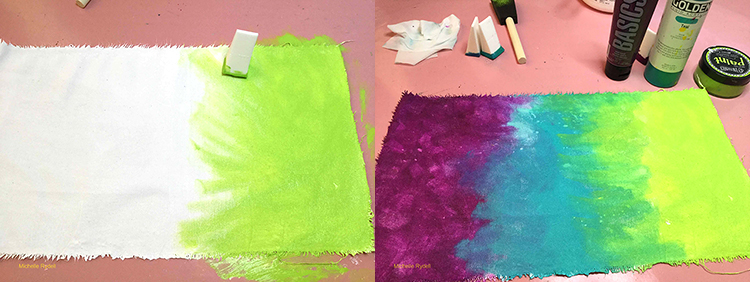
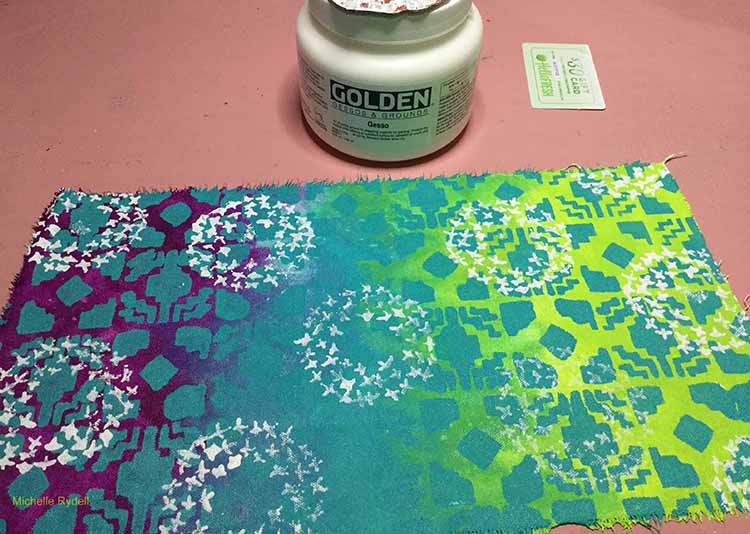
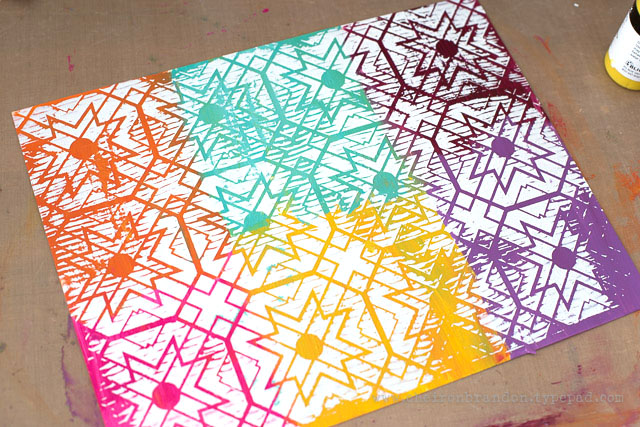
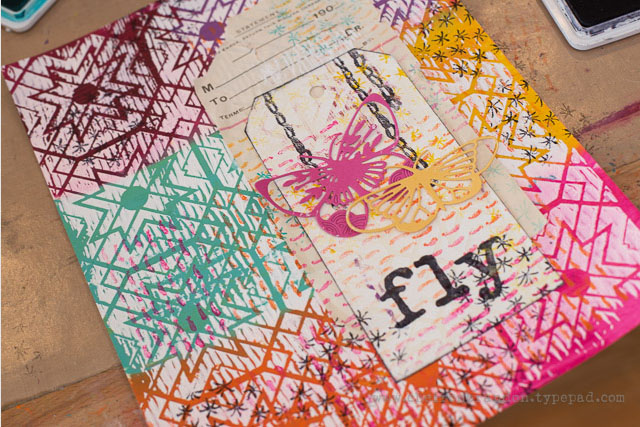
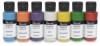
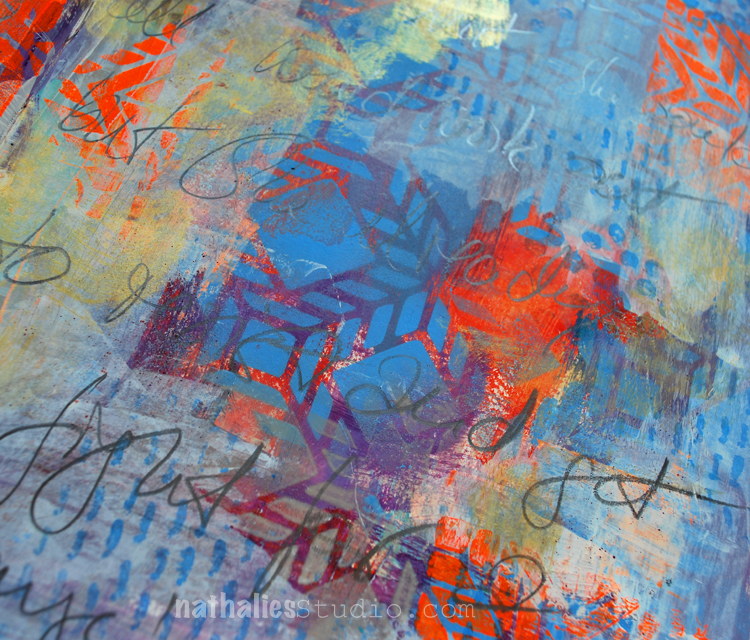
Next I used Derwent Intense Sticks, wet them, and applied them to the LOVE Stamp. I gave the stamp a little spritz and laid down the stamp.  I wanted the crackle pattern to show through the stamped image and I wanted a mottled uneven image. Often a less perfect image is more appealing to me. I love how the watercolor pools and makes a pattern of its own. If you are more precise than I am, you could move the watercolors with a brush while they are still wet. 

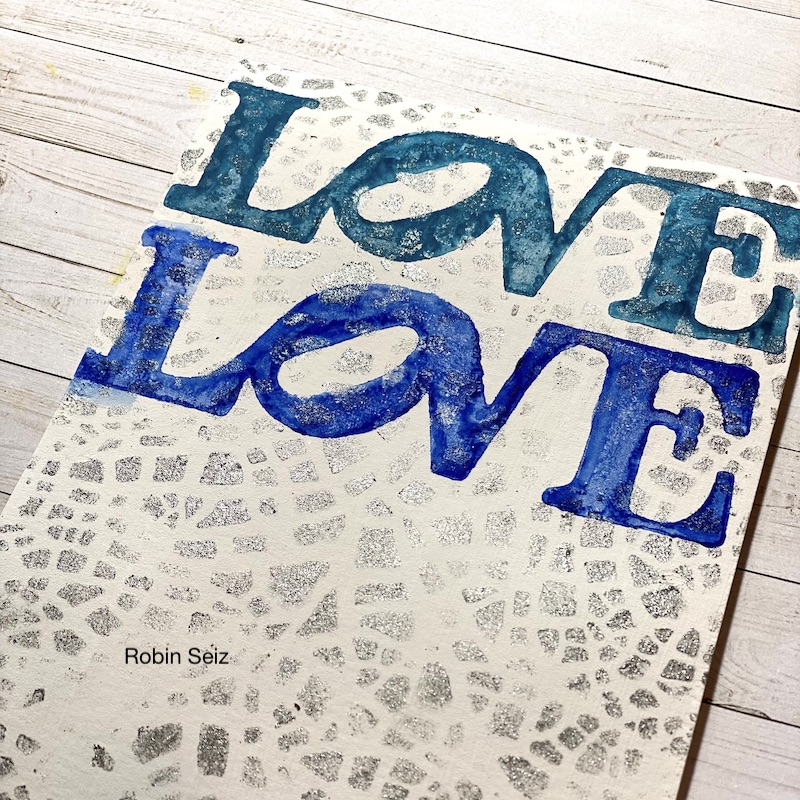
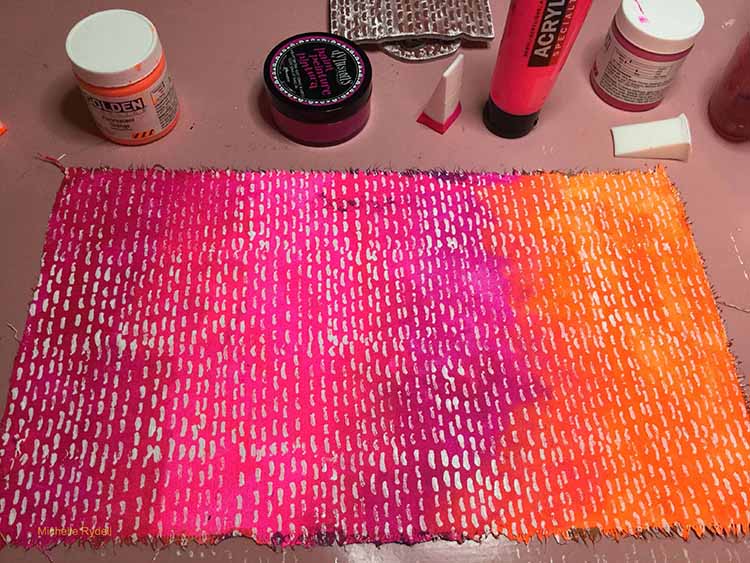
I continued to stamp with three more colors.

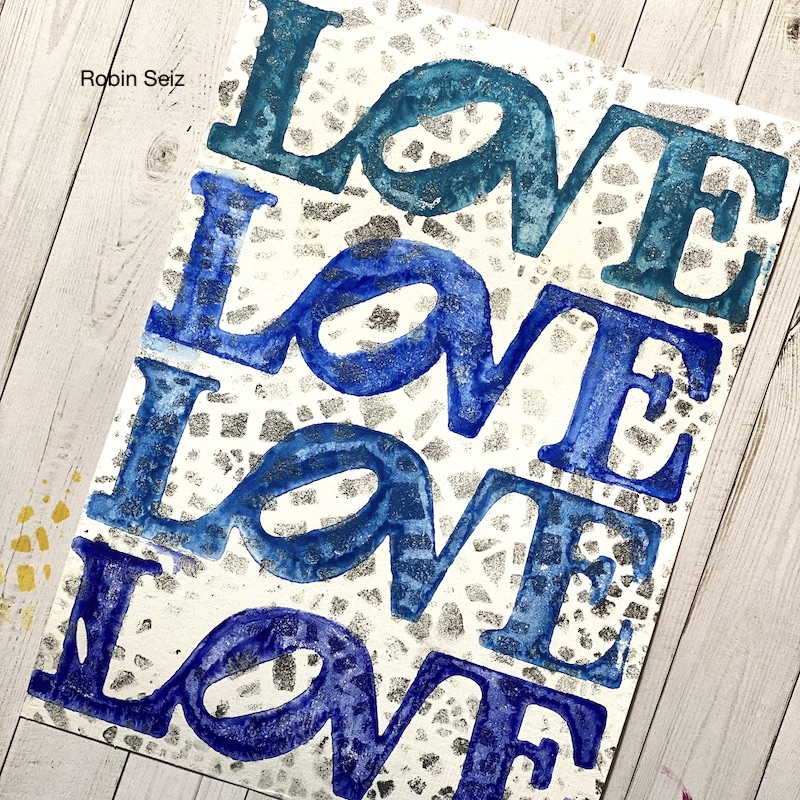
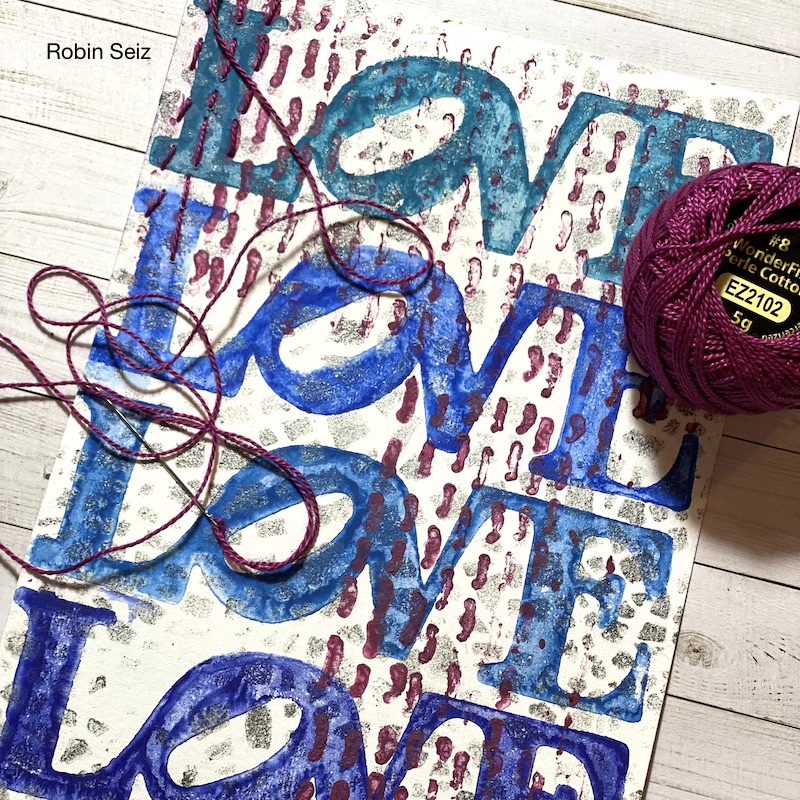
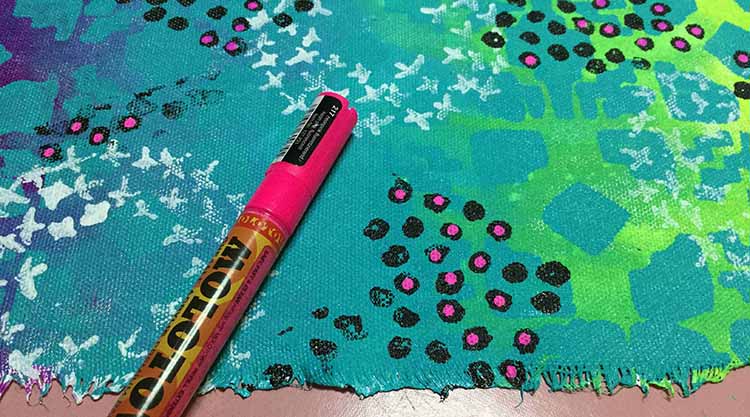
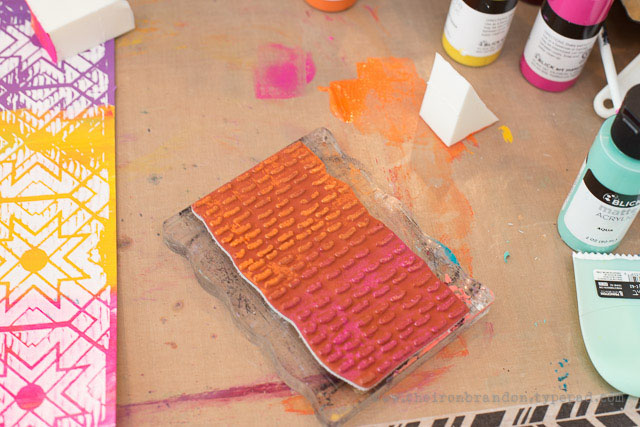
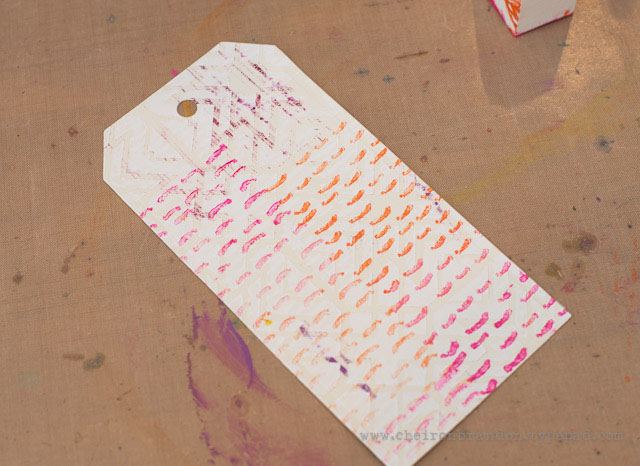
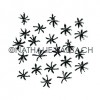
Once the watercolor was dry, I used a Derwent Intense Stick, in a complementary color, to stamp Nathalie’s Running stamp so that it was compositionally pleasing to my eye.

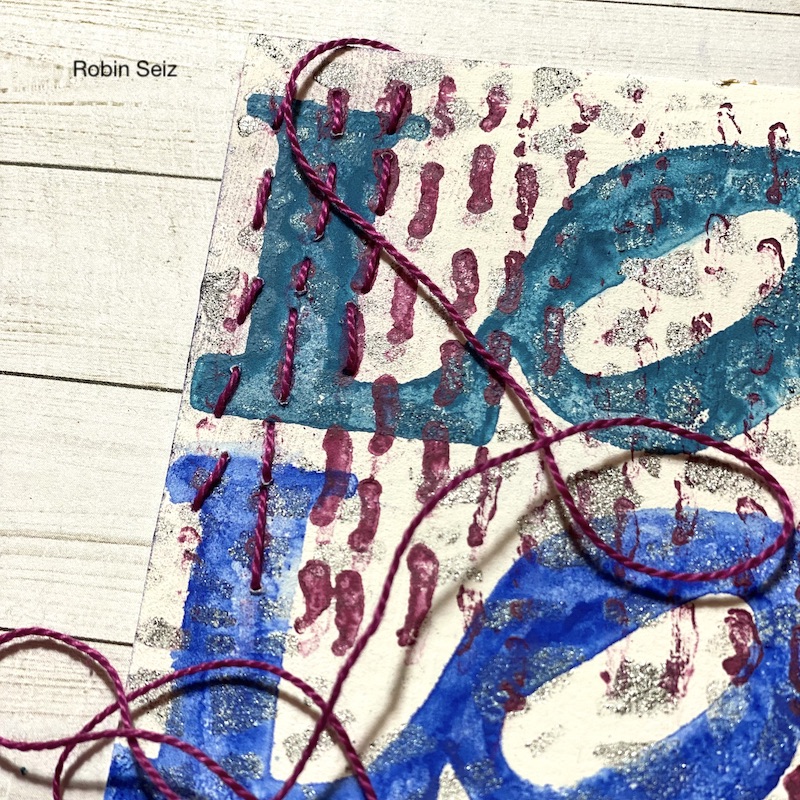
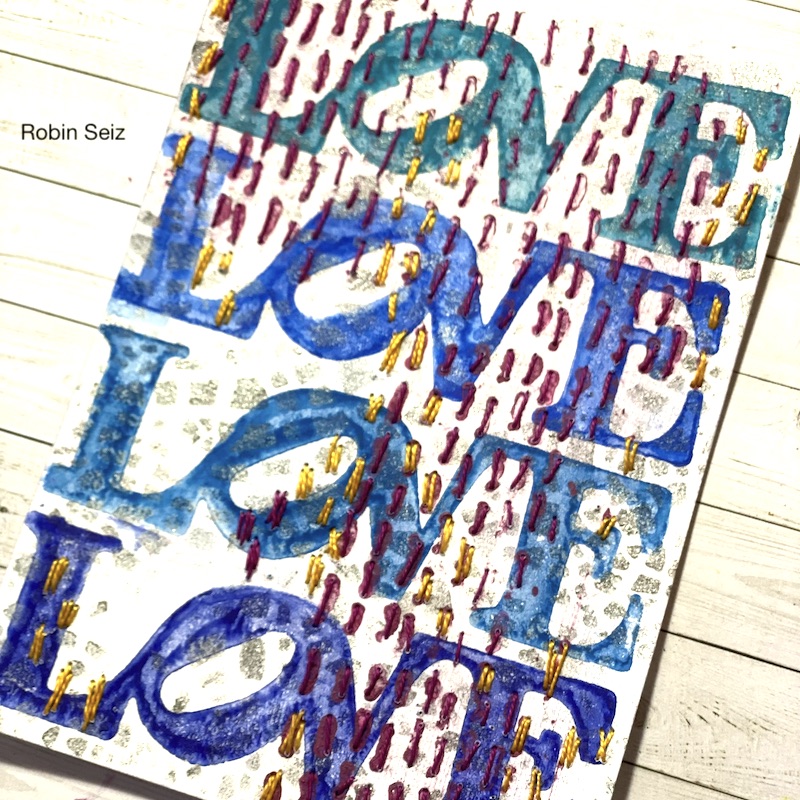
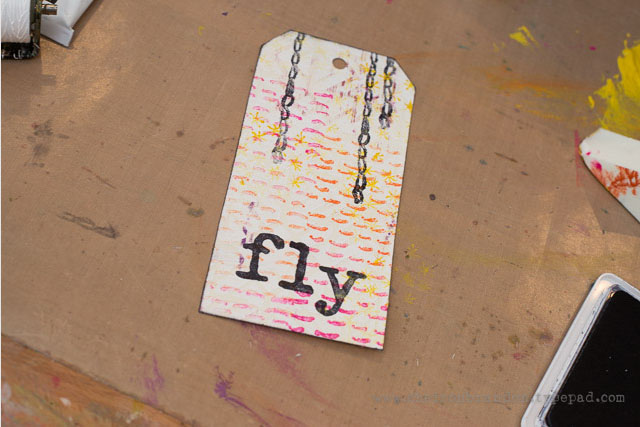
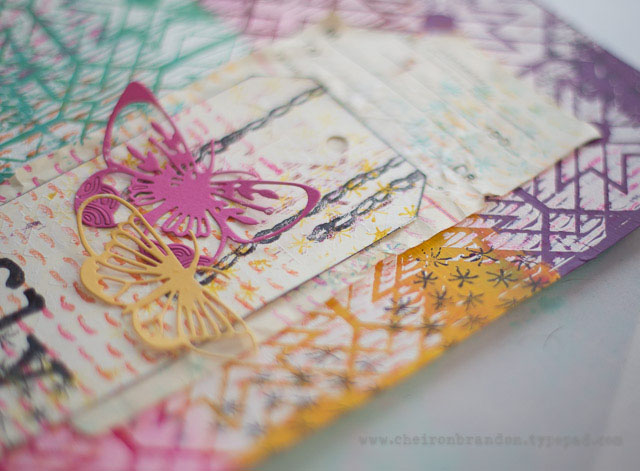
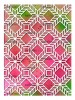
Once all of this was dry, I began hand stitching with Perle Cotton thread; I used the running stitches as a guide. I added a second complementary color and even sewed where there were not stamped running stitches. This again was based on what I felt was compositionally pleasing. One note about hand stitching this project — it’s tough going through thick watercolor paper. I would recommend two things. 1) A thin needle, and 2) a thimble to protect your thumb and finger. I didn’t use this and my thumb is still sore! 

When I stepped back from this project, it reminded me of the days when my children would sew on sewing cards;  another pleasant connection. I plan to frame this small piece and hang it in my studio. 

I hope you enjoyed this project. Please let me know if you try it. Post your project and tag me on social media. I can be found on both Instagram and facebook. 


Thanks for sharing Robin and so cool how you used the Running stamp as a guide for your own real stitching!

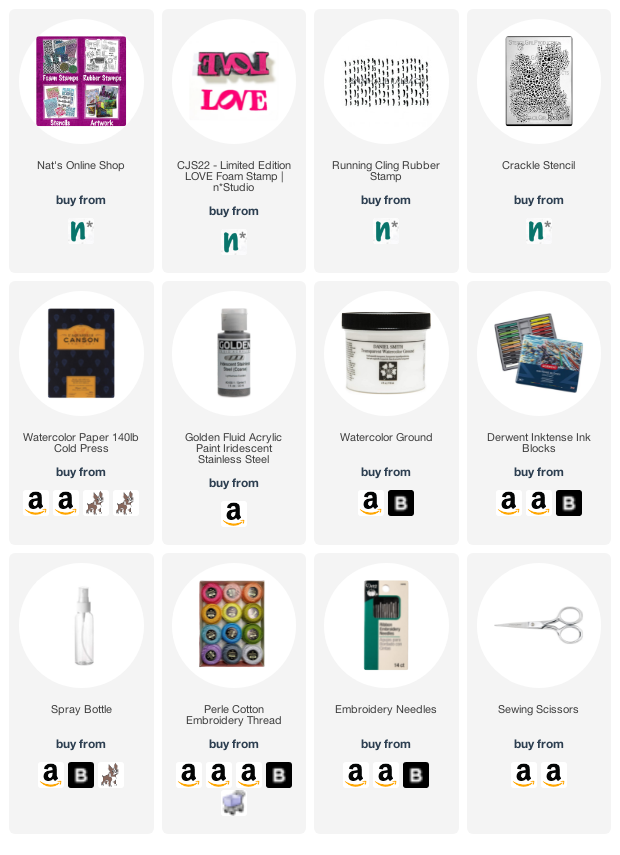
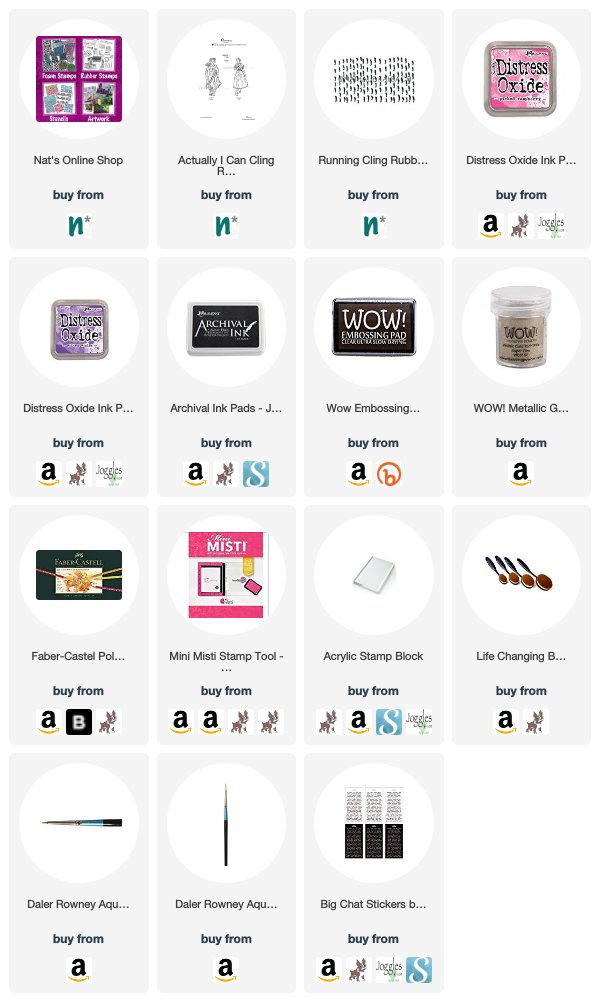
Give it a try: you can find all my Stencils, Foam Stamps, and Rubber Stamps in my Online Shop and here are some of the supplies Robin used:

Looking for more projects? Follow the Creative Squad on Instagram here.

Leave a comment

Today We Smile – Tania Ahmed


Hello again from the Creative Squad! Today we have a video from Tania Ahmed who is rocking some distress inks and embossing with my Maiko and Running rubber stamps. The theme this month is: Today We Smile – They say smiling can lift our mood and maybe improve our overall health. Let’s try it! Think about what makes you smile and share it with all of us. After all, smiles are also known to be contagious :)


This month’s theme for the Creative Squad was Today we Smile and boy oh boy did I smile while making this card using the Maiko stamp set :)

I have made a video on how I made the card using lots of techniques with Distress Oxides, embossing powder and colour pencils.

I used a lot of things that make me really happy: stamping, heat embossing, ink blending, gold, and watercolouring! I hope you enjoy the video and please do let me know if you have any questions about any of the techniques or products used.

Step1: Stamp with Running Stamp and Heat Emboss cardstock panel with Gold Embossing Powder using an embossing ink pad.

Step2: Apply Distress Oxide to heat embossed background with blending brush.

Step 3: Stamp and colour in Maiko stamp using Distress Oxides as watercolours. Add details and shading with colour pencils.

Step4: Cut out Maiko image.

Step5: Assemble all elements together and add to top folding card base using foam tape.

Step6: Add sentiment sticker to finish.

Thank you so much for watching and taking a peek here on Nat’s Blog. Take care and see you all next month :)


Thank you Tania! What a gorgeous card!!! You can find my Rubber Stamps in my Online Shop and here are some of the other supplies that Tania used:


Feel inspired? Working on something yourself that you’d like to share?  I love to see how you interpret our monthly themes. Email me how you used my stencils and stamps with the theme and email me an image – I would love to share your projects in my next  “n*Spiration From Around the Globe“.

Leave a comment

Pattern Lovers – Michelle Rydell


Today we have a project from the Creative Squad! Michelle Rydell is sharing a really happy and colorful journal cover using my Santa Fe stencil and my Embroidery stamp set. This month’s theme is: Pattern Lovers Love Patterns: We admit it – sometimes we go a little crazy over cool patterns. We see them everywhere and whether it’s in the human-made stuff all around us or in the designs by Mother Nature, we love them all. So this month we’re playing with pattern and giving it the attention it deserves!


One thing I love just as much as art journaling, is making the journals to journal in!  When I heard that the theme for this month was Pattern Lovers I thought it would be perfect to do a journal cover!

I started by folding some 9 x 12” paper in half to form a 6” x 9” journal. I cut/tore a long piece of unprimed canvas 9” high to match the height of the journal.  Then I wrapped it around the papers to decide how long to make it.  I wanted enough to create a flap.

I primed the canvas on both sides with some white gesso.

I wanted the outside of the cover to be a progression of cool colors, so I used a makeup sponge to rub on some acrylic paint in lime green, turquoise and purple.

Then I sponged some teal over the whole thing with the Santa Fe stencil. I love how the blue creates a different effect depending on what color it is combined with…

I used white gesso to stamp the Cross Circle stamp (from the Embroidery set) randomly.

Then, I added the Grannies stamp with black for contrast.

As a final touch, a little pink was added with a paint pen to fill in some of the circles.

Then I flipped the canvas over to paint the inside. For high contrast I used warm colors to create a similar progression as a base.

Then, used the Running stamp with white gesso to create an all-over pattern, and the cover was done!

Here are some photos of the completed journal.  I made a slit in the flap and sewed a button to create a closure. I used a simple pamphlet stitch to sew in the signatures.  I hope you enjoyed this tutorial!


Thank you Michelle for sharing your project with us! In addition to a button and some thread, Michelle used the following supplies (some are affiliate links):


Play along with us too! I love to see how you interpret our monthly themes. Email me how you used my stencils and stamps with the theme and email me an image – I would love to share your projects in my “n*Spiration From Around the Globe“.

Comments (10)

  • Rita Montgomery

    |

    I love this idea. I can see doing some raw edge appliqueing or free motion quilting to the cover as well. Fantastic job. ~~rita

    Reply

    • Michelle Rydell

      |

      Ohhh, free motion quilting would be awesome! Thank you Rita!

      Reply

  • Donnalee

    |

    fabuloso!!!!!!!

    Reply

  • Julie Tucker

    |

    Wow wow wow!!! This is gorgeous! LOVING the colors and the textures!!!!!!!!!!!

    Reply

  • Travis ArtJournalGuy

    |

    Very creative! I would never have thought to do something like this, but it seems easy to do. Thanks for sharing your process with us.

    Reply

  • Sherry Canino

    |

    How beautiful and I just love all the colors !!!❤️❤️❤️

    Reply

Leave a comment

Pattern Lovers – Cheiron Brandon


Hello from the Creative Squad! Today Cheiron Brandon is sharing a beautiful and colorful art journal page using my Toledo stencil and my Embroidery stamp set. This month’s theme is: Pattern Lovers Love Patterns: We admit it – sometimes we go a little crazy over cool patterns. We see them everywhere and whether it’s in the human-made stuff all around us or in the designs by Mother Nature, we love them all. So this month we’re playing with pattern and giving it the attention it deserves!


Hi there! It’s Cheiron here to share a monthly project with you. For this month’s project I created a journal page. You may notice it’s not actually in a journal, but it will be! I like to create pages outside of my journal, especially when I am using the gelli plate, then tip them back into the journal I am working on. Let me walk you through how I created my page….

To begin my project, I painted some Matte Acrylic paints in various colors. I know it doesn’t look like much, but this will really make the next step pop.

I rolled out some titanium white paint onto my gelli plate, to give some added texture, I went through the paint with a comb tool. Then I laid my Toledo stencil on the gelli plate and pressed my already colored panel into the white paint that has been covered with the stencil.

This is what it will look like. That colorful background really makes the white pop!

I never like to waste paint, so I pulled off the stencil and placed another piece of paper into the paint that was left.

This will leave you with a nice textured piece of paper. Since it’s white paint, you could always use this as a resist with ink too.

To add even more pattern to my page, I stamped with the RunningStar Fish, and Grannies stamps from the Embroidery set all over the page in coordinating colors.

I cut a tag out of the 2nd white textured piece, and stamped on that too.

I added some letters and the Chain Link stamp from the Embroidery set in black to give the tag some contrast. I also inked around the edges.

I did the same thing on a piece of old ephemera.

I glued everything down with collage medium and added some butterfly dies.

When it was all done, I stamped a few more images from the Embroidery set over the entire page. I hope you enjoyed this tutorial and will try making some easy patterns with stencils on your own!


Thank you Cheiron! In addition to a piece of ephemera, Cheiron used the following supplies (some are affiliate links):


Play along with us this month and join the 30 day Artful Adventures Stroll Challenge! I love to see how you interpret our monthly themes. Email me how you used my stencils and stamps with the theme and email me an image – I would love to share your projects in my “n*Spiration From Around the Globe“.

Comments (1)

  • Stephanie

    |

    Great project jump start technique! Thanks.

    Reply

Leave a comment

Resist – Art Journal Spread

Some of my thoughts on how sometimes women are told to behave in a certain way and be a good girl and how this actually never really resonated with me :)

The background was painted in a very bright orange and purple and layered the Santiago Stencil on top and sprayed with a blue spray paint over it. I applied some light yellow and white gesso in a think layer here and there to tone it down.

I stamped with the Grannies and Running  Stamps and archival ink for some marks. Next I picked up the orange again stamping with the Santiago Foam Stamp on top of some areas.

I used a pencil for the journaling.

Here are some of the supplies I used- some links are affiliate links:


Have an amazing day my friends!

Comments (2)

  • Sherry Canino

    |

    Beautiful art journal spread and message ❤❤❤

    Reply

Leave a comment