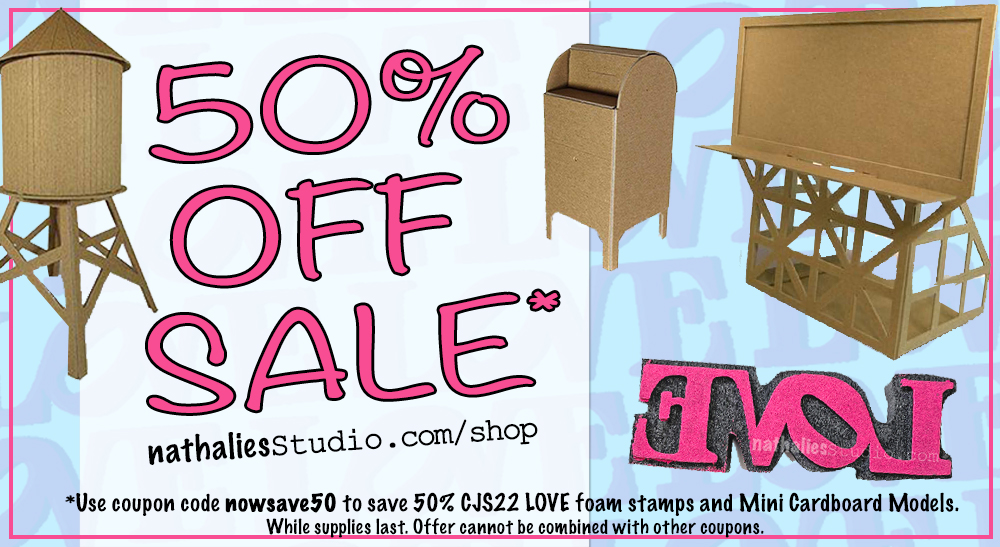
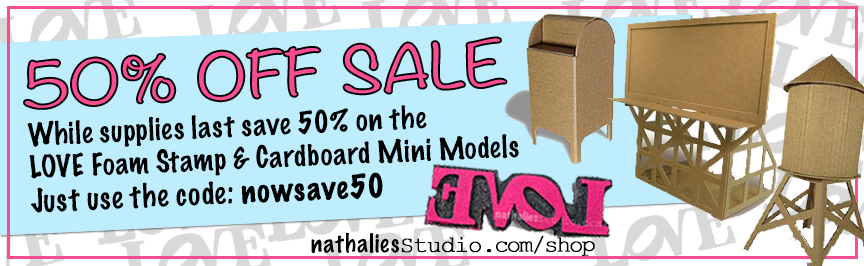
I’m running a big blowout sale on some of my products and you can save 50% off! Starting today, just use the coupon code nowsave50 at checkout to save on my CJS22 Limited Edition LOVE Foam Stamp and all of my Mini Cardboard Model kits. This offer will be good as long as supplies last :)
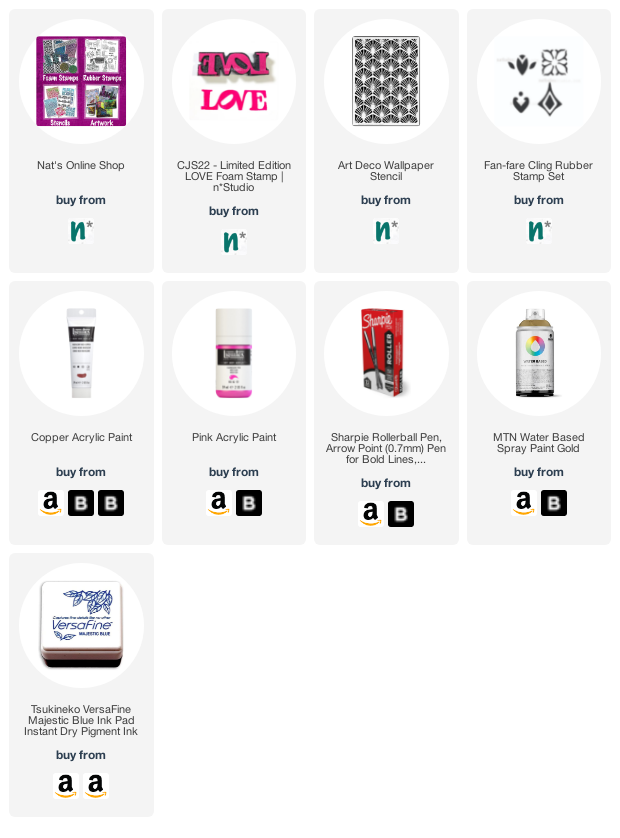
Here is what’s on sale:
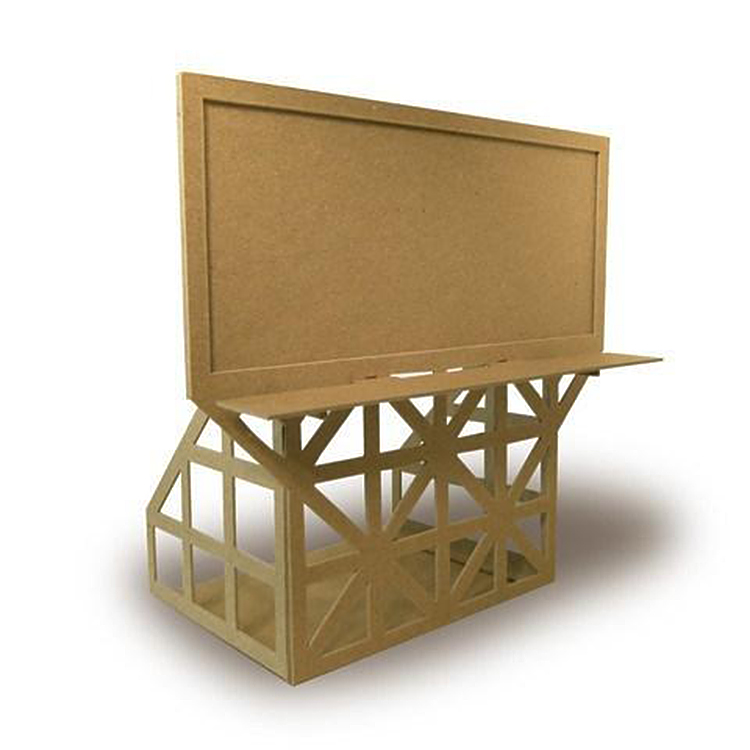
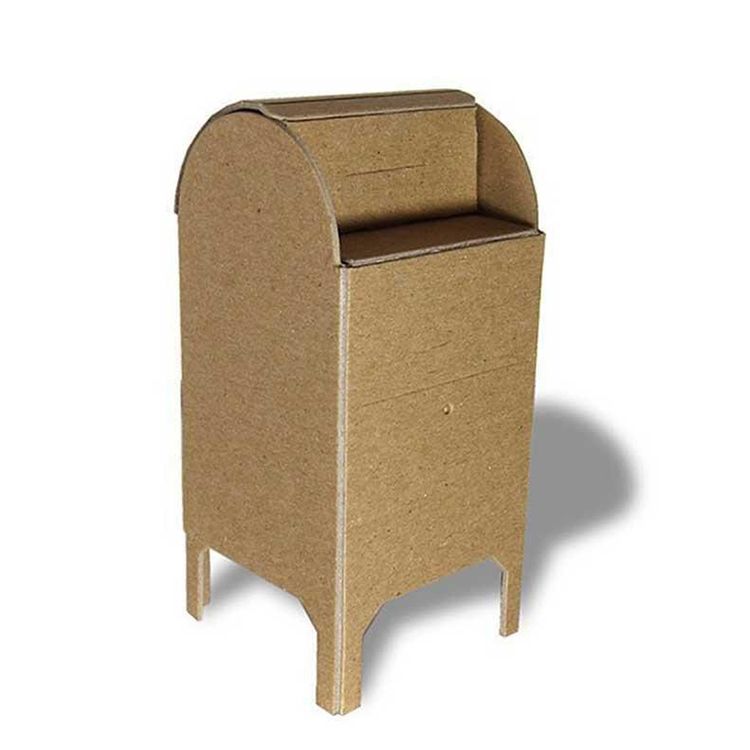
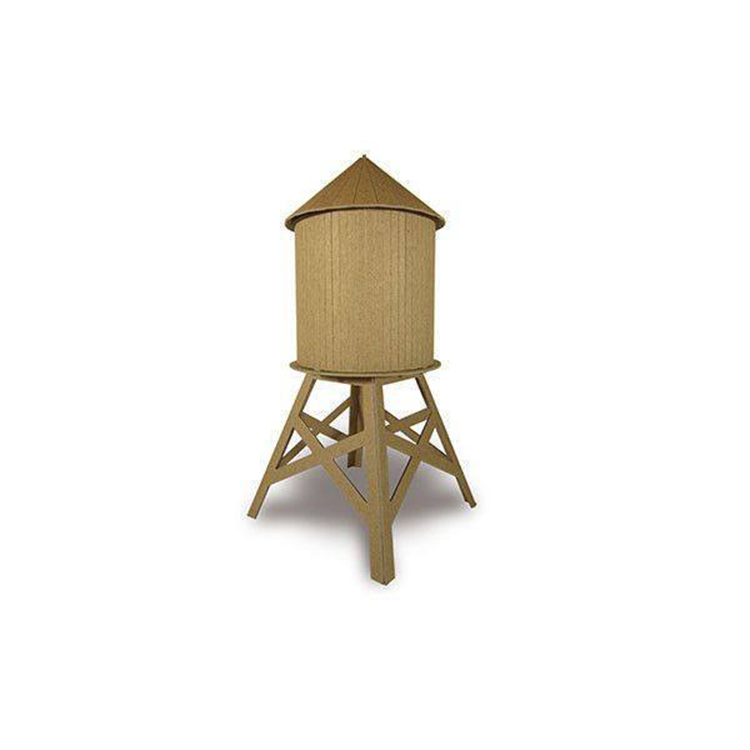
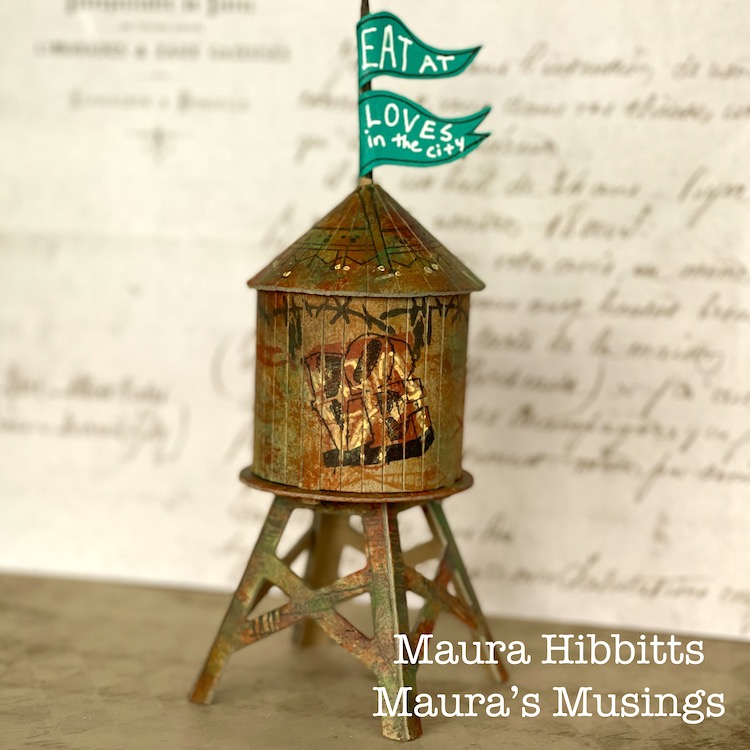
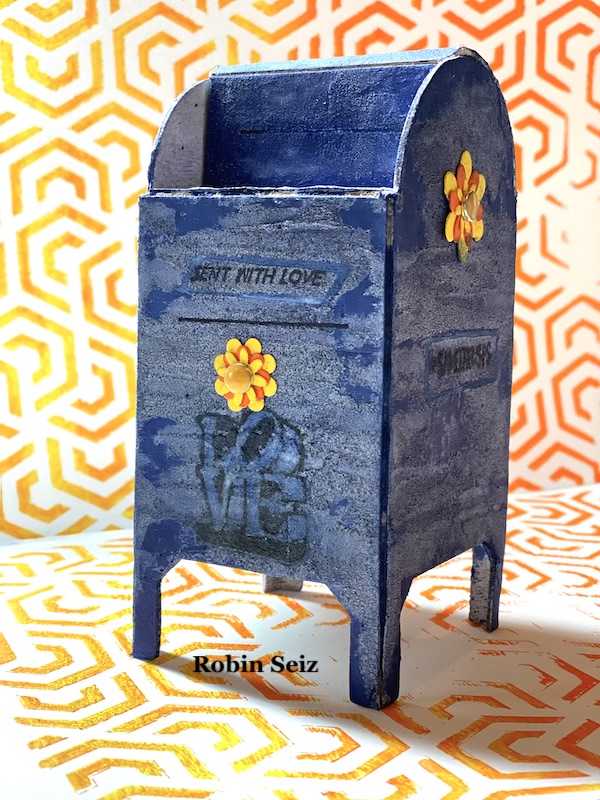
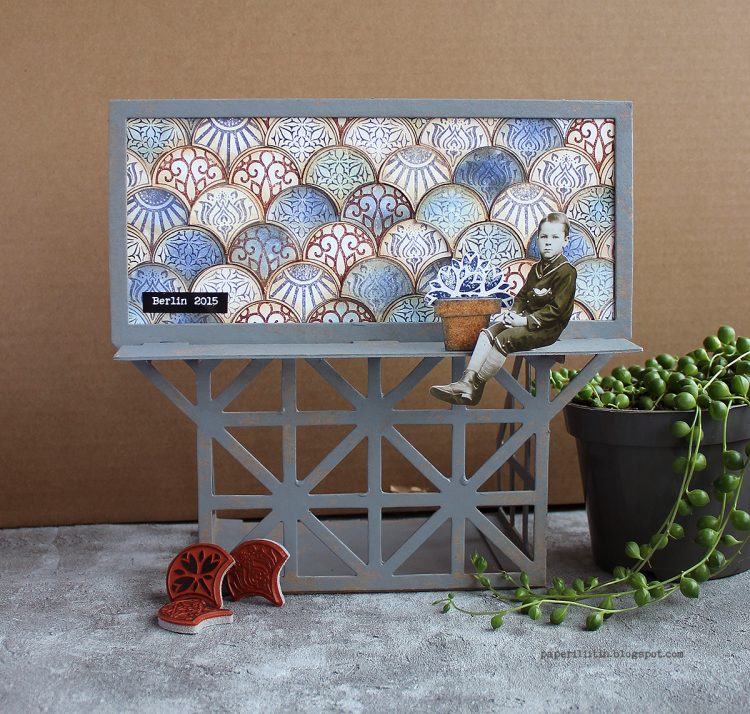
The cardboard kits are a blast to make and paint on a rainy day. We did have the Creative Squad play with those one month and look at some of the results:
They would also be a great gift idea for a young or young at heart creative in your life ;)
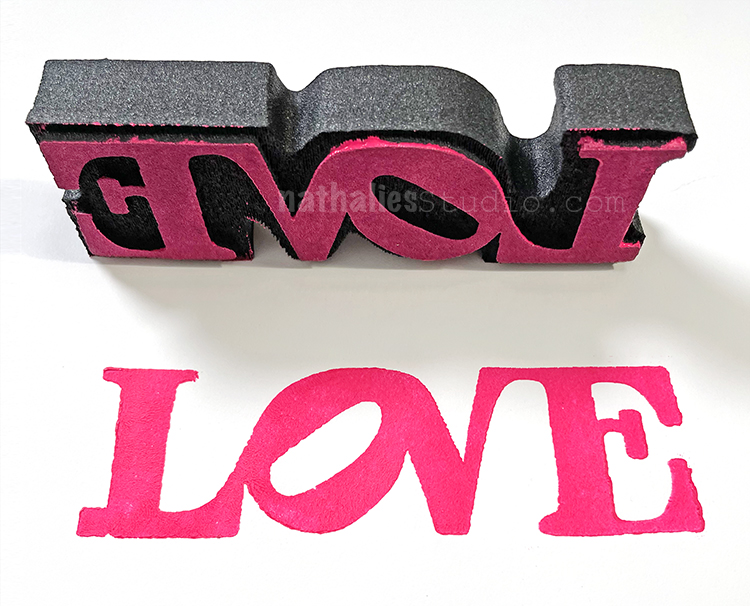
And then the iconic LOVE stamp. Don’t we all need some more of this in the world?
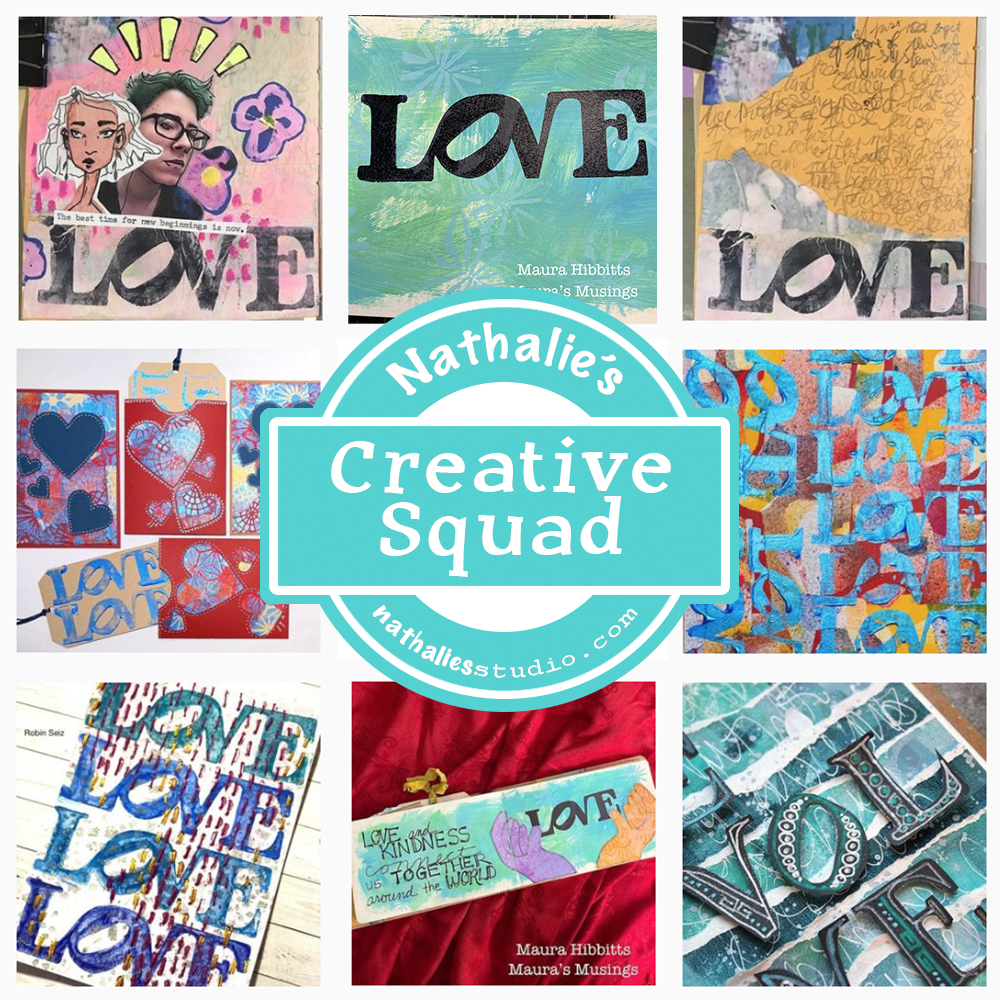
I call my design team the Creative Squad and I love seeing their projects come in each week, inspired by our monthly themes. Right now we have 5 members, each with their own artistic styles and each with a unique way of using my stamps and stencils and interpreting our themes. It is always a surprise to open my inbox and find a new Creative Squad project in there.
So it’s time for a little Creative Squad LOVE :)
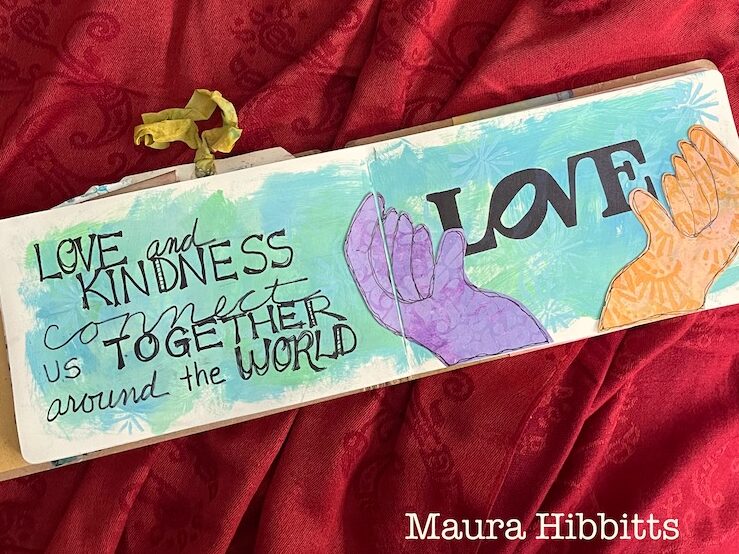
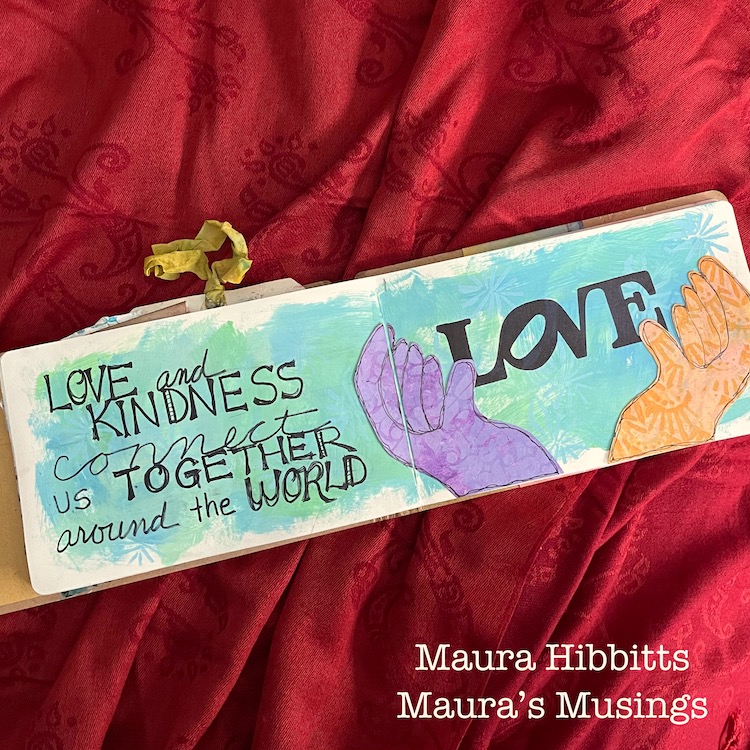
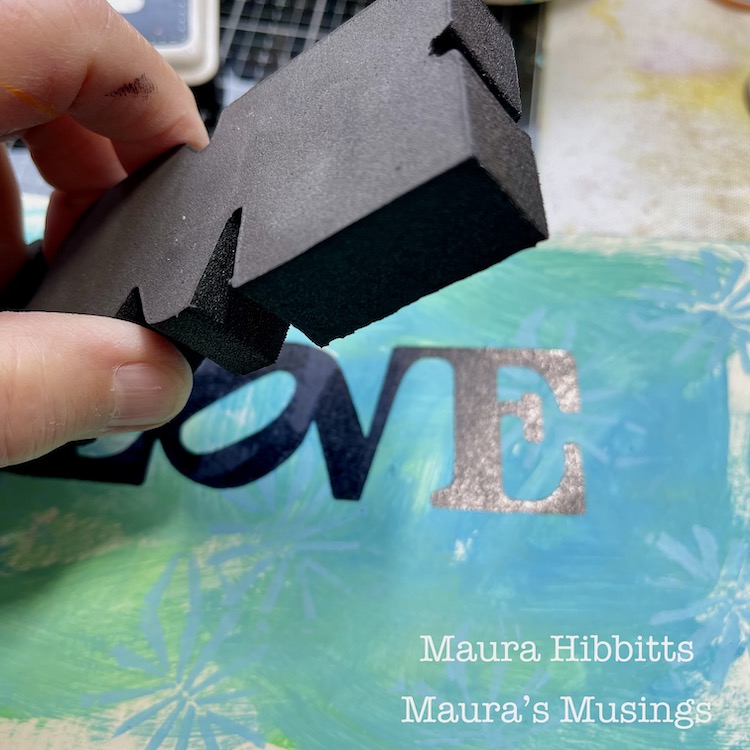
Maura kicks off our new theme each month with her imaginative take. Her love of nature and beautiful vibrant colors gives us a good dose of optimism and joy and is the perfect way to start off a new theme.
I love the message in her art journal spread above: “Love and kindness connect us together around the world.” And the hands coming together around my LOVE foam stamp is a world view that I wish was more prevalent.
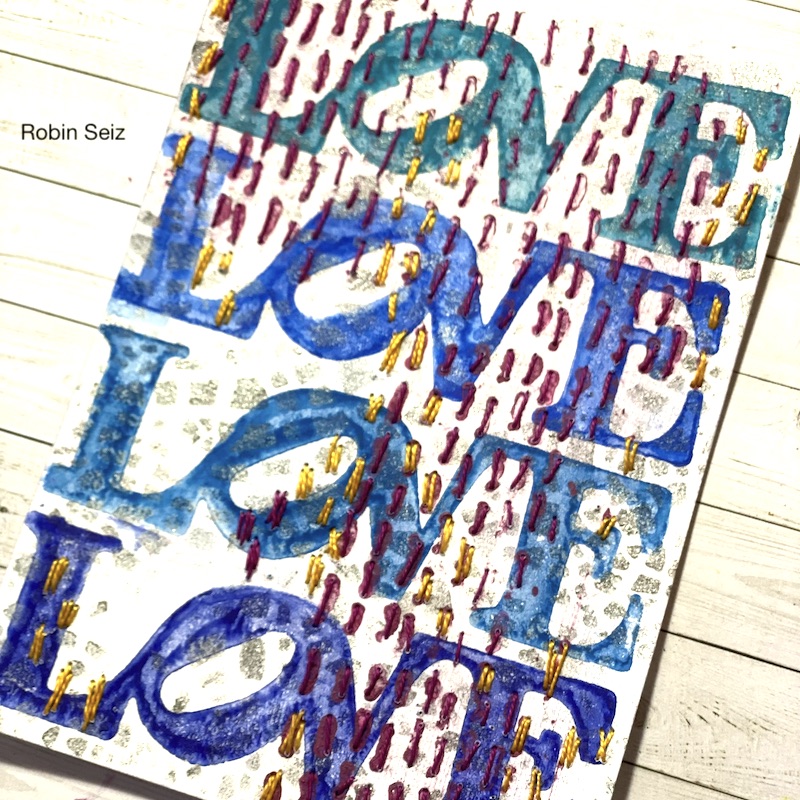
Robin brings a thoughtful edge to her projects, and details that always make us stop to think and appreciate the subtlety of the design.
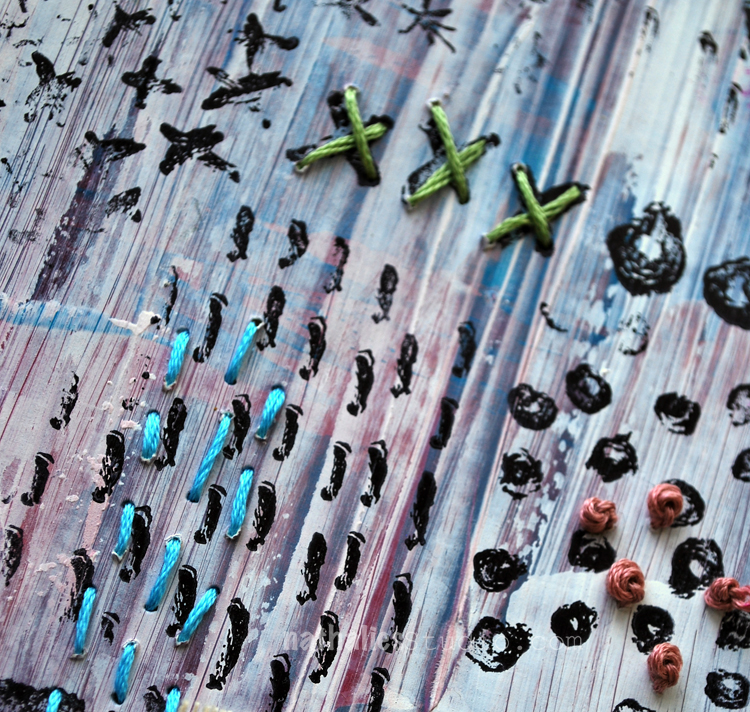
I love the combination of actual stitching and my Running rubber stamp in the above card. You might not notice it right away but spend a little time and you are rewarded by cool details like this.
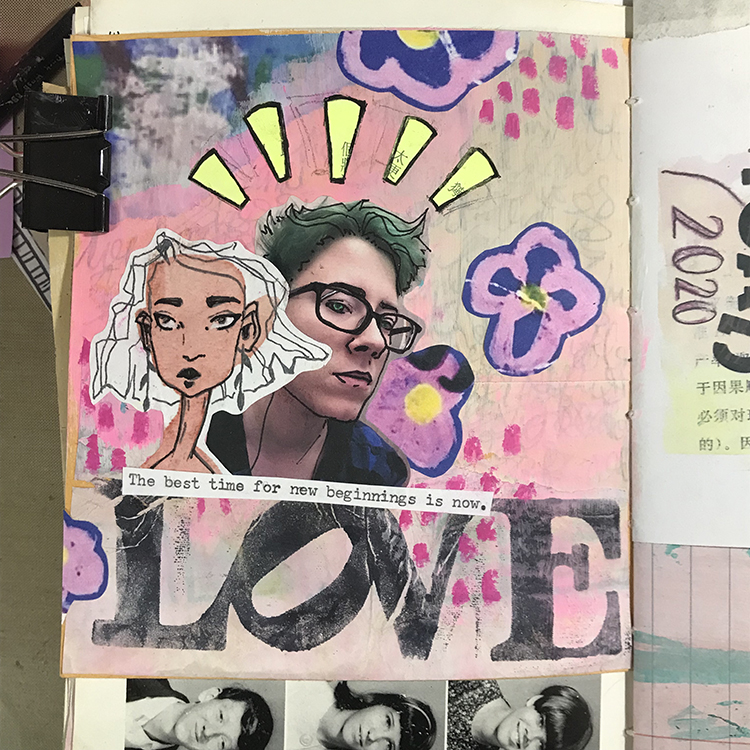
Jordan has a very hip illustration style to her art journaling that makes us think about how we can sketch and mix things up with collage, stamping, stenciling, and other mixed media techniques. Her combinations of colors and patterns always keep our eyes moving around her compositions.
In the above page I love how she layers different types of collage material but ties them together with mark making and colors.
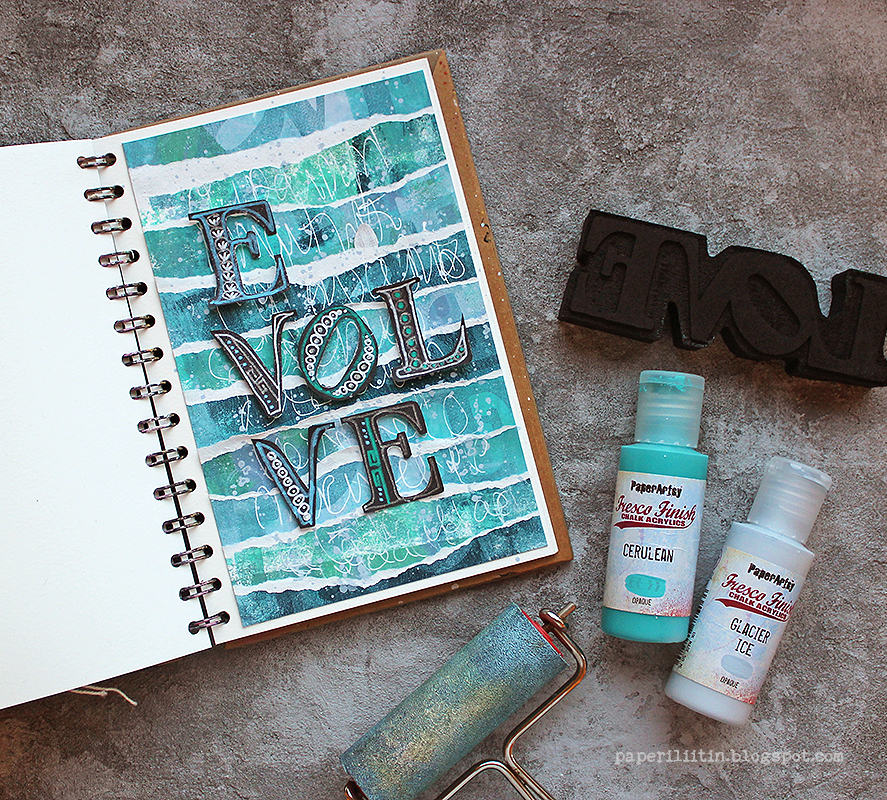
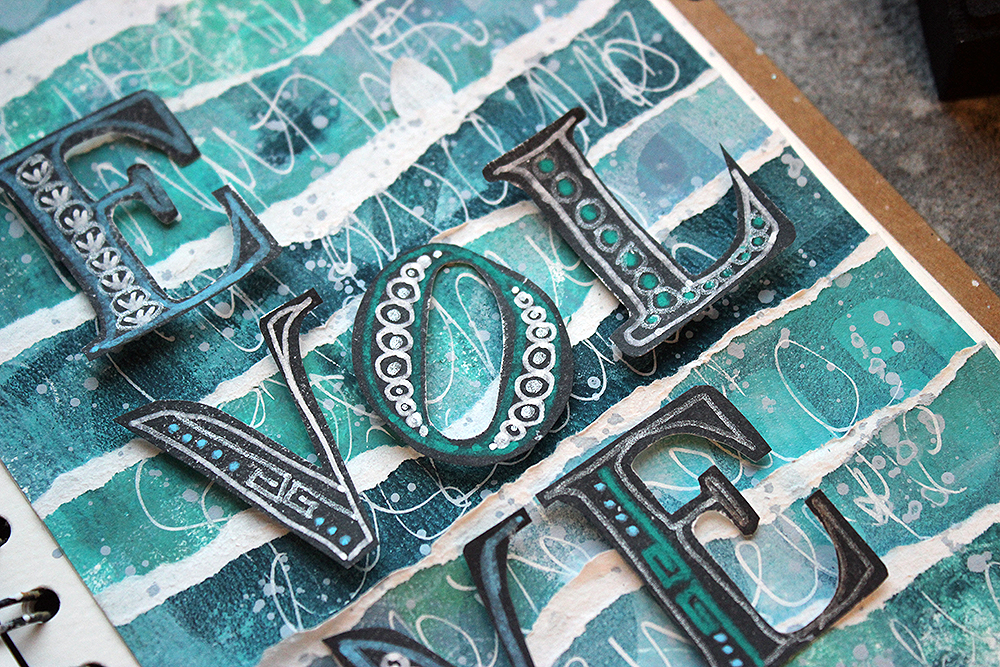
Riikka has a moody style and a mastery of atmospheric layering that is beautiful. She often draws inspiration from stories, legends, and her own imagination so you never know what to expect until it shows up in your inbox.
The above page was such a one-of-a-kind take on using my LOVE foam stamp. Riikka knows how to let an idea percolate and evolve until it is her own.
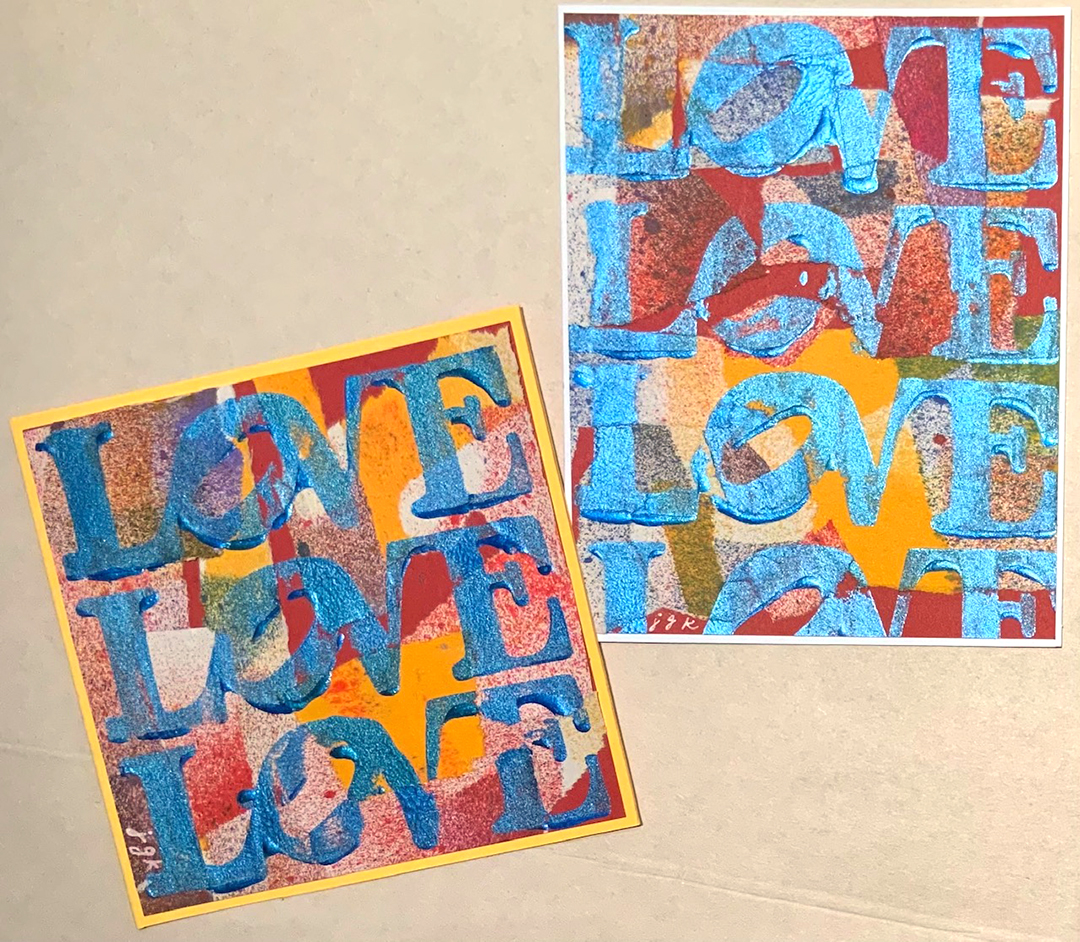
Judi comes from a background that is deep with mixed media, art, and industry knowledge. When she tackles a project we always get to see how her mind explores it in nearly every direction, through materials and iterations.
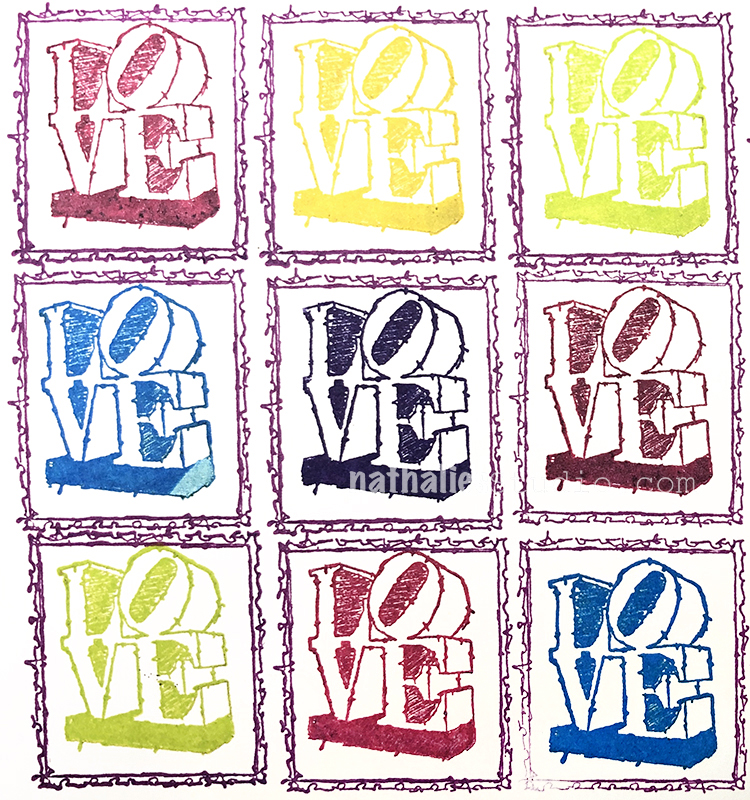
The above is just a taste of how Judi decided to use the LOVE stamp. A range of color palettes and layering techniques yielded a magnificent harvest of creativity.
Each week is like this with the Creative Squad. They bring it. It’s fun to see AND it inspires me too because their minds all work a little differently. I feel pretty lucky to have them and you can glean from them too! Check out all their awesome work on their Instagram page HERE or head over to the Creative Squad page and read their bios and see an overview of their work.
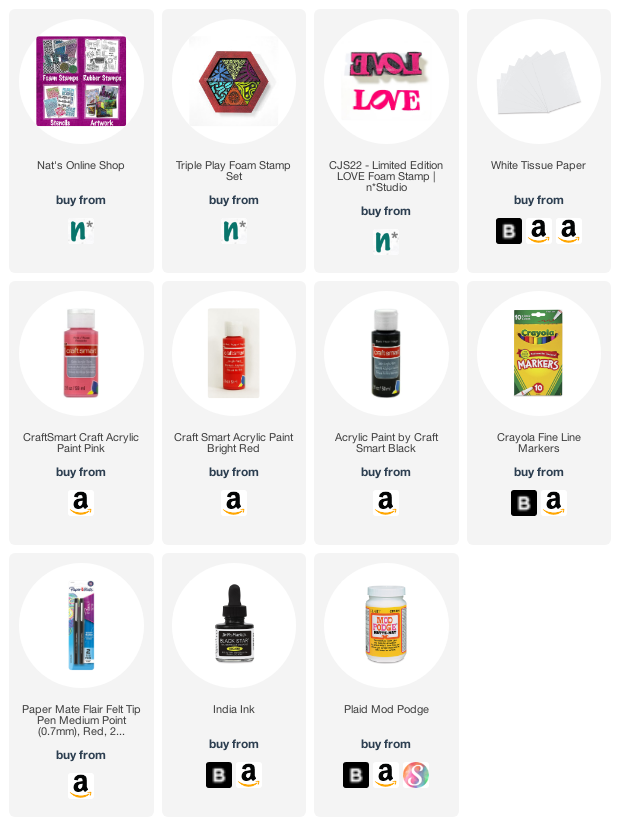
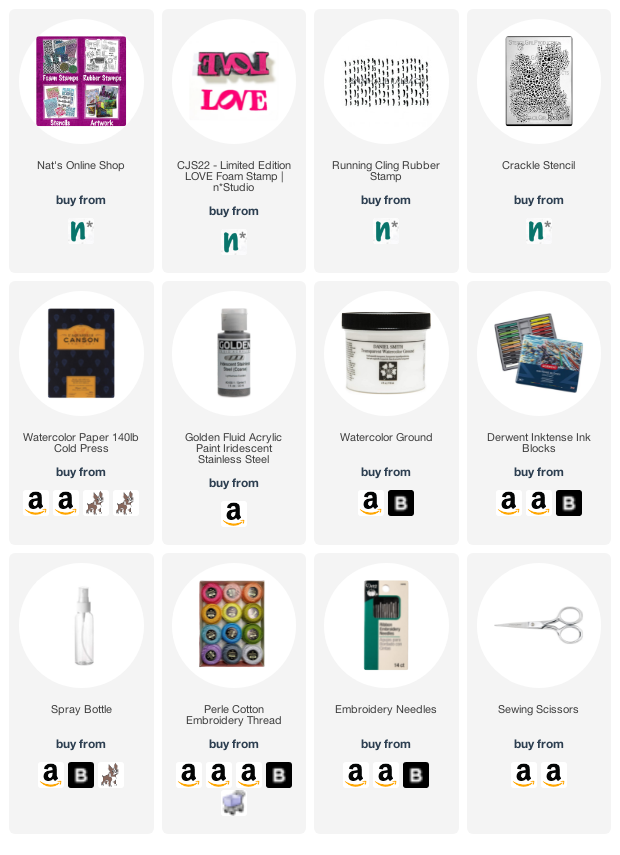
Wanna spread the LOVE? Here are some of the supplies used in these projects:
Nathalie you and Kim make our work so easy. I always love the themes and your stamps and stencils are such great tools that it hard not to create something beautiful. Thanks for all you do for the squad. It’s such a privilege to be a part of it.
Hello from my Creative Squad! Today we have a post from Jordan Hill who is sharing an art journal spread where she pushes her color comfort zone and uses my Triple Play and LOVE foam stamps for our theme: A Tale of Two Colors – Think about two different colors, one you love using and one you find more of a challenge to work with. Use them together in a project and see what happens.
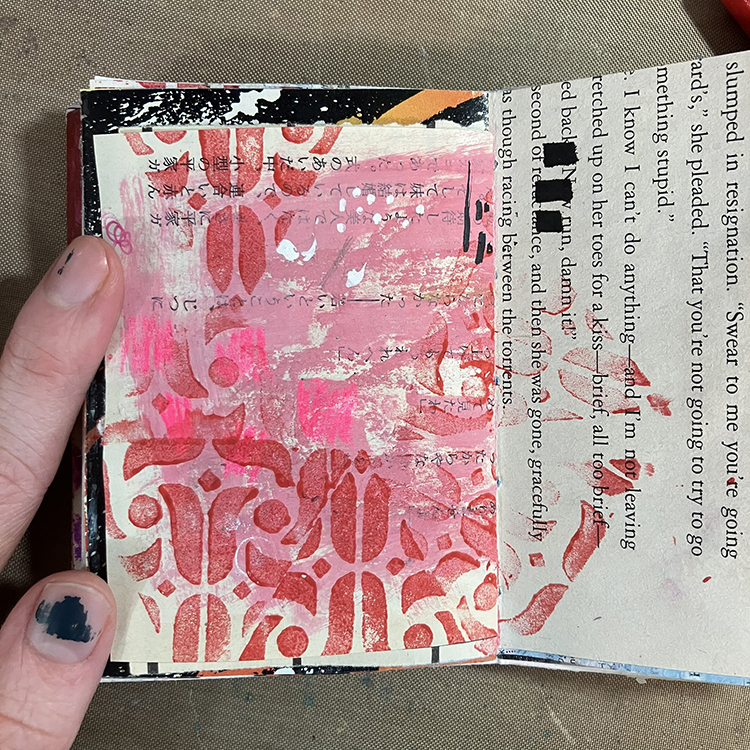
Hello everyone! I’m excited to be back with a brand new project for May! This month’s concept of using a color I tend to avoid really pushed me creatively; there are a few colors I shy away from in my artwork, simply because I find them difficult. Red is one of these colors. For this month’s spread I decided to pair the red with pink, since I use pink a lot more and find it a lot easier to manage.
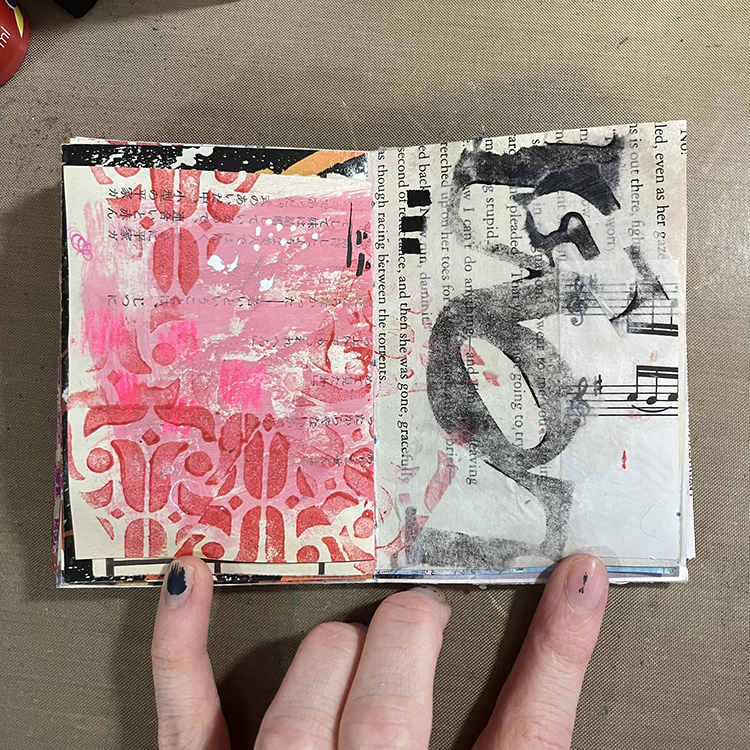
I started things off by selecting a page that I wanted to work on. This particular page already had quite a lot of pink on it from where I had cleaned off my paintbrush after working on a different page. Next up, I used one of the stamps from Nathalie’s Triple Play Foam Stamp Set with some red acrylic craft paint to create a pattern over the background of the page.
I then wanted to add some texture to the right hand page, so I stamped Nathalie’s CJS22 Limited Edition Foam Stamp onto a piece of white tissue paper. I tore it into a couple of pieces, then used Mod Podge to adhere it to the page. I like how this technique makes it appear as though there are letters on the page, but not necessarily words.
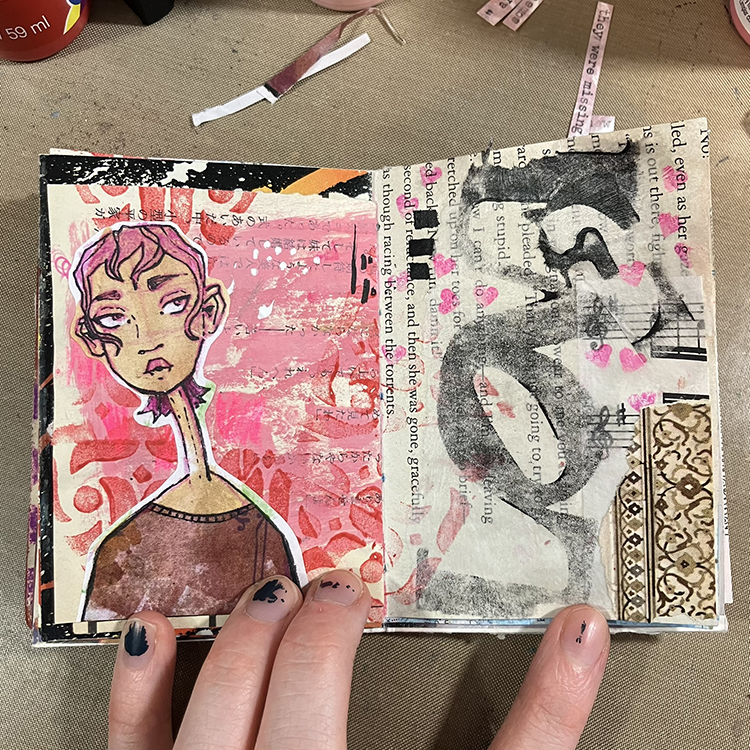
Next, I incorporated a couple of collage pieces. This is where I added the small piece of pattern in the lower right hand corner of the spread, and the face on the left hand side. I also used a pink marker to add a few scattered hearts across both pages; I incorporated these hearts into both halves of the spread in an attempt to make them feel more uniform.
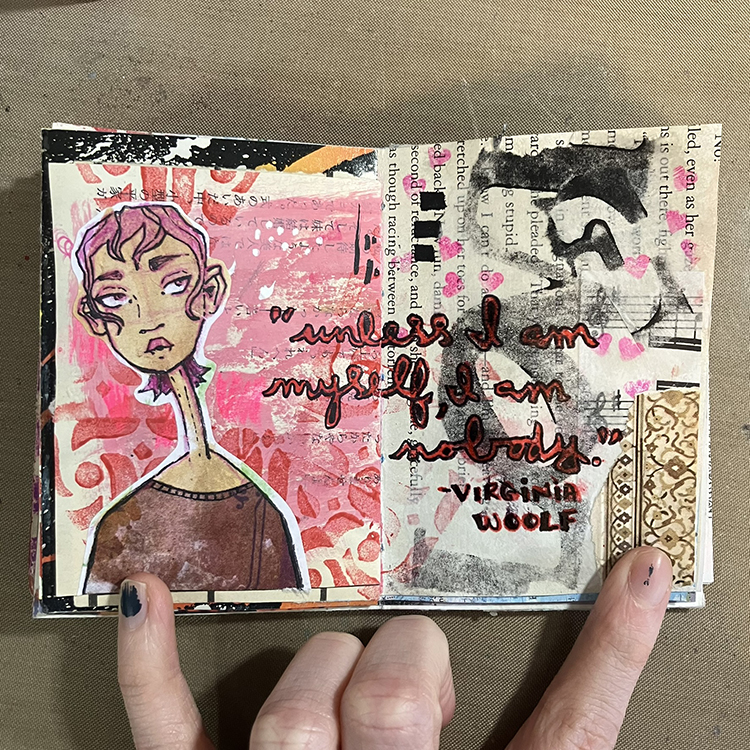
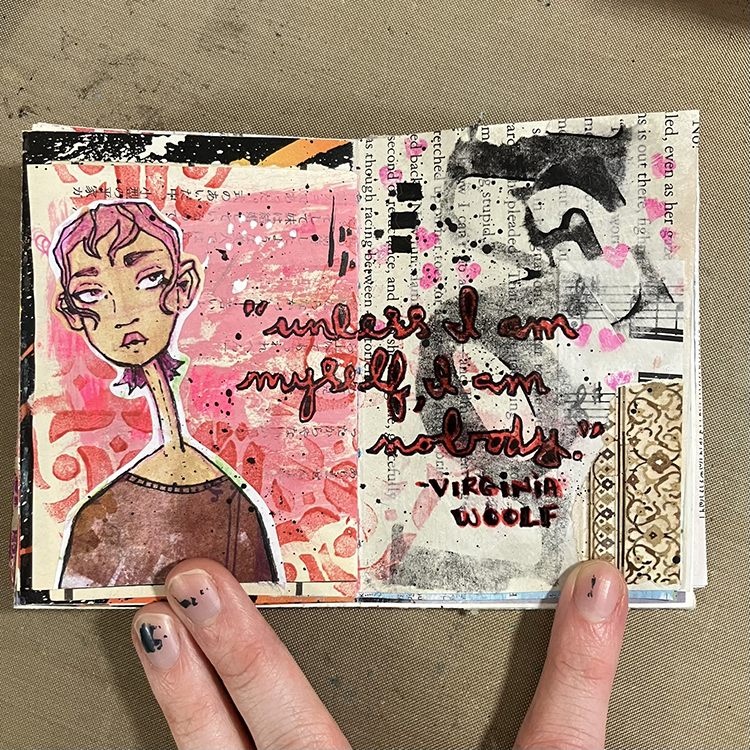
It was then time to add the words. I used a Crayola Fine Line Marker in red to write out my quote, making sure to go across both pages. I then outlined the red with a Paper Mate Flair Felt Tip Pen in Black in order to make sure it stood out against the background.
To finish off the spread, I loaded some India Ink onto a small paintbrush and flicked it in the direction of my page to create some splatters for bonus texture. With that, I was ready to call this spread done! I hope you enjoyed following along with the process!
Thank you Jordan – love that color combination of pink and red!
Give it a try: you can find all my Foam Stamps in my Online Shop and in addition to collage elements, here are some of the supplies Jordan used:
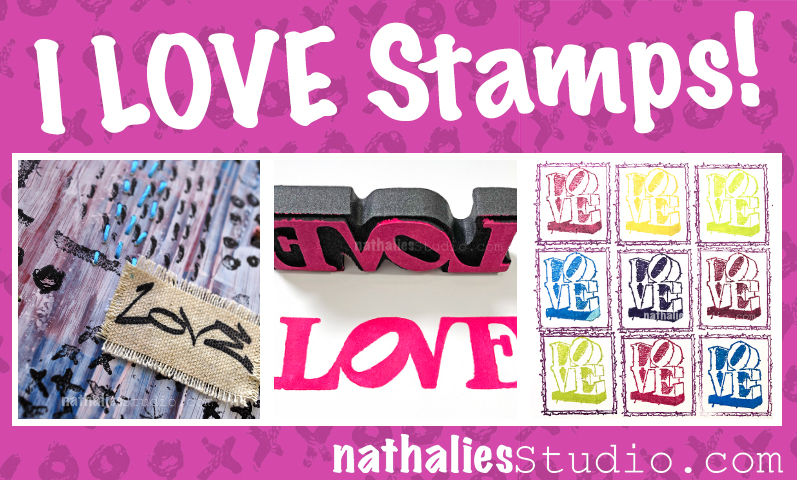
I think we all love stamps here, but I would like to talk about my love for LOVE stamps today :) Have you noticed that I’ve got a few? Although the idea is all the same, the application is key to the discussion here. I think it’s necessary to have a few love stamps because different circumstances call for different stamps ;)
So why so many love stamps? Well it all started when I put together my Stroll Through the Hood 1 stamp set years ago and wanted to include some text stamps that looked like street art tags. And on that day, Love Tag was born.
Usually when you think of Love stamps you think of maybe cutesy valentines or fancy script, but you know that is not really my thing. I wanted to design something that reflected my style so that when I created with it, it felt like my voice coming through. Love Tag has that grungy urban style that just feels right to me.
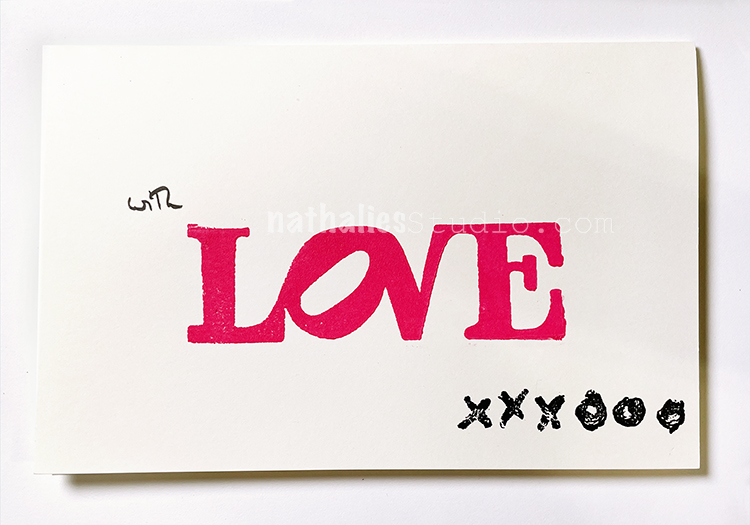
(Kinda funny that I use the Love Tag stamp on a tag… but that’s the kind of thing that makes me do a little chuckle sometimes.) You will see on the tag my Love Knots rubber stamp too – an embroidery inspired xxxooo design that pretty much also says love. So if you prefer being a bit more symbolic with your feelings, this is the way to go.
If you prefer to just come out and say it, you may want to use my LOVE rubber stamp. It’s got that nice reference to the iconic Robert Indiana sculpture in NYC that says, “Hey I love art and I love YOU!” You’re cultured, you’re savvy, and you also have heart.
What if you are so overtaken by cupid’s arrow that you need something bolder? My CJS22 limited edition LOVE foam stamp is the way to go. It’s a bold expression of love. It takes that same font as above and puts it on one line so there is no confusion. It is LOVE.
Love stamps really come into play around holidays and birthdays and anniversaries, but maybe someone in your life could use a little love today. Take your love for stamping, combine it with a Love stamp, and make something for someone you love. The world could always use more love in it :)
Here are some of the supplies I used in this post:
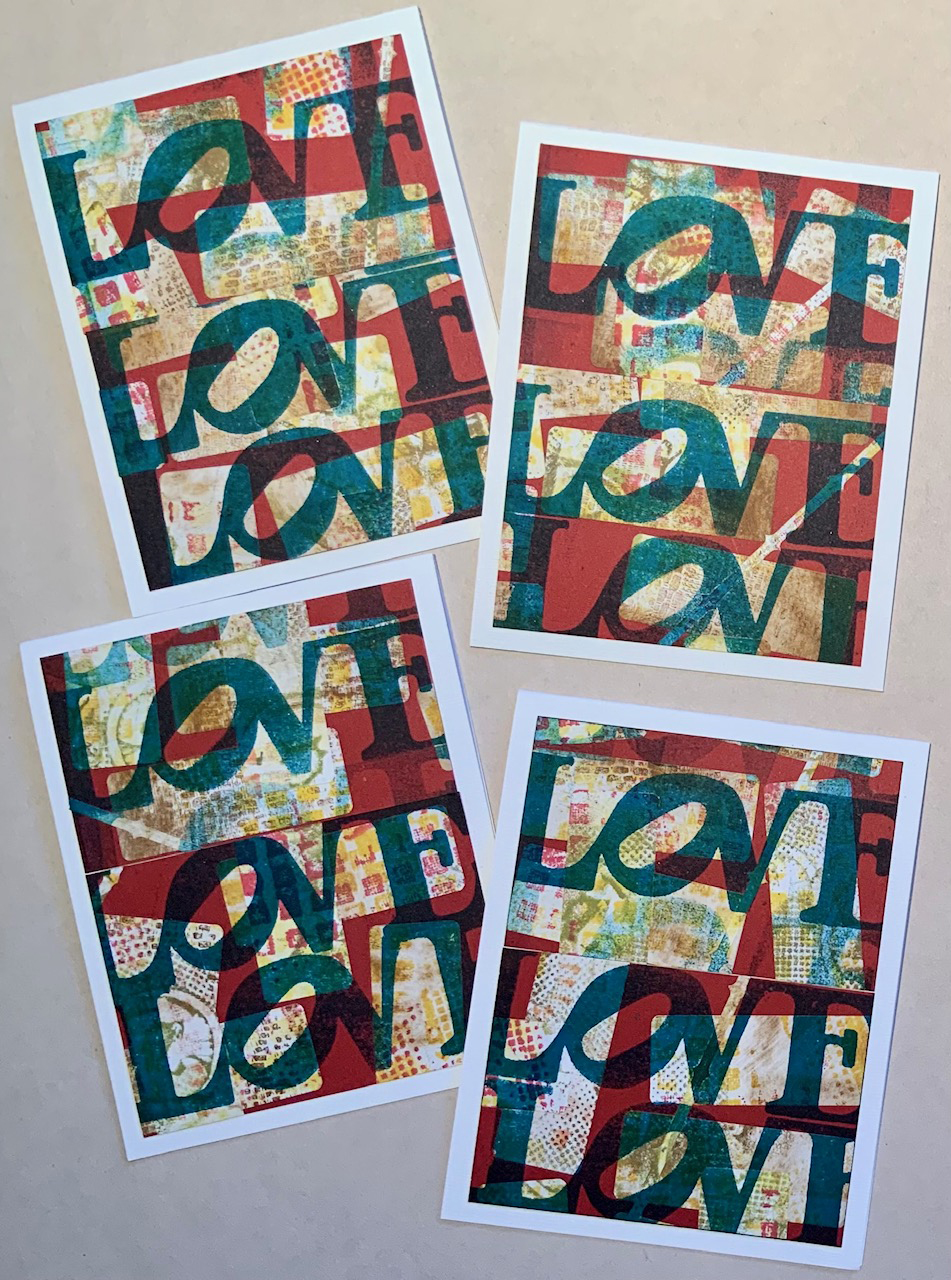
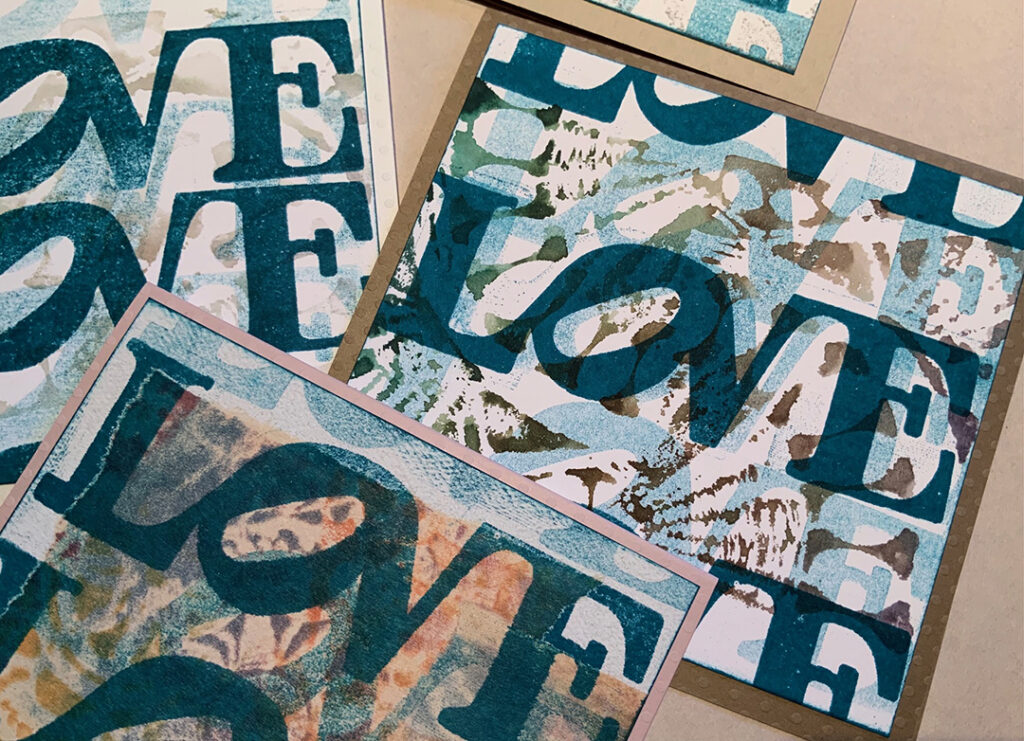
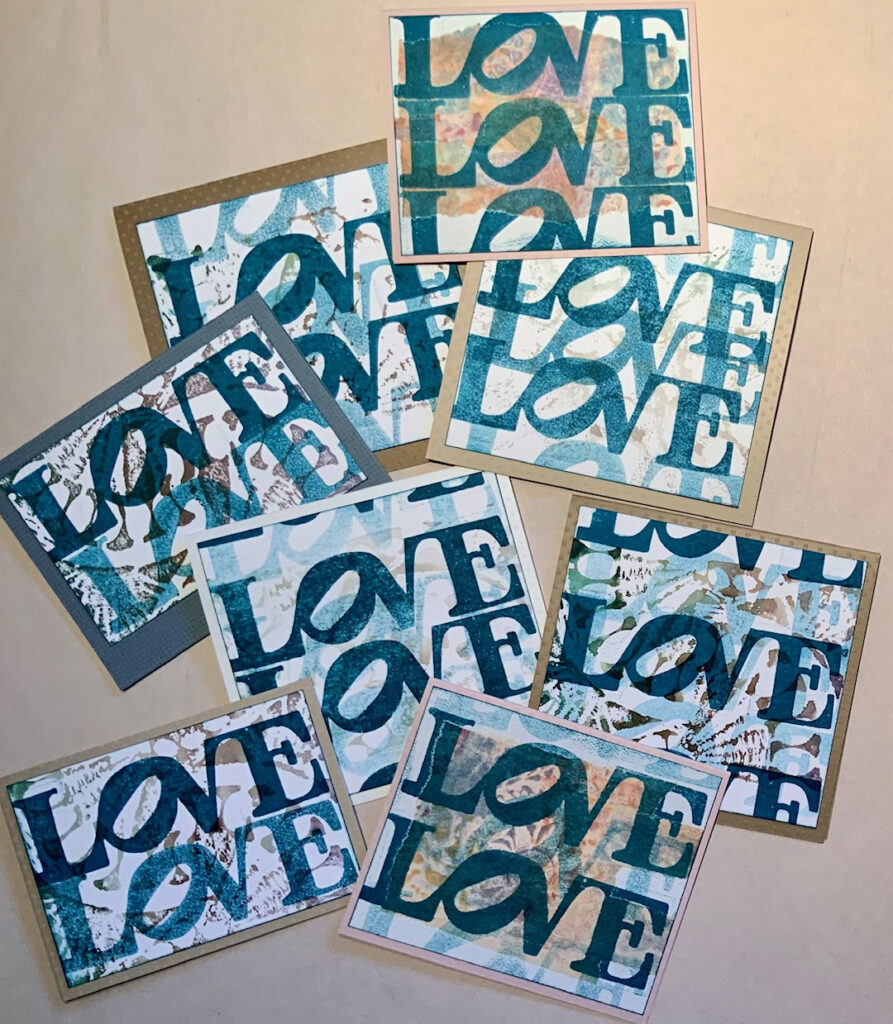
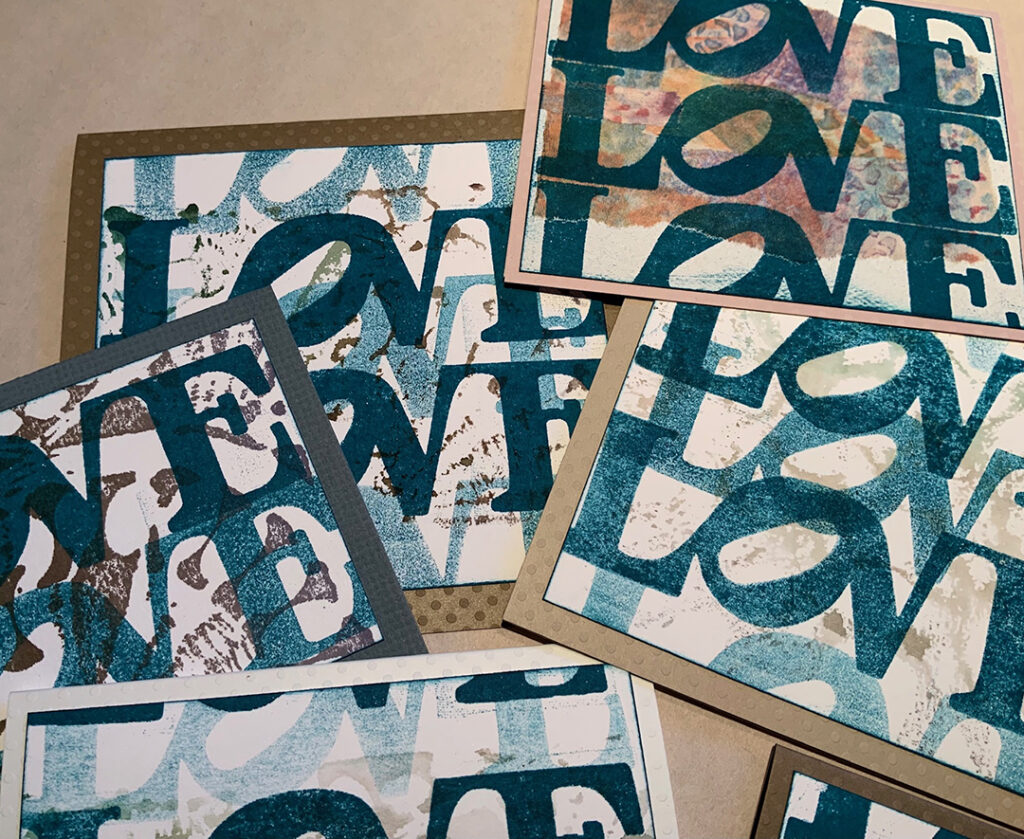
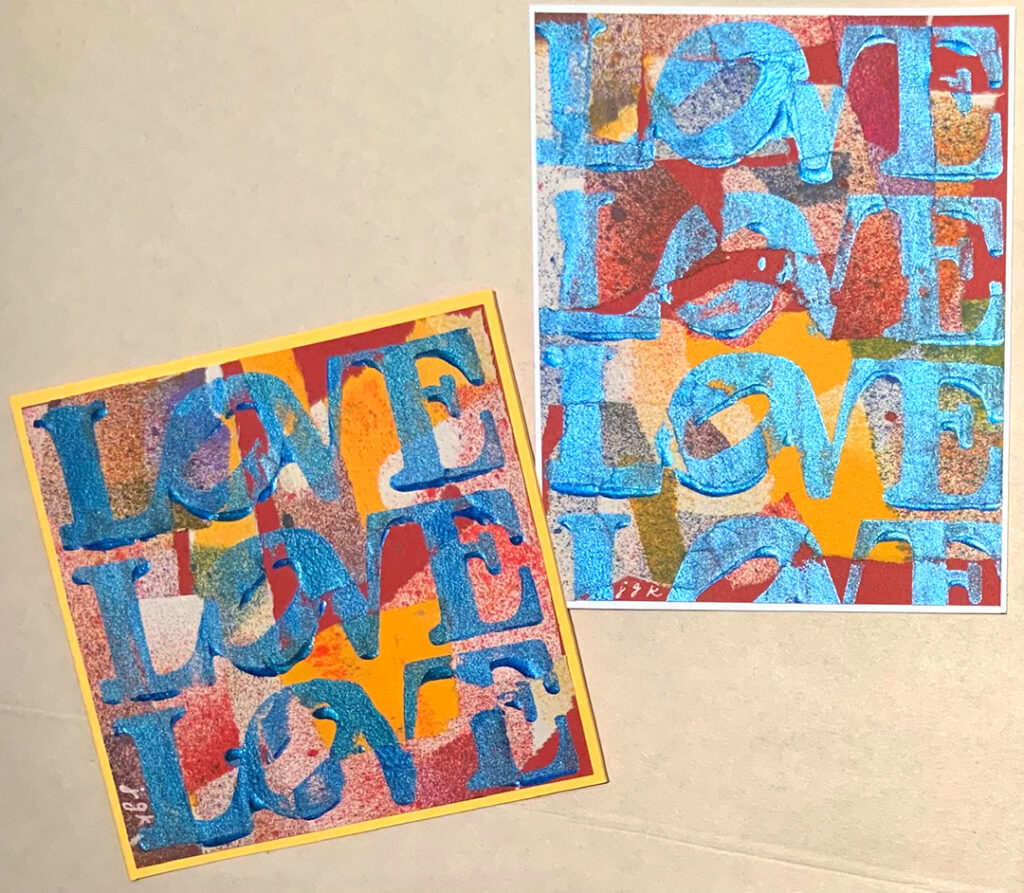
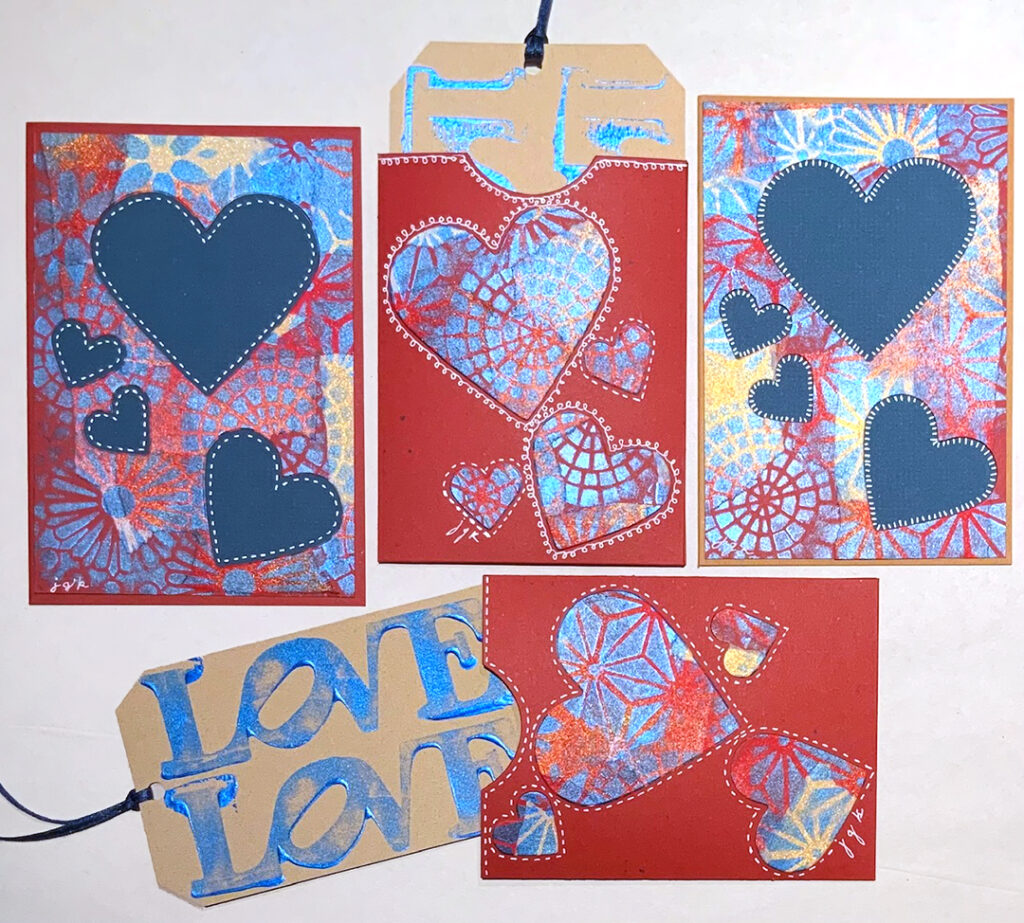
Today we have Valentine inspiration from Creative Squad member Judi Kauffman who is using my LOVE foam stamp to create some beautiful layered card designs.
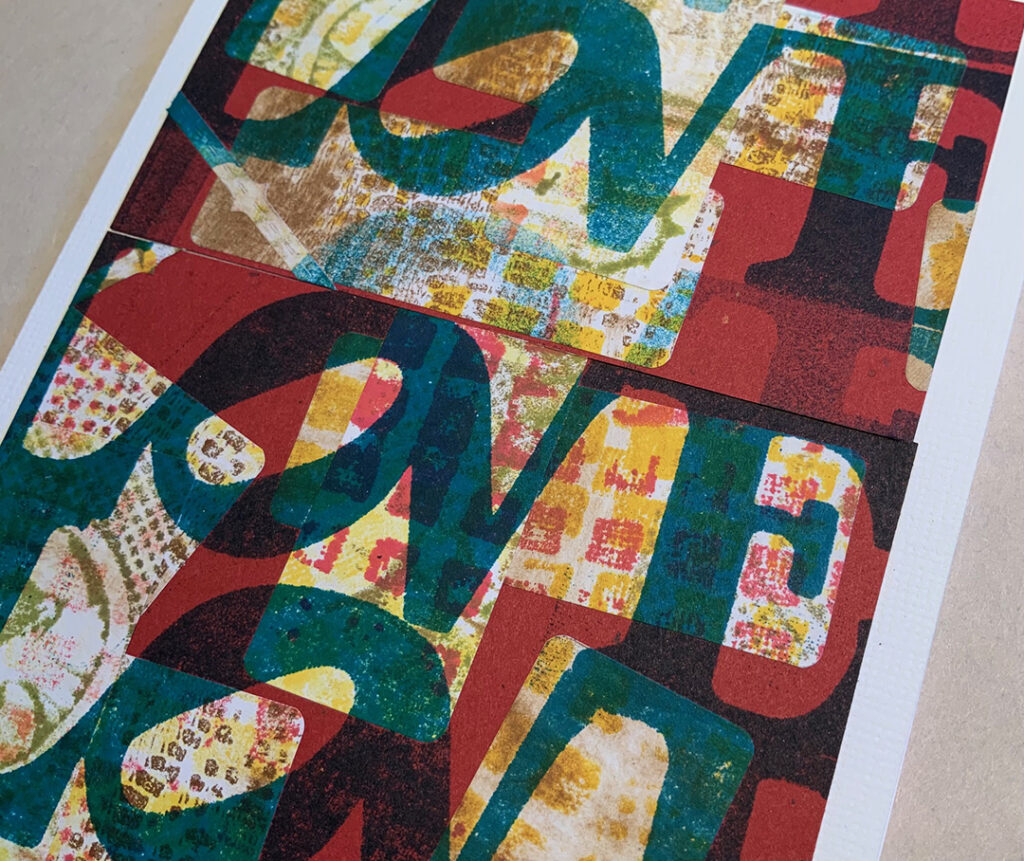
The ones with the red background were done with gel-printed mailing labels (got several boxes at a yard sale) plus dye ink for the LOVE foam stamp.
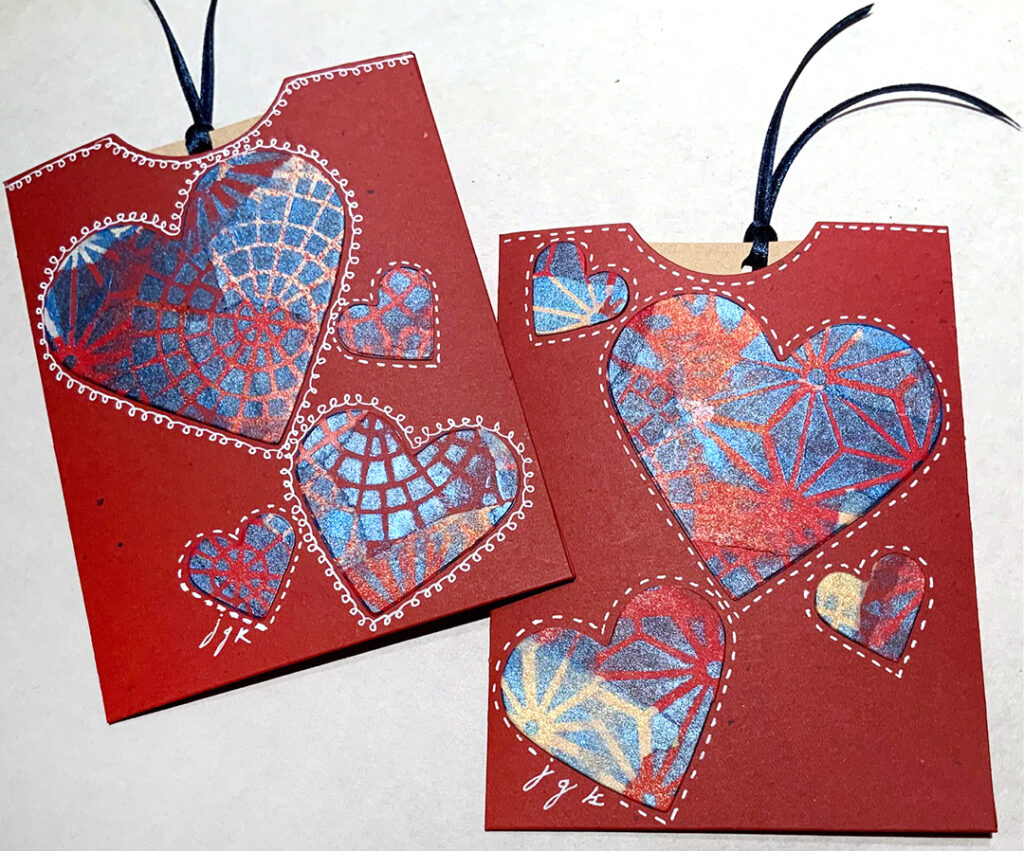
The others have Magic Stamp textures as the background. I used the same dark teal dye ink pad for all.
Just wanted you to see what I’m up to… I’m getting ready for Valentine’s Day!!!
Thanks for the Valentine’s Day card making inspiration Judi! Love the layered backgrounds in these and such a cool idea to gelli print up a bunch of label sheets!
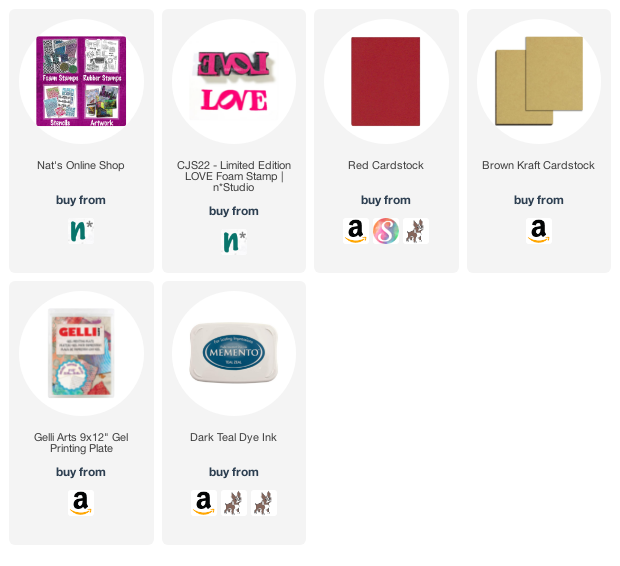
Give it a try: you can find all my Foam Stamps in my Online Shop and here are some of the supplies Judi used:
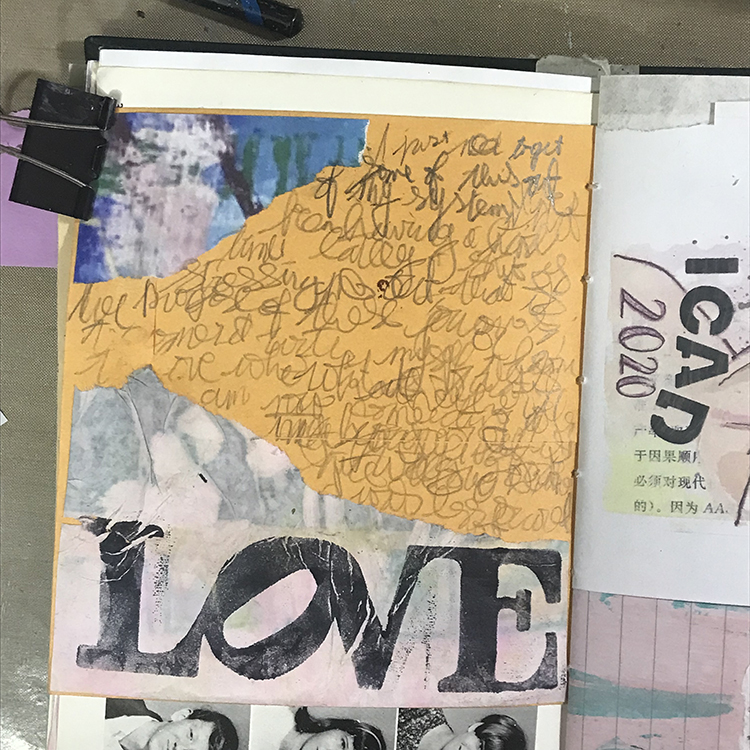
Hello from my Creative Squad! Today we have a post from Jordan Hill who is sharing an art journal page that combines elements from her past (like an art journal page from when she was 11!) along with my LOVE foam stamp and our theme: Creating Connections – We’re playing along with the Creative JumpStart 2022 theme Creating Connections and exploring how our artwork connects us to the world around us, our community, our favorite supplies, or maybe our artmaking choices. Connections are everywhere when we create!
Hello, everyone! I’m excited to be back with my first project of 2022! When I was presented with this month’s theme of Creating Connections, I was extremely excited to get started. The word “connection” holds a lot of meaning for me personally, so I really wanted to play with a couple of different ways of incorporating that idea into my work.
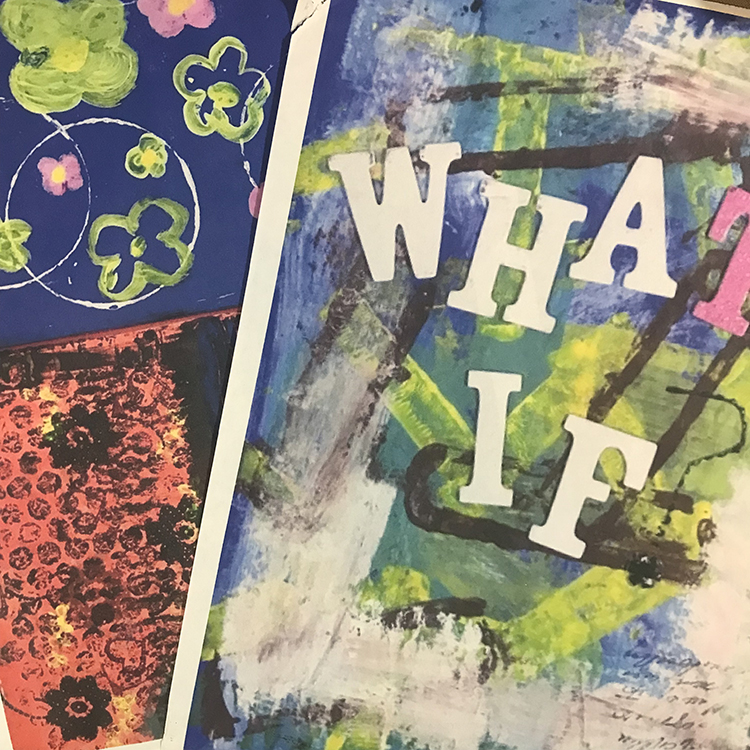
I started things off by scanning and printing off some of my very first art journal pages. I believe these are from 2008, when I was around eleven years old. The “What If” page is actually the first art journal page I ever created, and the others are ones I made not too long after. I wanted to play with the idea of connecting my oldest artwork to something brand new, and this seemed like a good way to do that.
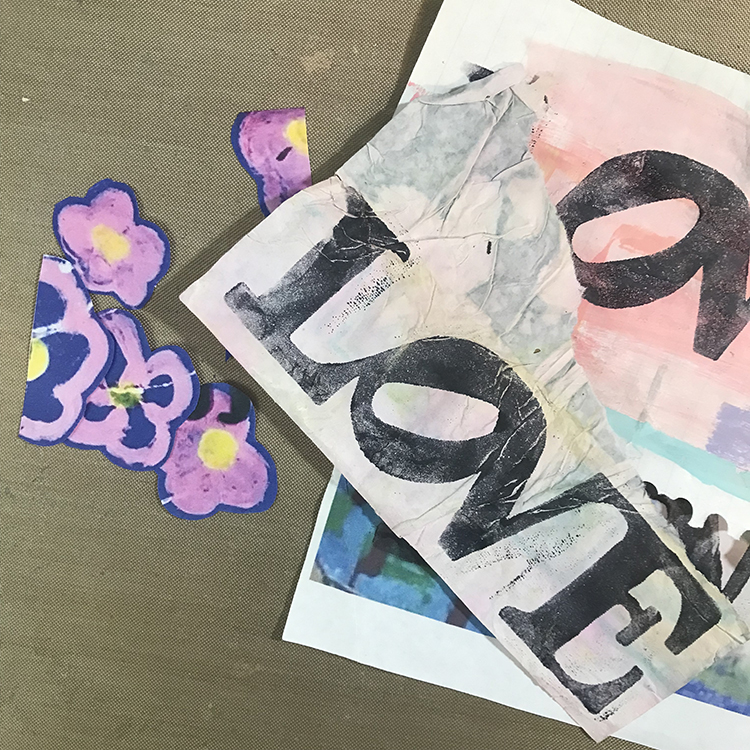
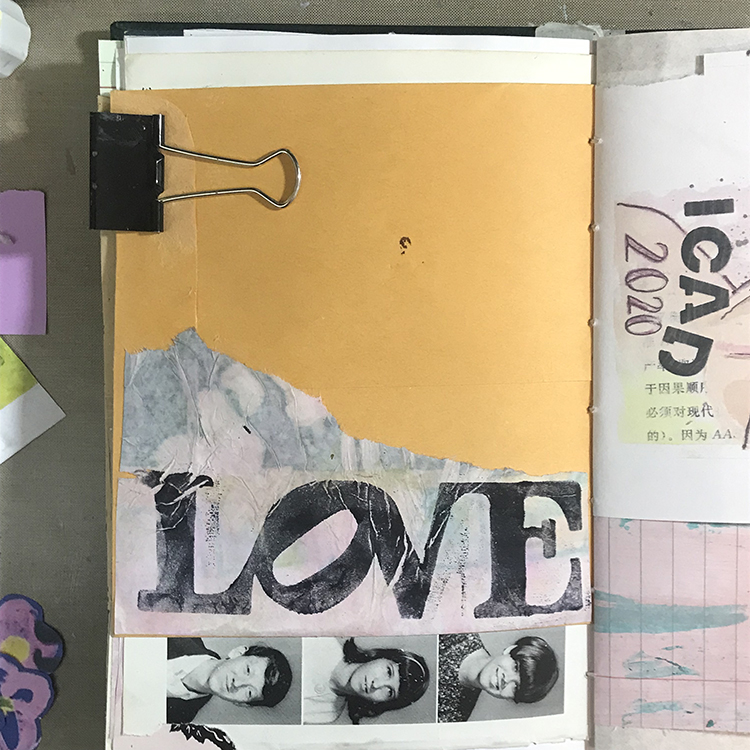
Next, using Nathalie’s CJS22 LOVE Foam Stamp, I stamped it using an ink pad re-inker over several scraps of paper. I wasn’t sure exactly which piece I was going to use, so I thought I would give myself options. Then, I cut up one of the pages I printed off in the last step, specifically focusing on cutting out the pink flower shapes.
The next step was to flip through one of my art journals until I found a page I wanted to work on. I eventually decided on one made from a manilla envelope. I then glued down one of the scraps that I stamped in the last step onto this page using a glue stick.
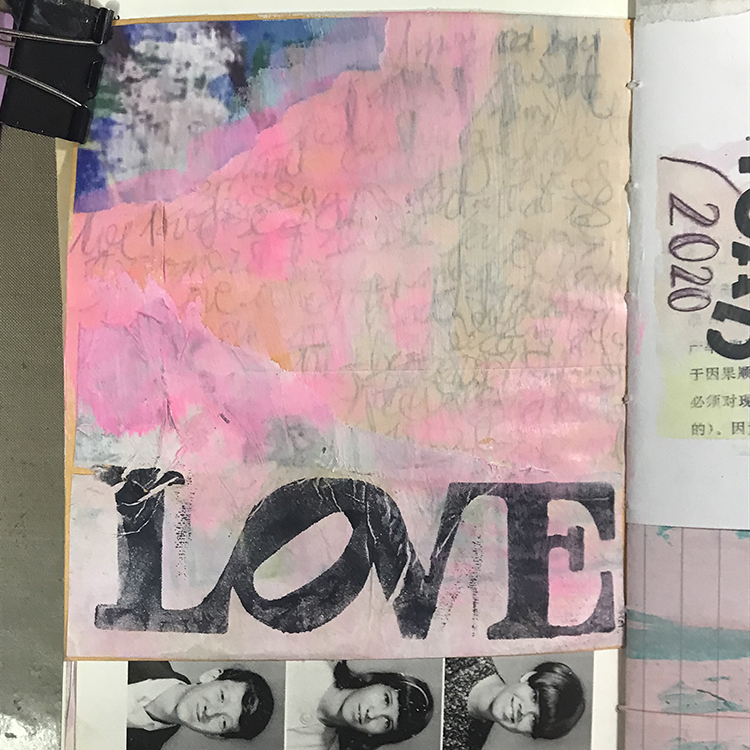
Next up, I tore off a piece from the scan of my first art journal page and glued it into the upper left hand corner of my page. I knew that I also wanted to focus on connecting myself to my artwork, so I used a regular graphite pencil to scribble out a stream of consciousness brain dump. I had no intentions of ever reading this again, so I made no attempts to make this part legible.
Then, I covered it all up. Using a mix of white gesso and neon pink acrylic paint, I covered the words using a large paintbrush. I overlapped the edges of my collage pieces with the paint in order to blend them into the page even further. Some of the words from the previous step bled through this layer and added further texture to my page.
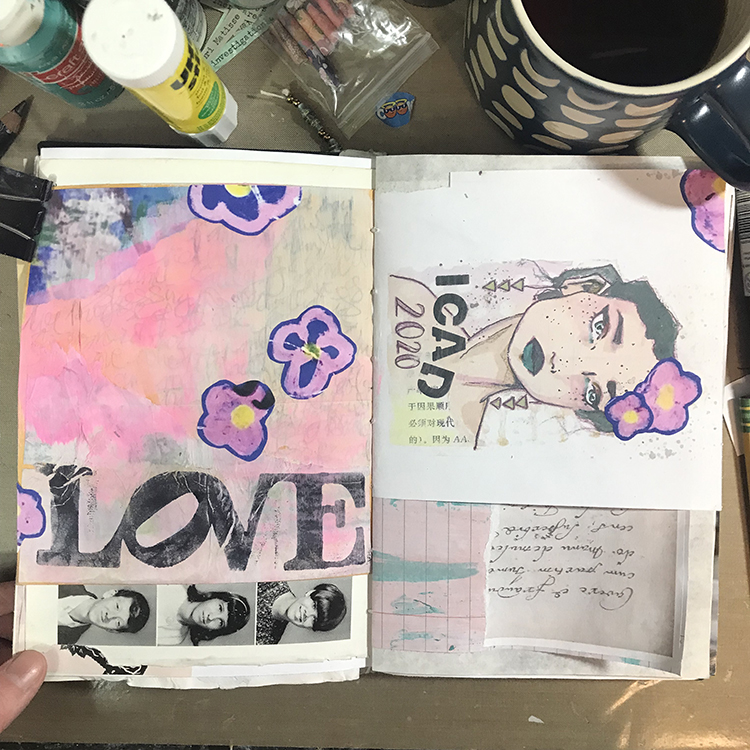
I then glued down the flowers that I had cut out previously. Despite the fact that I had primarily been focusing on the left hand side of this spread, I also incorporated a few of the flowers onto the right hand side. This will tie the pages together when I eventually decide to expand on the right hand page.
Since I was already playing with the idea of connecting my old artwork to my new artwork, I decided to reach for a supply that was a go-to in a lot of my old journal pages- Portfolio oil pastels. I used the Pink to make marks across various parts of my background.
It was then time to add the focal point. To further expand on the idea of connecting myself to my artwork, I printed off a photo of myself, cut it out and glued it down. I then glued another small drawing onto the page, slightly overlapping with my face. I added some line work with a black pen to the photograph, in order to make it appear more illustrated, and then glued down a small phrase that I had typed out with my typewriter.
Finally, to finish off the page and fill up some of the remaining space, I scraped some neon yellow paint across a piece of book text and cut out some ray shapes to place around the top part of my photo!
In the end, the style of this page turned out quite different to what I usually tend towards, but I really like the way it turned out, and I love the way that the theme of Creating Connections manifested in this work!
Thank you for sharing Jordan – love how you wove together so many elements in your composition to connect past and present!
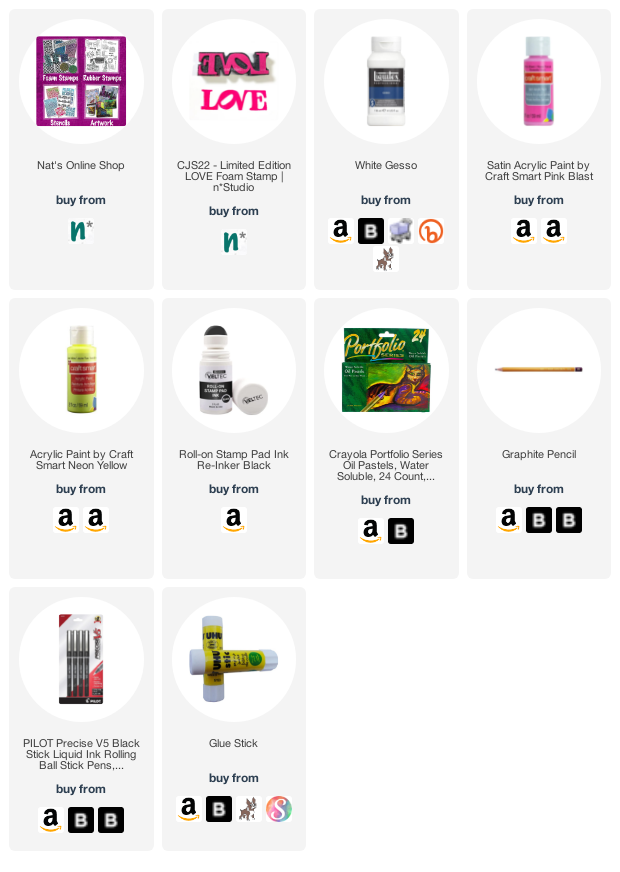
Give it a try: you can find all my Foam Stamps in my Online Shop and in addition to collage bits, here are some of the supplies Jordan used:
Looking for more inspiration from the Creative Squad? Follow them on Instagram here.
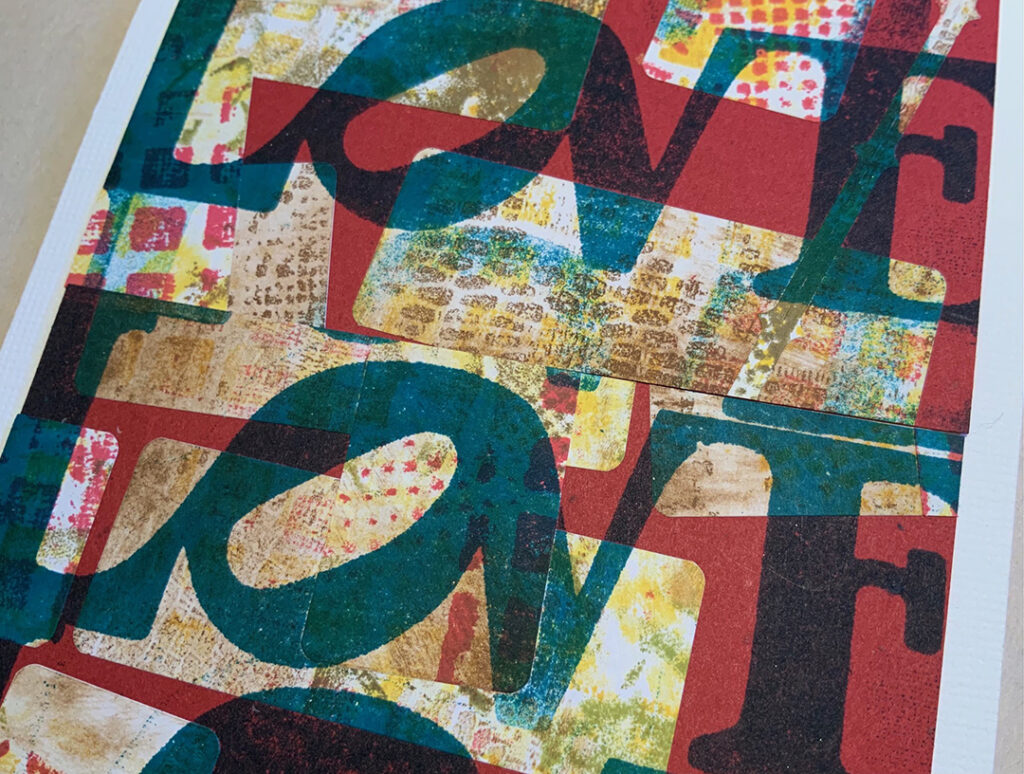
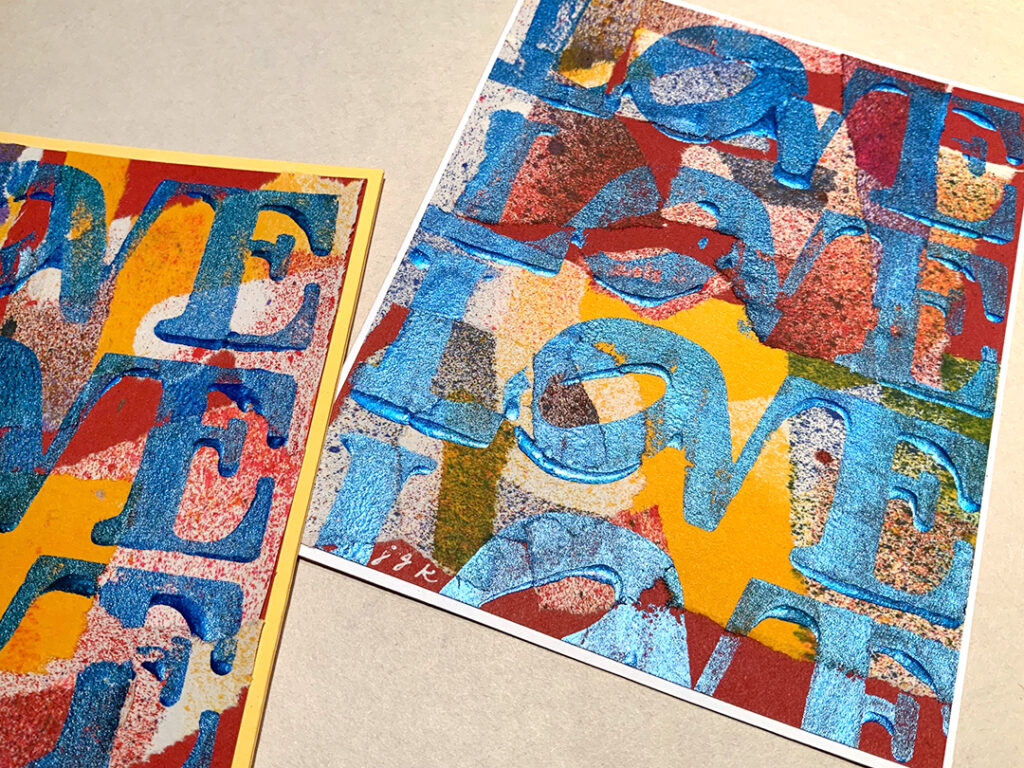
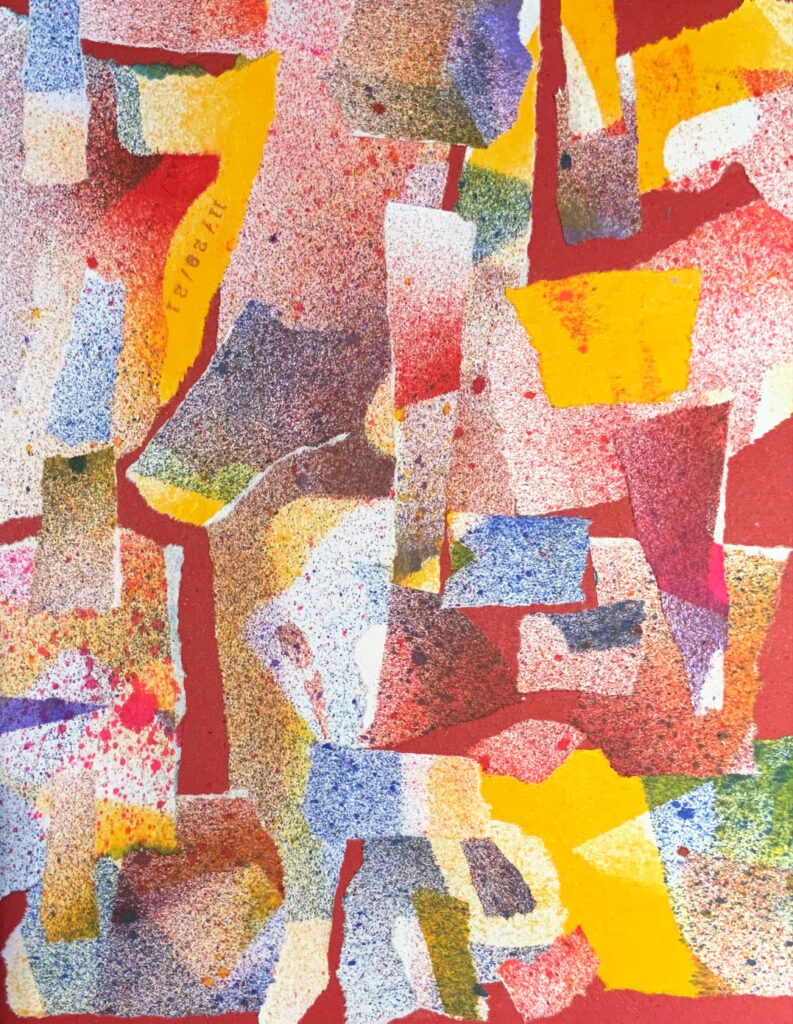
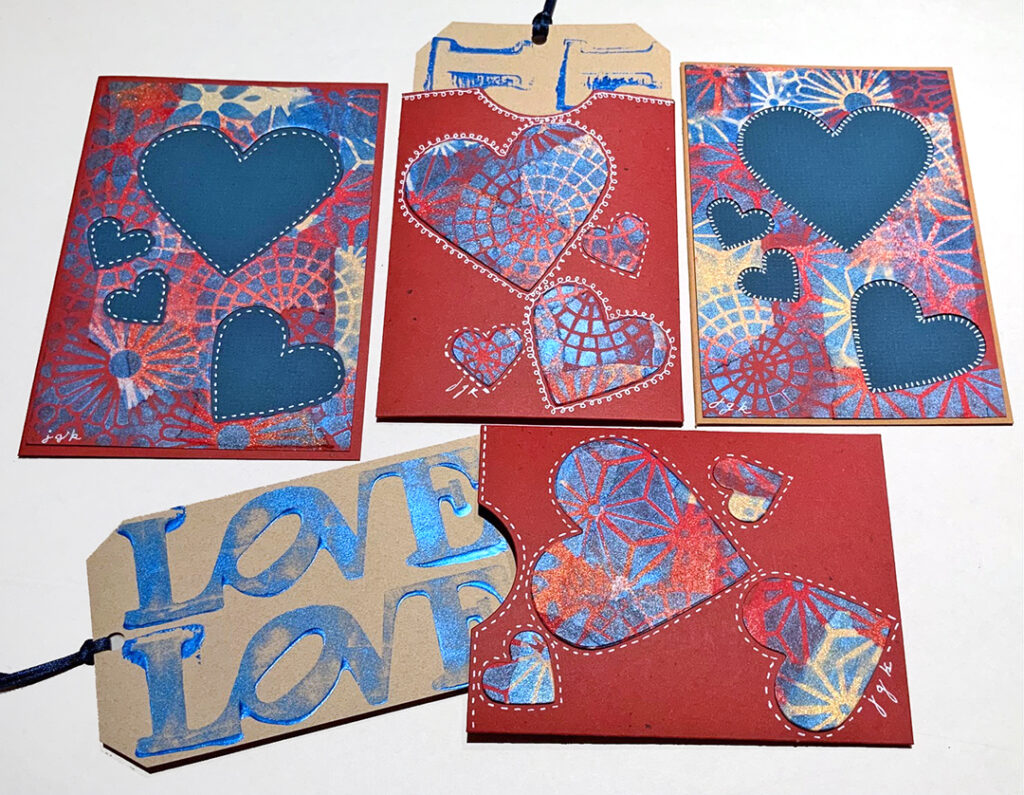
Today we have card making inspiration (Valentine’s Day is coming up….) from Creative Squad member Judi Kauffman who is using my LOVE foam stamp and some collaged paper bits to create cards and fun sleeved tags too. Check it out:
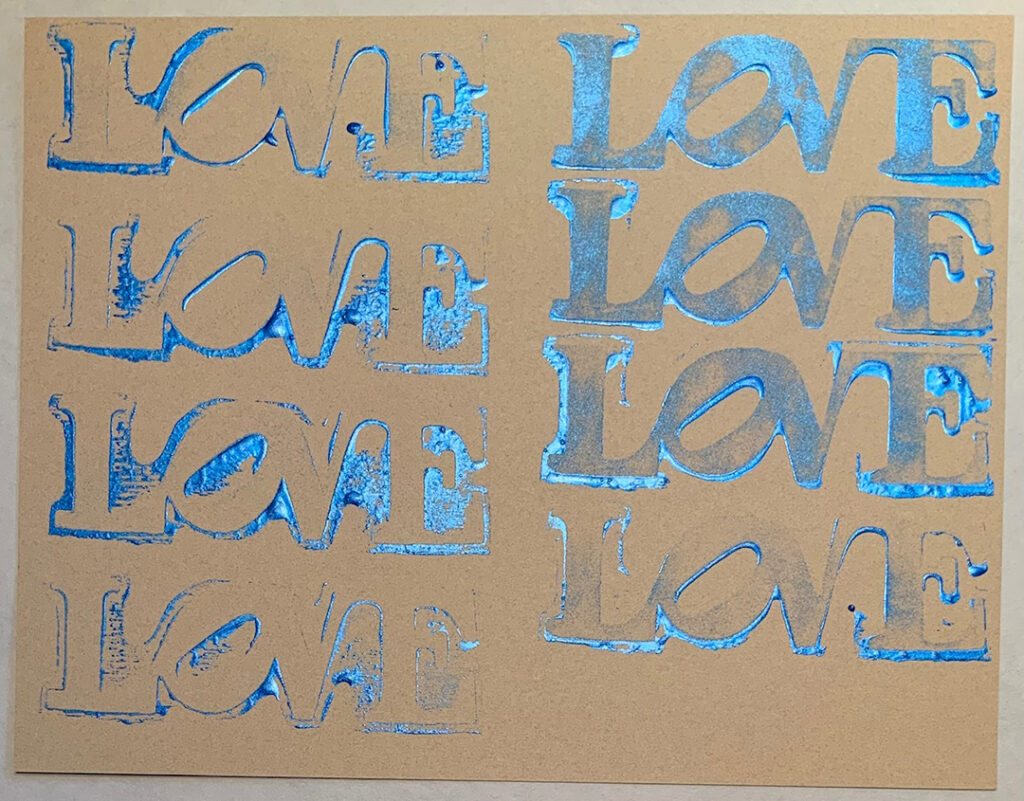
I glued torn paper leftover from doing some spray painting onto 8.5×11 red cardstock…
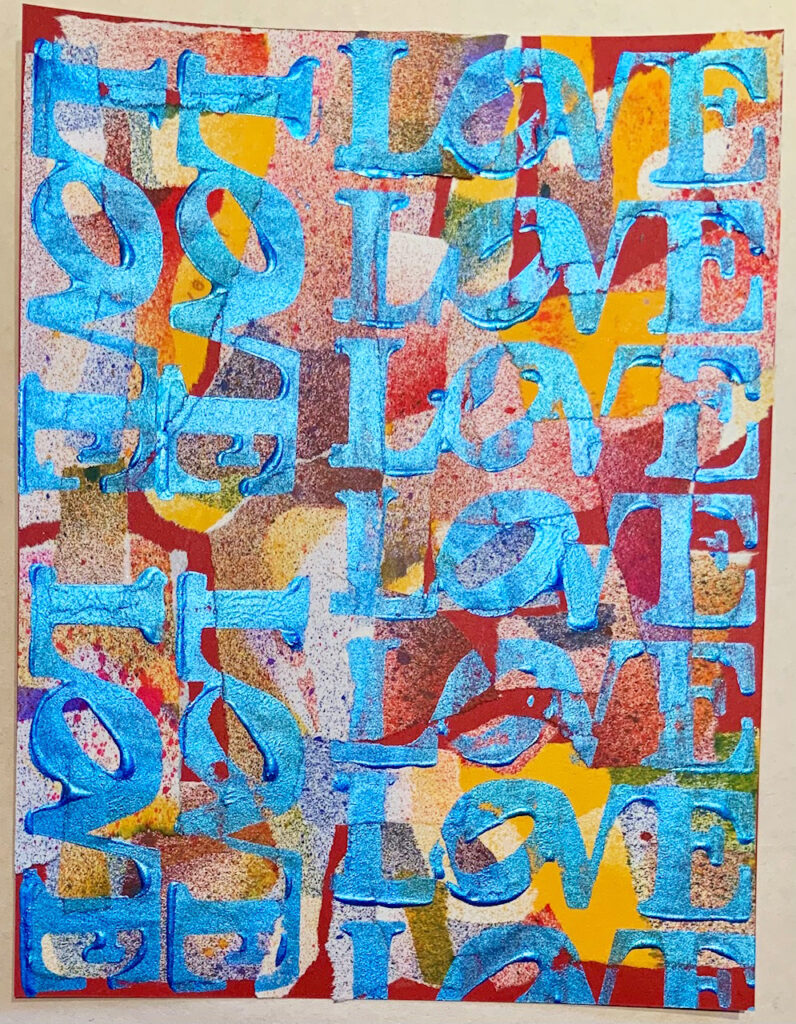
…then I stamped onto one of the sheets with the same metallic blue acrylic paint that I used on the envelopes (seen here).
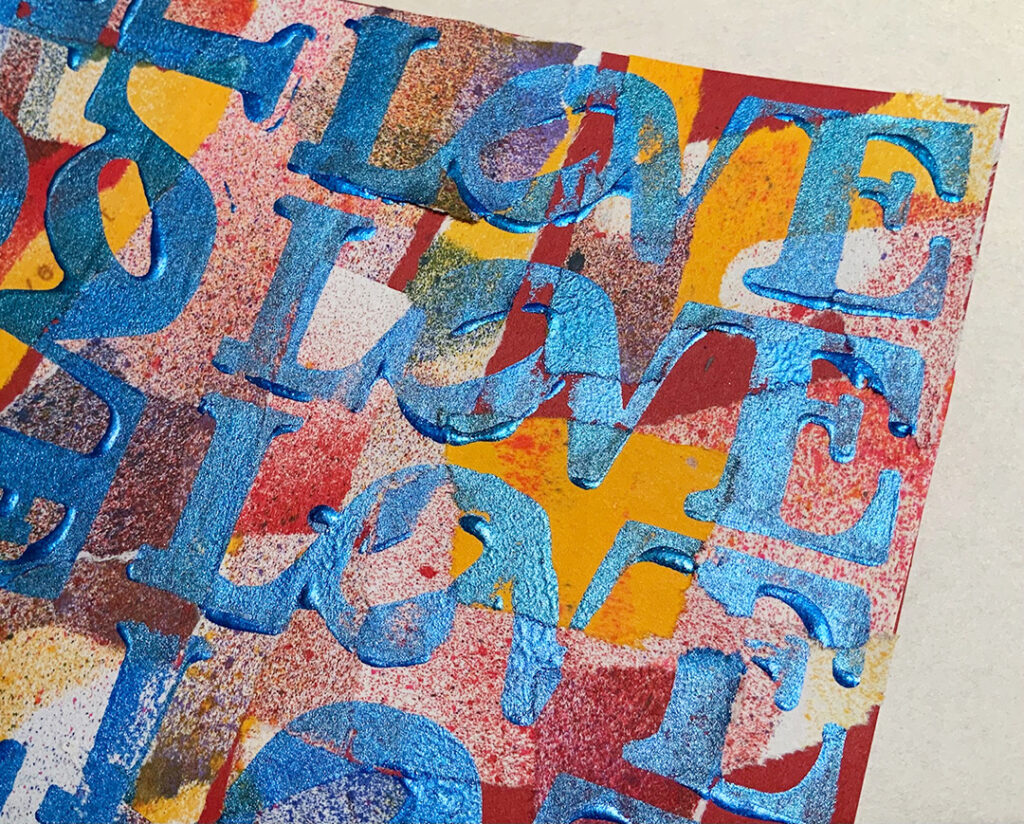
I intentionally brushed the LOVE stamp with a thick layer of paint instead of using a brayer so I’d get nice thick shadowy textured edges on the letters. I used the tail end of that paint from the stamp on tan cardstock before washing the stamp.
Here is what I made with the cardstock:
Thanks for sharing Judi! I hope that gives our readers some nice ideas for Valentine’s Day wishes or just everyday reminders of LOVE.
Give it a try: you can find all my Foam Stamps in my Online Shop and here are some of the supplies Judi used:
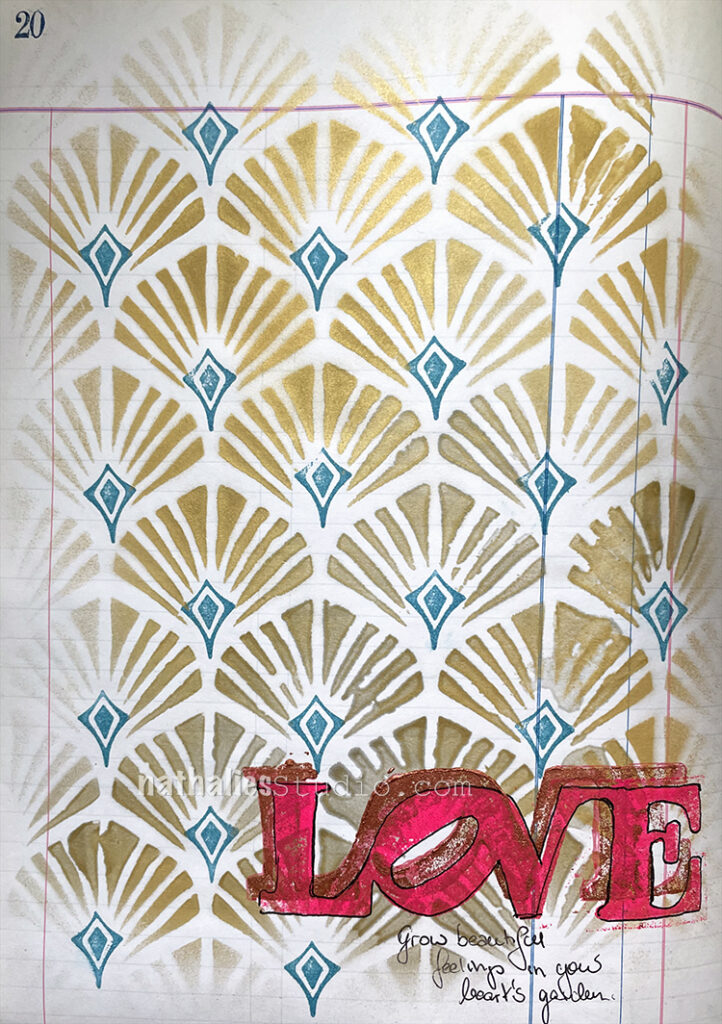
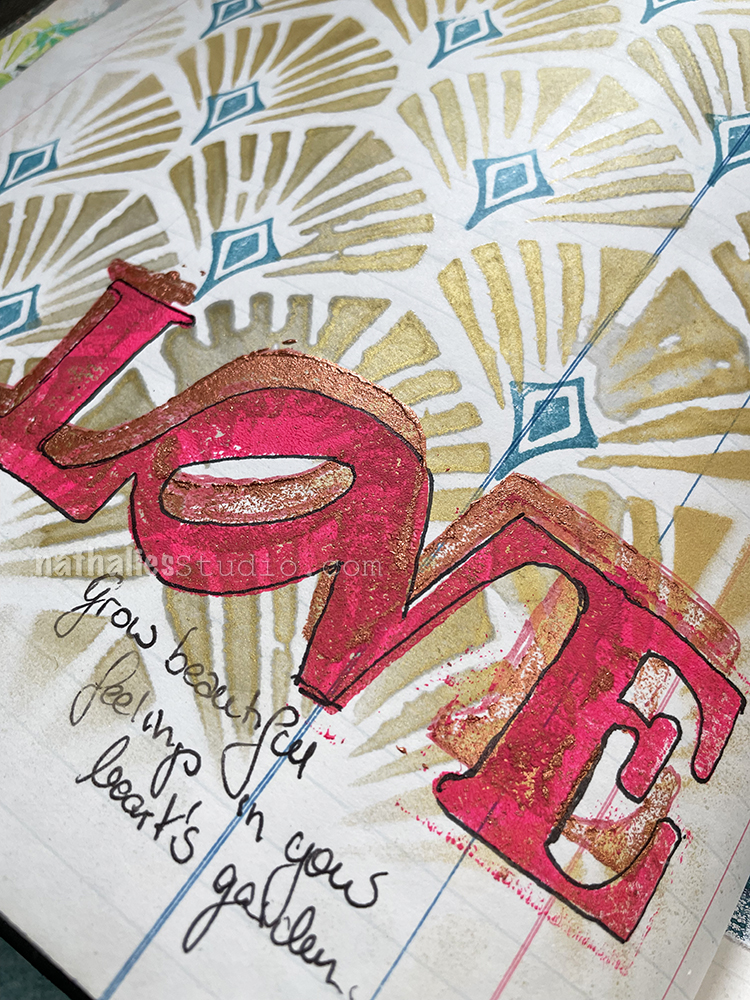
I used my Art Deco Wallpaper Stencil with golden Mtn spray paint and then a Versafine ink pad with one of the Fanfare stamps. I stamped my LOVE foam stamp with copper acrylic paint and then created an offset print with pink acrylic paint.
Finally I used a Sharpie ballpoint pen for outlining and journaling. Simple but love doesn’t need to be complex ;)
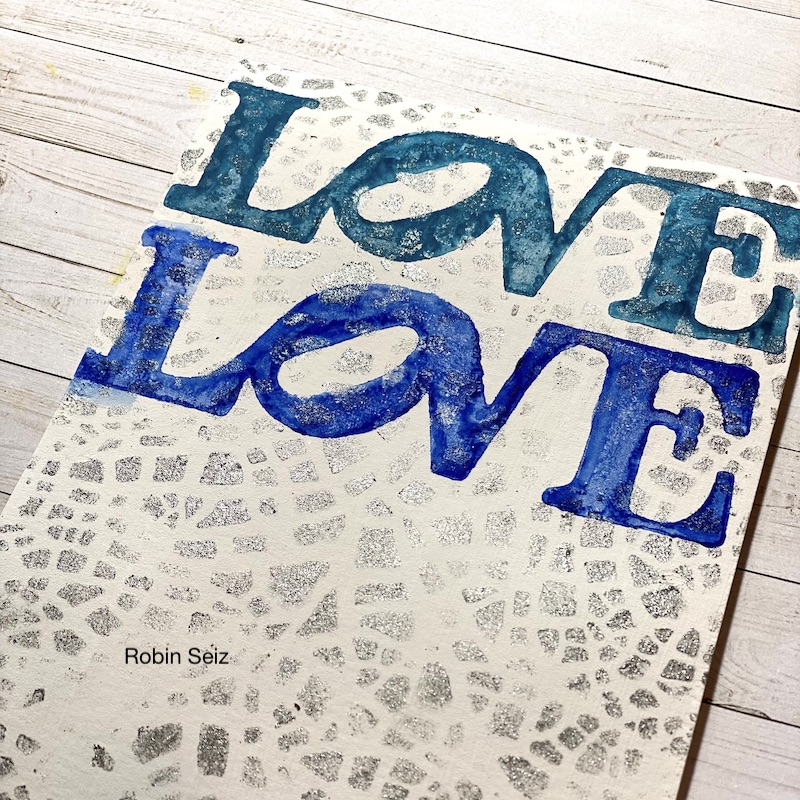
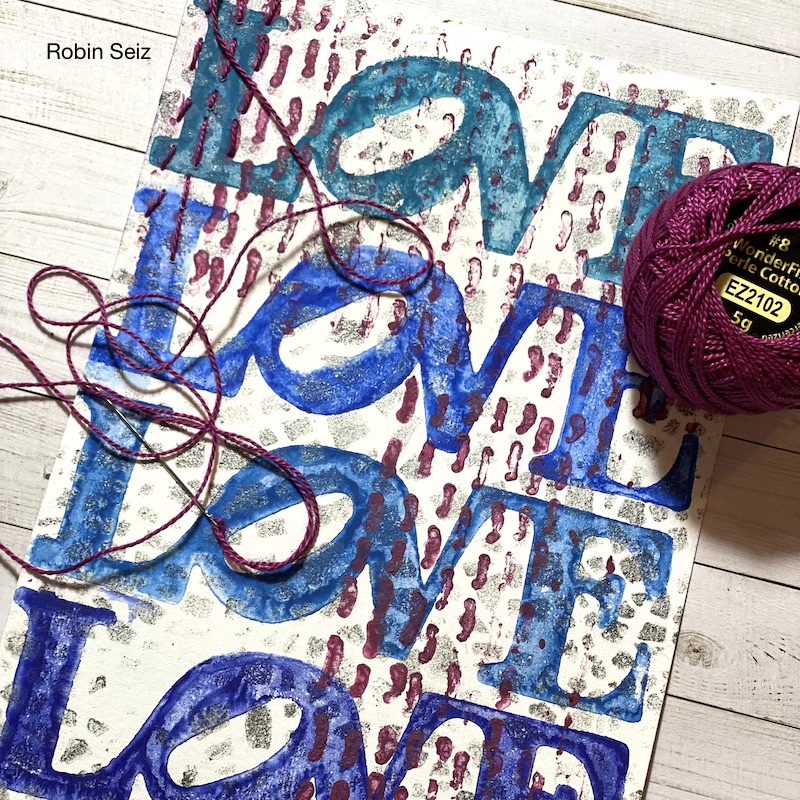
Hello from my Creative Squad! Today we have a post from Robin Seiz who is sharing a mixed media piece using my LOVE foam stamp, Running rubber stamp, Crackle stencil and our theme: Creating Connections – We’re playing along with the Creative JumpStart 2022 theme Creating Connections and exploring how our artwork connects us to the world around us, our community, our favorite supplies, or maybe our artmaking choices. Connections are everywhere when we create!
Happy New Year Friends. I hope your New Year has started out full of possibilities. Like many of you I have been following along with Creative Jump Start 2022 and it’s been wonderful. There are so many talented artists and I always learn something. In keeping with the theme of CJS our January blog focuses on Creating Connections.
This project I created uses Nathalie’s LOVE stamp, Crackle stencil, and Running Rubber Stamp. When I started out in mixed media several years ago, the first projects I created were made by machine stitching on paper. I always left the strings hanging; the pieces had a messy organic look to them. Today, I often incorporate sewing in my mixed media projects.
I have recently started slow-stitching; it has the magical power of connecting me to myself. It’s a mediative process which slows me down and allows me to be in the present with every stitch. It has had the added benefit of connecting me to a whole new on-line community of artists. This project has brought me back to where I started using some new skills I have learned along the way.
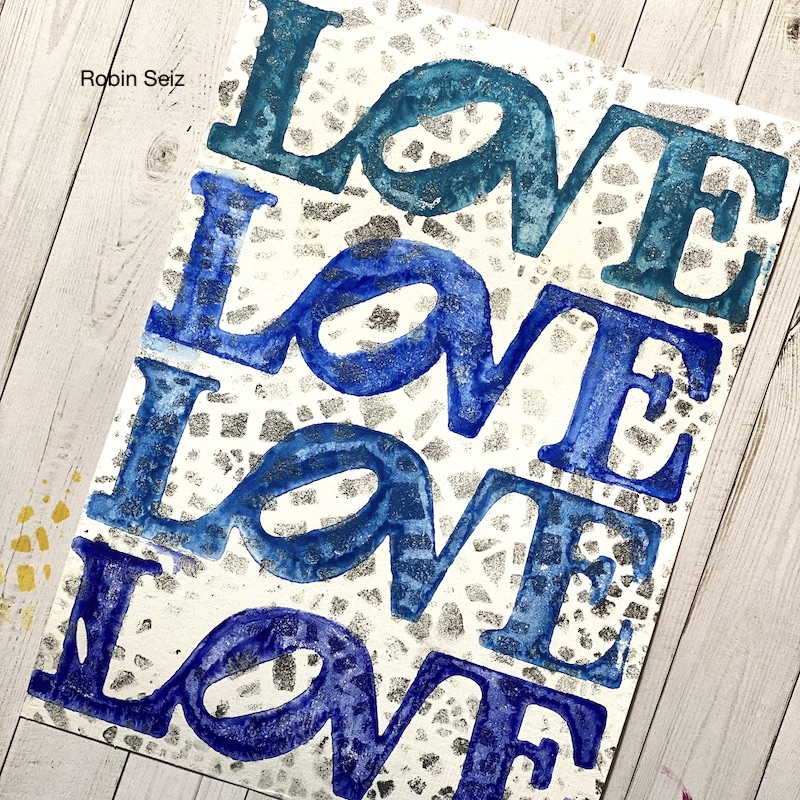
I began with a piece of 5’ x 7” watercolor paper. I spread watercolor grounds on the paper because I wanted more texture on the paper and I wanted a grungy look. Once it was dry, I used Nathalie’s crackle stencil and applied Golden’s fluid Iridescent Stainless Steel with a make-up sponge.
Next I used Derwent Intense Sticks, wet them, and applied them to the LOVE Stamp. I gave the stamp a little spritz and laid down the stamp. I wanted the crackle pattern to show through the stamped image and I wanted a mottled uneven image. Often a less perfect image is more appealing to me. I love how the watercolor pools and makes a pattern of its own. If you are more precise than I am, you could move the watercolors with a brush while they are still wet.
I continued to stamp with three more colors.
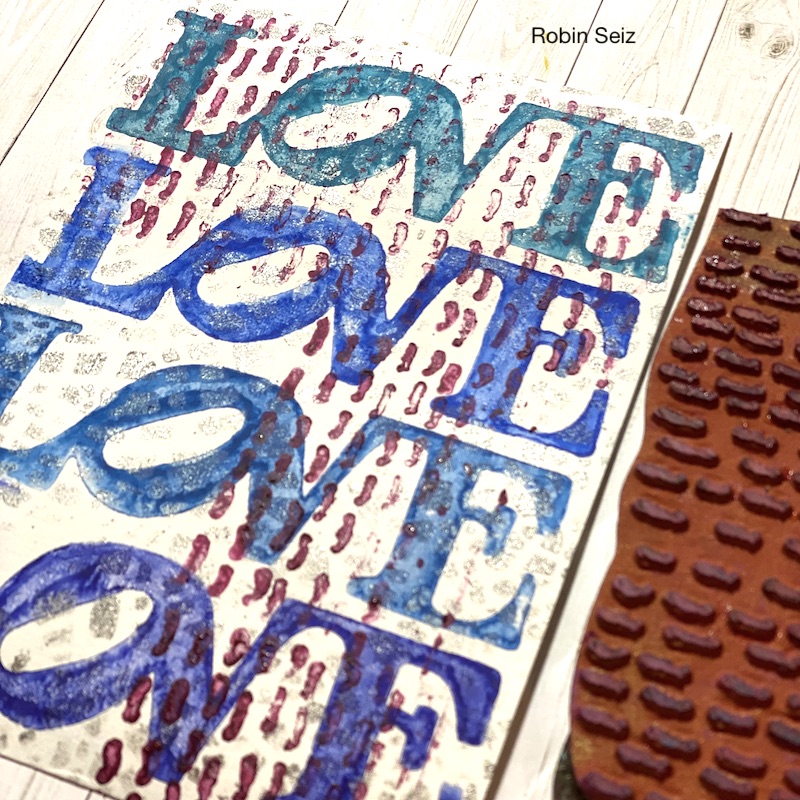
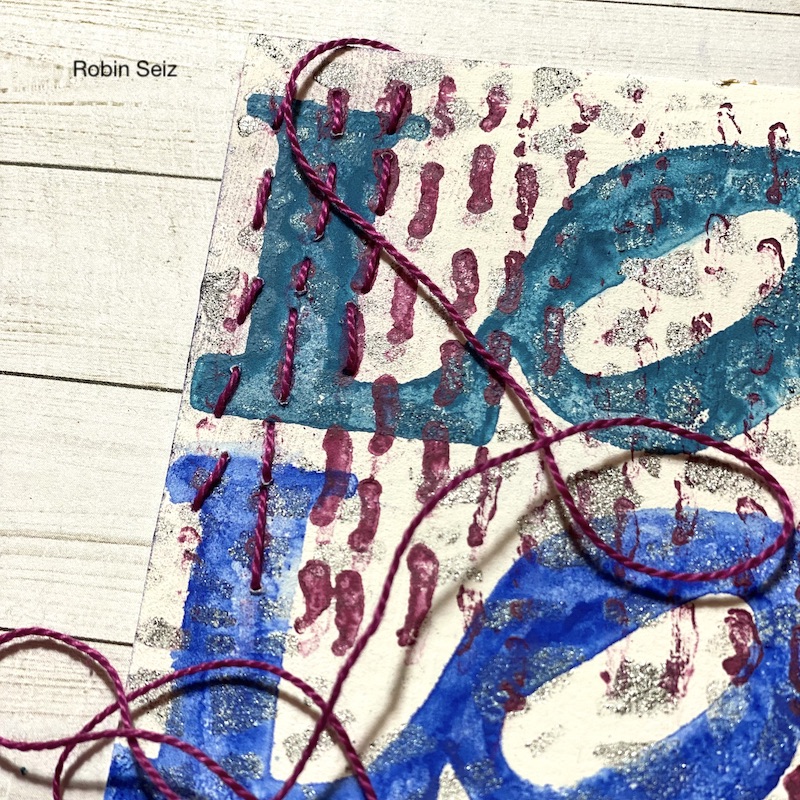
Once the watercolor was dry, I used a Derwent Intense Stick, in a complementary color, to stamp Nathalie’s Running stamp so that it was compositionally pleasing to my eye.
Once all of this was dry, I began hand stitching with Perle Cotton thread; I used the running stitches as a guide. I added a second complementary color and even sewed where there were not stamped running stitches. This again was based on what I felt was compositionally pleasing. One note about hand stitching this project — it’s tough going through thick watercolor paper. I would recommend two things. 1) A thin needle, and 2) a thimble to protect your thumb and finger. I didn’t use this and my thumb is still sore!
When I stepped back from this project, it reminded me of the days when my children would sew on sewing cards; another pleasant connection. I plan to frame this small piece and hang it in my studio.
I hope you enjoyed this project. Please let me know if you try it. Post your project and tag me on social media. I can be found on both Instagram and facebook.
Thanks for sharing Robin and so cool how you used the Running stamp as a guide for your own real stitching!


Nathalie you and Kim make our work so easy. I always love the themes and your stamps and stencils are such great tools that it hard not to create something beautiful. Thanks for all you do for the squad. It’s such a privilege to be a part of it.
Reply