Creative Squad

Nat’s Creative Squad – Introducing our NEW Members

Hello my friends – today we have some VERY exciting news. We have been waiting anxiously to spill the beans here and now is the time: We have 2 new Creative Squad members that we are so happy to welcome to the team and introduce today!!!
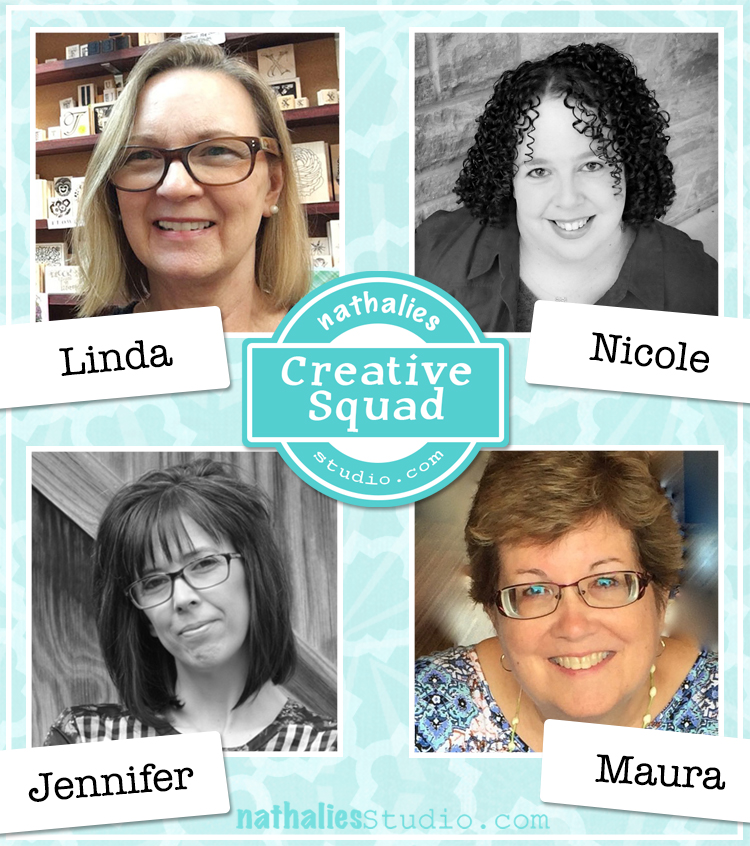
Welcome to Linda Edkins Wyatt and Nicole Watson! We put the call out last month for new Creative Squad members and Linda and Nicole blew us away with their creativity, unique styles, and engagement with their fans on social media. And now we are super stoked to have them on Nat’s Creative Squad.

Here’s a little more about the newbies, and a reintroduction to the rest of the awesome squad too :)  Don’t forget to tune into the blog on Tuesdays for projects and tutorials from Nat’s Creative Squad. You can also explore squad members current and past on the Creative Squad page.


Linda comes to us from New York, NY and you can check her out on her website here. And here is a little bio from her:

Linda Edkins Wyatt has been drawing, painting, sewing, and crafting as long as she can remember. She has spent most of her career in commercial design areas: first working as a textile print stylist in the fashion industry, and later, as a magazine and newspaper layout designer. Over the years, she explored painting, weaving, pottery, sculpture and other art forms and finally, in 2006, discovered mixed media and knew she had found her niche. Linda, who teaches monthly classes at The Ink Pad NYC, never tires of experimenting with new materials and techniques, and loves to incorporate vintage and recycled materials into her artwork.
Nicole is coming from Texas, you can check out her here on her website. Here is her bio:

Hi! I’m Nicole Watson, a Midwest girl who married a Southern boy now living in Austin, Texas. Art has always been part of me … from collecting random bits of paper at a young age, to selling my first painting in high school, then discovering mixed media while studying art and design in college. Other stops along my art journey include scrapbooking, card making, freelance photography, and layout/graphic design. Creating in my studio and sharing my work with others gives me life, purpose, and is healing to my soul.
Jennifer from West Virginia has been with the squad for 2 years and you can learn all about her here on her website. Her bio is:

Jennifer Gallagher is an artist and art instructor currently living in West Virginia with her husband and two sons. She has been involved in the arts her entire life in one way or another. After studying fashion in college, Jennifer found herself drawn to new art forms and techniques. She now enjoys painting, collage, art journaling, and mixed media. Geometric shapes and patterns are her greatest source of inspiration and joy.
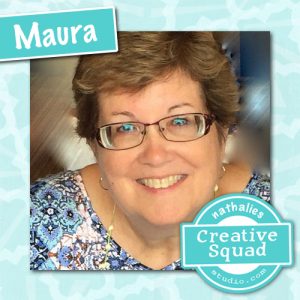
Maura from Upstate New York has been with us since January 2018 and you can check her out more here on her website. Here is her bio:

Maura Hibbitts – “I’ve joyously jumped to the right side of my brain to play with color and work in mixed media, sometimes with a steampunk twist, since retiring from teaching science. I’m back to being that kid that sat under the backyard tree and drew for hours. I enjoy life with my family in the Adirondack region of New York, love to travel, read, garden and still find myself fascinated by clouds and rocks from my years of teaching earth science.”

And finally Judi Kauffman – our part time squad member who comes to us from Maryland. Judi likes to fly a little below the radar so you can learn all about her here on my blog post interview with her.

Please check out our Creative Squad posts each Tuesday for fun projects and inspiring techniques – there is always something new from this amazing gang and we are so happy to have them!
Comments (2)

  • Jackie P Neal

    |

    Huge Congratulations to new team members Linda and Nicole!!
    Can’t wait to see what creations your muses unleash ladies!
    I have been a huge fan of Linda’s since I met her online years ago! I have always loved her mixed media projects as well as her fabric designs and am looking forward to what she will create with you and your team Nathalie!
    Congrats to everyone!
    Jackie xo

    Reply

  • Jill McDowell

    |

    Congratulations Linda and Nicole! Looking forward to seeing your creative takes with Nat’s products. Super exciting news.

    Reply

Leave a comment

Little Wonder – Marsha Valk

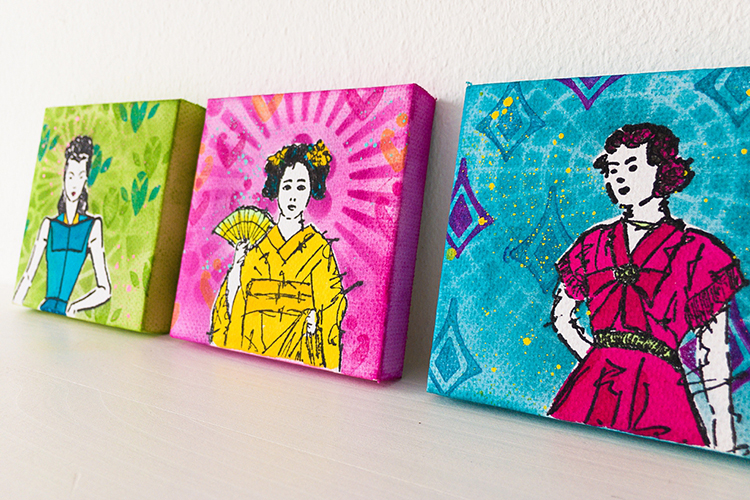
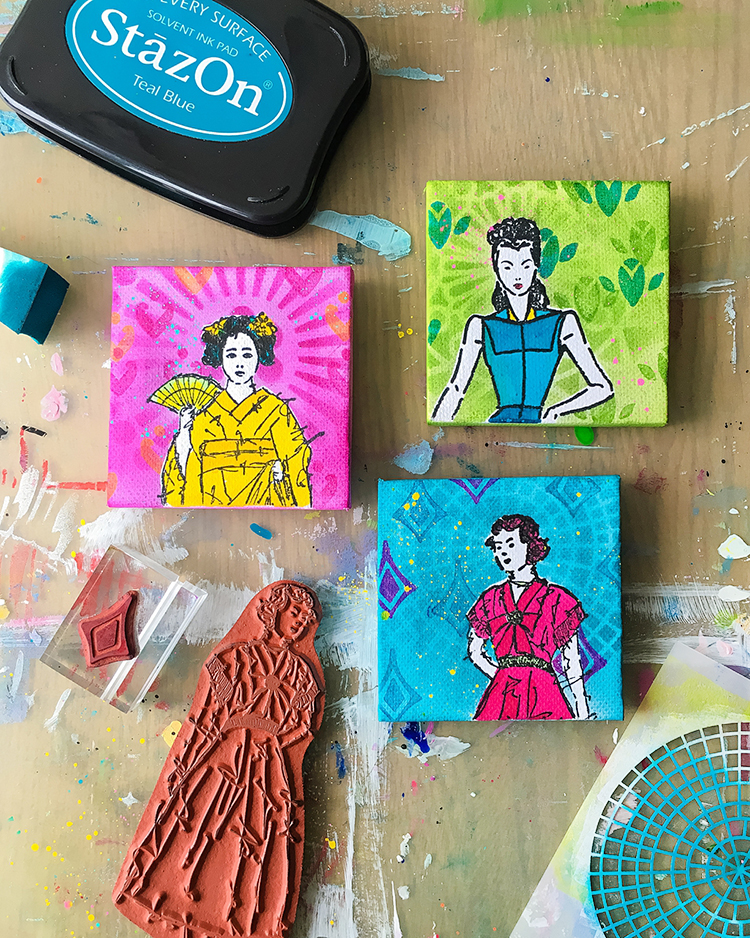
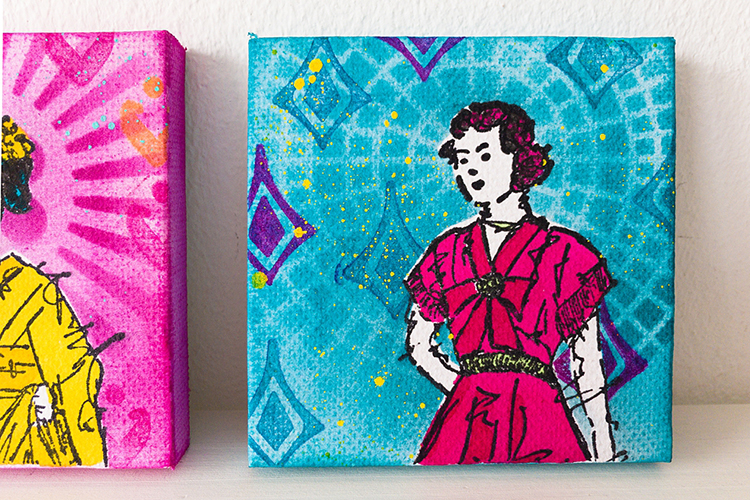
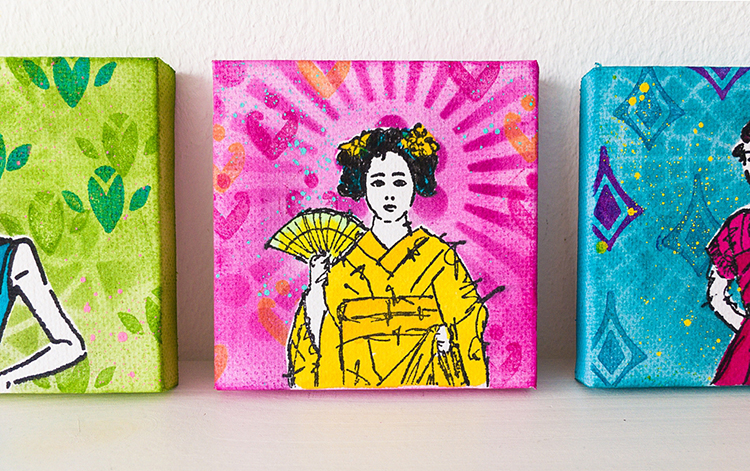
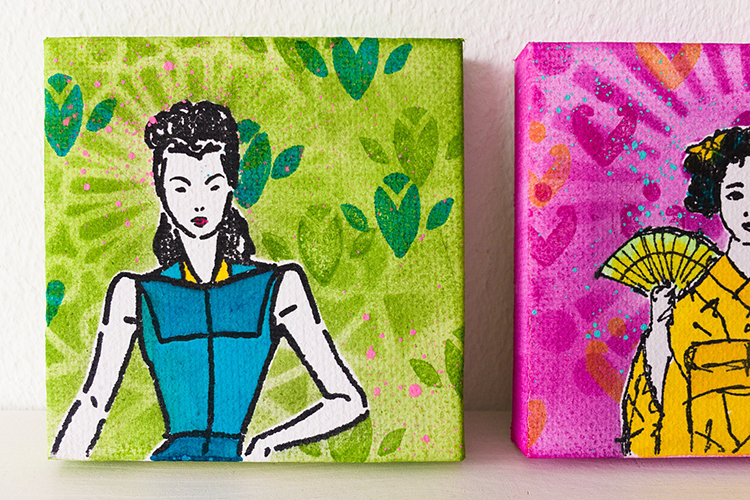
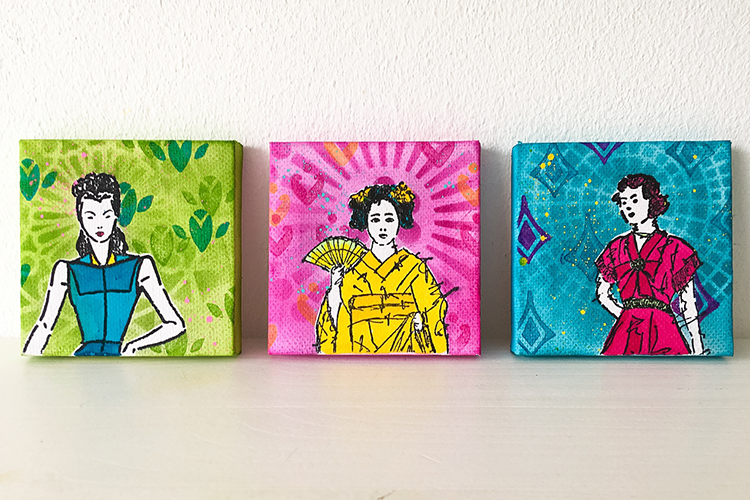
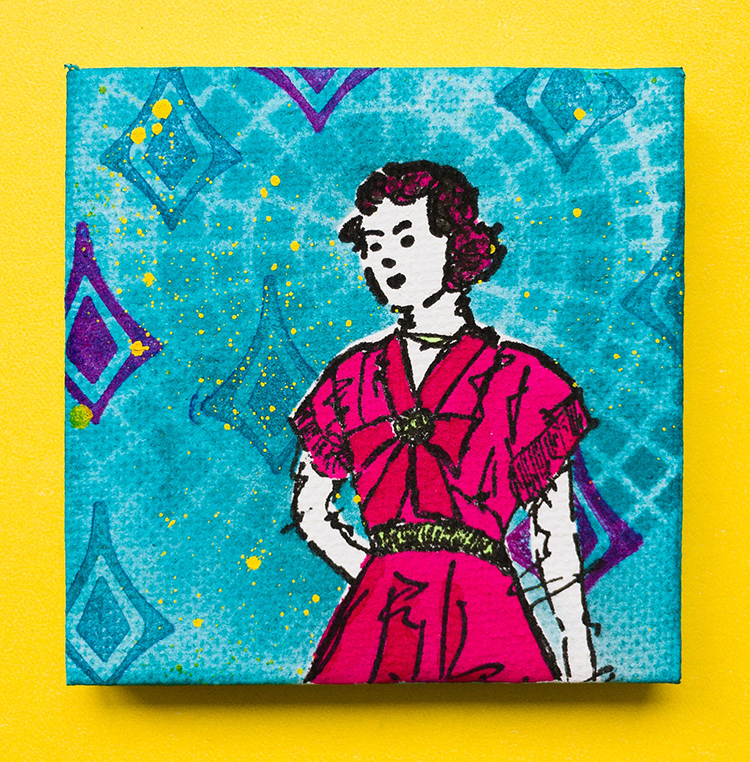
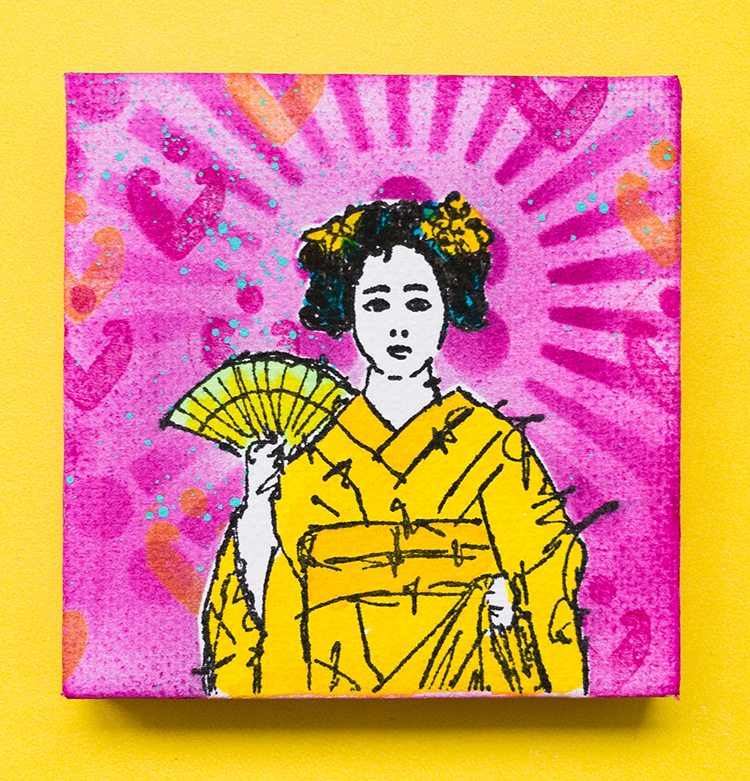
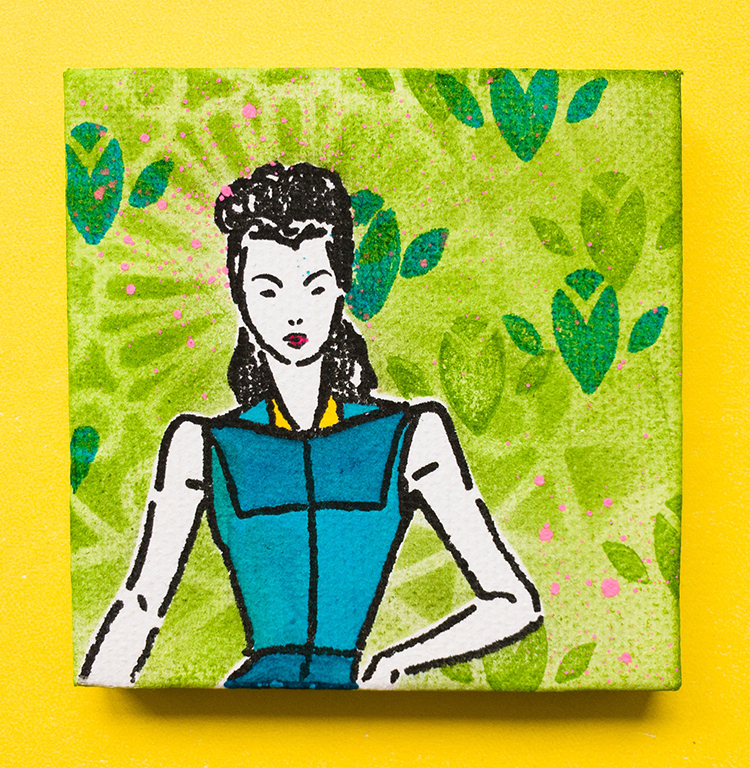
Hello from the Creative Squad and today we have another farewell post – this one from the super talented Marsha Valk! Marsha has been a joy to have on the squad and we will miss her but of course we will still be watching what she’s up to online :) Today Marsha brings us a lovely little trio of mixed media canvases and a how-to video. She’s using my Actually I Can and Fanfare rubber stamp sets and my Central Ave stencil. This month’s theme is: Little Wonder – We’re thinking small this month and focusing in on a tiny scale, exploring the delicate details, and creating something that is petite and precious.


“Wie wat bewaard, die heeft wat” is a saying in Dutch. It translates into: Someone who saves things has something.

On the lookout for ideas for this month’s prompt, I found a pack of four mini canvases while rummaging in my studio cabinet. I have no recollection of buying them, or why. I’m sure I thought they would come in handy one day. And they did!

Our mission this month is to use a small rubber stamp that we haven’t used before and a stencil.

There is no chance of me not having used a stamp in my n*Studio collection. However, I’ve been dying to do a project with the ladies from the Actually I Can Cling Rubber Stamp Set. And, for this special occasion, they will be joined by the Fashion Dame, an old friend from one of Nat’s earliest stamp releases.

Watch the step-by-step video to see how I combined the Millie Cling Rubber stamp with the tiniest set of stamps in n*Studio collection and one of Nat’s 4”x4” stencils.

Wishing you lots of little wonders!

Marsha.


Thank you Marsha! These little canvases just make us smile :) And what a great way to end your time with us here – it has been so much fun sharing your unique creative vision with our readers!

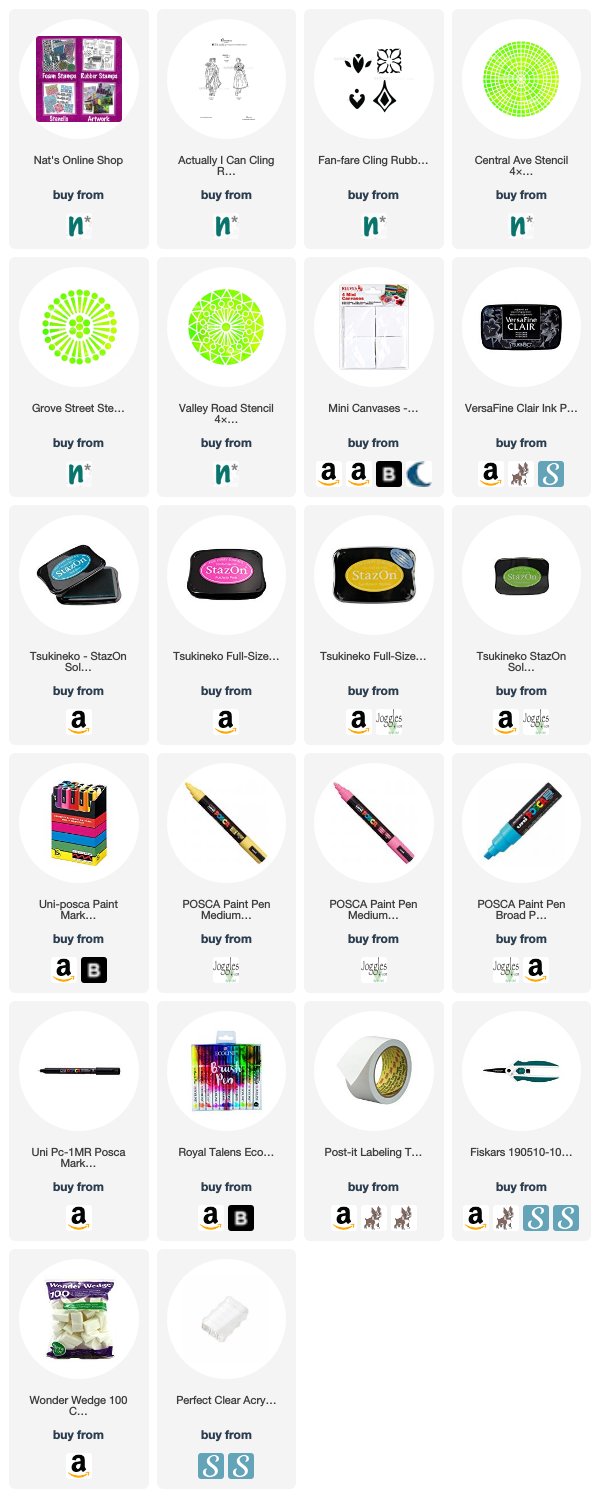
Want to try some mini canvases like Marsha has here? You can find all my Rubber Stamps and Stencils in my Online Shop and here are some of the other products she used:

Feel inspired? Working on something yourself that you’d like to share?  I love to see how you interpret our monthly themes. Email me how you used my stencils and stamps with the theme and email me an image – I would love to share your projects in my next  “n*Spiration From Around the Globe“.

Leave a comment

Little Wonder – Tania Ahmed

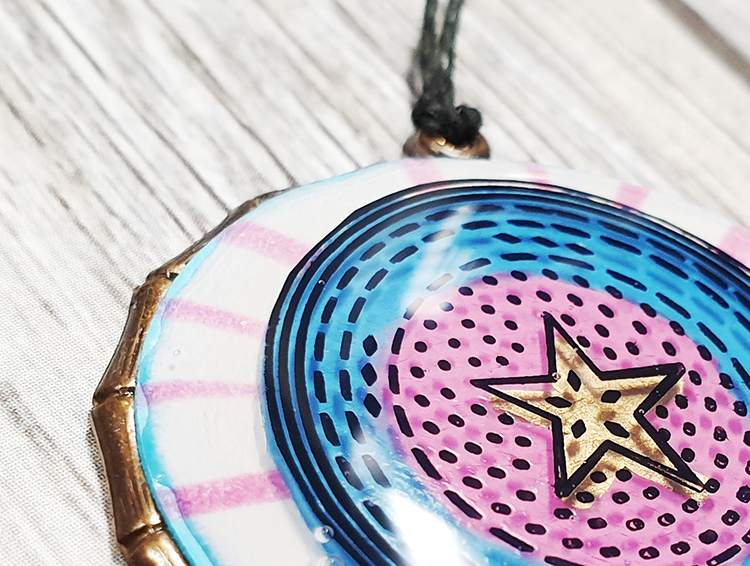
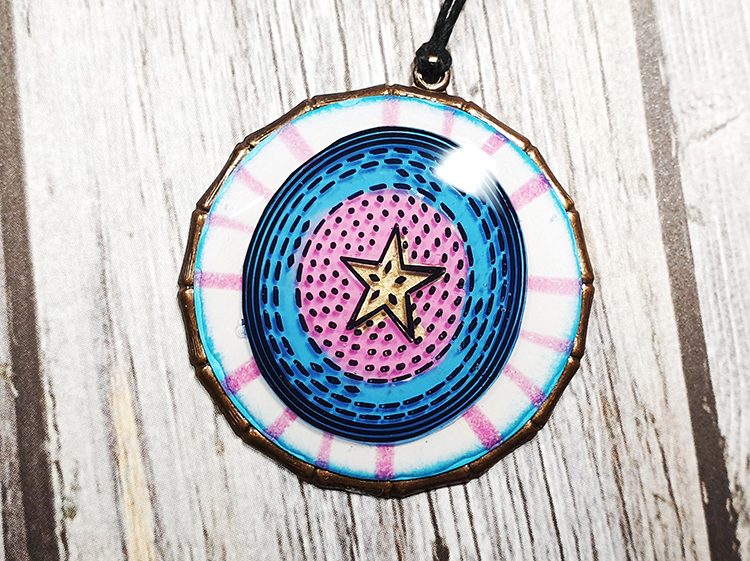
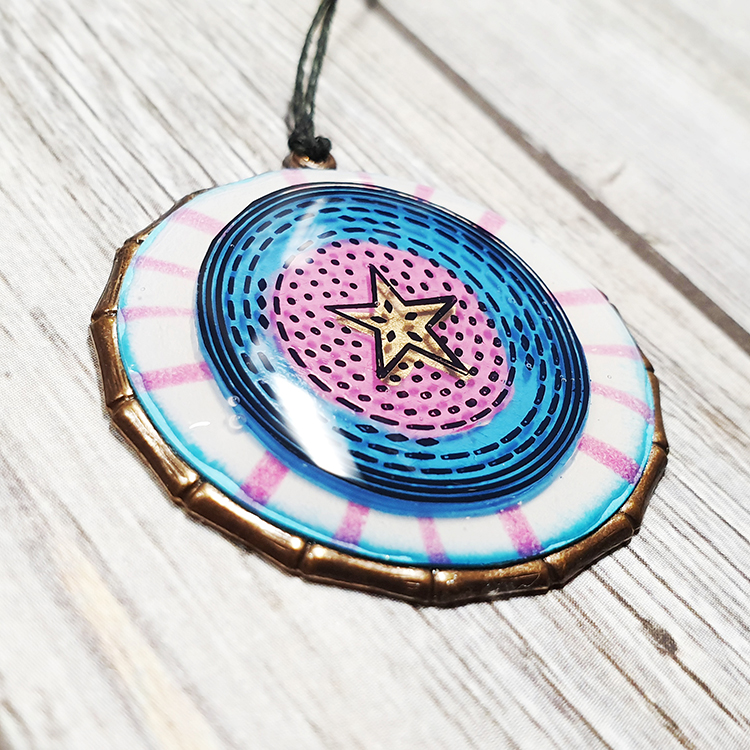
Hello from the Creative Squad and our last post from the amazingly talented Tania Ahmed who will be leaving us next month but who was a joy to have on the squad for her time here. You will be missed Tania! For her final post she presents a tiny little treasure that she’s made using my Large Circle Jumble rubber stamps and my Van Vorst stencil. This month’s theme is: Little Wonder – We’re thinking small this month and focusing in on a tiny scale, exploring the delicate details, and creating something that is petite and precious. 


When working on things on a tiny scale, I always think of Shrink Film which is fun to work with. I’m always fascinated by how much a design shrinks!

I wanted to create a fun mixed media pendant and once I had shrunk and decorated my embellishment, I adhered it to a stencilled design on a pendant that I had been saving *cough hoarding cough * and covered it all with Glossy Accents! This makes me now wish I had some resin in my stash, which could turn into a project for another day ?

Here’s a video of how I made my project:

This will be my last post on Nat’s Creative Squad … A very special thank you to Nat and Kim for all your support and for giving me a chance to join the very amazing Creative Squad and using Nat’s fabulous products! It has been a blast and I will cherish this time. Thank you all so very much ♥️


Thank YOU Tania! It has been such fun to see how your creativity transforms the monthly themes into gorgeous and unique projects. We have loved getting to know you and your stunning artistic talent!

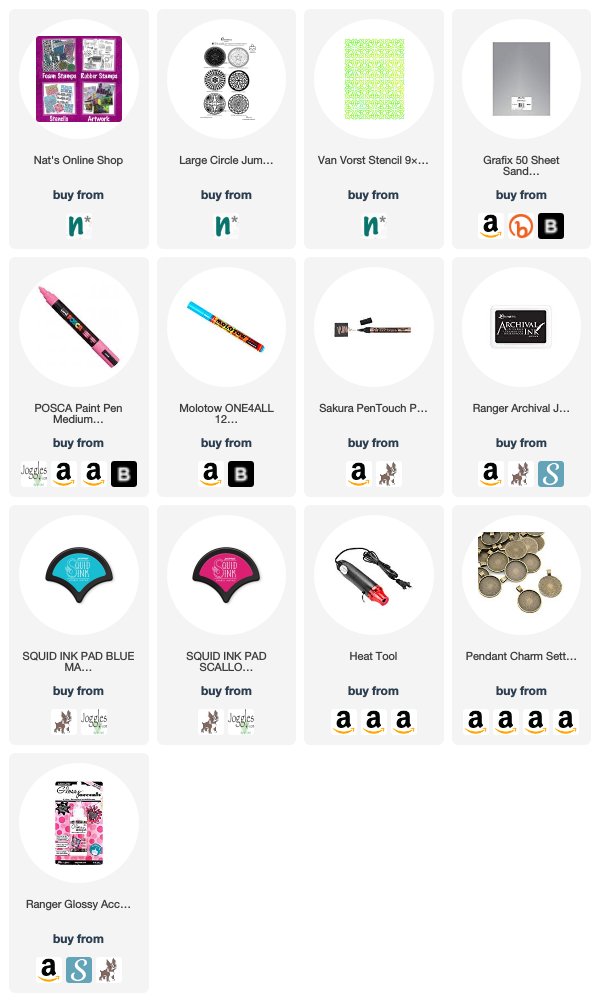
If you’d like to try your hand at making a pendant like Tania’s, you can find all my Rubber Stamps and Stencils in my Online Shop and here are some of the other products she used:

Feel inspired? Working on something yourself that you’d like to share?  I love to see how you interpret our monthly themes. Email me how you used my stencils and stamps with the theme and email me an image – I would love to share your projects in my next  “n*Spiration From Around the Globe“.

Leave a comment

Boldly Going – Maura Hibbitts

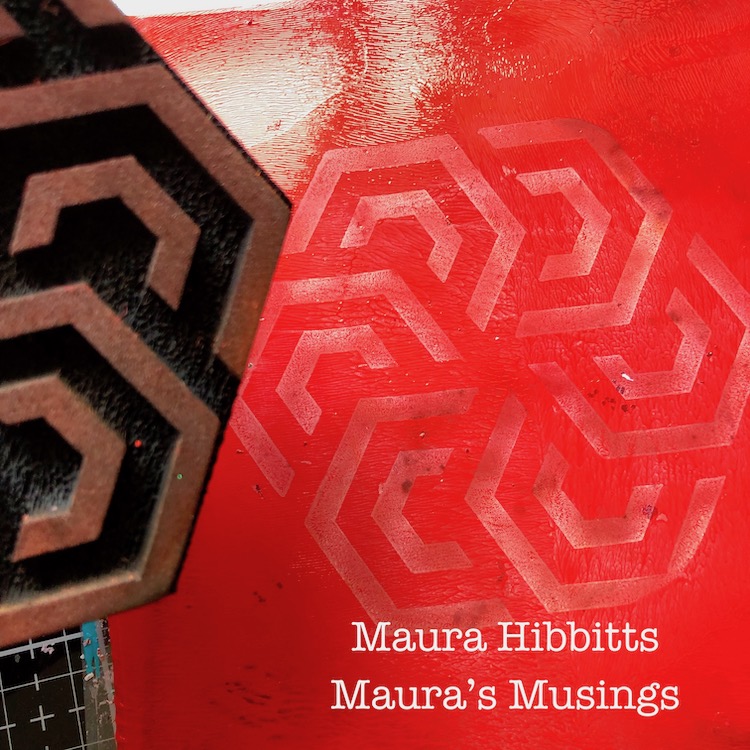
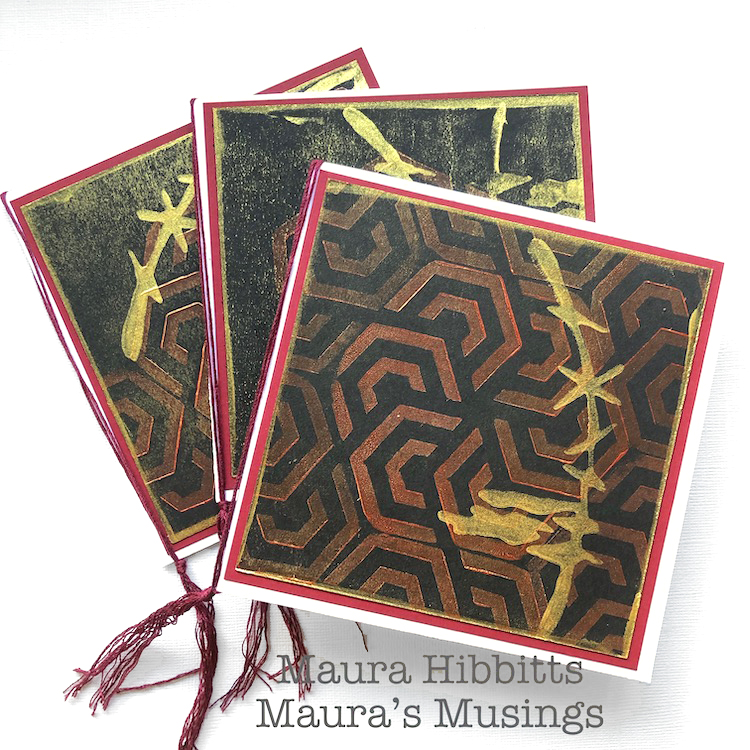
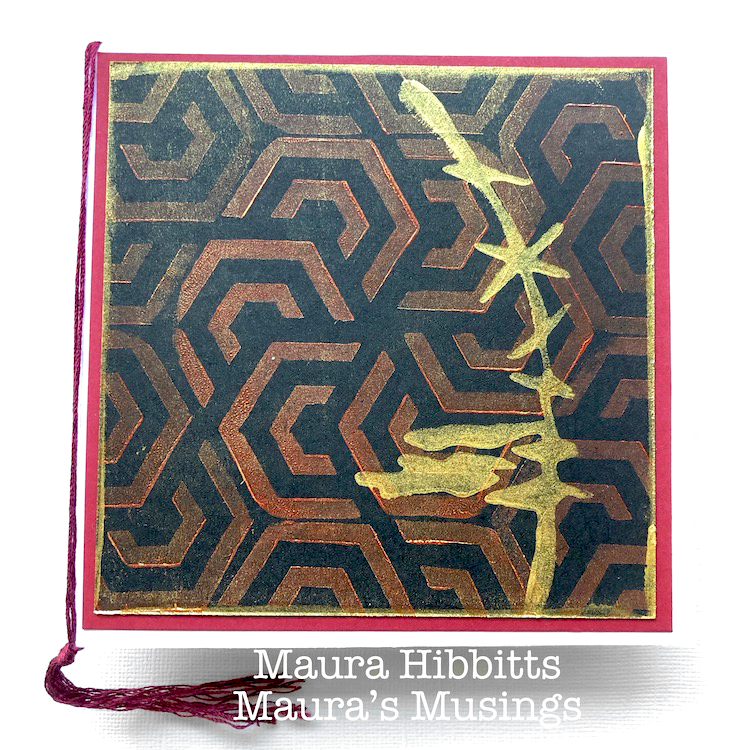
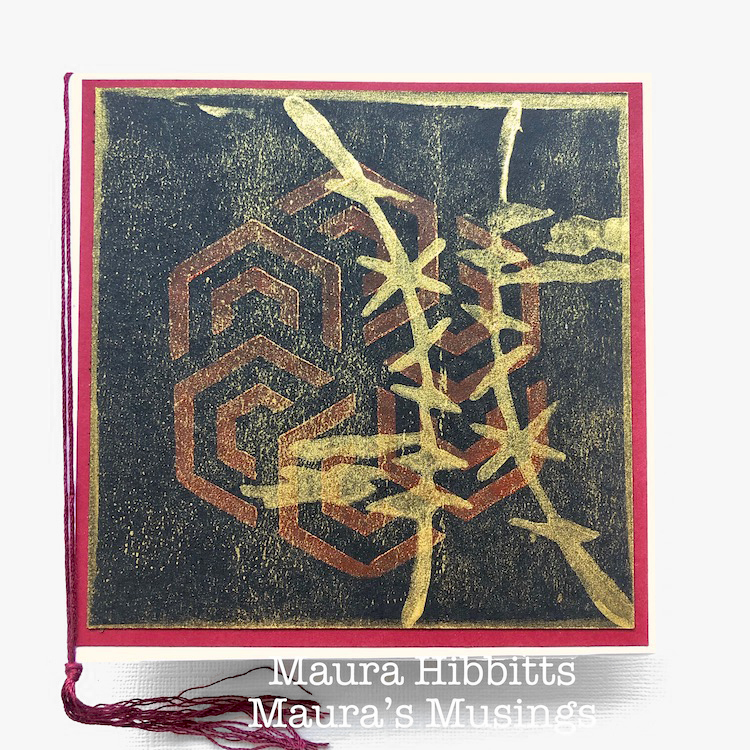
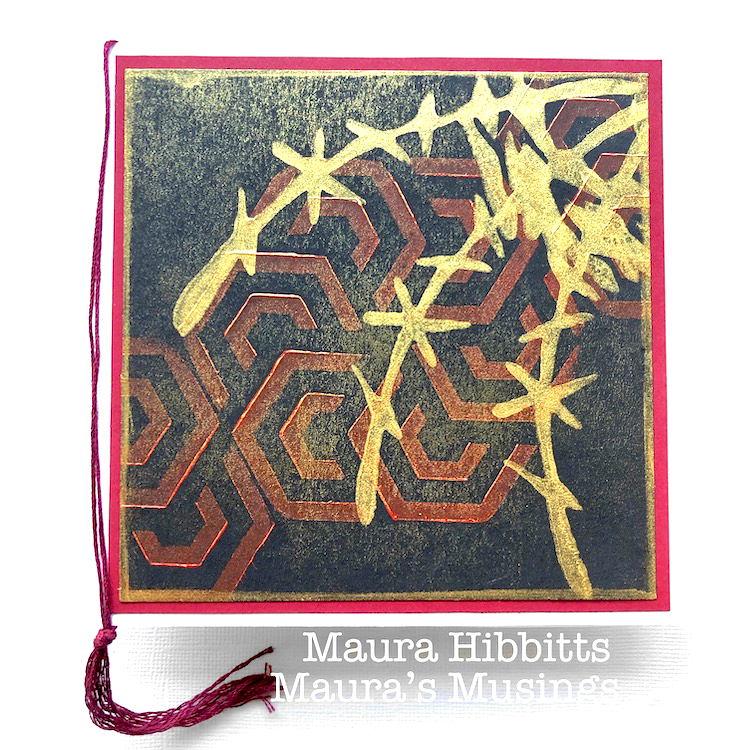
Happy Tuesday from the Creative Squad! Today we have a grouping of handmade cards from Maura Hibbitts that will really catch your eye! They feature bold colors and patterns including my Maze Hex and Groovy foam stamps and are inspired by the theme this month: Boldly Going – Go BOLD with color or pattern this month and really make something that is packed with visual POP! This is no time to be subdued or subtle. Go Bold!!!


Why not make a statement with some bold, handmade cards? There are a lot of cute and pretty cards out there (I know, because I make some too), but every once in awhile, you just need an attention grabber. That’s when going bold with your design can be a lot of fun! I made a trio of square cards, shimmering with possibility.

My project uses a few simple materials.  I began by cutting the white card stock into the card base to make a 5.5 inch square card. (5.5” x 11”, and fold in half) The dark red paper is a 5.25 inch square, and the black is a 5 inch square.

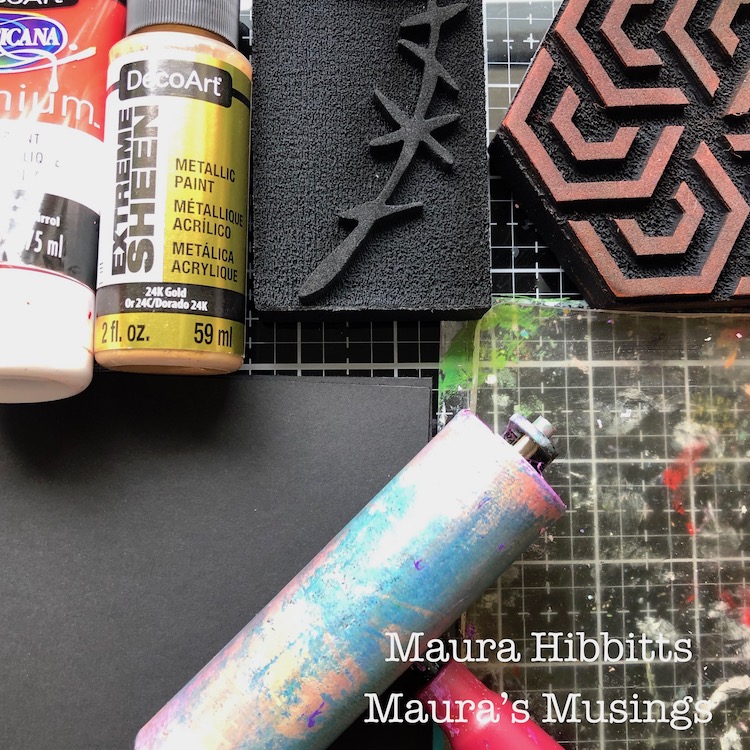
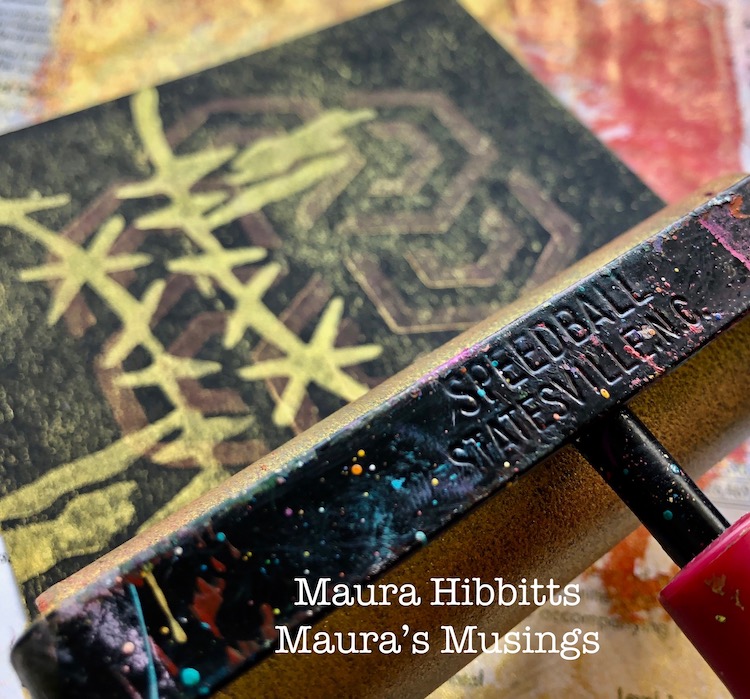
Whenever I am stamping with paint, I reach for a gel plate. This is the perfect tool to lay the paint on and smooth it out with a brayer, then stamp into, to pick up the paint. The foam stamps are amazing with paint, just be sure to clean the paint off right away, using a baby wipe or soap and water.

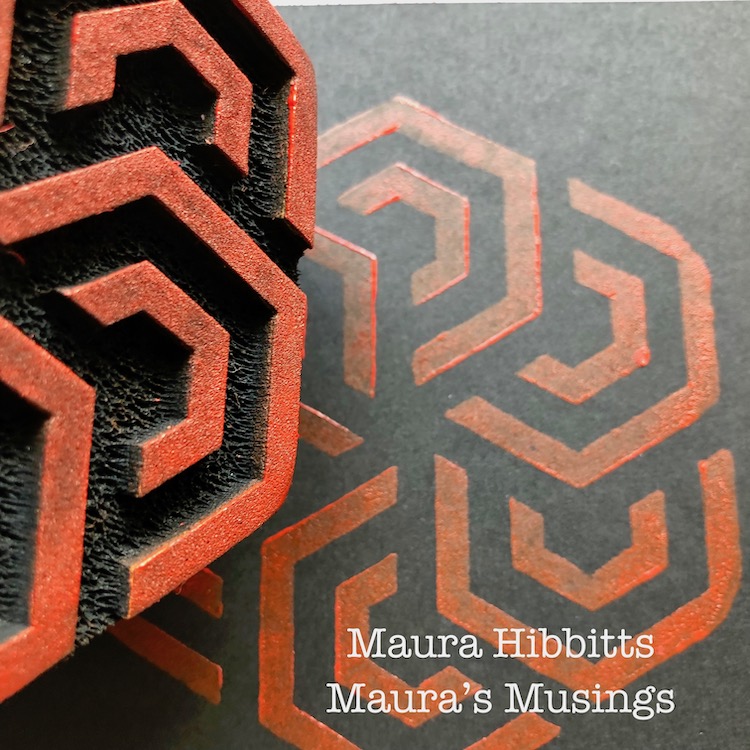
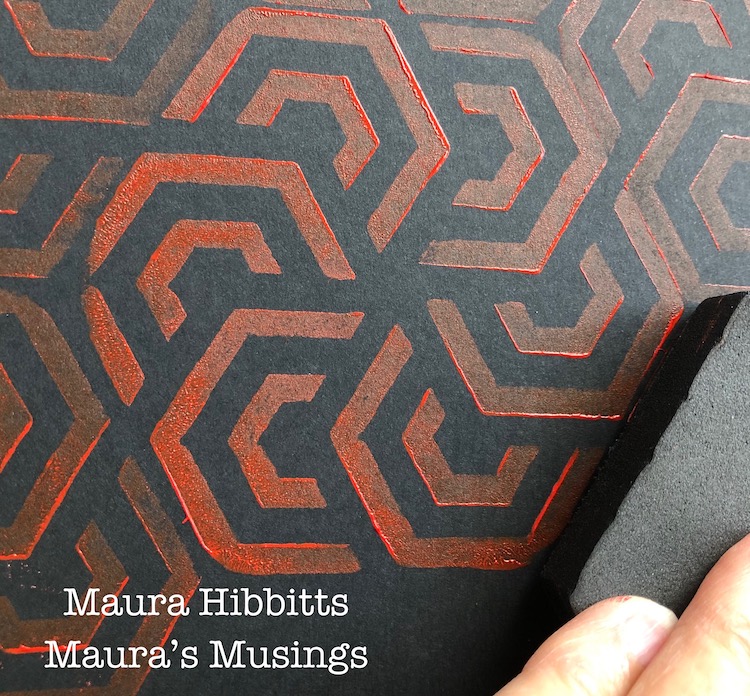
I’m using Pyrrole Red acrylic with the Maze Hex foam stamp. Since I am stamping the red onto black card stock, I got the paint nice and juicy on the stamp, so it would show up against the black. I made a single image on one card, and a diagonal image by stamping two partial prints on the edge. The third card has a central image, and then I stamped partial images all the way around. 

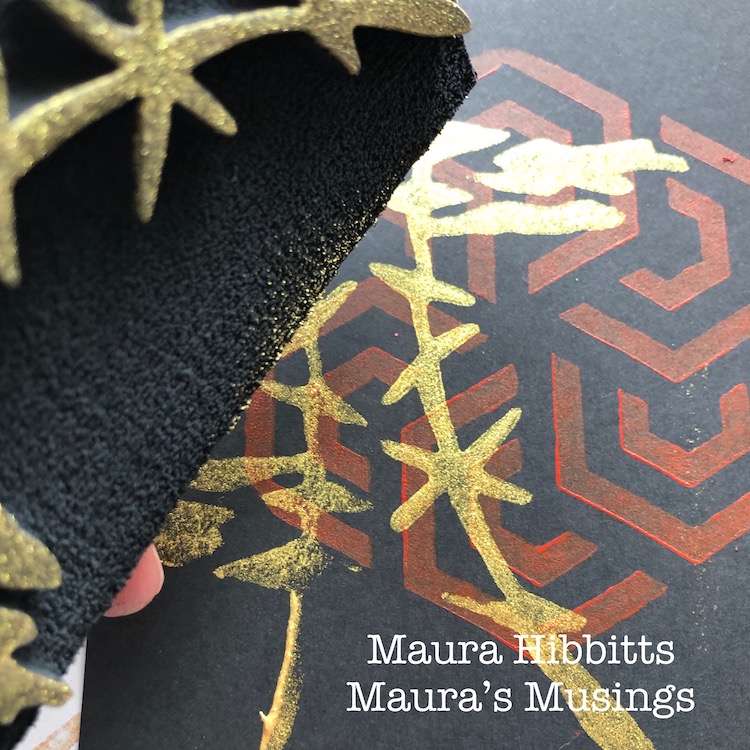
When I look at the Groovy stamp, I see an Asian image or a tree with clouds, which inspired me to stamp with Gold acrylic for a bold statement. Once again, you can brayer the gold onto the gel plate and stamp into it, to pick up a nice even coat of paint. Your other option is to use the brayer and roll it over the stamp. I varied the number of images on each card to create variety.

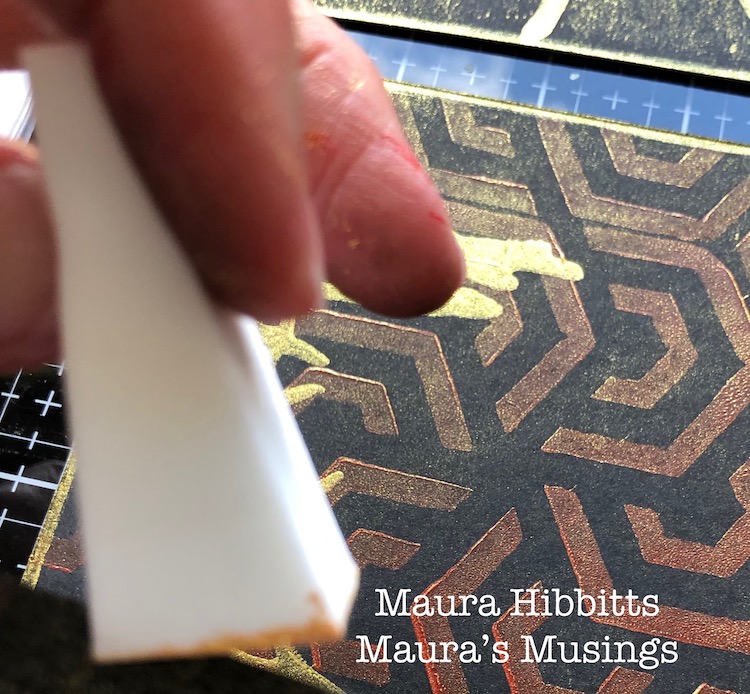
I had a bit of gold left on the gel plate, so decided to experiment by rolling a very light layer of paint with the brayer over my stamped images. Since, the red paint had some depth to it, edges of the hex design picked up the gold, giving it more definition.

I went around the black card stock with gold paint using a cosmetic sponge to frame the design.

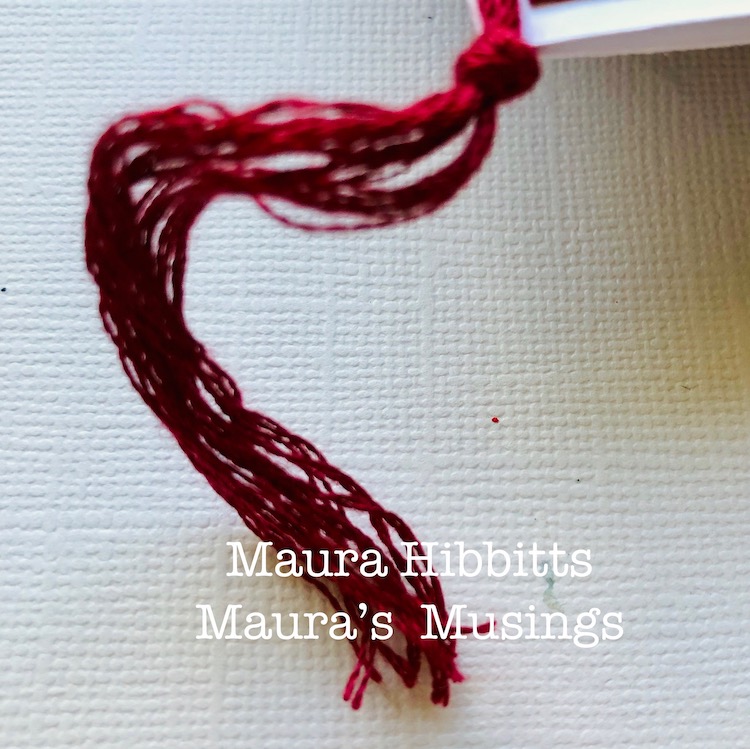
Finally, I tied a double layer of maroon embroidery floss around the card, tied it at the bottom, and separated the strands to create a tassel.

Now, I have a trio of bold and shimmery cards ready for the perfect occasion. Why not try making an easy set of stamped cards with paint, yourself?

Layer several colors of paper, use a couple of stamps and paint colors, and just imagine the variety of cards you could create! What occasions would you use these for? It’s time to Go Bold!


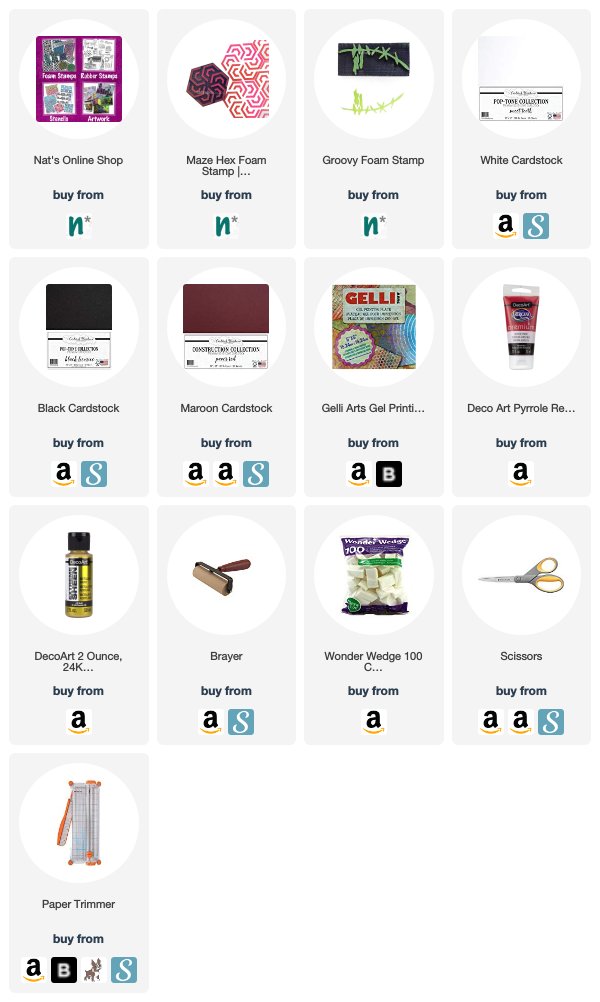
Thank you Maura! Love this combination of black red and gold! You can find all of my Foam Stamps in my online shop. Here are some of the other supplies Maura used:

Feel inspired? Working on something yourself that you’d like to share?  I love to see how you interpret our monthly themes. Email me how you used my stencils and stamps with the theme and email me an image – I would love to share your projects in my next  “n*Spiration From Around the Globe“.

Leave a comment

Boldly Going – Jennifer Gallagher

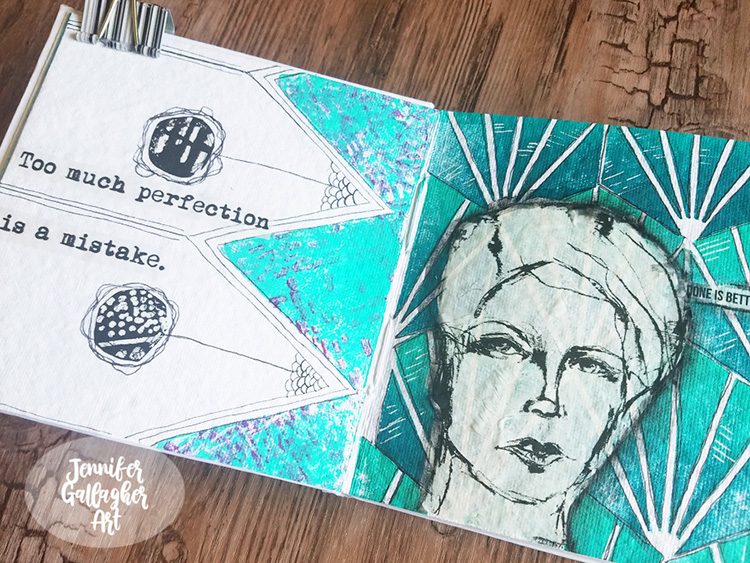
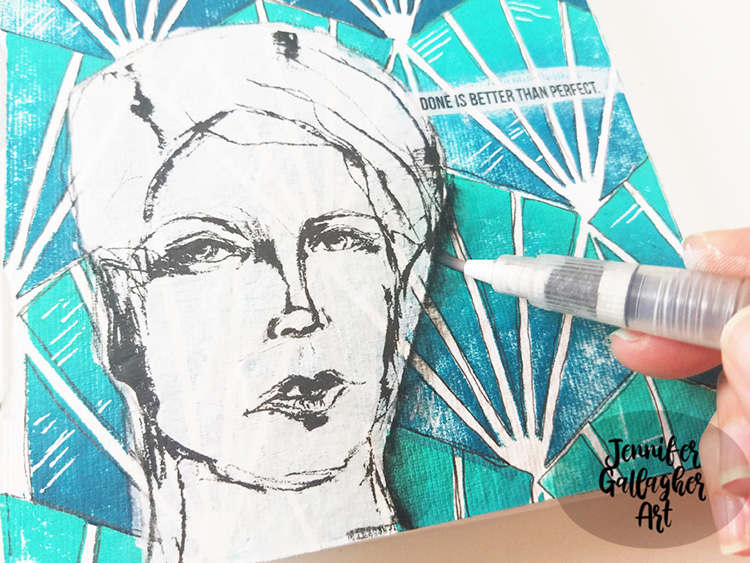
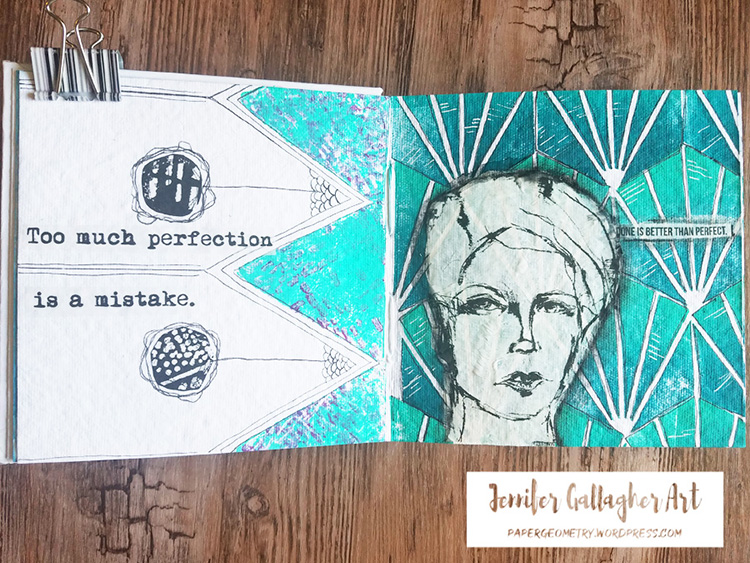
Welcome to a post from the Creative Squad! Today we have an art journal page from Jennifer Gallagher that will inspire you to work more boldly and intuitively. She is using my Clam Hex and Signals foam stamps and this month’s theme: Boldly Going – Go BOLD with color or pattern this month and really make something that is packed with visual POP! This is no time to be subdued or subtle. Go Bold!!!


This month we are “boldly going” while creating with n*Studio products. To me being bold means making artistic decisions quickly and going with my gut. I try to shut down the negative voice inside and create almost intuitively. While creating this art journal spread I made quick decisions about colors and patterns and just went with the flow. Let’s get started!

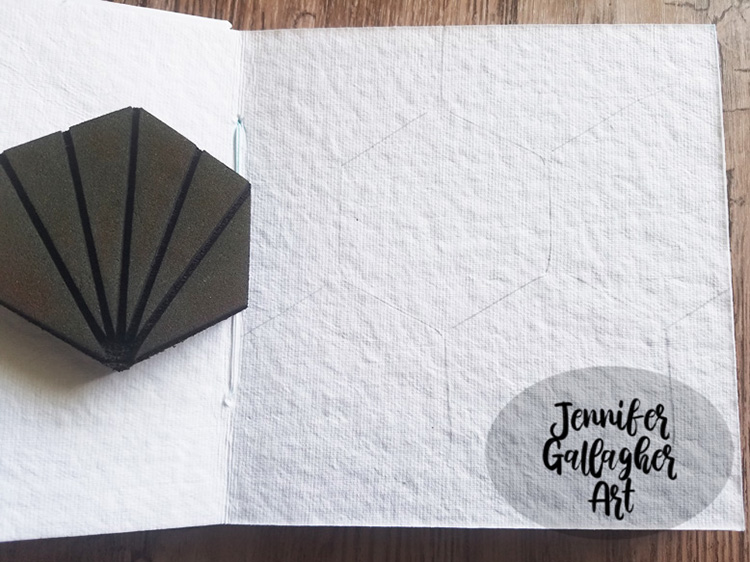
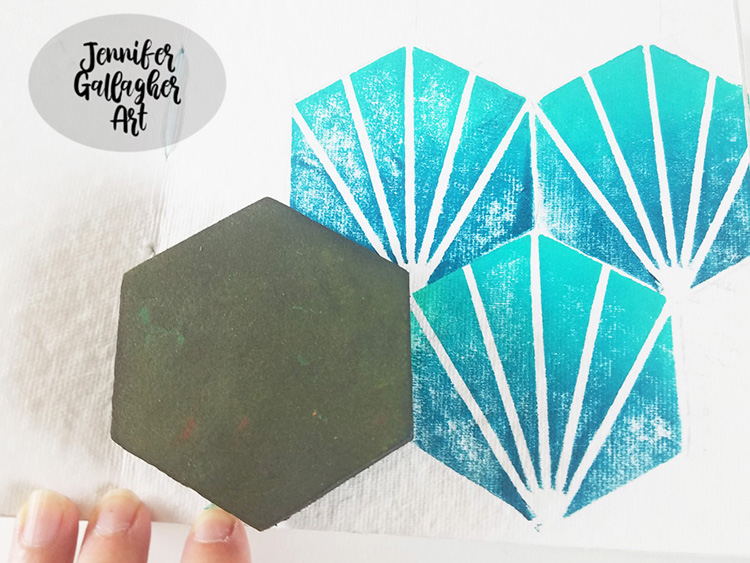
I began on the right side of my journal spread by penciling in a grid with my Clam Hex foam stamp. Having a grid determined before hand makes the stamping quick and easy.

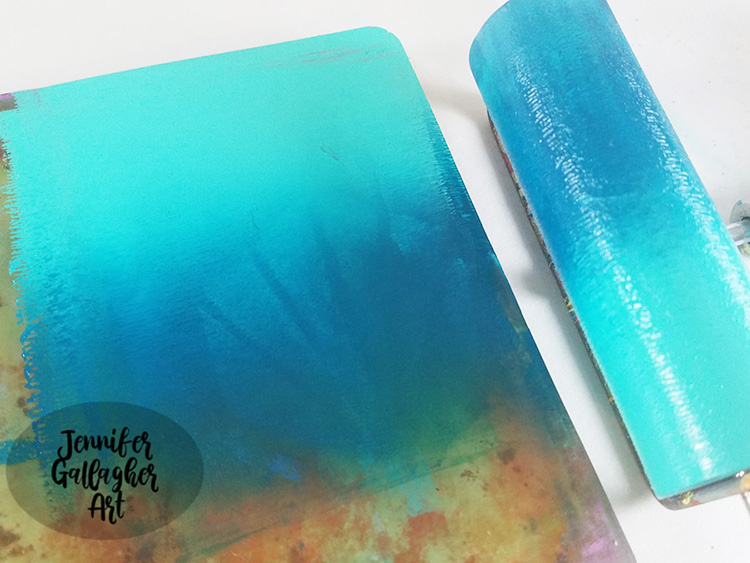
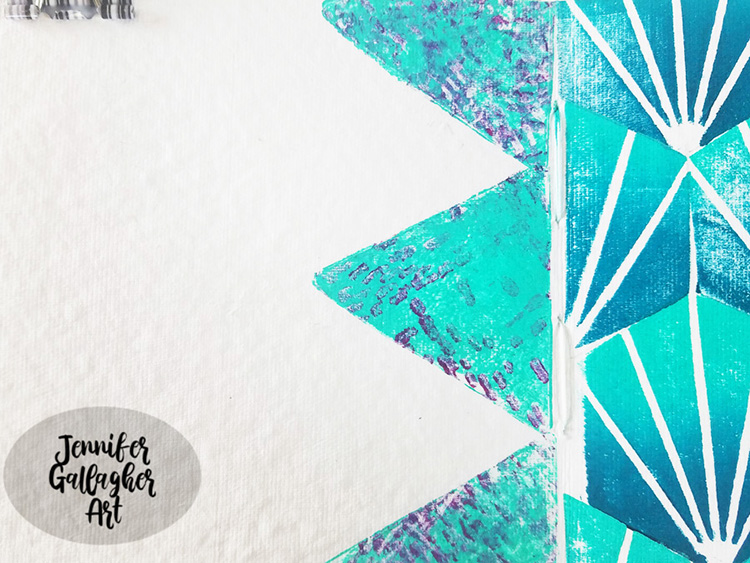
I wanted to stamp with a gradient of two colors. I have applied bright aqua green and phthalo turquoise acrylic paint on a gelli plate and brayered it out and applied it to my foam stamp. I then pressed my stamp down in accordance with my grid across the entire page.

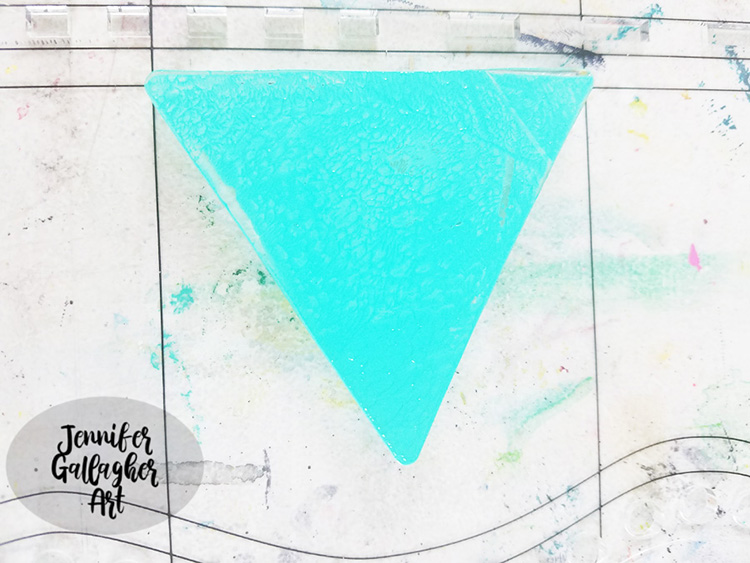
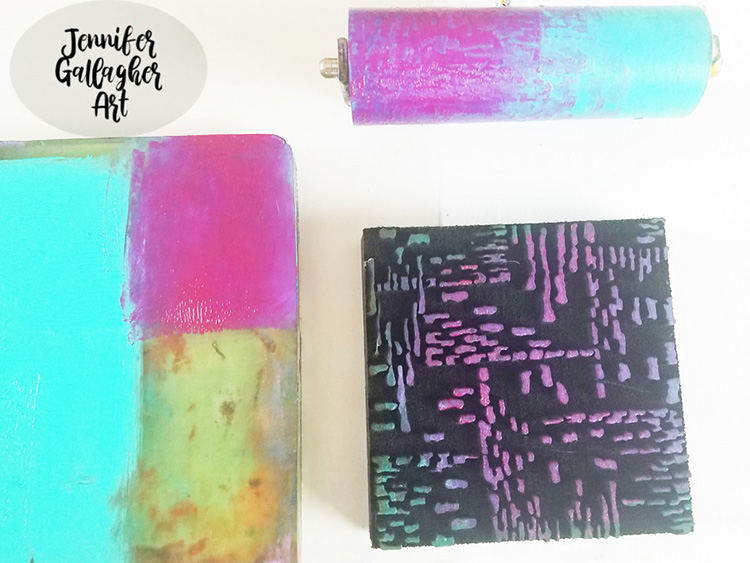
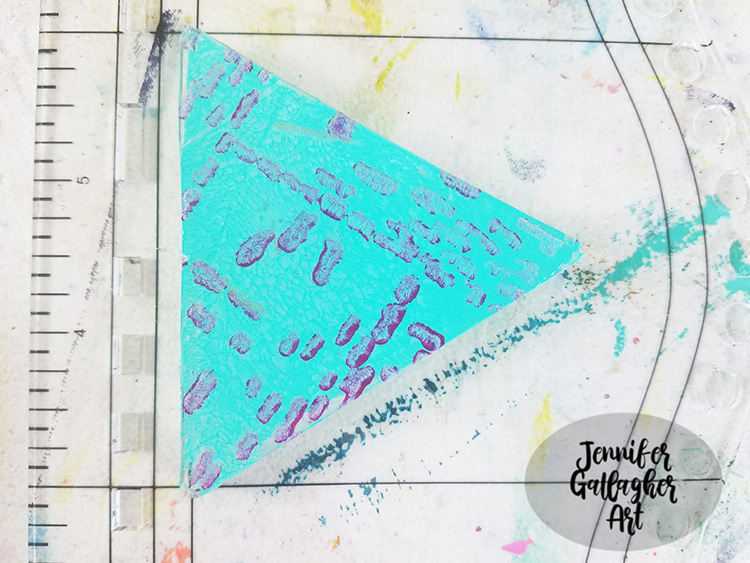
Next, I brayered bright aqua green acrylic paint onto a three inch triangular shaped gelli plate which I fixed to an acrylic block. Then I brayered quinacrodone magenta acrylic paint onto Nat’s Signals foam stamp and pressed that onto the triangular plate. Lastly, I pressed the plate down onto the right side of the left page, down the length of the page.

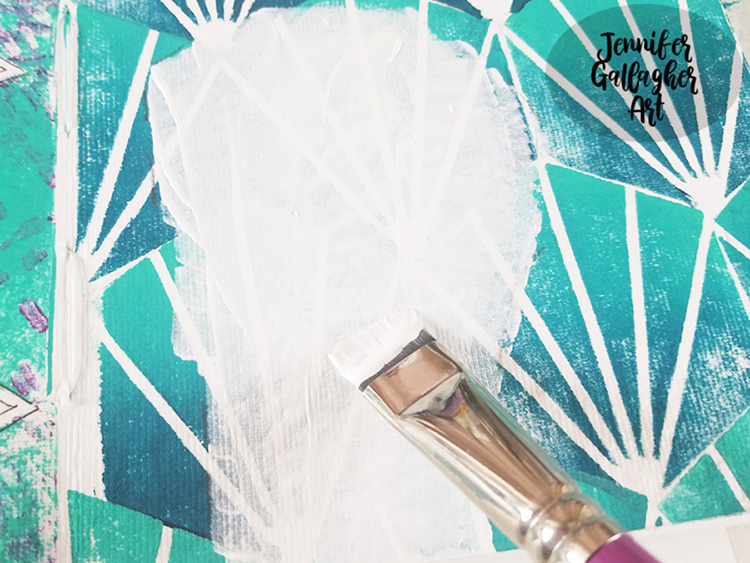
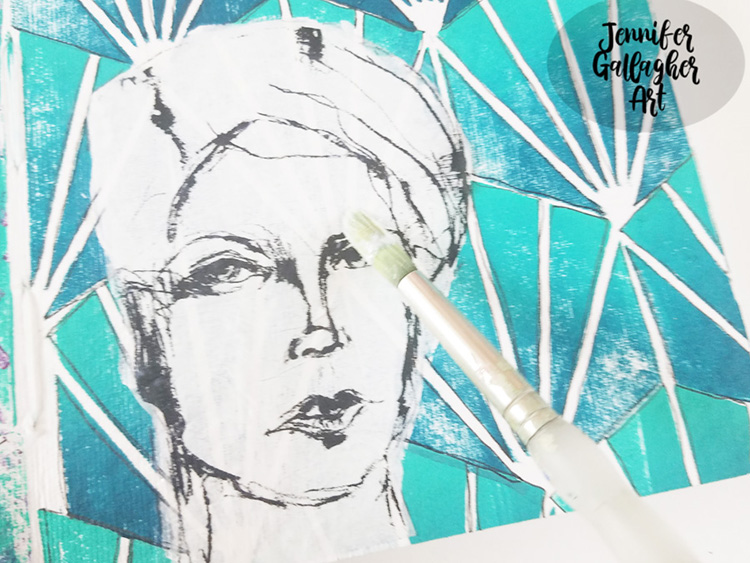
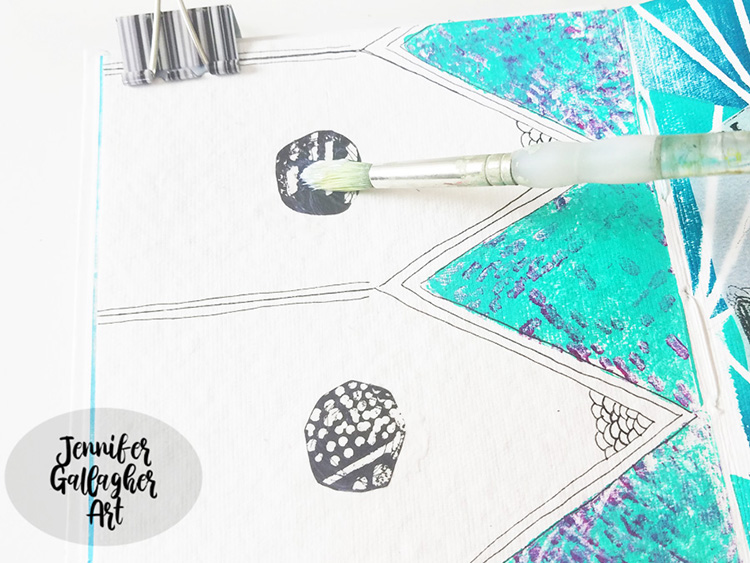
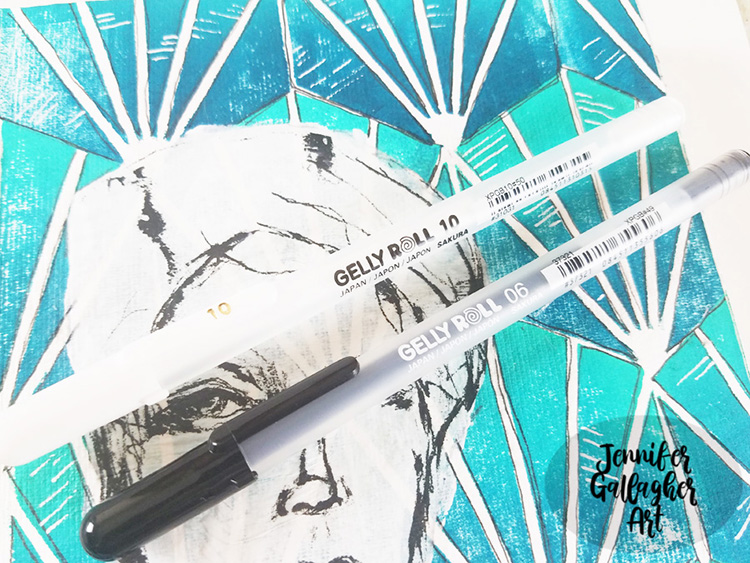
I decided where I wanted to place my tissue paper face and laid down a light layer of white gesso in that area. This helps the image to pop off the page. Then I adhered it and two tissue paper circles on the left side of the page with matte medium. Using a black and white gelly roll pen, To add a little extra interest, I doodled on both pages.

I chose a few tissue paper sentiments and adhered them with matte medium. Next, I used a stabilo all pencil and a waterbrush to add a little shadow around the face.

I love how this page turned out. Now it’s your turn! Pull out those n*Studio products and be bold. Don’t forget to share your creations with us.


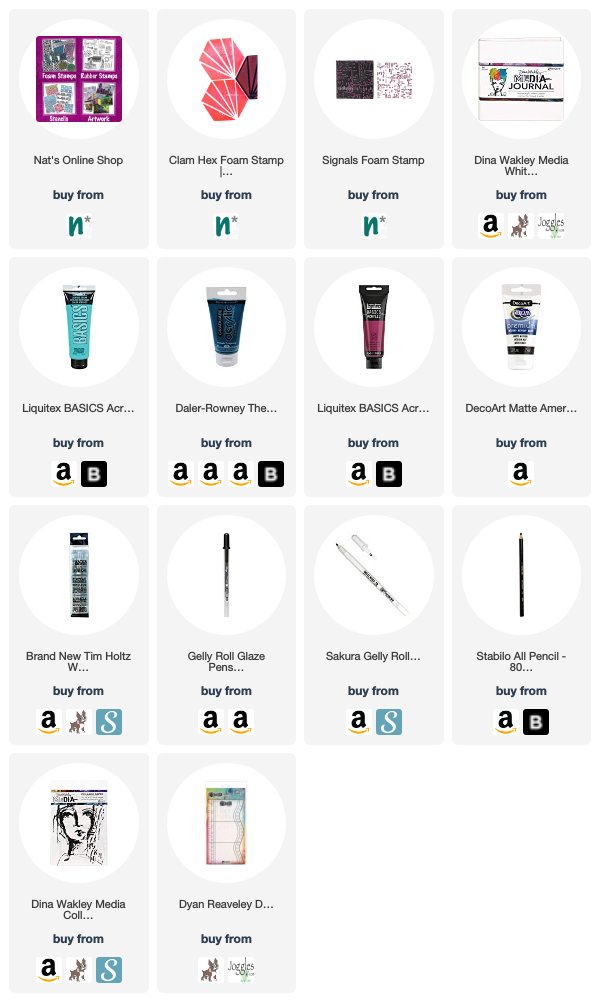
Thank you Jennifer! Definitely love how “going with your gut” made for such a bold page :) You can find all of my Foam Stamps in my online shop. Here are some of the other supplies Jennifer used:

Feel inspired? Working on something yourself that you’d like to share?  I love to see how you interpret our monthly themes. Email me how you used my stencils and stamps with the theme and email me an image – I would love to share your projects in my next  “n*Spiration From Around the Globe“.

Leave a comment

Boldly Going – Marsha Valk

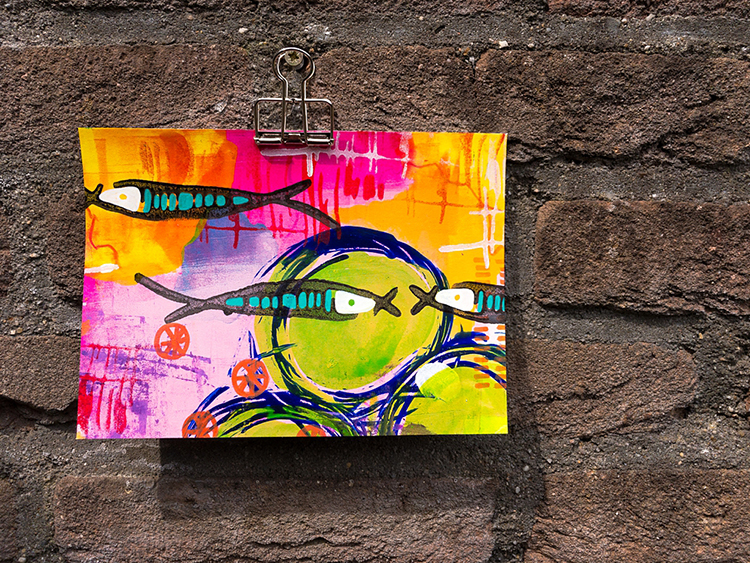
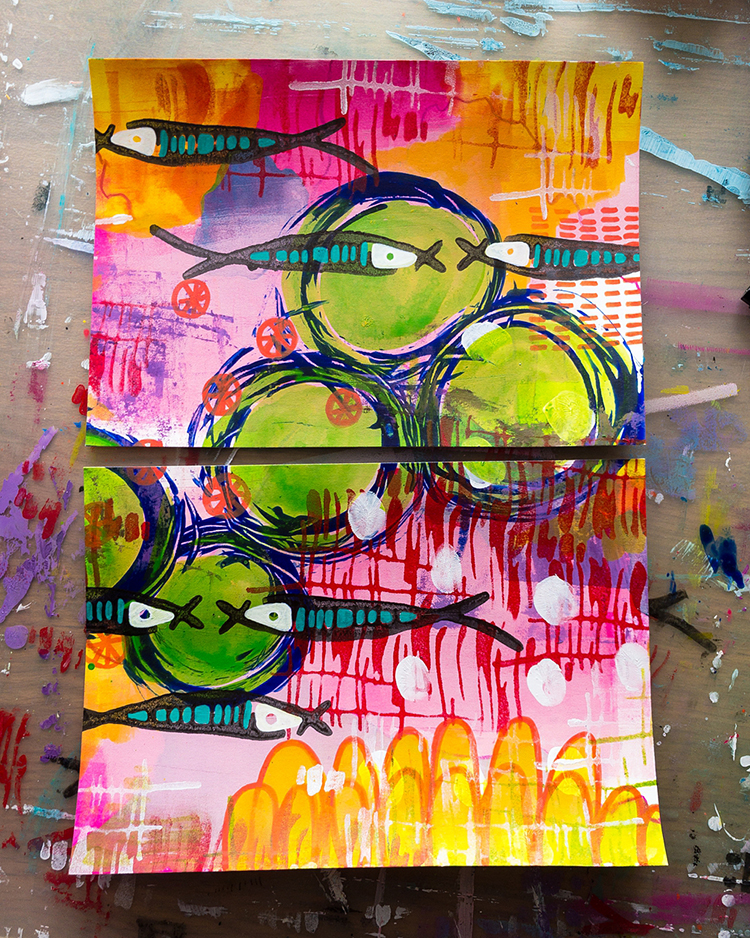
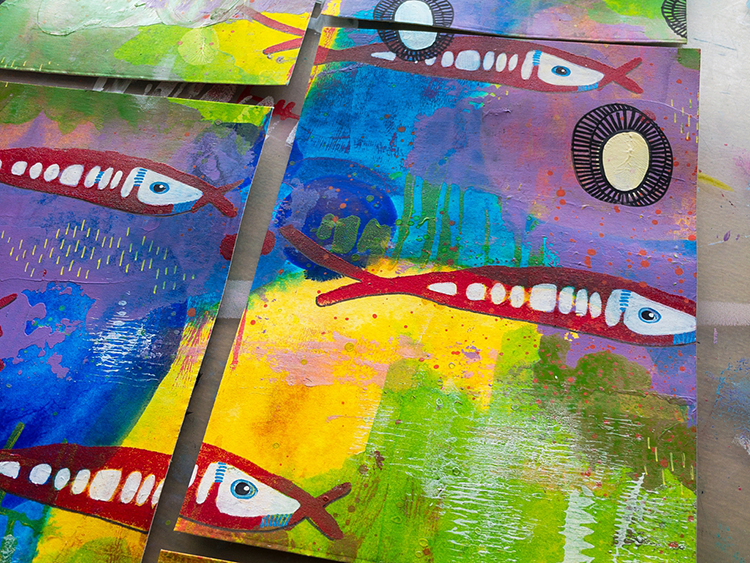
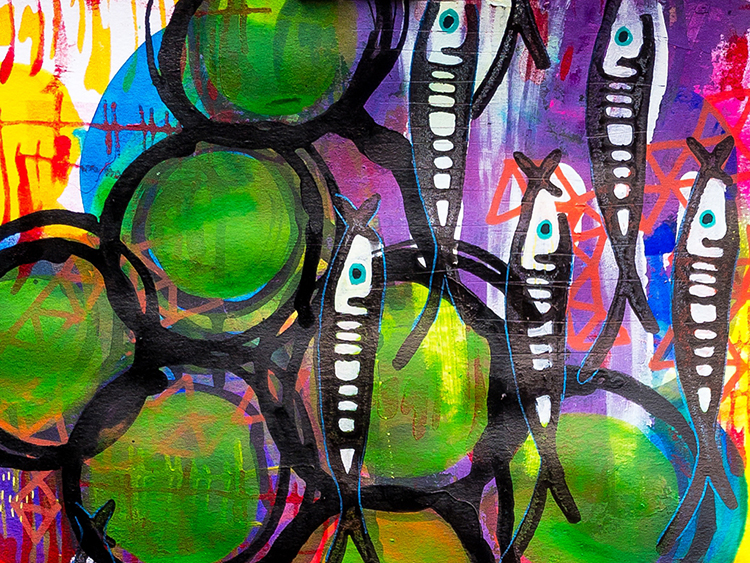
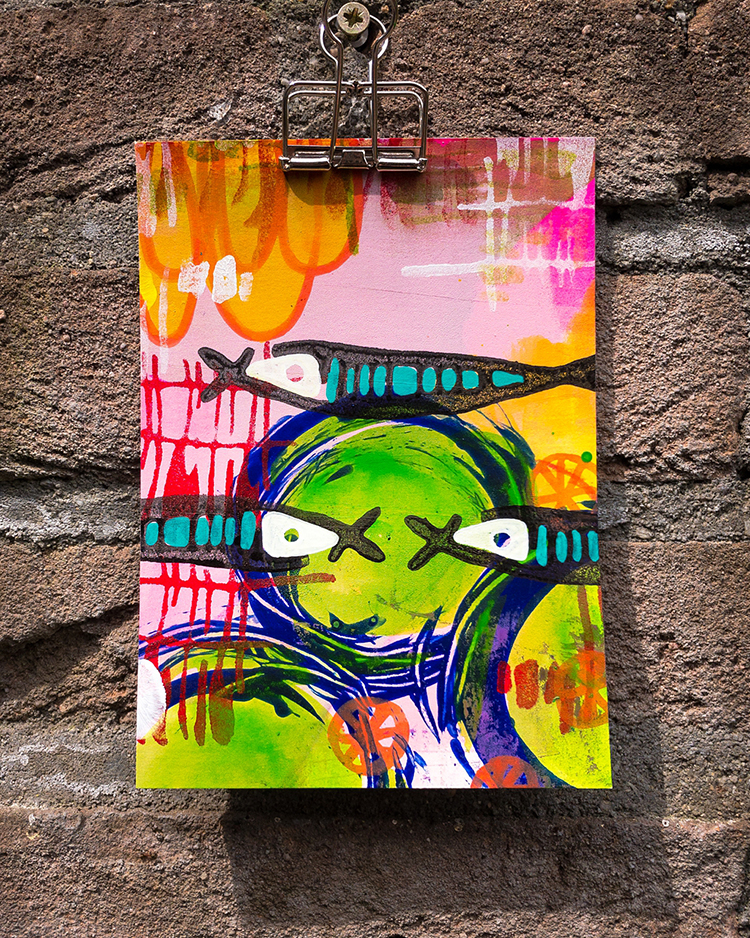
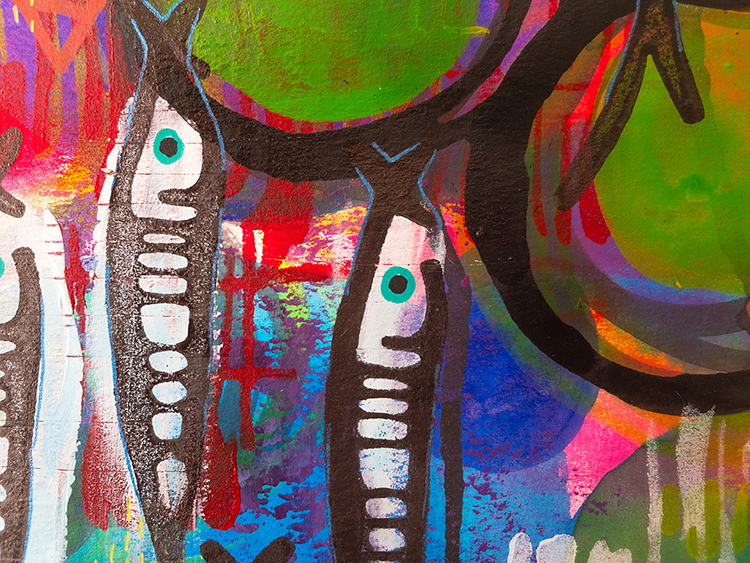
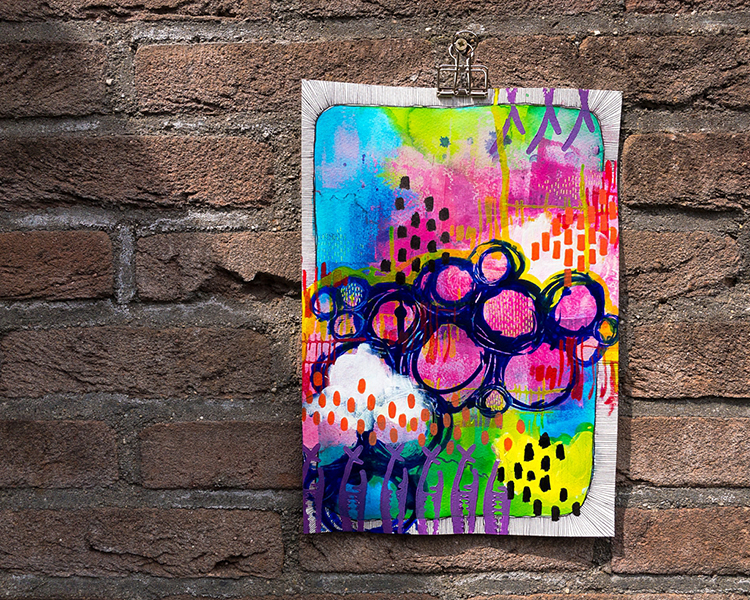
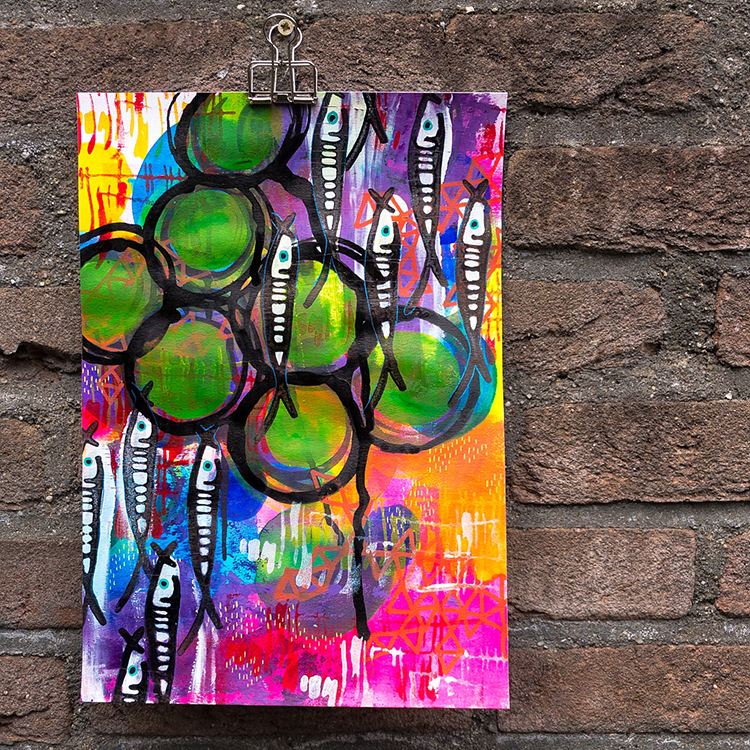
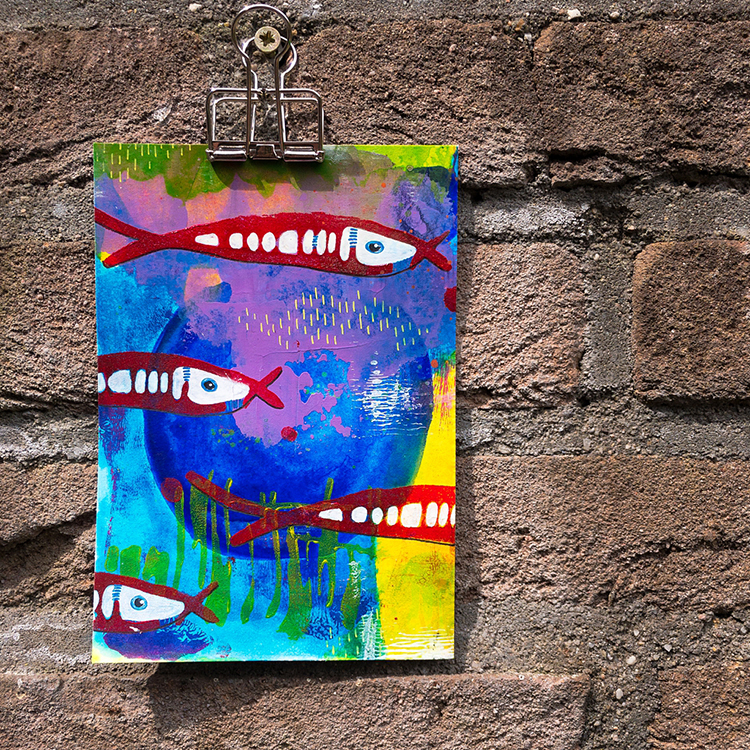
Hello from my Creative Squad! Today we have Marsha Valk and a series of wonderfully colorful mixed media pieces using my Neato and Far Out foam stamps. This month’s theme is: Boldly Going – Go BOLD with color or pattern this month and really make something that is packed with visual POP! This is no time to be subdued or subtle. Go Bold!!!


As I tend to go bold with colour and pattern all the time, I thought about how I could go even more courageous.

I envisioned an abstract work incorporating acrylic inks as a watercolour because that’s something I have wanted to try for some time now.

For my colour palette, I decided to use all the colours of the rainbow + pink, black and white.

I started with applying the acrylic inks by brushing clean water onto my paper and then adding in acrylic ink a few drops at a time. I used another brush to spread and push the ink around.

As could be expected, this technique has a learning curve, and the result wasn’t what I was hoping for. I ended up creating six or seven backgrounds on different types of paper that then all had to dry completely.

The next step was to try and make a visually popping abstract work out of at least one of these backgrounds.

I decided to work on all of them at the same time. Adding some paint here, then some ink there, some stamping on this page and some marks on that page. Making sure I use ROYGBIV on all of the pages.

Somewhere along the way, it became apparent that I’m obsessed with making inky circles and I had to admit that my attempt at making abstracts had turned into making graffiti.

I also let go of the idea of not having anything recognizable on the pieces, because nearly all of the images I stamped with the Neato Foam Stamp practically begged me for an eye.

I ended up with four sheets successfully packed with visual pop. I kept two A4size, and I cut two of them into smaller cards.

All of the leftover pieces will go onto my basket of printed and painted papers for use in future projects.


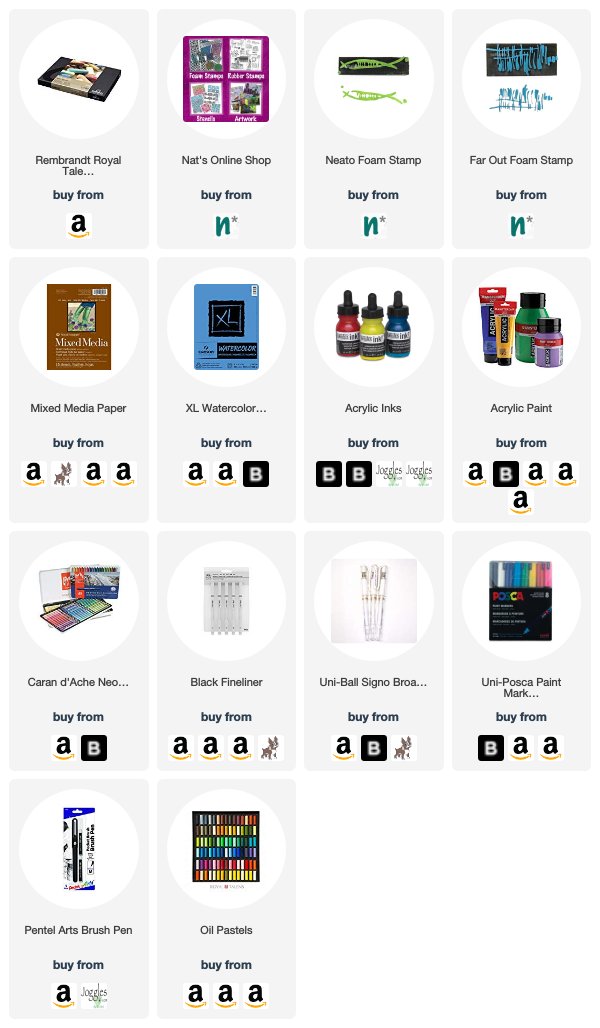
Thank you Marsha! Love how this experiment in materials and methods lead to some gorgeous results! You can find all of my Foam Stamps in my online shop. Here are some of the other supplies Marsha used:

Feel inspired? Working on something yourself that you’d like to share?  I love to see how you interpret our monthly themes. Email me how you used my stencils and stamps with the theme and email me an image – I would love to share your projects in my next  “n*Spiration From Around the Globe“.

Leave a comment

Boldly Going – Tania Ahmed

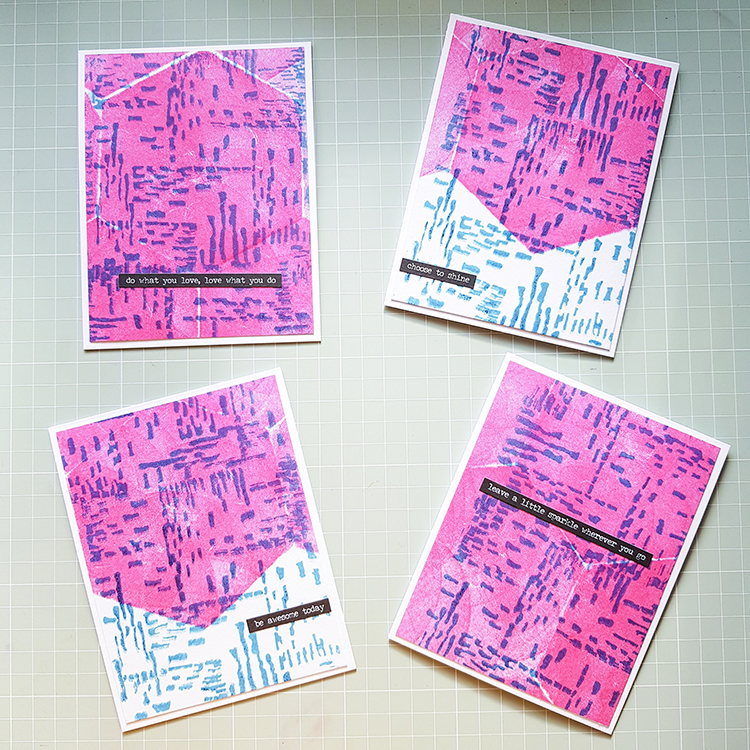
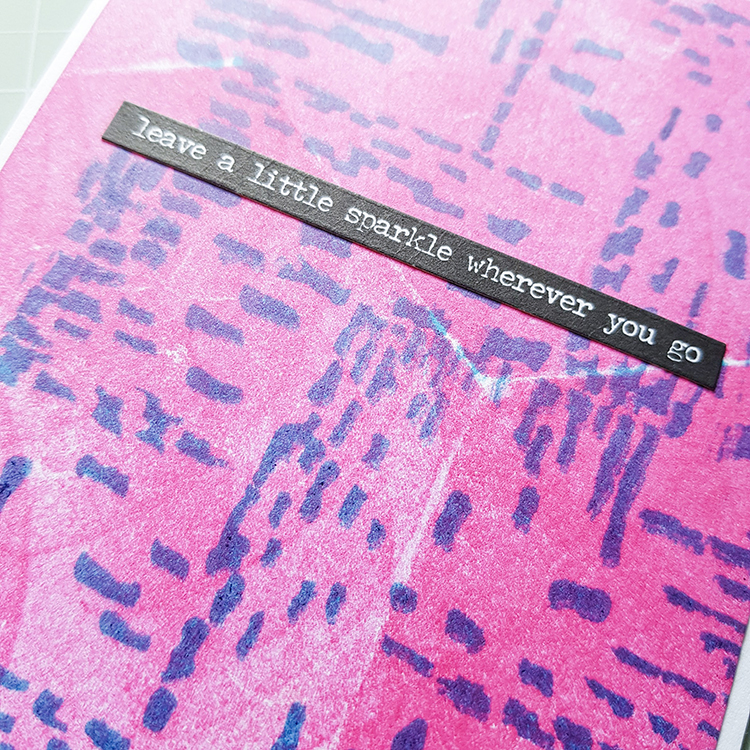
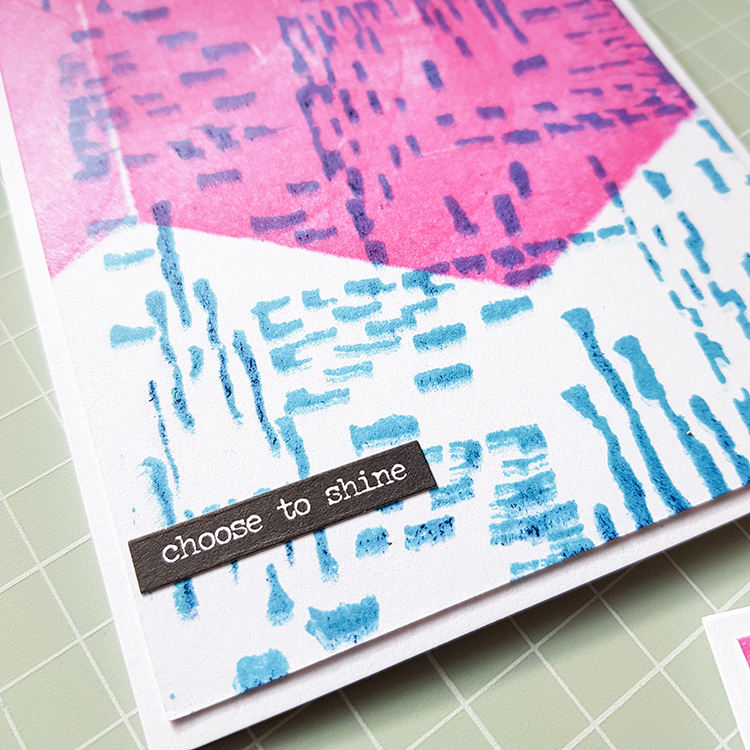
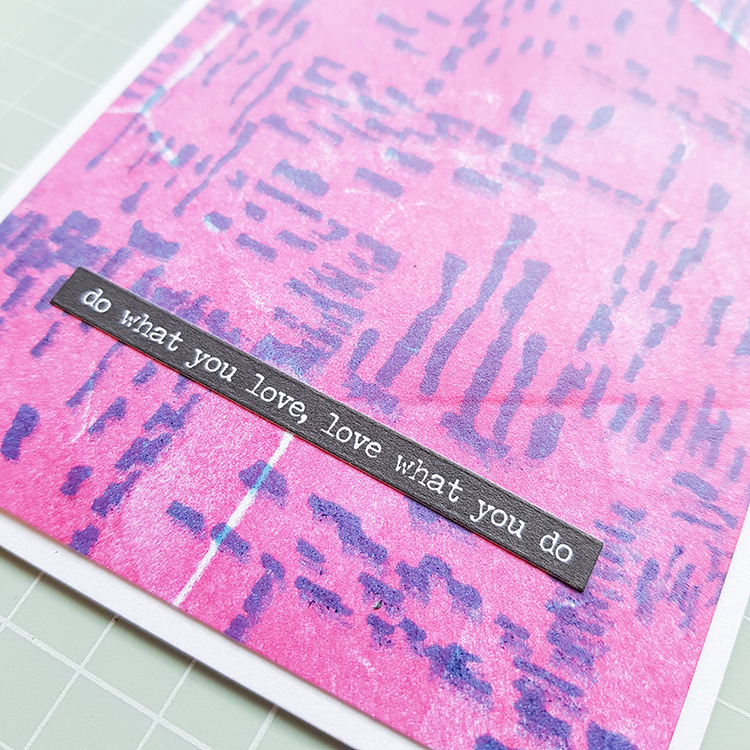
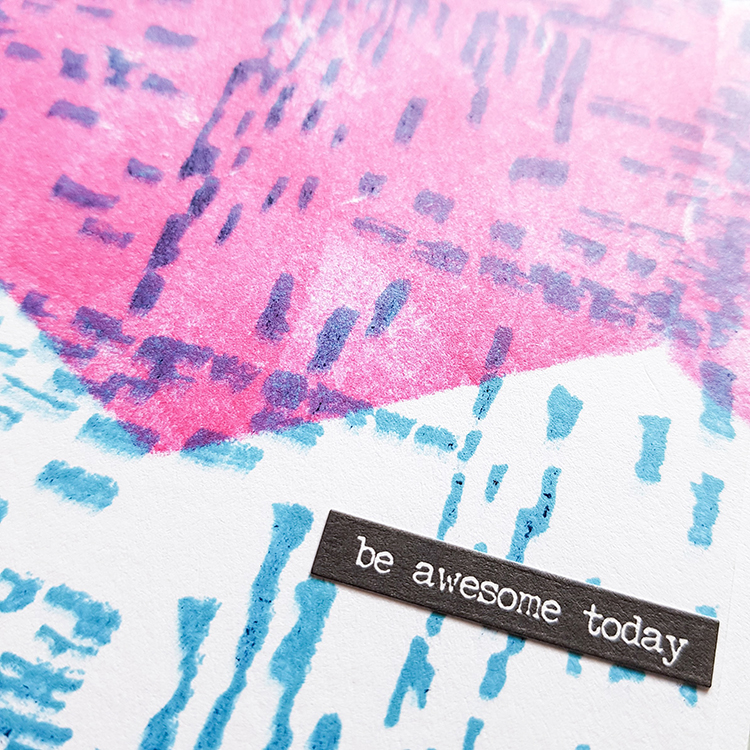
Hello from my Creative Squad! Today we have a sweet suite of cards from Tania Ahmed using my Clam Hex and Signals foam stamps. Check out her video below. This month’s theme is Boldly Going – Go BOLD with color or pattern this month and really make something that is packed with visual POP! This is no time to be subdued or subtle. Go Bold!!!


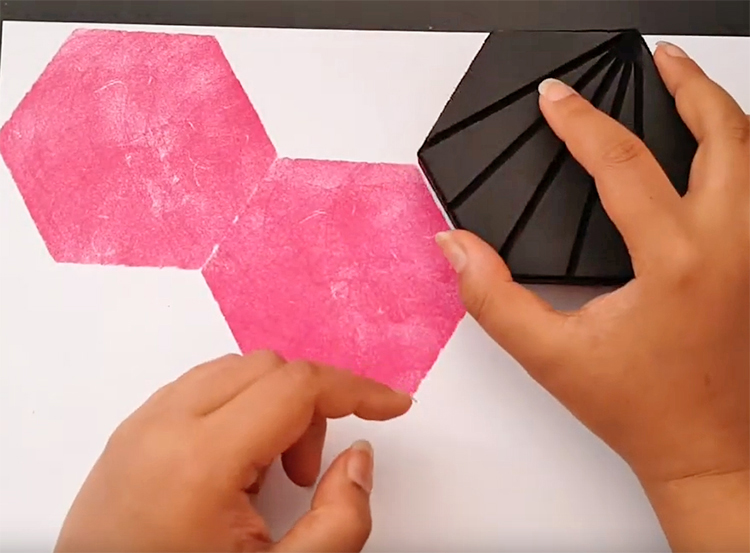
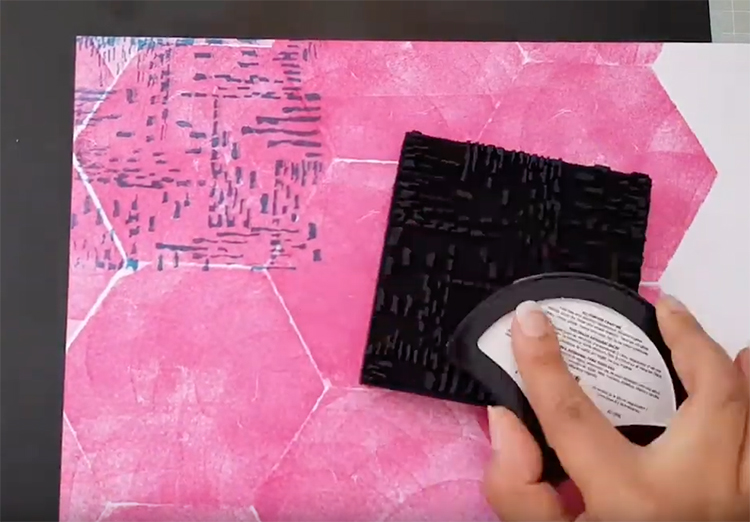
This month, I decided to keep things simple and create some quick and easy cards using Nat’s Art Foamies called Signals and Clam Hex. In fact, you can use any of Nat’s Foamies because I used the backside of the stamp to get a solid hexagon! This is a fantastic way to get your Art Foamies to do double duty and you can achieve some very unique shadow or halo effects if you use both the flat back and the designed side of the Art Foamies.

The Jane Davenport Hybrid Squid Inks were perfect to use with this month’s theme of keeping things bold which is right up my alley!

I hope that you enjoy the video tutorial and play along with the Creative Squad! Thanks for watching ?

My process was something you could do with just a couple foam stamps – I used Nat’s Clam Hex and Signals stamps. I started by stamping with the back of the hex stamp.

Then the Signals stamp in another bold color…

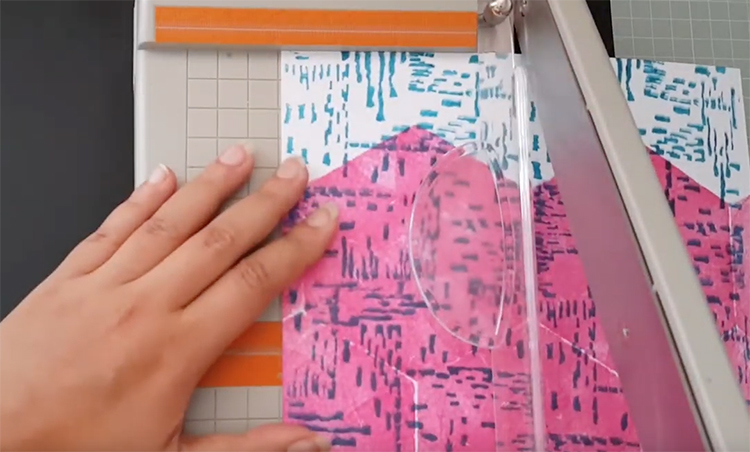
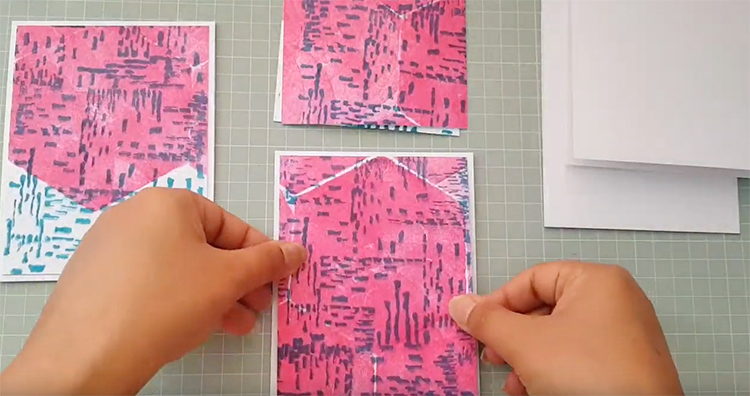
Next I cut my patterned paper down to a size that would fit on blank cards.

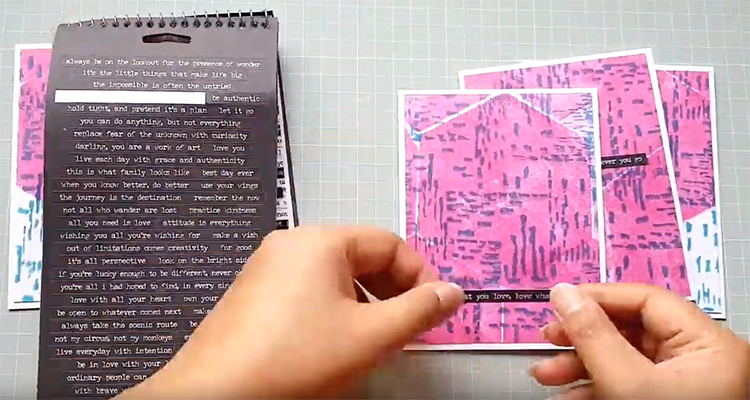
And then I put them together with some word stickers.

You could use this method to make a variety of cards.


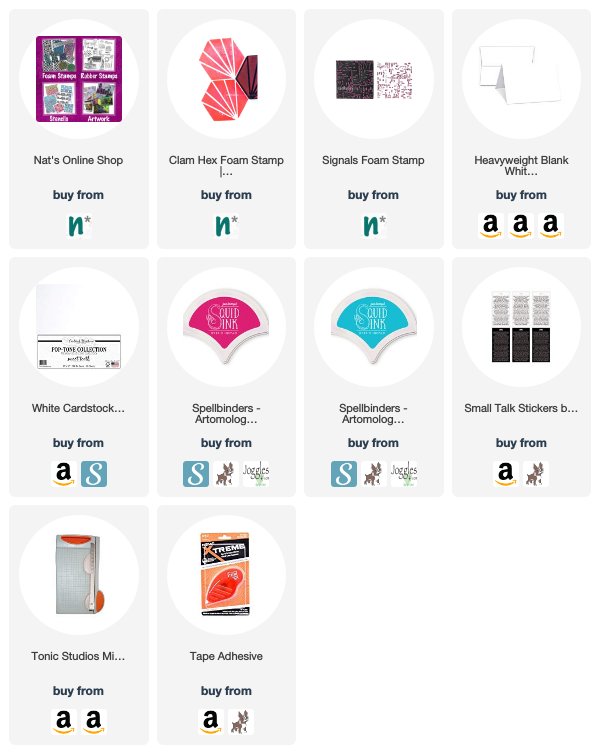
Thank you Tania – what a perfect quick and easy Summer Stamping project! You can find all of my Foam Stamps in my online shop. Here are some of the other supplies Tania used:

Feel inspired? Working on something yourself that you’d like to share?  I love to see how you interpret our monthly themes. Email me how you used my stencils and stamps with the theme and email me an image – I would love to share your projects in my next  “n*Spiration From Around the Globe“.


Join me on Wednesday at 2:30pm EST for a facebook live Kaffeeklatsch chat!!!

Leave a comment

Call for NEW Creative Squad Members!

Creative Squad Call!

Our current Creative Squad is in search of 2 new members. Read on and let us know if we should be looking at YOU. International applications are welcome so come one, come all!

Do YOU fit the bill???

+ Are you a Mixed Media Artist, Art Journal Maven or Card Maker Extraordinaire with a unique style and a passion for creativity?
+ Do you love to use stamps and stencils in your work and love to try new techniques and media?
+ Do you love to share your projects on social media and engage with other artists?

If the answer is yes, yes, yes, we are looking to fill some spots on our n*Studio Creative Squad and would love to hear from you! 

How to Apply:

Email nat(at)nathaliesstudio.com with “Creative Squad Submission” as the subject. Please include:

1. Full name, email address, links to social media sites/blog/website where we can see your work
2. A couple sentence bio or description of your work
3. 4-5 low res images of your work that best represent your style

Enter by August 10, 2019  :)

What exactly does a Creative Squad member do?

As a Creative Squad member for Nathalie’s Studio you will serve a 6-month term beginning 10/1/2019. As part of the Creative Squad, you will receive a variety of Nathalie’s Studio products. You will create one project per month, using specified products or groups of products and inspired by a monthly theme. You will be featured once a month on the nStudio blog, Facebook page, and Nat’s Creative Squad Instagram page, and you will be part of an amazing team of artists with a legacy of awesomeness!

Don’t be shy, apply today – we would love to see how you are rocking your creativity!

Leave a comment

Food for Thought – Judi Kauffman

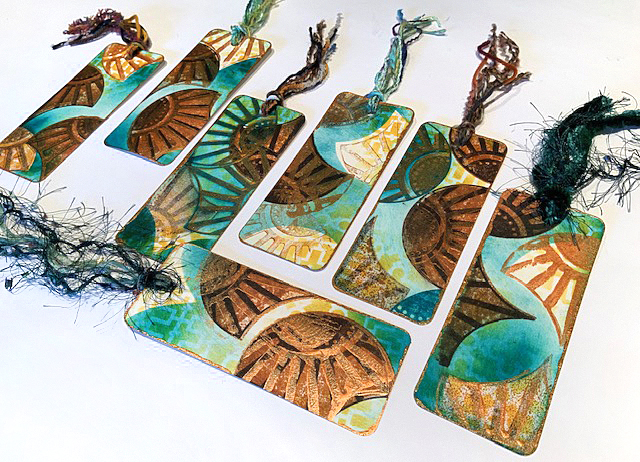
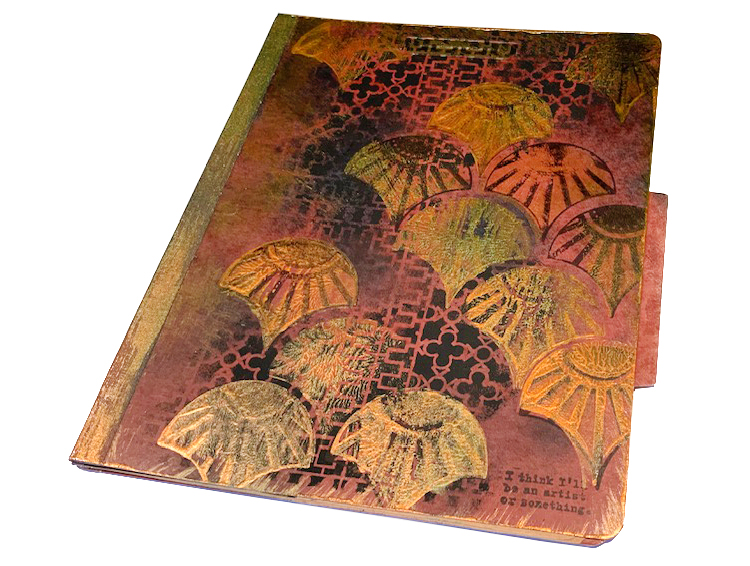
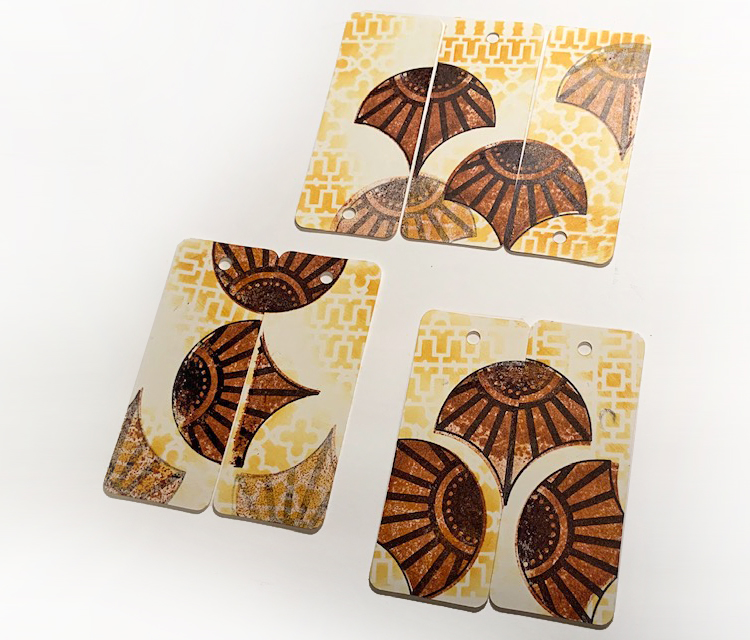
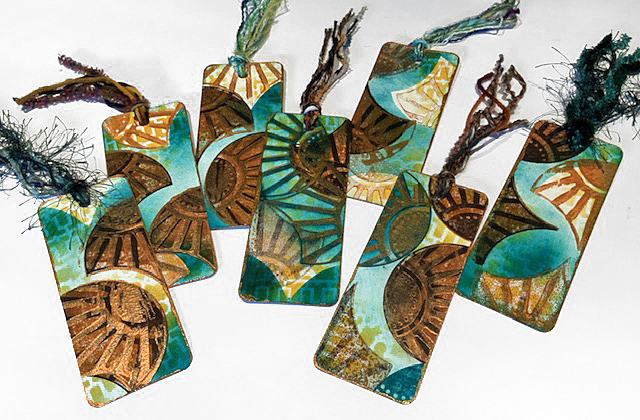
Hello from my Creative Squad! Today we have a post from Judi Kauffman. You can learn more about Judi from our Nice to Meet You blog post featuring her creative story and artwork. This time Judi is sharing some upcycled folders and some new bookmarks that she creates using my Downtown Stencil and my FANtastic Large and Solid Fan rubber stamps. This month’s theme is: Food for Thought – Let’s take a lighthearted look at food! While the culinary world has become an art and a science in terms of preparation and presentation, sometimes it is the simplest foods that bring us the most joy. Simple fare or elaborate family traditions, we all have our favorite foods. What is yours?


Food for Thought is such a great theme. I asked a neighbor, age 8, what it meant to her and she said it was about reading because reading is food for your brain! Out of the mouths of babes, right? 

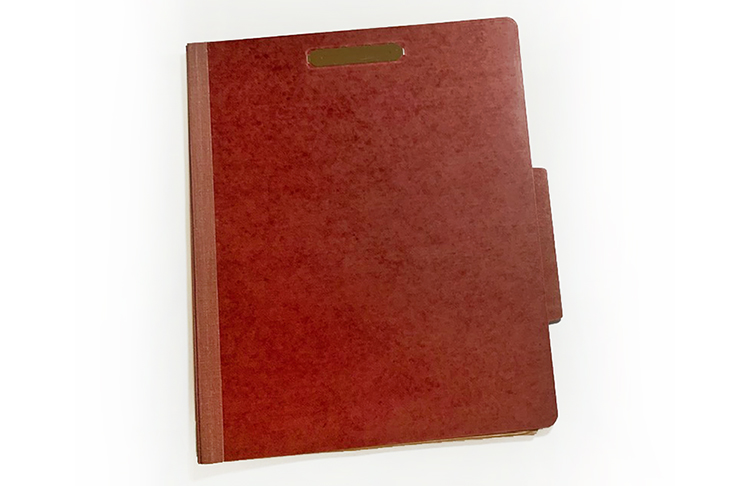
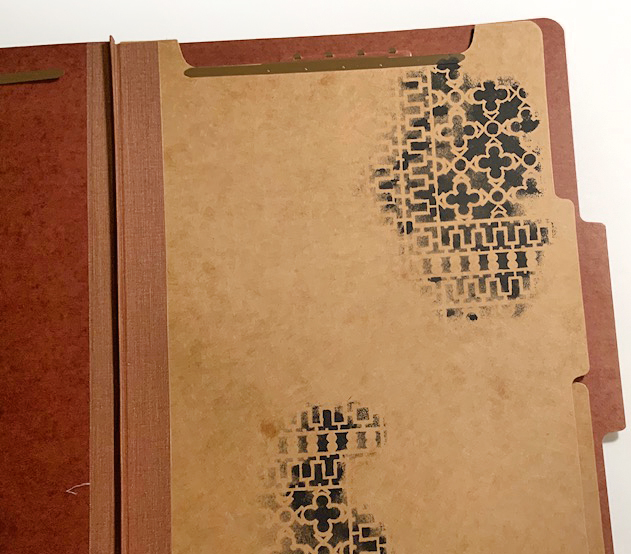
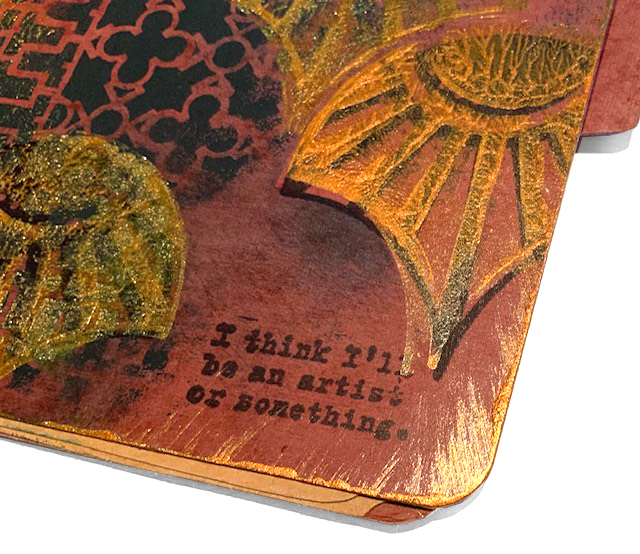
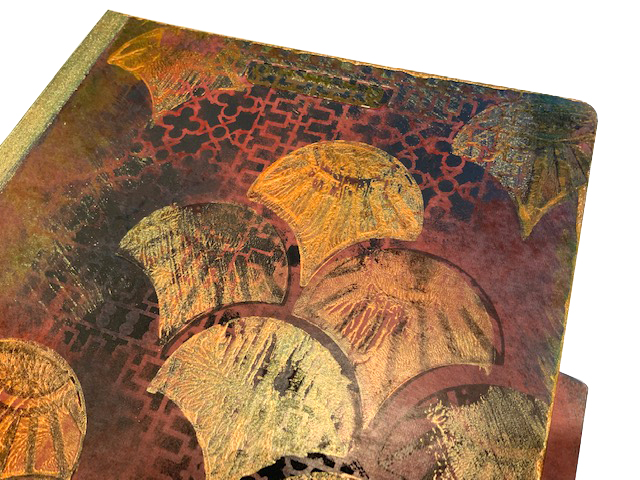
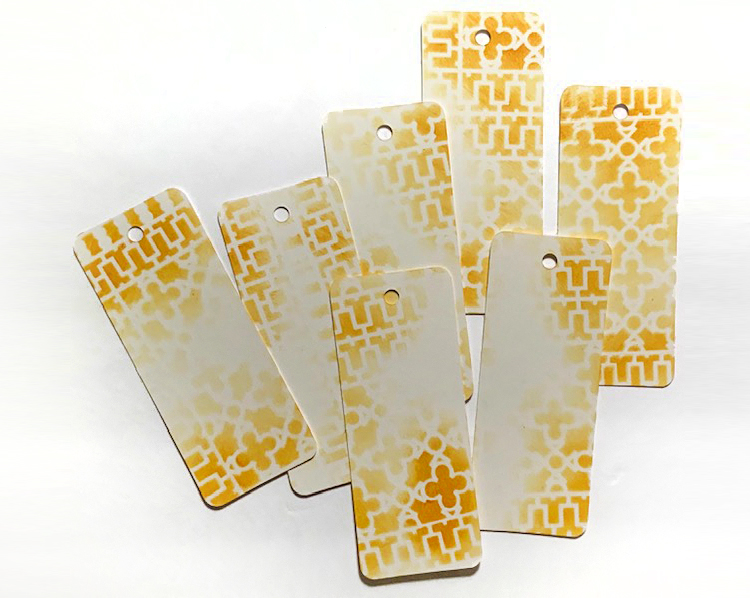
I’d been considering recipe cards and a mixed media spoon doll, but her comment took me in a different direction: Bookmarks and a folder for storing newspaper articles, drawings cartoons, clippings from magazines! Of course the bookmarks could be tucked into recipe books, making it easy to find favorites, and the folder could be used for recipes, but I think if I went that route I’d use lighter, brighter (more ‘appetizing’) colors.

Instructions for Folder:

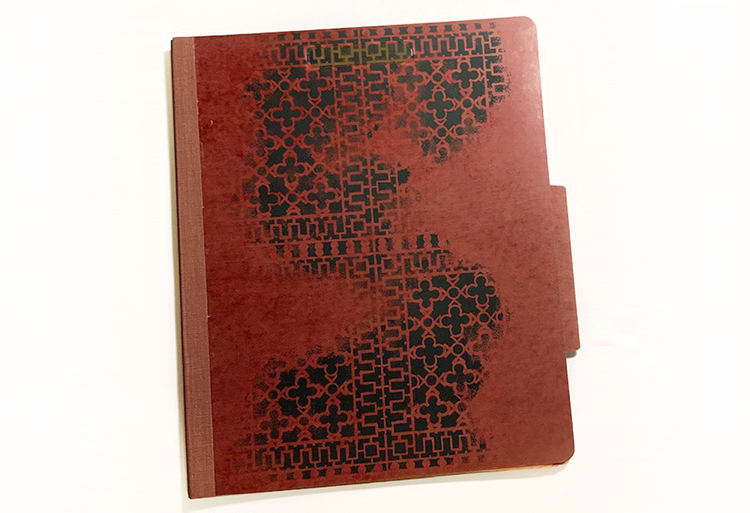
1. Using black acrylic paint, randomly add portions of the 9×12 Downtown stencil to the front and inside flaps of the folder.

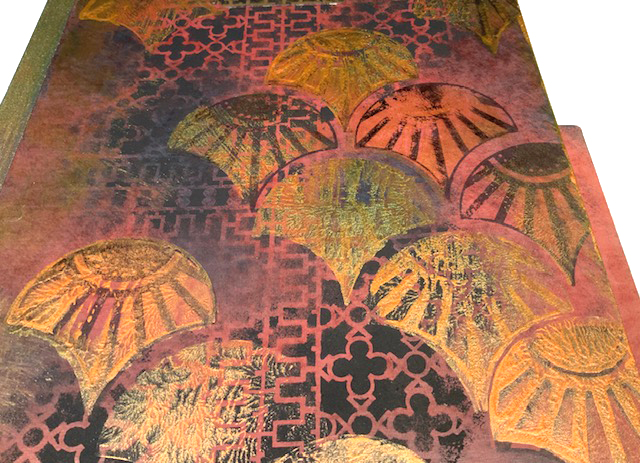
2. Using copper metallic acrylic paint and black permanent ink, stamp Solid Fan and Broadway Fan onto the cover and inside flaps of the folder. 

3. Using a stiff brush, add copper paint to the left side and all edges of the folder, and randomly on top of the stamped and stenciled areas. 

4. Using a craft sponge, add teal ink here and there, masking some of the fans to add color around the shapes.

Instructions for Bookmarks:

1. Using a light butterscotch ink, randomly stencil portions of the 9×12 Downtown stencil onto a batch of bookmarks. 

2. Using ginger and black inks, randomly stamp Solid Fan and Broadway Fan onto the bookmarks.

3. Using teal ink followed by copper metallic acrylic paint, stamp Broadway fan on top of inks from step 2. Allow to dry.

4. Stamp a fan, cut it out to use for a mask, and use teal ink to smudge around some of the fans for contrast and to create a mottled background.

5. Add copper paint around the edges of each bookmark. Allow to dry.

6. Add fibers to the hole at the top of each bookmark.


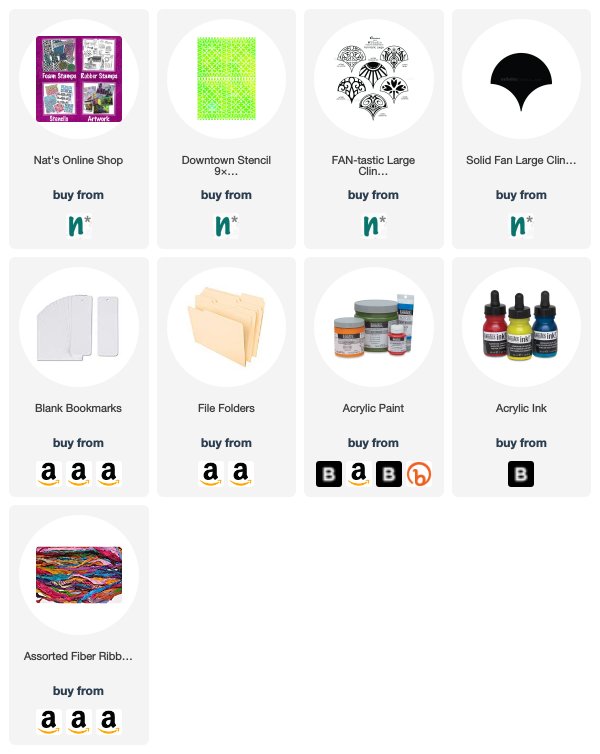
Thank you Judi! I love this take on our monthly theme! You can find all of my Rubber Stamps and my Stencils in my online shop. Here are some of the supplies Judi used:

If you are working on something yourself that you’d like to share, please do! I would love to share your projects in my next  “n*Spiration From Around the Globe“.

And TODAY is the last day to buy Creative JumpStart 2019 (the one that was released back in January of this year) so if you haven’t yet you can sign up here. It is an amazing lineup of artists, full of inspiring and fun content, and you have until November 15th to download all the videos.

Leave a comment