Creative Squad

Foam Stamplifier Challenge with the Creative Squad – Maura Hibbitts

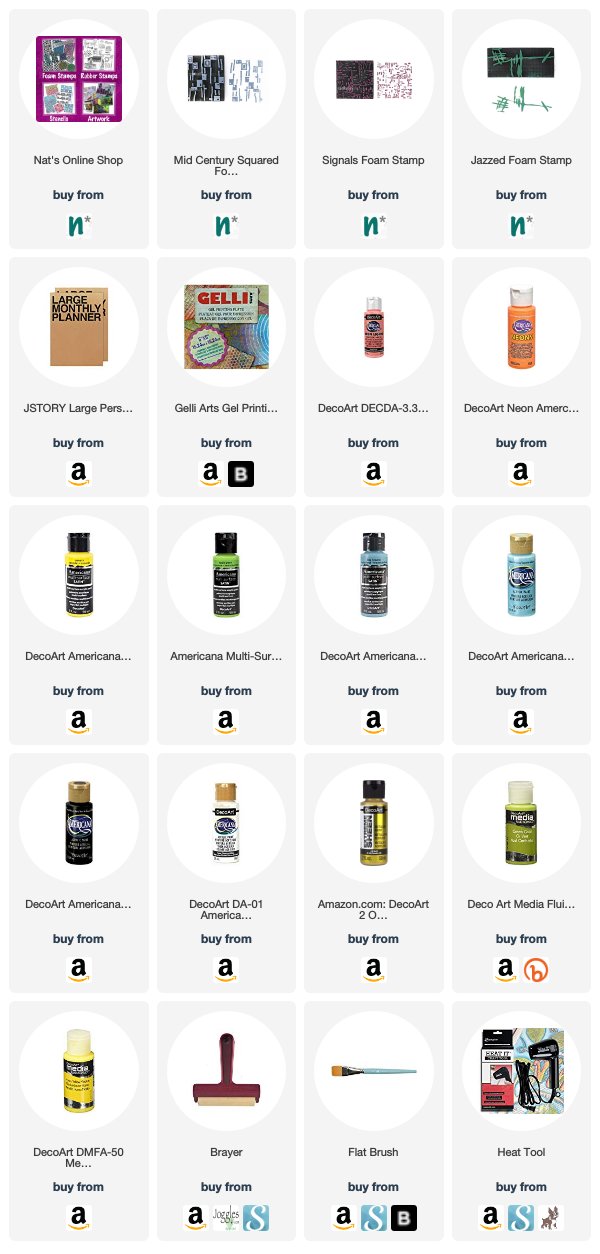
This month my Creative Squad is playing along with my new Foam Stamplifier Challenge: All month long you can follow my daily prompts on Instagram and on the blog to amplify your foam stamps!!! Today Maura Hibbitts is following the prompt Mix & Match. She’s using my Mid Century Squared, Signals, and Jazzed foam stamps to dress up a monthly planner.


How fun is it to mix and match several Art Foamies into a project? For me, it’s a blast! I love to create layers with colors and designs, and I am mixing and matching to my heart’s content as I transform  a calendar. I use a large calendar to keep track of all my art deadlines, and I’m going to need a new one soon, so time to get started!

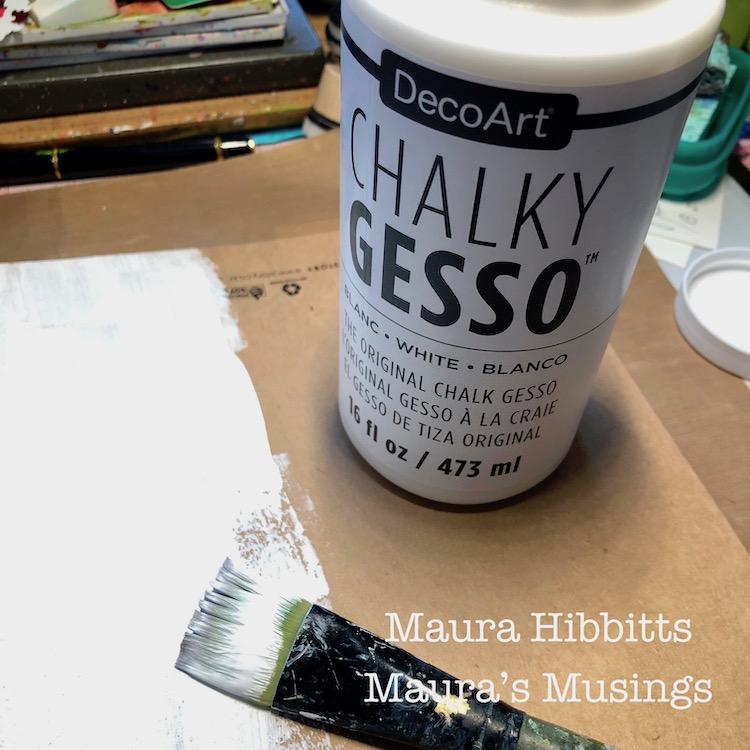
First step is to apply a layer of gesso to the kraft calendar and let it dry completely. 
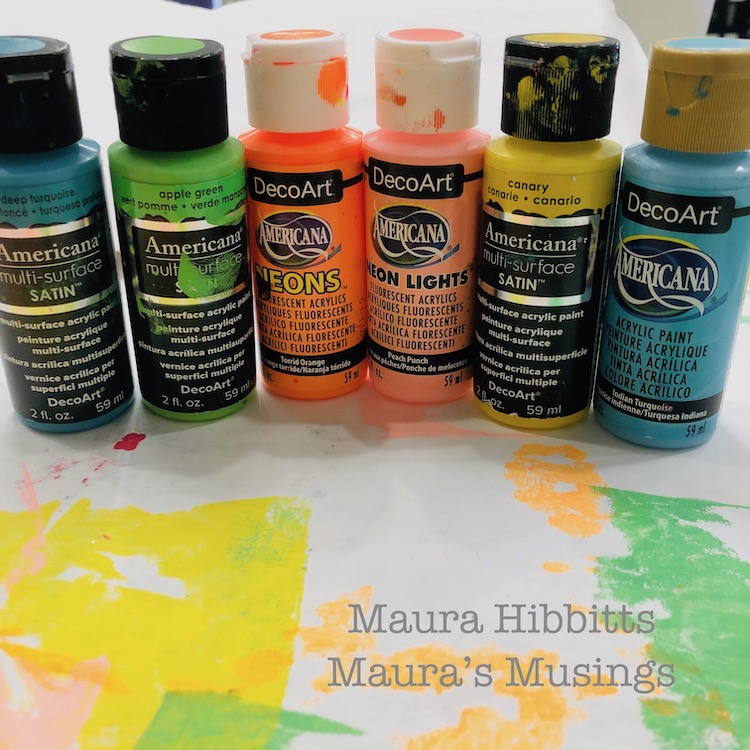
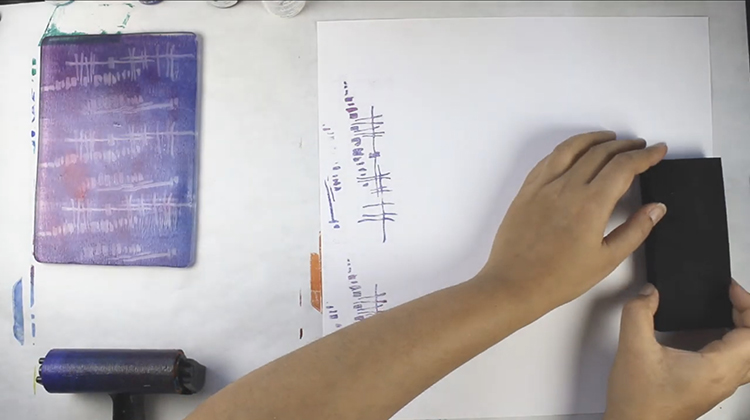
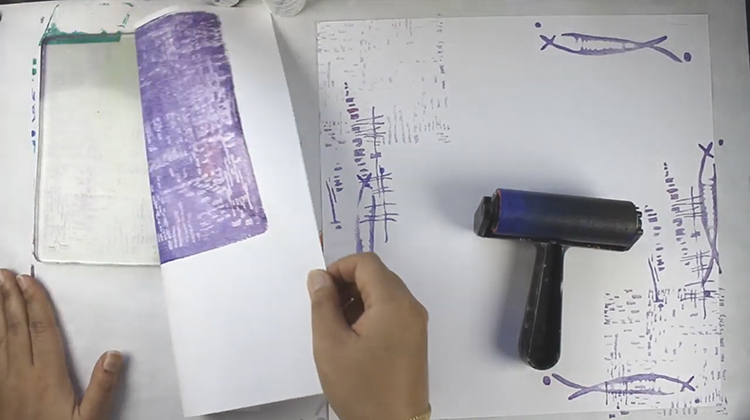
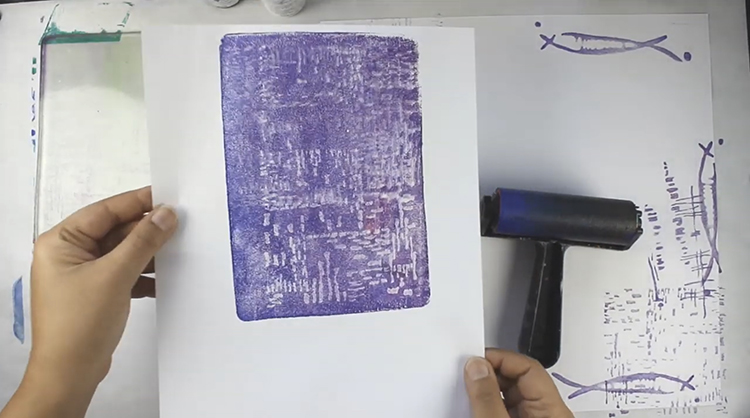
I wanted a colorful background to build my layers onto, and came up with this idea. I took my 6×6 gel plate, and added a layer of paint with the brayer, then “stamped”my plate onto the calendar. I repeated this several times with one color, then added new colors. I also overlapped my blocks of color to make it more interesting. 
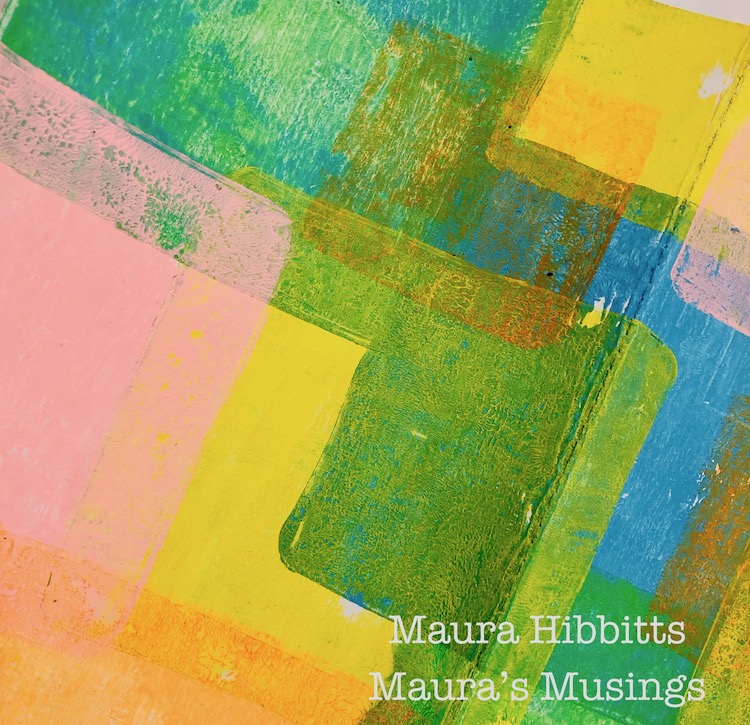
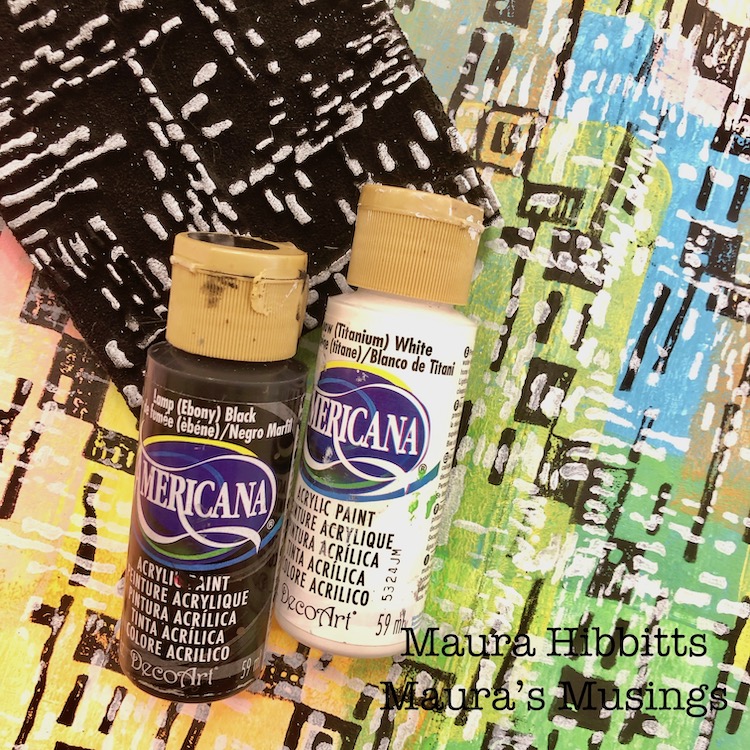
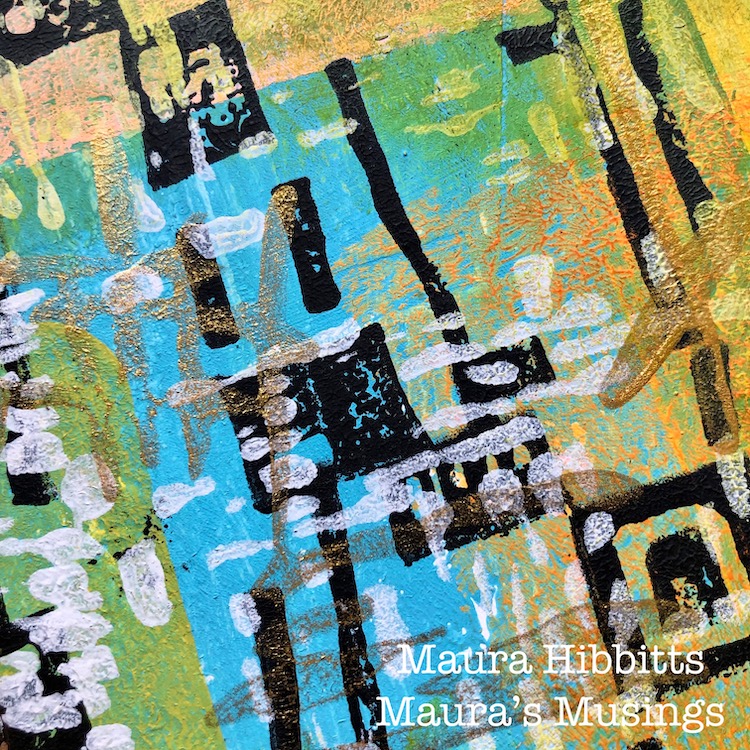
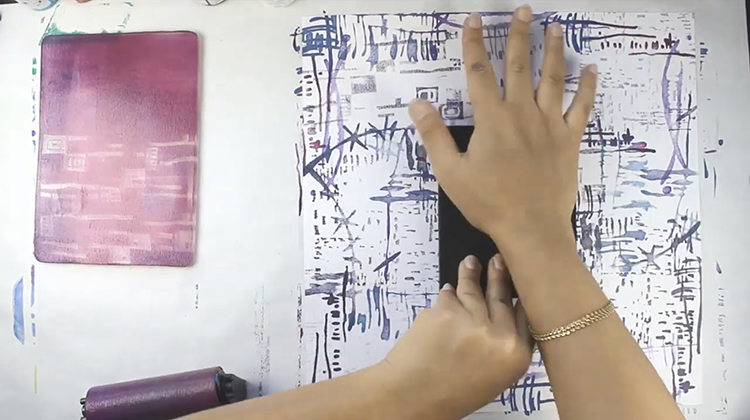
Now, it’s time to stamp a repeating pattern onto my calendar with the Mid Century Squared ArtFoamie (love this pattern!) and black acrylic. I brayer the paint onto the gel plate, press my stamp into it to get a good solid layer of paint on it, and then line it up and stamp the bold pattern. My gel plate acts like a giant stamp pad, only with paint. Use the heat tool if necessary to speed up the drying time of the layer.
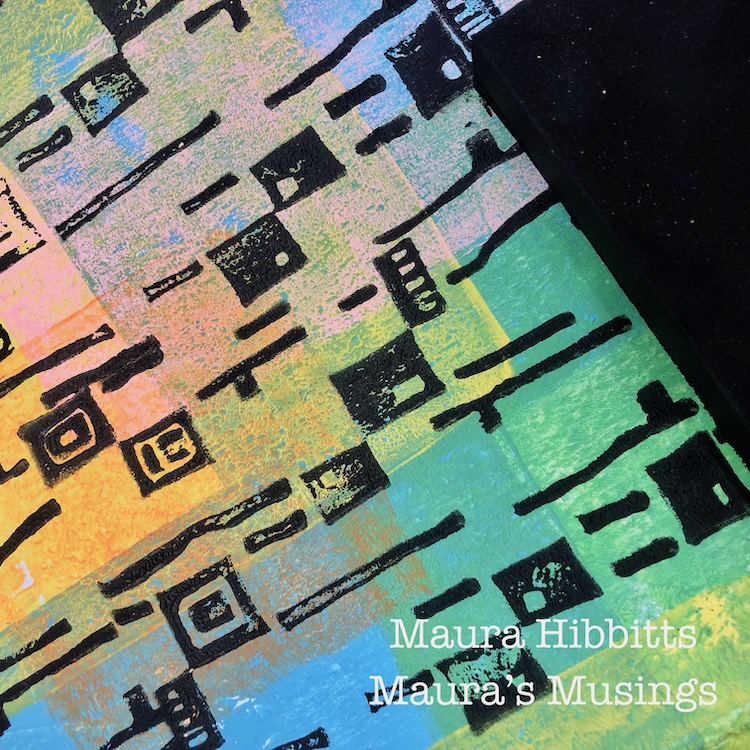
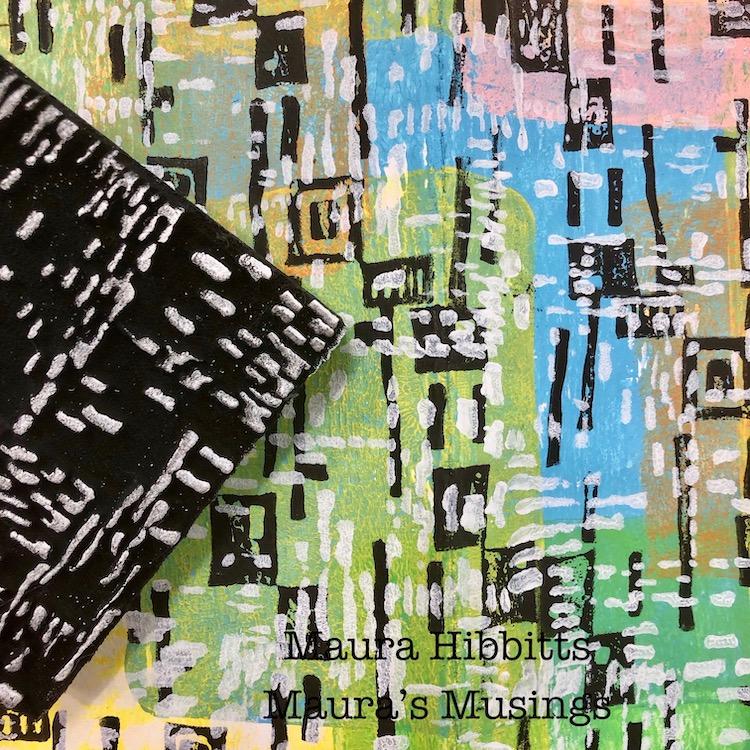
Next layer is white acrylic with the Signals ArtFoamie. I repeat the previous step in order to get another overall pattern that I am mixing and matching with the black. 
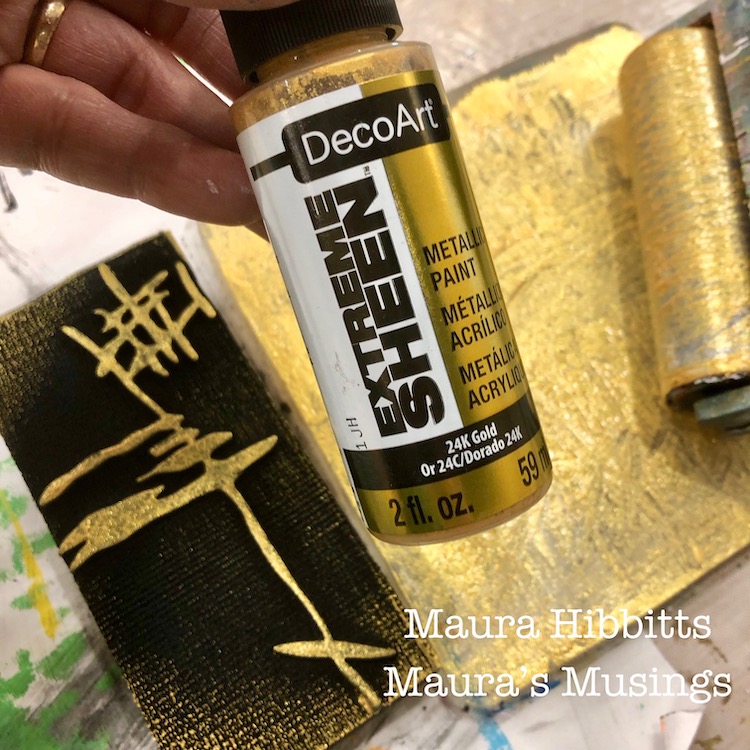
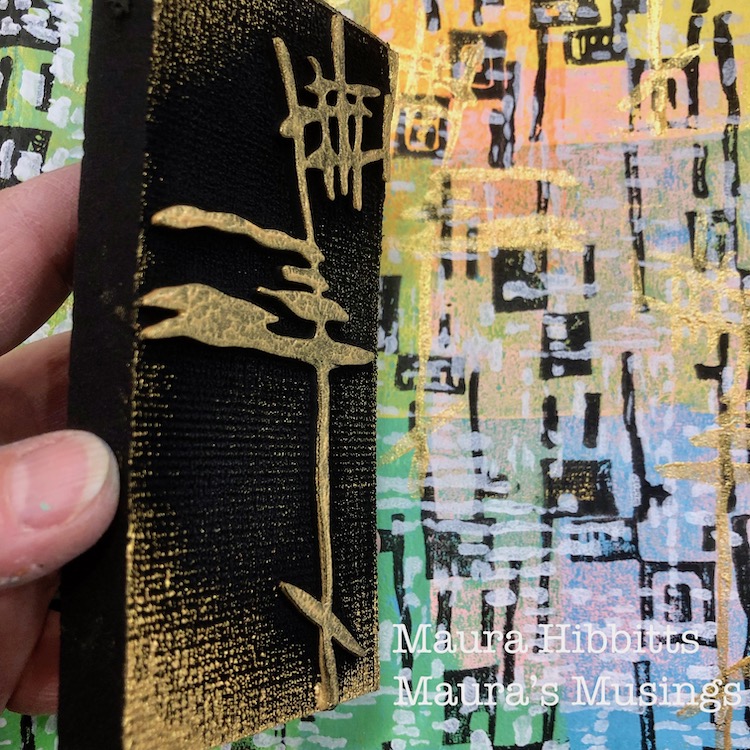
Every calendar needs a bit of glitz and glamour, right? The Jazzed Art Foamie is perfect with a shimmer of gold.  I randomly stamped this image onto the calendar, again using my gel plate like a giant stamp pad with the paint. 
I mixed and matched three different patterns onto a very colorful background, and at this point it was looking a bit wild. I decided to tone it down and pull it together by rubbing on some transparent fluid acrylics with my fingers, and using a baby wipe to remove it a bit if I got too heavy fingered. Once my cover was dry, I stamped the months on the pages and started writing in the dates. 
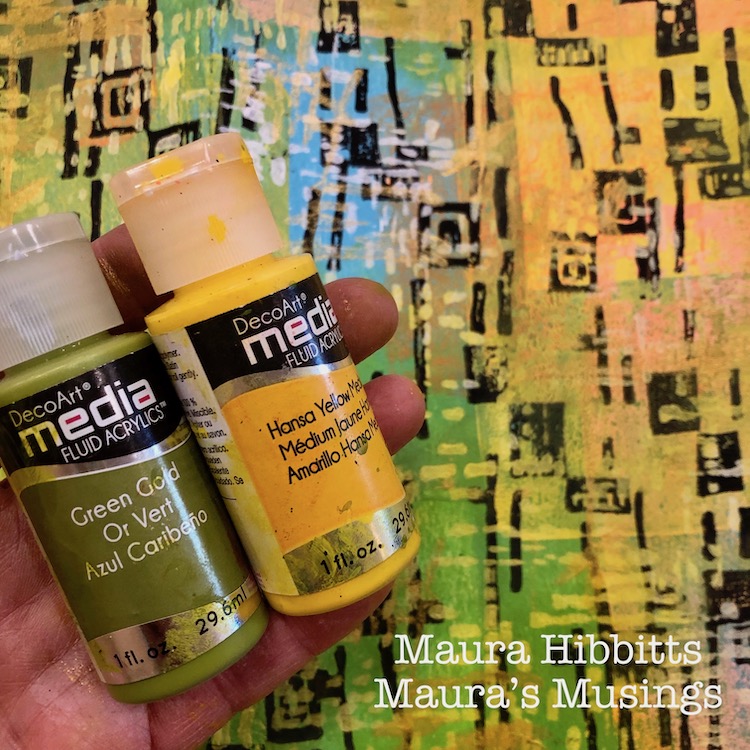
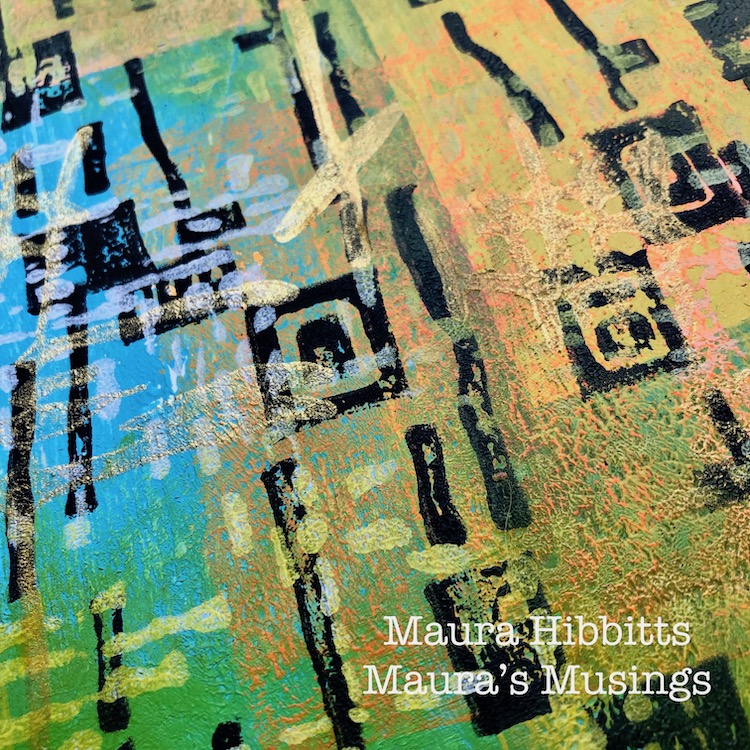
Check out the details to see how easy it is to mix and match ArtFoamies to create delicious layers! Each design remains visible, but is linked to the others. 
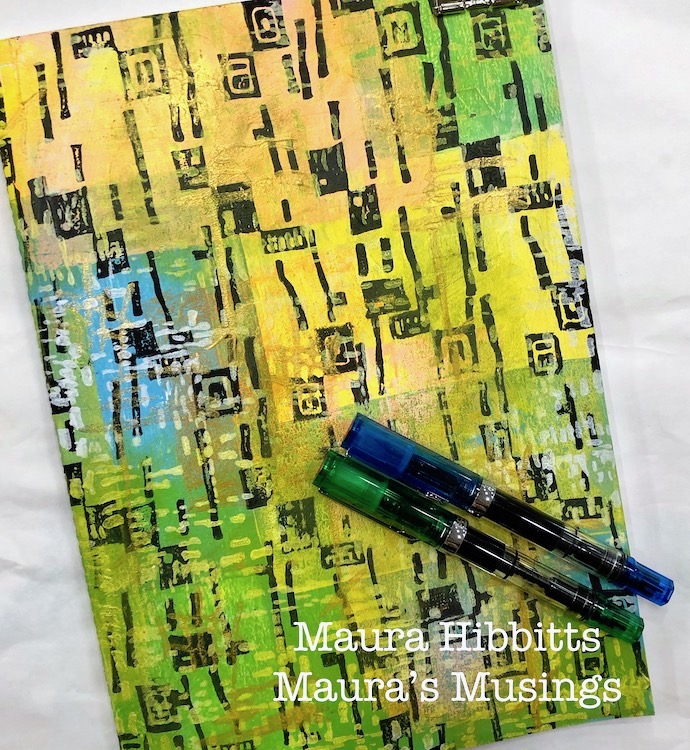
I toyed around with the idea of adding a focal piece to my calendar, but decided I like it just how it is. I now have my own personalized, colorful calendar which will be fun to pull out and use for planning. 

Thank you Maura! I just love these colors and how my Mid Century Squared stamp pops when done in black. Awesome! You can find my Foam Stamps in my Online Shop. In addition to white Chalky Gesso, here are some of the supplies that Maura used:

Feel inspired? I hope you join us for the Foam Stamplifier Challenge this month. As you play along, don’t forget to tag me when you share your creations – I would love to share your projects in my next  “n*Spiration From Around the Globe“.

Leave a comment

Foam Stamplifier Challenge with the Creative Squad – Jennifer Gallagher


This month my Creative Squad is playing along with my new Foam Stamplifier Challenge: All month long you can follow my daily prompts on Instagram and on the blog to amplify your foam stamps!!! Today Jennifer Gallagher is following the prompt Spray! She’s using my Circle DriveSignals, Amsterdam, Gnarly, and Mid Century Squared foam stamps to demonstrate the art of making and using a masterboard!


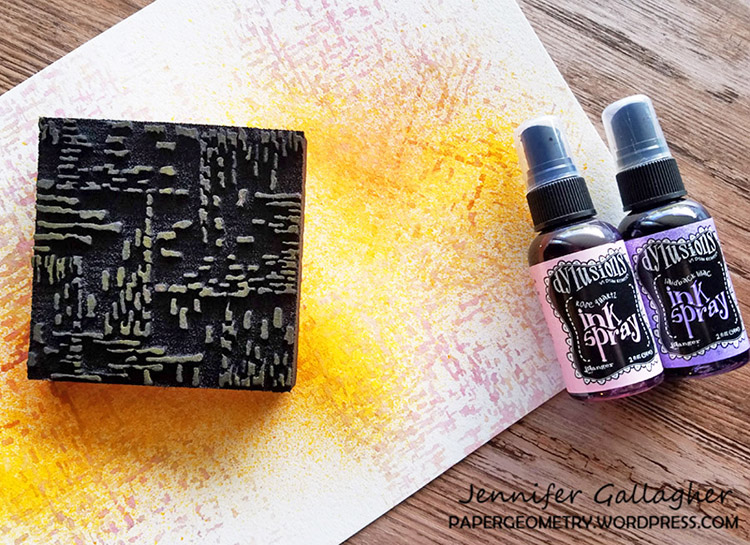
All month long the Creative Squad is playing along with Nat’s Foam Stamplifier Challenge. Today’s prompt is “Spray!” So I pulled out my favorite spray inks, Dylusions ink spray by Ranger Ink, and all of my n*Studio foam stamps and got to work. This tutorial will walk you through using water-reactive spray inks and artfoamies to create a beautiful masterboard. Knowing how to create a masterboard will make quick work of backgrounds for Artist Trading Cards and Coins, greeting cards, and more.

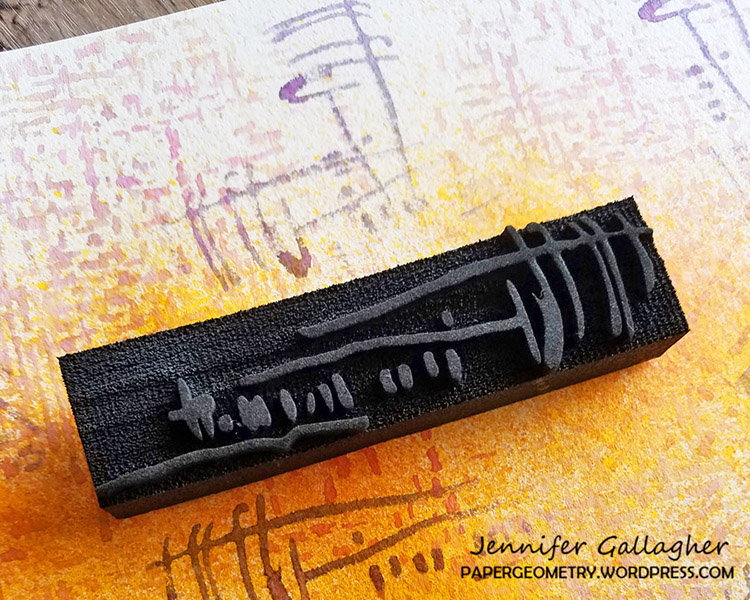
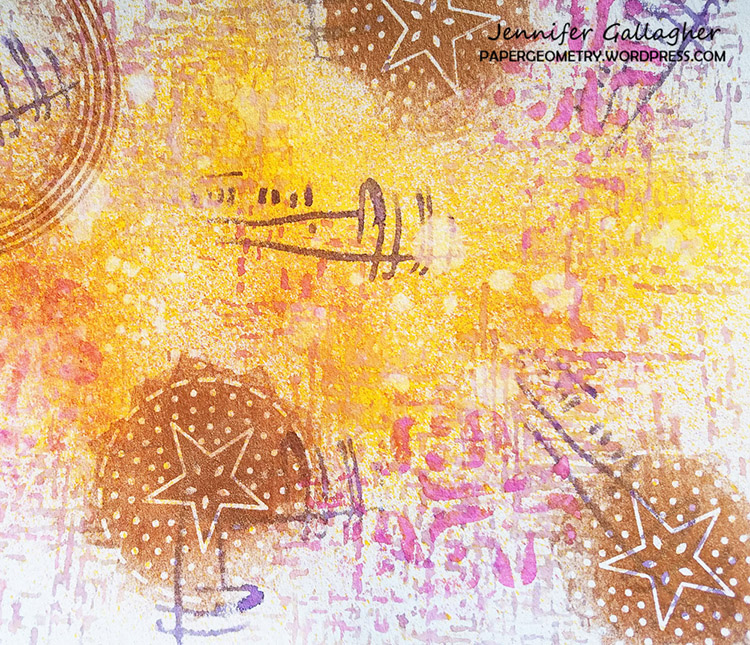
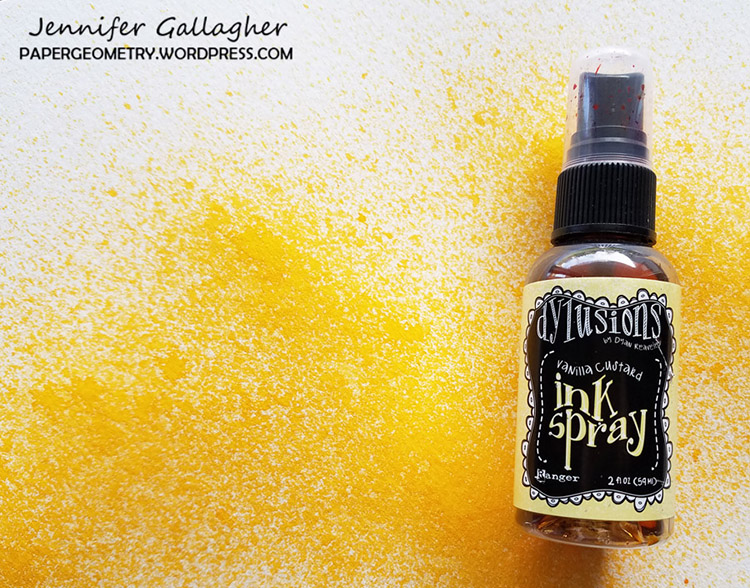
Begin with a sheet of heavy watercolor paper. Spray a little of Ranger’s vanilla custard ink spray leaving white space here and there. Next, using Nat’s new Signals foam stamp, spray the stamp with rose quartz ink spray and press the stamp in a few places. Mist the foam stamp with a spritz of water and press it into a paper towel to remove the pink ink. Repeat the process again with laidback lilac ink spray.

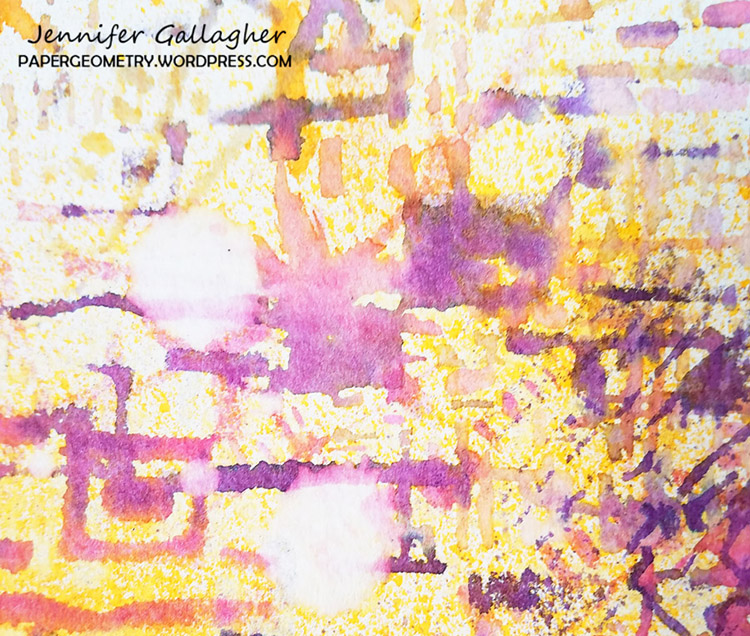
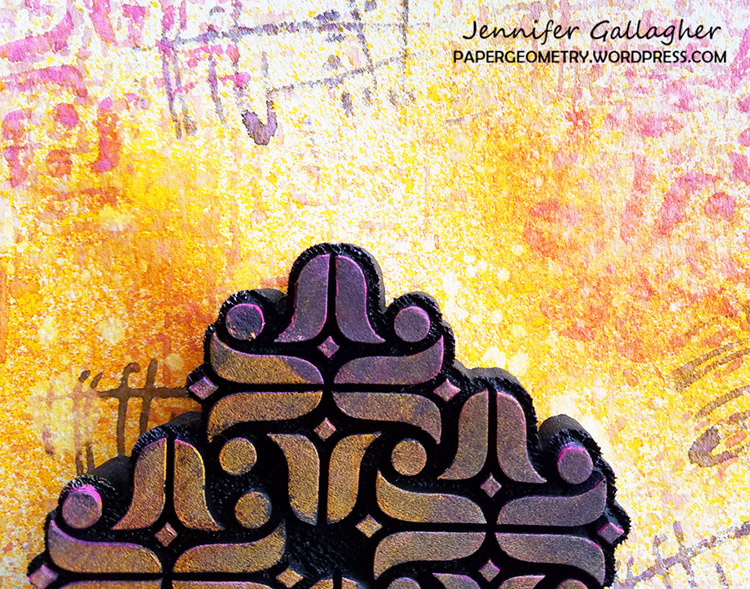
Add some additional detail with Nat’s Gnarly or Mid Century Squared foam stamps by spraying it with laidback lilac and pressing it in various spots around the paper. Once dry, we can remove some of the ink to recover some white space and add additional interest by spraying the Signals foam stamp with water, gently pressing onto an area, and dabbing (don’t wipe) the water left behind with a paper towel.

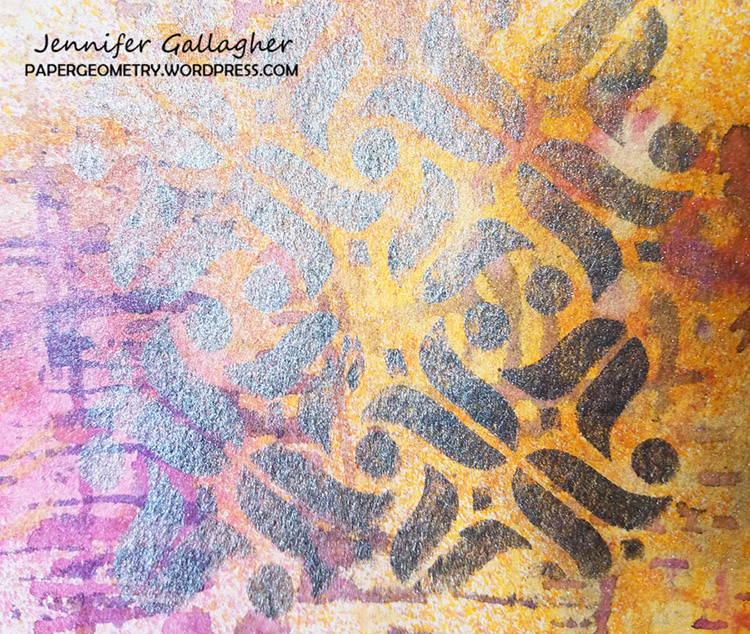
Spray rose quartz ink onto Nat’s Amsterdam foam stamp and press onto the paper.

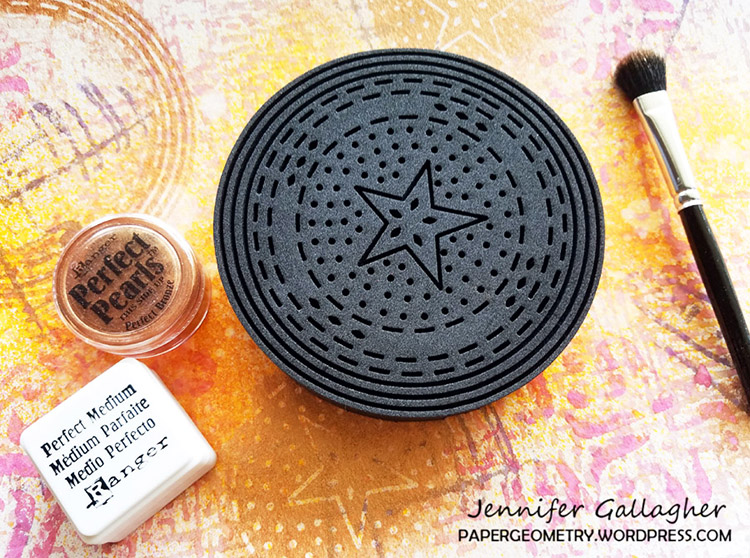
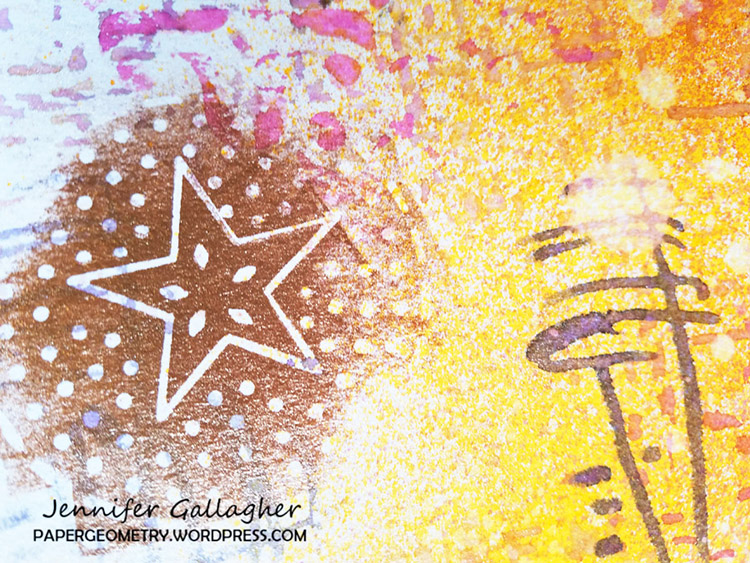
For a fun metallic flair, apply Ranger Ink Perfect Medium onto Nat’s Circle Drive stamp and Amsterdam stamp and emboss with perfect pearls in pewter and perfect bronze.

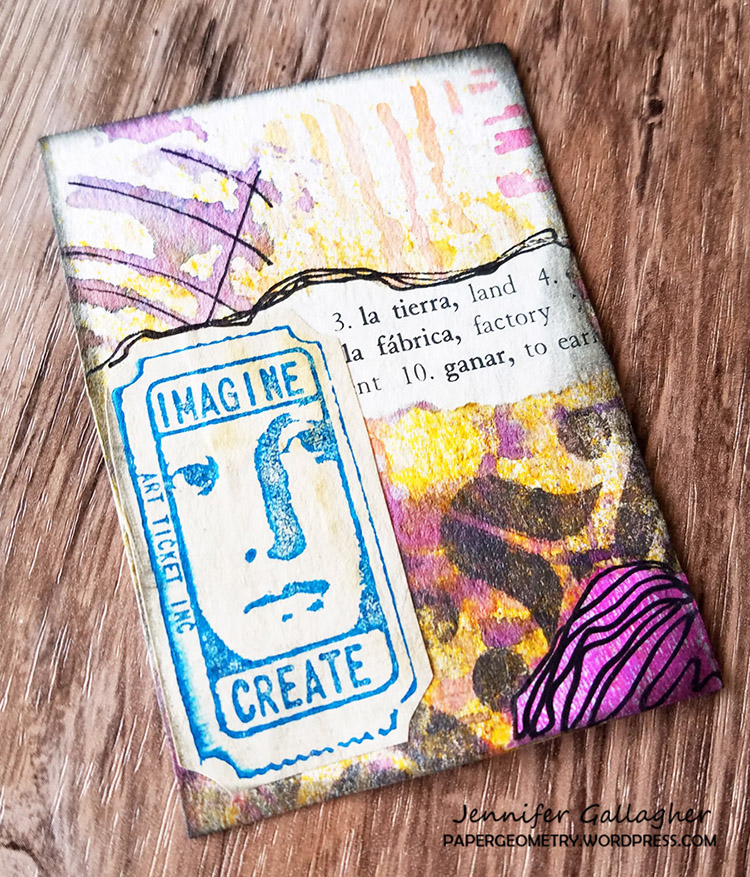
I’ve turned my masterboard into artist trading cards and coins. The possibilities are endless. I hope you’ve enjoyed this tutorial. Be sure to play along with Nat’s Foam Stamplifier Challenge and show us what you’ve created.


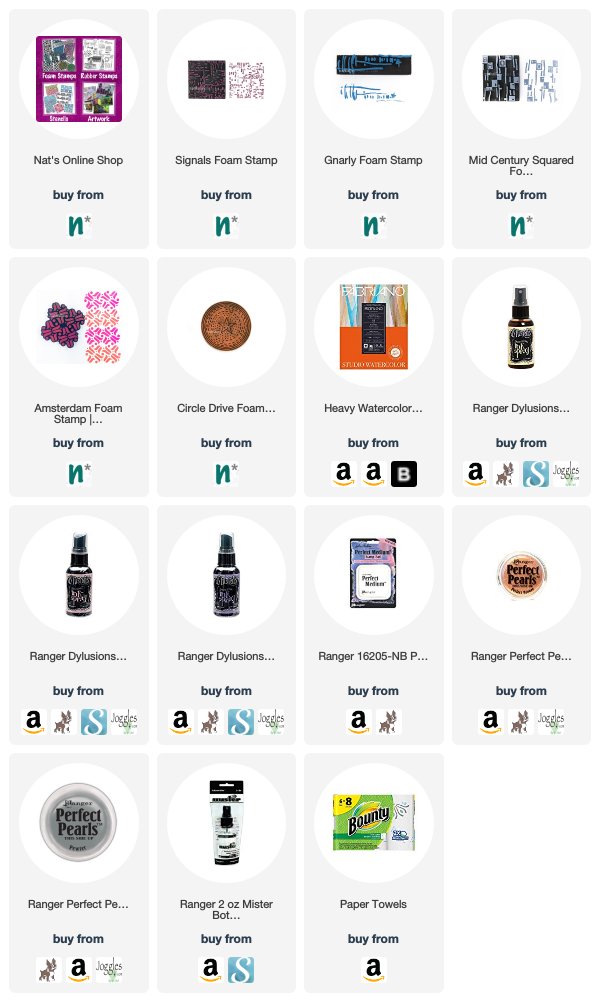
Thank you Jennifer – I love imagining all the possibilities for your gorgeous masterboard! You can find my Foam Stamps in my Online Shop. Here are some of the supplies that Jennifer used:


Feel inspired? I hope you join us for the Foam Stamplifier Challenge this month. As you play along, don’t forget to tag me when you share your creations – I would love to share your projects in my next  “n*Spiration From Around the Globe“.
Leave a comment

Currently Digging – Creative Squad Edition with Josefine Fouarge

It’s time for a special edition of Currently Digging – with my Creative Squad! Once in a while I like to share with you some nifty finds – like an Artist whose work caught my eye…, some Inspiration that got my creative juices flowing, and Tools & Techniques I am currently digging. Today we asked Josefine Fouarge from my Creative Squad what SHE is Currently Digging :) Hope you enjoy this.


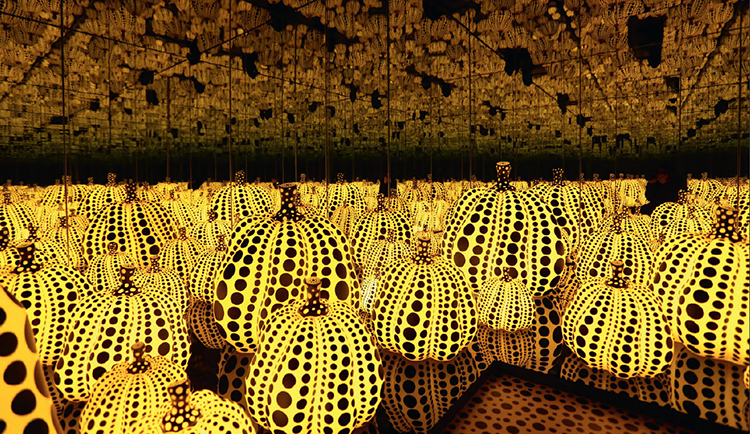
Yayoi Kusama’s polka dot pumpkins are breathtaking and it gets even better when you look at them as part of her mirror room exhibition. Hundreds and hundreds of them, just mesmerizing. Some of her other pieces include huge murals that are full of texture and spikes in all sorts of shapes and sizes.

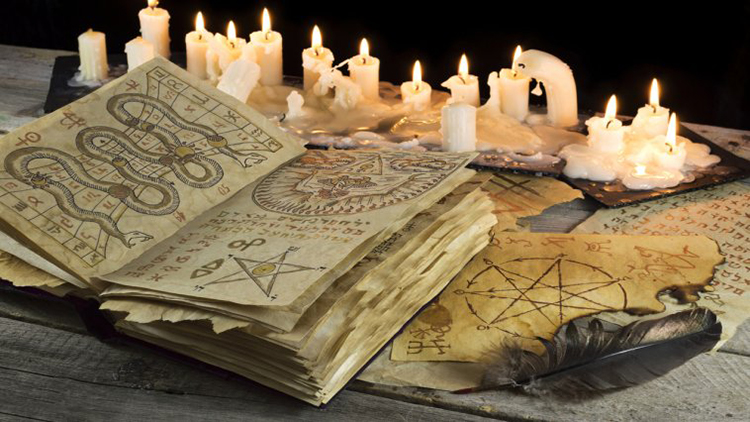
Religions based on nature: Paganism, Druidism, Voodoo, Wicca are some examples of nature-worshipping religion. I enjoy all the iconology of these religions, scanning through books that describe them, the style they are published in, etc. The images are usually eerie and full of meaning. You can look at them for a long time and always find something new. The way things are arranged on i.e. tarot cards inspire me to let my creativity flow and do what it wants to.

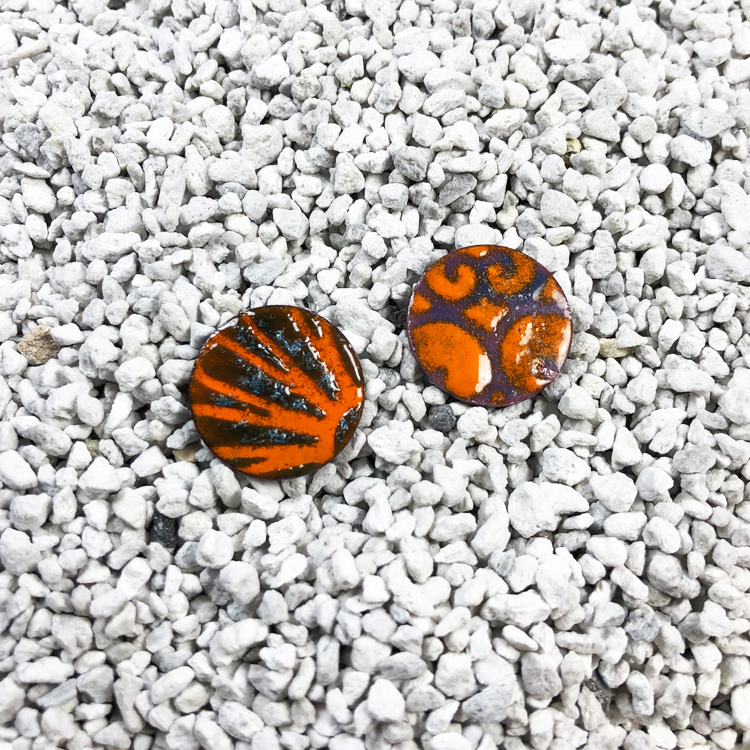
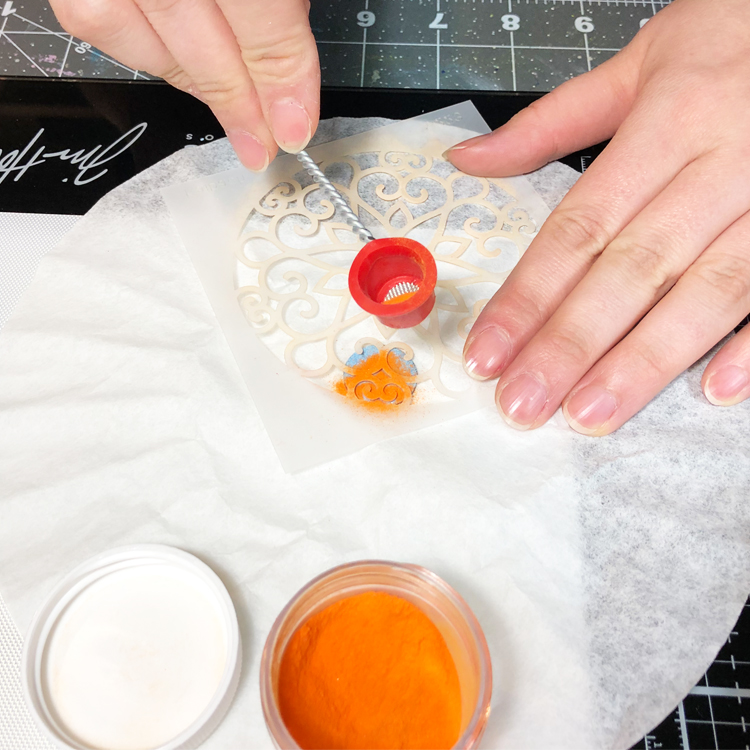
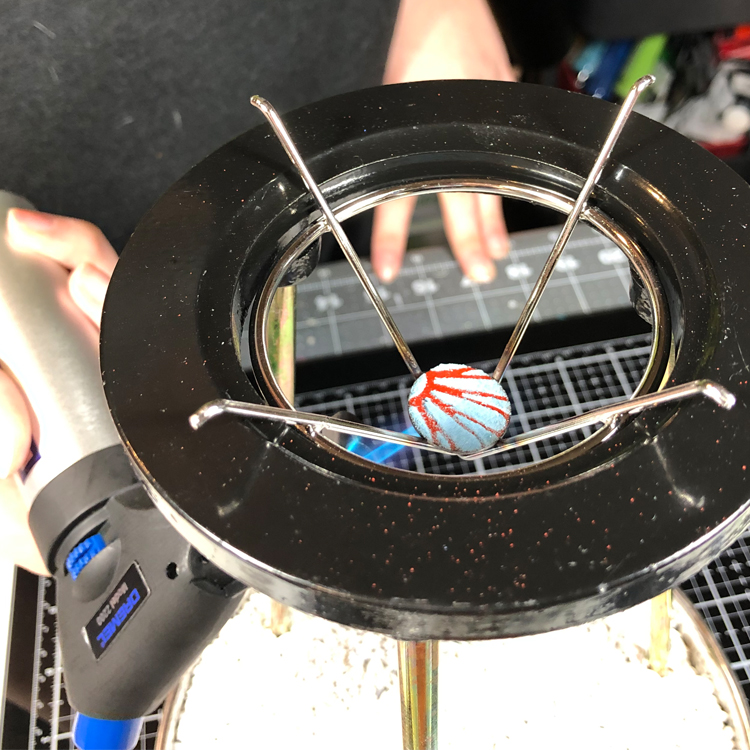
Torch Enamel: I just recently heard about torch enameling and was immediately hooked. I love trying new things – from blacksmithing to glass blowing – and always try to think about how to combine it with my art. Torch enameling seems to be a little bit of both worlds and it’s easy to play with the glass powder on smaller surfaces, even using existing supplies like stencils.


Thank you Josefine! I hope you all enjoyed hearing a bit more about what inspires Josefine as an artist. Stay tuned for the next Currently Digging Creative Squad edition for more from our other members :)

Leave a comment

Foam Stamplifier Challenge with the Creative Squad – Josefine Fouarge


This month my Creative Squad is playing along with my new Foam Stamplifier Challenge: All month long you can follow my daily prompts on Instagram and on the blog to amplify your foam stamps!!! Today Josefine Fouarge is following the prompt Pigment Ink. She’s using my Maze Hex, Space Oddity, and Weave foam stamps to create some gorgeous cards. And this will be Josefine’s last post with the Creative Squad so we would like to say a HUGE thank you to her for her awesome projects and wish her the best on all her future ventures :)


I love foam stamps which is why Nat’s challenge is so much fun. I hope that you’re getting a lot of inspiration from all the posts and enjoy playing along.

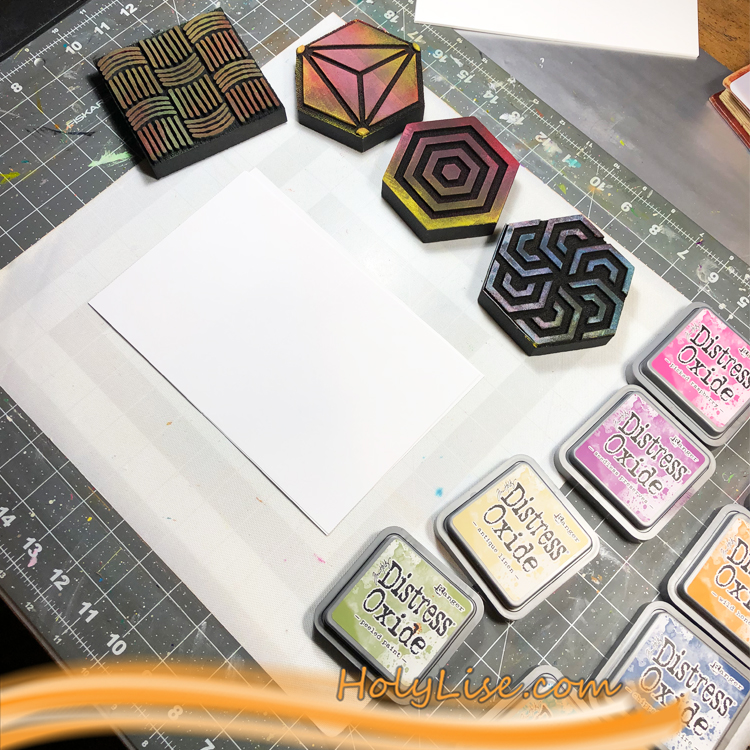
Tuesday is Creative Squad day and of course, we are playing along. Today’s prompt is Pigment Ink and I picked my favorite – Distress Oxide (technically, it’s a hybrid between Pigment and Dye Ink, but sometimes you have to be a rebel ;) ).

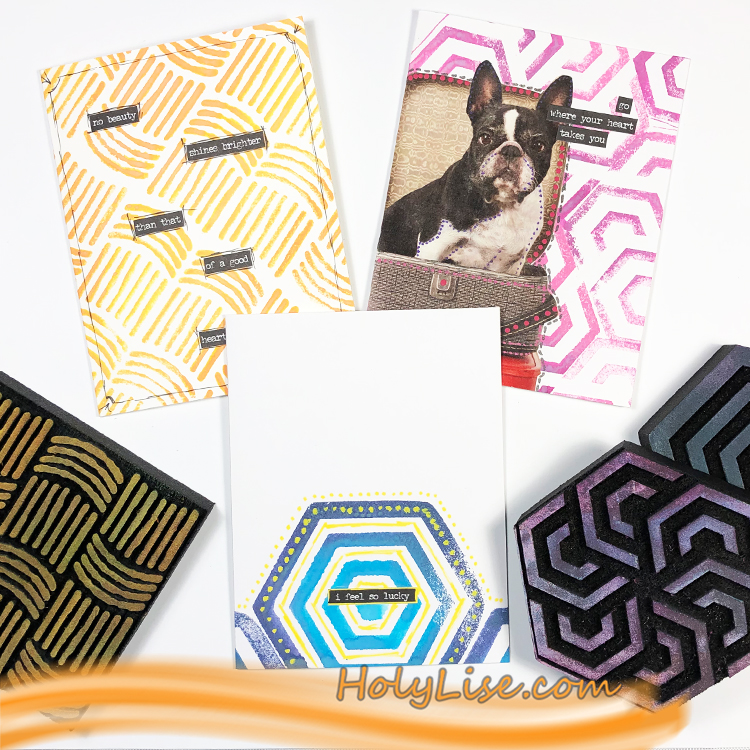
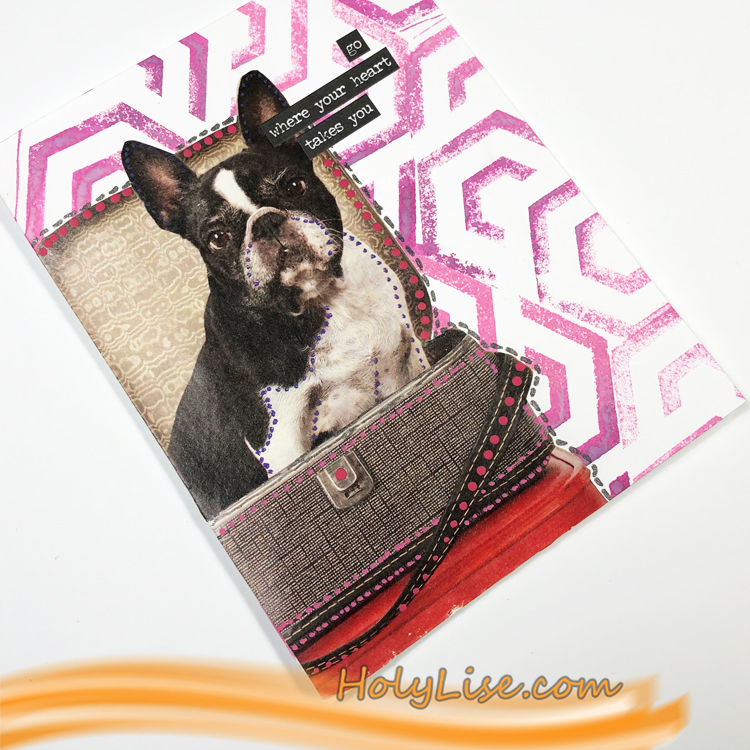
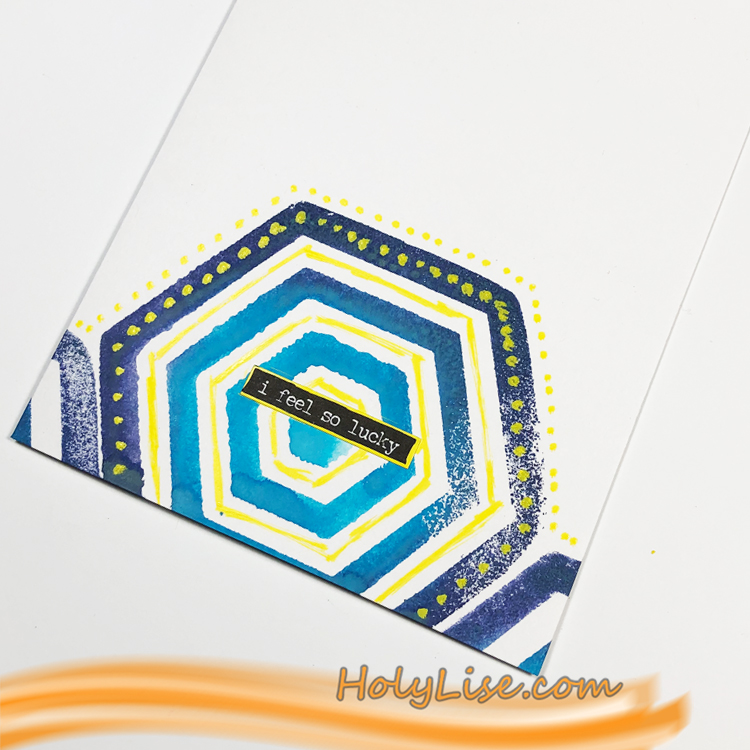
To add a third favorite, I chose the hexagon designs and the Weave design from Nat and I decided to create a set of notecards. I ran out again, so I needed a few quick and easy ones. I prepared a few card bases and decided to stamp directly onto them.

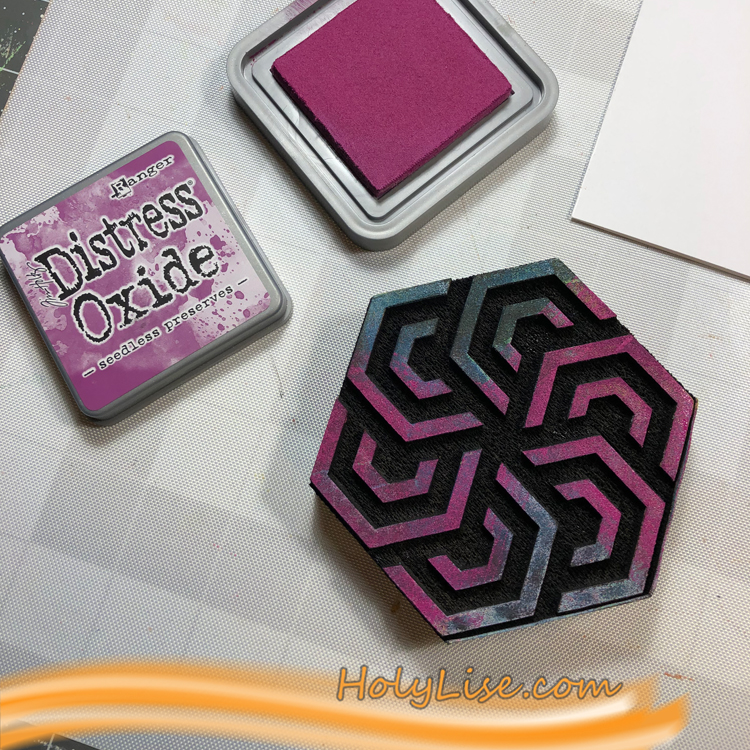
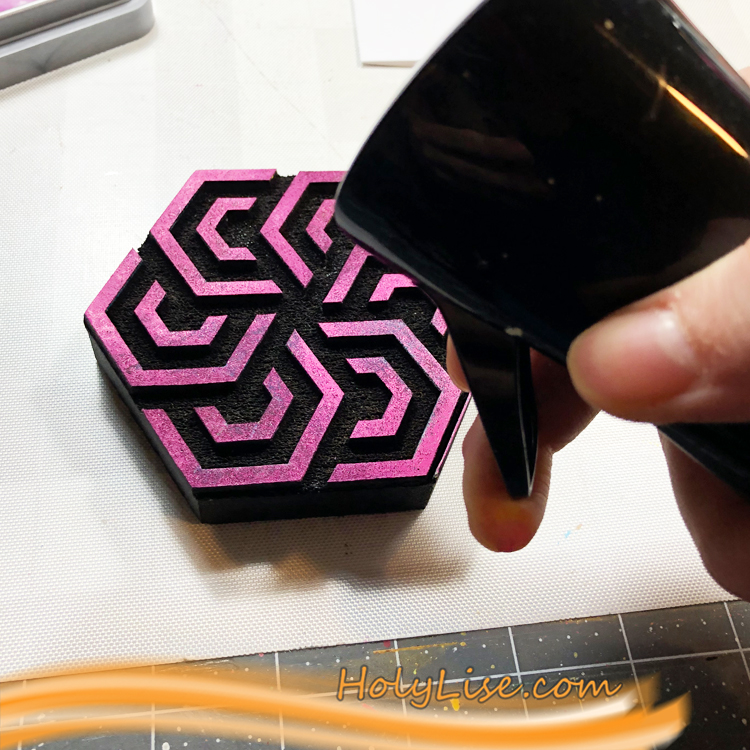
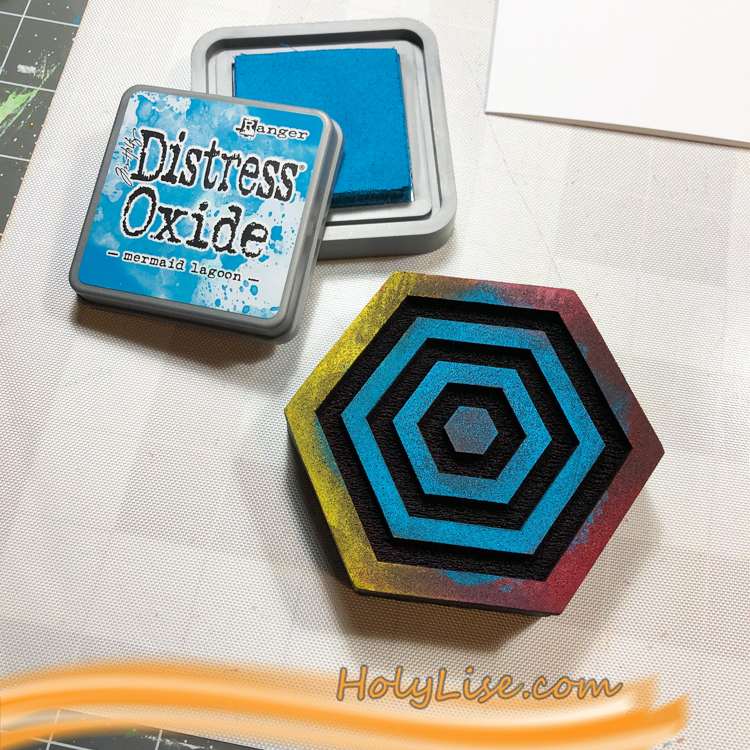
I went with two colors per stamp design and applied the first one directly onto the Maze Hex foam stamp.

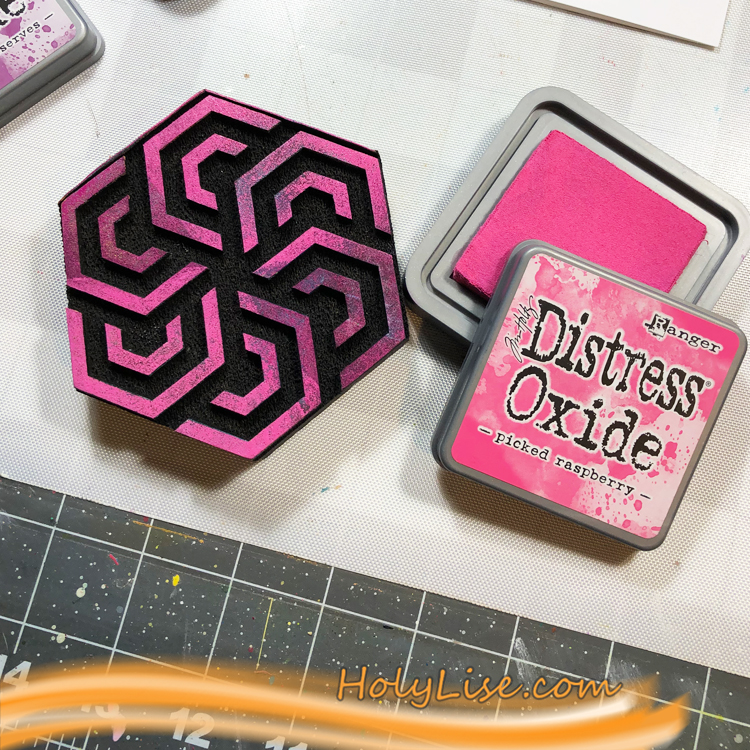
Then I added the second color. I don’t worry about which color to use first since I always go back with the first color and blend both together.

Because Oxide’s are water reactive, I added water directly on top of the ArtFoamie. You can stamp without adding moisture. I did it, because I really like the effect.

I varied the way of the ombre effect. For some I went from left to right and for the Space Oddity foam stamp from the middle to the outside.

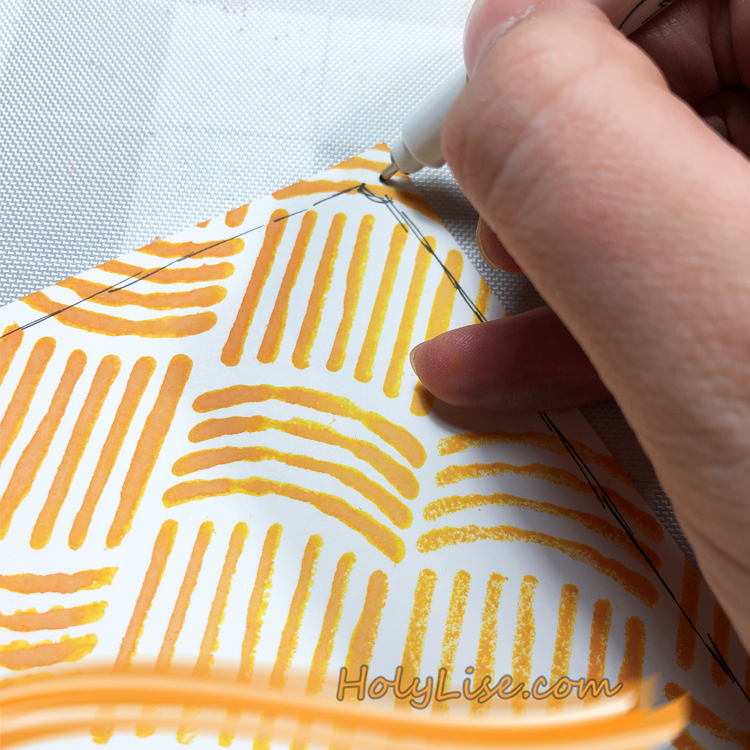
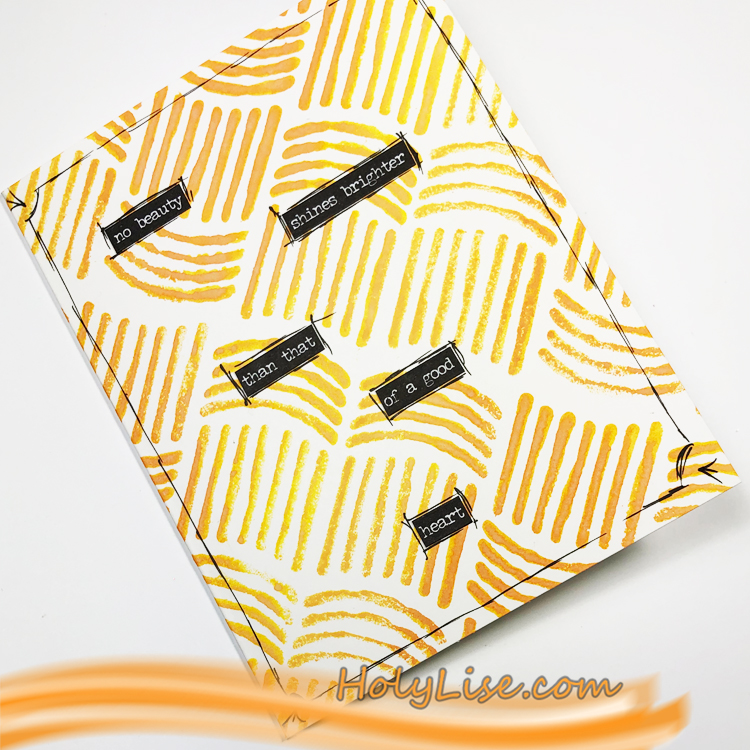
Once I was done with the backgrounds, I started decorating the cards. That can be as simple as adding an outline with a black fineliner…

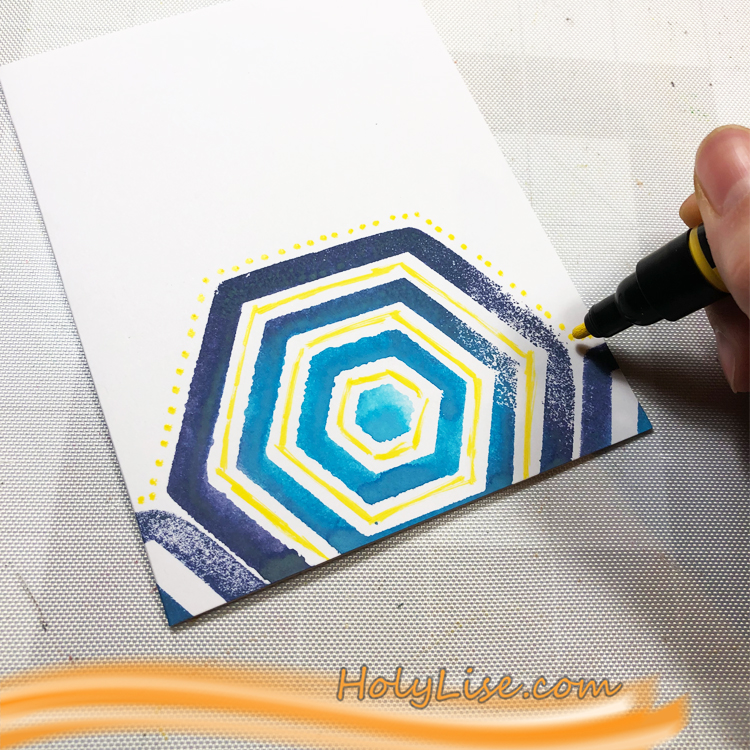
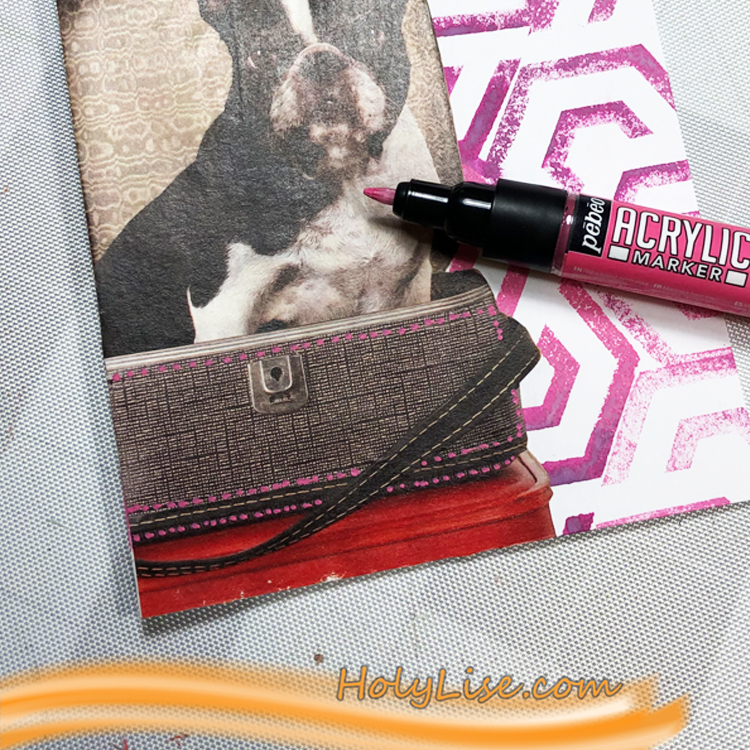
…or some dots and lines using an acrylic marker.

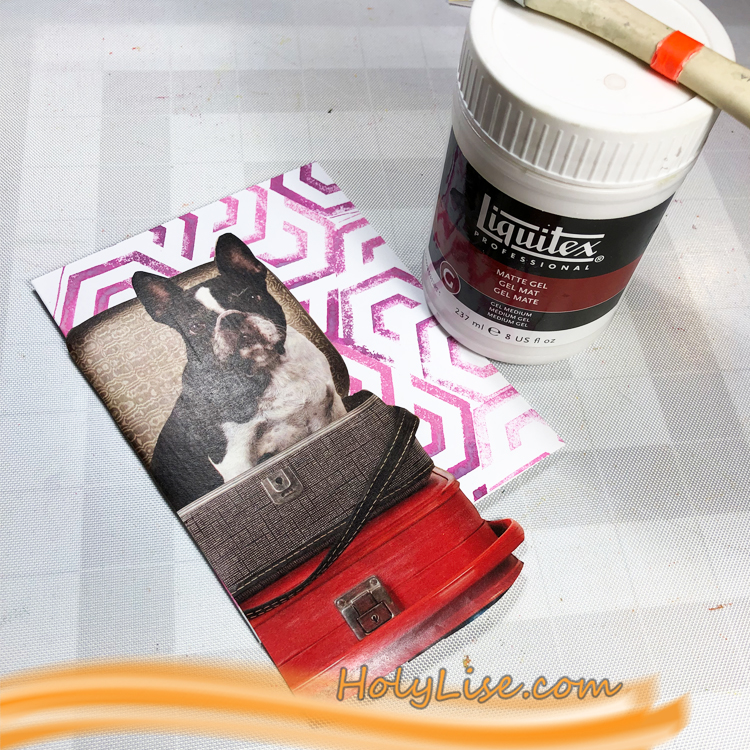
You can also use die-cuts or magazine cut outs to decorate the cards. For this one, I used a picture from a magazine ad and adhered it with gel medium. Usually, I would add the gel medium to the background, the back of the picture and all over the card to seal it. Since I used Distress Oxides, I just added it to the back of the picture. Otherwise the ink would have moved.

Then I decorated the picture with dots and lines.

It always surprises me how you can create great looking cards with just a bit of stamping and adding dots. They all look different but started out in very similar ways.

Foam stamps are so versatile and work for every style – from clean and simple to super grungy and are great for cards, art journal pages and so many other mixed media techniques.

Don’t forget to join the Foam Stamplifier Challenge over on Instagram and share your own projects using foam stamps.


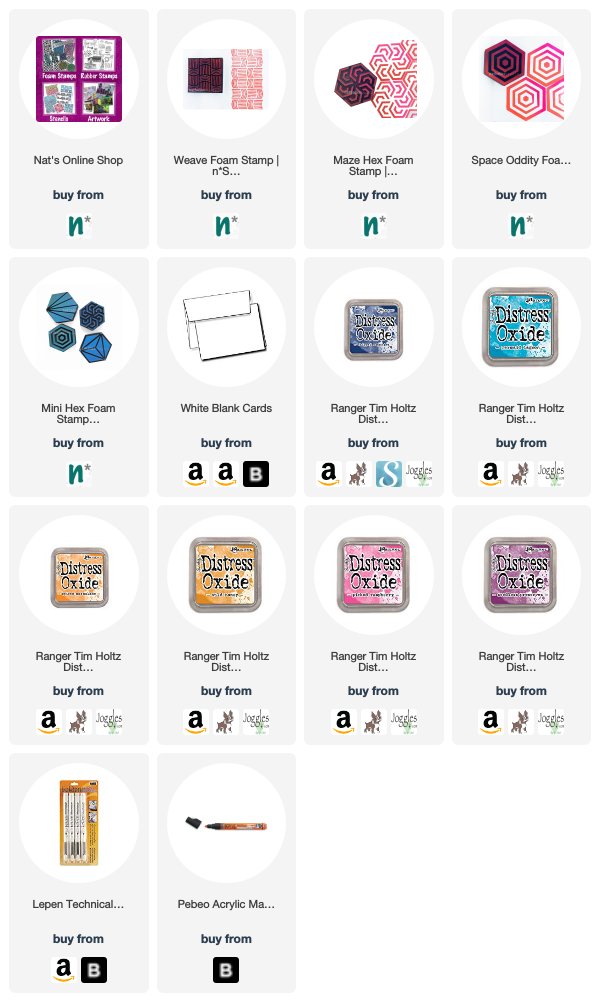
Thank you Josefine – I love how the foam stamps work with ink!  You can find my Foam Stamps in my Online Shop. Here are some of the supplies that Josefine used:


Feel inspired? I hope you join us for the Foam Stamplifier Challenge this month. As you play along, don’t forget to tag me when you share your creations – I would love to share your projects in my next  “n*Spiration From Around the Globe“.
Leave a comment

Foam Stamplifier Challenge with the Creative Squad – Tania Ahmed


This month my Creative Squad is playing along with my new Foam Stamplifier Challenge: All month long you can follow my daily prompts on Instagram and on the blog to amplify your foam stamps!!! Today Tania Ahmed is following the prompt Print! She’s using my new Foam Stamps along with her gelli plate for monoprinting and then she shows a great next step for that monoprint :)


This month the Creative Squad was asked to play along with Nat’s Foam Stamplifier Challenge and my prompt was Print!

I love printmaking and I love Art Foamies stamps, so it was almost as if this prompt was made with me in mind, haha!

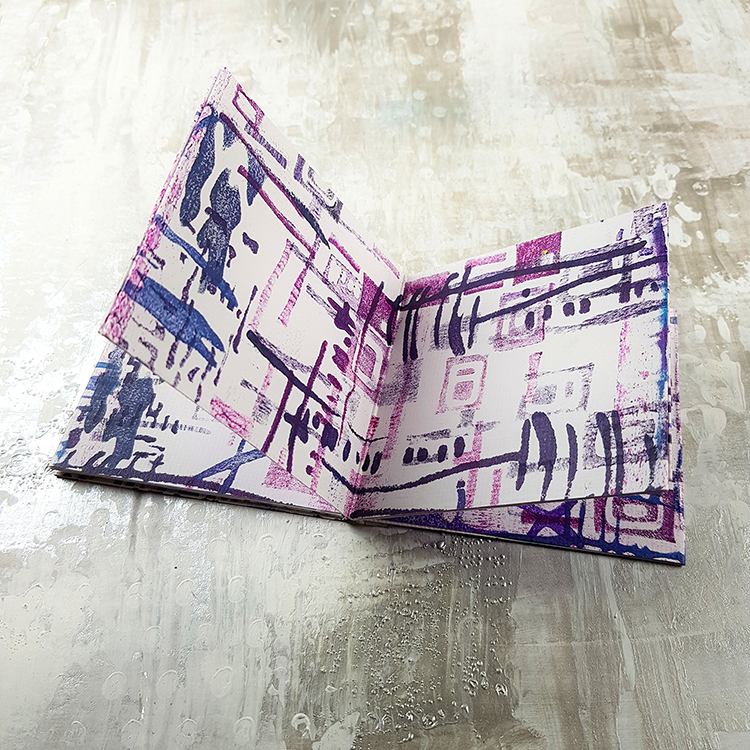
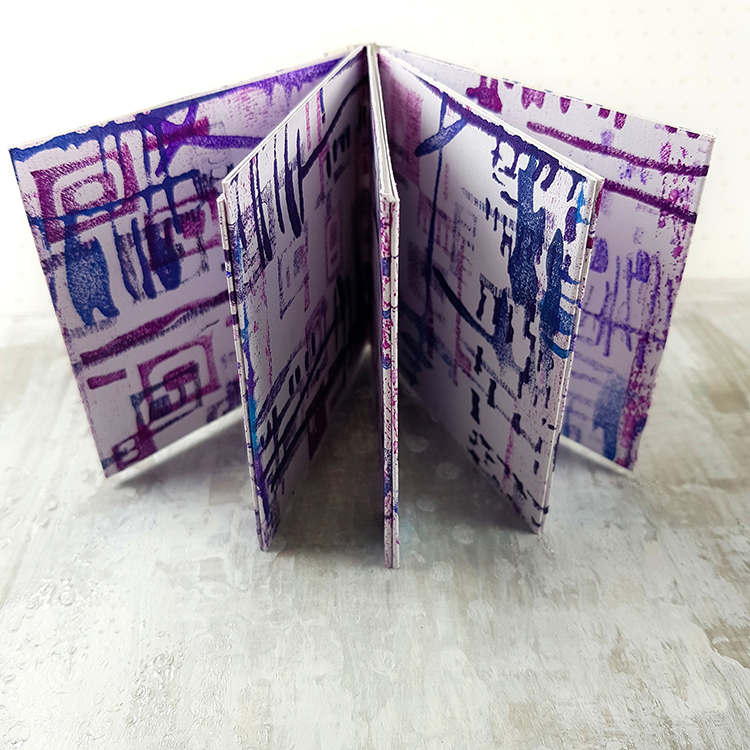
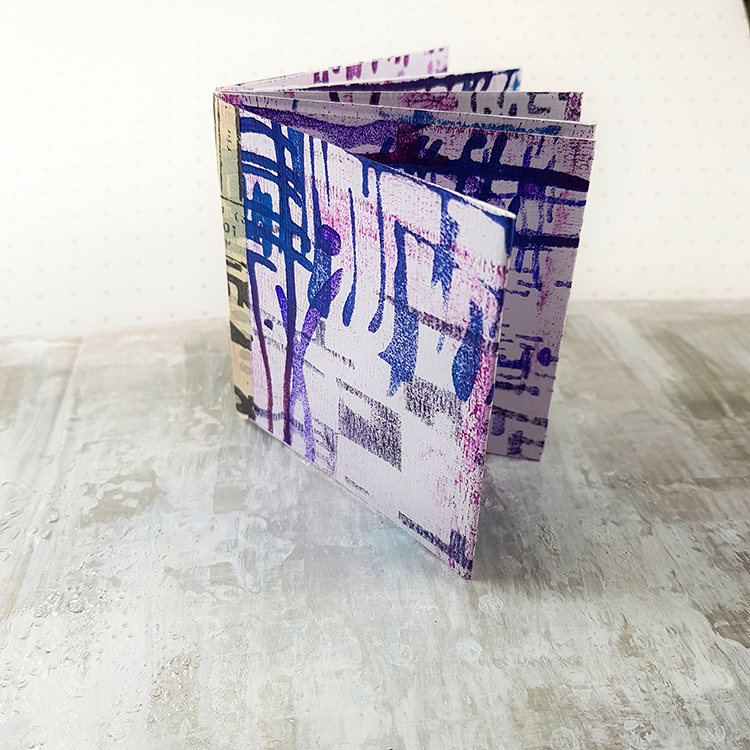
I made a video to show how I put together a little mini album made using 12×12 cardstock that stamped on using Nat’s newest Art Foamies release and a 5×7 Gelli Arts® plate.


Here’s how I put the mini album together:

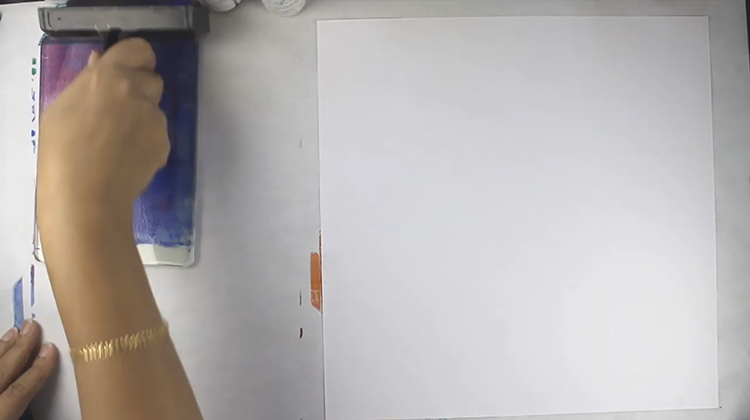
1 Apply a thin layer of acrylic paint to Gelli Arts® plate.

2 Use the Gelli Plate to ink the Art Foamies and then stamp on to cardstock and repeat until the paint just begins to dry on the plate.

3 Pull a print with the remainder of the paint that is left on the plate.

4 You can use this clean off paper for collages.

5 Apply more paint to plate and repeat steps until you are happy with your print.

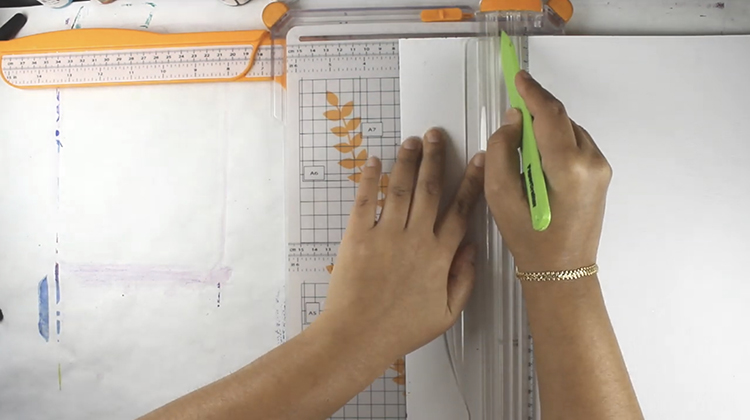
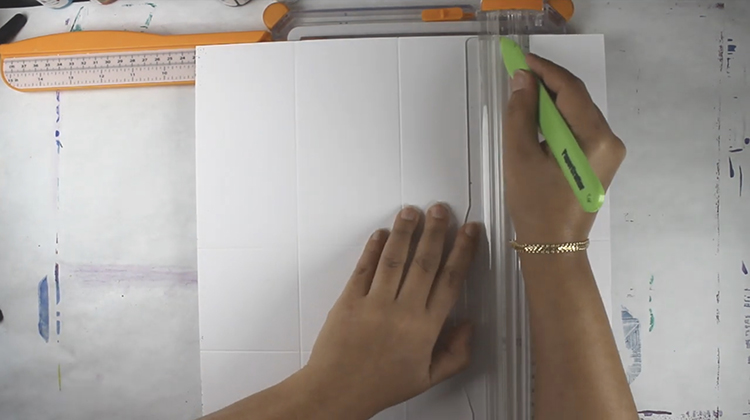
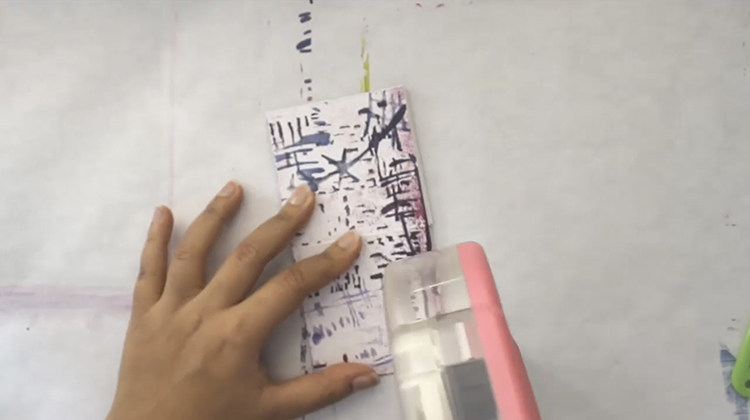
6 Score your cardstock at 3”, 6” and 9”.

7 Rotate paper 90 degrees and score again at 3”, 6” and 9”.

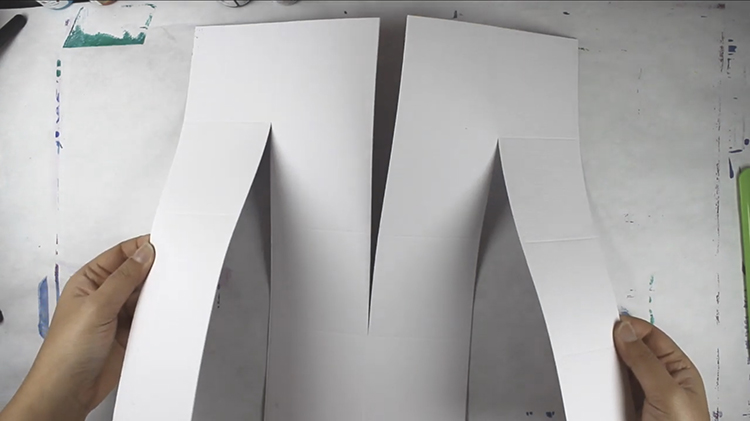
8 Cut up to the score lines as shown above.

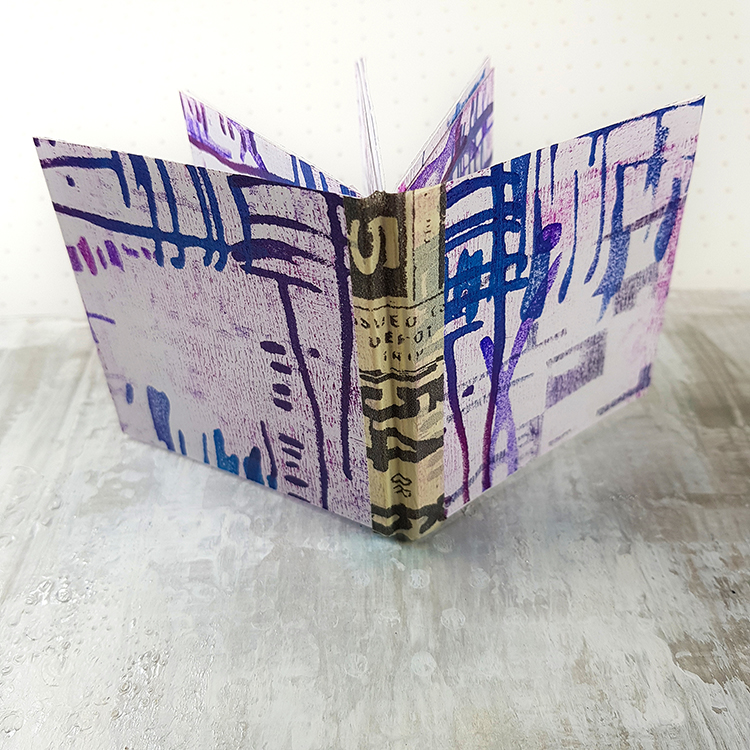
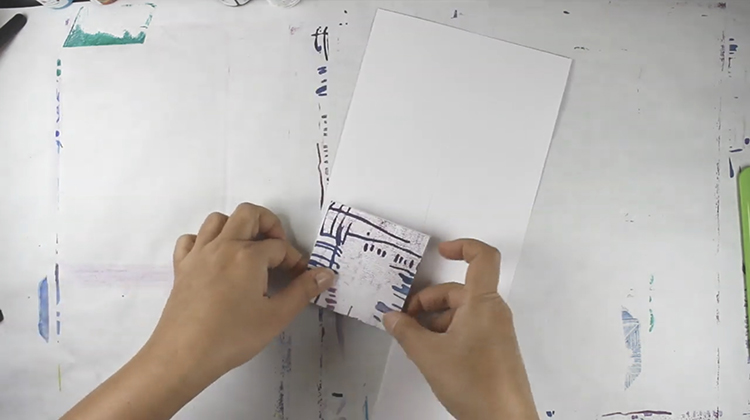
9 Accordion fold the paper which will form a little 3” x 3” journal/album.

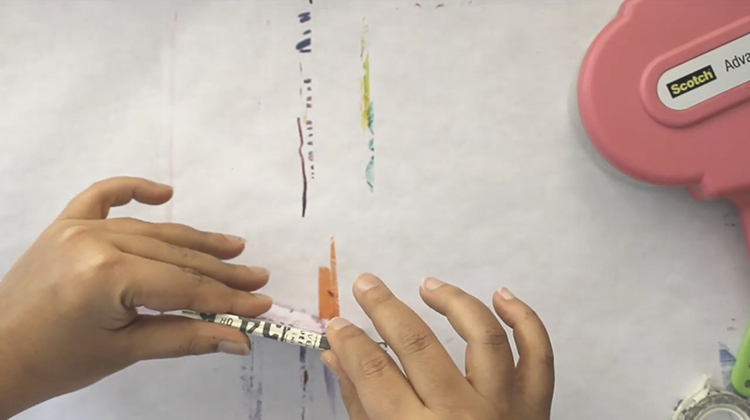
10 Tape or glue the backs of the pages together to make it a little more sturdy. You get leave some sides free to use as pockets.

11 To finish off the book spine, add washi tape for decoration!


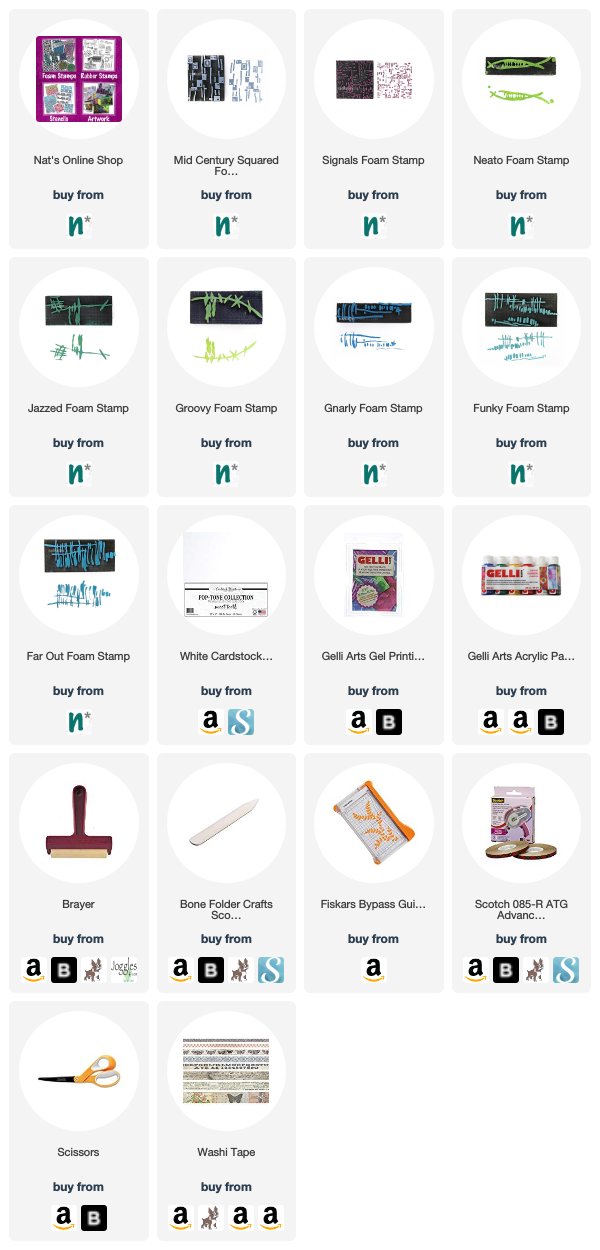
Thank you Tania! What an cool little book and a great way to use a monoprint! You can find my Foam Stamps in my Online Shop. Here are some of the supplies that Tania used:


Feel inspired? I hope you join us for the Foam Stamplifier Challenge this month. As you play along, don’t forget to tag me when you share your creations – I would love to share your projects in my next  “n*Spiration From Around the Globe“.

Leave a comment

Today We Smile – Maura Hibbitts


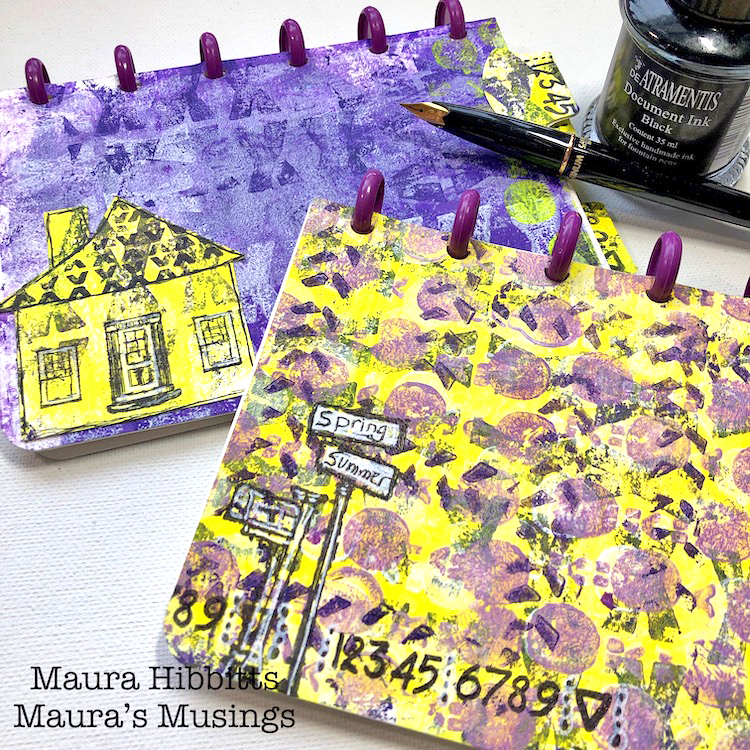
Hello from my Creative Squad! Today we have some cute little notebooks from Maura Hibbitts that will definitely inspire you! Maura is using my Marks stamp set, along with my Street Sign, Snail Mail, Numerals, and my Windows and Door stamp set and this month’s theme: Today We Smile – They say smiling can lift our mood and maybe improve our overall health. Let’s try it! Think about what makes you smile and share it with all of us. After all, smiles are also known to be contagious :)


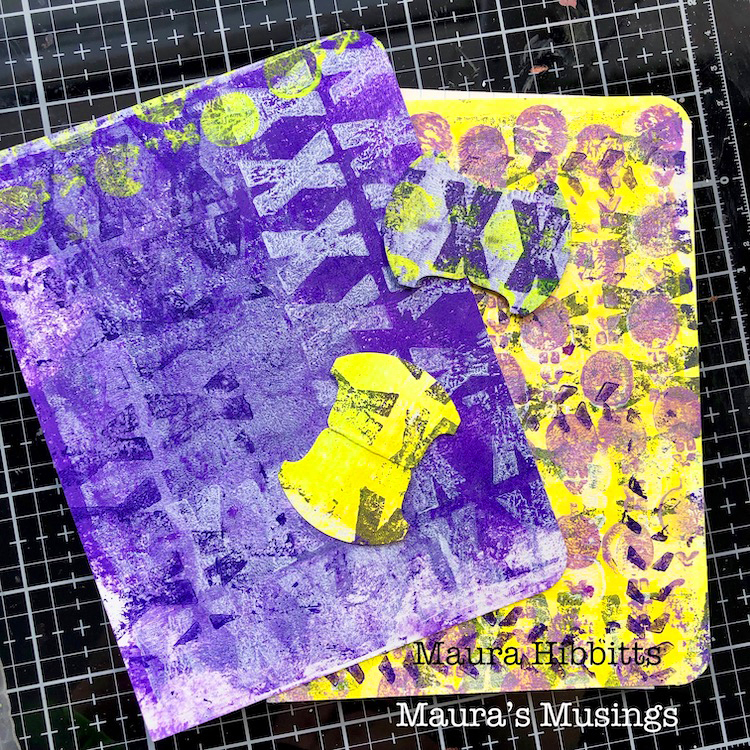
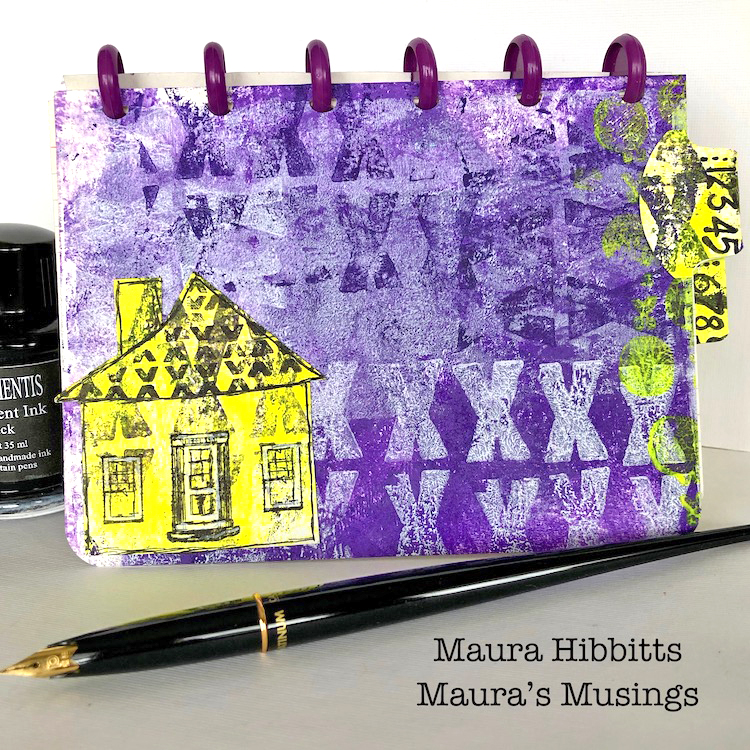
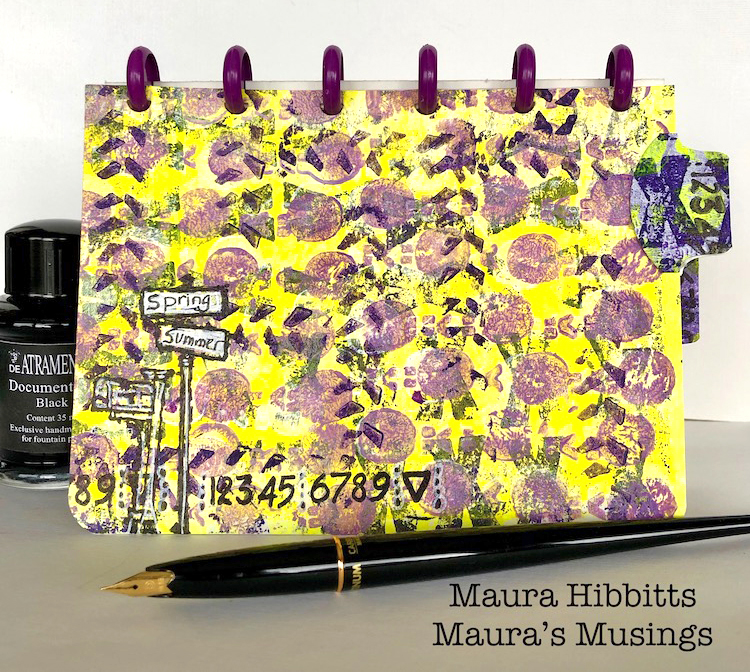
I’ve been inspired by all the wonderfully creative projects on Creative Jumpstart 2019, and I think that is why I’ve tucked in some home elements on my little notebooks. I immediately thought of working with bright yellow when I saw this month’s theme, perhaps due to our dark winter this year. I chose purple as my complementary color (the color opposite on the color wheel). Somehow, along the way, the cards I was going to make, morphed into these little notebooks.

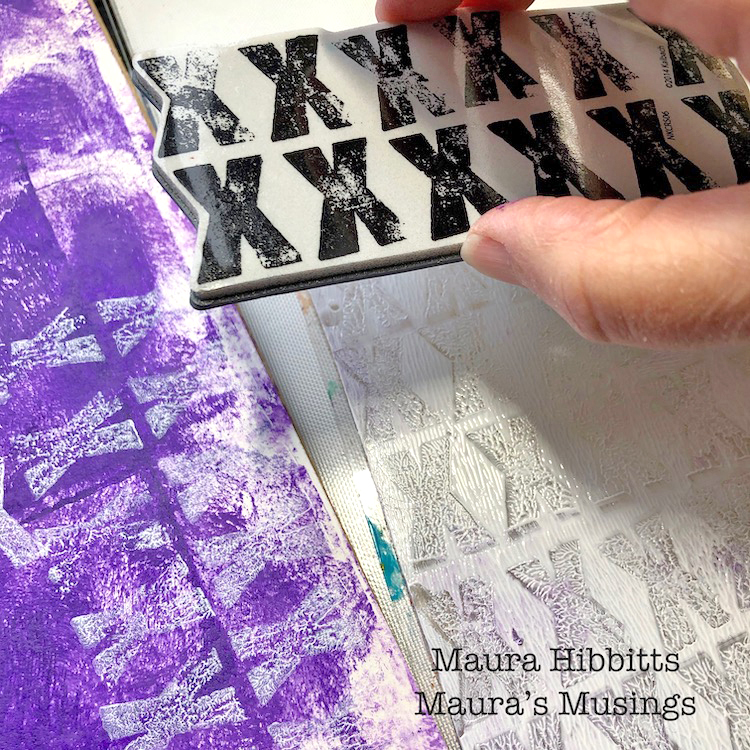
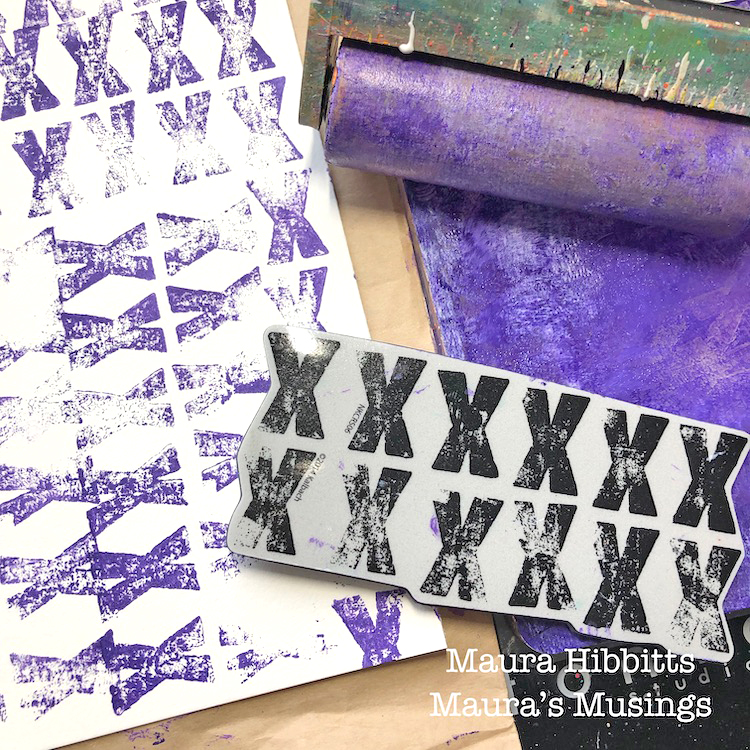
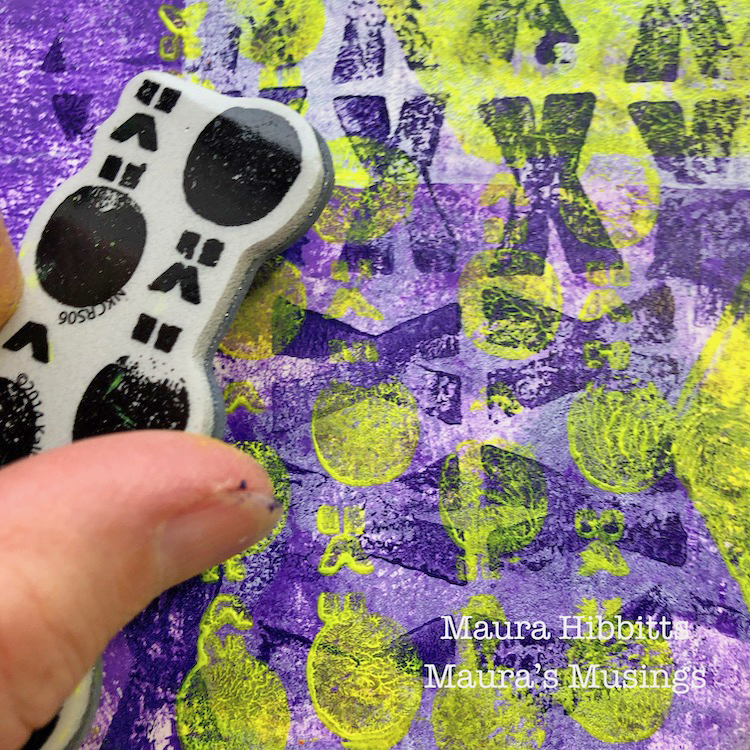
I pulled out my small gelli plate (6×6) and added Dioxazine Purple, then used the brayer to get a thin layer of paint. I randomly pressed one sheet of paper onto the plate to create a dark purple background. On my other watercolor sheet, I stamped X’s from Nat’s Marks stamp set with the dark purple. I went back in on my dark background with Translucent White and the X marks, and also layered in a bit of Lavender.

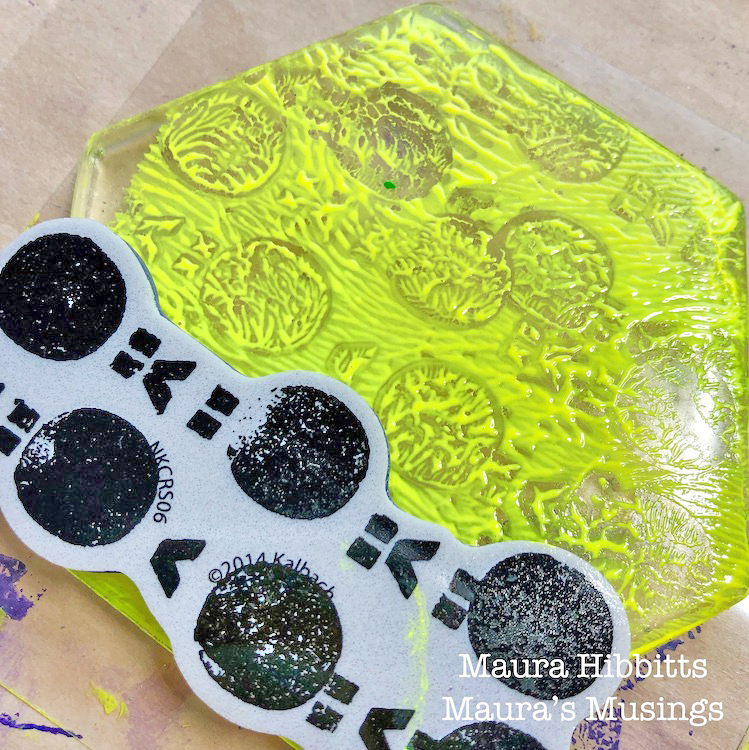
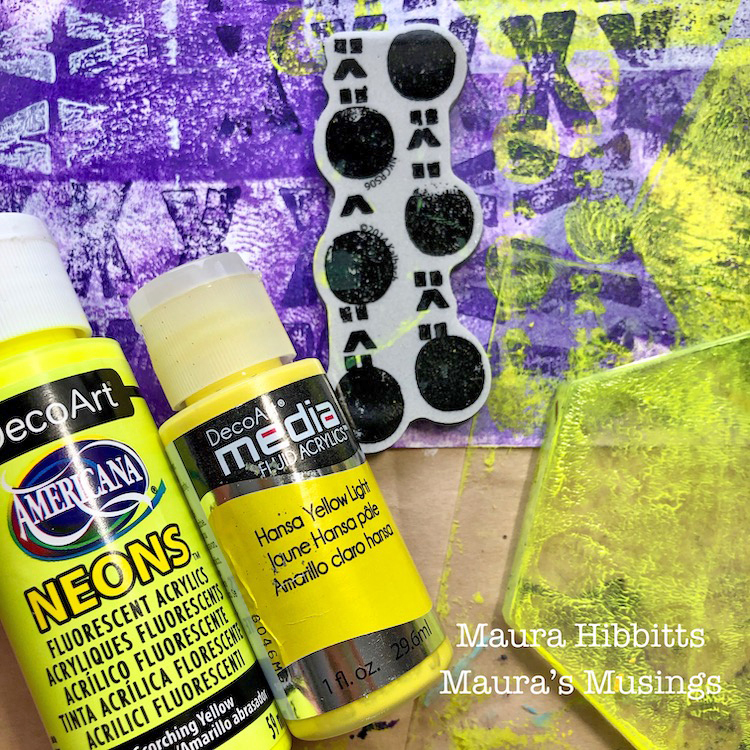
To create my yellow background, I mixed Neon and Light Yellow on the gel plate. Then, I stamped the hexagon gel plate into this and transferred it repeatedly onto my X paper. I also used the circle mark stamp from the Marks stamp set on the hexagon and stamped this on my paper. I stamped yellow circles onto my dark purple paper also.

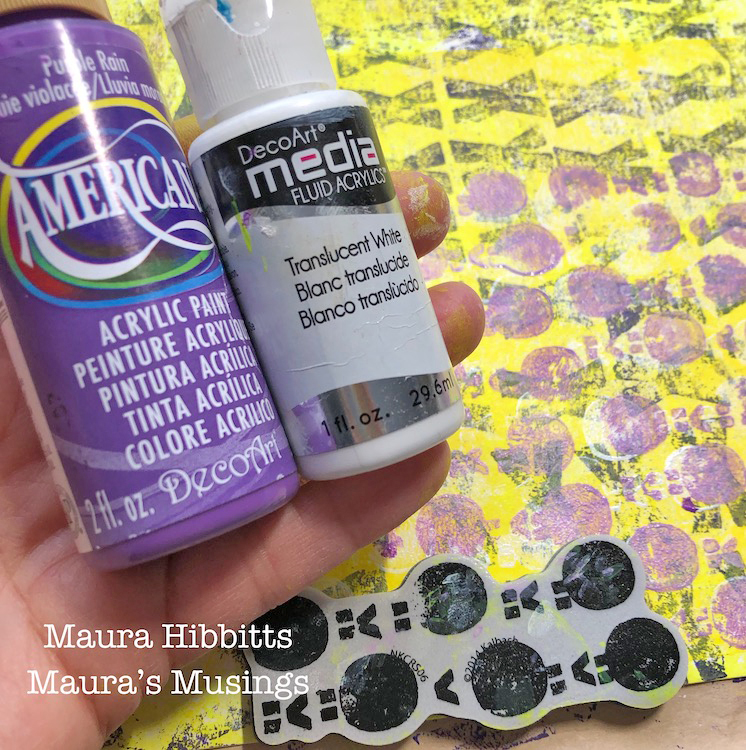
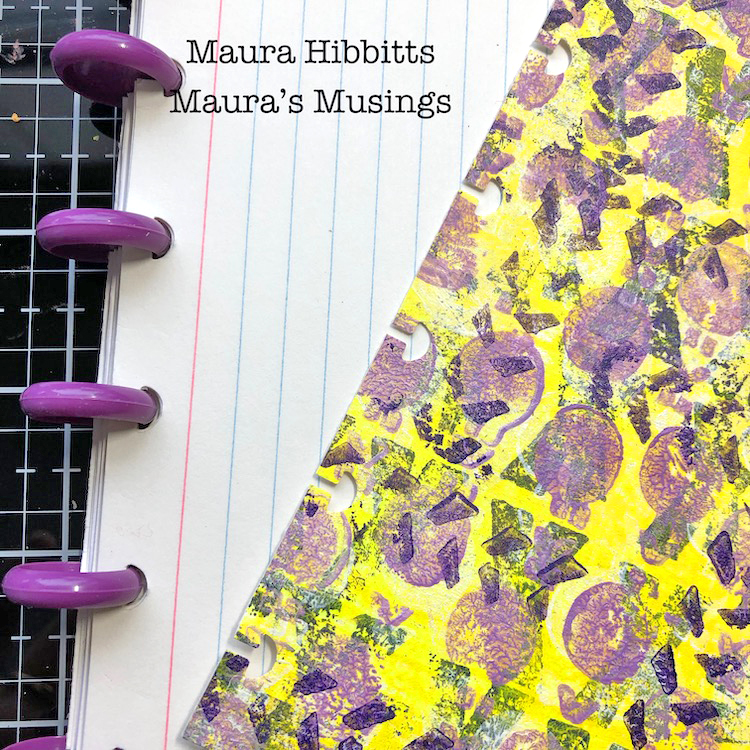
I decided to add a bit more purple to my Yellow paper, but wanted it lighter, so I mixed Translucent White with Purple Rain. Once again, the gel plate works as a great paint surface to stamp into, and I used the circle marks again. I then decided to add a bit more dark purple with the tread like mark and stamped in a random fashion.

Now that my papers are made, I cut out four pieces 4 !/2 x 6” and rounded the corners of the bottom with a 1/2” corner rounder. I also used a tab punch to punch several tabs.

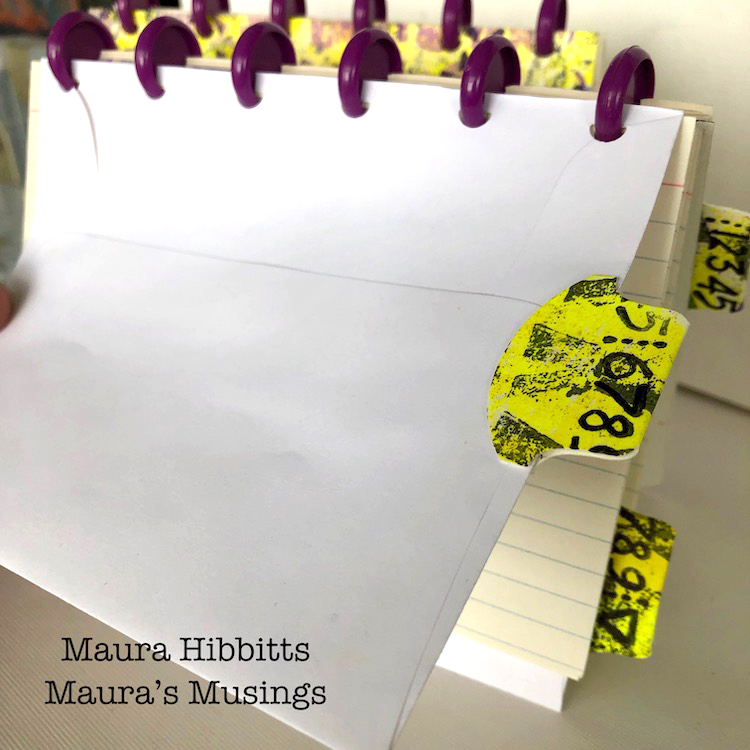
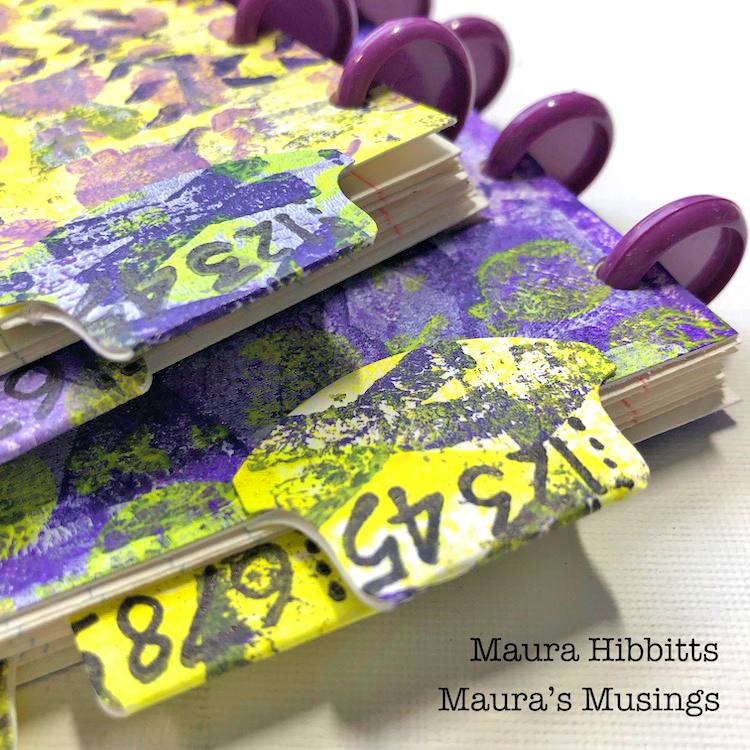
Time for the Rollabind machine.  Can you believe, I almost got rid of this? I hadn’t used it in forever, and then I started to notice a lot of planners that use this system. Now, I am really glad I still have it! I used 4×6 index cards and A2 envelopes. Trim off the envelope flap before using the Rollabind in order to make this into a pocket. I adhered tabs to my pockets.

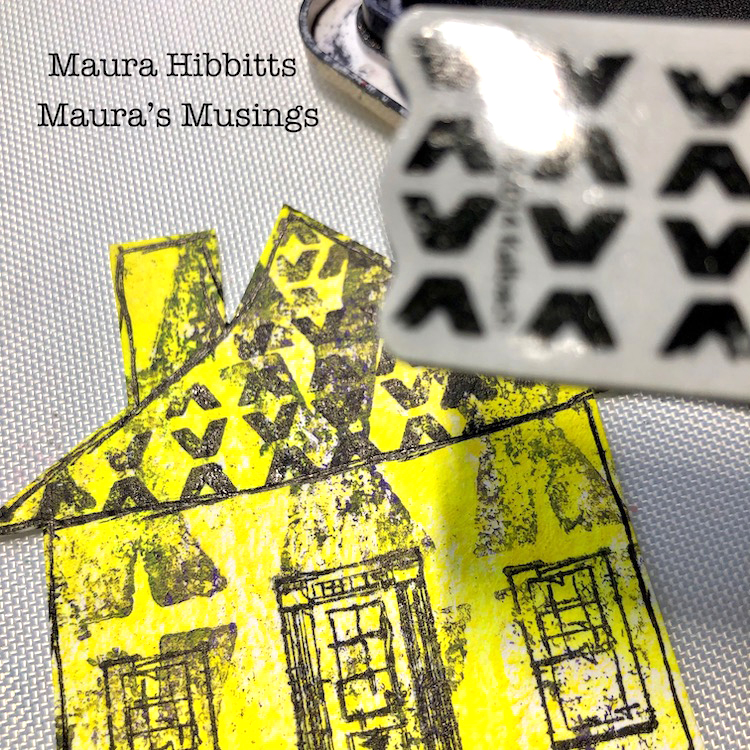
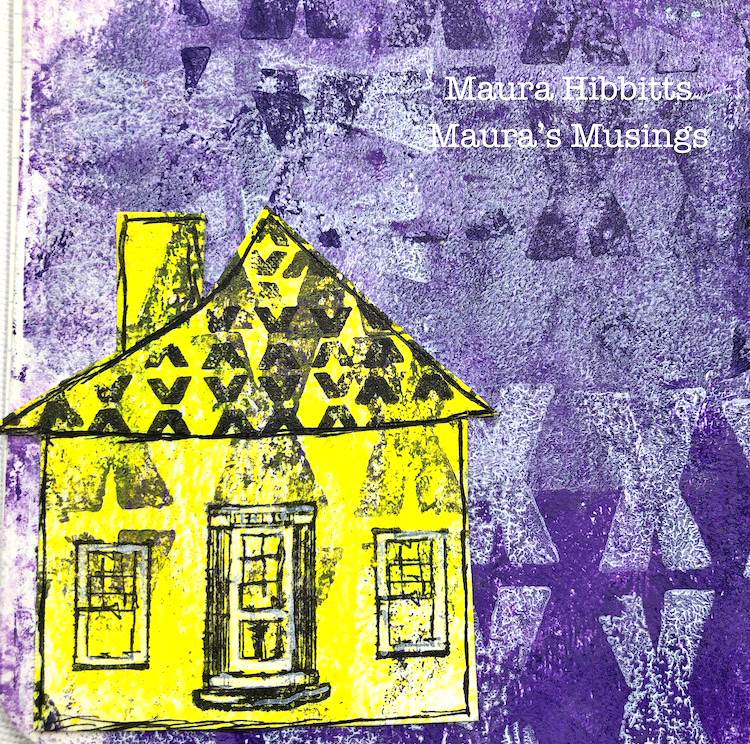
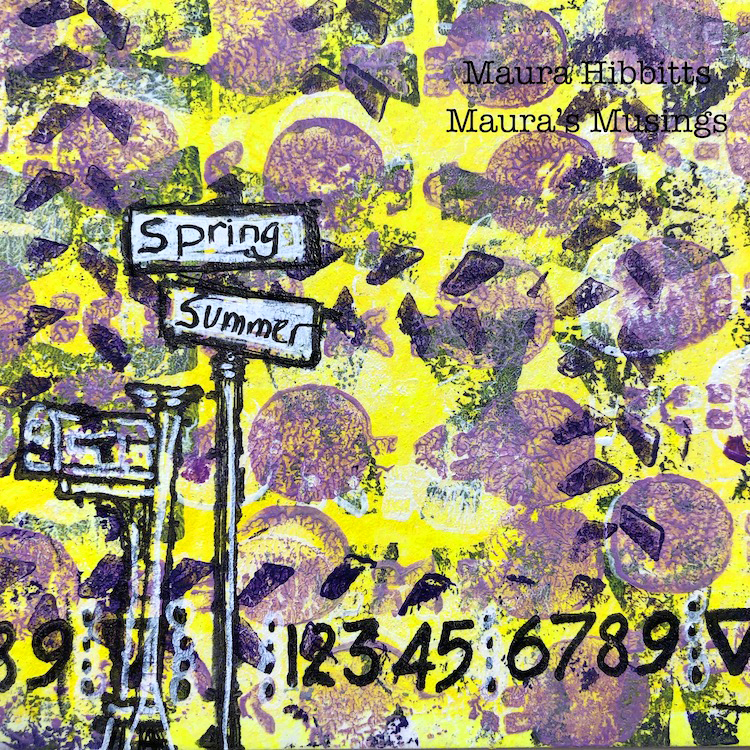
I stamped the Door and Window onto my purple notebook, but it really didn’t show up well. Then I decided to stamp again on the yellow, and hand cut a wonky little house. I didn’t sketch, I just went in with the scissors. I added some detail with black and white pens, and decided the roof needed more detail. I masked off the chimney, and stamped with the V marks and black ink. Then I adhered this to the front  of the notebook, along with a tab. I also stamped images on my yellow notebook and added in some white details. Then, thinking of our Smile theme, I wrote in Spring and Summer on the road signs, because that would make me smile!

Here are some of the details of the covers. I thought it was pretty serendipitous to find the purple disks to use, as I had no idea what I had.

I enjoyed layering with stamps on this project. Stamping in different directions adds another element of fun. I’m smiling because I have two cute little notebooks I’ve made for gifts, and I think they will smile when they receive them. It’s a smiling kind of day! Maura


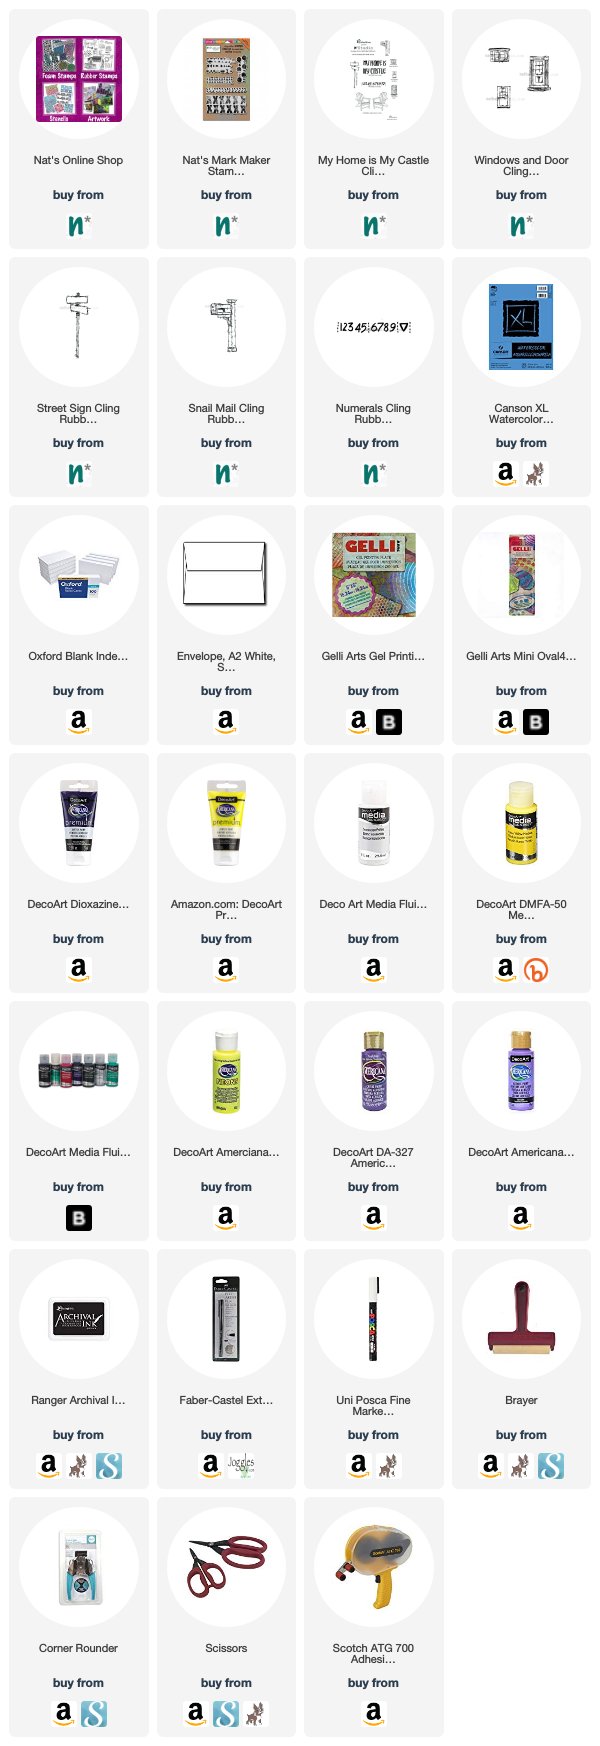
Thank you Maura! I love that charming little house :) You can find my Rubber Stamps in my Online Shop . In addition to a tab punch and rollabind system and disks, here are some of the other supplies that Maura used:


Feel inspired? Working on something yourself that you’d like to share?  I love to see how you interpret our monthly themes. Email me how you used my stencils and stamps with the theme and email me an image – I would love to share your projects in my next  “n*Spiration From Around the Globe“.
Leave a comment

Currently Digging – Creative Squad Edition with Maura Hibbitts

It’s time for a special edition of Currently Digging – with my Creative Squad! Once in a while I like to share with you some nifty finds – like an Artist who’s work caught my eye…, some Inspiration that got my creative juices flowing, and Tools & Techniques I am currently digging. Today we asked Maura Hibbitts from my Creative Squad what SHE is Currently Digging :) Hope you enjoy this.


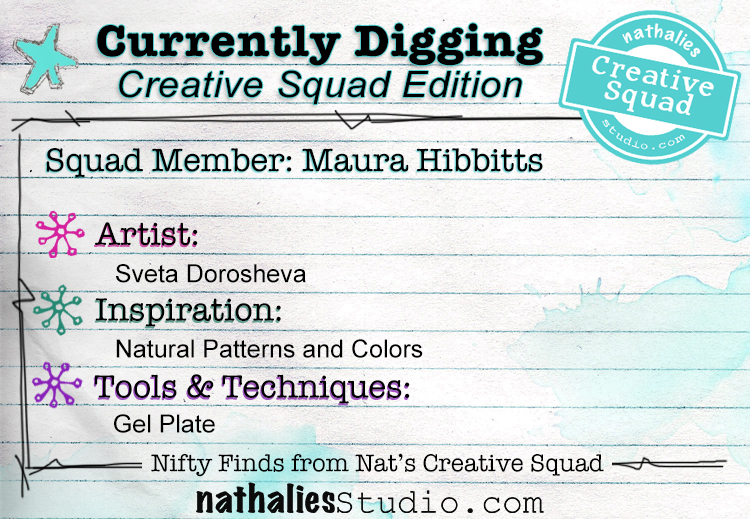
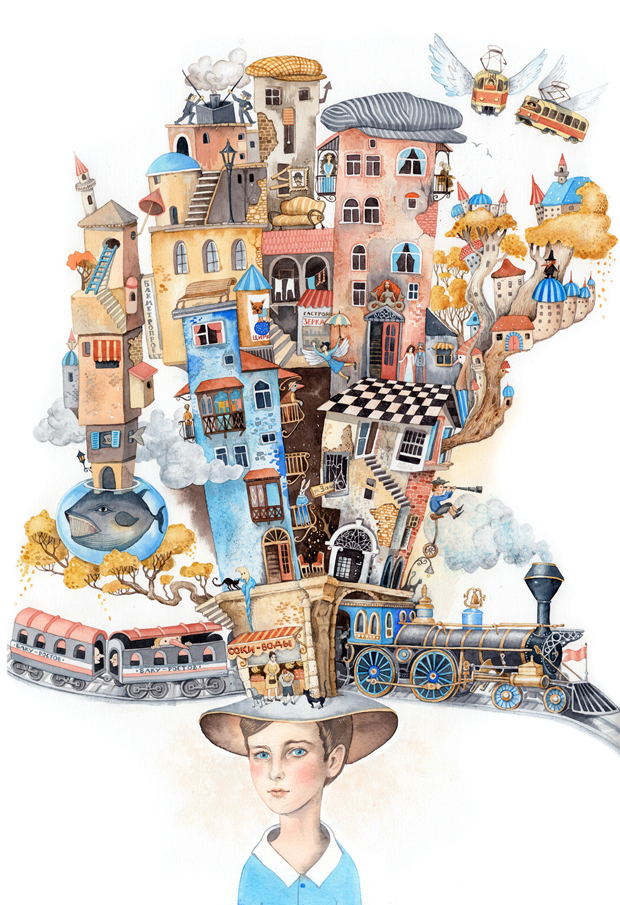
Sveta Dorosheva – I’ve been fascinated with Sveta’s illustrations since receiving her book “The Land of Stone Flowers” for Christmas. I love her imaginative approach to art and storytelling, and the wonderfully intricate designs she creates. I am drawn back to the images repeatedly and each time I discover something new, which fires my imagination.

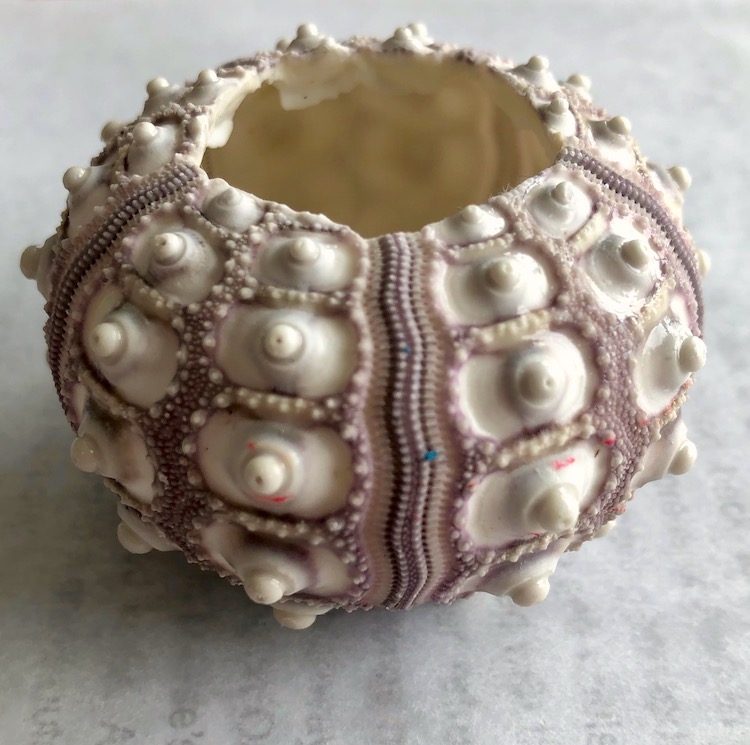
Natural Patterns and Colors – I am always looking at the world around me for inspiration, and lately I’ve been drawn to patterns in nature. Frost and ice designs, shadows on the snow, clouds passing overhead have their own intricate designs to share. Recently though, I headed to sunny Florida, and started observing patterns in sand, rocks and shells on the beach (and in shops). I am amazed at the beautiful patterns created by nature.

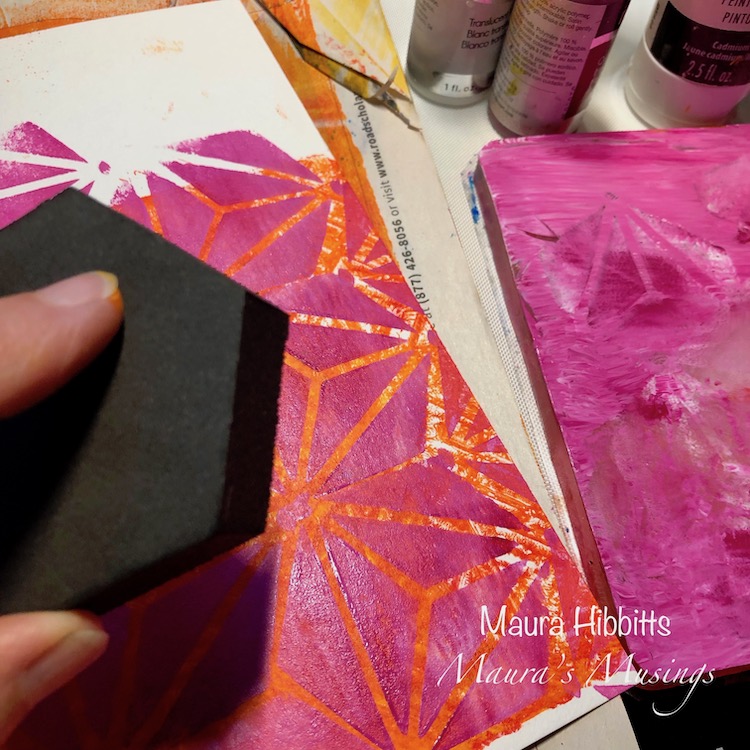
Gel Plate – I find myself frequently reaching for the gel plate when I am working on projects. Not only do I like to use it to create my own prints and papers, but it also makes a great surface to stamp into as well as pick up paint on a stamp. Nathalie’s Art Foamies work really well with this technique.


Thank you Maura! I hope you all enjoyed hearing a bit more about what inspires Maura as an artist. Stay tuned for the next Currently Digging Creative Squad edition for more from our other members :)

Leave a comment

Today We Smile – Tania Ahmed


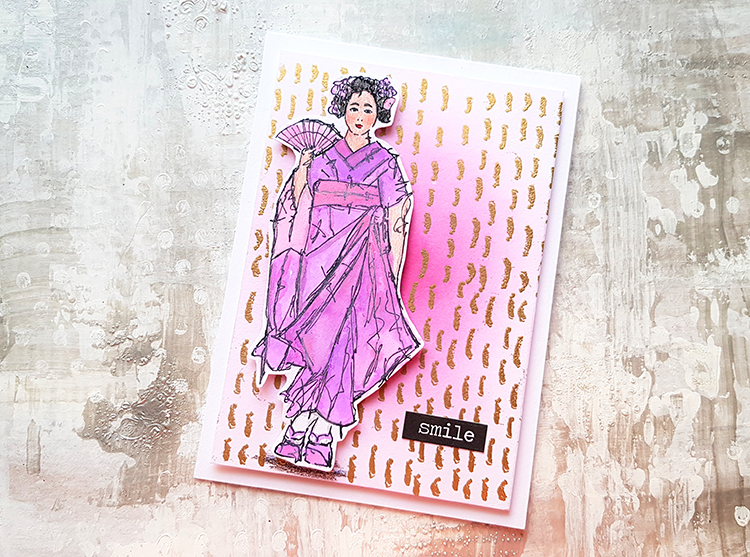
Hello again from the Creative Squad! Today we have a video from Tania Ahmed who is rocking some distress inks and embossing with my Maiko and Running rubber stamps. The theme this month is: Today We Smile – They say smiling can lift our mood and maybe improve our overall health. Let’s try it! Think about what makes you smile and share it with all of us. After all, smiles are also known to be contagious :)


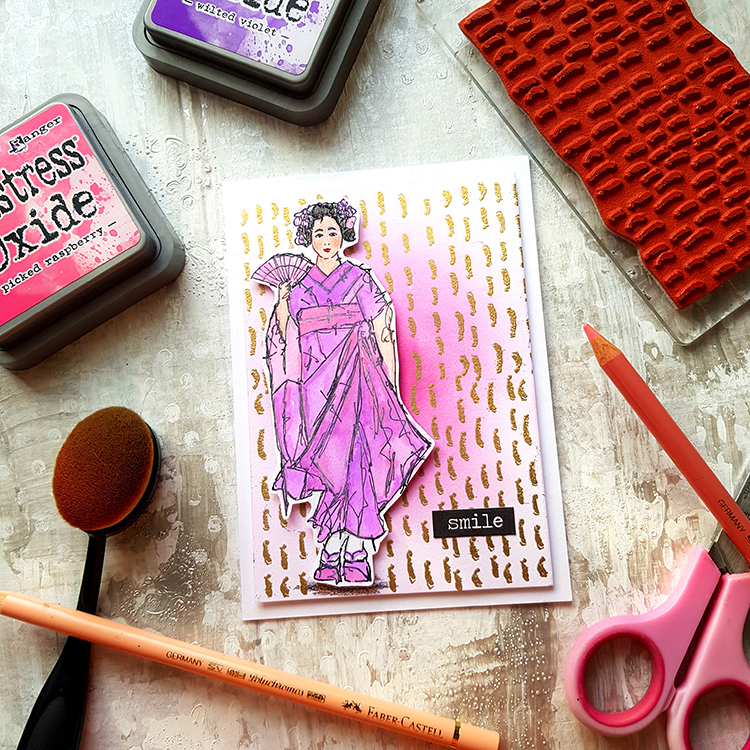
This month’s theme for the Creative Squad was Today we Smile and boy oh boy did I smile while making this card using the Maiko stamp set :)

I have made a video on how I made the card using lots of techniques with Distress Oxides, embossing powder and colour pencils.

I used a lot of things that make me really happy: stamping, heat embossing, ink blending, gold, and watercolouring! I hope you enjoy the video and please do let me know if you have any questions about any of the techniques or products used.

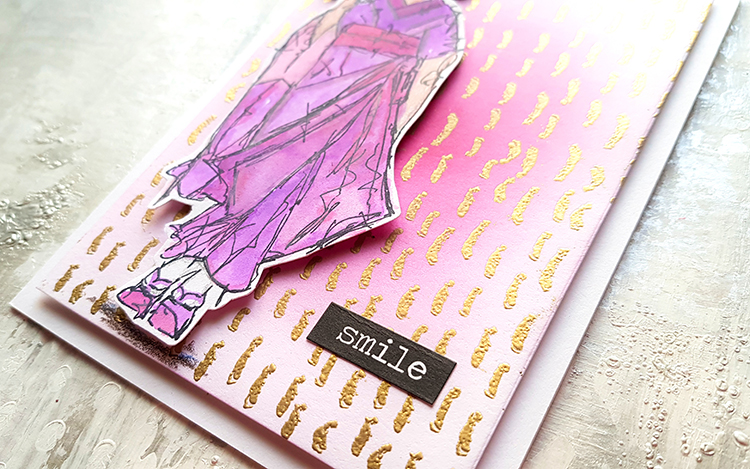
Step1: Stamp with Running Stamp and Heat Emboss cardstock panel with Gold Embossing Powder using an embossing ink pad.

Step2: Apply Distress Oxide to heat embossed background with blending brush.

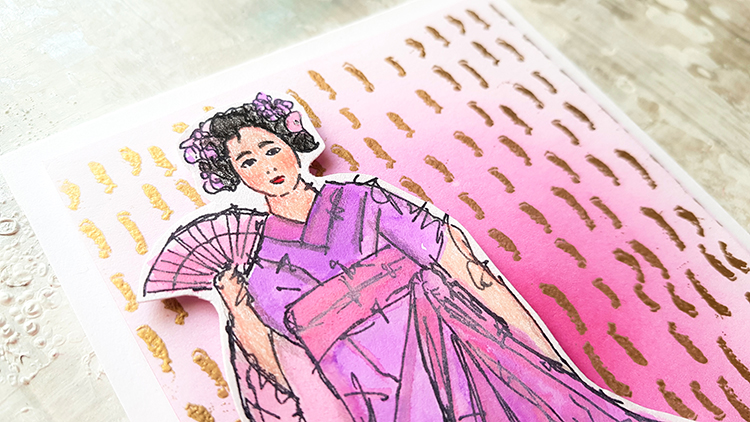
Step 3: Stamp and colour in Maiko stamp using Distress Oxides as watercolours. Add details and shading with colour pencils.

Step4: Cut out Maiko image.

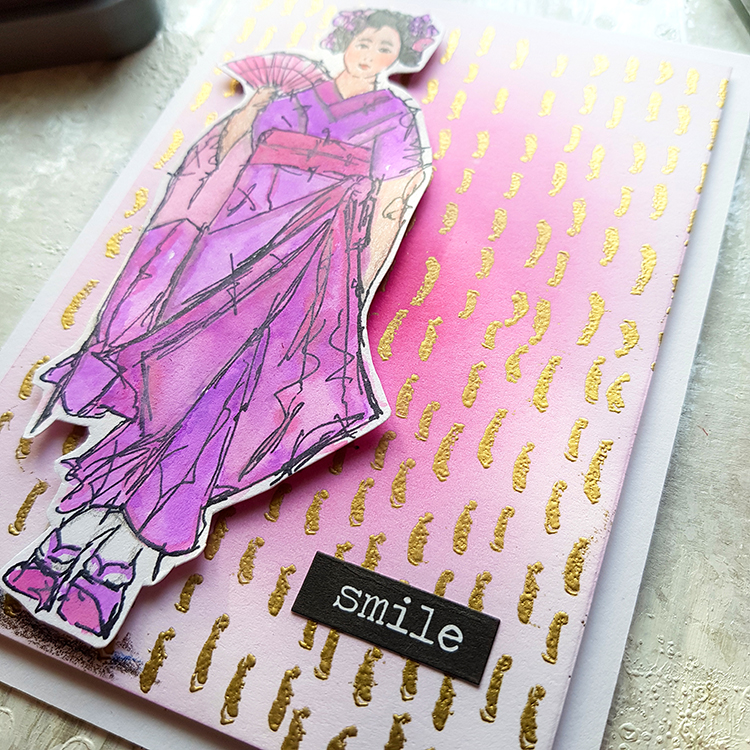
Step5: Assemble all elements together and add to top folding card base using foam tape.

Step6: Add sentiment sticker to finish.

Thank you so much for watching and taking a peek here on Nat’s Blog. Take care and see you all next month :)


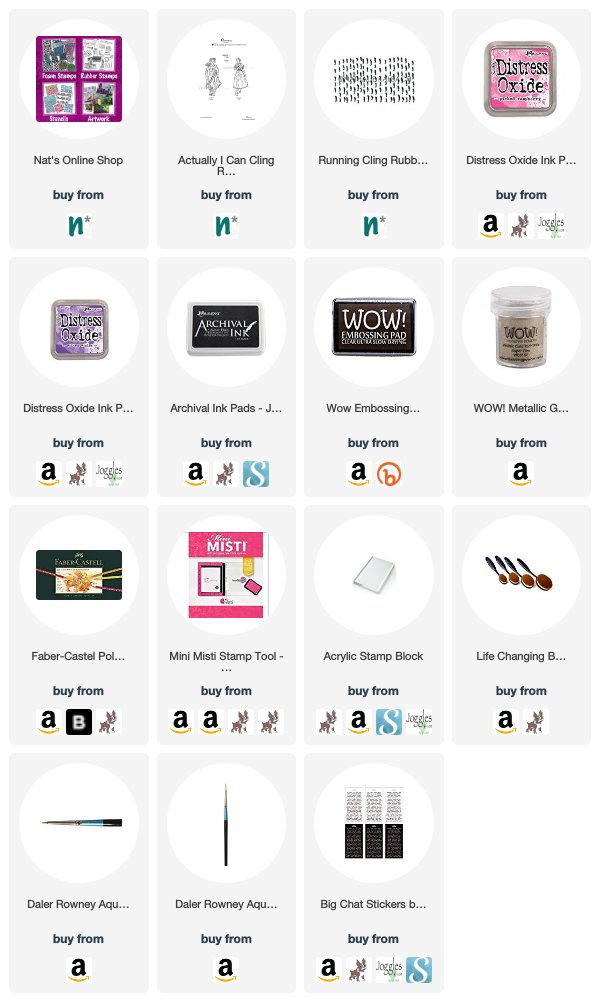
Thank you Tania! What a gorgeous card!!! You can find my Rubber Stamps in my Online Shop and here are some of the other supplies that Tania used:


Feel inspired? Working on something yourself that you’d like to share?  I love to see how you interpret our monthly themes. Email me how you used my stencils and stamps with the theme and email me an image – I would love to share your projects in my next  “n*Spiration From Around the Globe“.
Leave a comment

Today We Smile – Josefine Fouarge


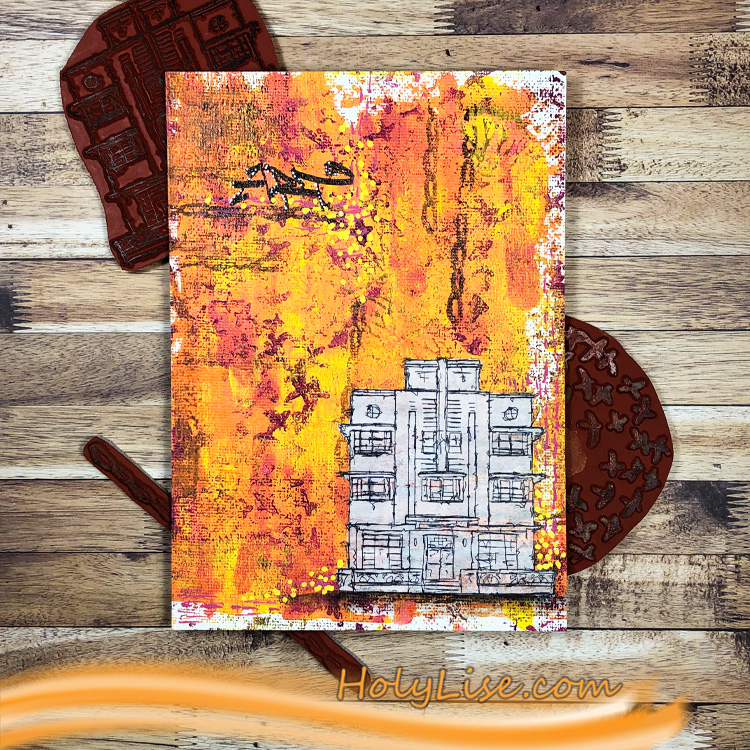
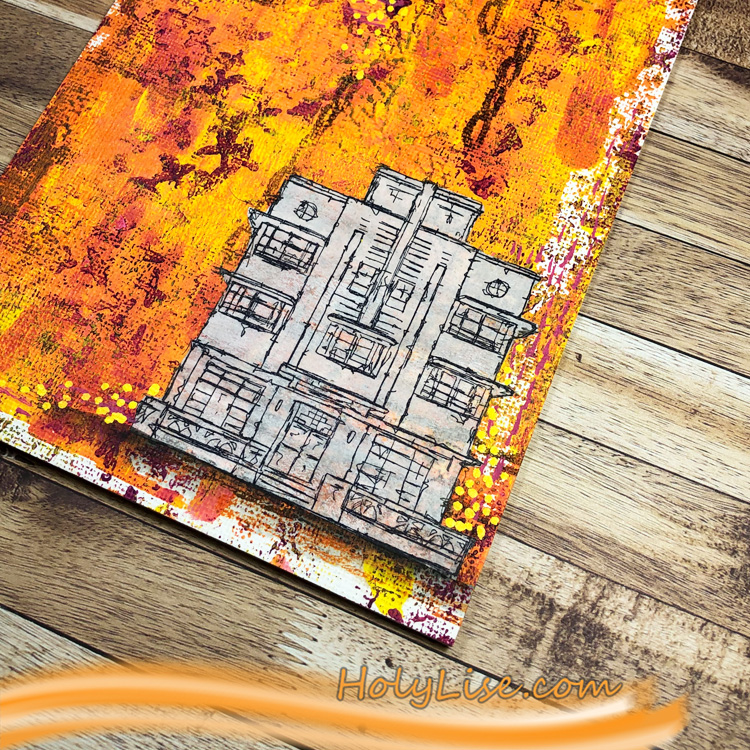
Hello from my Creative Squad and a mixed media piece by Josefine Fouarge! Josefine is using my Art Deco house, Art Tag, Chain Link, and Cross Circle rubber stamps and this month’s theme: Today We Smile – They say smiling can lift our mood and maybe improve our overall health. Let’s try it! Think about what makes you smile and share it with all of us. After all, smiles are also known to be contagious :)


Yes, let’s all smile. I smile when I can create, so surprise – I’m creating something ;) And I hope it will inspire you to create and maybe even smile yourself.

I enjoy creating the most when I can turn off my head while putting something onto paper (or in this case onto a board). Not thinking about what happens, just letting my inner joy guide me. This is what happens when I do exactly that:

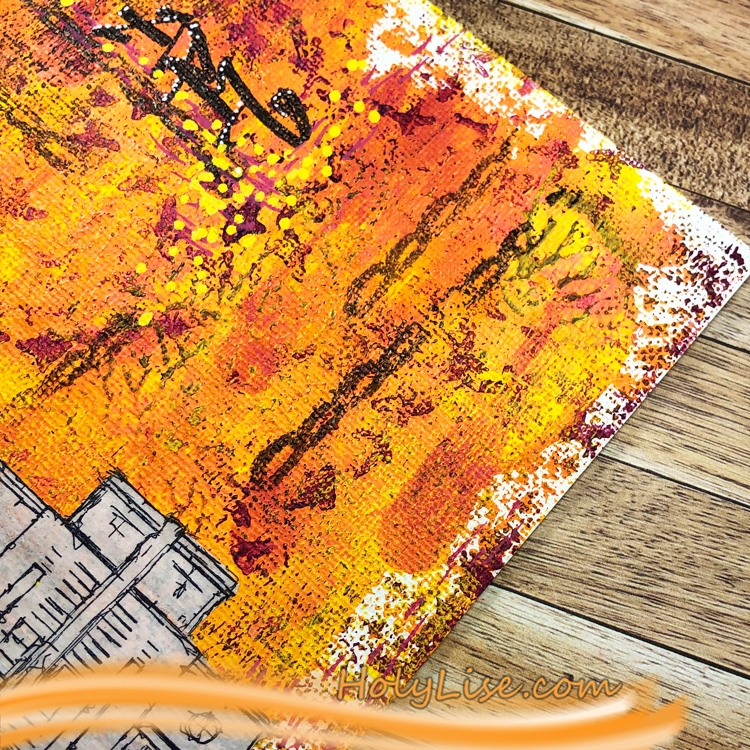
Here you can see how everything came together. Just imagine my smile on my face while I was smooshing around with paint, ink and stamps.

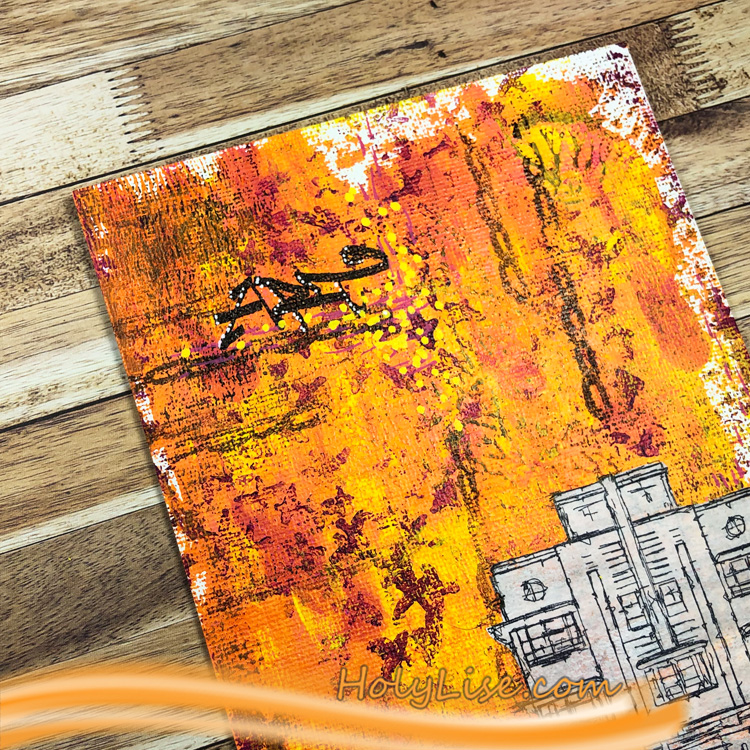
Can you see all the texture in the background? I really enjoy how the white house contrasts with the colorful and textured background. It’s a totally different look.

Thanks so much for stopping by. Don’t forget to take a look at all the other inspiration on Nat’s blog.


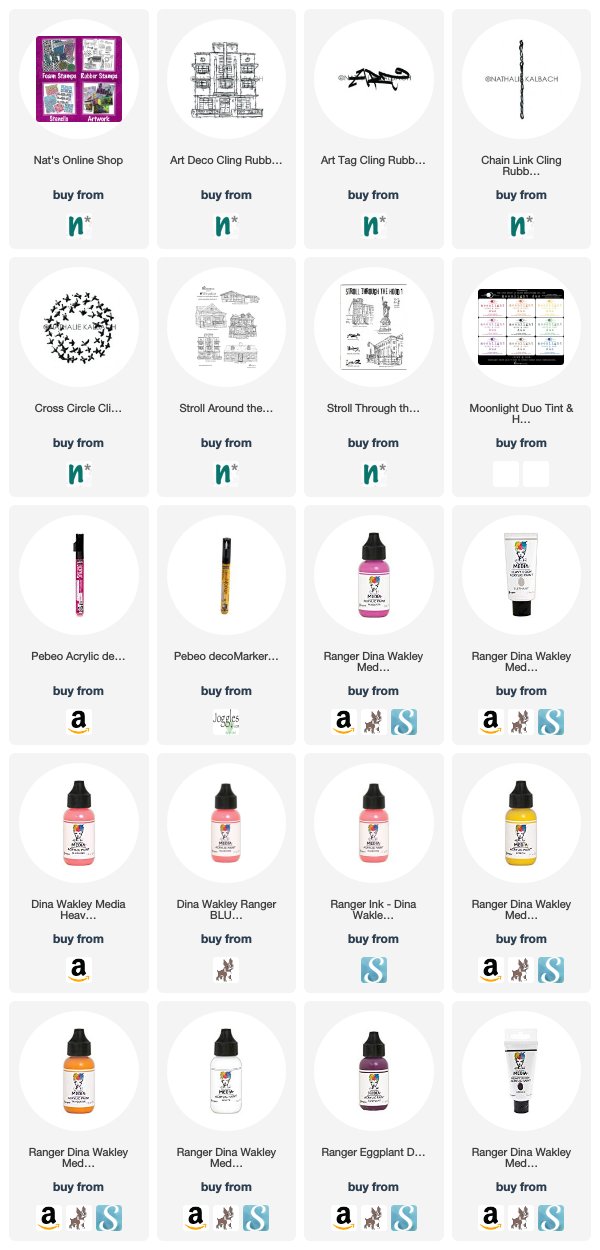
Thank you Josefine – I just love the colors in that background!!! In addition to my Rubber Stamps from my Online Shop , here are some of the supplies that Josefine used:


Feel inspired? Working on something yourself that you’d like to share?  I love to see how you interpret our monthly themes. Email me how you used my stencils and stamps with the theme and email me an image – I would love to share your projects in my next  “n*Spiration From Around the Globe“.
Leave a comment