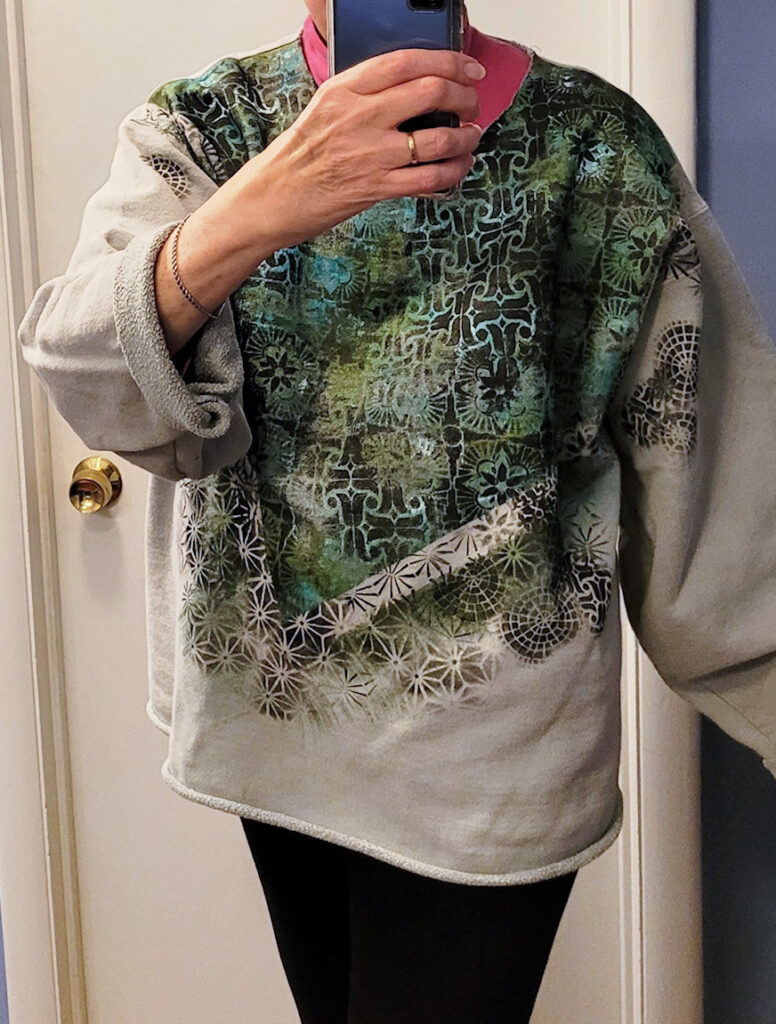
So excited to share this project with you today because, well, I definitely want to give it a try too! We’ve got a sweatshirt re-do from Creative Squad member Judi Kauffman who is using my ATC Mixup, Amsterdam, and Hamilton stencils to completely give new life to an old sweatshirt. Check it out and then time to dig through your own closets for some contenders :)
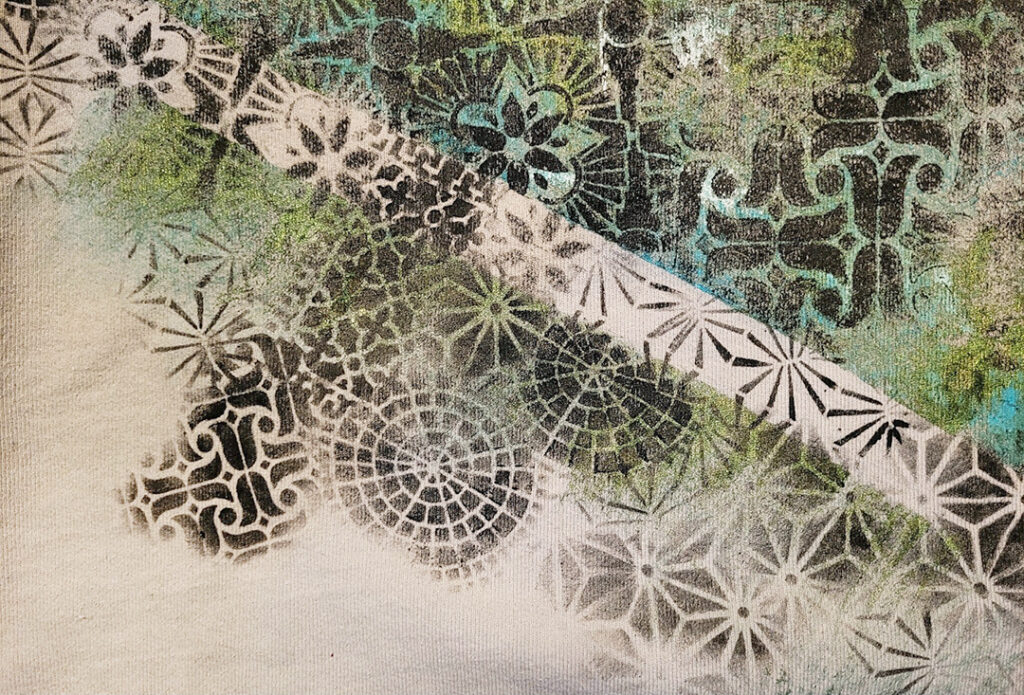
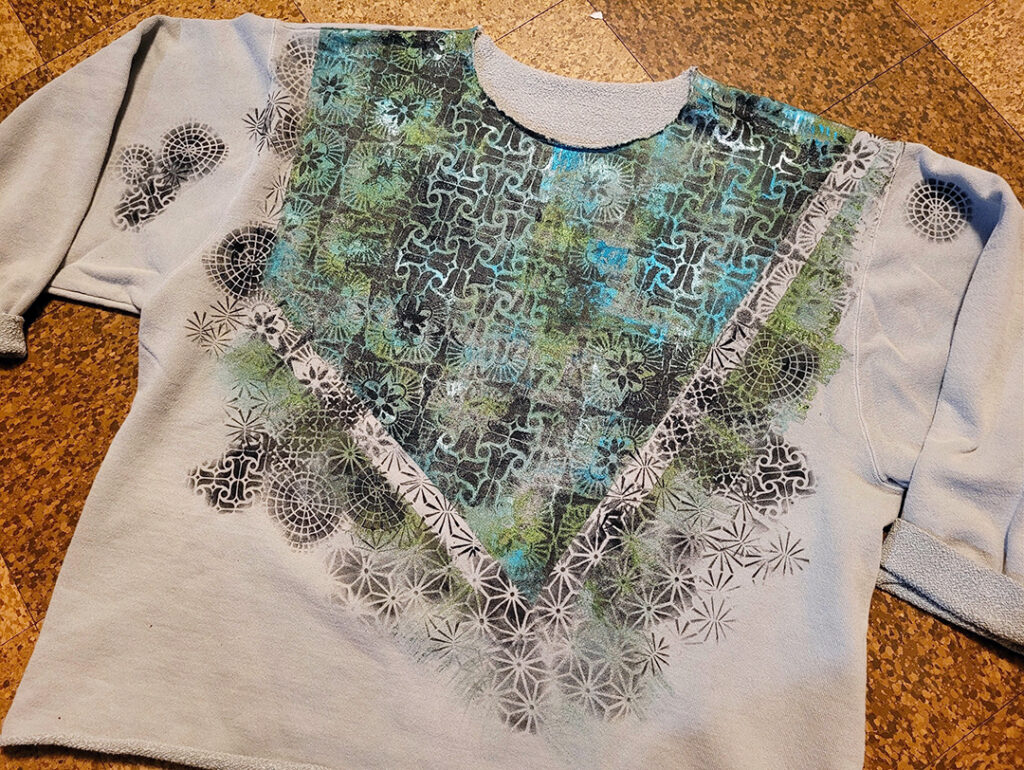
Nothing beats a comfy baggy sweatshirt, but when it gets a few stains it’s time for the rag bag OR my preferred option: a facelift! I cut off the ribbing at neck, sleeves and hem, delineated an asymmetrical section of the front with masking tape and used green and turquoise metallic paint to fill the section, and green paint to create ‘fringe’ around the edges of the tape.
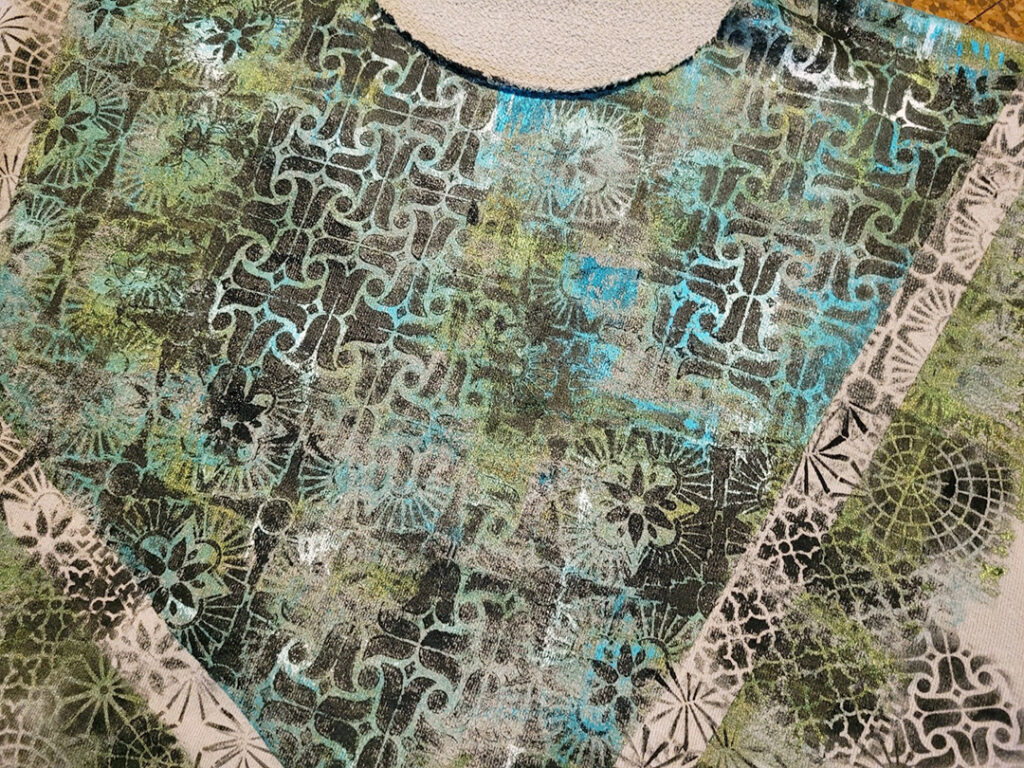
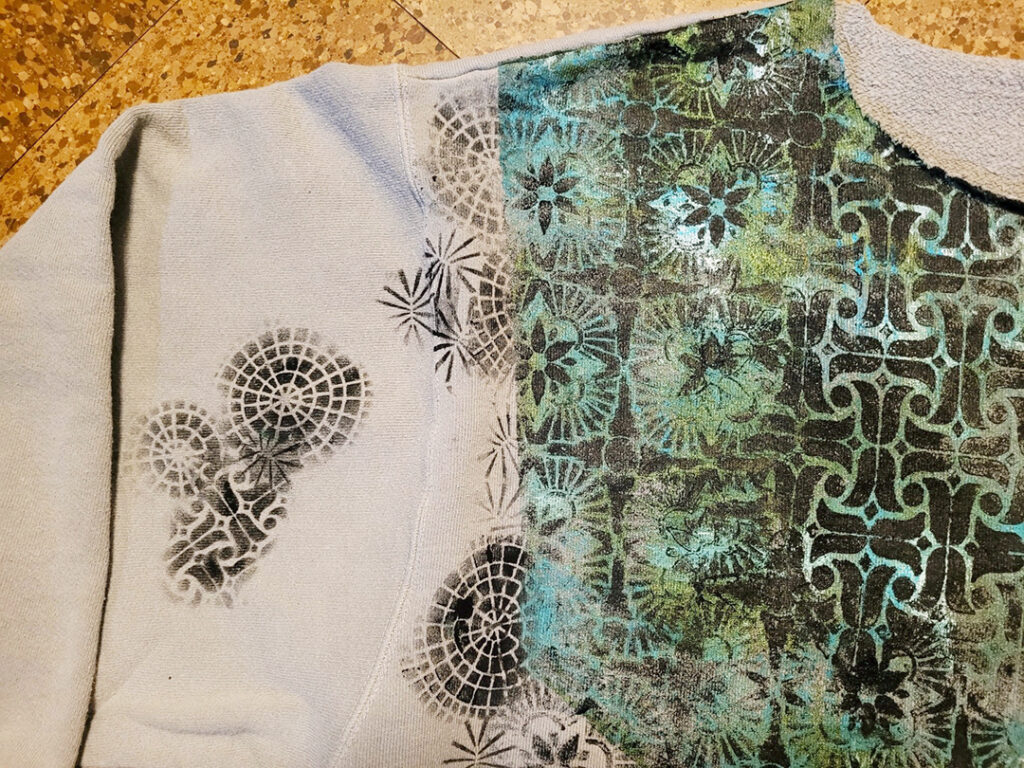
Then I stenciled with black paint within the center section using two 9×12 stencils before I removed the tape and continued. I used Nathalie’s ATC Mixup to create smaller patterns. I extended onto the sleeves a bit, too. If it were the 80s I’d now be adding beads and dimensional paint. (I’m mighty tempted…maybe I could revive the trend!)
Thanks for sharing Judi! I love this transformation and what a fantastic idea for updating some clothing that maybe hasn’t been worn in a while.
You can find all of my stencils in my Online Store. In addition to a comfy old sweatshirt, here are some of the supplies that Judi used:
Looking for more projects and inspiration from the Creative Squad? Check them out HERE on Instagram.
Today we have a little card making inspiration from Creative Squad member Judi Kauffman who is using my ATC Mixup stencil and some collaged paper bits to create a stunning layered design.
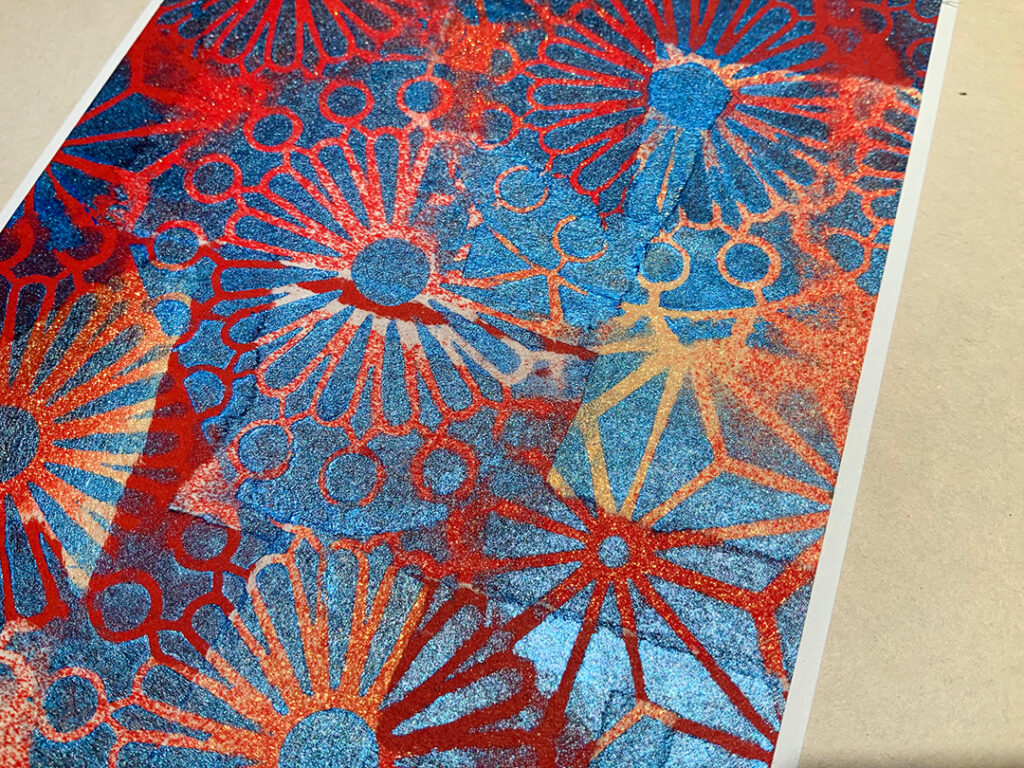
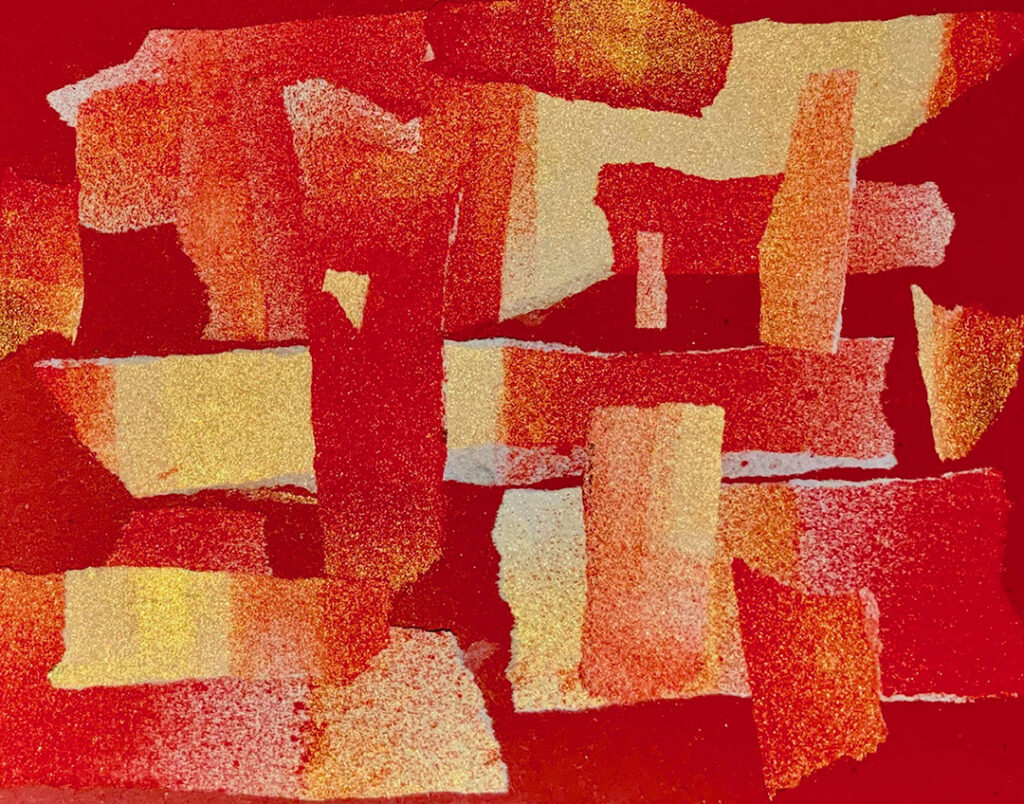
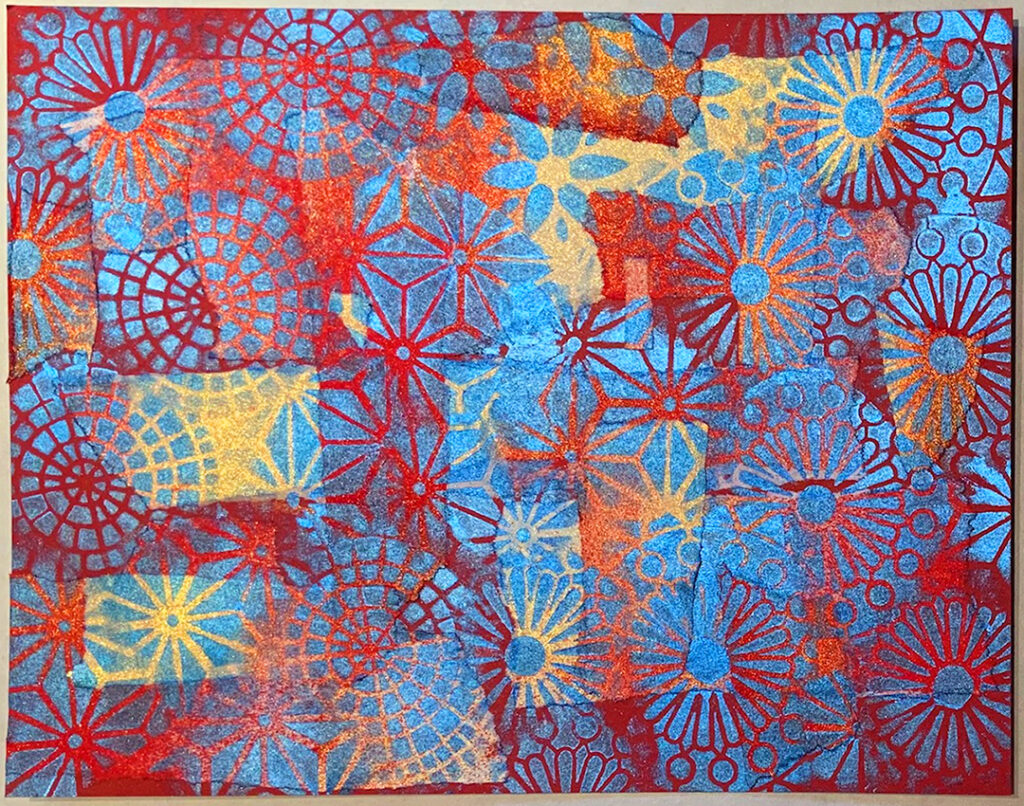
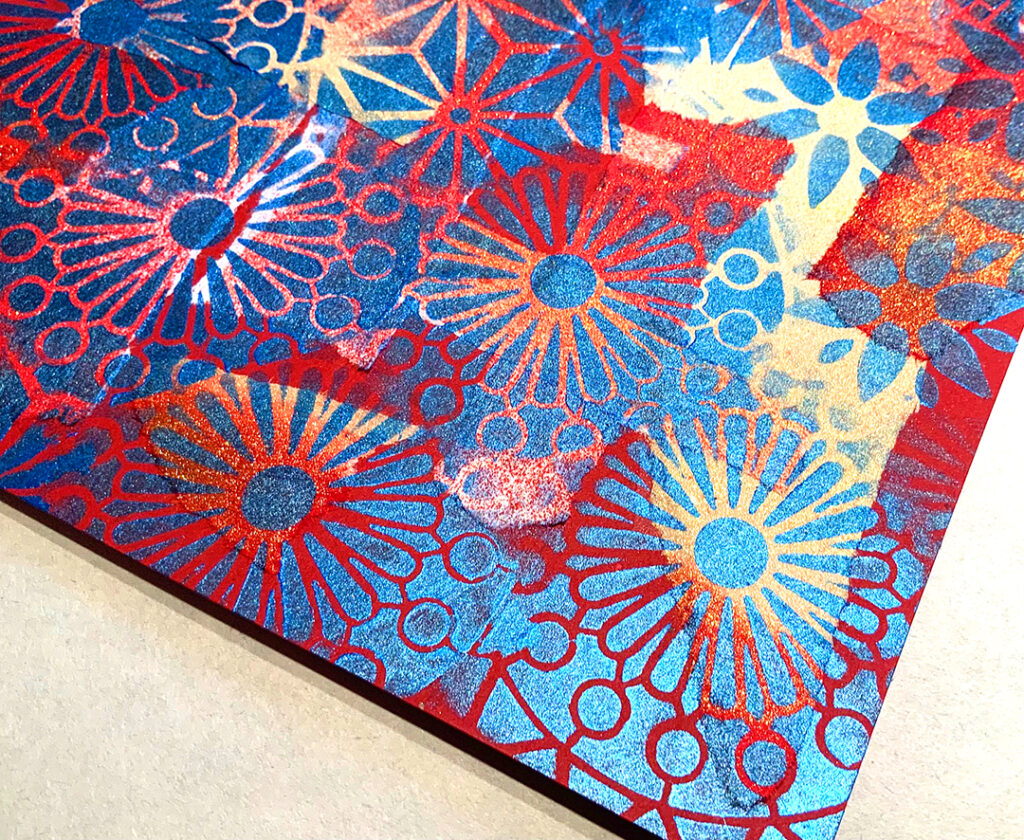
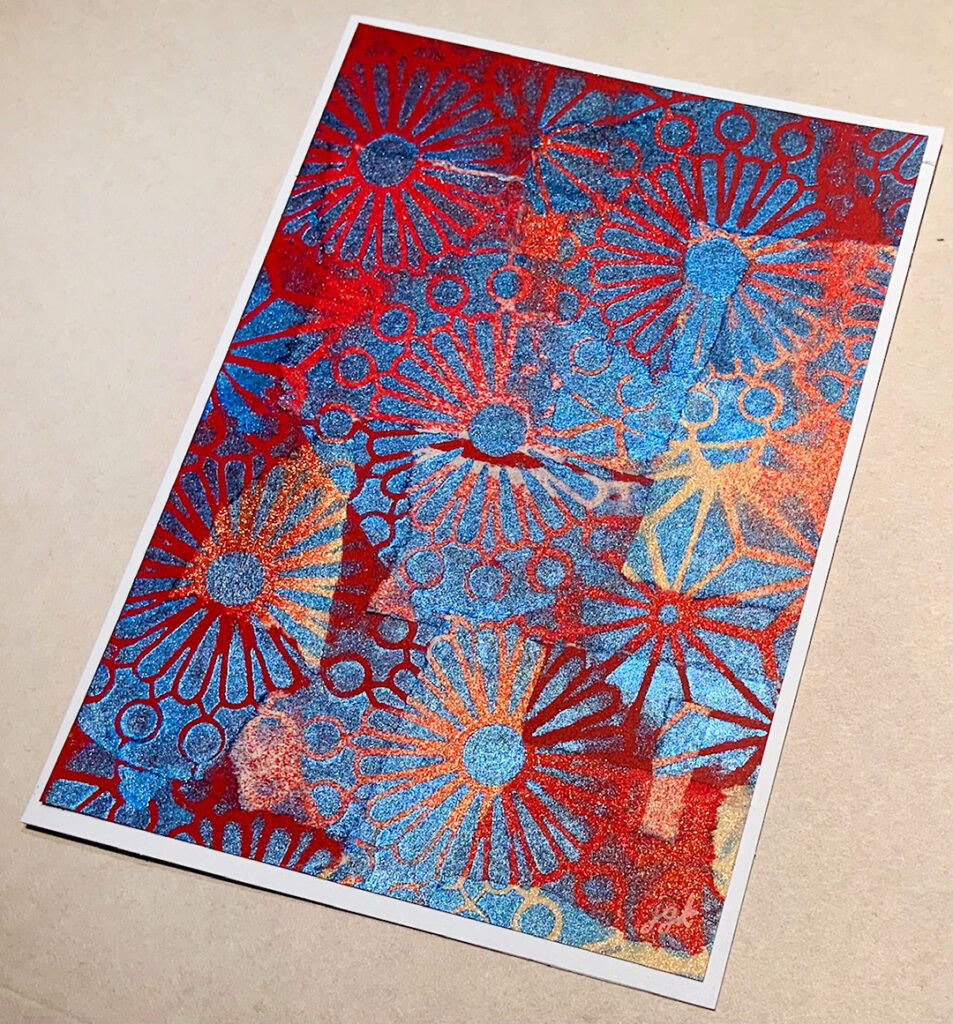
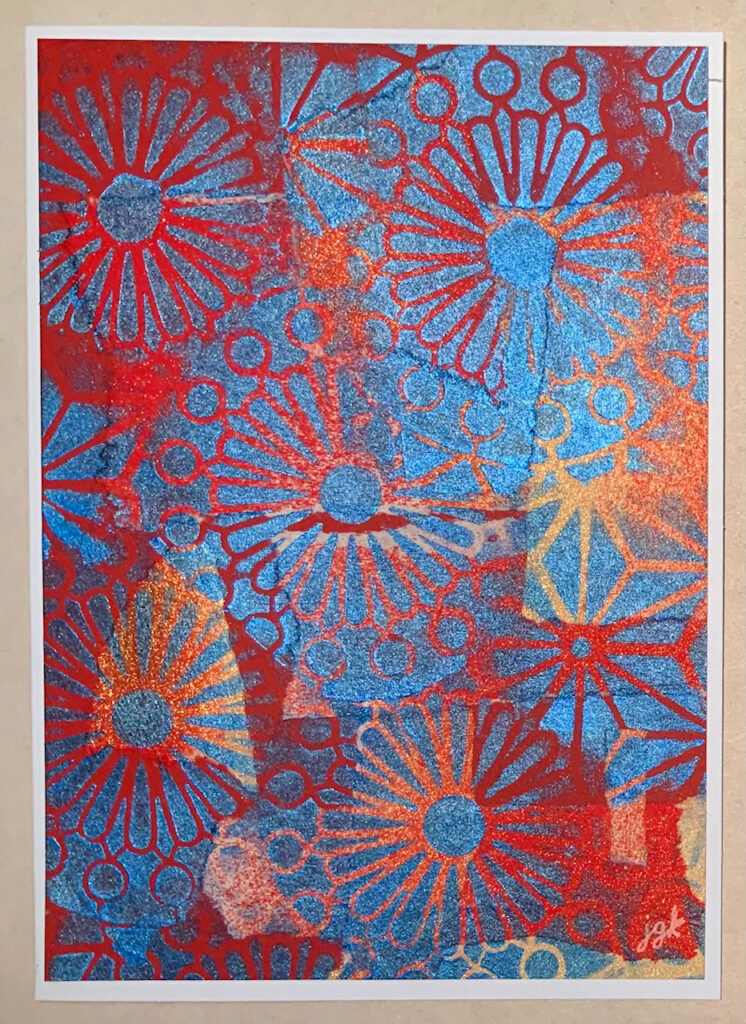
This is what I did this morning: I glued torn paper leftover from doing some spray painting onto 8.5×11 red cardstock.
Then I stenciled onto the sheet with metallic blue acrylic paint and the ATC Mixup stencil. I turned the sheet into cards.
Thanks for sharing Judi – love this method of starting with a little random collage. It’s a great way to use up some of those painted papers and clean up sheets.
You can find all of my stencils in my Online Store. Here are some of the supplies that Judi used:
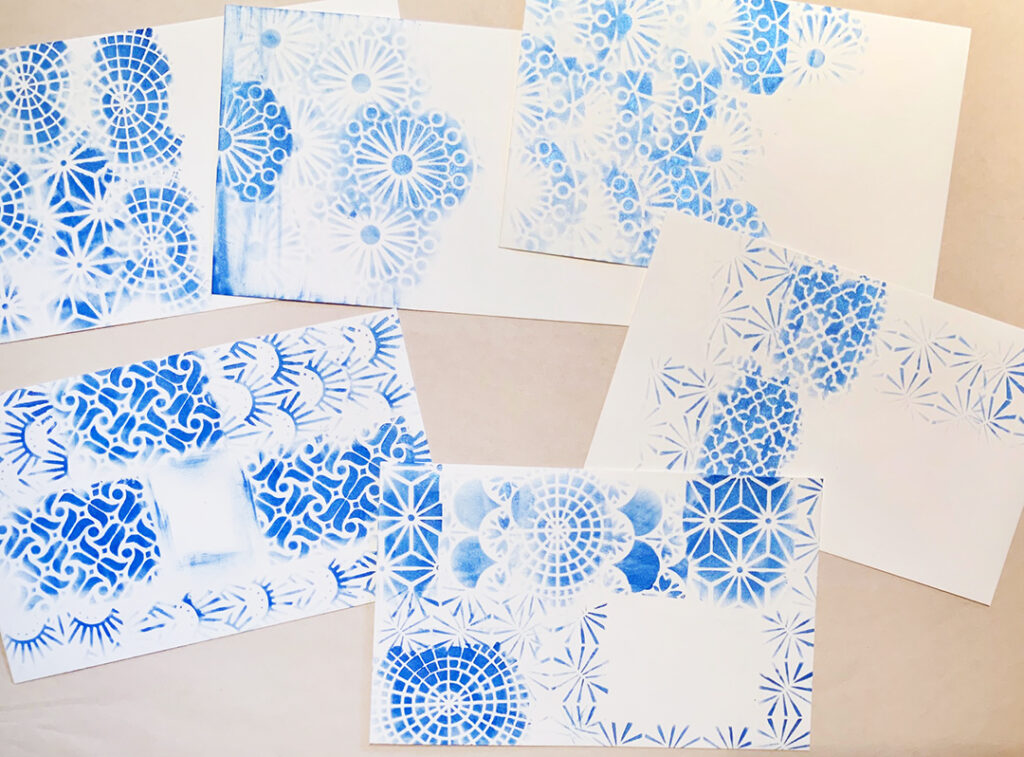
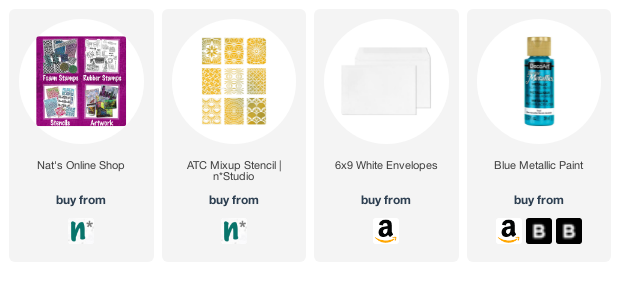
Are you sending out New Years or Thank You cards in the coming days? Don’t forget to give those envelopes some love too! Here is a nice idea from Creative Squad member Judi Kauffman who is using my ATC Mixup stencil to give plain white envelopes a little bit of pizzaz!
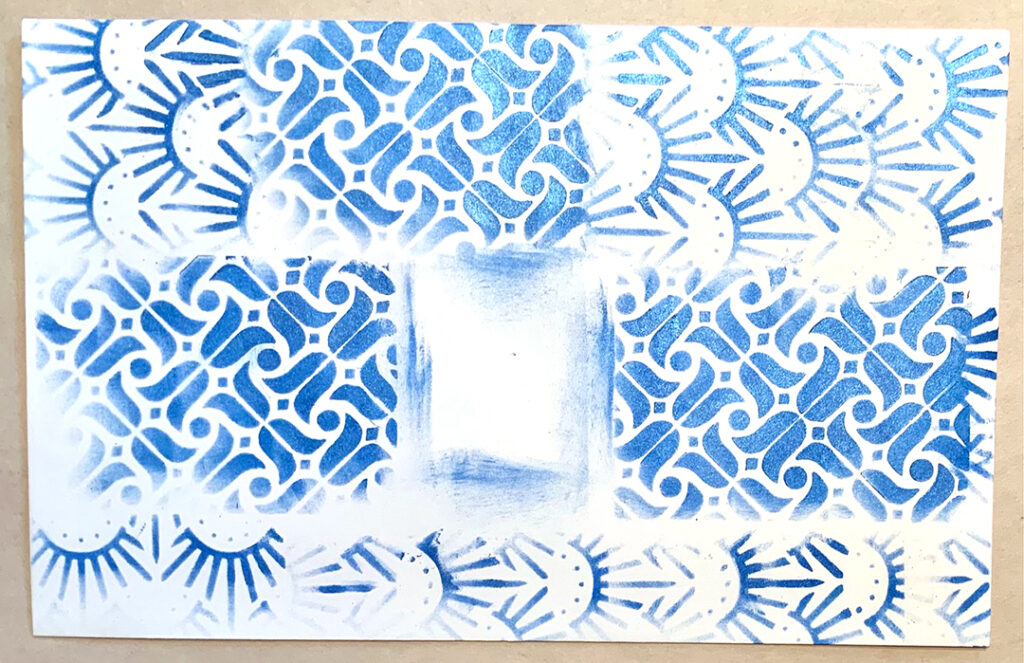
Here are some super fast envelopes for you. These are 6×9 envelopes for oversized cards, plenty of room for stenciling.
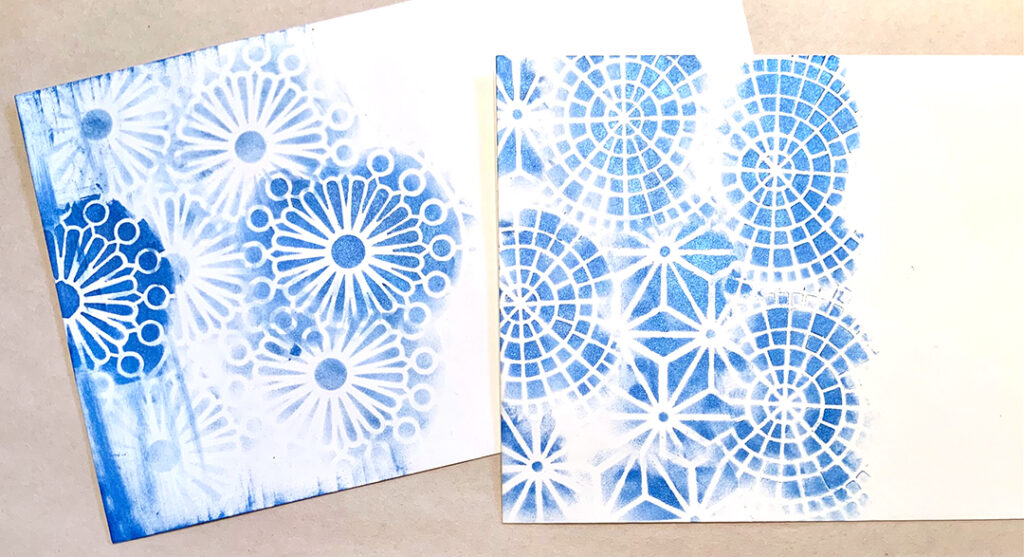
I’m crazy about the ATC Mixup stencil patterns. By not going to the straight side of any of the stencil patterns the soft edges make it nice to overlap the designs, I think!
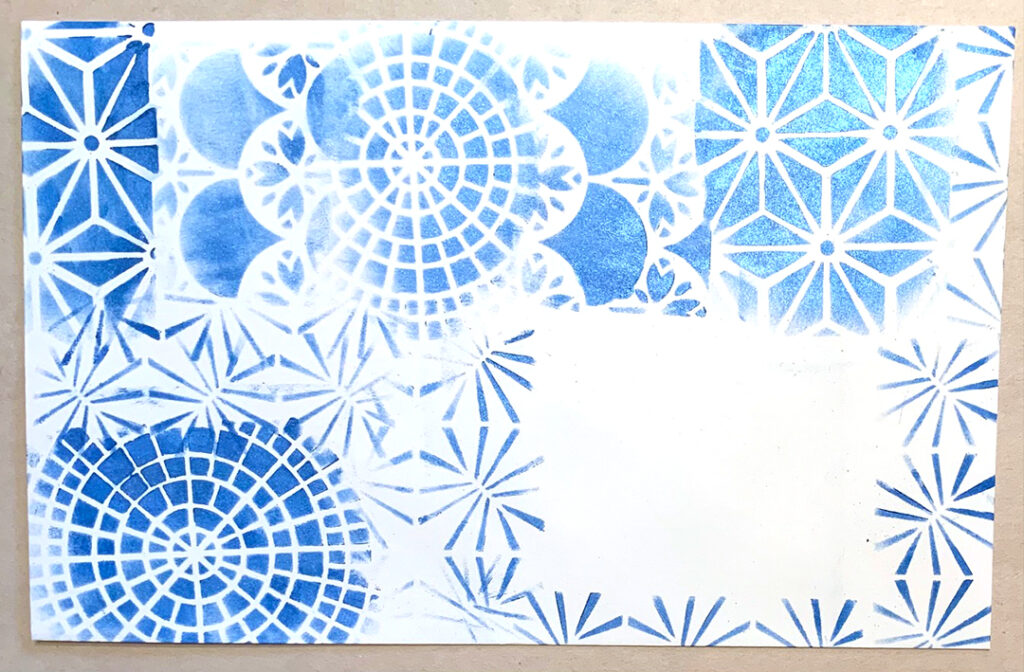
Blue metallic paint shines only where it’s applied in the darkest areas – the rest of the time it mutes out and just looks blue.
Thanks for sharing Judi – love seeing how the patterns work together and it shows how handy the stencil is with 9 patterns on one sheet to choose from.
You can find all of my stencils in my Online Store. Here are some of the supplies that Judi used:
Hello from my Creative Squad! Today we have a gorgeous art journal spread from Maura Hibbitts using the CJS22 Limited Edition LOVE foam stamp and my ATC Mixup stencil. Our theme is Creating Connections – We’re playing along with the Creative JumpStart 2022 theme Creating Connections and exploring how our artwork connects us to the world around us, our community, our favorite supplies, or maybe our artmaking choices. Connections are everywhere when we create!
Hello 2022! Wishing each of you a joyous and healthy new year! What a fun month this will be as we play along with Creative Jumpstart. I love the theme of Creating Connections: it opens up so many ideas. Just think about the many connections we each have – family and friends, the cashier at the grocery, coworkers, art muses, neighbors, ancestors… no matter where we live on this planet, we are connected to each other.
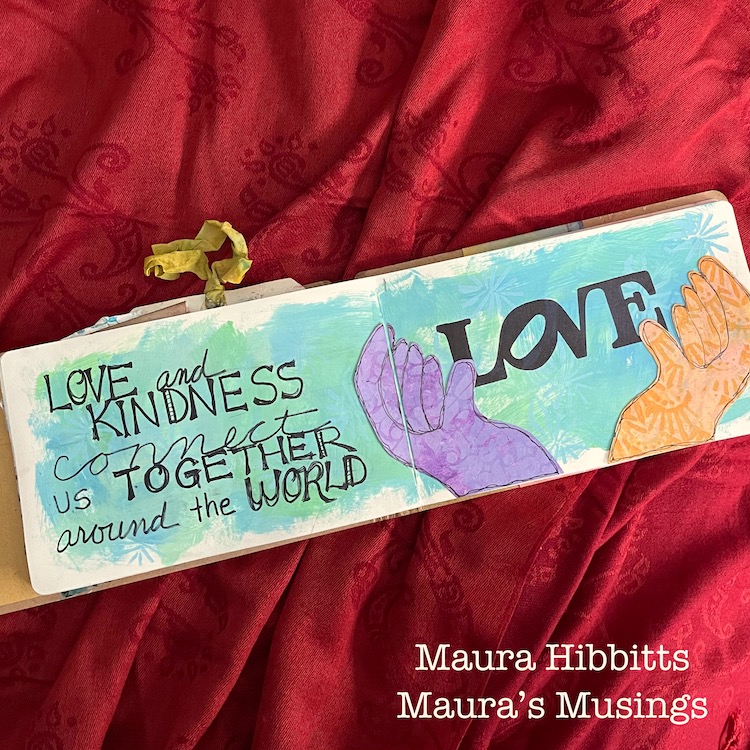
I headed to my art journal to work out my idea of hands holding love. I was thinking about how we need to nurture love and keep it safe for it to grow. I chose to work in rainbow colors to symbolize the diversity of humans around the world and how love connects us all.
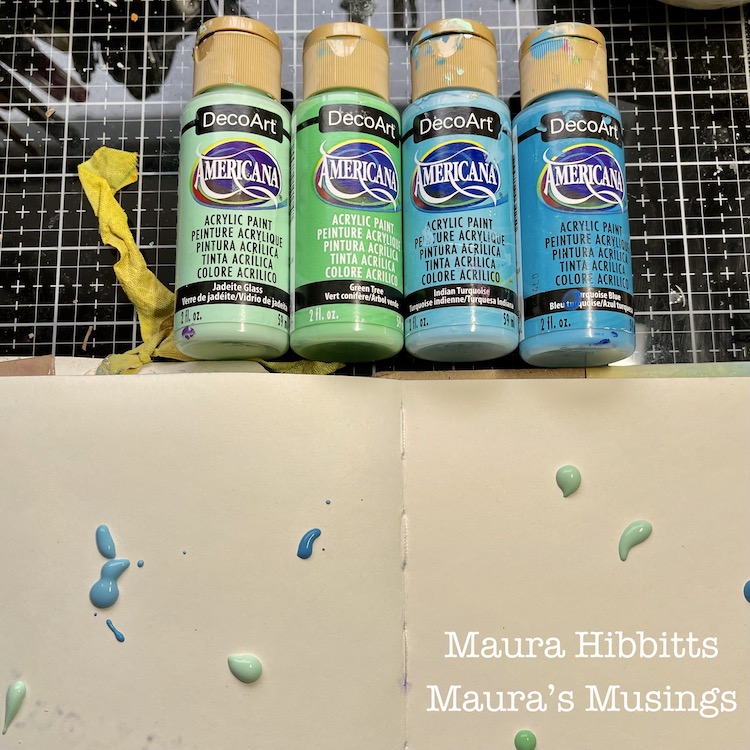
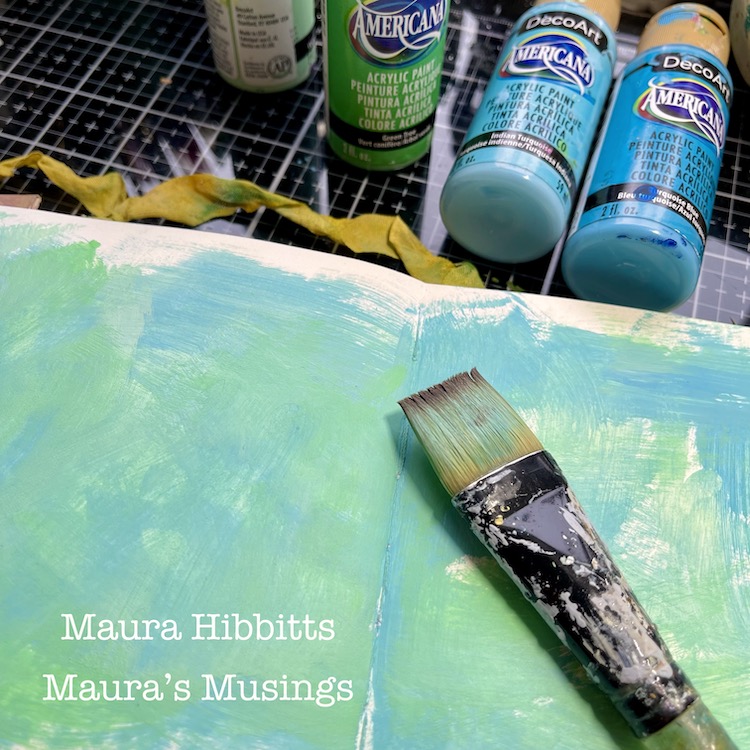
Begin in your art journal with a few dabs of acrylic paint in blues and greens. Use a dry brush and spread and blend it across the page(s). Add more of a color if the other seems to dominate until you are happy with the background.
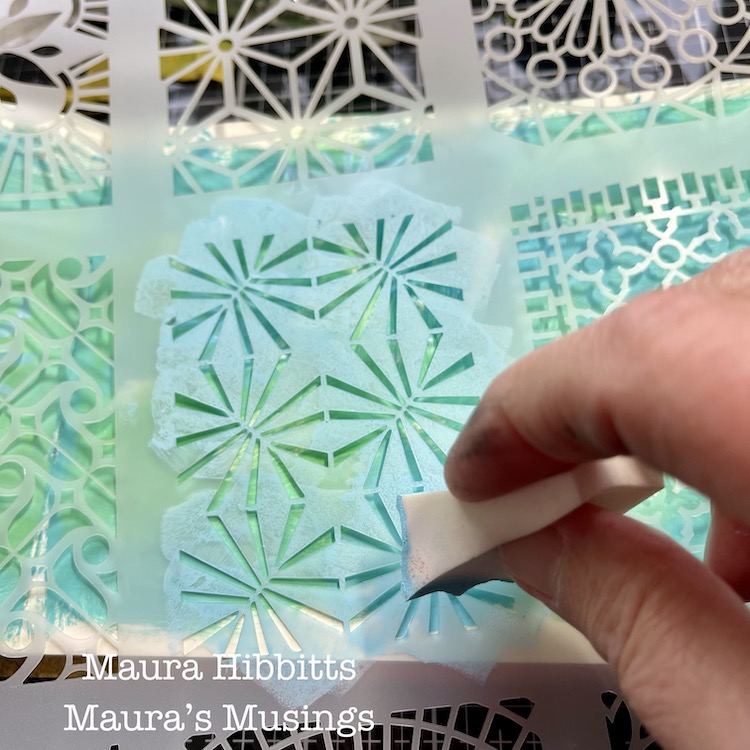
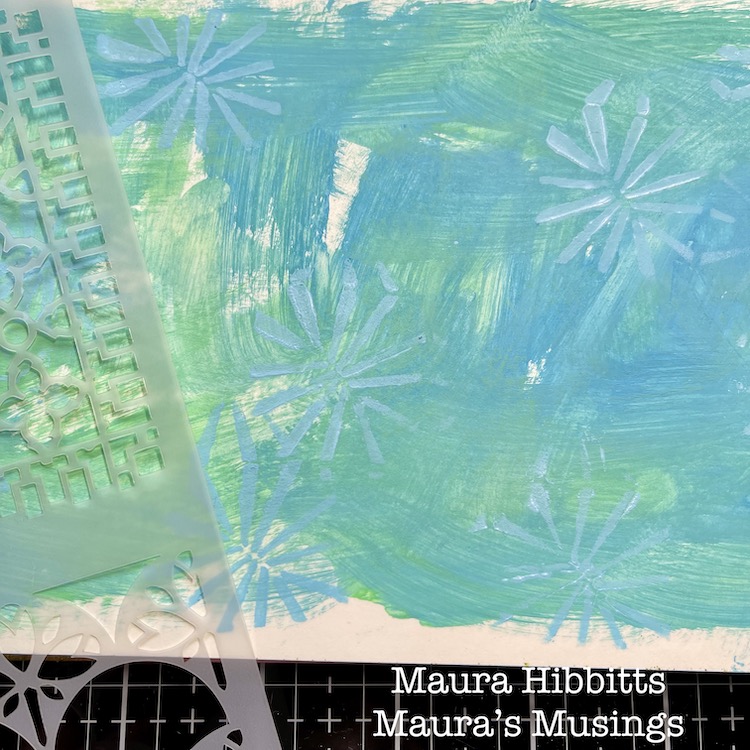
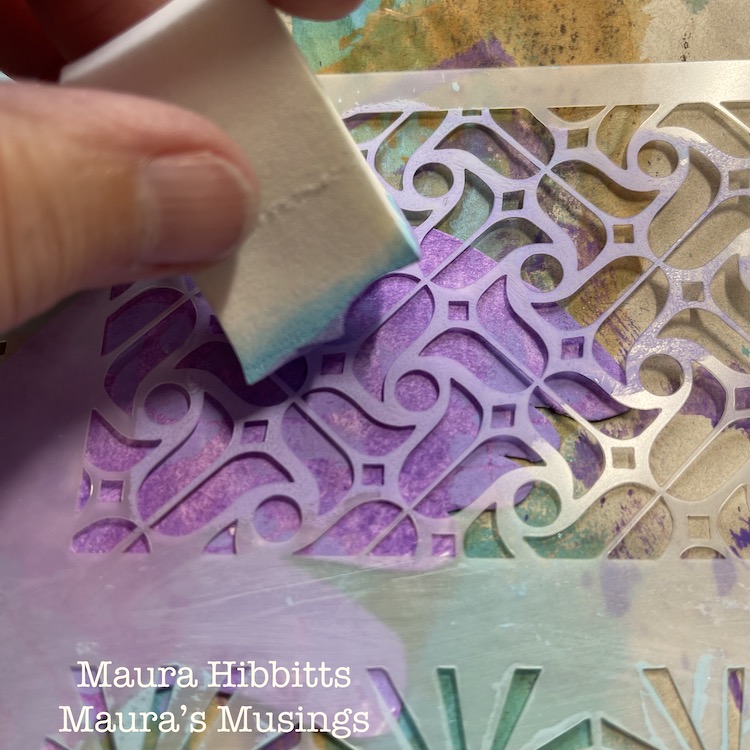
Blend one of the blues with white paint to lighten it. Use a cosmetic sponge, a bit of paint, and Nathalie’s ATC Mixup stencil to add another layer to the background. Just add the image here and there on your pages.
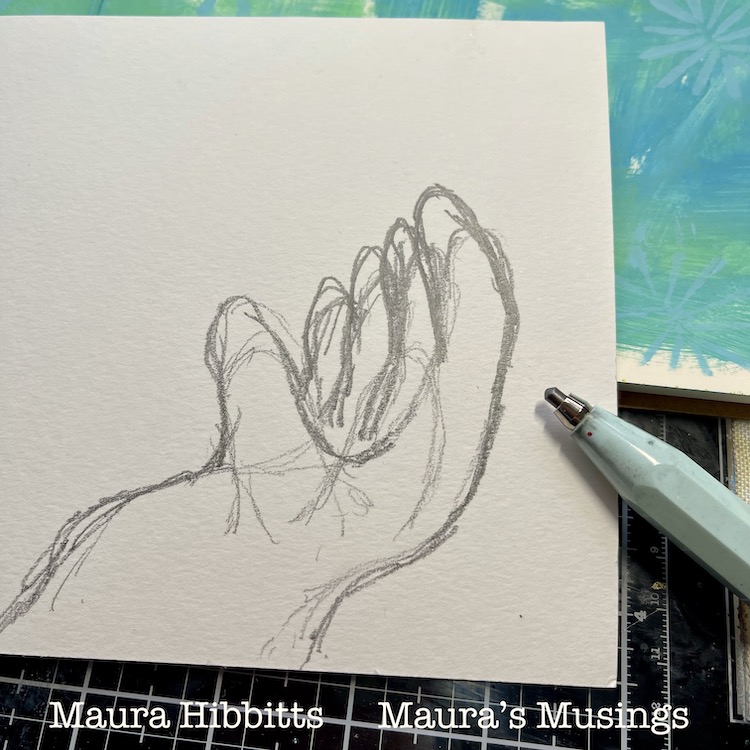
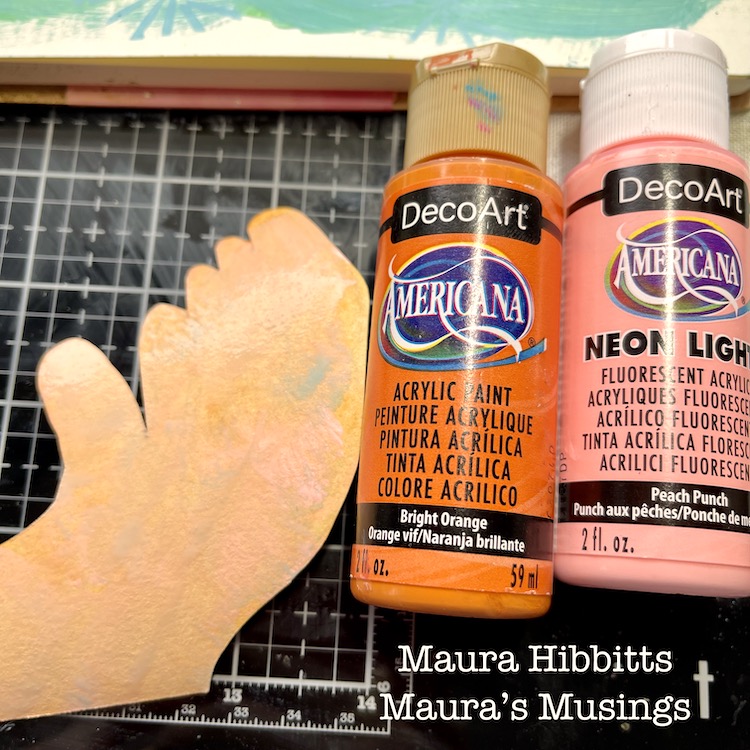
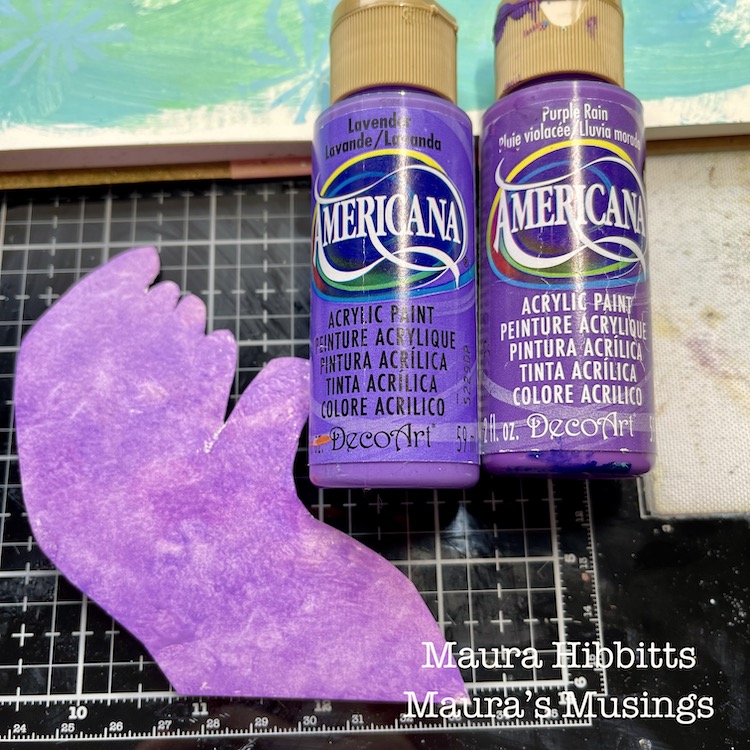
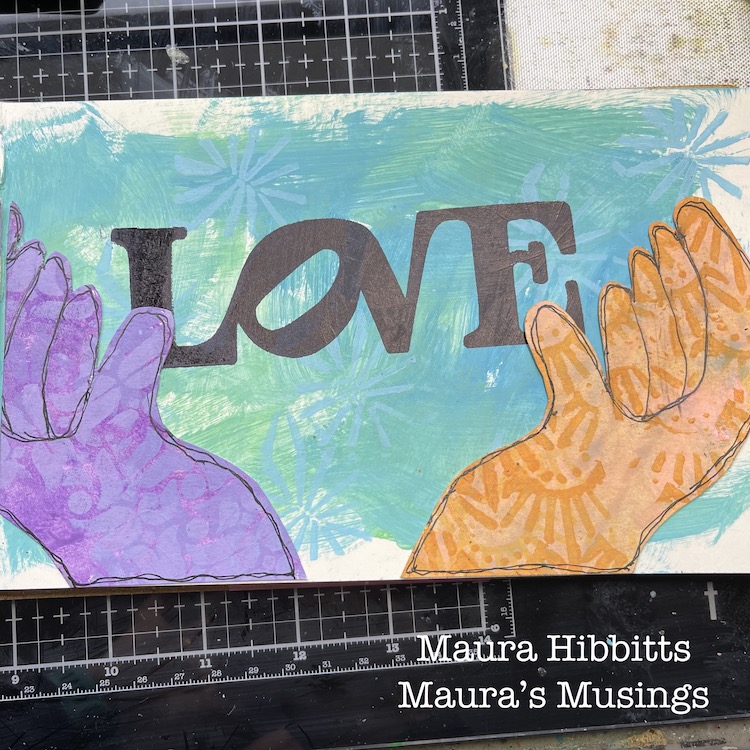
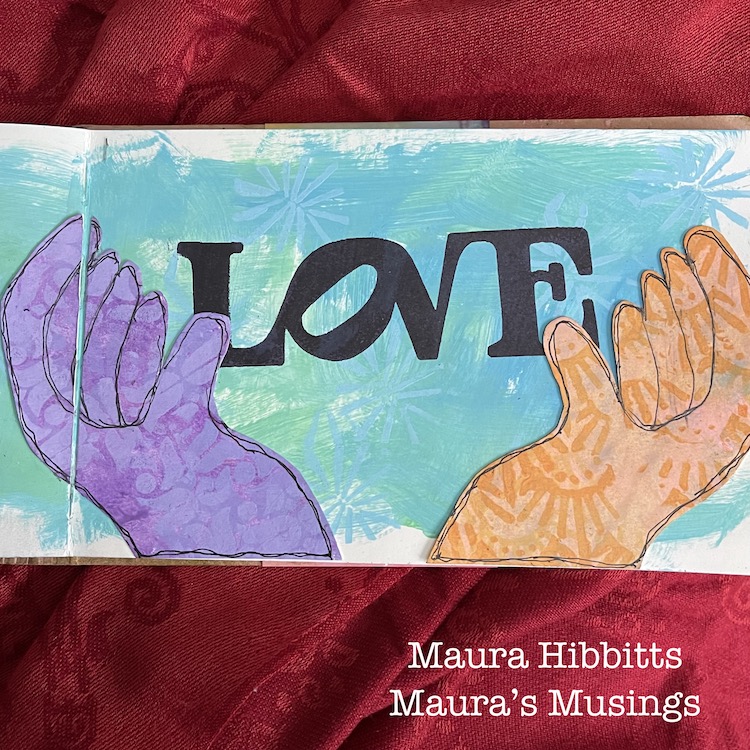
Time to make some hands! Sketch out a hand that looks cupped to hold something, onto watercolor paper…don’t worry too much about it, mine are far from perfect, but do give the idea. Cut out the hand, then flip it over and cut a second – this will give you the opposite hand. Paint the hands. (I used oranges and purples for contrast.) Stencil a design onto each hand with the ATC Mixup stencil. I added white to purple paint to lighten the color for the purple hand, and used a darker orange for the stenciling on the other one.
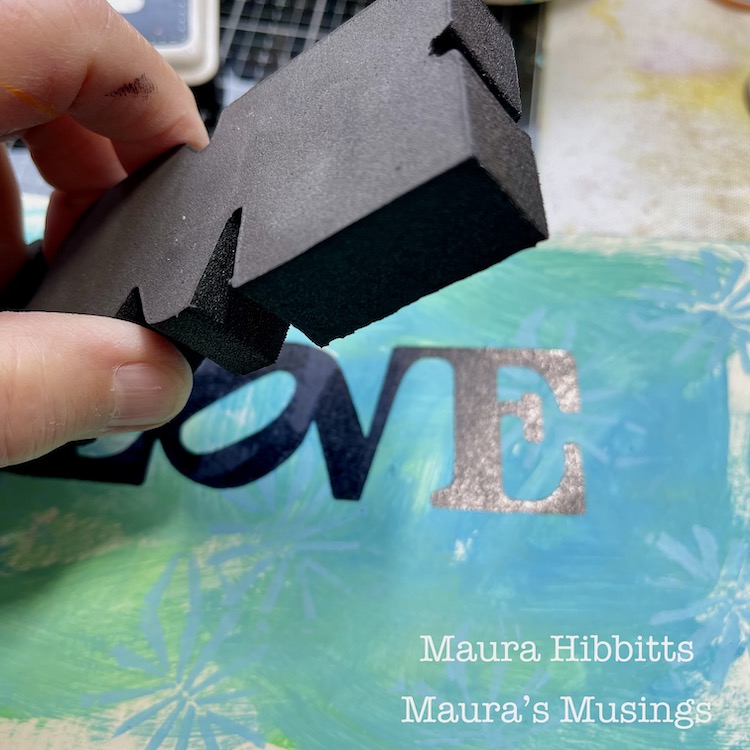
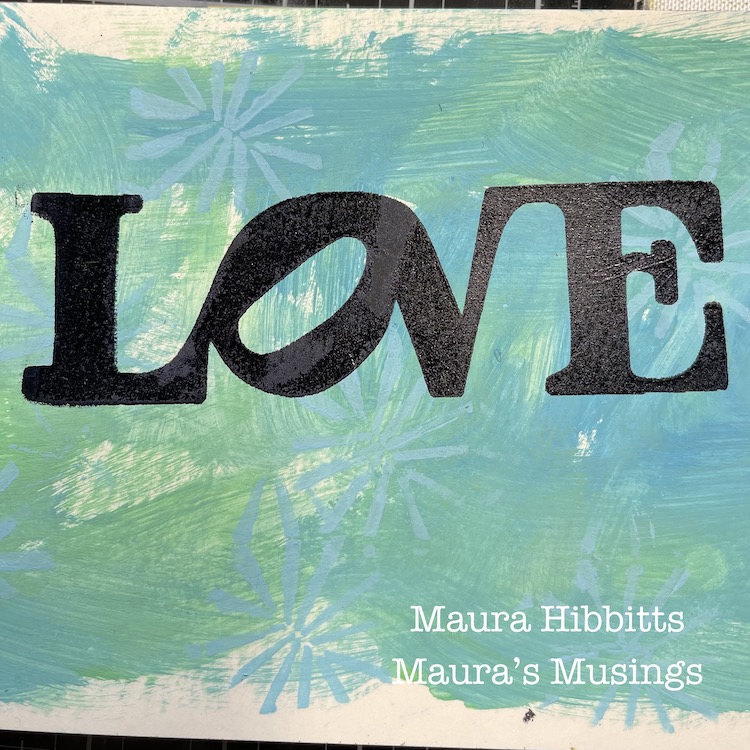
Use black archival ink with the Art Foamies Love stamp, and stamp it directly onto your page. Be sure the paint is dry first. (You can always speed it up with a heat tool if you are impatient like me.)
Adhere the hands so they look like they are holding the word Love. You can use a glue stick or adhesive tape for this. Outline them with a black pen to give them some detail. Note – one hand went across the center fold, so I cut a bit off, and lined up each piece with a bit of space so the book will close.
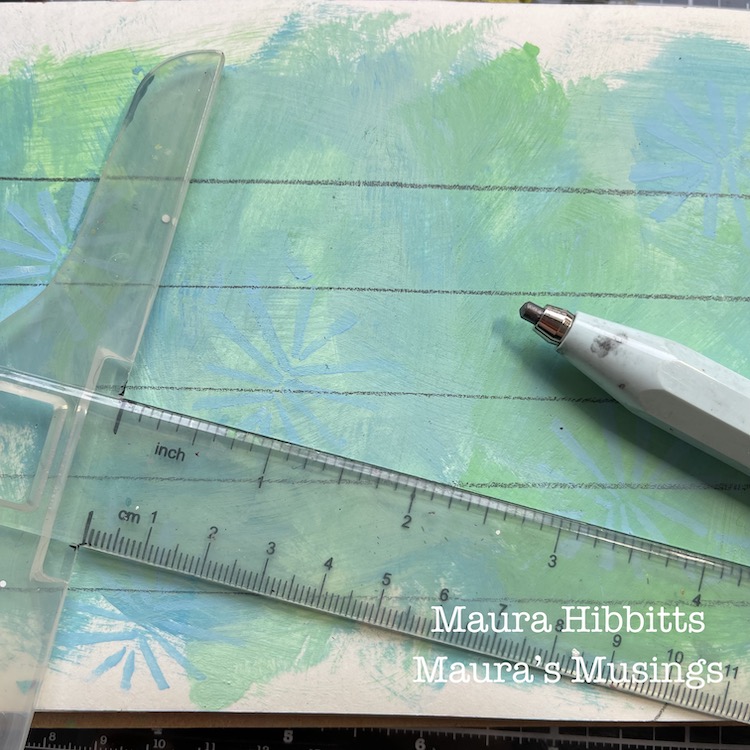
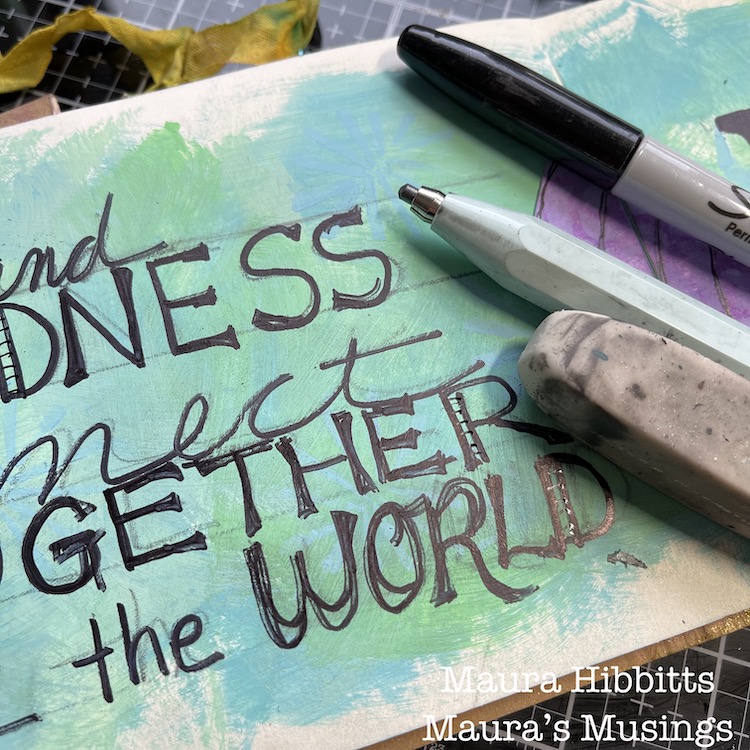
Add some journaling to the opposite page. I like to use a T square to eyeball some lines and sketch them with a pencil. Next, pencil in your words. Now, you can go over them with a black marker or pen. Once you are finished with the lettering and it is completely dry, erase the lines and penciled letters.
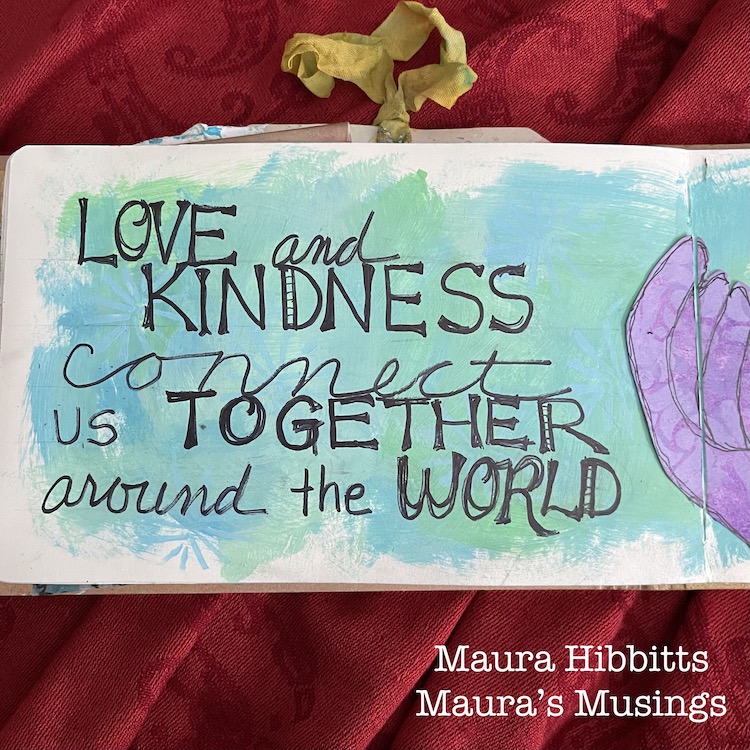
I wanted a positive focus for my journaling, and added “Love and kindness connect us together around the world.” As you can see, I varied the type faces and sizes to add interest.
Love is such a powerful connecting force and we can sure use more of it in our lives and around the world.
Let’s support and nurture the connections we have, with love and kindness, and make our world brighter for everyone in 2022. Happy New Year! Maura
Thank you Maura – such a perfect message as we begin the new year and I love how those hands are nurturing that LOVE stamp.
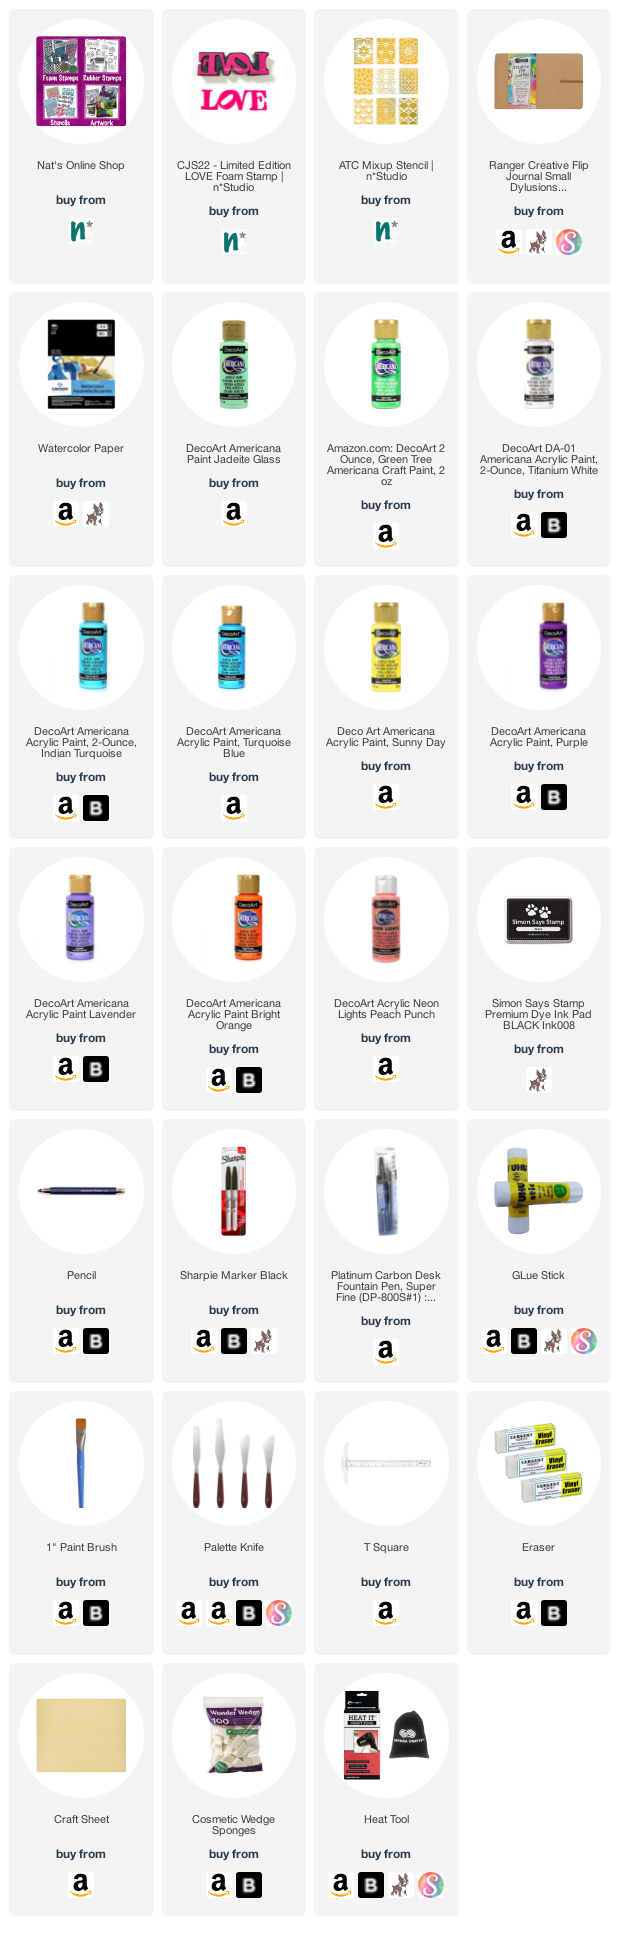
Give it a try: you can find all my Stencils and Foam Stamps in my Online Shop and here are some of the supplies Maura used:
Looking for more projects? Follow the Creative Squad on Instagram here.
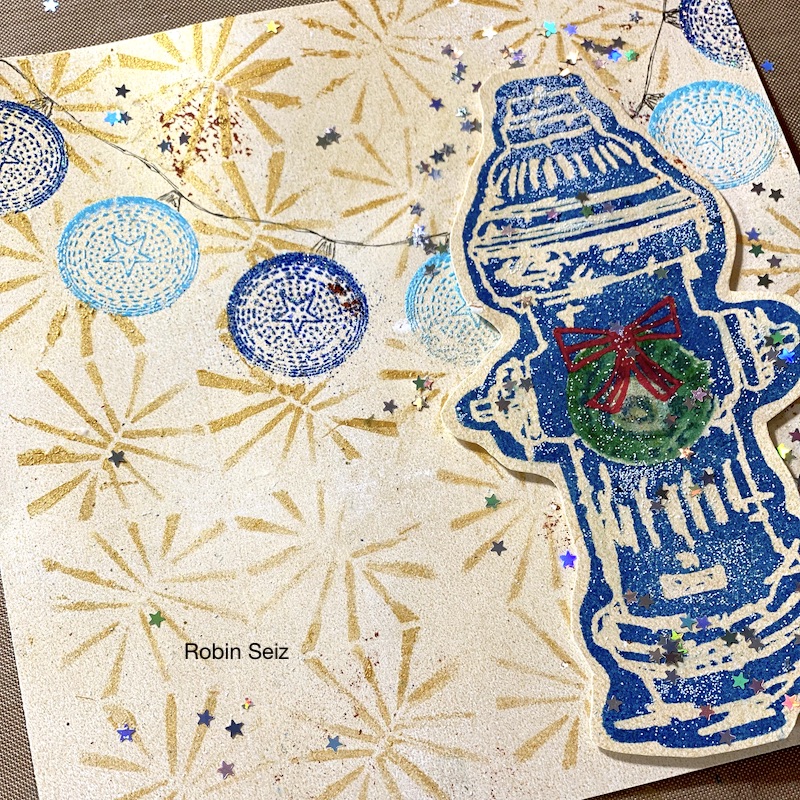
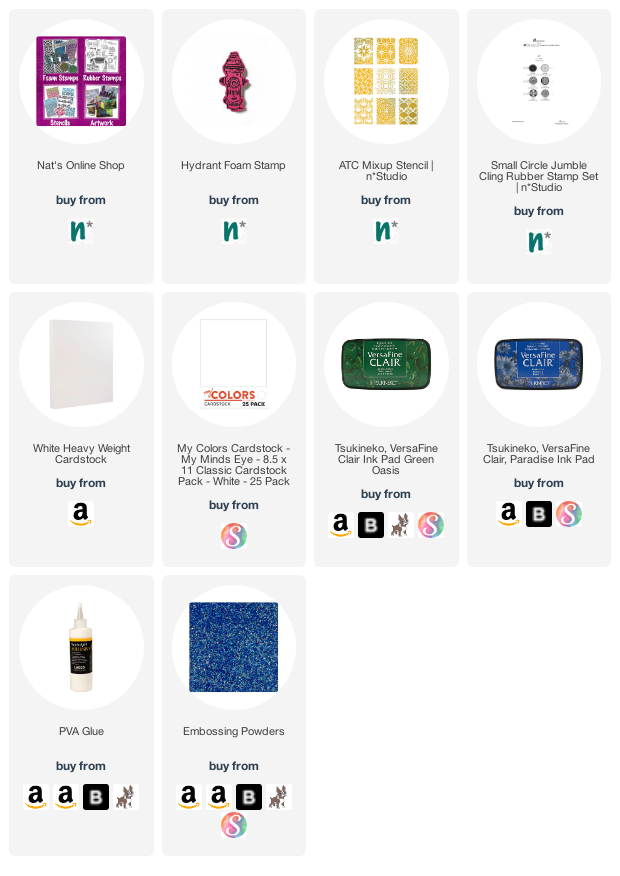
Happy Holidays from my Creative Squad! Today we have a festive post from Robin Seiz who is sharing a mixed media piece using my Hydrant foam stamp, Small Circle Jumble rubber stamps, and my new ATC Mixup stencil. Our theme is Celebrate the Season – Many cultures celebrate in December so let’s do some celebrating ourselves with our favorite art supplies and the holidays that make this season so festive.
Hello friends, This month we are celebrating the season! I love bling; my friends know this and always expect me to show up with just a little “extra something”. As I thought about this project, I knew it had to have some sparkle for the holidays.
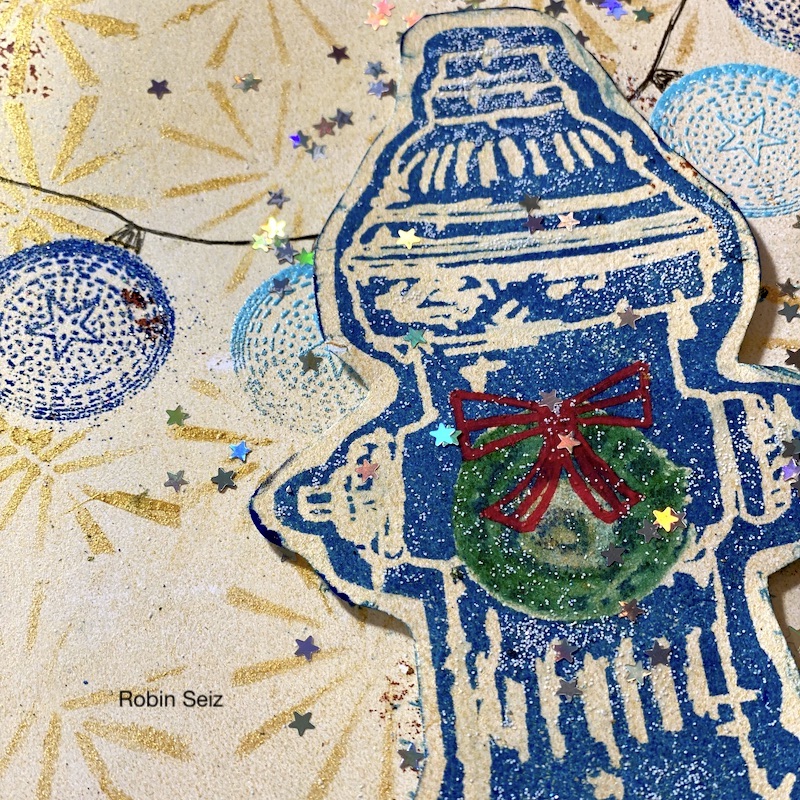
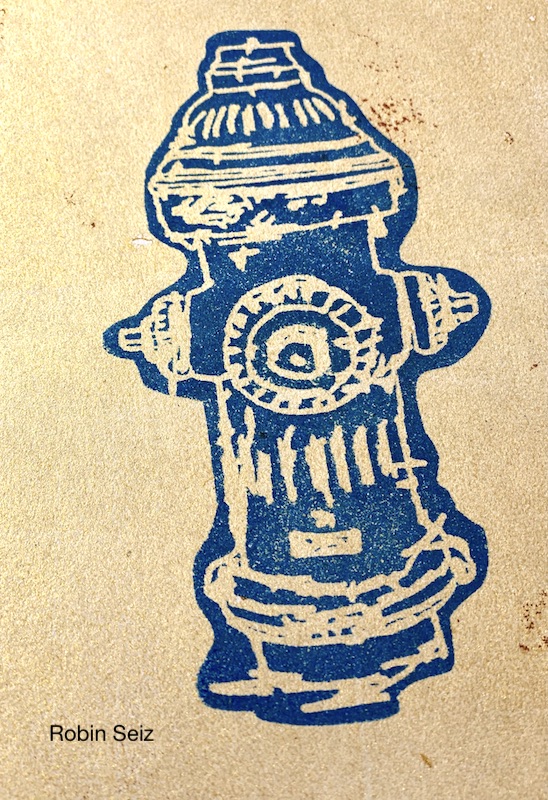
We were encouraged to use some foam stamps from Nat’s last release; I hadn’t used the Hydrant that much. It’s such a fun foam stamp! When I stamped it, the front looked like a wreath to me… so that’s where I started.
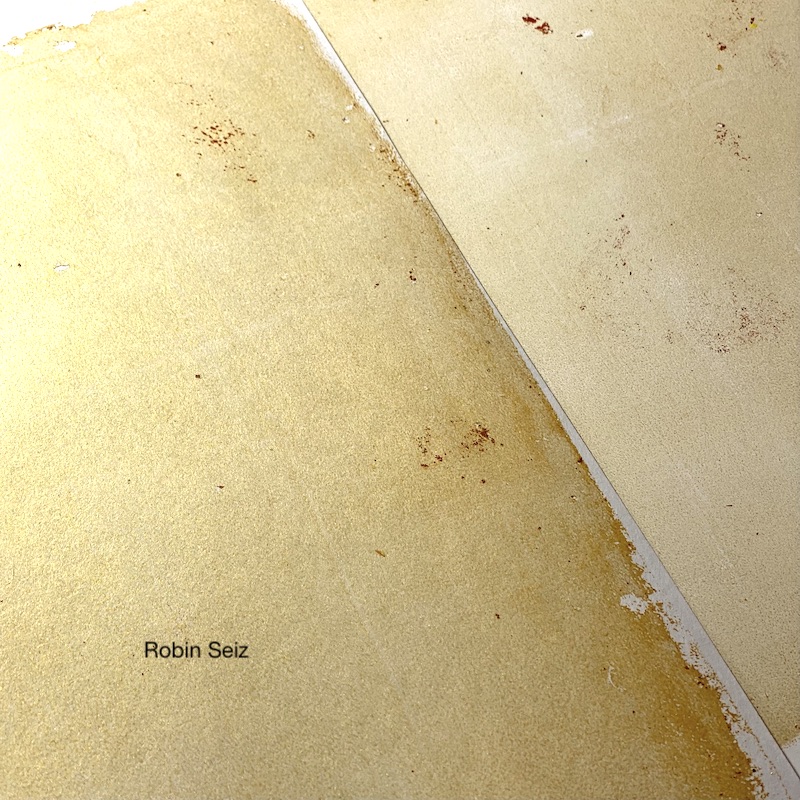
The first thing I did was use my Gelli plate to pull two gold papers, one darker than the other. (You’ll see there are red marks on the gold paper; that’s from a previous project and I don’t mind those little bits and pieces. If you are more of a perfectionist; I suggest cleaning your plate before you start, but I rarely do.) The lighter piece would be the background paper for my piece, the darker piece would be the background for the fire hydrant stamp. I wanted the gold to show through the stamp and I knew I would be fussy cutting the hydrant. That’s the wonderful thing about foam stamps, they often have the lines you can see through and play with the color in the background. I used Versa Fine Clair Paradise to stamp the hydrant.
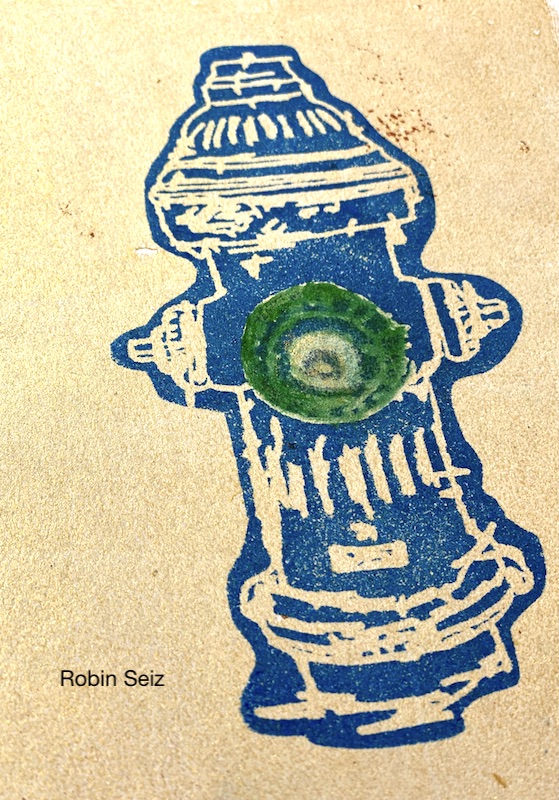
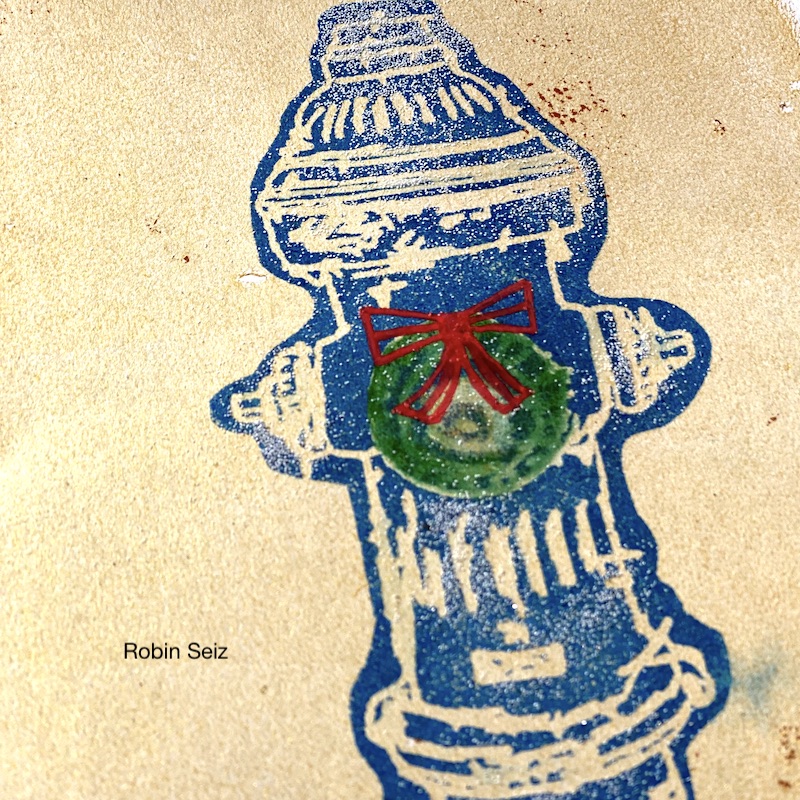
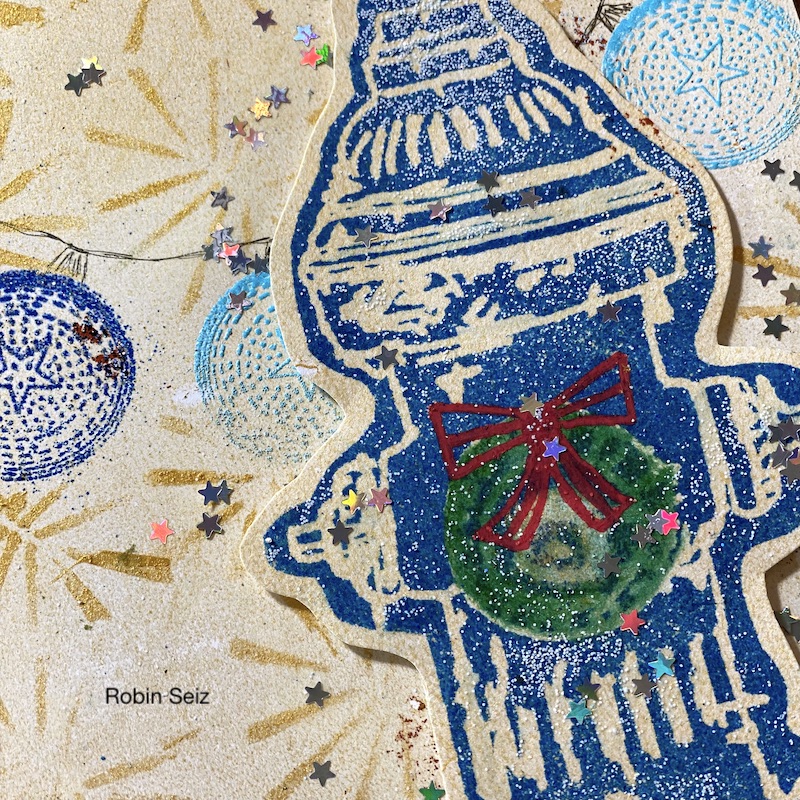
Next, I took a very small flat tipped brush and dipped it on the Versa Fine Clair Green Oasis and painted the “wreath” on the front of the fire hydrant. Once it was dry (and that’s a super important step) I drew a ribbon with a red Posca paint pen. If you are like me and really don’t have drawing skills, then I would suggest a few simple books to help you out. They come in super handy. I will list them in the supplies. Once the wreath was finished I wanted it to have the look of fresh fallen snow. I don’t often use glitter because it’s so bad for the environment, but sometimes, I just have to break it out! If you look closely at picture 4, you will see the “snow” both on the wreath and the hydrant. It’s subtle, but it does show up.
I moved to the lighter gold background paper for the next steps.
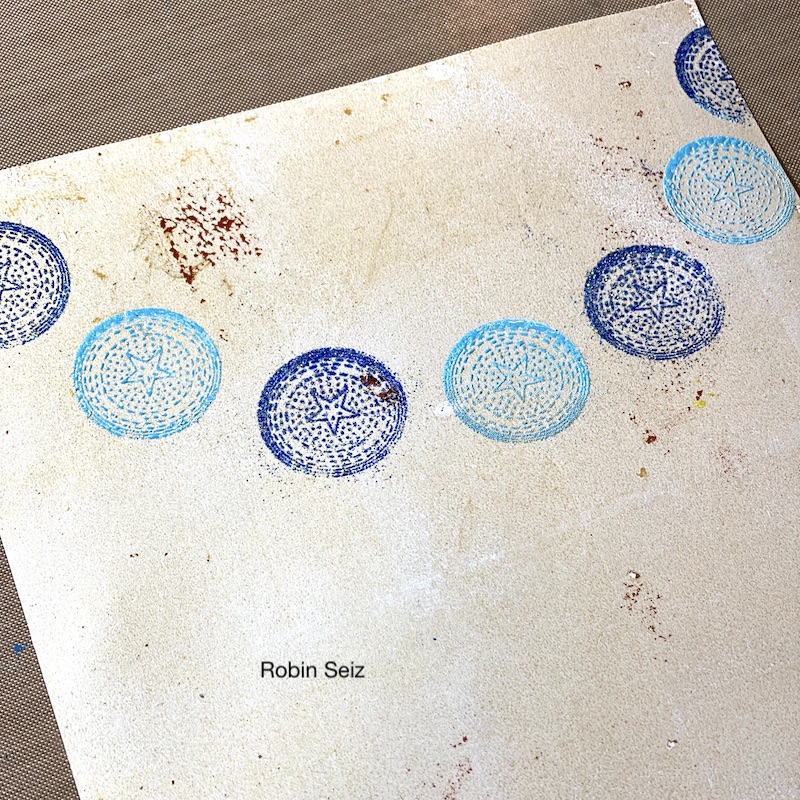
I recently ordered Nathalie’s Small Circle Jumble Set and hadn’t yet used them. They were the perfect stamp for the hanging lights. I rarely use embossing powders, but I did so in this project. Embossing always feels like a “little something special” and gives a piece a lovely dimension. I then drew in some string for the lights with a micron pen; I did later go back over it with a little heavier line.
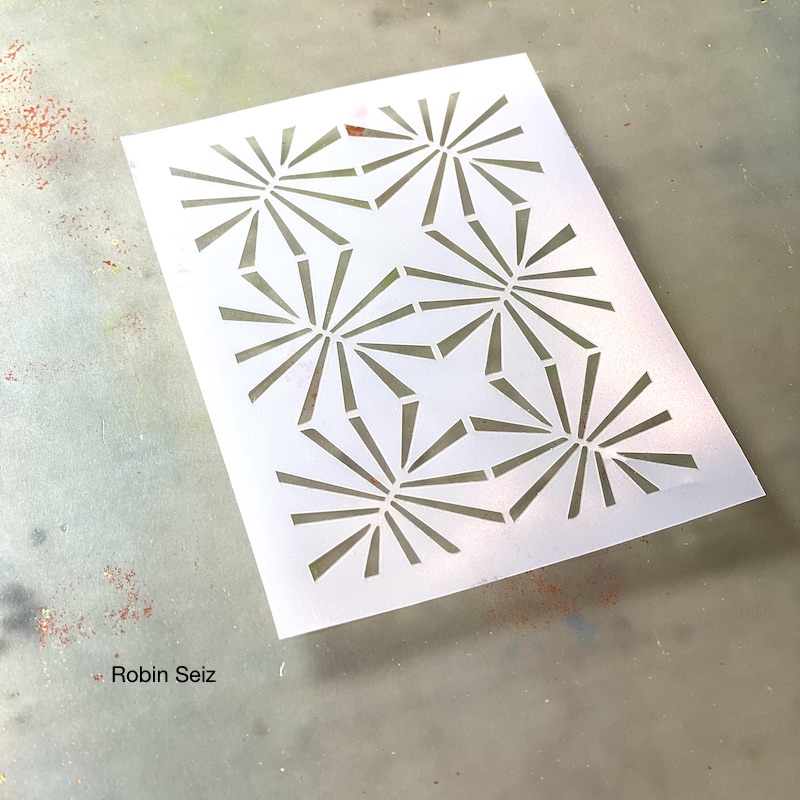
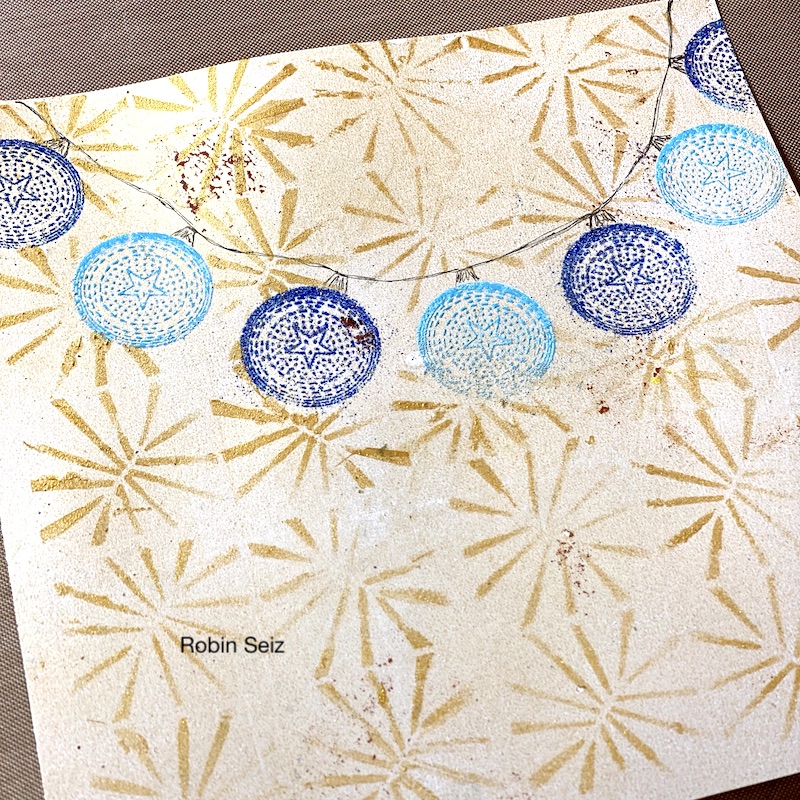
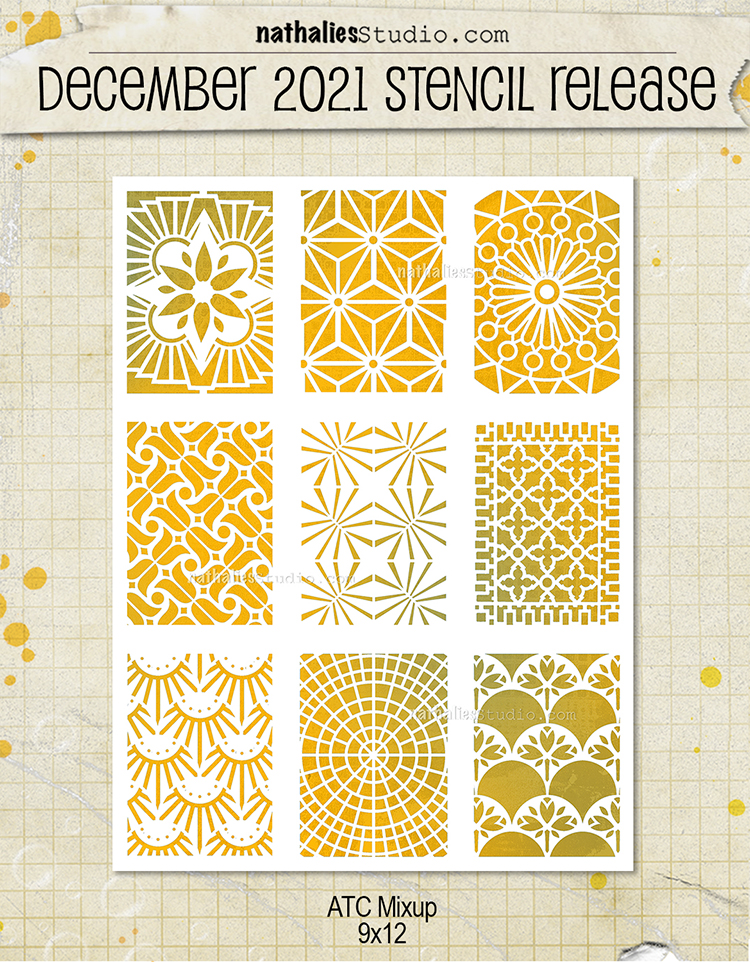
Next, I fussy cut the hydrant and auditioned where it would be placed on the paper. It’s quite bold, so I needed something to counter balance it compositionally. Nathalie recently gifted her Creative Squad the new ATC Mixup stencil sheet and it has a wonderful star pattern on it. I thought this would be the perfect background to balance the hydrant. I used the stencil with gold acrylic paint. I worked more boldly in the upper left corner to balance the hydrant.
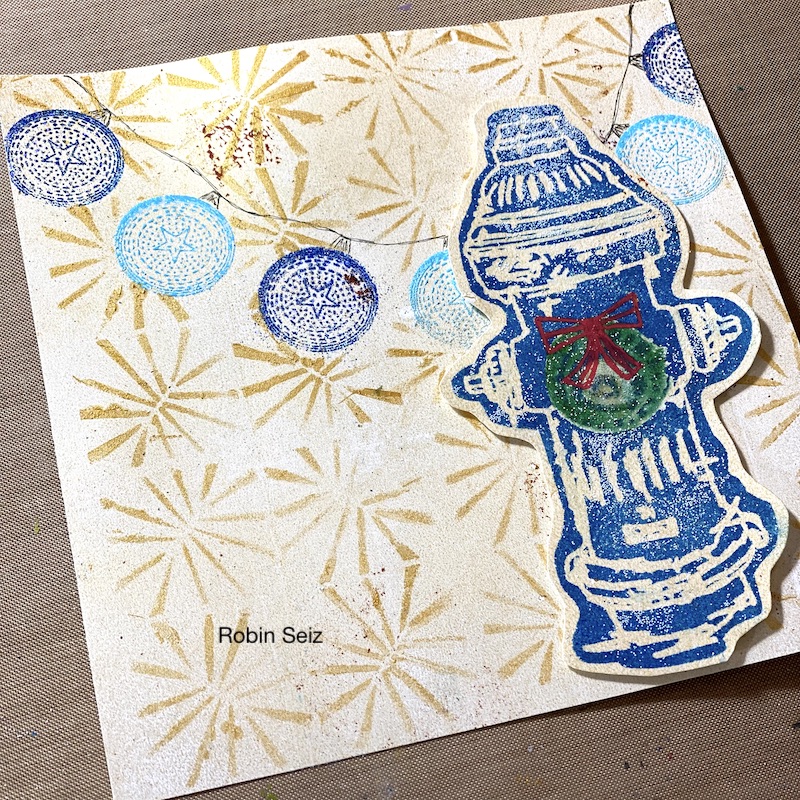
When I was finished with the background, I attached the hydrant with dimension tape. I think it adds so much to a piece when there is dimension. I still felt like the piece needed a little more of “something” (some bling) I added glitter stars and the piece was finished. As I looked at it more, I thought that perhaps I should outline the hydrant in the Versa Fine Blue. This never works well for me, I seem to get it all over everything. If that works for you, it definitely adds even more dimension. I have included both pictures, ( 10 and 11) with and without. You see which you prefer.
This piece could be a card (it’s 6×6) or a add-on for your journal. It could even be framed and brought out during the holidays, which is what I might do.
I wish you all a wonderful holiday. I hope it’s filled with joy, love and perhaps even some creative time! See you in the New Year! Peace, Robin
Thank you Robin for such a lively composition – feels perfect for celebrating the holidays!
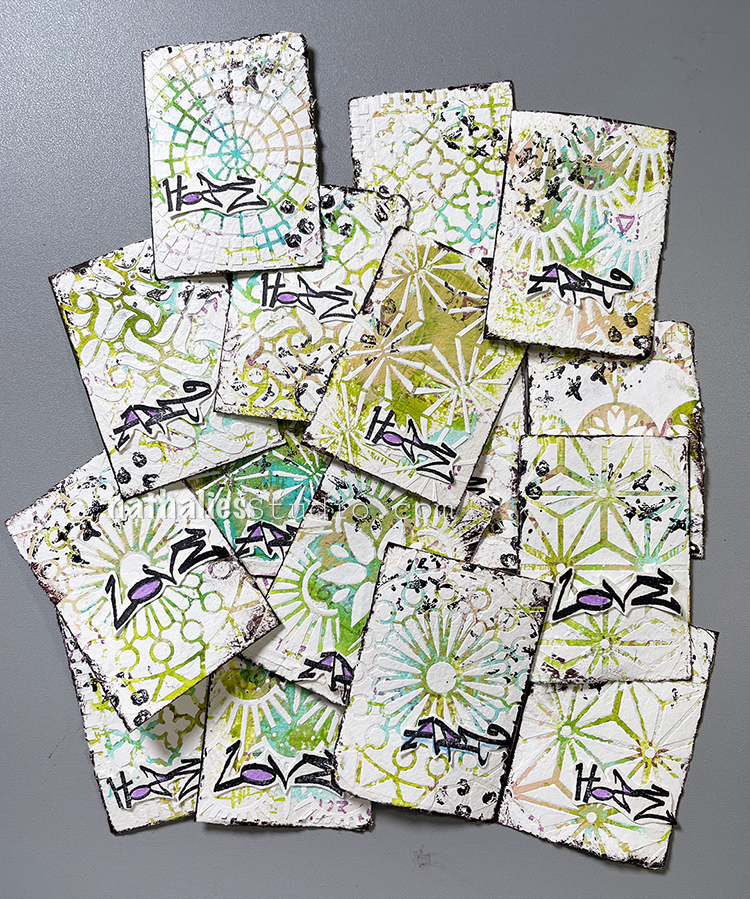
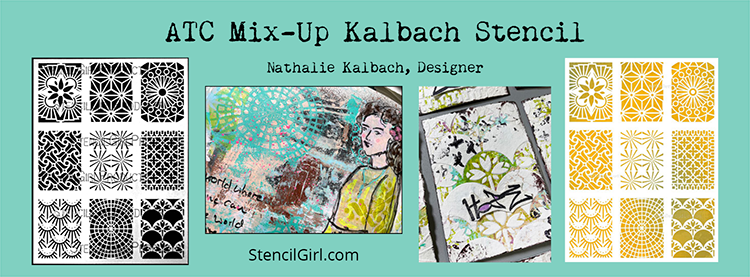
New stencil is dropping today in the shop: ATC Mixup – a 9×12 stencil that features 9 different ATC sized patterns. It’s a mix of radial and allover designs for backgrounds, focal points, and layering fun :)
I made a whole bunch of ATCs (Artist Trading Cards) with just a couple sheets of paper and the stencil:
Do you trade ATCs with your artist friends? Even if you don’t, the ATC Mixup stencil is also excellent for churning out cards (tis the season, right?) and in your art journal when you want just a hint of pattern here and there. I was playing with it and liked the versatility all in one sheet:
You can pick up one of these new ATC Mixup stencils here in my shop and I hope you share what you’ve created online with me – just tag #natkalbach!


Comments (1)
Denise M. Krueger
| #
Judi Kauffman this sweatshirt is amazing!!! Love, love, love what you did with it.
Denise Krueger
Reply