Creative Squad

Motivated in March – Maura Hibbitts

Hello from my Creative Squad! Today we have a post from Maura Hibbitts sharing with us a suite of cards inspired by St. Patrick’s Day and all those lovely shades of green. Maura is using my Fairview Fan and Clam Hex foam stamps and our theme: Motivated in March – What keeps you motivated to create? Is it a certain material? Your favorite colors that you can’t get enough of? Maybe you get motivated when you see artwork in a museum or out and about? Share with us your creative motivation and then create something inspired by it.
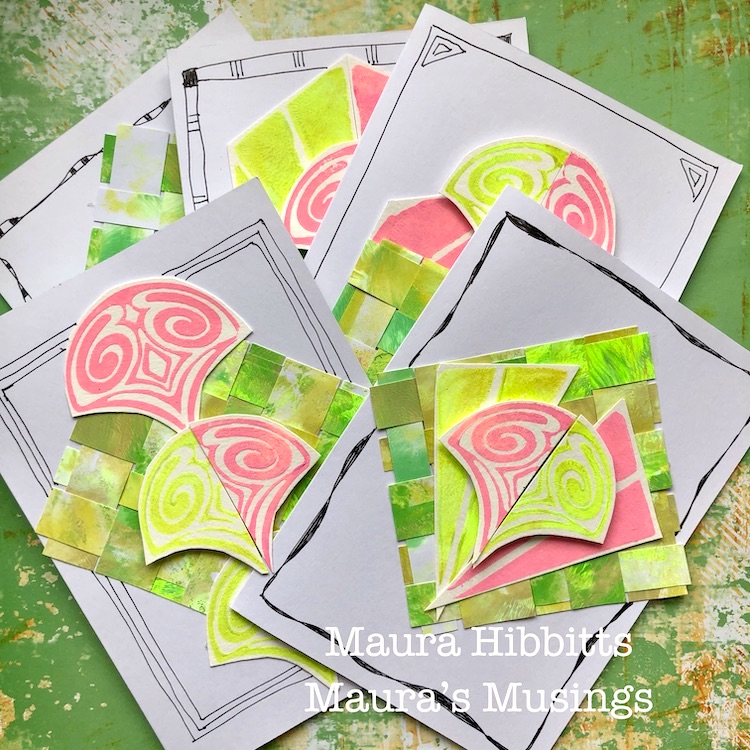

March is known for many things…the Ides of March, March Madness, St. Patrick’s Day, Spring Equinox, and so much more, that there is a lot to motivate us! I chose to use my favorite holiday, St. Patrick’s Day as my motivation, and to use those glorious greens that Ireland and this holiday are all about. When I was just a little girl, my mother and the lady next door always had a competition to see who would get their St. Patrick’s Day decorations up first and have the most. Then I learned that her husband was not Irish (he was German), so I told him he could be Irish on St. Patrick’s Day. So, this month, I have filled my project with many shades of green, and a bit of pink like some of the shamrock plants. This month, it’s all about being motivated by color, inspired by a holiday!

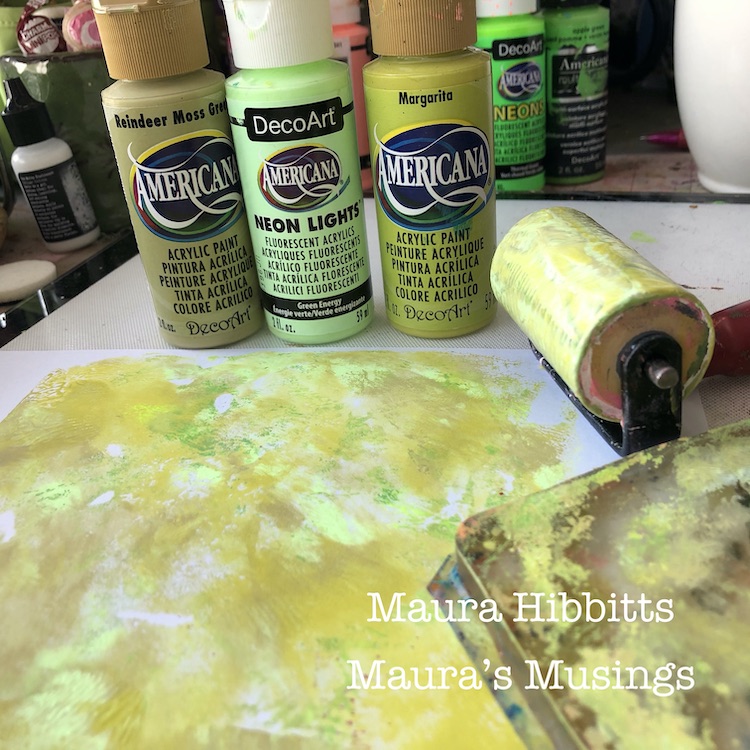
I started by printing several sheets of card stock with a blend of greens. I mixed a bit of three greens on my gel plate and blended it with a brayer, then I pulled two prints to have some variety, and set these aside to dry.
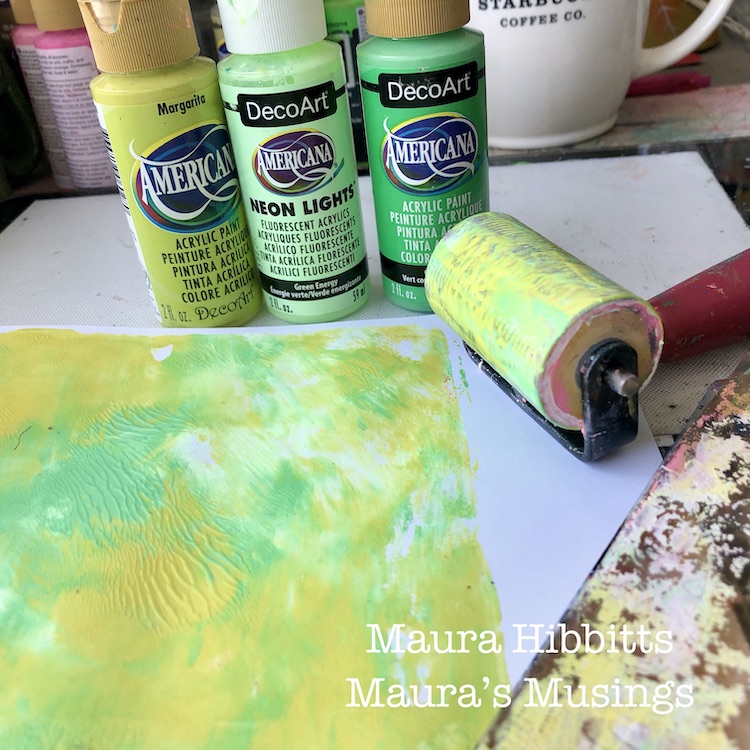
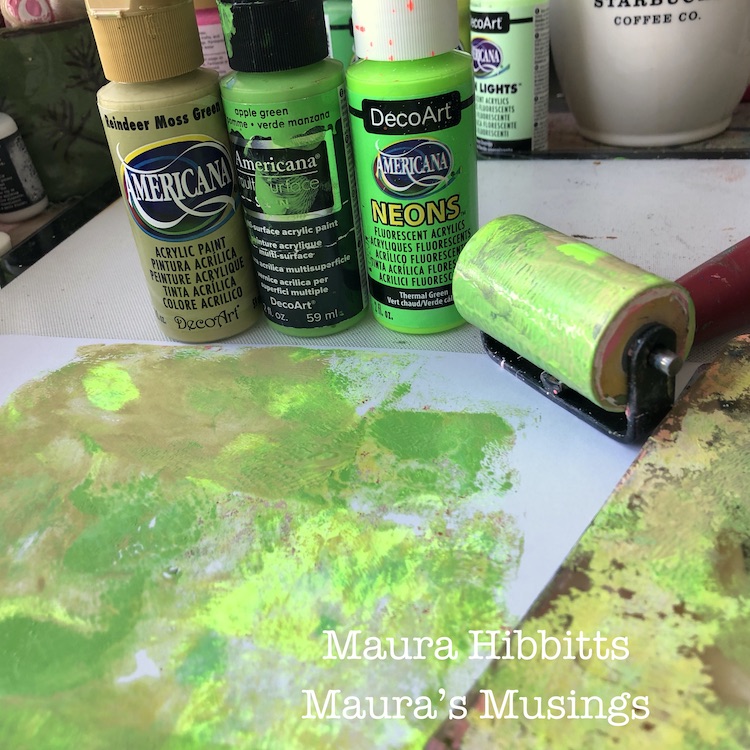
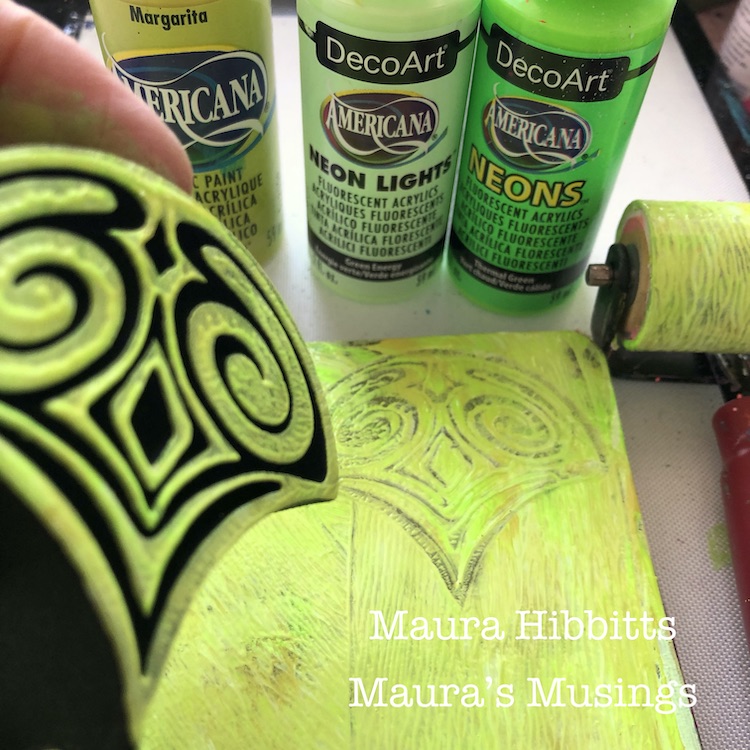
I continued working with the green on my gel plate, adding in some more of the neon colors to get a very bright green. I stamped into this with the Clam Hex ArtFoamie and stamped off on watercolor paper several times.
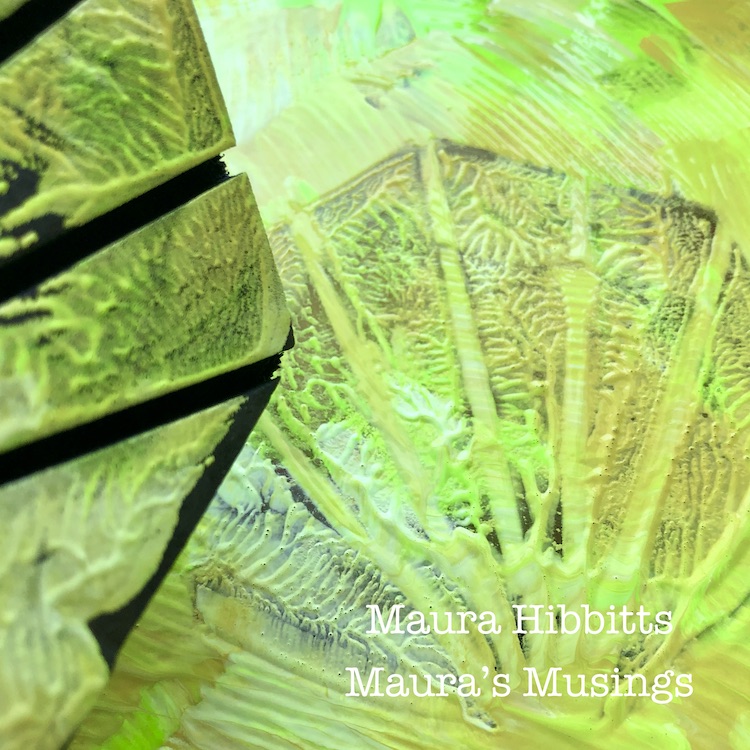
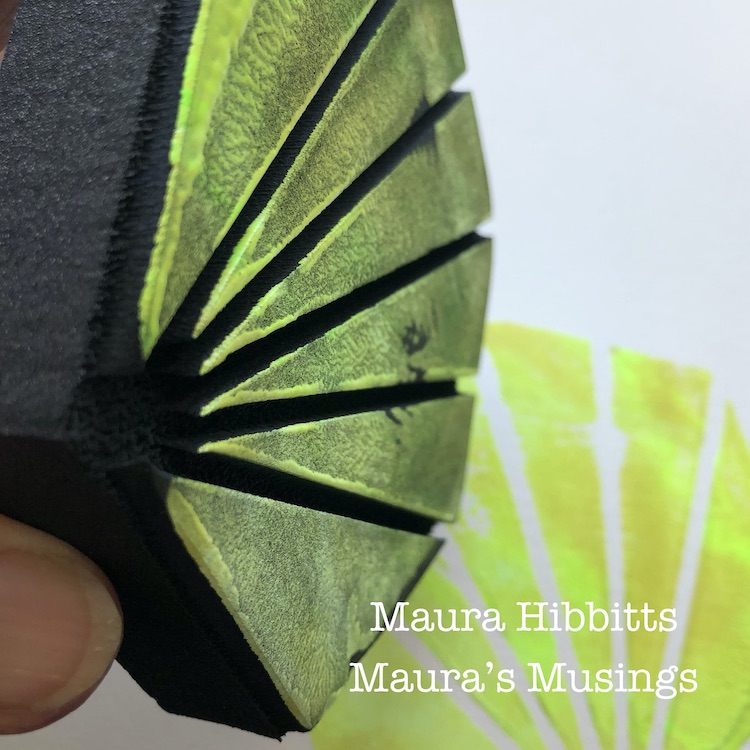
More greens! This time, I used the blended greens on the gel plate with the Fairview Fan ArtFoamie, and stamped several images onto watercolor paper.
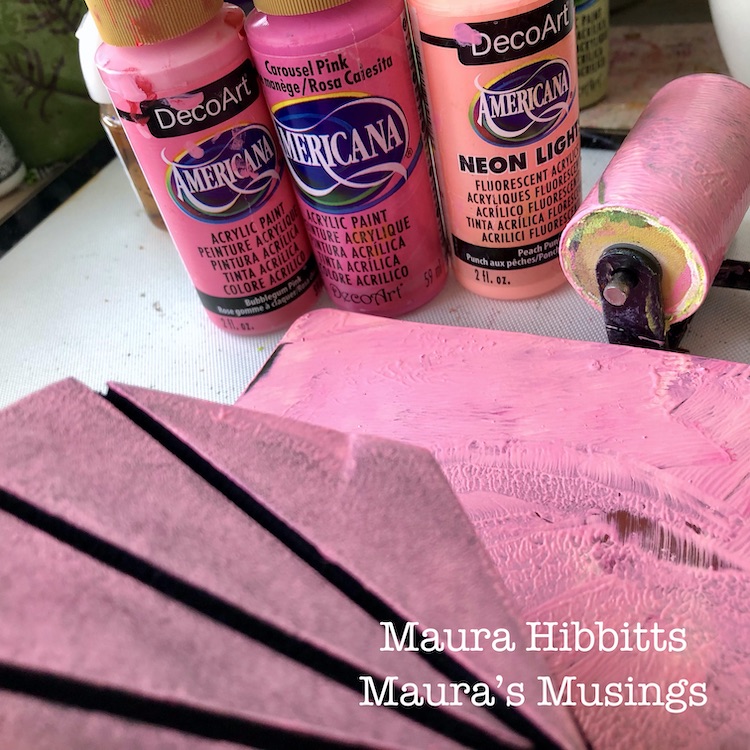
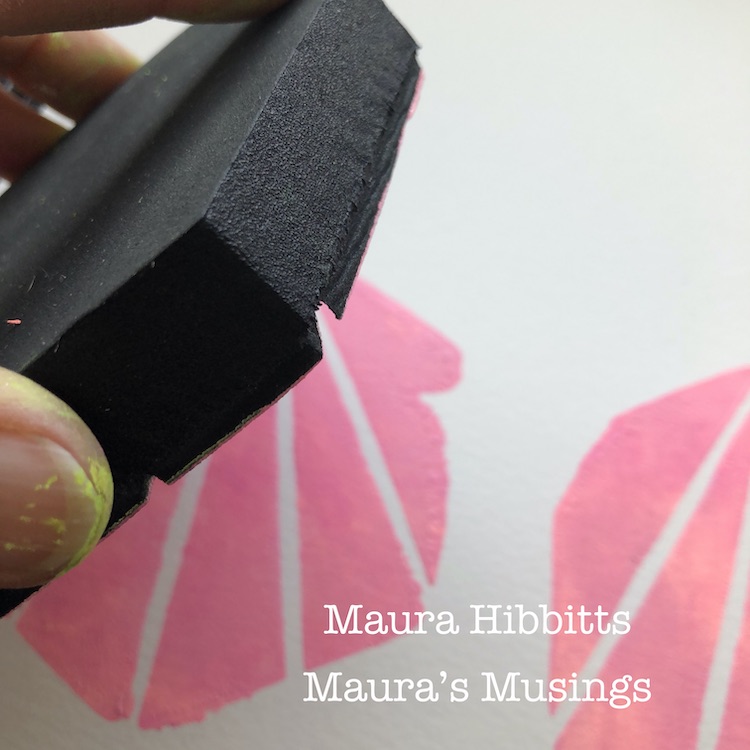
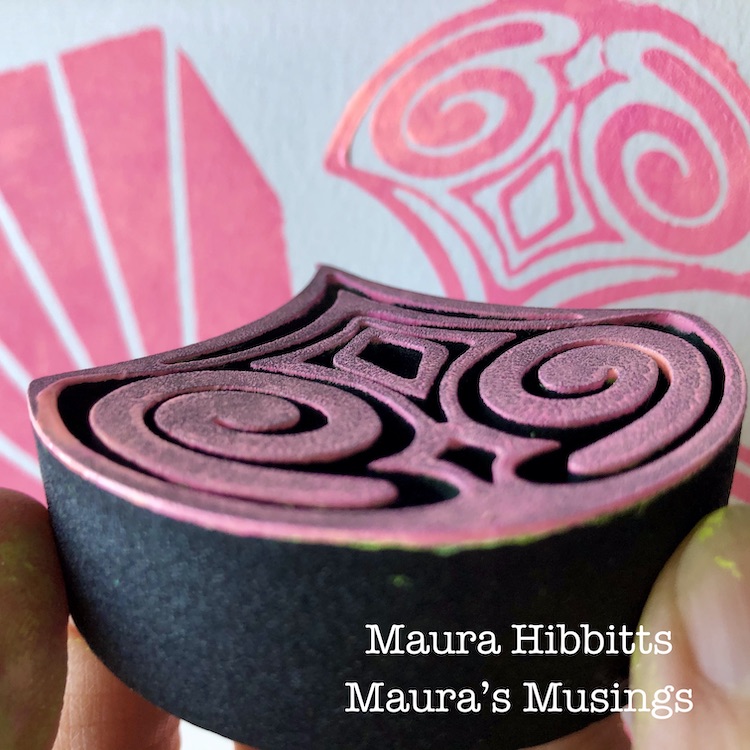
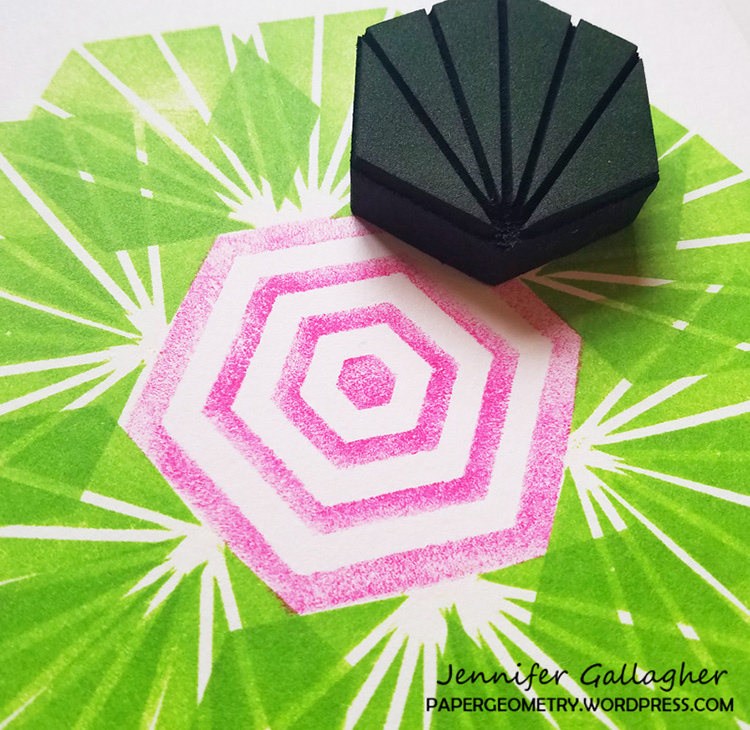
Now it’s time for a blend of pinks – once again, I squirted a small amount of each of three colors and lightly blended it on the plate with the brayer. I stamped into this with the Clam Hex and Fairview Fan stamps to pick up the paint, and stamped onto watercolor paper.
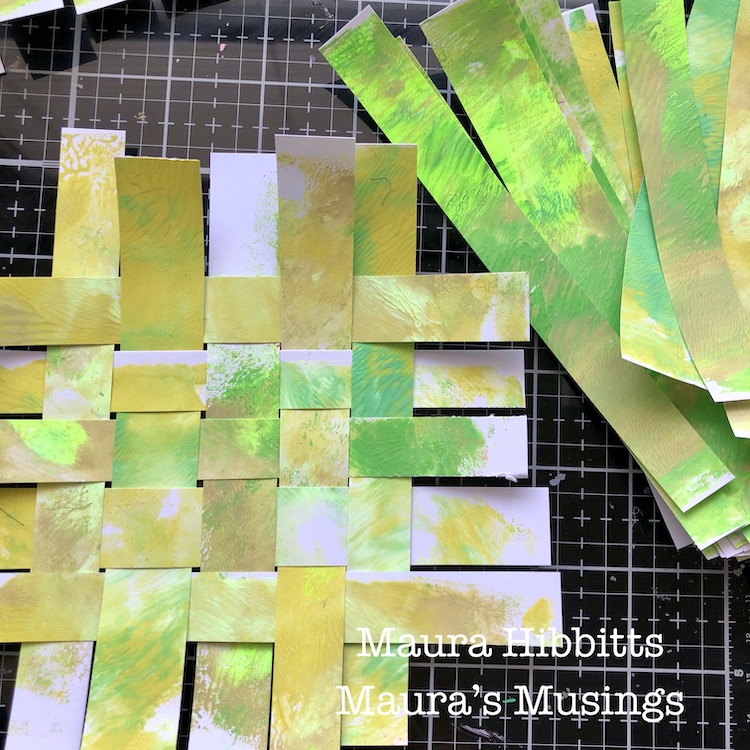
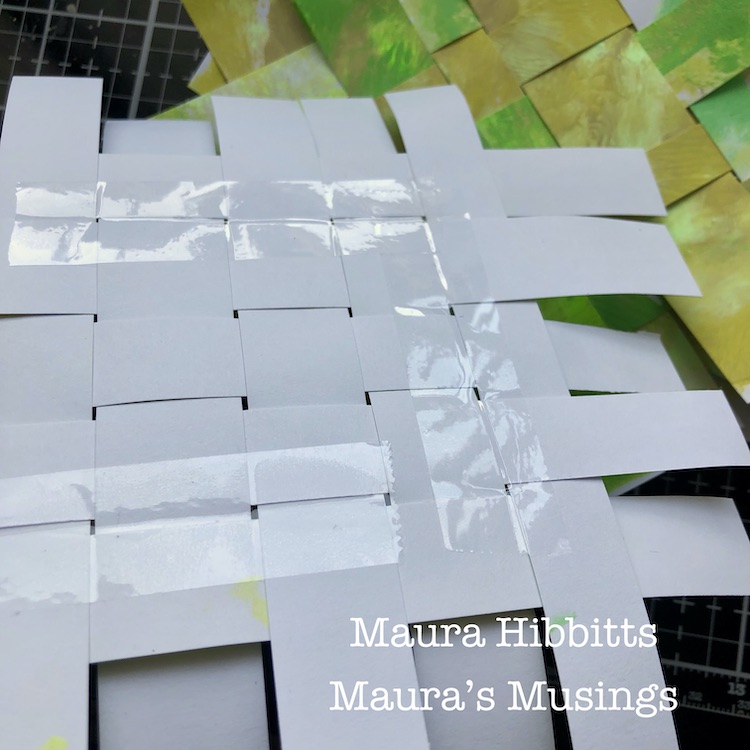
Meanwhile, now that the first set of papers is dry, I cut them into strips with a paper trimmer. I laid five strips down, and wove five strips into them. I pushed them close together, then turned it over and taped it in place with clear tape. Once that was done, I trimmed off the edges.
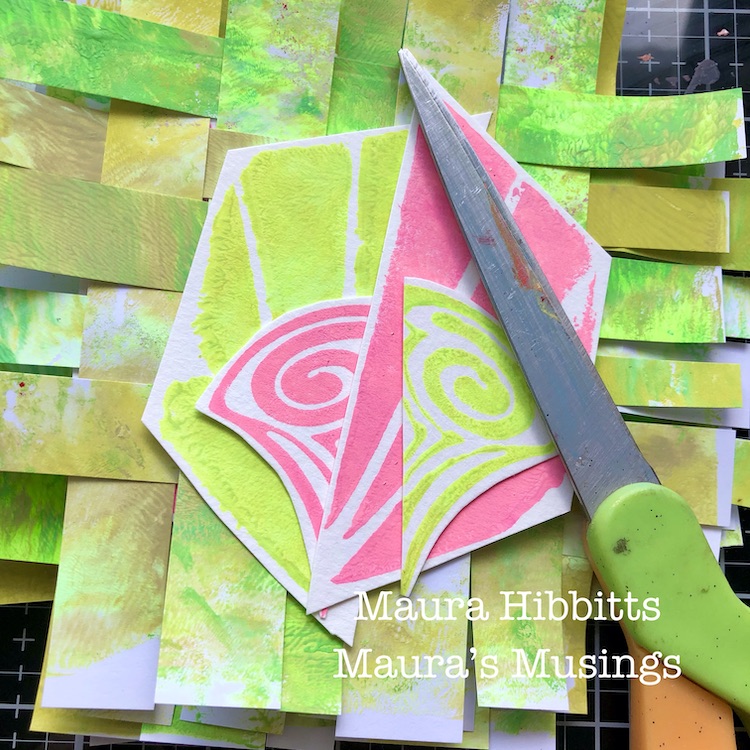
I cut out my stamped images and cut each in half, so that I could put a green and a pink image together.
Once I laid out each card with the woven layer and stamped images and adhered them in place with adhesive tape and pop dots, I doodled frames around them with my carbon ink pen.
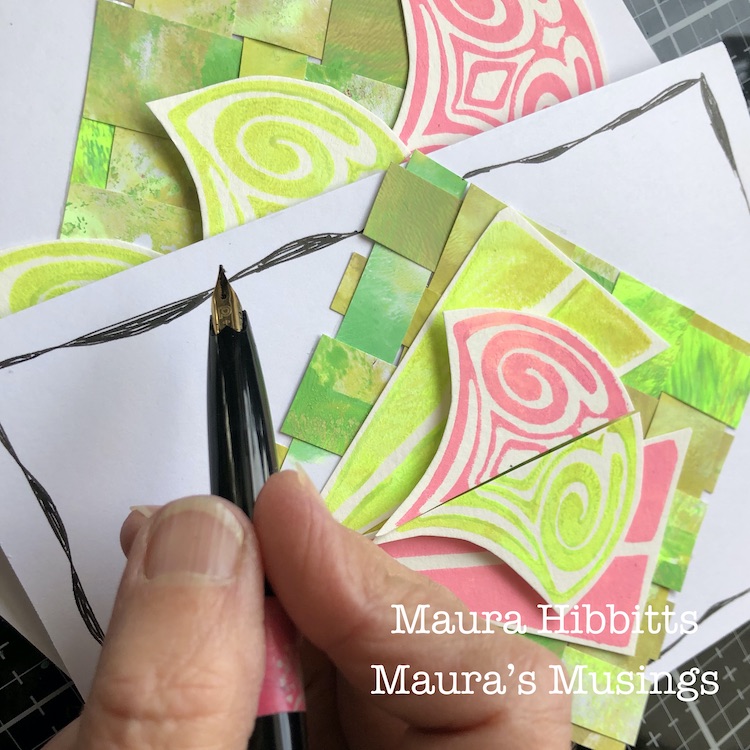
I now have a set of five cards in very bright spring colors. Next, I need to get motivated to write a letter in them and mail them out! It was fun mixing in neon paint to get a very vibrant image. I also liked how I mirrored the images in both the pink and green, which got me to thinking about watermelon colors. Wouldn’t you know it, my husband just brought home a watermelon from the grocery store! LOL!
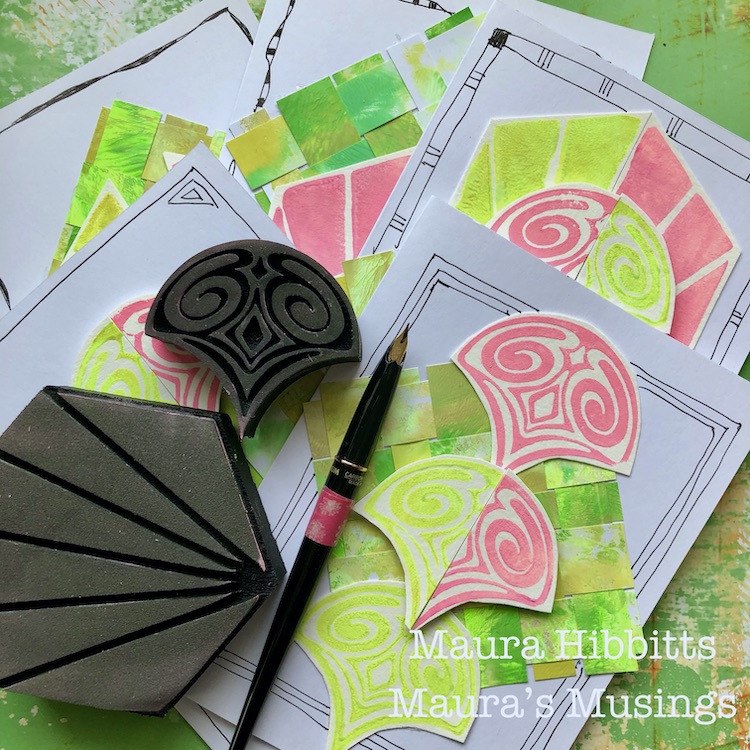
Motivated by bright and cheerful colors, my favorite holiday, and the plan to write some letters to friends, I’ve created my set of notecards. Happy March! – Maura
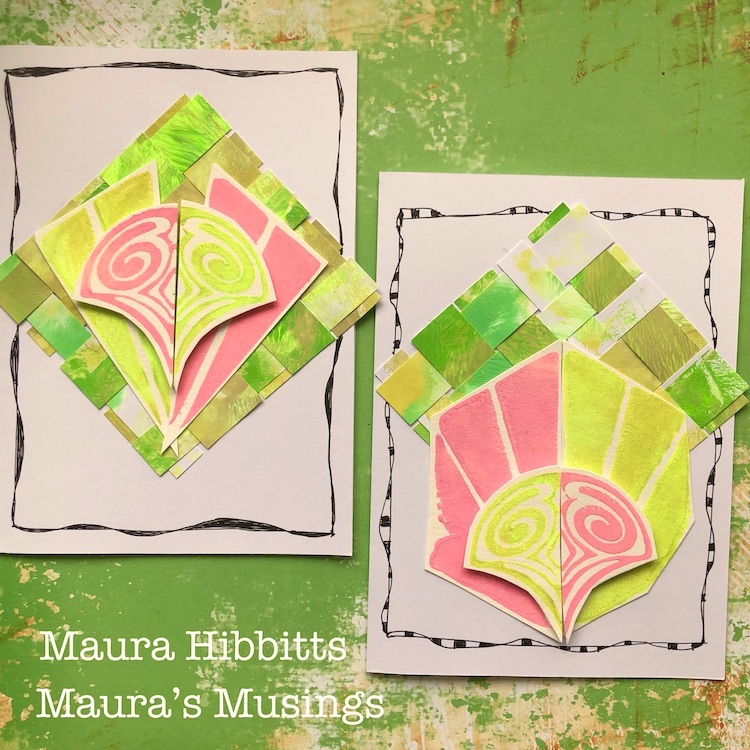
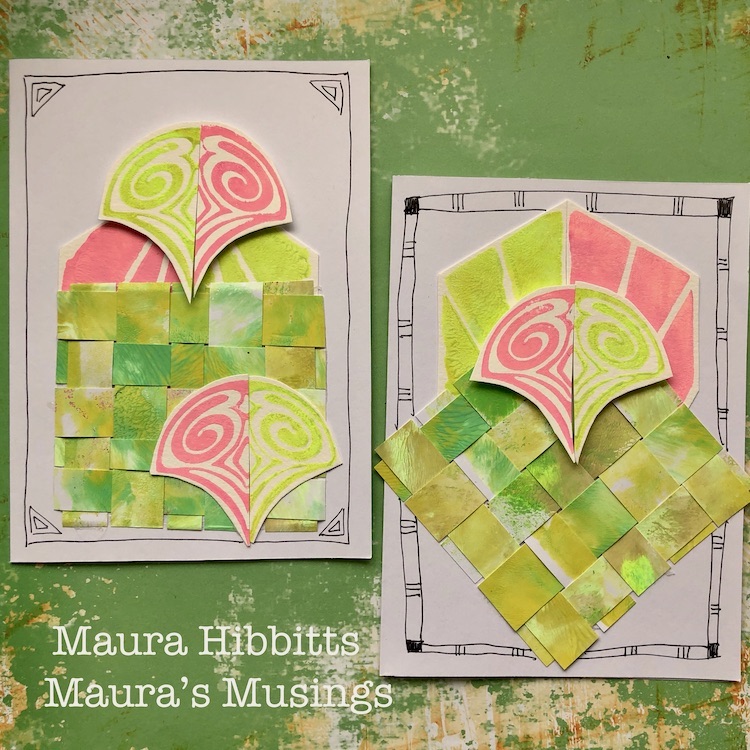
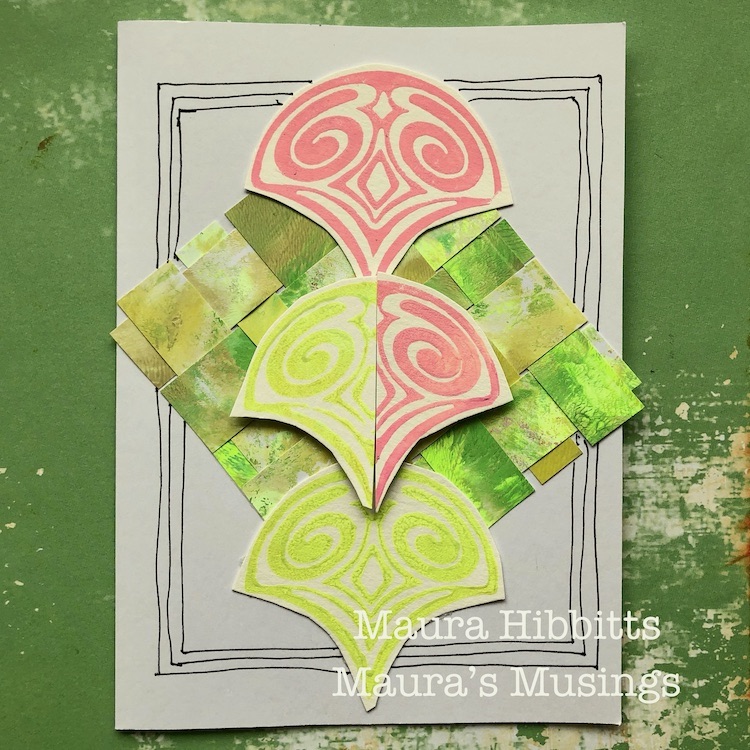
Thank you Maura – I love these happy spring colors this time of year :)

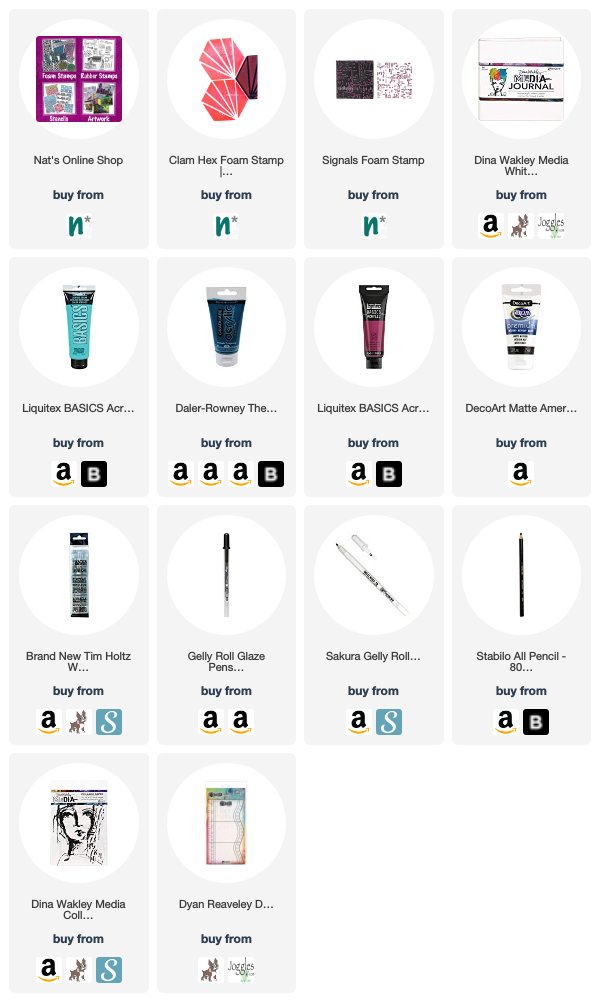
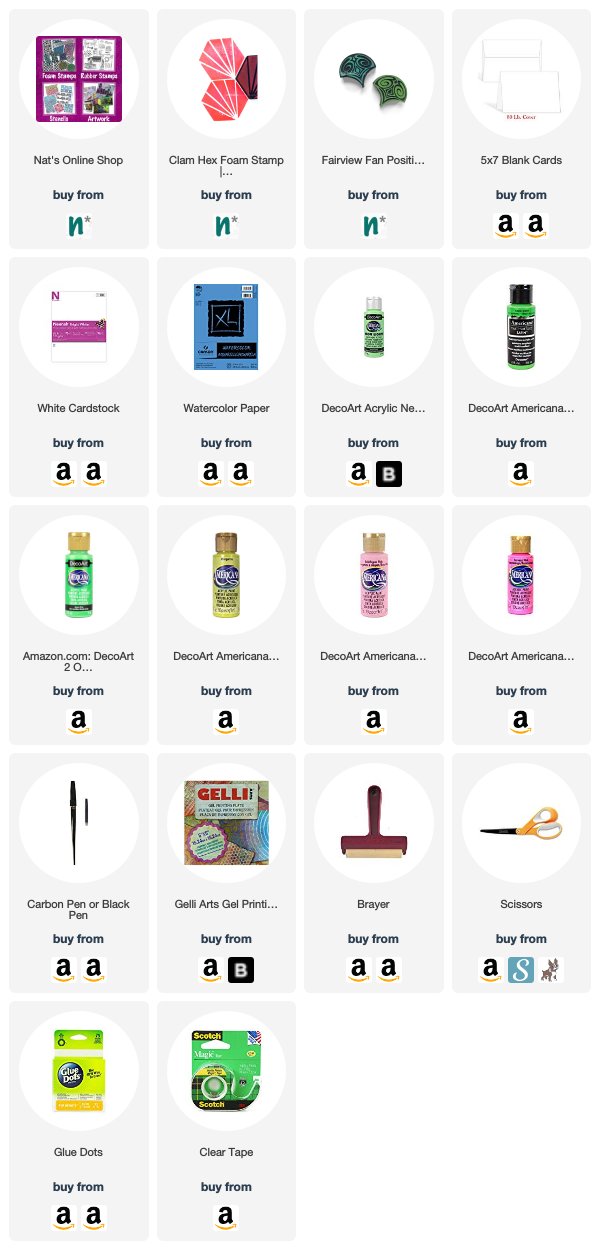
Want to give Maura’s project a try? You can find all my Foam Stamps in my Online Shop. Here are some of the other supplies Maura used:
Feel inspired? Working on something yourself that you’d like to share?  I love to see how you interpret our monthly themes. Email me how you used my stencils and stamps with the theme and email me an image – I would love to share your projects in my next  “n*Spiration From Around the Globe“.

Leave a comment

Boldly Going – Jennifer Gallagher

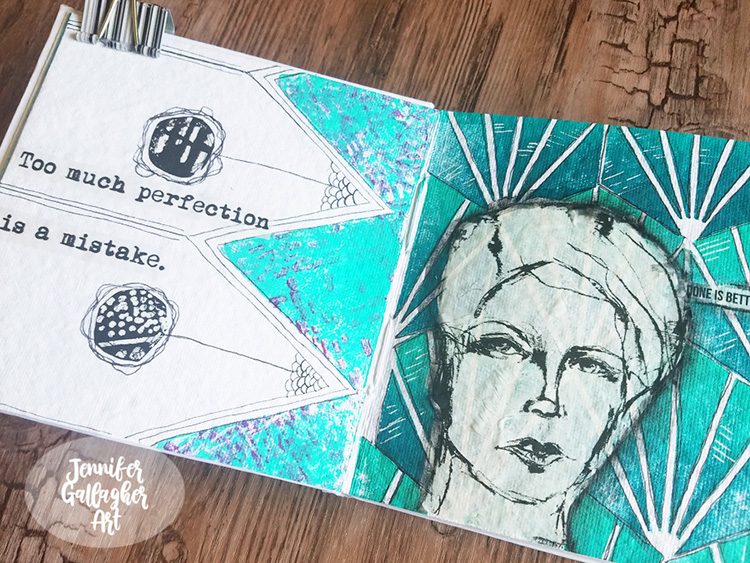
Welcome to a post from the Creative Squad! Today we have an art journal page from Jennifer Gallagher that will inspire you to work more boldly and intuitively. She is using my Clam Hex and Signals foam stamps and this month’s theme: Boldly Going – Go BOLD with color or pattern this month and really make something that is packed with visual POP! This is no time to be subdued or subtle. Go Bold!!!


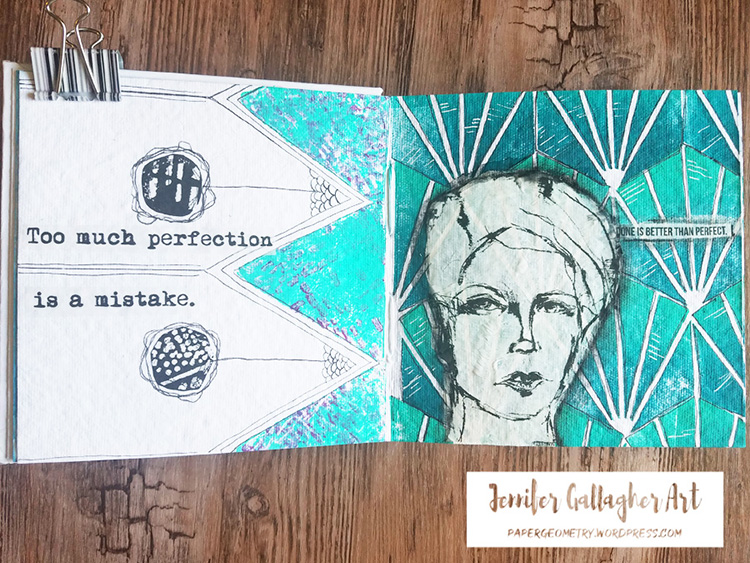
This month we are “boldly going” while creating with n*Studio products. To me being bold means making artistic decisions quickly and going with my gut. I try to shut down the negative voice inside and create almost intuitively. While creating this art journal spread I made quick decisions about colors and patterns and just went with the flow. Let’s get started!

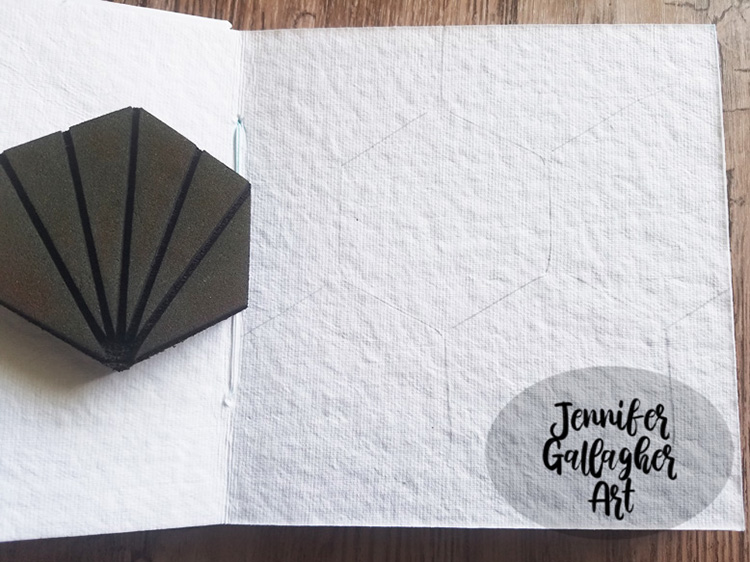
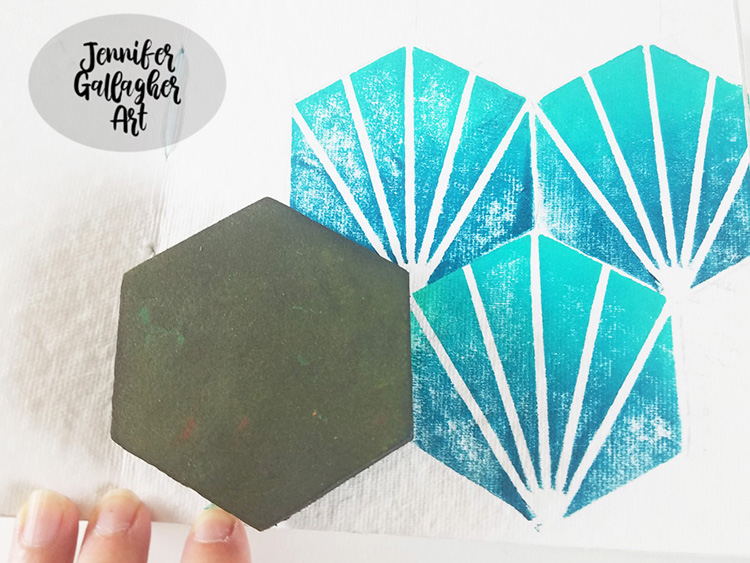
I began on the right side of my journal spread by penciling in a grid with my Clam Hex foam stamp. Having a grid determined before hand makes the stamping quick and easy.

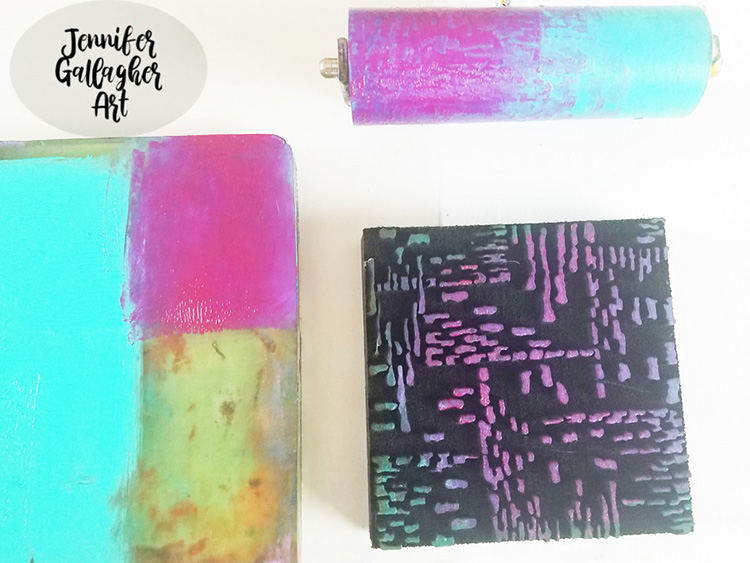
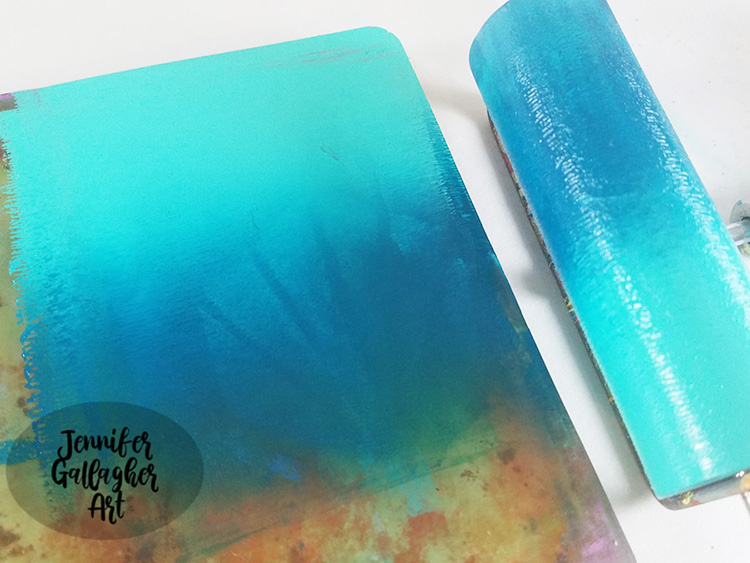
I wanted to stamp with a gradient of two colors. I have applied bright aqua green and phthalo turquoise acrylic paint on a gelli plate and brayered it out and applied it to my foam stamp. I then pressed my stamp down in accordance with my grid across the entire page.

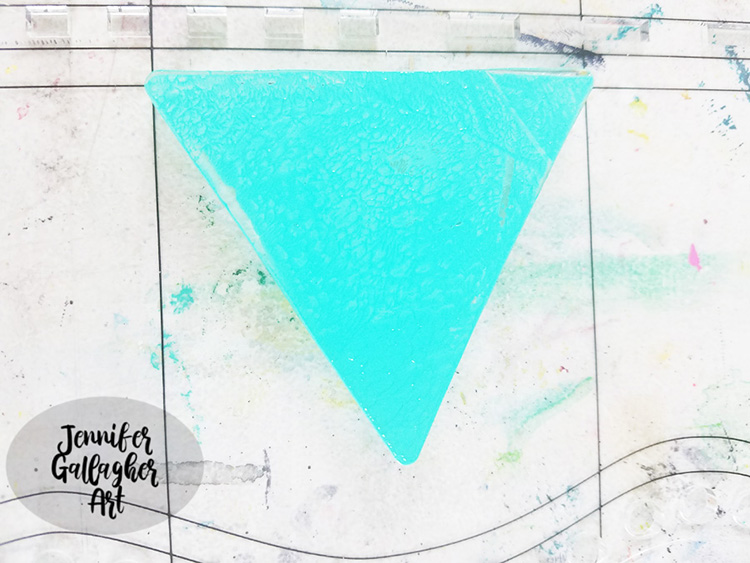
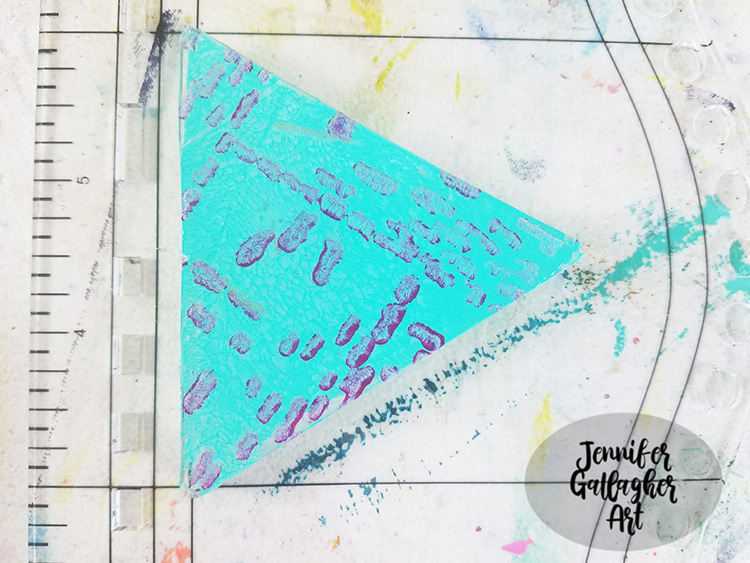
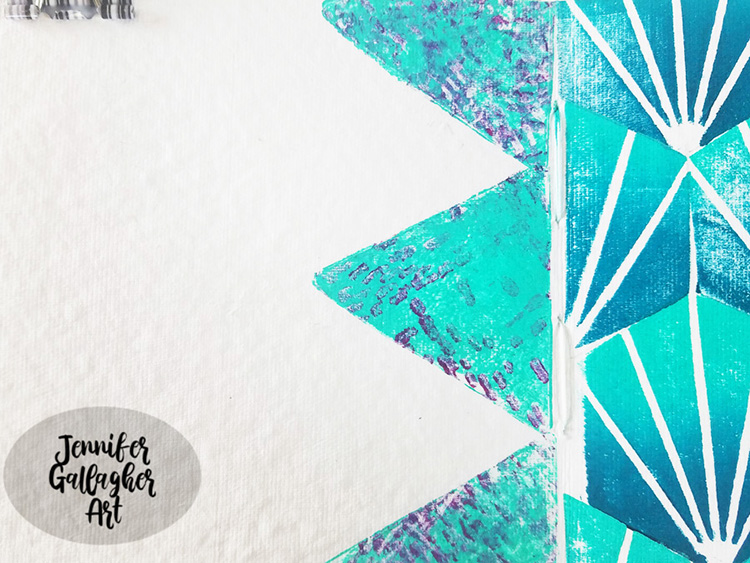
Next, I brayered bright aqua green acrylic paint onto a three inch triangular shaped gelli plate which I fixed to an acrylic block. Then I brayered quinacrodone magenta acrylic paint onto Nat’s Signals foam stamp and pressed that onto the triangular plate. Lastly, I pressed the plate down onto the right side of the left page, down the length of the page.

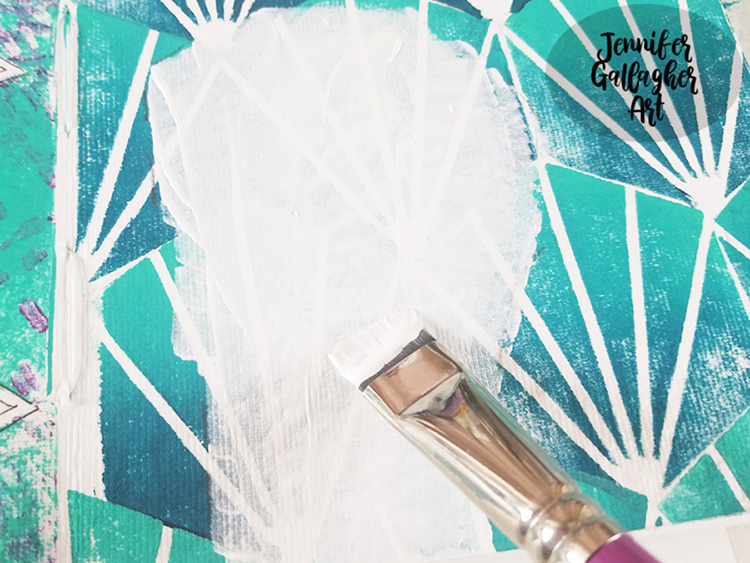
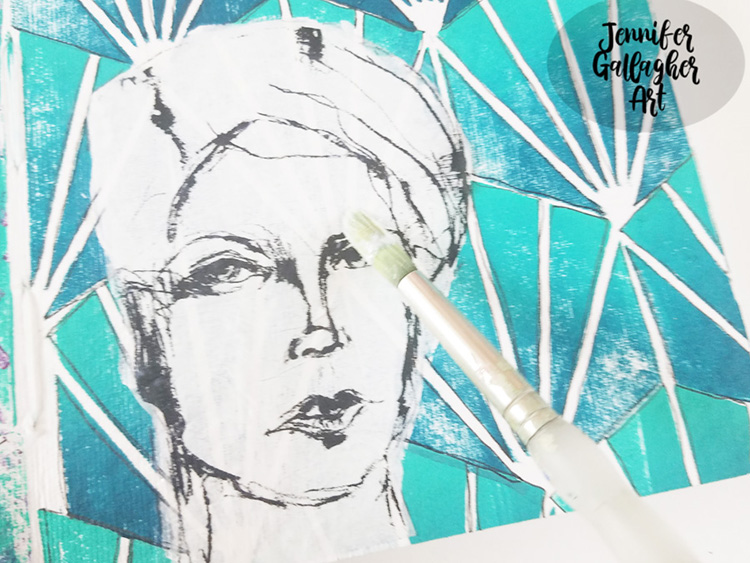
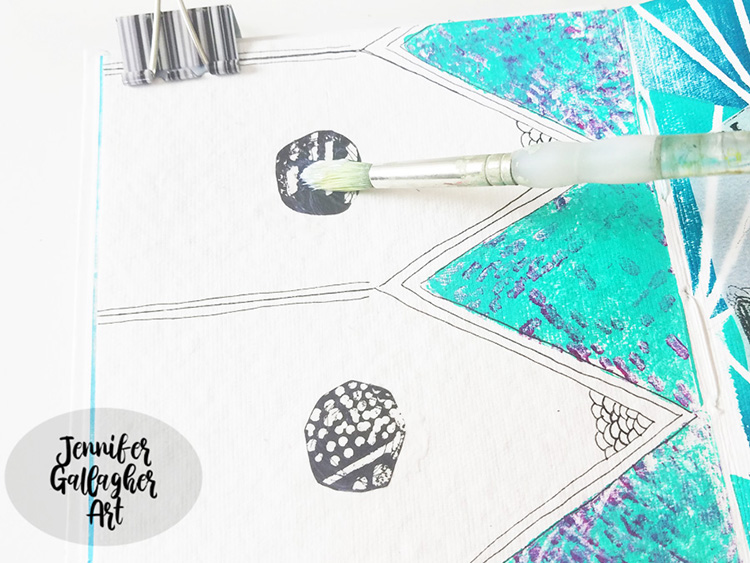
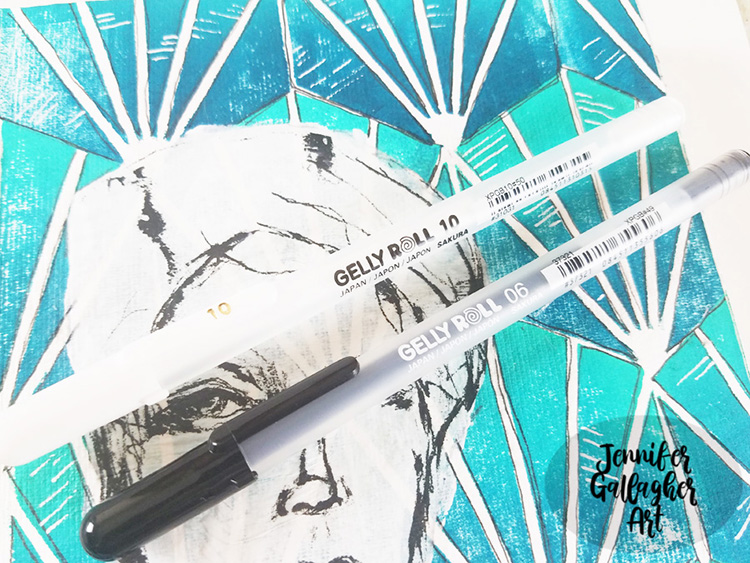
I decided where I wanted to place my tissue paper face and laid down a light layer of white gesso in that area. This helps the image to pop off the page. Then I adhered it and two tissue paper circles on the left side of the page with matte medium. Using a black and white gelly roll pen, To add a little extra interest, I doodled on both pages.

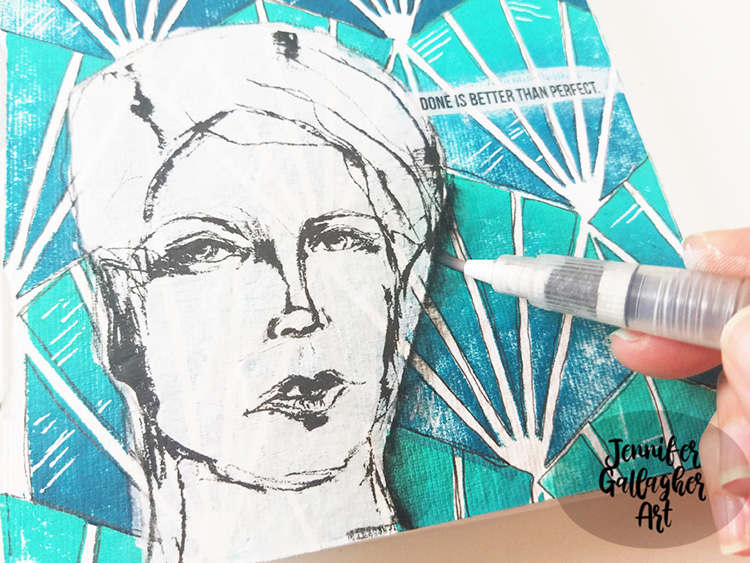
I chose a few tissue paper sentiments and adhered them with matte medium. Next, I used a stabilo all pencil and a waterbrush to add a little shadow around the face.

I love how this page turned out. Now it’s your turn! Pull out those n*Studio products and be bold. Don’t forget to share your creations with us.


Thank you Jennifer! Definitely love how “going with your gut” made for such a bold page :) You can find all of my Foam Stamps in my online shop. Here are some of the other supplies Jennifer used:

Feel inspired? Working on something yourself that you’d like to share?  I love to see how you interpret our monthly themes. Email me how you used my stencils and stamps with the theme and email me an image – I would love to share your projects in my next  “n*Spiration From Around the Globe“.

Leave a comment

Boldly Going – Tania Ahmed

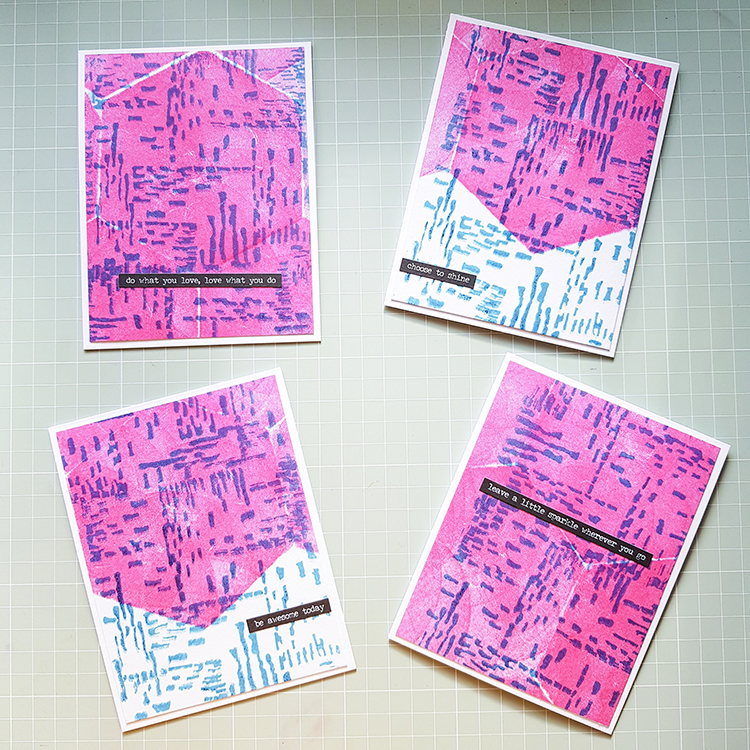
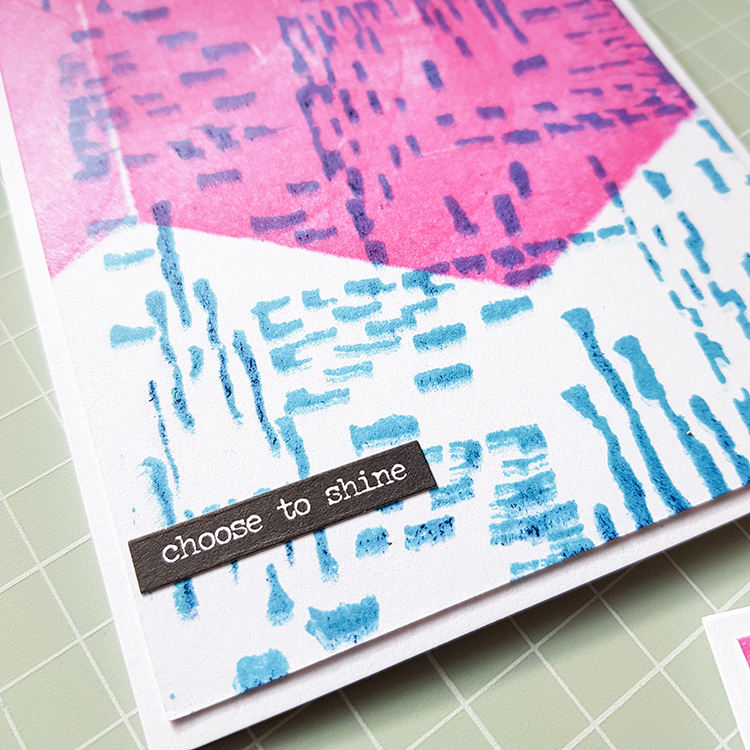
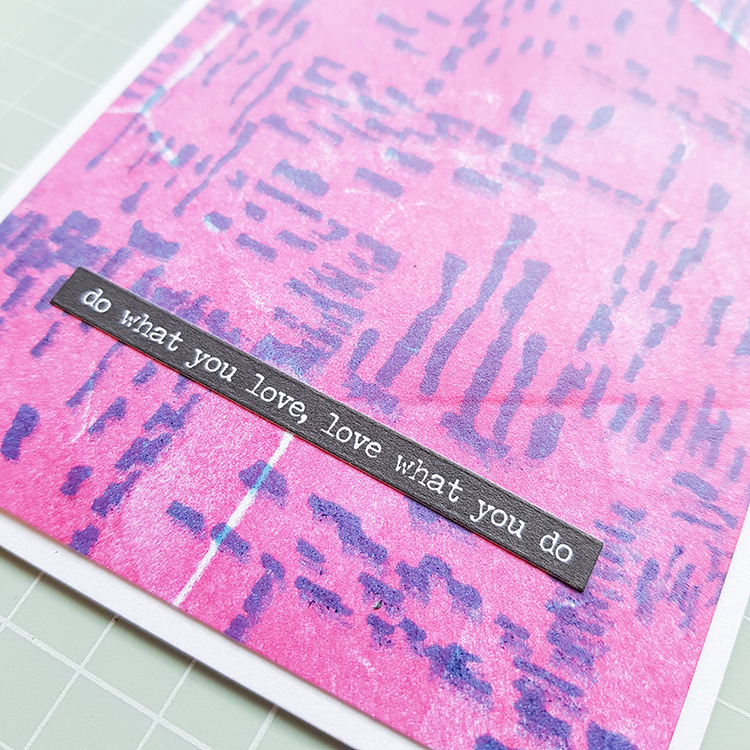
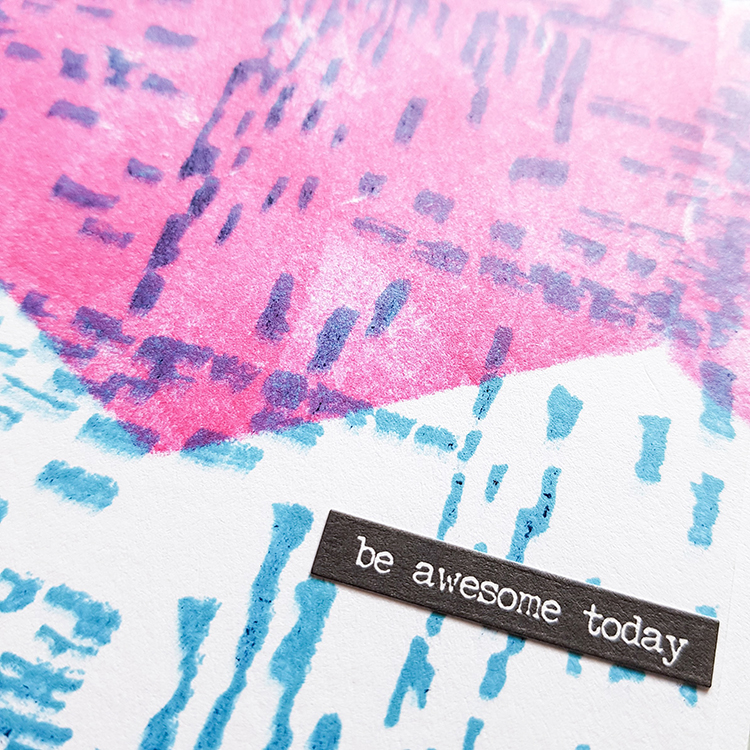
Hello from my Creative Squad! Today we have a sweet suite of cards from Tania Ahmed using my Clam Hex and Signals foam stamps. Check out her video below. This month’s theme is Boldly Going – Go BOLD with color or pattern this month and really make something that is packed with visual POP! This is no time to be subdued or subtle. Go Bold!!!


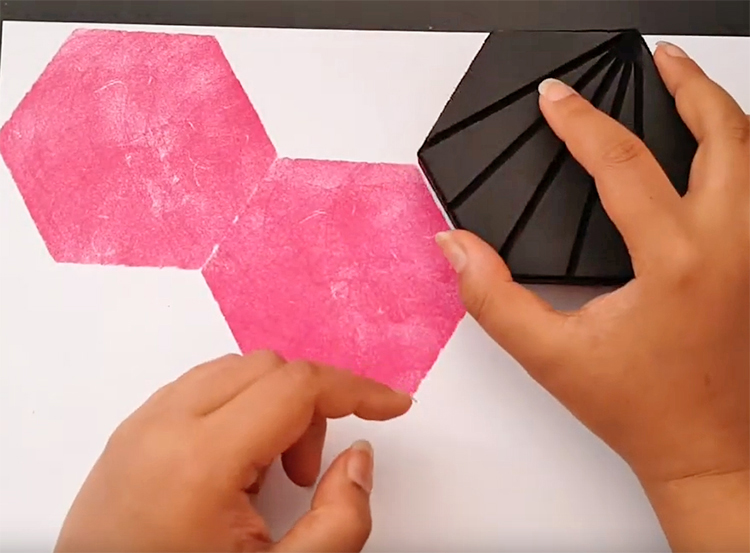
This month, I decided to keep things simple and create some quick and easy cards using Nat’s Art Foamies called Signals and Clam Hex. In fact, you can use any of Nat’s Foamies because I used the backside of the stamp to get a solid hexagon! This is a fantastic way to get your Art Foamies to do double duty and you can achieve some very unique shadow or halo effects if you use both the flat back and the designed side of the Art Foamies.

The Jane Davenport Hybrid Squid Inks were perfect to use with this month’s theme of keeping things bold which is right up my alley!

I hope that you enjoy the video tutorial and play along with the Creative Squad! Thanks for watching ?

My process was something you could do with just a couple foam stamps – I used Nat’s Clam Hex and Signals stamps. I started by stamping with the back of the hex stamp.

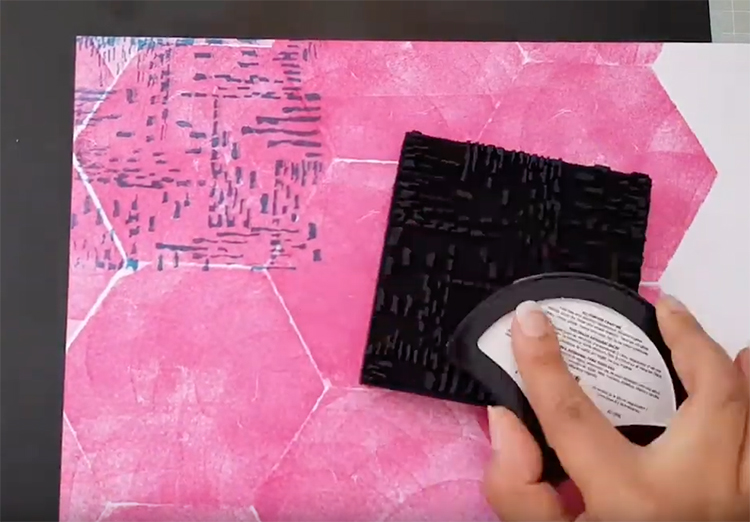
Then the Signals stamp in another bold color…

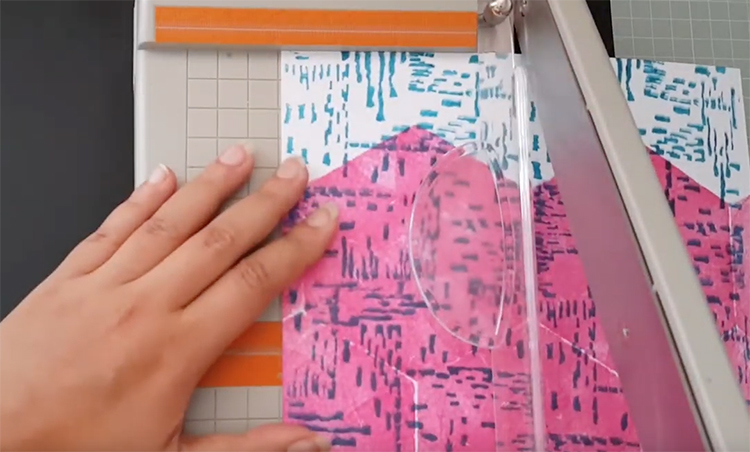
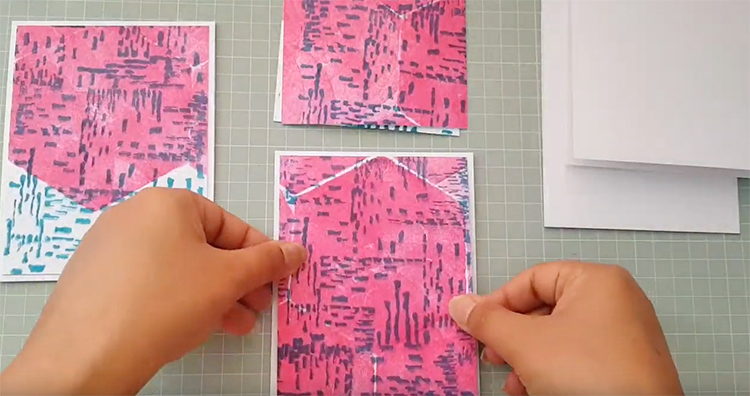
Next I cut my patterned paper down to a size that would fit on blank cards.

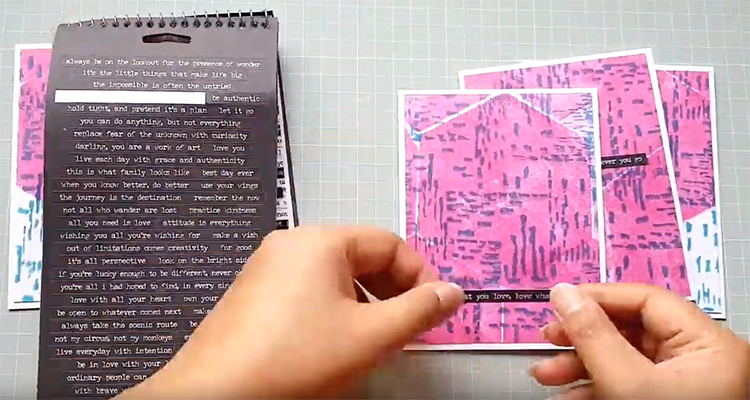
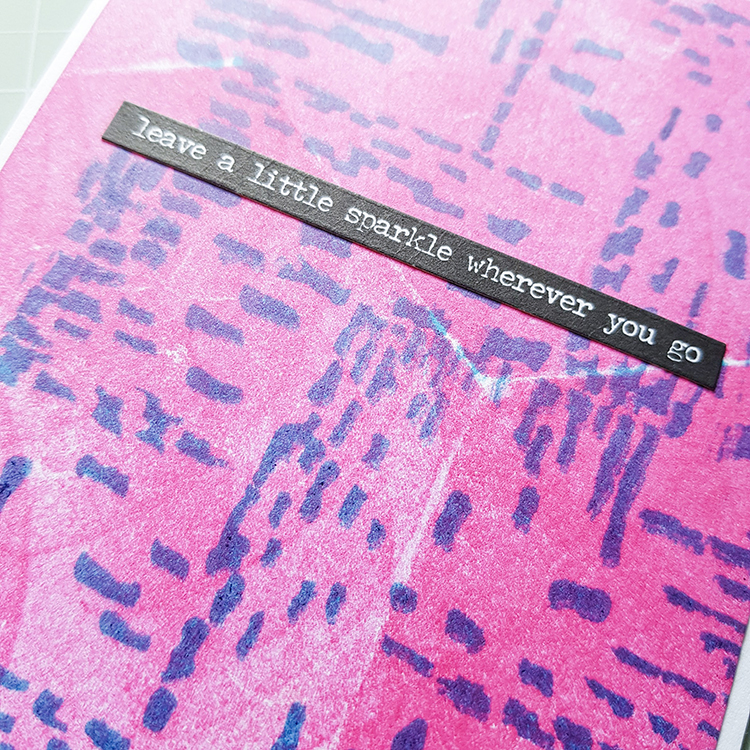
And then I put them together with some word stickers.

You could use this method to make a variety of cards.


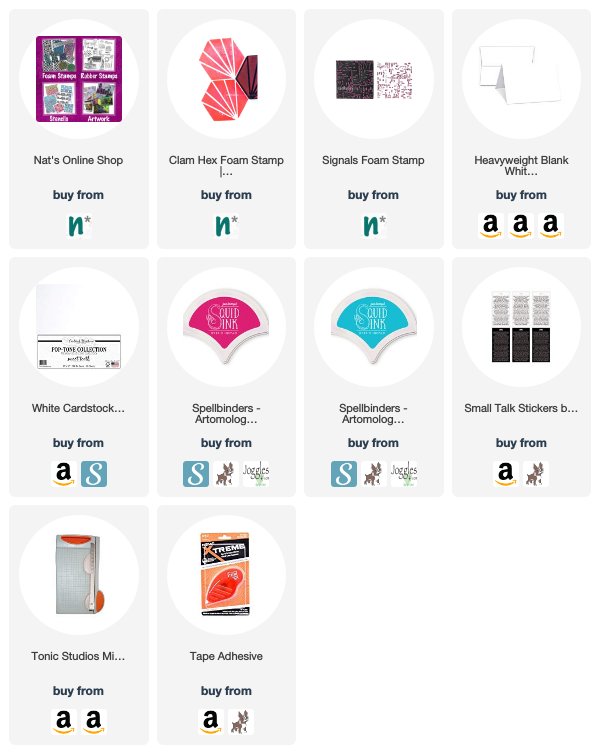
Thank you Tania – what a perfect quick and easy Summer Stamping project! You can find all of my Foam Stamps in my online shop. Here are some of the other supplies Tania used:

Feel inspired? Working on something yourself that you’d like to share?  I love to see how you interpret our monthly themes. Email me how you used my stencils and stamps with the theme and email me an image – I would love to share your projects in my next  “n*Spiration From Around the Globe“.


Join me on Wednesday at 2:30pm EST for a facebook live Kaffeeklatsch chat!!!

Leave a comment

Warm Wishes – Jennifer Gallagher


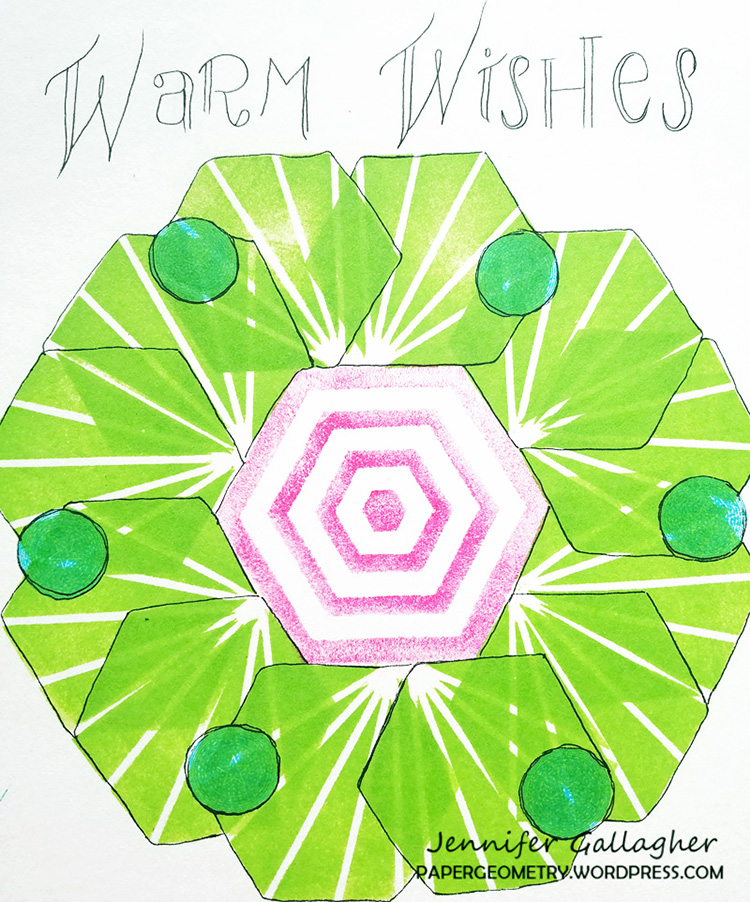
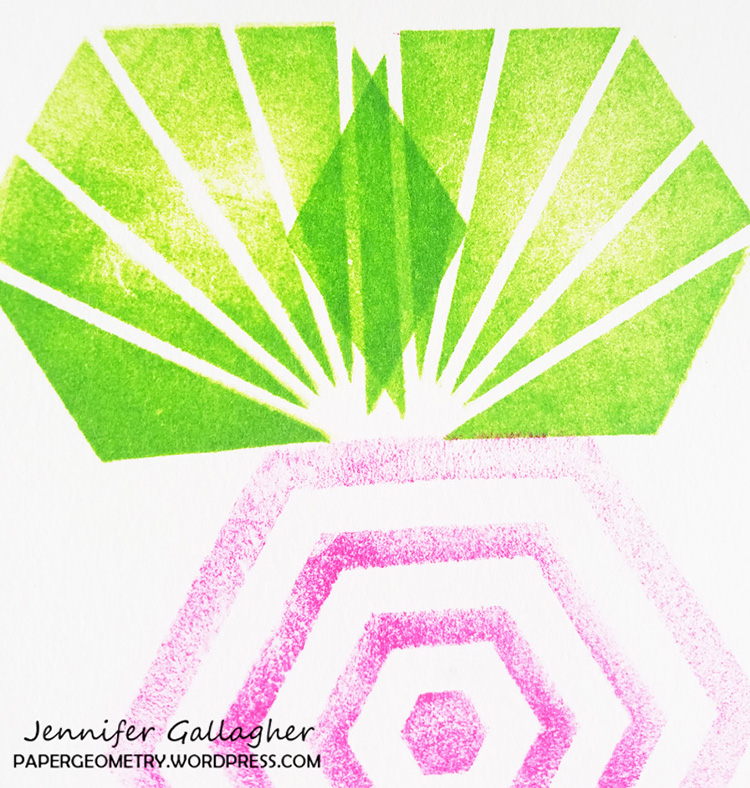
Tis the season for some Warm Wishes from my Creative Squad. Today we have a holiday art journal spread from Jennifer Gallagher that transforms my Clam Hex and Space Oddity stamps into a non-traditional wreath design. Jennifer was inspired by our theme: Warm Wishes – For many cultures around the world, December is a holiday season filled with celebrations and good cheer. The Creative Squad is taking this month to send Warm Wishes to all our readers!


This month the creative squad is creating projects that celebrate this festive time of year. We are sending you all our warmest wishes! I love to think outside of the box with our creative squad prompts. So, when I sat down to contemplate warm wishes and holidays, I was immediately transported to somewhere tropical for some literal “warm” holiday wishes. I hope you enjoy my non-traditional and somewhat tropical take on a holiday wreath for a spread in my art journal.

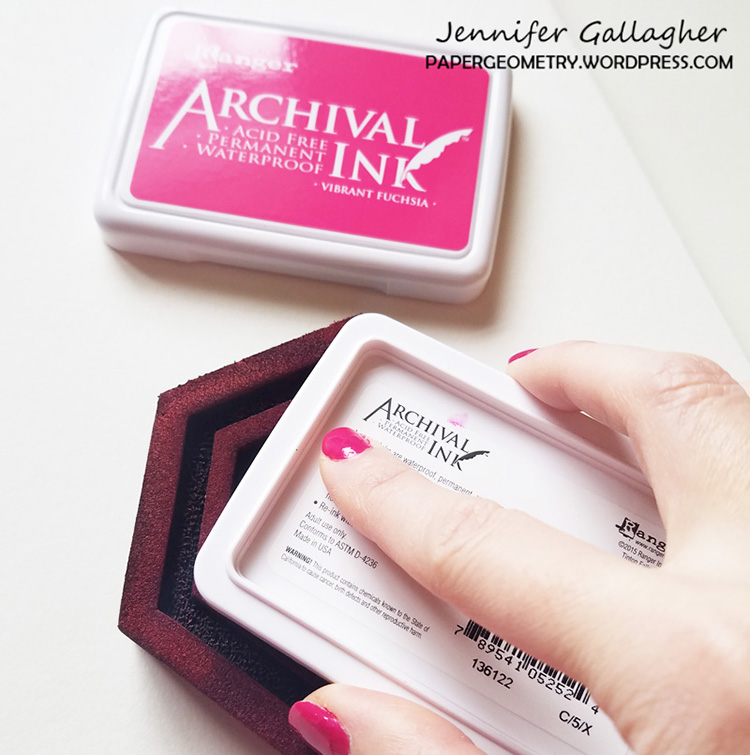
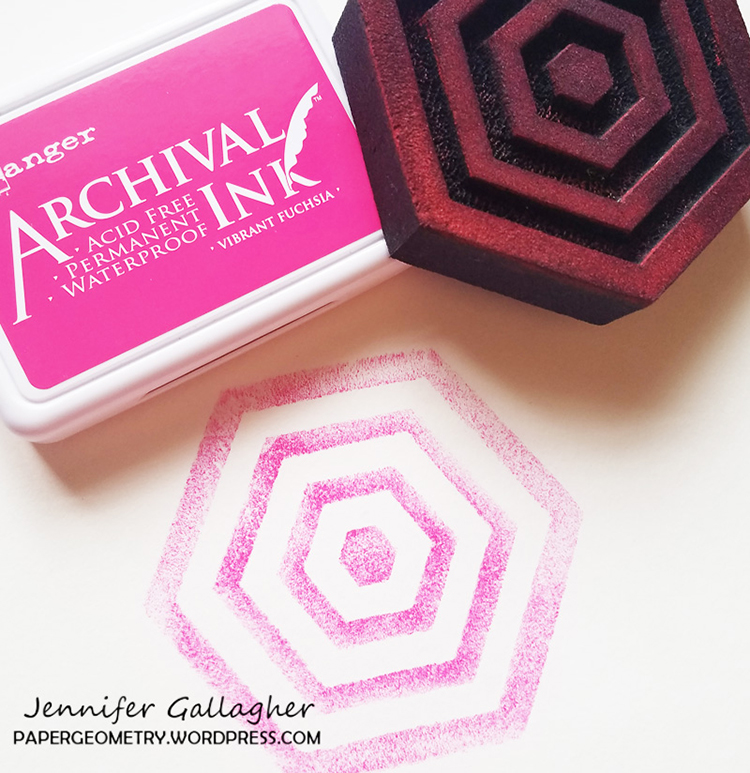
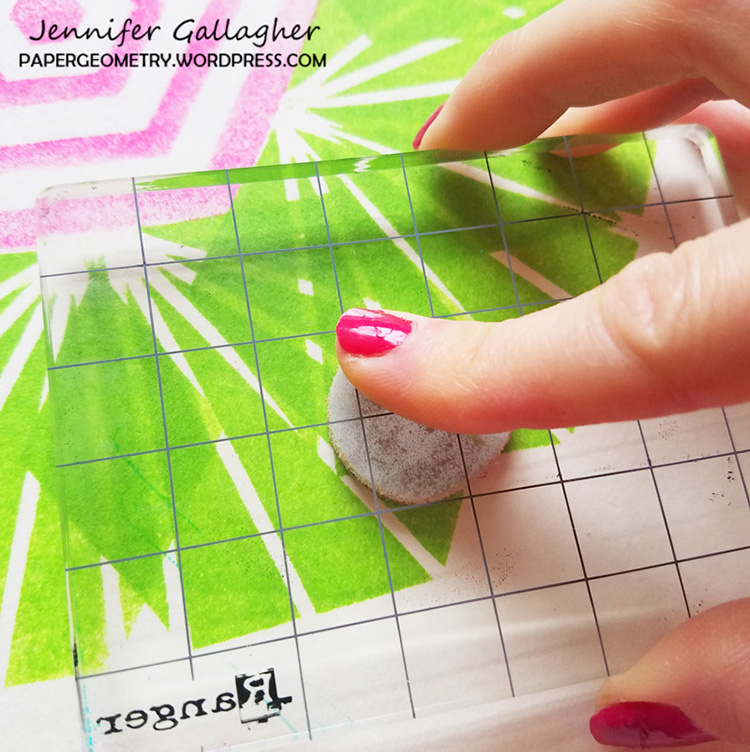
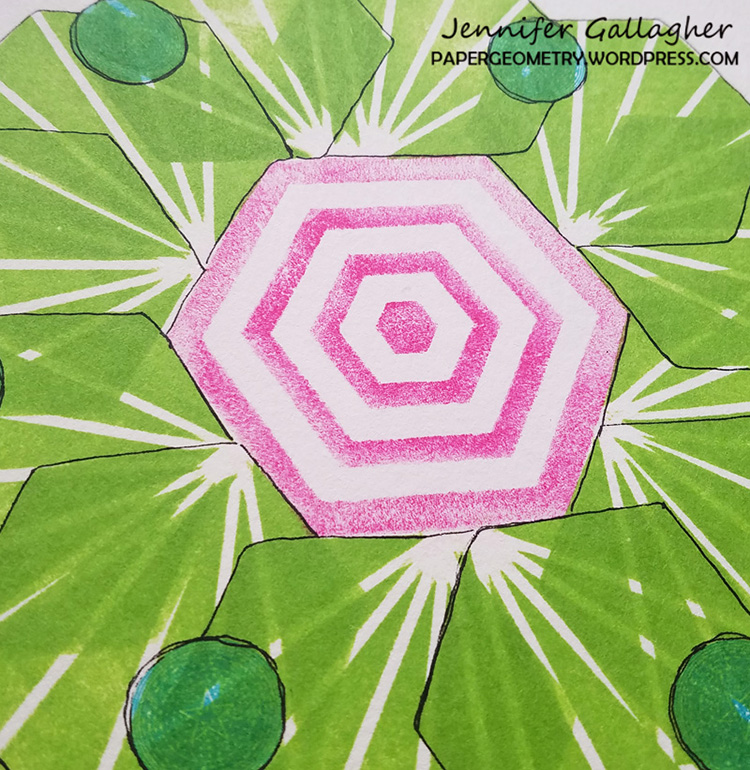
I began in my canson mixed-media journal. I placed a small pencil mark in the center of my page as a guide. Then I inked my space oddity foam stamp with vibrant fuchsia archival ink. Next, I pressed the foam stamp into the center of my page, pressing with even pressure. This striped design mimics a fun candy cane pattern. Here is where we begin with a non-traditional use of color. Instead of the normal red and white, this pink and white will feel a lot more modern and tropical.

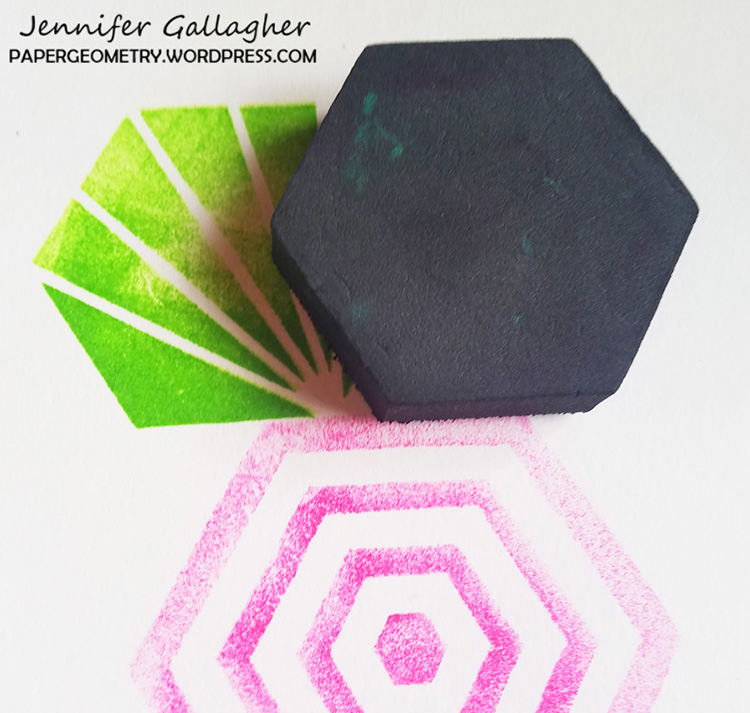
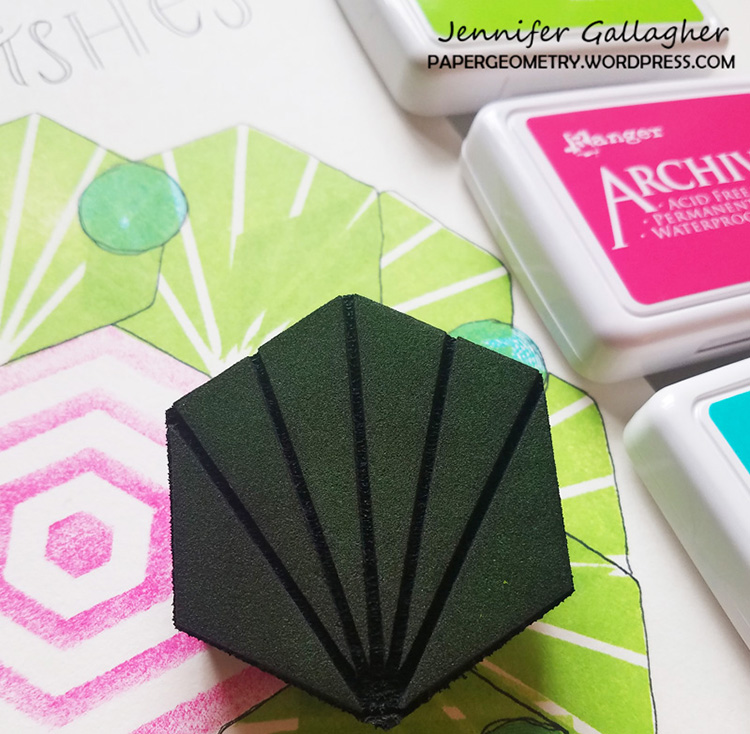
I used the mini clam hex foam to create my faux tropical leaves around the center of my wreath. I inked up the foam stamp with vivid chartreuse archival ink and pressed the stamp down in an exact pattern that I repeated all the way around.

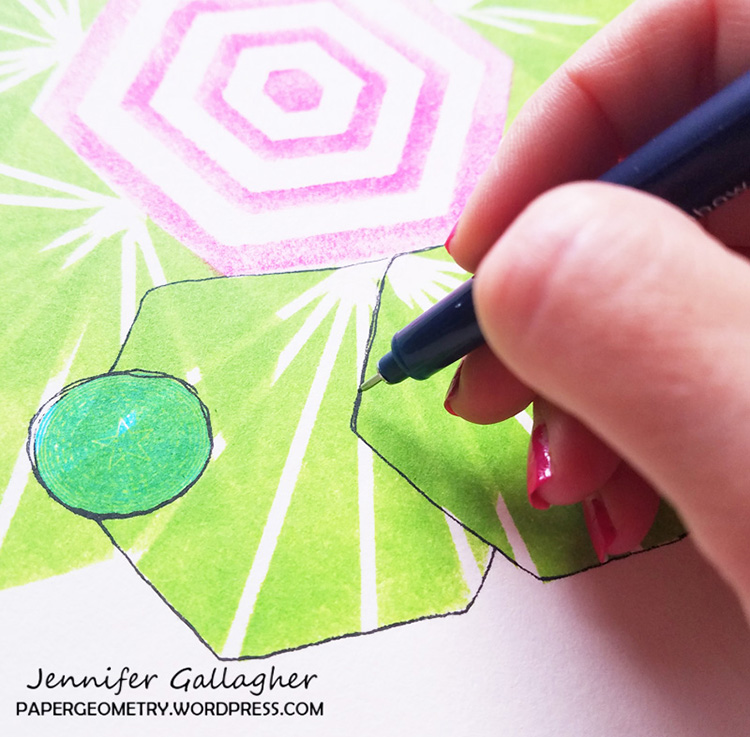
Next, I wanted to add some ornament balls all around the wreath. Nat’s Small Circle Jumble rubber stamp set was the perfect thing. I chose the circle drive negative stamp and inked it up with garden patina archival ink. I stamped the ornaments all over the wreath.

I used my tombow mono drawing pens to add a little detail around each ornament and leaf.

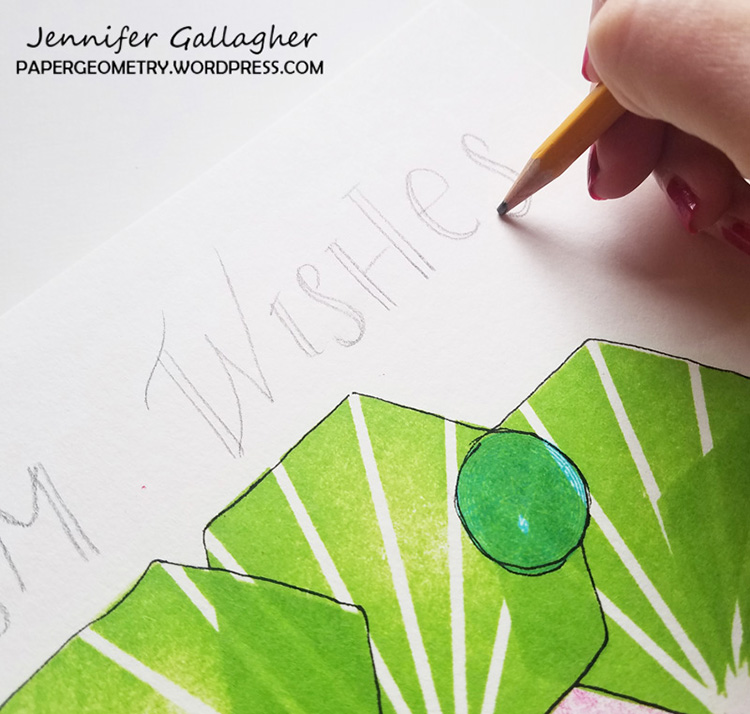
Lastly, in pencil I sketched out a little fun hand-lettered sentiment. Once I settled on the design, I drew over it with my drawing pens and erased the pencil marks.

It has been another wonderful year working with Nat, Kim, and the gals from the Creative Squad. I hope you have enjoyed my work this year and have been inspired. I am sending you warm wishes for a wonderful holiday season and a happy new year.


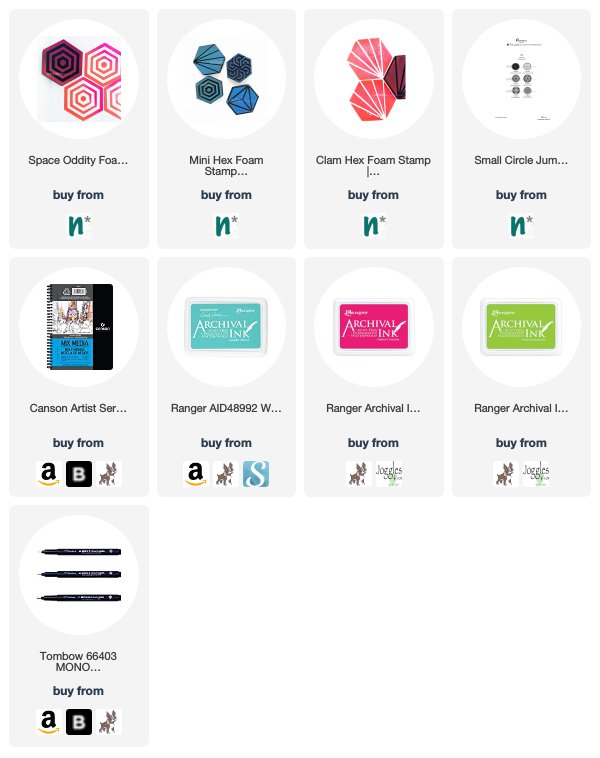
Thank you Jennifer and we thank you for a great year of inspiring projects and of course we wish you a restful holiday season and happy new year too :) Here are some of the supplies that Jennifer used:


Feel inspired? Working on something yourself that you’d like to share?  I love to see how you interpret our monthly themes. Email me how you used my stencils and stamps with the theme and email me an image – I would love to share your projects in my next  “n*Spiration From Around the Globe“.
Leave a comment

Warm Wishes – Tania Ahmed


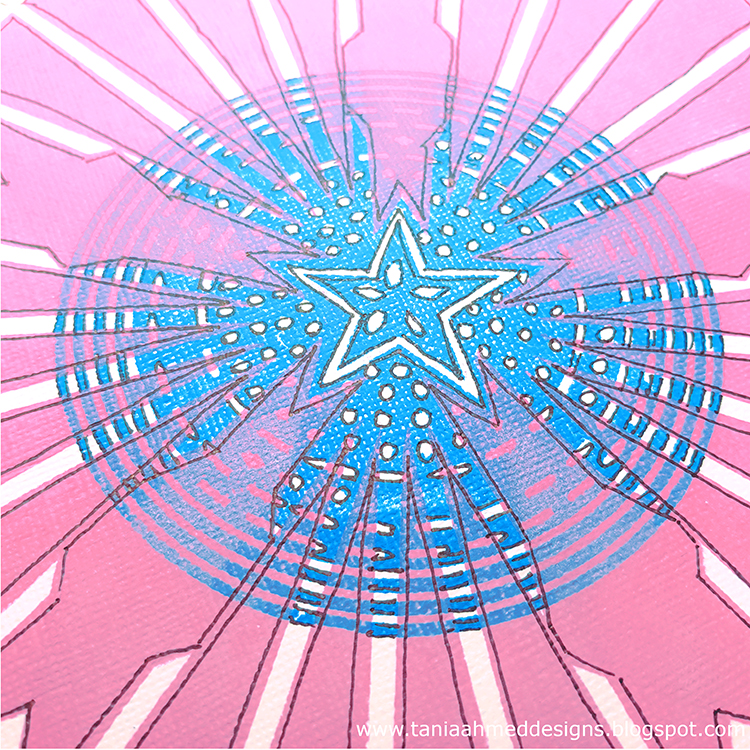
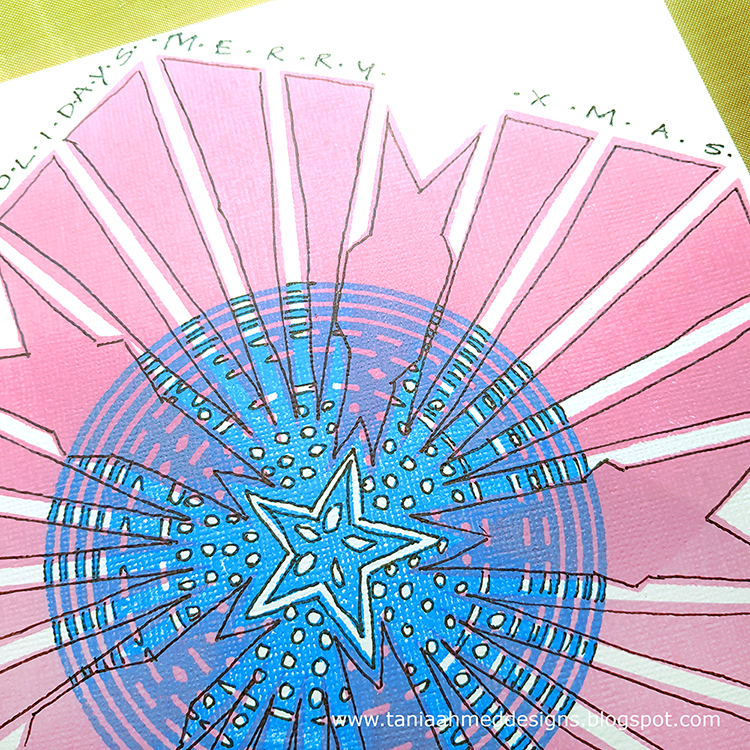
Hello my friends! Welcome to December and a new post from my Creative Squad. Today we have another fab video to share with you from Tania Ahmed. She is again rocking the patterns with my Circle Drive and Clam Hex foam stamps. This month’s theme is: Warm Wishes – For many cultures around the world, December is a holiday season filled with celebrations and good cheer. The Creative Squad is taking this month to send Warm Wishes to all our readers!


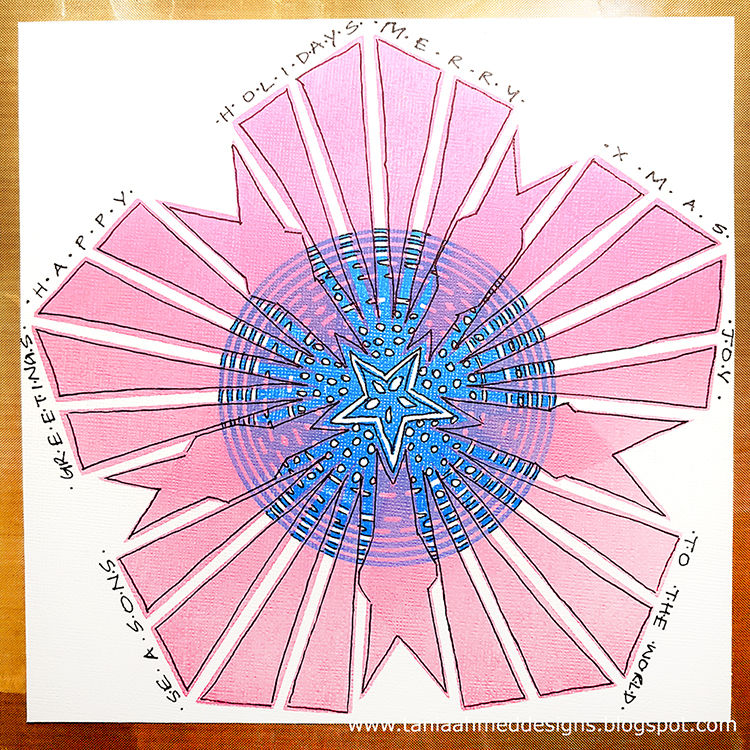
When I chose my ArtFoamies, I like to think about how I can make two seemingly different patterns work together. It’s like a puzzle and my weird brain likes finding solutions and harmony in a seemingly chaotic pattern. I wasn’t sure when I first started stamping if the pattern would work but I was delighted to see that it resulted in an abstract flower like shape. I find repetitive stamping, creating patterns and doodling relaxing so I was smiling while I put this quick and easy layout together. I hope you try this with your stash of ArtFoamies, I adore my collection!

Step 1- Choose your ArtFoamies. This is the most difficult step!

Step 2- Apply Distress Oxide to Circle Drive ArtFoamie and stamp onto textured cardstock. I love the chalky finish of the Distress Oxides, and the ArtFoamies make it so easy to get an even impression.

Step 3- Use the star in the centre of Circle Drive to align and stamp with the Clam Hex ArtFoamie. This will create an almost abstract cherry blossom flower shape.

Step 4- Add lines and words with an ultra fine black Sharpie marker.


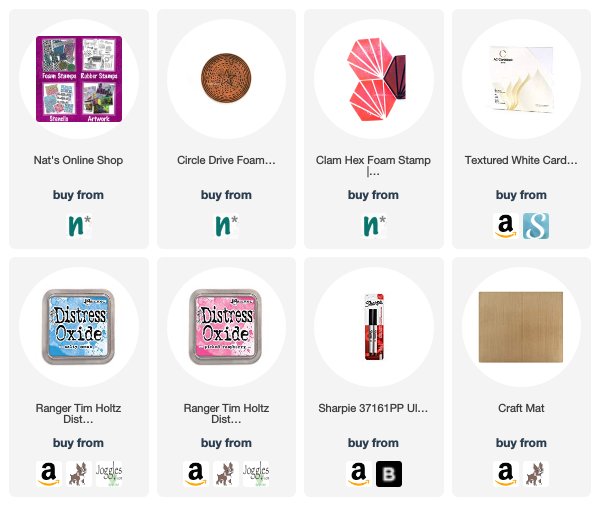
Thank you Tania – we just love learning new ways to combine stamp patterns! You can find all my Foam Stamps in my Online Shop. Here are some of the other supplies that Tania used:


Feel inspired? Working on something yourself that you’d like to share?  I love to see how you interpret our monthly themes. Email me how you used my stencils and stamps with the theme and email me an image – I would love to share your projects in my next  “n*Spiration From Around the Globe“.
Leave a comment

Doin’ My Thing -Jennifer Gallagher


Hello from my Creative Squad! Today we have a post from Jennifer Gallagher to inspire you this holiday season with some creative gift wrapping ideas. Jennifer is using my Mini Clam Hex foam stamp and my Small Circle Jumble stamp set, along with this month’s theme: Doin’ My Thing – We all have a unique artistic style and way of working with supplies. This is the time to rock it! Be yourself. Do your thing.


This month we are doin’ our thing over on the n*Studio blog. So, what is my thing? That is hard to nail down because I love so many products and techniques. Then I realized that using my supplies to create useful items that others will enjoy is definitely ‘my thing’.

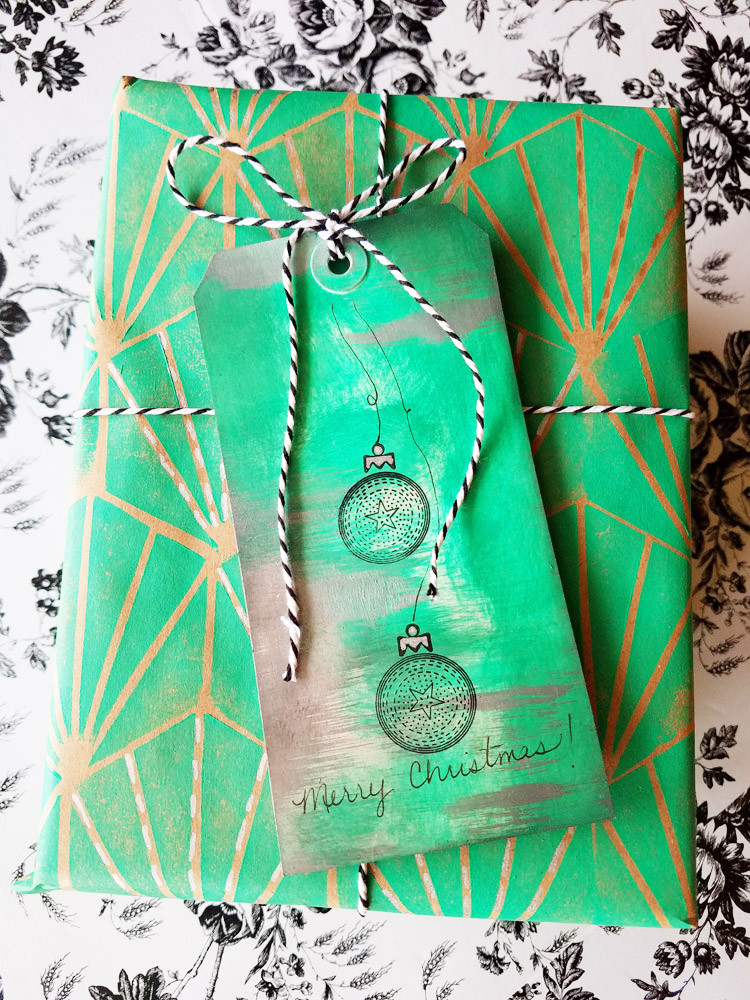
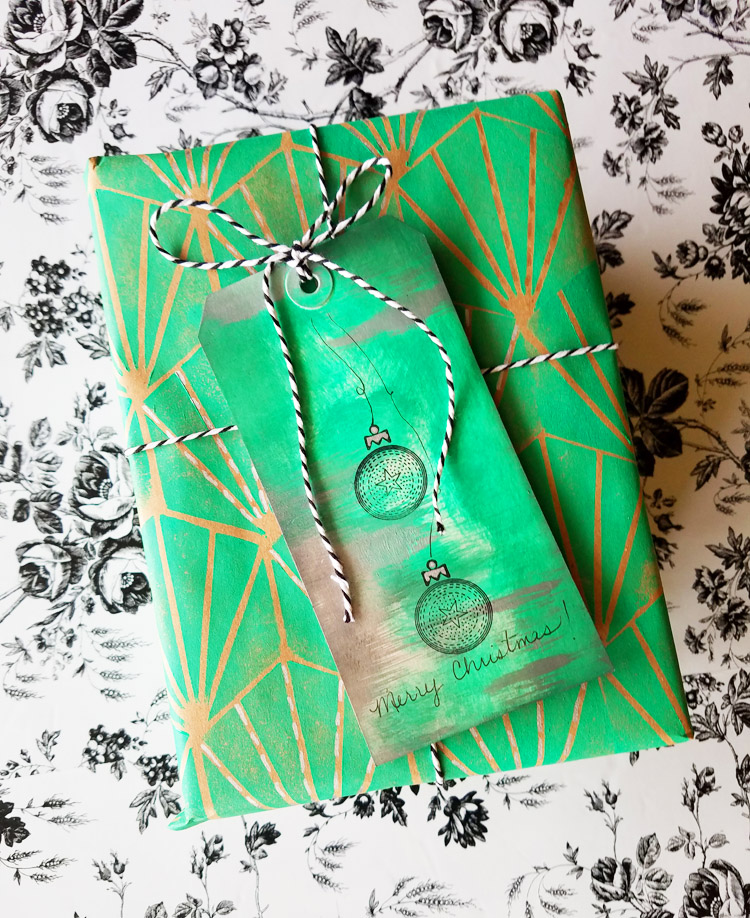
Often when we think of seasonal gift wrapping our minds go straight to decorated trees and snowmen. But who says that you can’t create beautiful, nontraditional holiday wrapping using some of your favorite n*Studio art supplies? Let’s break out our artfoamies and stamps and create some one of a kind paper!

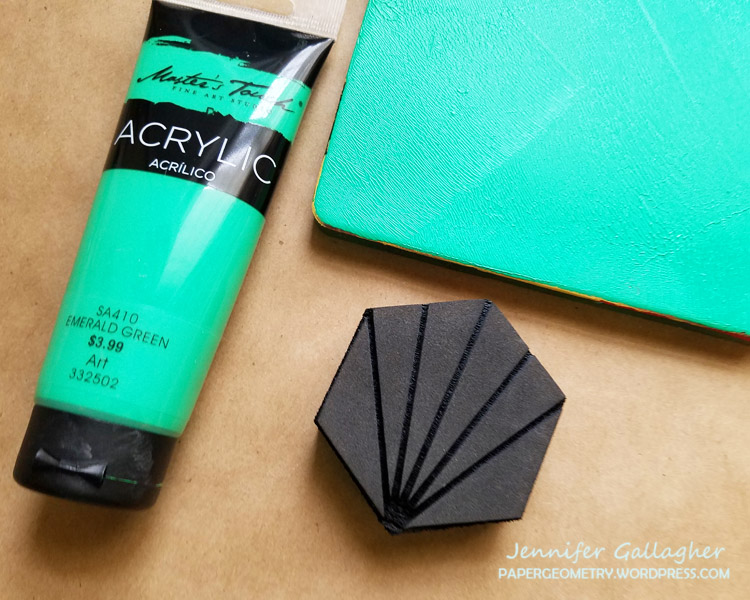
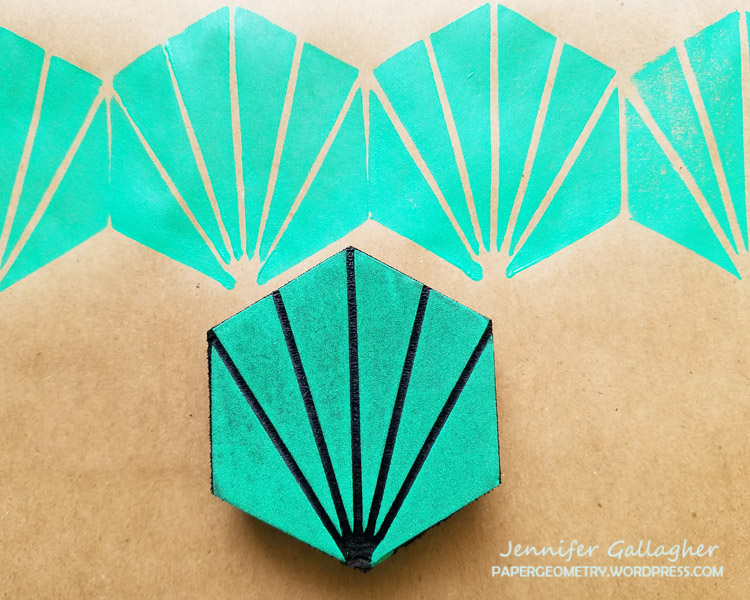
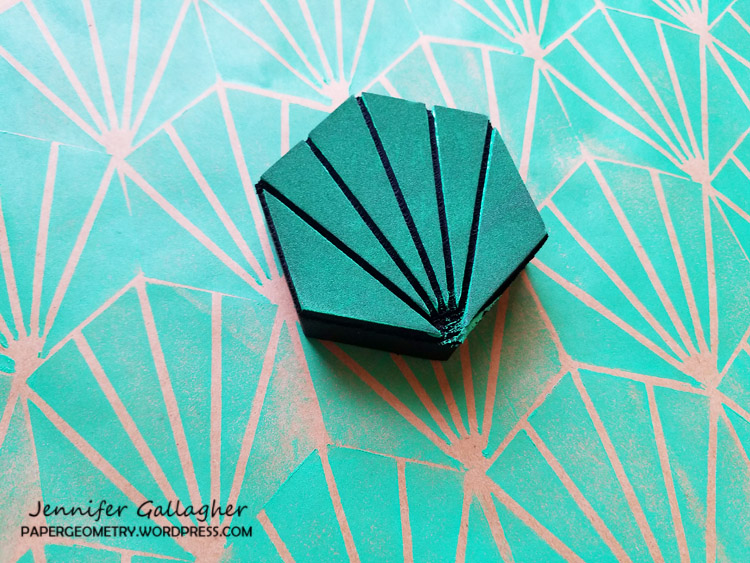
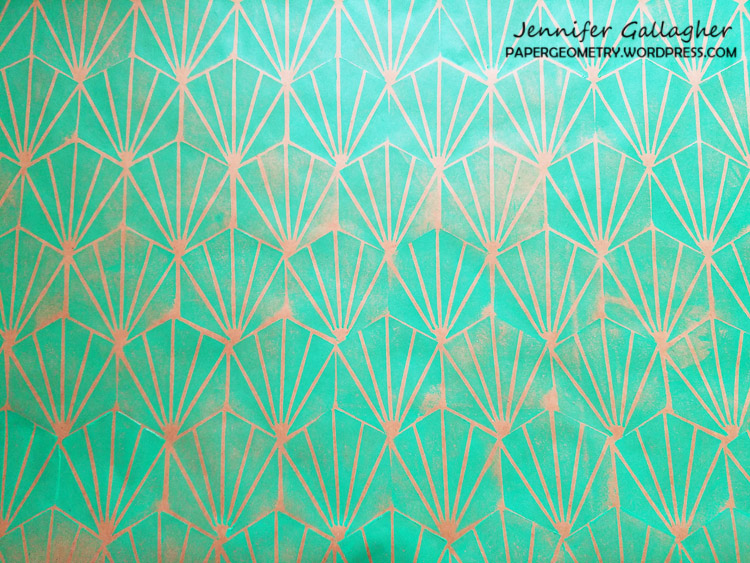
Start with an inexpensive roll of kraft paper. I found mine at a local dollar store. Lay the paper down on a flat surface and tape down the corners and edges with painters tape. This will help keep the paper from rolling up as you work. Brayer out some paint onto your gel plate and press your artfoamie into the paint. I am using Nat’s mini clam hex foam stamp. Now firmly press the stamp onto your kraft paper.

Repeat this process creating whatever design you wish.

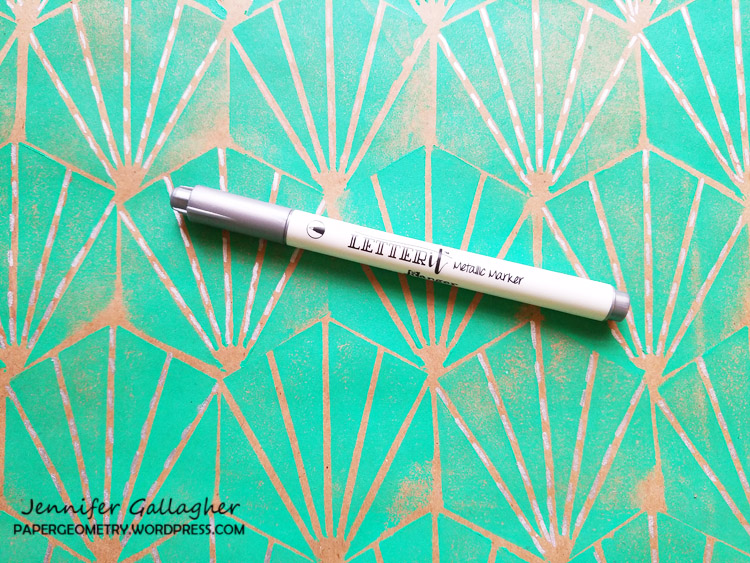
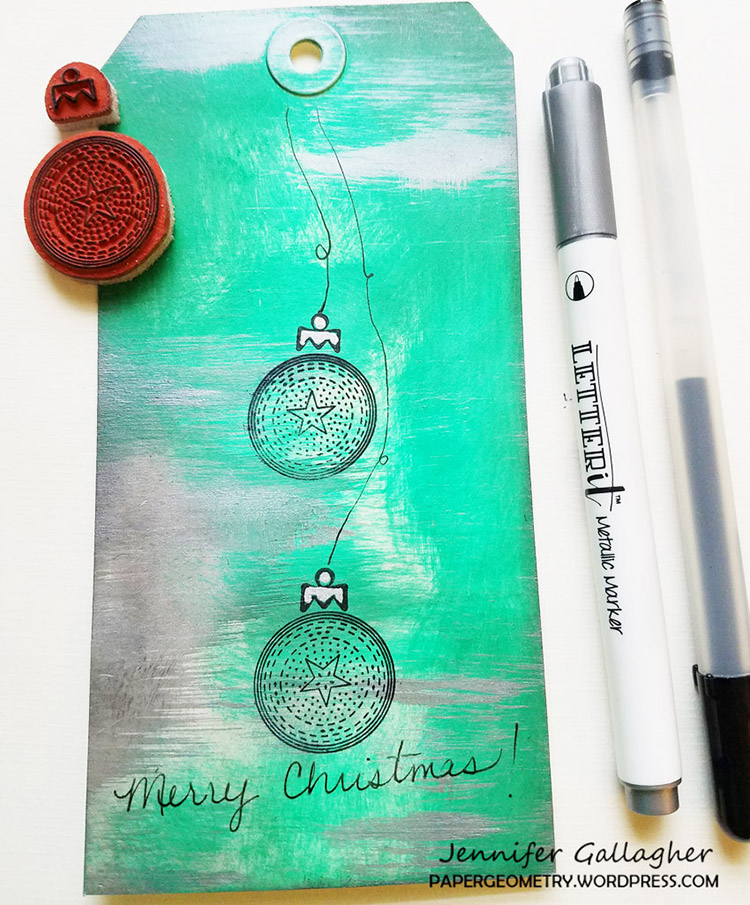
Add some pizzazz and additional interest with metallic markers. I have added dashed lines with my silver Letter It Metallic Marker by Ranger.

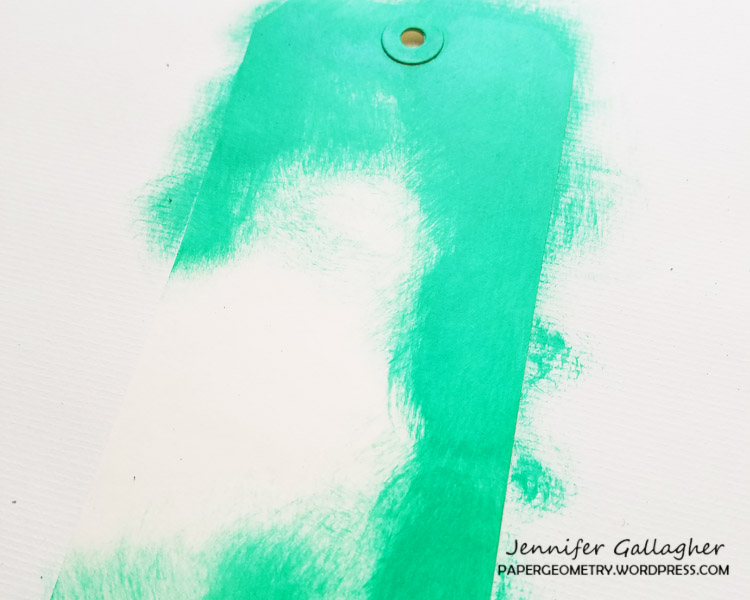
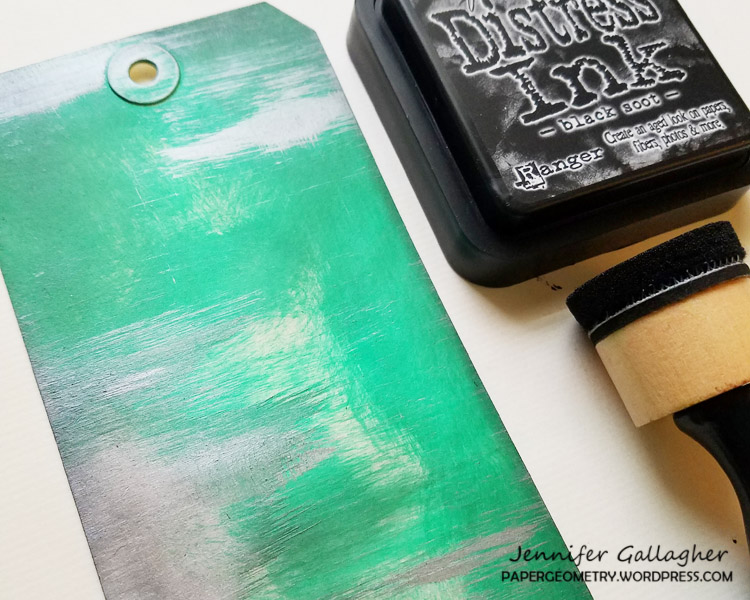
What would a beautifully wrapped package be without a gift tag? Start with a #8 mixed media tag. Apply the same emerald green paint onto the tag in a haphazard fashion using a mini blending tool.

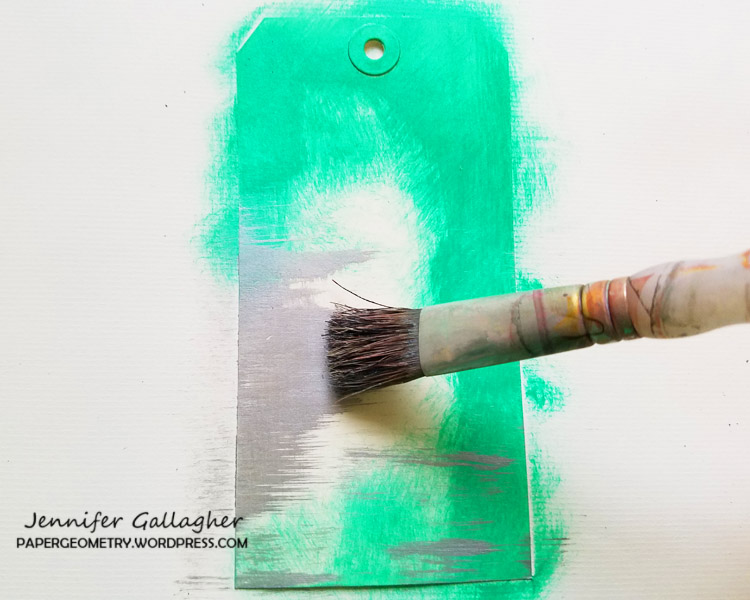
Thinly apply platinum modeling paste with a dry coarse bristled brush in some areas of your tag. You can continue to layer the green acrylic and platinum modeling paste until you achieve an affect you like.

Add black soot distress ink around the edges and throughout the tag to add additional interest.

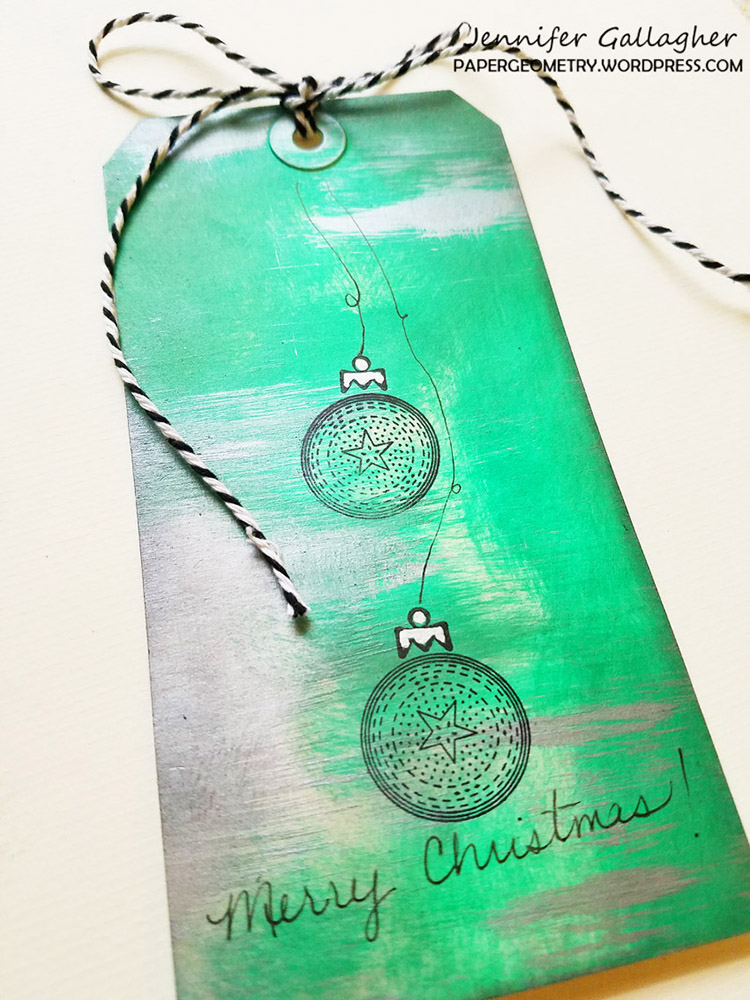
Next, stamp a few of the negative circle drive small stamps from the Small Circle Jumble Stamp Set – don’t forget to add the ornament topper. Draw a few strings from the ornaments and add a little silver highlights.

Thanks for joining us. We would love to see what unique and creative gift wrapping you can come up with using your favorite n*Studio products. And be sure to stop by each Tuesday to see what the Creative Squad is up to.


Thank you Jennifer! We can’t wait to try some papers of our own this year. You can find all of my foam stamps and rubber stamps in my online store and here are some of the other supplies that Jennifer used:


Feel inspired? Working on something yourself that you’d like to share?  I love to see how you interpret our monthly themes. Email me how you used my stencils and stamps with the theme and email me an image – I would love to share your projects in my next  “n*Spiration From Around the Globe“.
Leave a comment

Let it Flow – Art Journal Spread

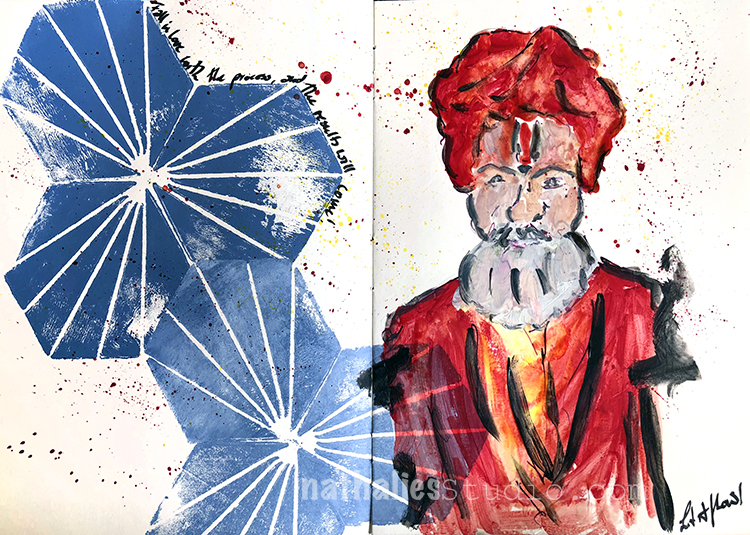
“Fall in Love with the pieces and the results will come. Let it flow!” – my creative mantra :)

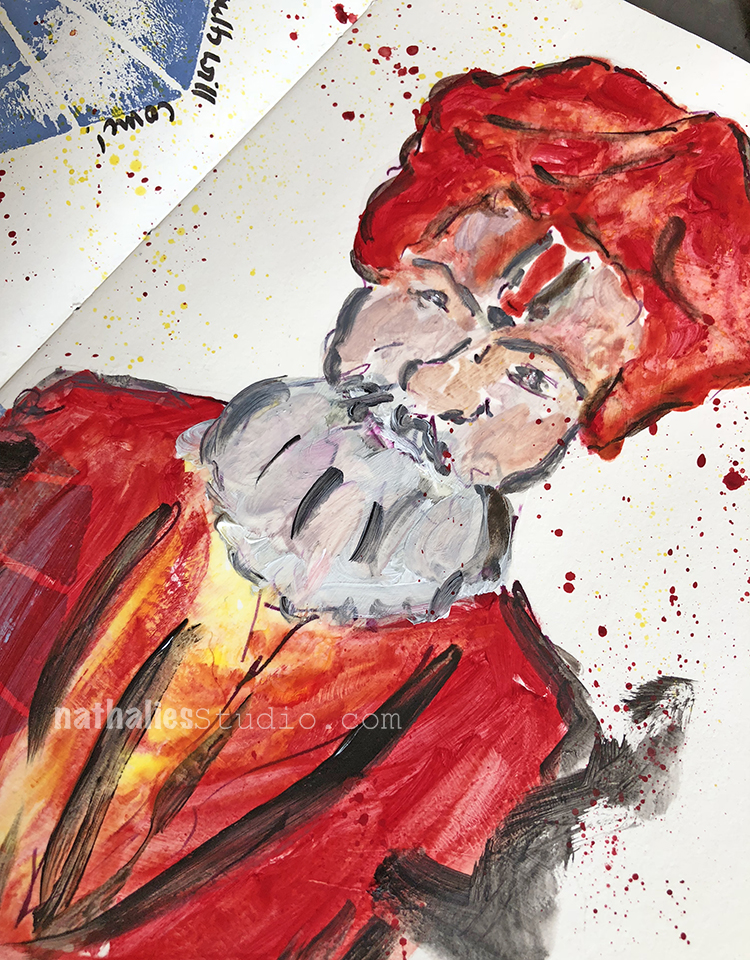
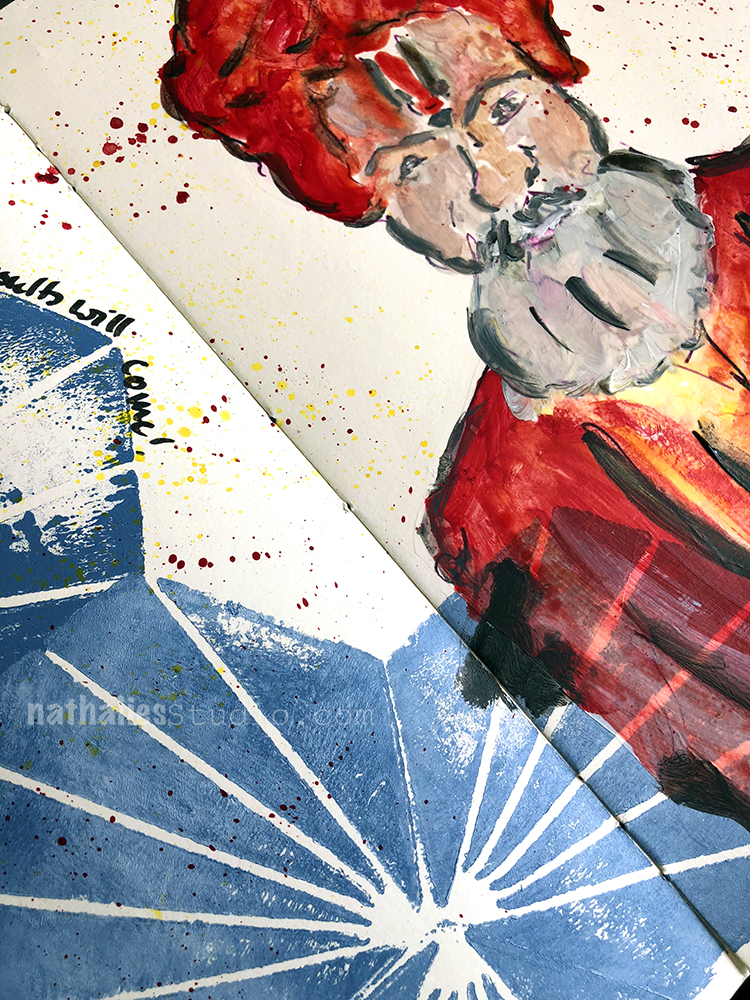
Sketched and painted with some acrylic paints and acrylic inks – I just wanted to see how I liked painting with some thinner paints and acrylic inks- it is a bit challenging and I do like parts of it -the way it makes the colors really pop due to the translucency – but I do miss my texture.

Love how the Clam Hex Stamp provides a nice pattern – All in all I like the flow of this page :)

Here are some of the supplies I used:


Leave a comment

Raiders of the Lost Stash – Tania Ahmed


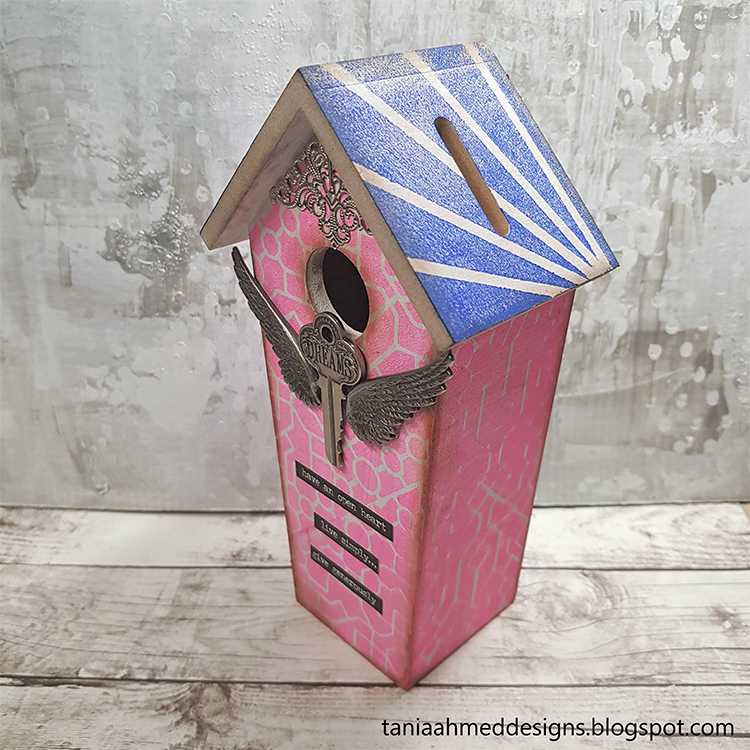
Hello and welcome to a new theme from the Creative Squad! Today we have Tania Ahmed with us to share an adorable project with us using a mini birdhouse bank she had tucked away in her stash. She is also using my Clam Hex and Exchange Place foam stamps and this month’s theme: Raiders of the Lost Stash – It’s time to raid your stash of art making stuff. Pick a few things you’ve tucked away for later and use them NOW. Maybe you have some leftover scraps or deli papers that you couldn’t bear to part with. Maybe you’ve squirreled away a new product that you’ve been meaning to try. The time is now! Raid your stash and try it :)


This month we were challenged to use some of the newer ArtFoamies and some of the earlier releases! We were also encouraged to dig things out of our stash that we had been hoarding. So I fished out a birdhouse that I had been saving to alter.

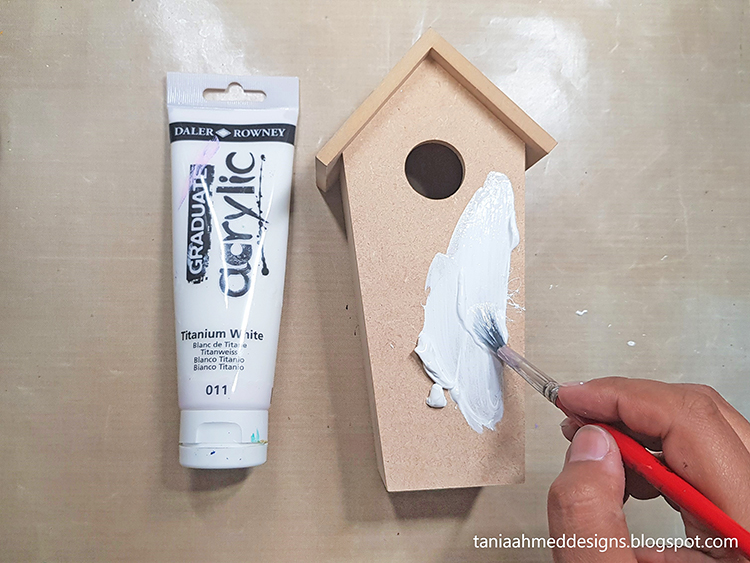
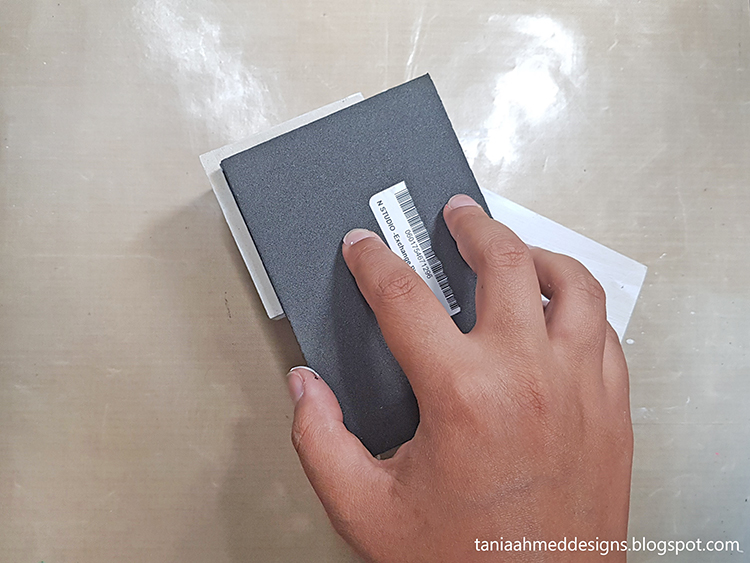
I started by painting the birdhouse with white acrylic paint.

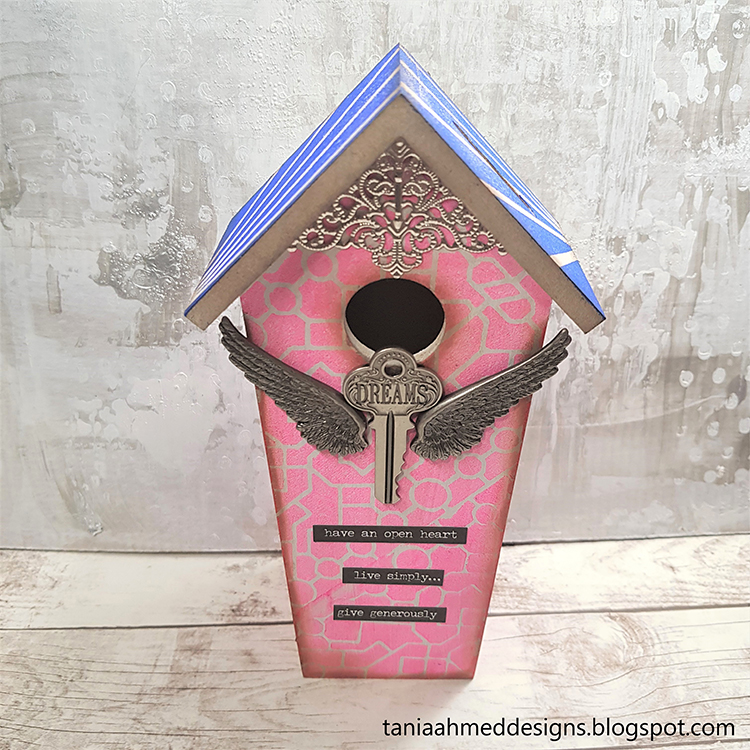
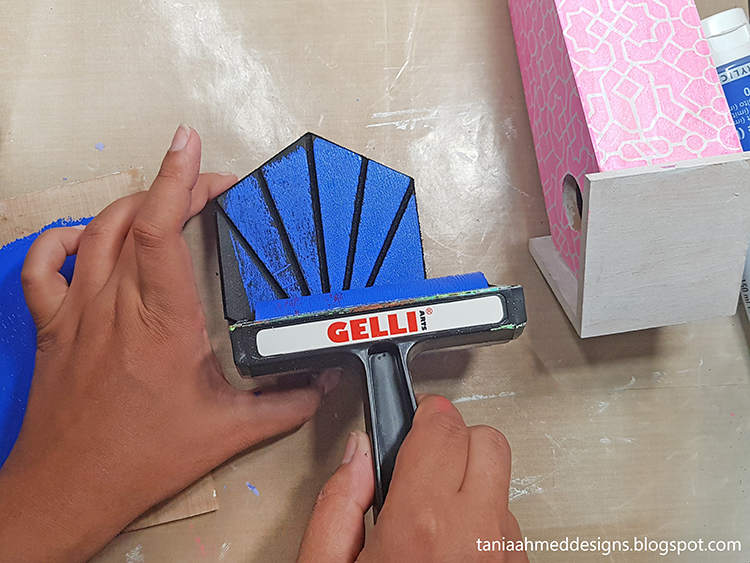
Luckily for me, the Exchange Place ArtFoamie stamp fit perfectly under the roof of the bird house! I brayered Opera Rose paint on to the stamp to get an even coating and stamped all the sides of the bird house.

I then stamped the Clam Hex ArtFoamie on the roof.

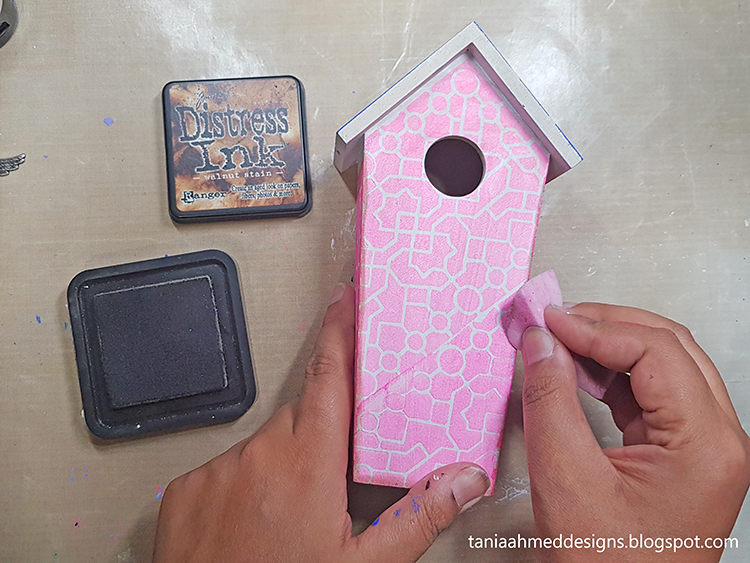
After drying the paint I inked all the edges with Walnut Stain Distress Ink.

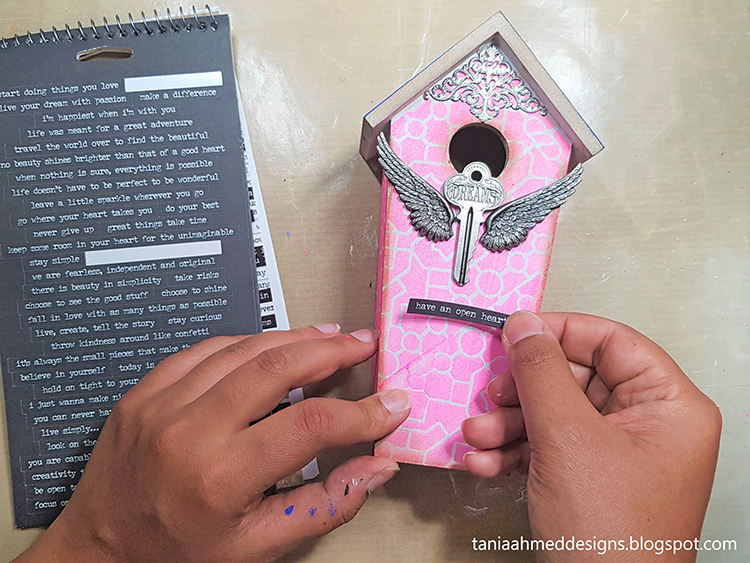
To finish the project I added some metal trinkets I had in my supplies and added word sticker.

Thank you very much for popping by and reading my post!


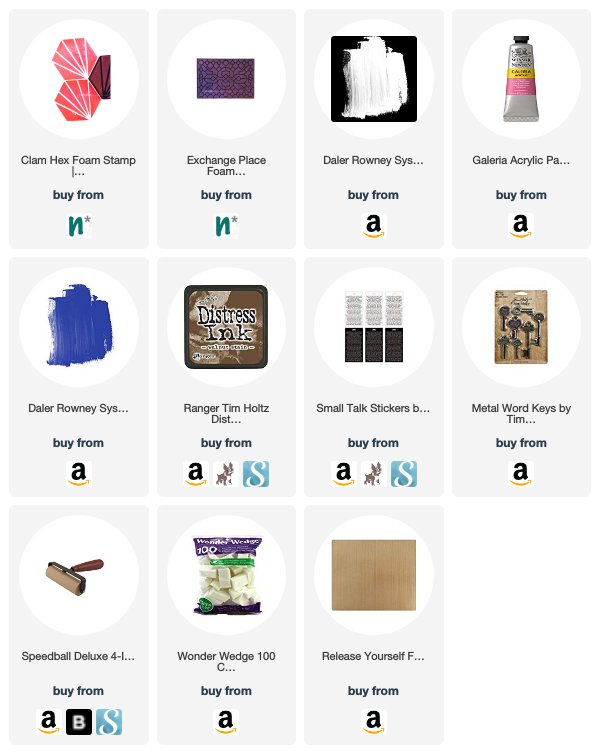
Thank you Tania! I love that cute little birdhouse bank – looks like the perfect place to collect some cash for funding future dreams :) In addition to her wood birdhouse bank, here are some of the supplies that Tania used:


Feel inspired? Working on something yourself that you’d like to share?  I love to see how you interpret our monthly themes. Email me how you used my stencils and stamps with the theme and email me an image – I would love to share your projects in my next  “n*Spiration From Around the Globe“.
Comments (1)

  • Jean Goza

    |

    Tania, love the birdhouse! The theme of Raiders of the Lost Stash is well timed. I have been digging through my stash and amazed at what I am finding! Time to get to work. ;-)
    Reply

Leave a comment