Creative Squad

Creative Squad: The Great Outdoors – Maura Hibbitts

Hello from my Creative Squad! Today we have a gorgeous post from Maura Hibbitts using my Large Circle Jumble, Fan-tastic Large, and Hex Set Large rubber stamp sets and our new June theme: The Great Outdoors – The experts agree that getting outside for activity each day is a super healthy thing you can do for your mind and body. Let’s get outside and seek artistic inspiration out there. Find something that catches your eye and then when it’s time to come back in, use that inspo to create.


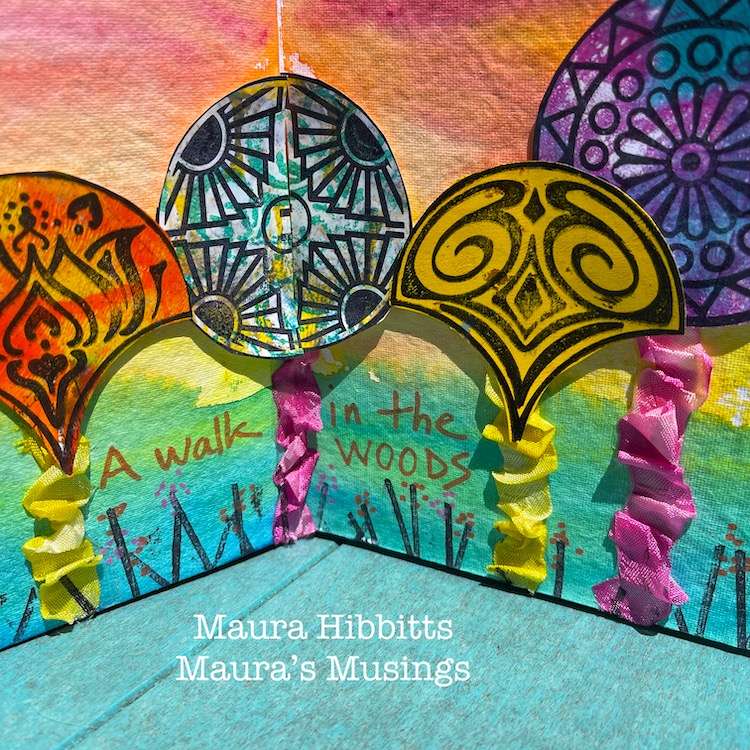
What a perfect time to celebrate the great outdoors! It’s a time of year when people love to get out in nature and play. Camping, hiking, boating, gardening…and the list goes on. I have always been drawn to the woods. As a child, you could find me playing out there almost every day. This year, I closely observed the leafing out of the trees, and celebrated their return to glory.

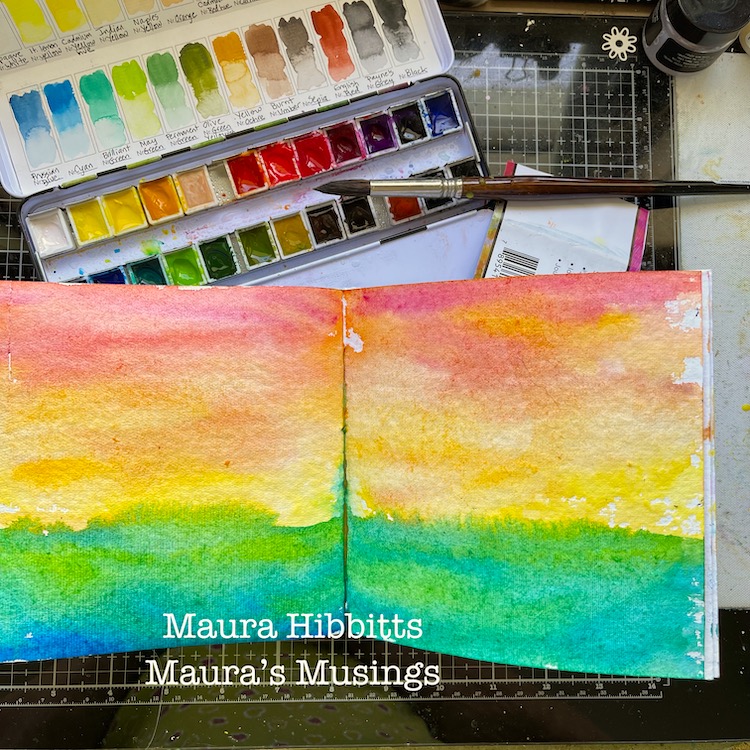
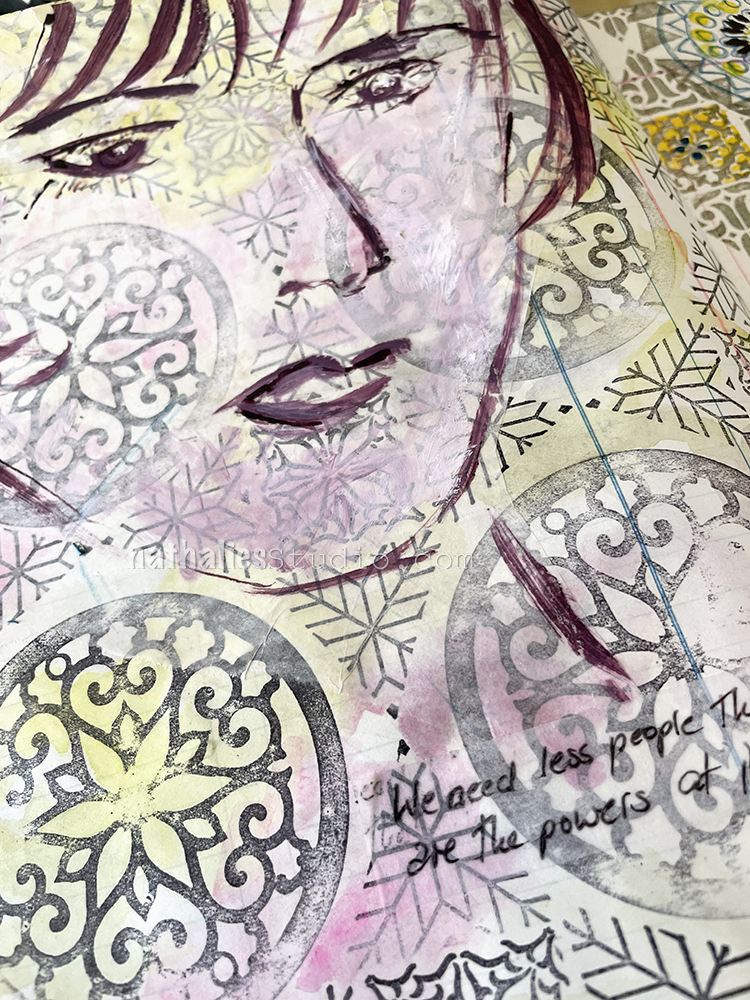
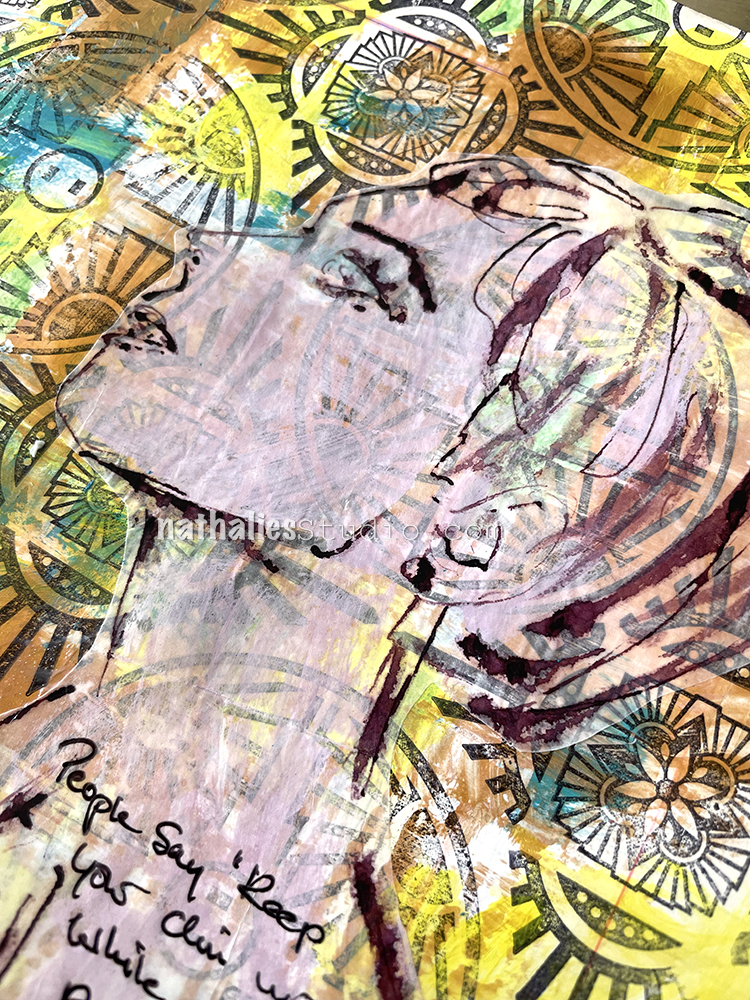
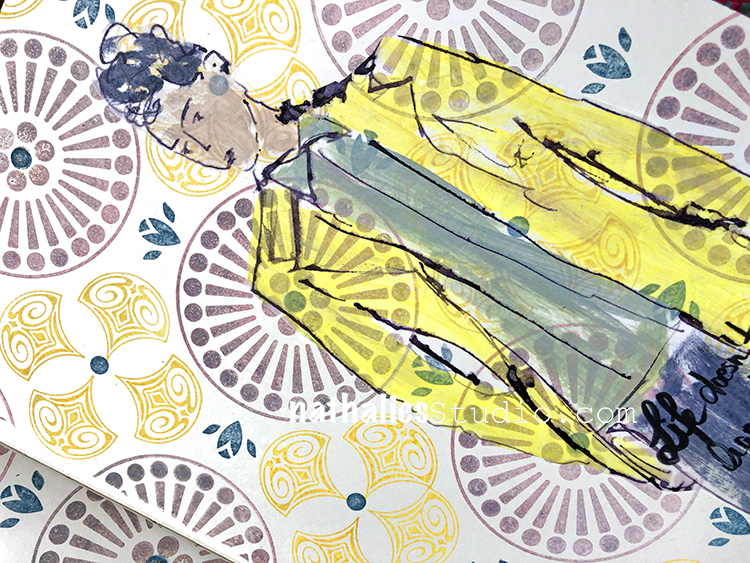
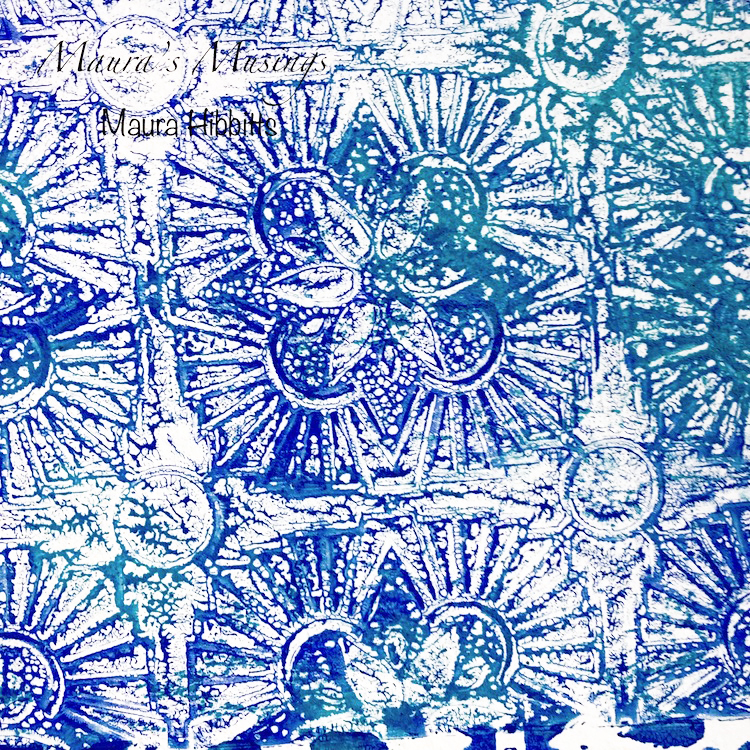
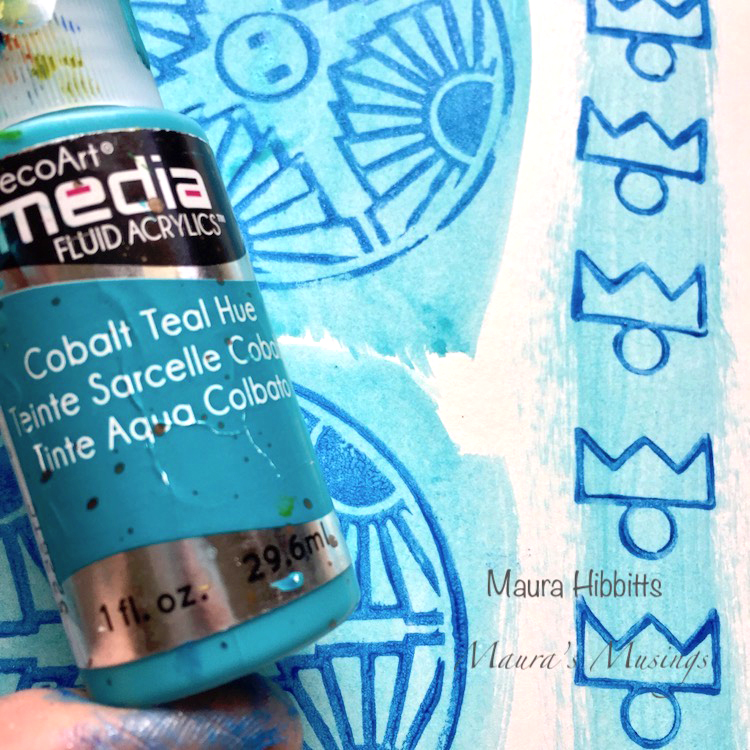
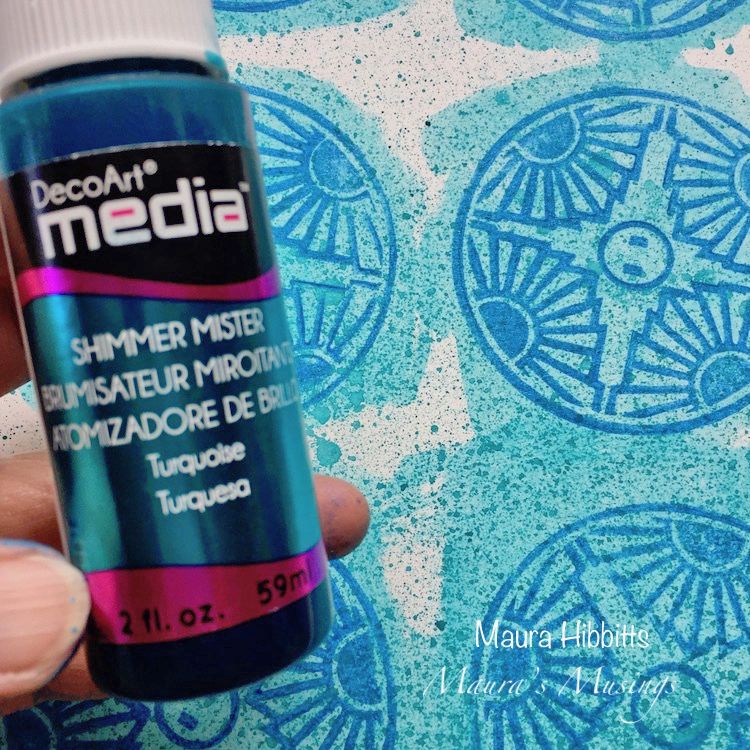
I began in my Media Journal with a watercolor background. I decided to use non-traditional colors on my spread. I used a #12 brush to swipe color across the pages.

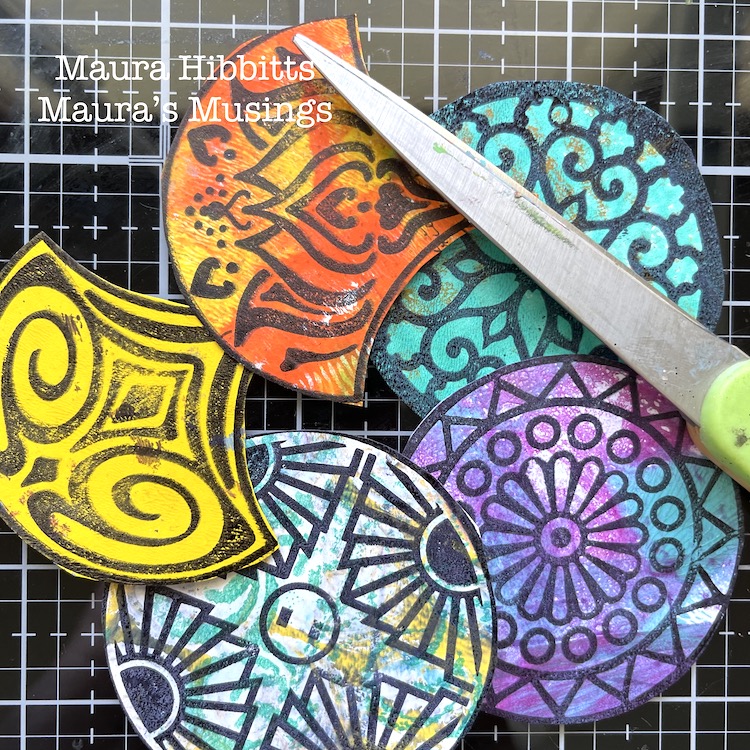
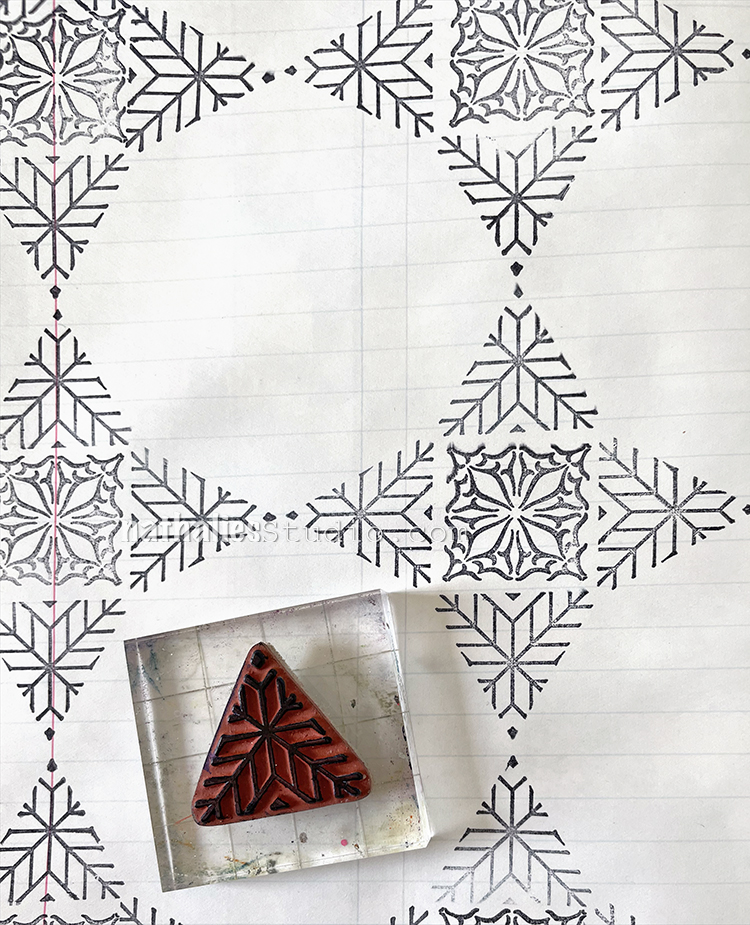
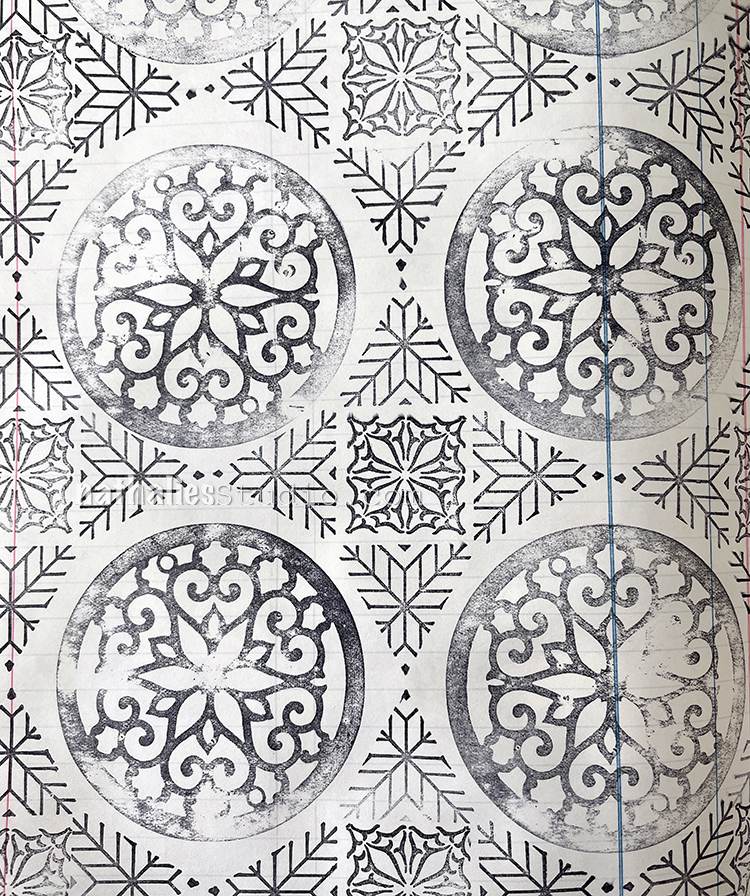
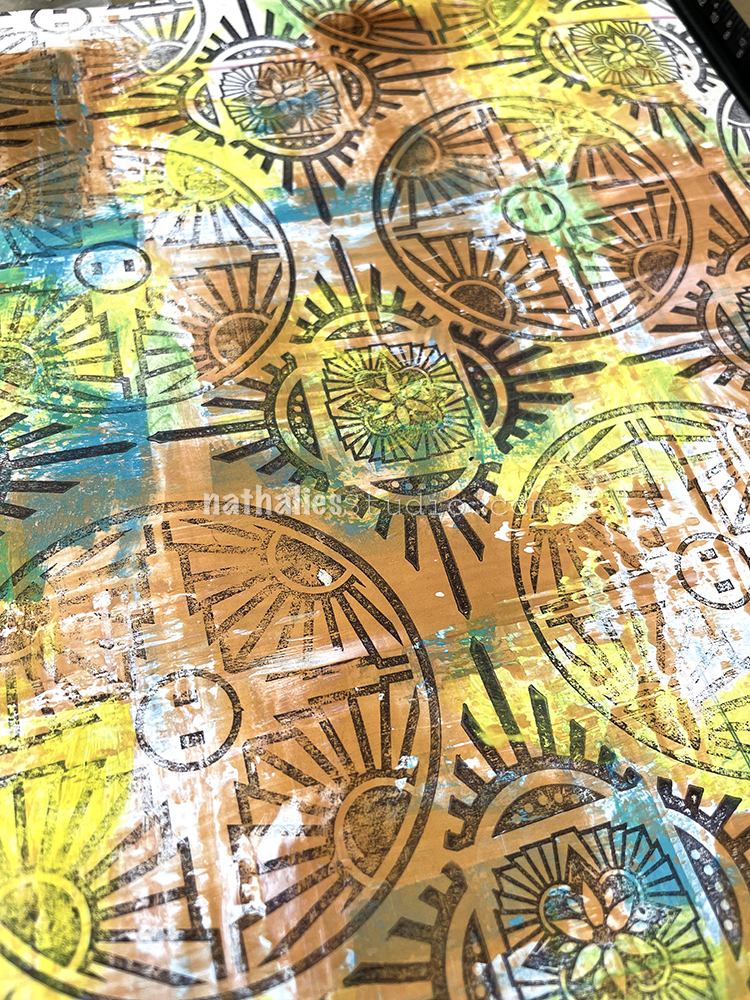
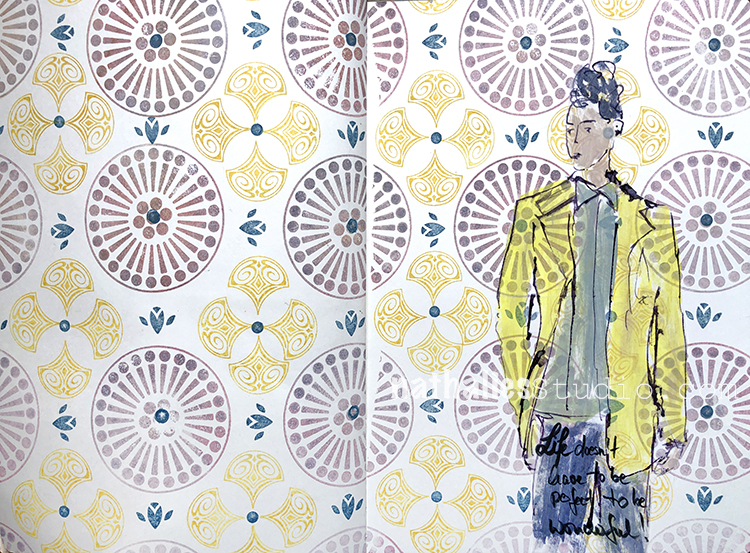
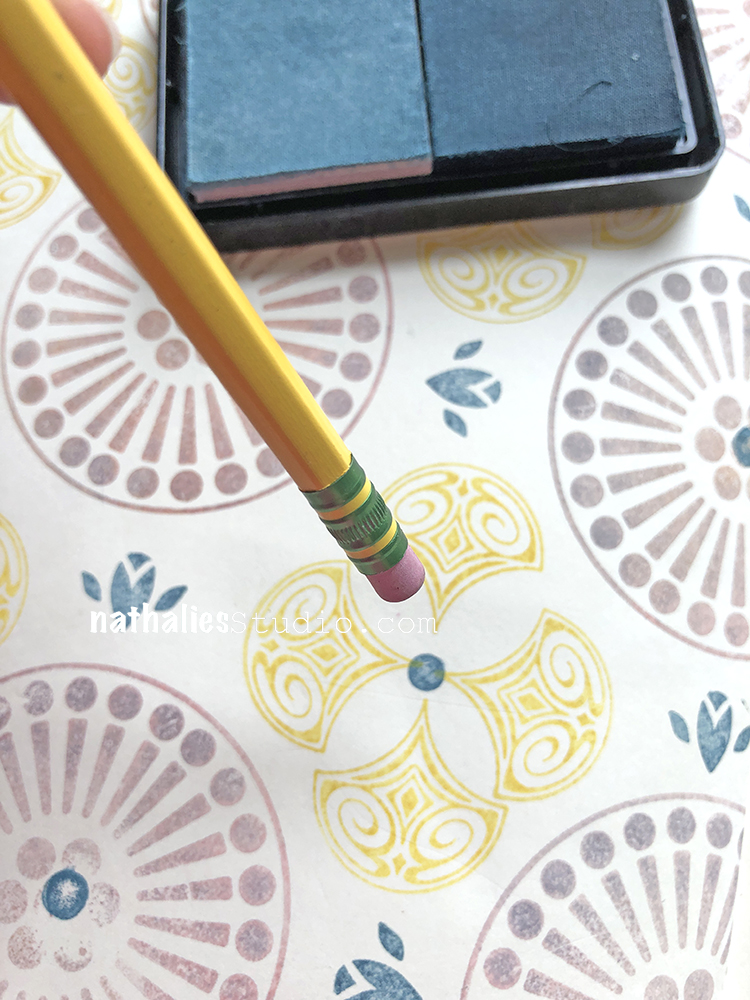
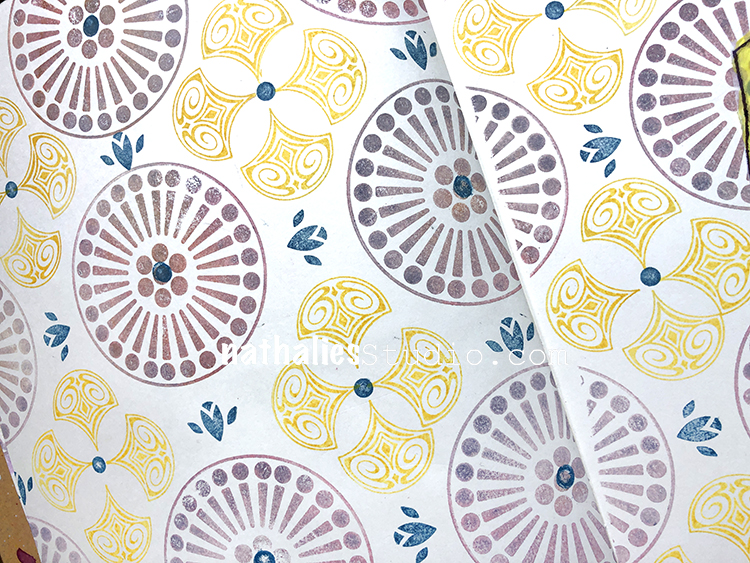
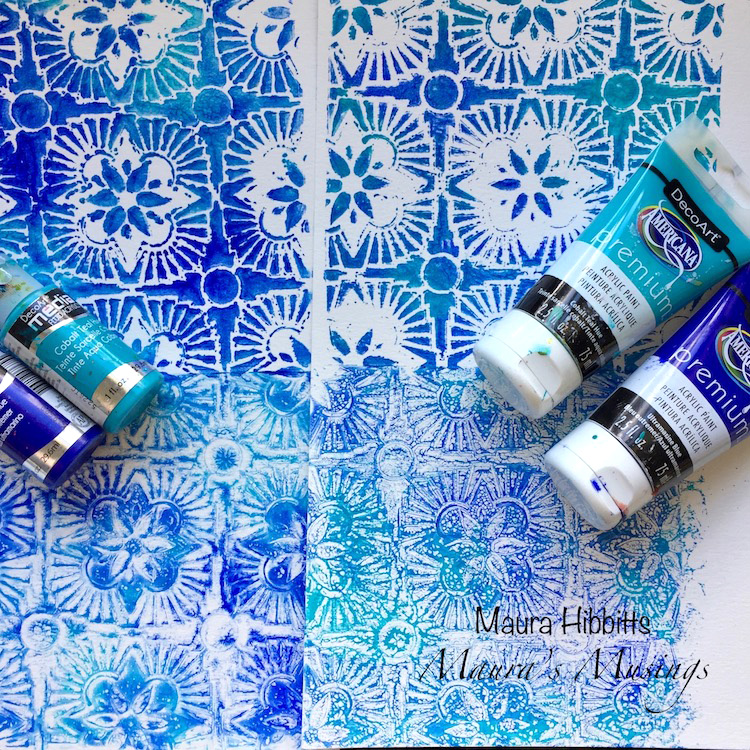
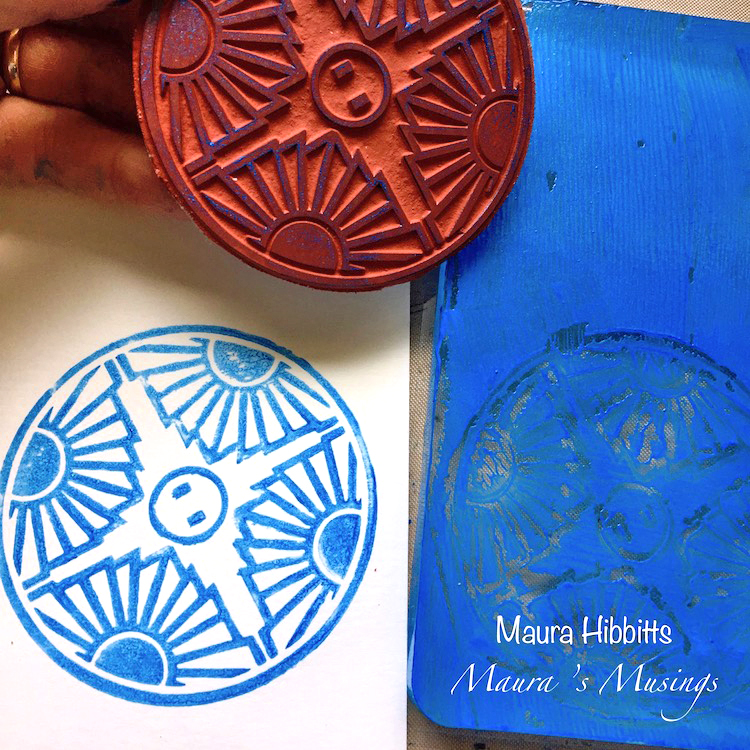
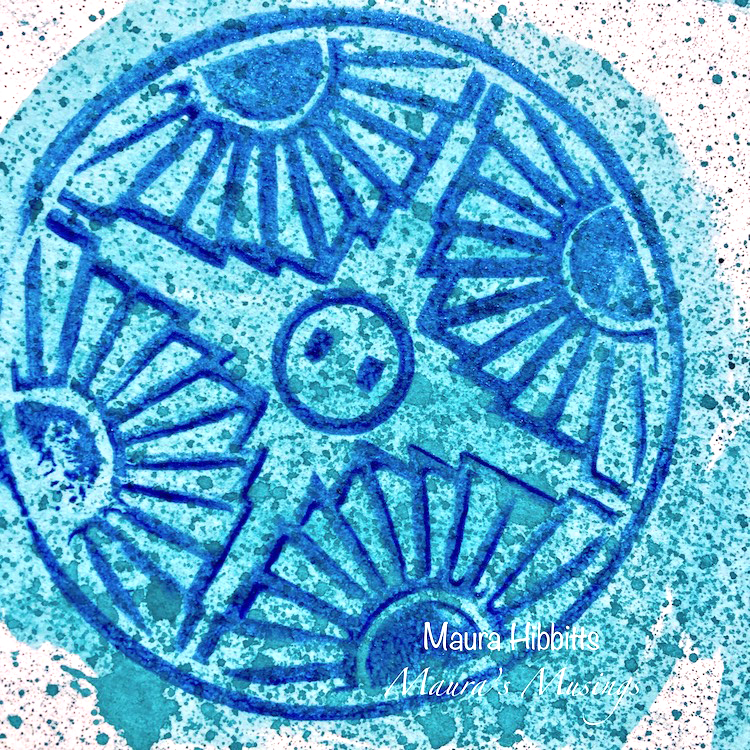
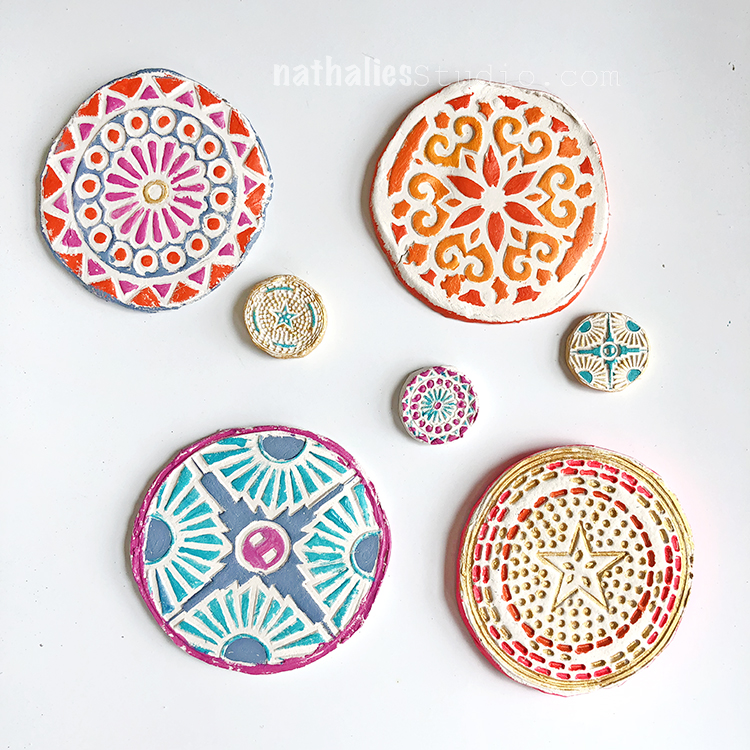
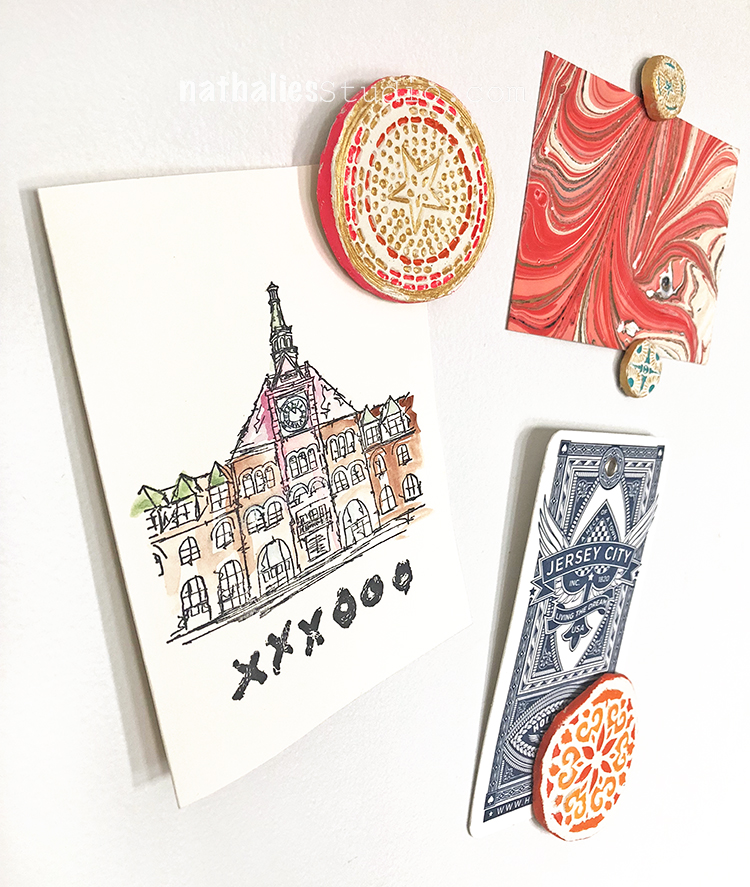
While the background dried, I stamped onto gel prints (any collage paper would work) I had in my stash using a black dye ink. I used Park Boulevard, Broadway and Valley Road stamps from the Circle Jumble large set…

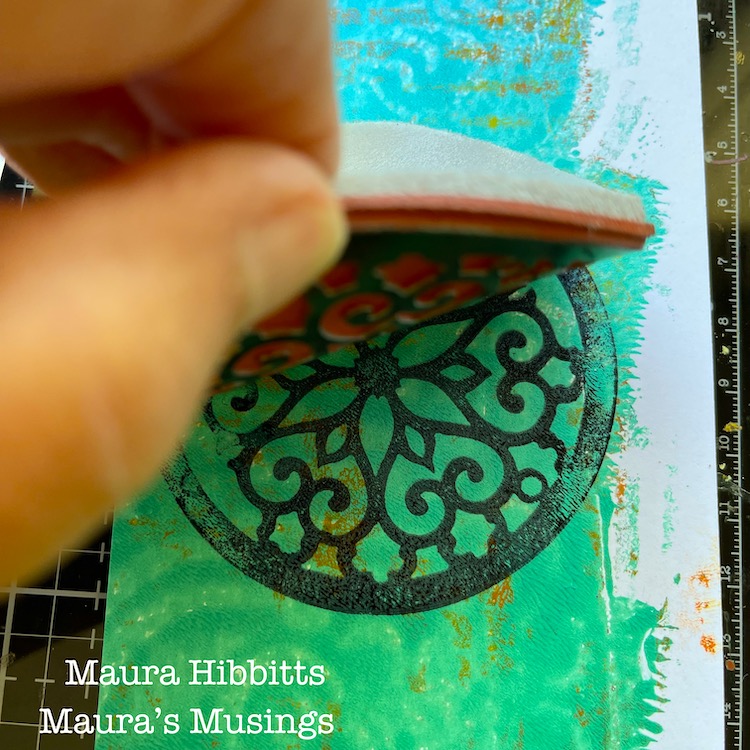
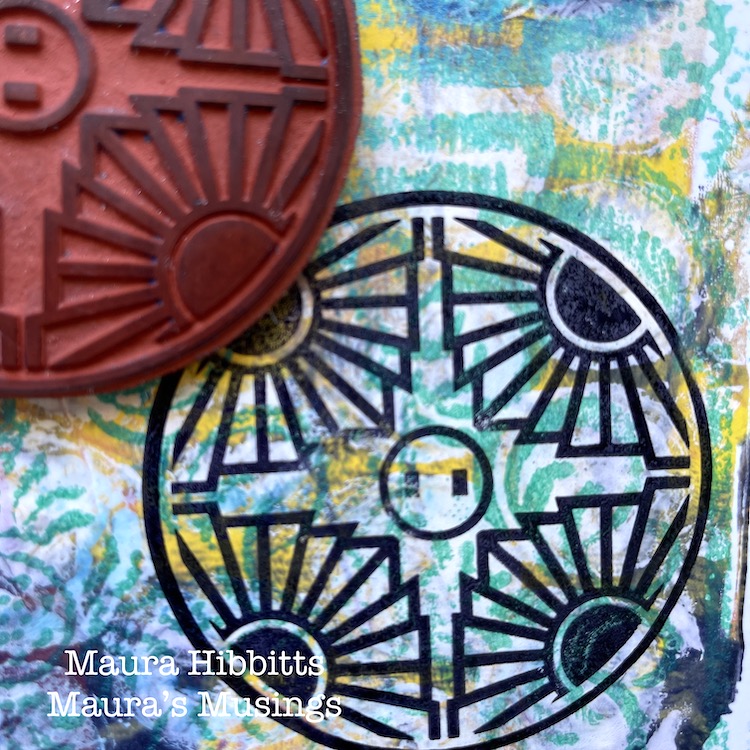
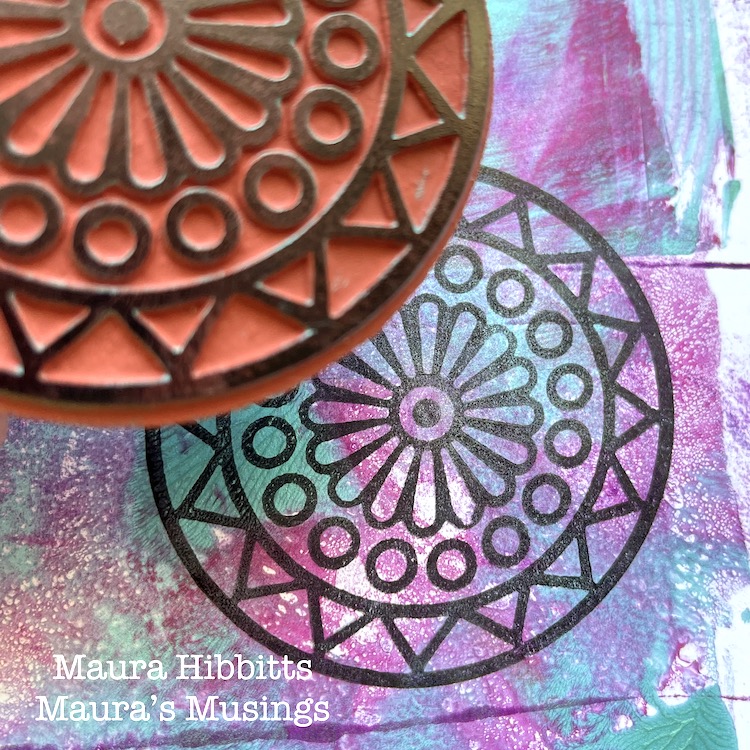
…and the Lily and Fairview stamps from the large Fan-Tastic set by Nathalie.

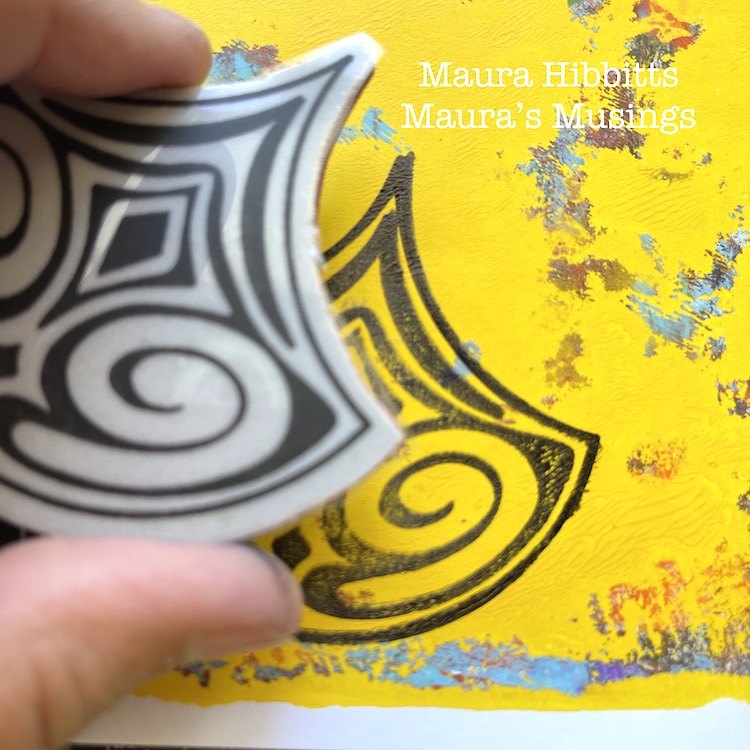
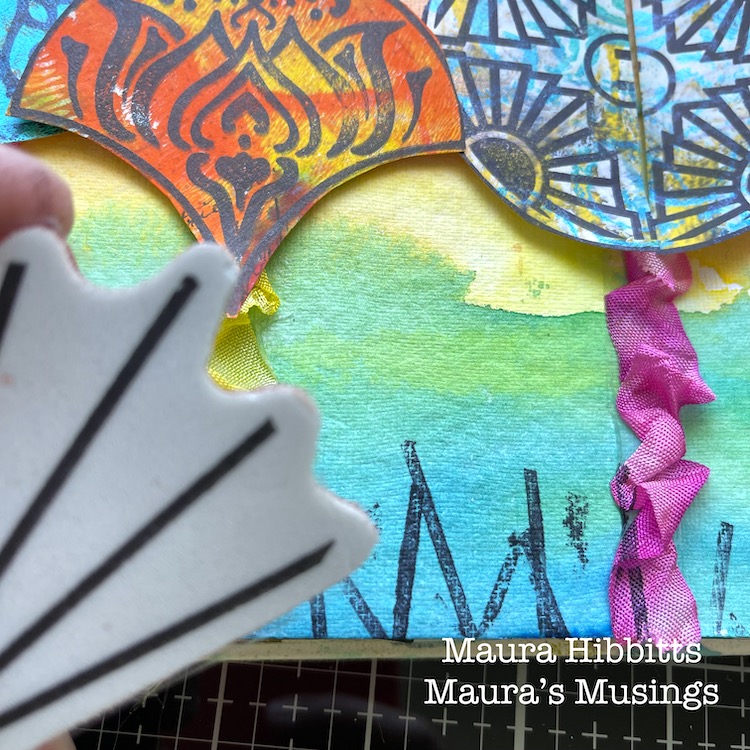
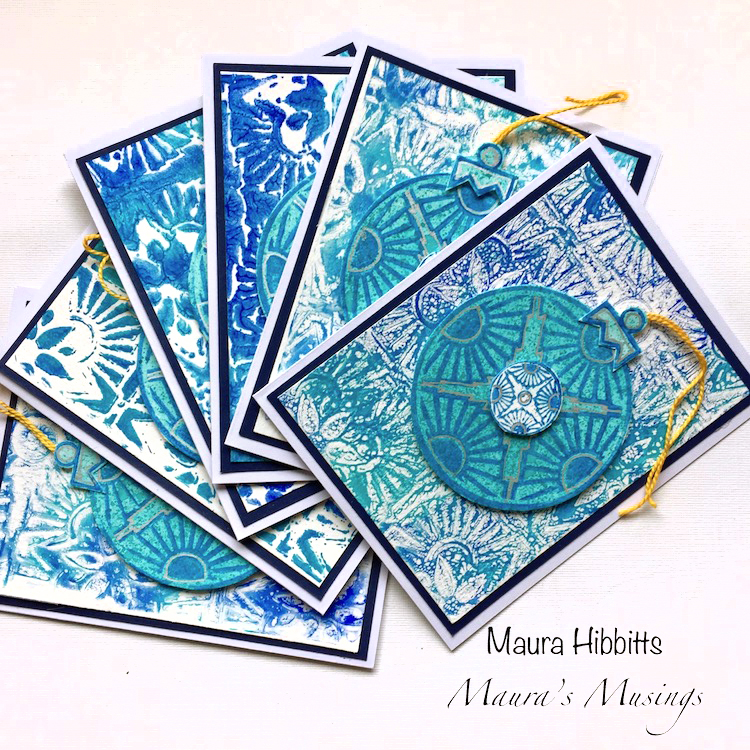
Next step is to cut out the stamped shapes to use as the trees.

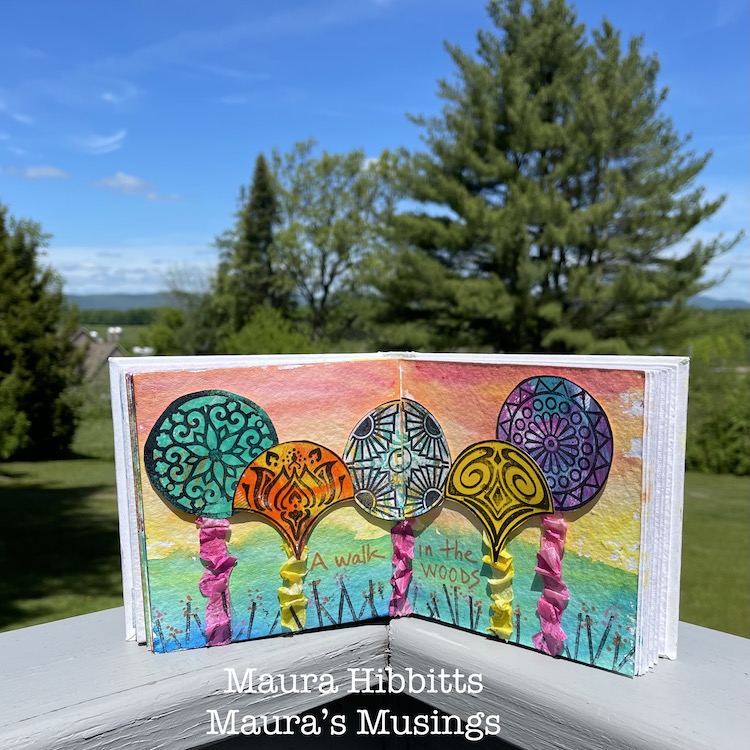
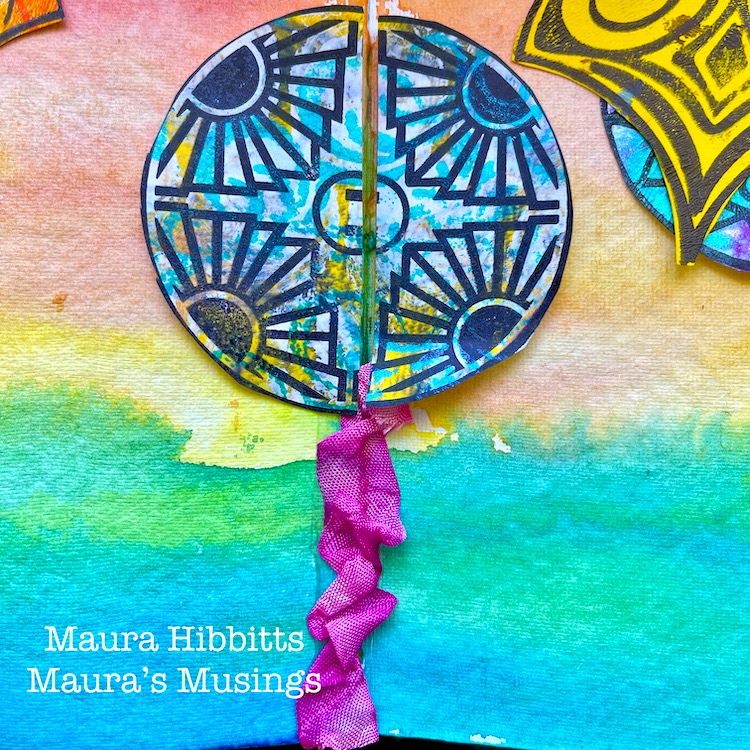
Run adhesive over the area of the tree trunk and layer ribbon down. I used some hand-dyed ribbon I had in my stash, but any ribbon will work.  Pleat it a bit to get some texture. Add foam tape to the stamped image and use as the tree canopy. Note – split the center image and space far enough apart so the book will close.

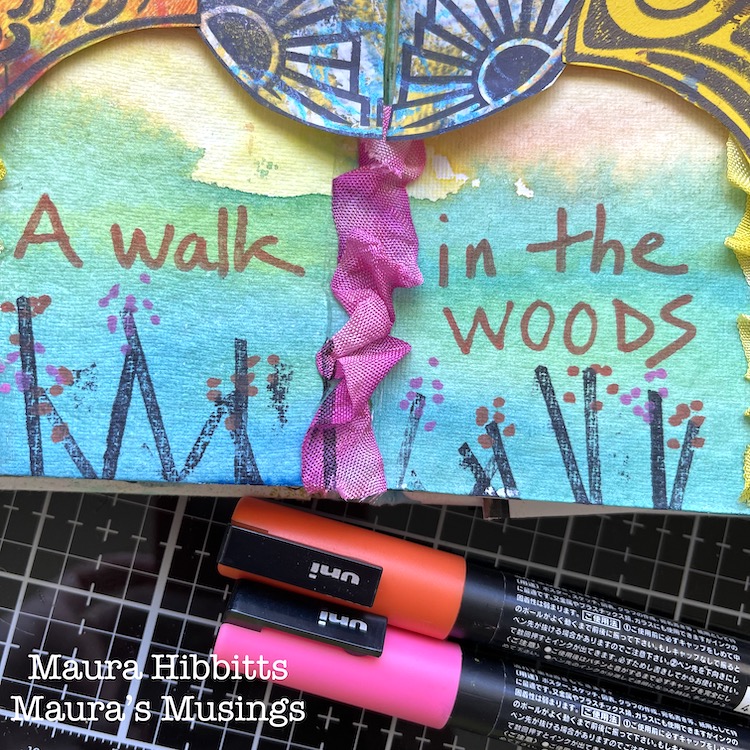
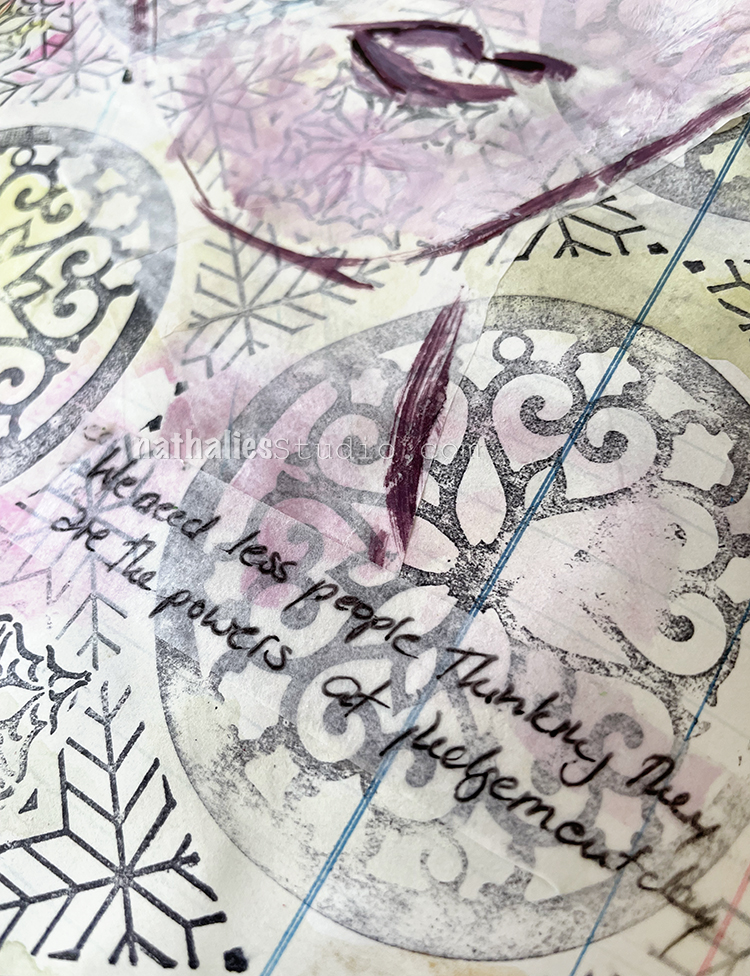
Use the Beacon Positive stamp from the large Hex set, and black dye ink to create grass and flower stems along the bottom of the page.

To finish the pages, I hand lettered “ A walk in the woods” and added dots to make flowers, using Posca markers.

Popping up the tree tops with foam tape, and scrunching the ribbon adds some lovely texture that you can see in the sunlight. Many days, I just observe the trees  from my deck and that brings me peace. It is a special day when I can get out to the woods for a walk or picnic. I wish you many opportunities to enjoy the great outdoors this summer! – Maura


Thank you Maura for this colorful and fun celebration of the outdoors! Love the idea of using all the stamps to create different trees :)

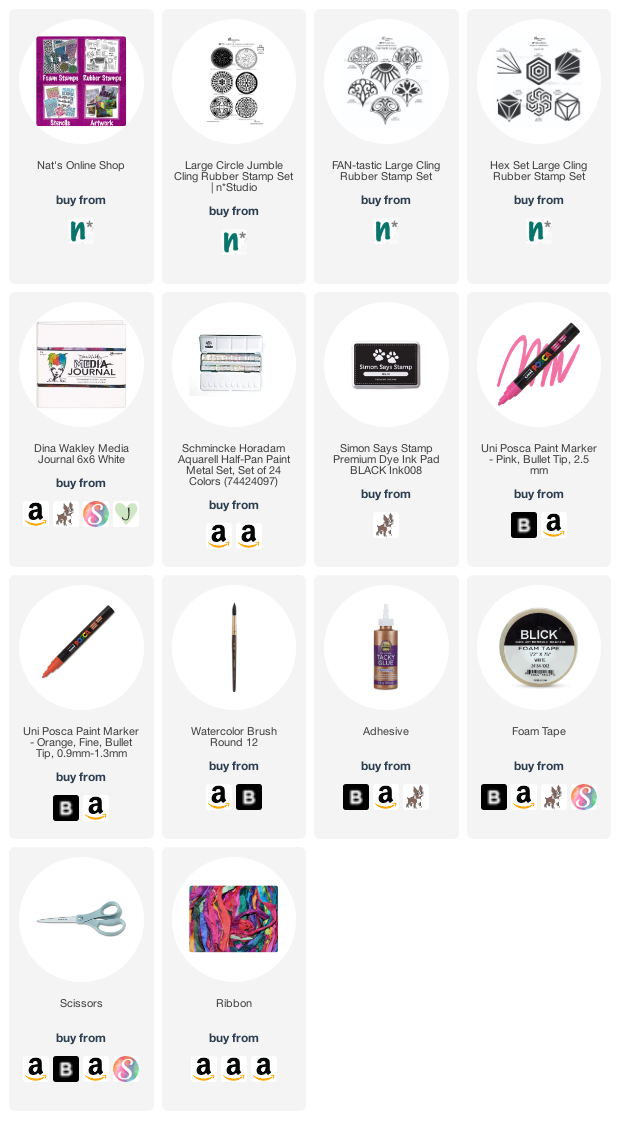
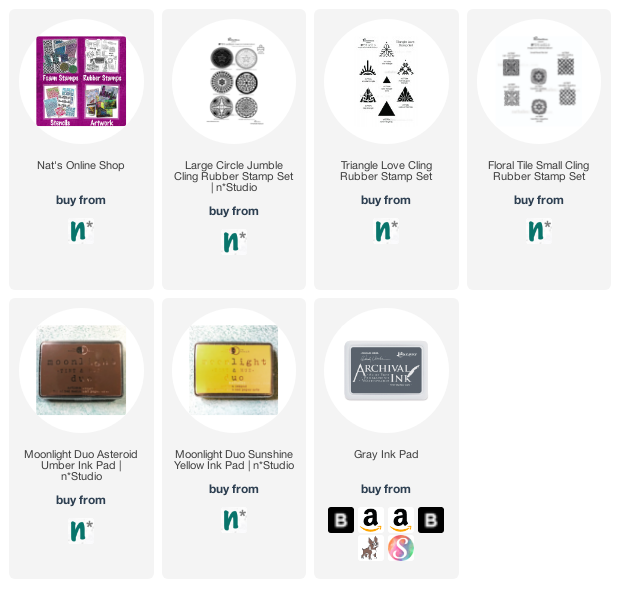
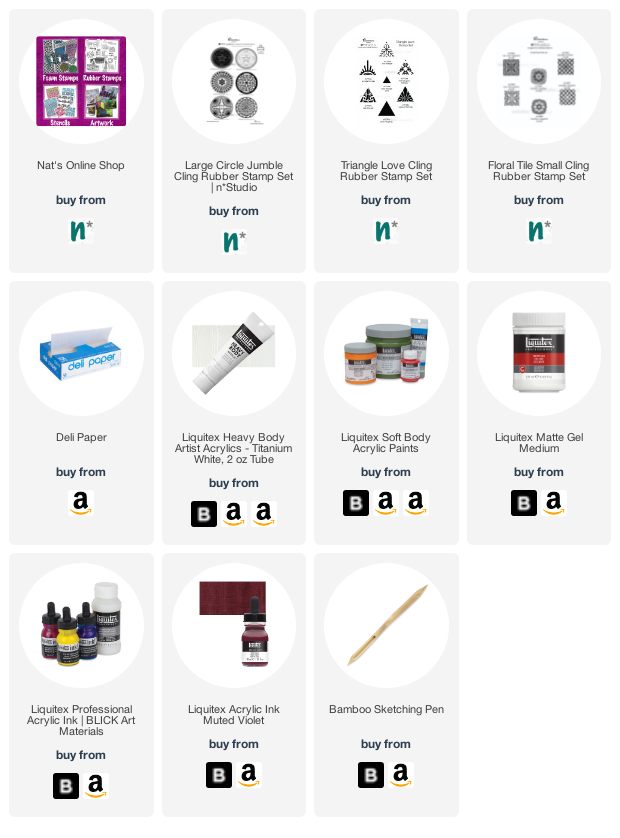
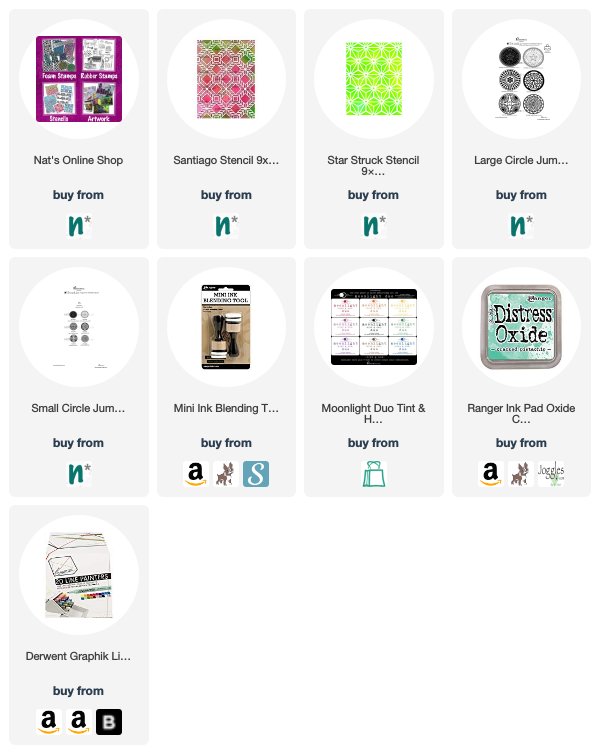
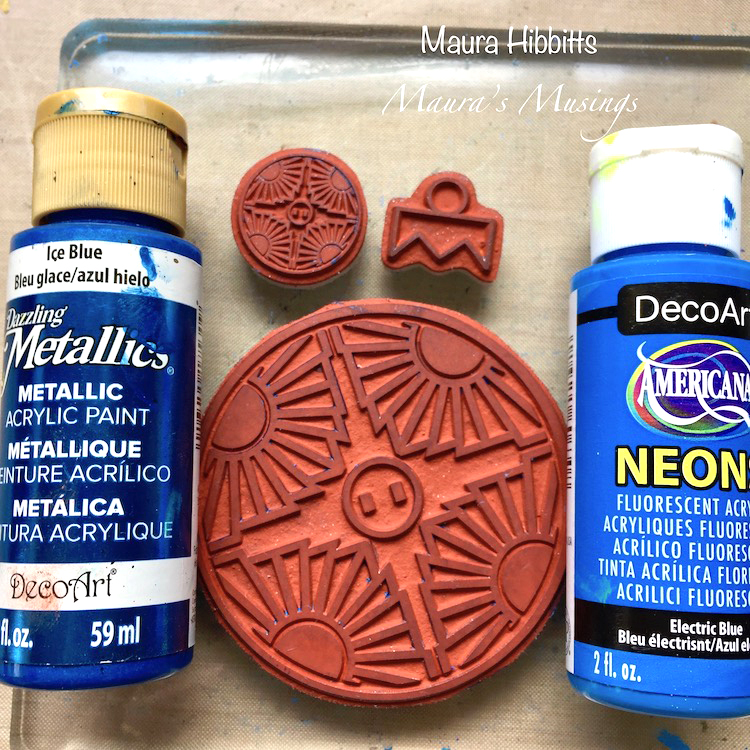
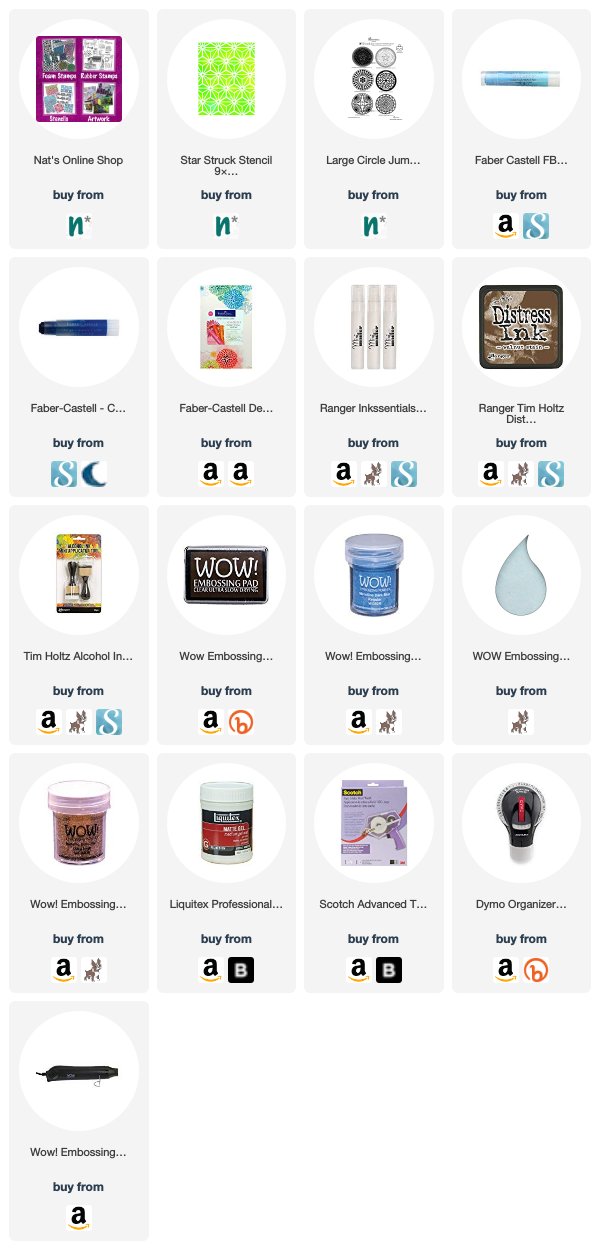
Give it a try: you can find all my Rubber Stamps in my Online Shop and in addition to gelli printed papers from her stash, here are some of the supplies Maura used:

Looking for more projects? Follow the Creative Squad on Instagram here.

Comments (2)

  • Rebeccab

    |

    A great way to interpret trees!

    Reply

  • Robin

    |

    Maura, beautiful bright piece of work! I love the texture you created too!

    Reply

Leave a comment

Doesn’t Hurt You – Art Journal

This one would have probably turned out a bit better if I had used different colors for the different stamps – maybe rainbow colors – but it was fun to explore and I really love some of the elements.

I used the Versailles stamps in the Floral Tile Small set with yellow and brown inks, the Solid Triangle Small stamp and the Amsterdam Triangle from the Triangle Love set, as well as the Valley Road stamp from the Large Circle Jumble set. I do think a different circle stamp would have worked better with the Versailles and Amsterdam stamps but I am glad I tried – I had lots of fun making this page. And even though you might not like it… it doesn’t hurt you! LOL

Here are some of the supplies I used:

Leave a comment

Judgement Day – Art Journal

“We need less people thinking they are the powers on Judgement Day”

I wanted to pick up the way I created the pattern for the Hypocrites art journal page, but this time I chose different patterns out of each stamp set – my Large Circle JumbleTriangle Love, and Floral Tile Small rubber stamp sets.

I stamped right onto the background with black archival ink and then used Daniel Smith watercolors on top. This works because the archival ink is waterproof.

Then like the Hypocrite page I did a sketch with muted violet ink on deli paper, added some white acrylic paint into the ink to add to the face and make the background less prominent, after I added the deli paper to the background with liquid matte medium.

For the journaling I used the tissue paper-like strips with adhesive backing that I found recently. I still don’t remember where they came from and what they are. I wish I did as I am growing found of them LOL

Here are some of the supplies I used:

Leave a comment

Hypocrites – Art Journal

“People say ‘Keep your chin up’ while gently pushing down your head.”

Using a credit card, I put down some colors with different viscosities – heavy body Liquitex white acrylic paint, soft body gold and blue acrylic paint, as well as some yellow acrylic ink, picking it up with the card and scraping the colors partly into each other. The white heavy body paint stayed wet and pliable for a longer time making for some really nice grungy marks.

After the paints dried I added different stamps, my Large Circle Jumble, Triangle Love, and Floral Tile Small rubber stamps, to create a pattern.

Then I sketched with a bamboo sketching pen and muted violet ink on deli paper.

As the background was very dark and prominent – unlike in the Things Change art journal page – I added some white acrylic paint mixed into the violet ink in a thin manner so that the background would still look through but not take over and “hide” the sketch. I adhered it with gel fluid medium.

Here are some of the supplies that I used:

Leave a comment

Deck of Cards Challenge – Prompts 8 & 9

Today I am recapping Day 8 and 9 of my Deck of Cards Challenge that is running this month on Instagram. This week we are making holiday cards with a focus on shapes.

Here is a recap of days 8 and 9:

Day 08 – Snowflake

For week 2 of the challenge we are making holiday cards so I thought I’d start off with a classic winter motif – the snowflake.

Using an ink blending tool and masking off a shape in my Santiago stencil… 

and then Star Struck stencil, I layered up a very nice snowflake. Because no two snowflakes are the same, I added a few more with my Fanfare stamps. This is one snow storm that will brighten anyone’s day :)

Day 09 – Ornaments

Today we are making a holiday card with Ornaments on it.

My Small and Large Circle Jumble stamp sets actually include an ornament topper stamp in them – so it couldn’t be easier. You could fill these in with lots of different colors – I’ve chosen to use Graphik Line Painter markers in some merry and bright colors.

Keep following us and I hope you share what you are working on using #docchallenge

Here are some of the supplies that I used in these prompts:

Here is the prompt list so you can play along too! Follow the daily prompts on Instagram and tag your creations with #docchallenge

Leave a comment

Perfect is Overrated – Art Journal

“Life doesn’t have to be perfect to be wonderful!”

I used my pencil eraser for a dot stamp – a simple trick. My pattern includes the Grove Street stamp from my Large Circle Jumble set, the Fairview stamp from the Fantastic Small set, and my Fanfare stamp set.

A look at my background.

Then I added my figure sketched and painted with acrylic paint, ink, and a fude pen on deli paper.

Here are some of the supplies I used:


Leave a comment

True Blue – Maura Hibbitts


Hello my friends and welcome to a post from Maura Hibbitts from my Creative Squad! She is sharing with us a set of gorgeous holiday cards that she printed using her gelli plate and my new Hamilton stencil and some stamps from my Large Circle Jumble and Small Circle Jumble sets. This month’s theme is: True Blue – Blue is the color of honesty and serenity. It’s calming and has even been shown to promote healing. It reminds us of the water and the sky. Let’s slow things down this month and bask in the tranquility of the color blue.


There are so many blues around to inspire us to create with them. Think about the many variations of blue in the sky, from a clear sunny day, to a dark and stormy one. Think about all the blues in the water – oceans, rivers, ponds, and glaciers. Then, there are all the blues in textiles, paints, jewelry, flowers,  rocks (turquoise, bluestone…), and even trees, like the blue spruce. When you begin to think about all the places you observe blue, you truly realize it is all around you!

I decided to make a set of blue holiday cards, and pulled out my small 6 x 6 gelli plate to work with. To begin, I added a few squirts of the DecoArt Premium paint in Cobalt Teal Hue and Ultramarine Blue and blended it with my small brayer. Then, I laid the Hamilton Stencil down on the plate and pressed my watercolor paper down onto it.

I lifted the stencil, and pressed the paper down onto the plate to get my second print (which I love!).

I repeated the process, this time using the fluid acrylics in Cobalt Teal Hue and Ultramarine Blue. I was curious to see the difference in the prints using the heavy body and fluid acrylics.

I set the backgrounds aside to dry, and prepared for stamping. I mixed Ice Blue Dazzling Metallic and Electric Blue Neon paints on the gelli plate with my brayer. The gelli plate makes a great surface that allows the stamp to easily pick up the paint to make a good impression. I used the large Broadway circle and topper, and the small Broadway circle to stamp out the designs on watercolor paper.

I decided to add a wash to the large circle designs, and added a bit of water to the Cobalt Teal Hue fluid acrylic and washed over the stamped areas using a  large flat brush.

Next up, another layer, this time spritzing on Turquoise Shimmering Mister over the large circles.

The final step before assembling the cards was to add some highlights with a silver pen.

I cut a piece of navy cardstock to go behind each background, and layered the elements on top, popping them up a bit with foam tape. Then, I added a small glue dot behind the topper and attached some embroidery thread.

Time to package them up and tie them with a pretty blue ribbon!

I love the many variations of blue I got by just using a couple of colors and blending them, and now I have a lovely set of six holiday cards. Thanks for joining me!


Thank you Maura – these are so beautiful and what a lovely mix of blues! You can find all my stencils and stamps in my Online Shop. Here are some of the other supplies that Maura used:


Feel inspired? Working on something yourself that you’d like to share?  I love to see how you interpret our monthly themes. Email me how you used my stencils and stamps with the theme and email me an image – I would love to share your projects in my next  “n*Spiration From Around the Globe“.

Comments (3)

  • Jo - Let's Art Journal

    |

    Wow, what a beautiful card! I love the colours and the textured background that you created is amazing ?. Creative wishes! J ? x

    Reply

  • Sue Clarke

    |

    Gorgeous cards Maura!
    I just love holiday cards that feature colors other than red and green.

    Reply

  • Maxi Moon

    |

    So cool!!! We love what you did with Nathalie’s circle stamps. They are so versatile!

    Reply

Leave a comment

True Blue – Tania Ahmed


Happy Tuesday from my Creative Squad! Today we have a post from Tania Ahmed, sharing with us an awesome way to use my Star Struck stencil and Large Circle Jumble rubber stamps to decorate the cover of an art journal. Check out the video below to see Tania’s technique. This month’s theme is: True Blue – Blue is the color of honesty and serenity. It’s calming and has even been shown to promote healing. It reminds us of the water and the sky. Let’s slow things down this month and bask in the tranquility of the color blue.


Our theme this month was True Blue, and for us to use any of Nat’s new Stencil Girl designs which I had been looking forward to having a play with as soon as I saw the designs! Blue also happens to be one of my favourite colours and I use almost any excuse I can get to use it in my projects! :)

I had an art journal that I made last year in a workshop that I attended with Nat and her friend Birgit Koopsen which I still use to test new techniques. I still hadn’t made a cover for it, so I decided that it was about time that I decorated it.

I made a video showing how I decorated my art journal cover:

When I saw the Star Struck Stencil, I was immediately reminded of Japanese fabric and I knew that I wanted to create a print which looked like vintage cloth. I had an image of furoshiki wrapping (Japanese art of wrapping gifts and parcels with fabric) in mind and I set out to see how I could create a project as an homage to the technique.

I started by taping down a sheet of printer paper to the stencil and created a rubbing of the stencil using Faber Castell Gelatos. You can create rubbings using pencils, pastels, crayons, anything that you have in your stash! Experiment with different pressures and papers to see what effects you can get. I tried the technique on printer paper, cartridge paper and thick cardstock. The thinner the paper, the better impression you will get!

Printer paper

Cartridge paper

Heavy cardstock

Thank you so much for watching and reading and have a great day!


Thank you Tania! I loved watching how the stencil rubbing transformed – it really does remind me of the textiles I saw in Japan. You can find my Star Struck stencil and Valley Road stamp in my Online Shop. Here are some of the other products that Tania used:


Feel inspired? Working on something yourself that you’d like to share?  I love to see how you interpret our monthly themes. Email me how you used my stencils and stamps with the theme and email me an image – I would love to share your projects in my next  “n*Spiration From Around the Globe“.

SaveSave

Leave a comment

Paper Clay Magnets with Rubber Stamps – DIY Play Date

For our monthly play date, Kim and I wanted to show another great way to use rubber stamps – to make an impression in paper clay!

We thought my new Large Circle Jumble and Small Circle Jumble sets would be a nice shape and size for some magnets. Our plan: to stamp into the clay, paint them with some acrylic paint, and attach magnets to the back for the refrigerator, bulletin board, wherever magnets will stick.

Paper clay is fun and easy to work with and is air dry so you don’t even need to turn on an oven. Here we chose the Circle Drive stamp from the Large Circle Jumble set, and flattened out some clay on a non stick surface to about 1/8-1/4″ thick and big enough to fit the design.

Time to stamp!

Press the stamp evenly into the surface, making sure to cover the whole design with pressure.

Really press it in there!

Then we cut around the stamp using a knife and the edge of the stamp as a guide. Work over a cutting mat and watch your fingers :)

Trim all the way around the stamp and pull away the excess clay. You can save the extra for later use.

Gently lift the edge of the stamp to reveal the impression.

Here is the big reveal and a great impression in the clay!

We tried almost every design from both the Large Circle Jumble set and the Small Circle Jumble set. Follow the directions on your paper clay package for drying times. Ours took a few days to completely dry before we could move to the next step.

Once the clay is completely dry, you can use a sanding block to smooth down the edges. Be gentle!

Now it’s time to assemble some acrylic paint and fine brushes for the detailed painting.

The Valley Road stamp from the Small Circle Jumble set looks so cute!

Here is the Broadway stamp from the Large Circle Jumble set getting some paint on the design.

And here is from the Park Blvd from the Large set…

…with different orange colors to bring out the design.

It takes a little patience to paint them but it was fun to spend the morning chatting and painting with a friend :)

When the pain was dry, we cut our magnetic tape into squares and put it on the back of each magnet.

Here are the finished paper clay magnets with rubber stamped designs.

And in action holding up some cards and such! Here are some of the supplies that we used for this project:


SaveSave

SaveSave

Leave a comment