Wir haben uns heute mal wieder zusammengetan – Daphne und ich – um eine neue Technik vorzustellen. Die Chipboard-Flecht-Technik – vorgestellt in dem Background Buch von CK.
We put ourselves together today – Daphne and I – to try a new technique. The Chipboard Weaving Technique as found in the Background book by CK.
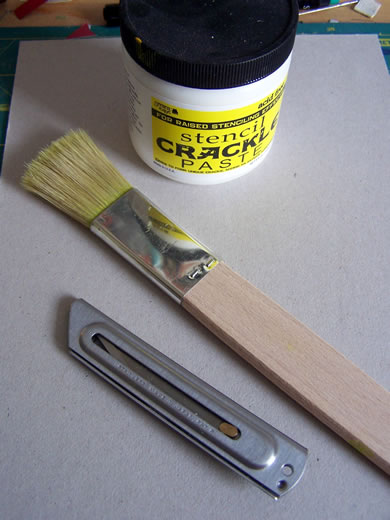
Was man braucht – what you will need:
Chipboard, Cutter, Texture Paste, Paints and a brush.
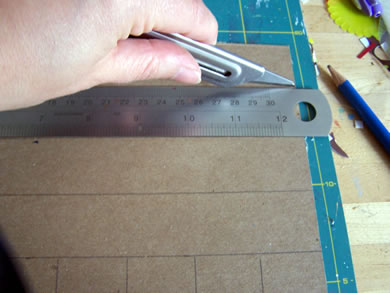
Zunächst unterteilt man das Chipboard in gleichmßge Streifen – ich wollte später ein 6×12 Layout haben – also habe ich entsprechend ein 12×12 großes Chipboard verwendet. Und schneidet die Streifen dann mit dem Cutter. Wenn Ihr ein 12×12 Layout machen wollt, braucht ihr entsprechend zwei 12×12 Chipboard Teile – ihr versteht :-)
First of all you divide your chipboard in stripes and cut them with your cutter. I want to do a 6×12 Layout later on – so I needed a 12×12 piece of chipboard. If you want to have a 12×12 layout later on – you need two 12×12 chipboard pieces – I guess you get the picture :-)
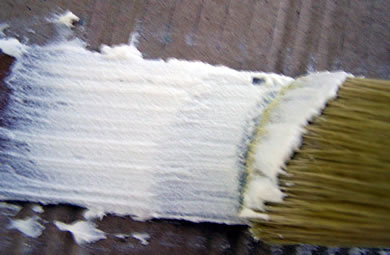
Bestreicht nun die Chipboard Streifen mit Struktur Paste- ich habe hier Crackle Stencil Paste genommen – da ich diesen Look so gerne mag.
Brush Texture Paste on top of the chipboard stripes – I used a Crackle Stencil Paste because I love the look of it so much.
Lasst die bestrichenen Chipboard Teile dann ruhig über Nacht durchtrocknen. Bei normaler Struktur Paste kann man übrigens mit dem Heißluftfön nachhelfen, aber aus Erfahrung kann ich Euch sagen, dass bei Crackel Stencil Paste der Crackle-Effekt verloren geht, wenn die Masse zu schnell erhitzt wird :-)
Let the chipboard pieces dry overnight. If you use normal texture paste you can be a bit faster by drying it with a heat gun but I made the experience once that Crackle Stencil Paste doesn’t like that- you will loose the crackle effect if you heat it up to fast :-)
Wenn die Teile dann trocken sind, kann man sie mit verdünnten Acrylfarben oder Wasserfarben bemalen. Ich habe Glimmer Mist verwendet. Dies ist eine stark verdünnte Farbe mit Micaanteilen.
Once the pieces are dry you can paint them with watered down acrylic paints or water colors. I used Glimmer Mist. This is a very thin color with lot’s of mica inside.
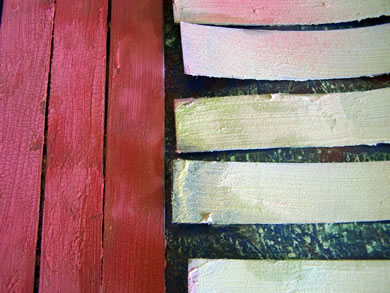
Nun müssen die Teile wieder trocknen. Sobald sie trocken sind – verwebe die Streifen miteinander.
Now those pieces have to dry again. After they are dry- start weaving the pieces.

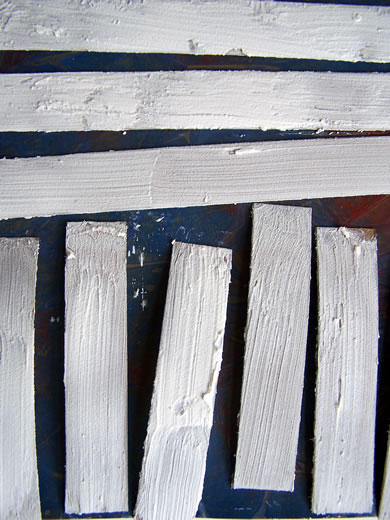
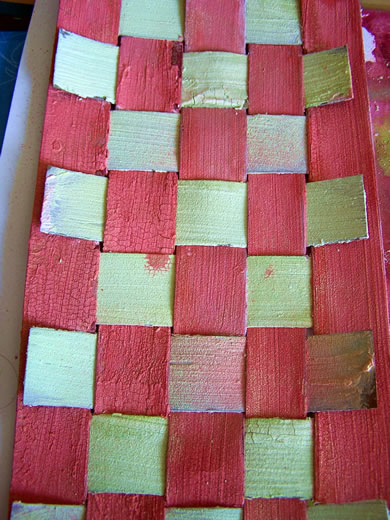
Und so sieht der fertige Hintergrund bei mir jetzt aus:
And this is how the finished background looks like:
Ich finde es hat ziemlich viel Potential und überlege schon ein passendes Layout hierzu – welches wir Euch beim nächsten StudioDaphnat Post zeigen werden. Vergesst nicht, auch Daphnes Blog wegen ihrer Ergebnisse anzuschauen.
I think this has a lot of potential and I do have already my thinking cap on for a layout – we will show you the layouts with our next Studio Daphnat Post. Please do not forget to check out Daphne’s Blog for her results.