Art Tapas

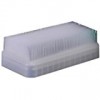
Art Tapas – Bite Sized Tips for the Mixed Media Artist – Tip #7 Cleaning Foam Stamps

Art Tapas are short videos that will give some practical tips or advice about anything that is related to tools, art supplies or processes and any Mixed Media or Hobby Artist might appreciate.

Lots of times these reflect some mistakes that I made along my journey, so to speak, things that I learned the hard way and sometimes they are just some things that I would have loved to have known when I actually started in Mixed Media. (Find the previous Art Tapas here)

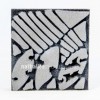
Today’s Art Tapas is about Cleaning Foam Stamps

Art Tapas – Bite Sized Tips for the Mixed Media Artist – #7 Cleaning Foam Stamps from Nathalie Kalbach on Vimeo.

I hope you enjoyed this little bite –  and if you have questions that you would love to have answered in some of the Art Tapas videos- let me know below in the comment section and I might just cook one up for you to nibble on!

Below are some of the tools and supplies I mention in the video- some are affiliate links:


Comments (11)

  • gigipurple

    |

    Thank you Nathalie for all the tips.
    I have a question, is it safe for the stamps to use a dish soap like Dawn? If it is, then scrubbing the stamps with a dish soap and water would make it easier to remove any leftover oils on the stamp.
    Thanks again,
    Gigi

    Reply

    • nathalie-kalbach

      |

      Hi Gigi, yeah I wouldn’t see how that wouldn*t be save and good idea on the leftover oils!! Just make sure you do not have any residues of any dishwasher or other soap in your stamp

      Reply

      • gigipurple

        |

        I will try next time. Thank you for your help.

        Reply

  • JoAnn Campisi

    |

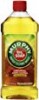
    I haven’t washed my foamies in the past but found that when I switch from acrylic to the ink pad my print is very light. I will definitely try the Murphy Oil Soap to clean them and hopefully will get better results. Thanks for the info – love your art tapas.

    Reply

    • nathalie-kalbach

      |

      Thank you JoAnn! I would assume that the ink will always give a slight light imprint because the foam is just a bit more light -but that is something that works really well to your advantage if you are up for layering.

      Reply

  • Kathy Adams

    |

    I use Murphy’s on my brushes when they get really bad. Thanks for the tip, since I never thought to use them on my stamps. I am sure it would work for rubber stamps as well. Question: did you use it full strength or diluted with water?

    Reply

    • nathalie-kalbach

      |

      Kathy, I diluted it a bit with water- but not much. I was really a bit worried about getting the oil out of the foam later – so I wanted to make sure this is not going to be the super gooey stuff :)

      Reply

  • Sue Clarke

    |

    I have Murphy’s soap at home and use it on my floors. I never would have thought of using it on my foam stamps.
    I will have to try it. Usually I use a baby wipe to get the paint off and then rinse for a long time in the kitchen sink.
    I will try your method next time I use paint and my foam stamps.
    Thanks for your creative insight Nat.

    Reply

    • nathalie-kalbach

      |

      Thank you Sue! This is really only when you have totally dried up layers of paint on your foam stamp – I think I would not use it on a regular basis.

      Reply

  • Rae Missigman

    |

    I love that you figured this out! So so cool that there is a solution for our foam stamps. I am really really bad about being in a groove and not getting up to go to the sink! EEK! I do employ the baby wipe method as you mentioned, but this is going to be a game changer. Thanks for sharing. Hugs!

    Reply

    • nathalie-kalbach

      |

      <3 Thank you Rae! I know it is hard sometimes to keep up with cleaning the stuff - I am too :)

      Reply

Leave a comment

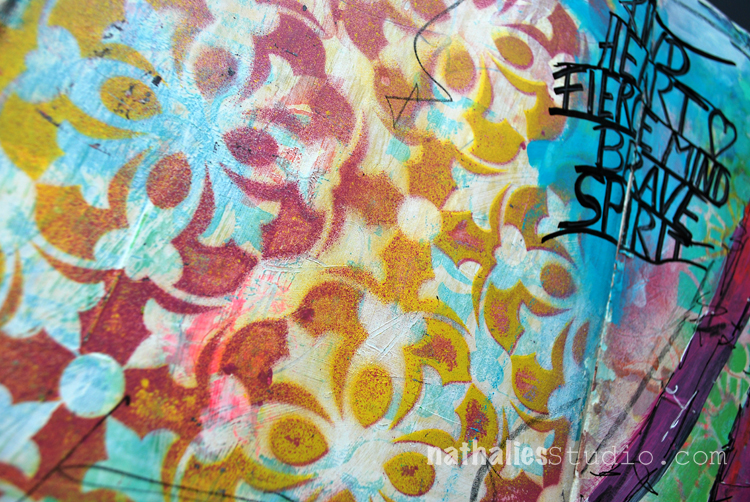
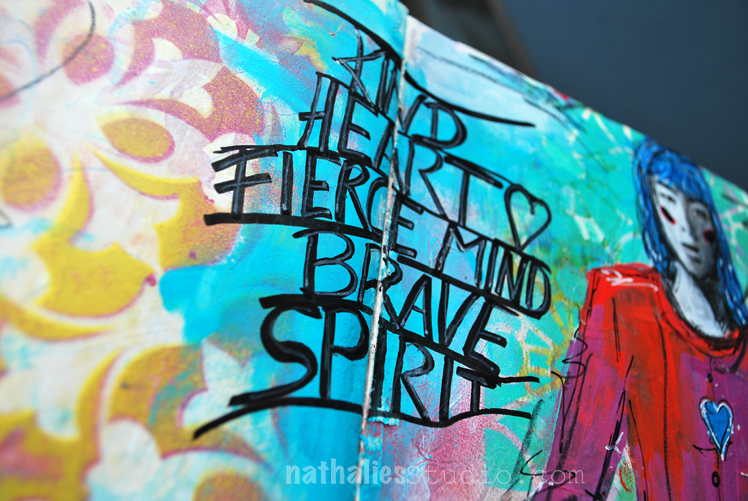
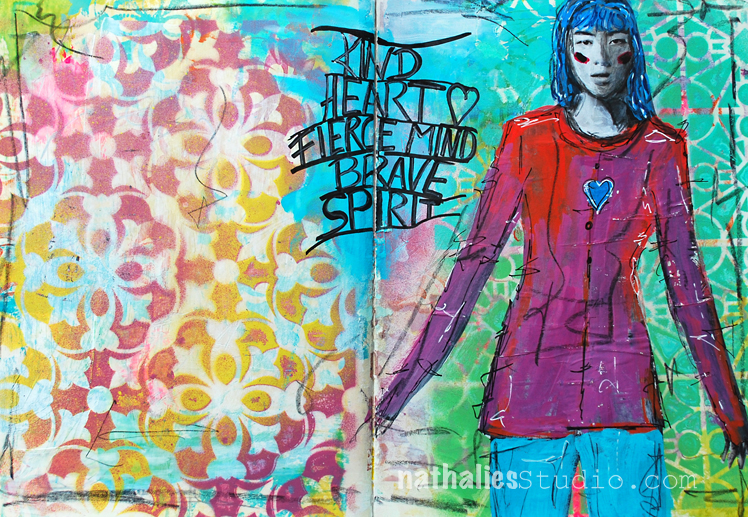
Kind Heart – Fierce Mind – Brave Spirit

Pretty much how I want to feel right now with everything!

This spread started out as a demo page at my workshops in San Jose in January . I actually showed how to use spray paints with stencils and we used some Montana water based spray which I really fell in love with. They have a matte finish – and the look is so different from the look of the more shiny glossy finish of my Liquitex Spray paints. Plus…they come in those mini spray cans! I am still debating if I should buy those…because I do have…enough …spray paint…but ….you know ;)

I used the Versailles Stencil on the left and the Buenos Aires Stencil on the right. I added some of the background color and added it with my finger to the middle top, smoothing it out and bringing both sides together by journaling over that part.

This page makes me happy – happy memory from the process of making it and my awesome students , happy colors and good message :)

Here are some of the supplies I used for this spread – some links are affiliate links


Wishing you a wonderful day!

Comments (4)

  • Julie B

    |

    Thank you for the inspiration to integrate two very different pages into one whole piece (God only knows how many of those pages i have; now i just need to carve out some time). I love this page…it makes me very happy two and brings back fond memories of your visit. Thank you, thank you!

    Reply

    • nathalie-kalbach

      |

      So glad you like it Julie! Go get your time :) Even if it is only 10 minutes a day- I am always surprised how much you can actually do in just 10 minutes ….the downside is …many paint splatters on clothes that are not meant for painting “oh ….I am dressed for going out but hey…only 10 minutes and I should not get paint on my clothes” yeah – sure ;)

      Reply

  • Sue Clarke

    |

    You can never have enough paint as it gets used up…just saying. Enjoy your day Nat.

    Reply

    • nathalie-kalbach

      |

      Hehehe- I know ;) I bought it …ahem ;) Enjoy your day too Sue and have a wonderful weekend!

      Reply

Leave a comment

Smile :) -Positive and Negative Pattern Play

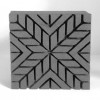
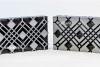
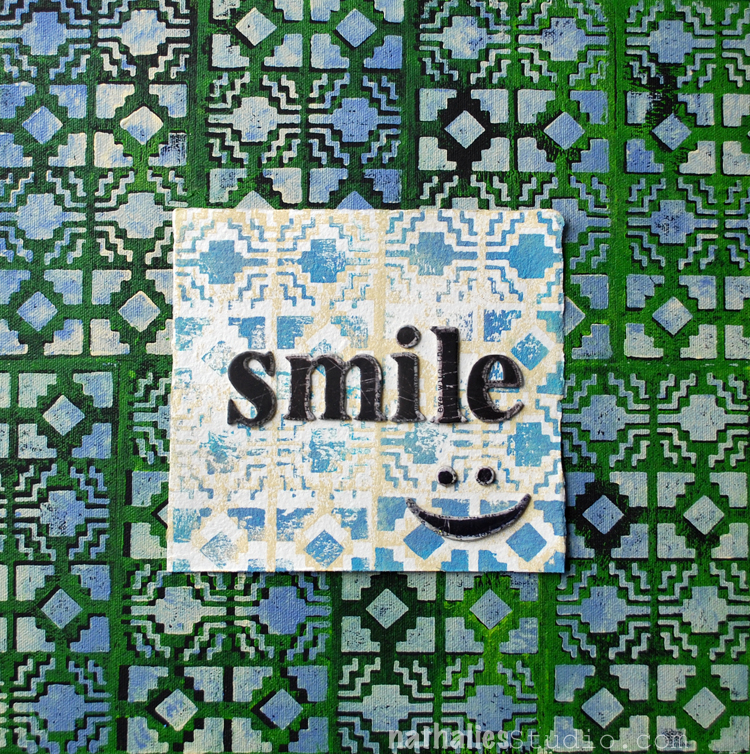
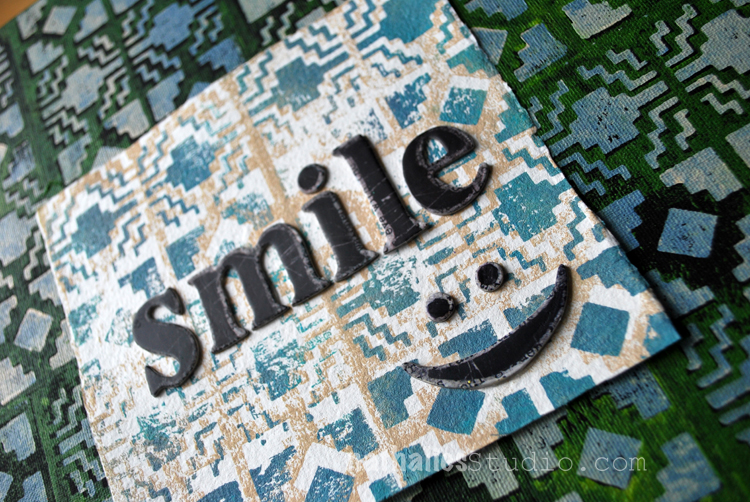
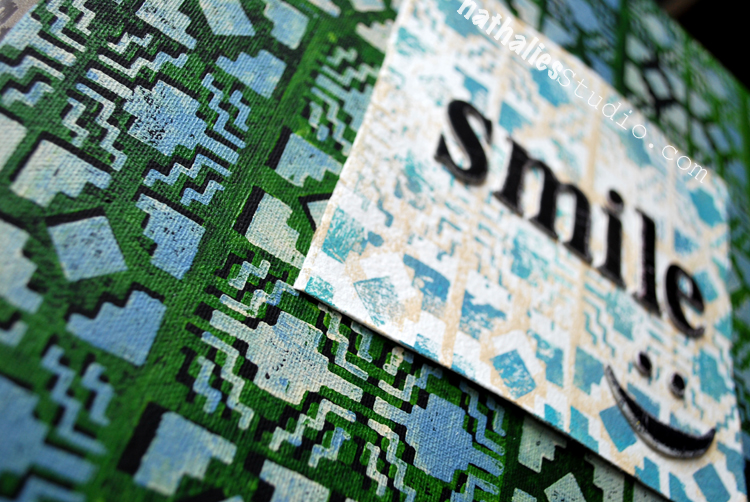
This is another board I made for the ArtFoamies booth at Creativation. It was a simple project, but when you are displaying for a trade show it is important that you have samples that show in a fast way how to use certain products- and here I simply wanted to have something that would show how the positive and negative foam stamps I created work.

I used the Santa Fe positive and negative Foam Stamp Set and stamped with different colors onto a black board. I love how much depth a bit of an offset stamping and the black background creates. For the top I stamped on some hemp paper which has a very different quality and texture. It also feels almost like fabric and it is quite durable. I love how different the texture of the paper makes the pattern look.

It is a very in your face project- LOL – so ….Smile ;)

Here is a list of supplies I used for this -some links are affiliate links:


Have a gorgeous day

Comments (2)

  • stephanie

    |

    Hi Nat – Is the hemp paper like color press watercolor? Thanks.

    Reply

    • nathalie-kalbach

      |

      Stephanie, it is really hard to say – it is like handmade paper with a kind of fabric like feel to it -yeah maybe a bit similar to a very good and thick cold press watercolor paper, but then not as thick. NOt sure if that helps and makes sense :)

      Reply

Leave a comment

Creative Ice Breaker – Morning Art Journal Play Video #7

In the mornings I play in my art journal to get myself into the creative groove and break the ice – so to speak- and get ready to paint. I recorded and fast forwarded my morning ritual for this video – and hope you enjoy it. Take it as what it is – a morning art journal play- not a tutorial.

Here are the supplies I have used in my Creative Ice Breaker video above – some links are affiliate links.


I hope you enjoyed the little glimpse into my morning warm up play! Have a wonderful and creative day!

Comments (4)

  • stephanie

    |

    Great video! A good way to get warmed up

    Reply

  • Sherry Canino

    |

    What a great video I loved watching you create in your art journal and I love those stamps !!!

    Reply

Leave a comment

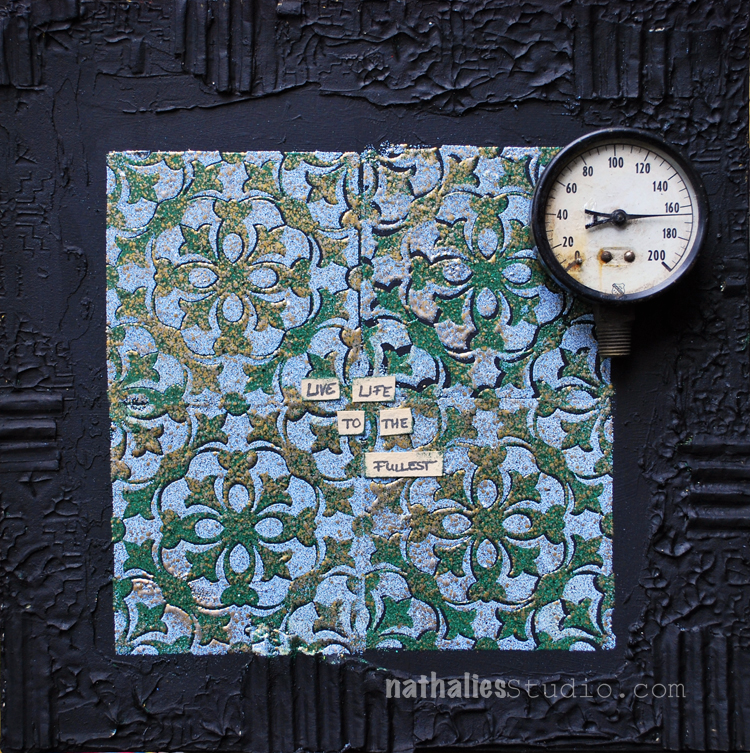
Live Life To The Fullest – Embossing with Foam Stamps

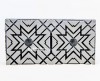
This is another project I did for the ArtFoamies booth at Creativation. For this project I used a square piece of hard board and glued down some corrugated cardboard here and there around the edges. (I just used pieces from an old shipping box). Then I painted the whole board over with black gesso and let it dry.

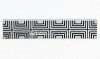
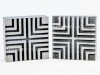
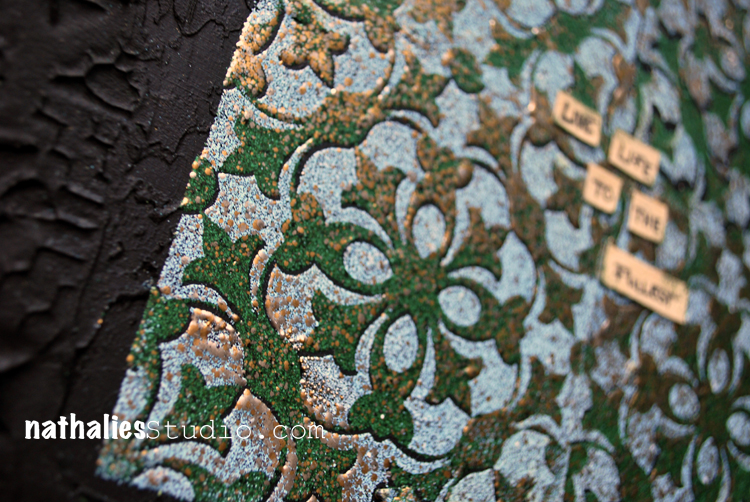
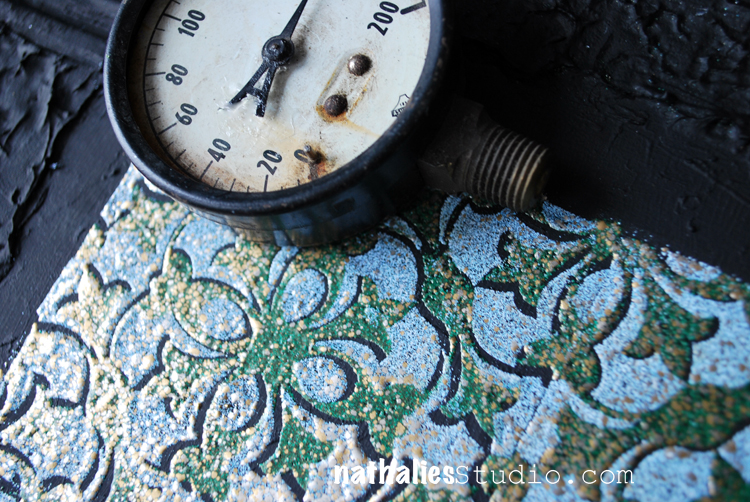
Using my Versailles Negative and Positive Foam Stamps I stamped first one pattern with Embossing Ink onto the middle of the background , sprinkled some Aged Embossing Powder on top, heated it up until it was molten and then repeated the same with the same Stamp until a tile pattern was created. Next I used the other Versailles Stamp Set and stamped also with Embossing Ink on top of the already embossed areas, repeating all stamps but this time with a different color of Embossing Powder. Oh my ….do I love this crusty, textured outcome !!!

 It feels really good and it looks even better in person. I used a gauge which I had found a couple years ago at a flea market and saved for a special project and mounted it to the board with Extra Heavy Gel Medium.

I really love how the Positive and Negative Stamps work with Embossing Powder- definitely something I will play more with .

Here is a little list of the supplies I used -some links are affiliate links:


Have a gorgeous day!
Nat

Comments (8)

  • marycheng

    |

    Great effect. Love the border. I must try foamies and add them to my collection.

    Reply

    • nathalie-kalbach

      |

      Thank you so much Mary. They are really fun and versatile to use, I hope you will give them a go :)

      Reply

  • Sherry Canino

    |

    That is sooo cool , I love the texture it created and even more awesome how you could use the positive and negative stamps together like that ❤

    Reply

    • nathalie-kalbach

      |

      Hi Sherry, thank you so much! It was really fun! Have a wonderful week! <3

      Reply

  • Sue Clarke

    |

    Love the gauge on that piece and the layers are fun (using the positive and negative).

    Reply

    • nathalie-kalbach

      |

      Thank you Sue! Yeah the Gauge finally was used- LOL- I have kept it forever hoping for the right piece to use it.

      Reply

  • Donna B.

    |

    Wow, Nathalie! Love this!!! It looks wonderful! I’m going to try this with my foam stamps, too. Thanks for sharing –

    Reply

    • nathalie-kalbach

      |

      Yeah- give it a try Donna, it was really fun to do and it feels pretty cool. I think I will do this on my art journal cover too :) Have a gorgeous day!

      Reply

Leave a comment

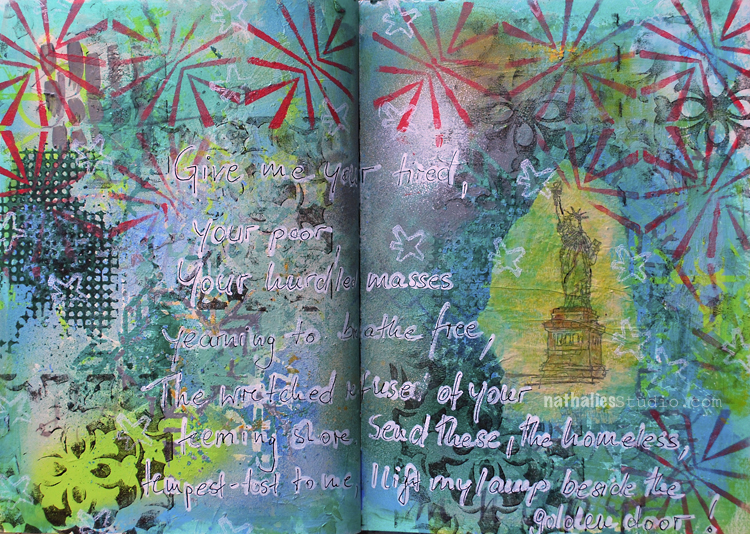
Golden Gate – Art Journal Page

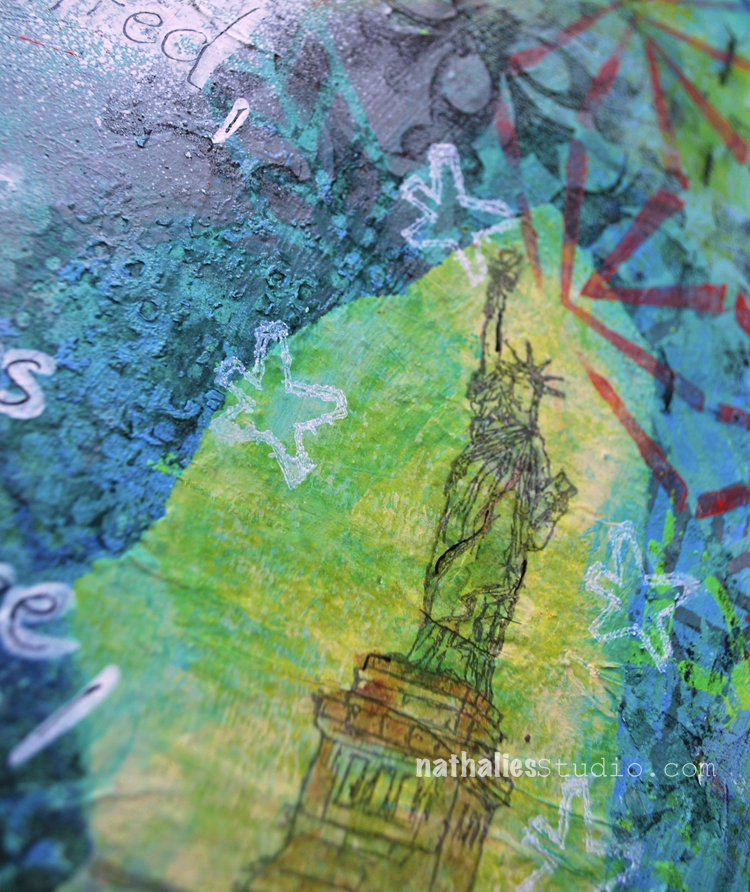
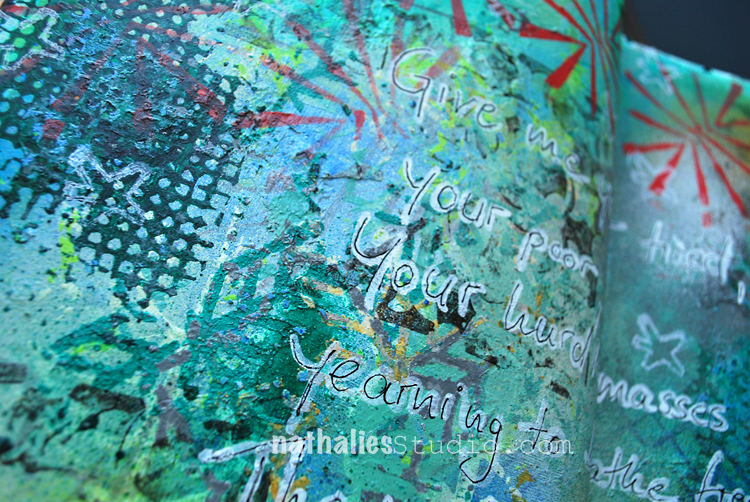
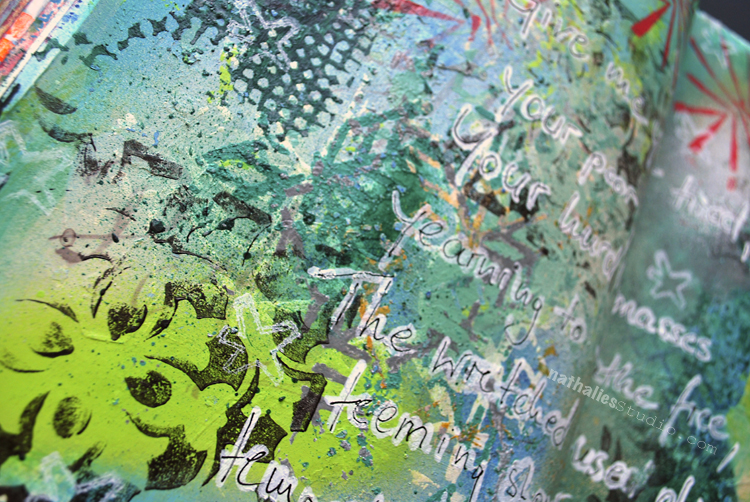
“Give me your tired, your poor,
Your huddled masses yearning to breathe free,
The wretched refuse of your teeming shore.
Send these, the homeless, tempest-tossed, to me:
I lift my lamp beside the golden door.”

Emma Lazarus

Lady Liberty is right at my front door …well I used to see her until last year from my studio window- but now a tall new building is blocking the way. I love to take the bike in the summer and go out to Liberty State Park and enjoy a view of her. What a wonderful symbol she is.

It was freeing and good to create this page springing from a crazy mash up of added paints, patterns, texture and colors. I thought that was fitting for this page.

Here are some of the supplies I used – some are affiliate links:

Comments (2)

  • Torsa Saha

    |

    Wow!! Stunningly beautiful!!

    Reply

Leave a comment

Look for Stars – Art Journal Spread

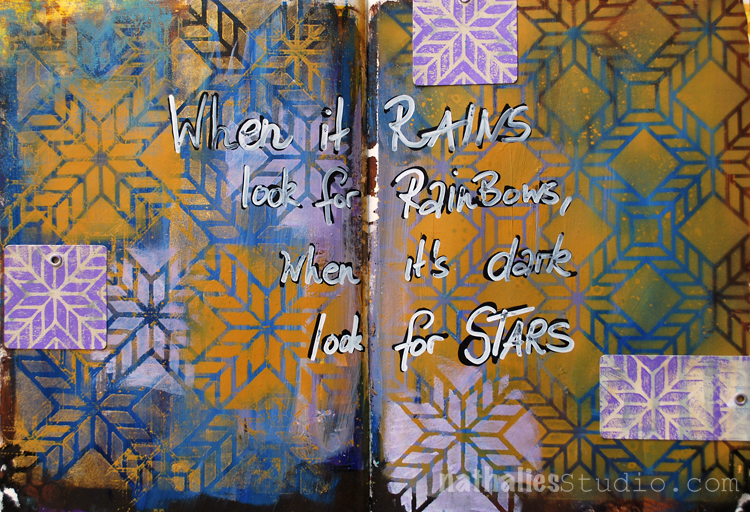
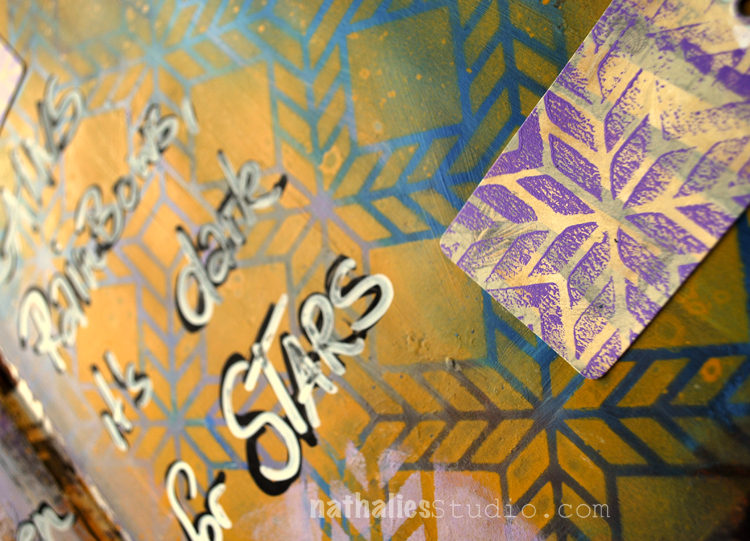
“When it rains, look for rainbows, when it’s dark, look for stars.”

The color scheme I used for this spread was actually inspired by a student using it in one of my classes at The InkPad a couple months ago. I so loved the mixture of ochre, blue and purple that I made a mental note to play with this some time. And there it is :)

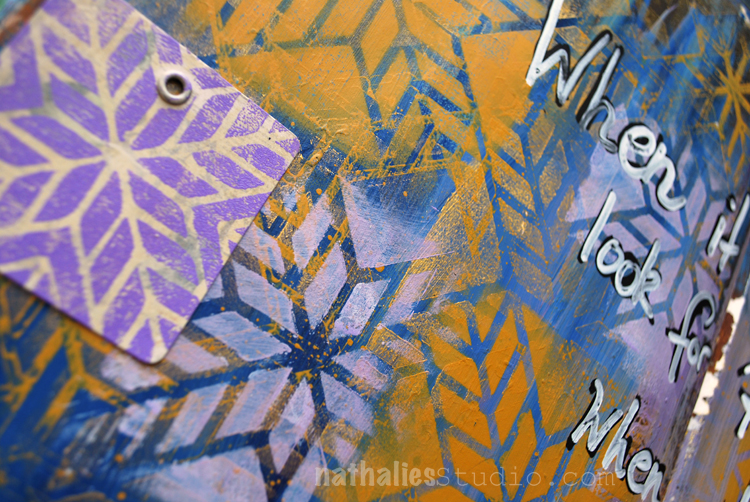
I painted the background blue and then layered the Santiago 9×12 Stencil on top using yellow oxide spray paint . I layered the Stencil again on some of the areas – some on the previous stenciled areas, some slightly off and used some light purple paint which I stippled with cosmetic brush through the stencil here and there.

I used the Santiago Tile Foam Stamp which has the same pattern but in a smaller scale with purple acrylic paint and stamped on top of some tags. I love how the different scales of the same pattern- but also the different quality and texture of applications play with each other and tie the design together. I love Foam Stamps also for the texture the stamped image reveals when using a smaller amount of paint.

Here are the supplies I used for this spread – some links are affiliate links


I hope your day is filled with rainbows and stars today!

Comments (2)

  • Torsa Saha

    |

    Brilliant!! Love this page ??

    Reply

Leave a comment

Do Things Different – Art Journal Spread

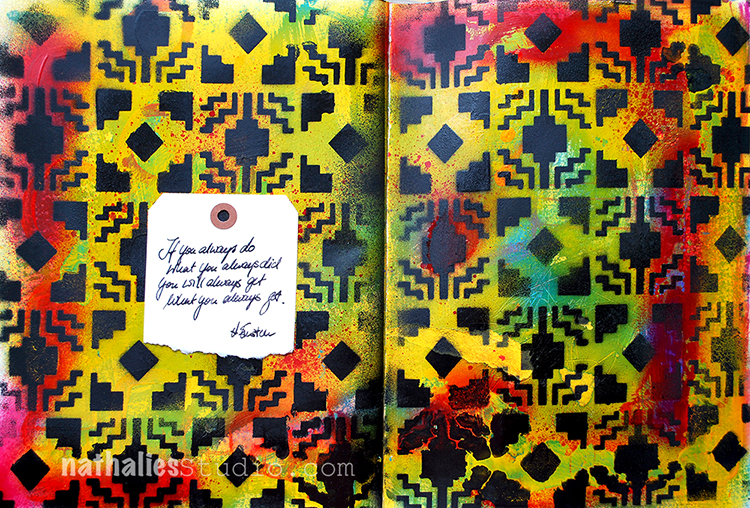
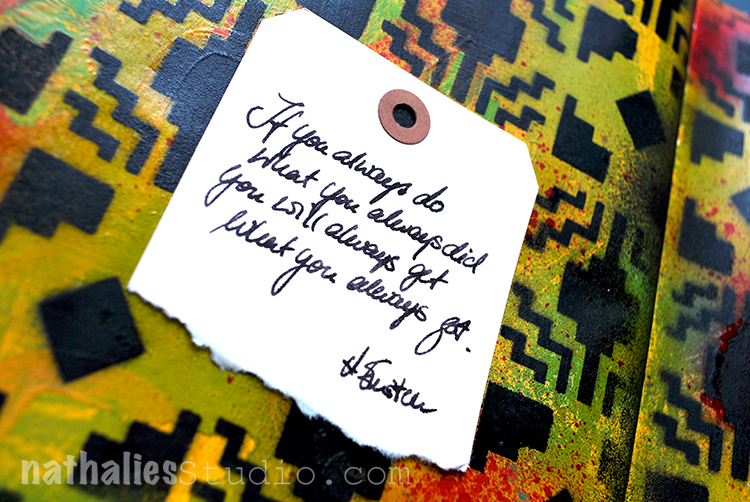
“If you always do what you’ve always done, you will always get what you’ve always got” attributed to many- including Albert Einstein. Regardless who said this…smart ! A good reminder to change things up once in a while!

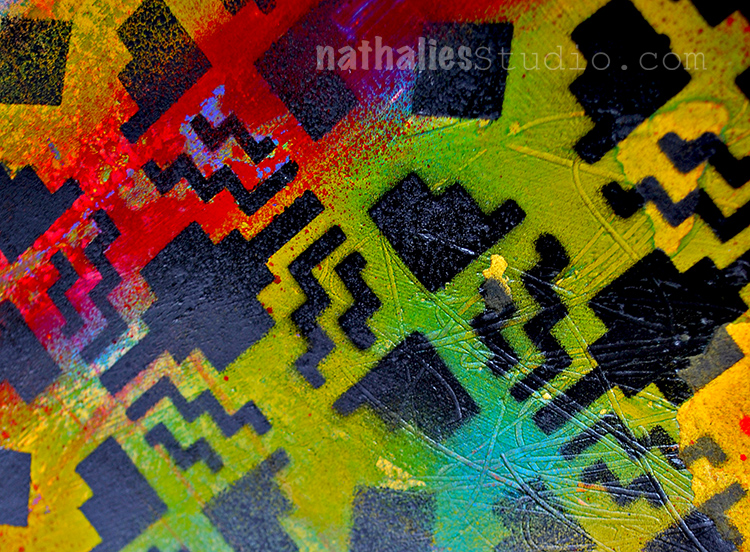
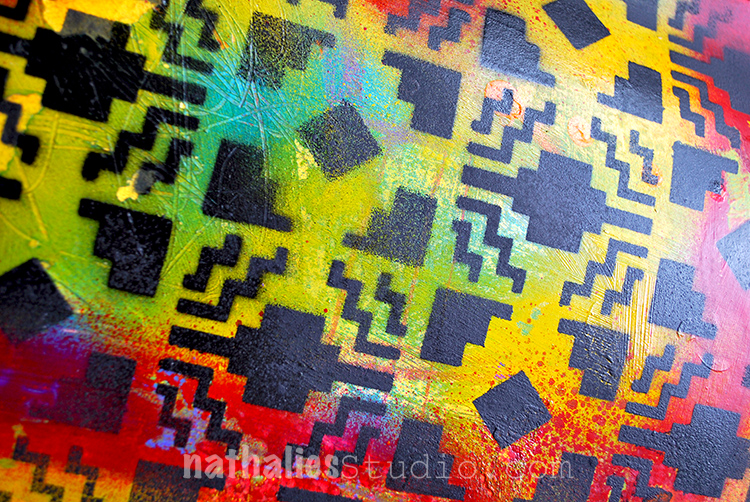
I saturated the background with different colors of acrylic spray paints and used the back of a brush to scratch some marks into it. I layered the Santa Fe 9×12 Stencil on top and sprayed over it with black spray paint. As you can see some of the areas – on the right bottom – are a little bit blurred- that is because I did not wait until the background was totally dried …- I am so impatient sometimes. But, I am ok with this. This page was a 10 minute affair and it made me happy to just do something creative that morning that was followed by loads of paper- and computerwork. 

I tore a manilla shipping tag and added the journaling with my fountain pen. Anyone else still loves to write with a fountain pen, besides me? I just love the feel of a fountain pen.

I like how the black pops the pattern off the colorful background. This spread makes me long for some traveling in the South West, yummie food and summer :)

Here are the supplies I used for this super quick art journal spread- some links are affiliate links:

Wishing you a fantastic day!

Leave a comment