Creative Squad

All Shapes and Sizes – Jennifer Gallagher


Happy Tuesday from the Creative Squad! Today we have a post from Jennifer Gallagher that will definitely inspire you to up your summer entertaining game! Jennifer brings us some awesome stamped and embroidered napkins using my Valley Road and Mini Batik Pattern 1 foam stamps, and inspired by this month’s theme: All Shapes and Sizes – Circles and squares, big and small, let’s mix it up and play with different shapes and sizes this month. Just because things are different doesn’t mean they can’t look great together!


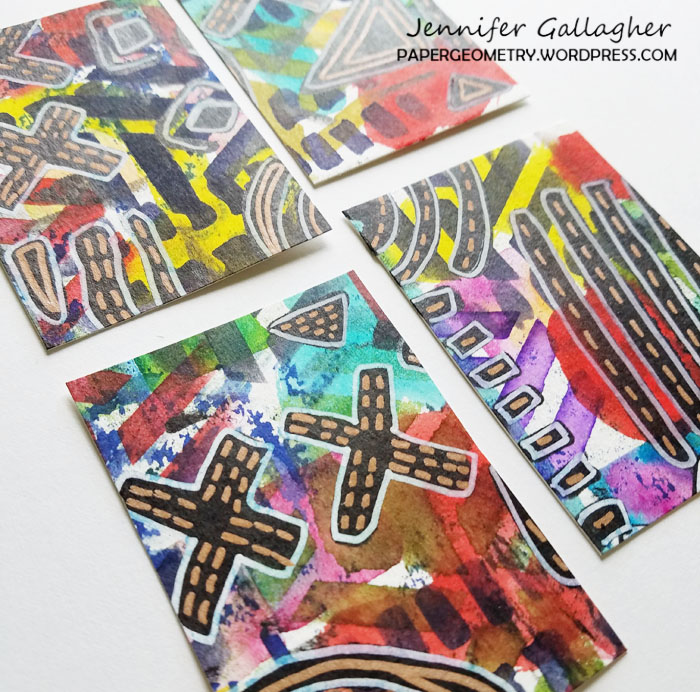
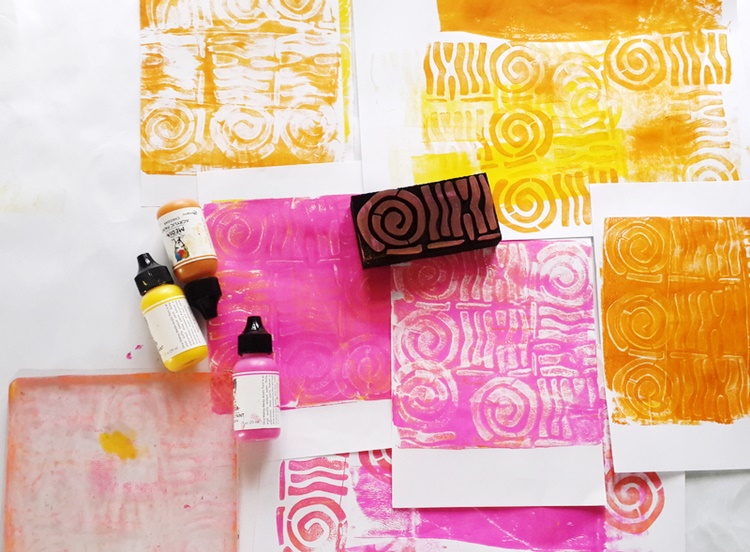
This month we are celebrating all shapes and sizes. I am a firm believer that mixing shapes and patterns leads us to the most interesting design. With that in mind, I am making a fun set of stamped and embroidered napkins that mix some of my favorite n*Studio ArtFoamies. Although I am using different shapes and designs, you will find they compliment each other quite well.

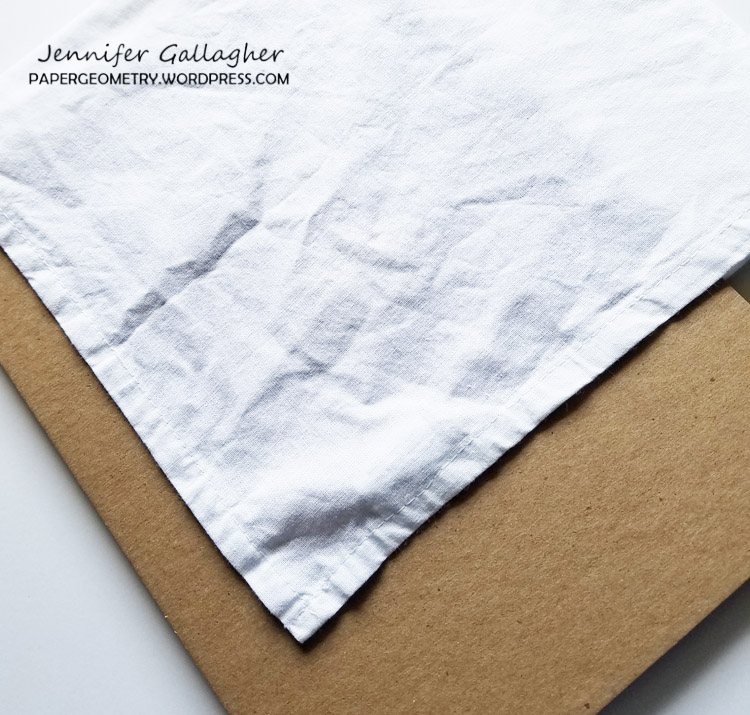
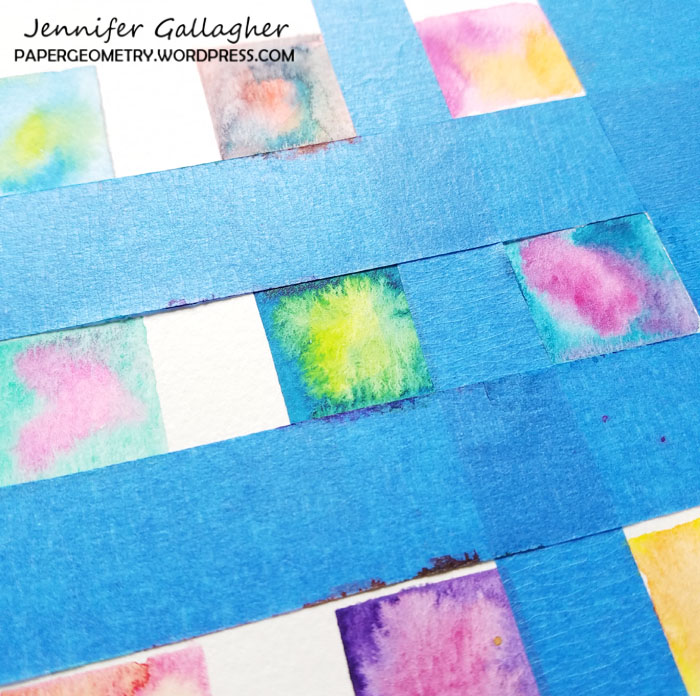
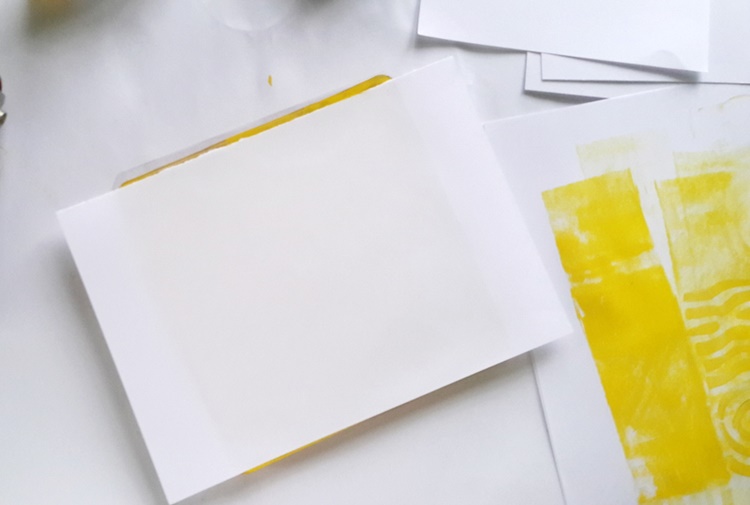
I started with a package of four white 100% cotton dinner napkins designed for embroidery. Make sure to prewash these types of items to remove the sizing. After washing and drying them, I gave them a quick steam to knock out the majority of the wrinkles. I then laid a large piece of cardboard under the area I would be stamping to prevent the paint from soaking through to the layers underneath.

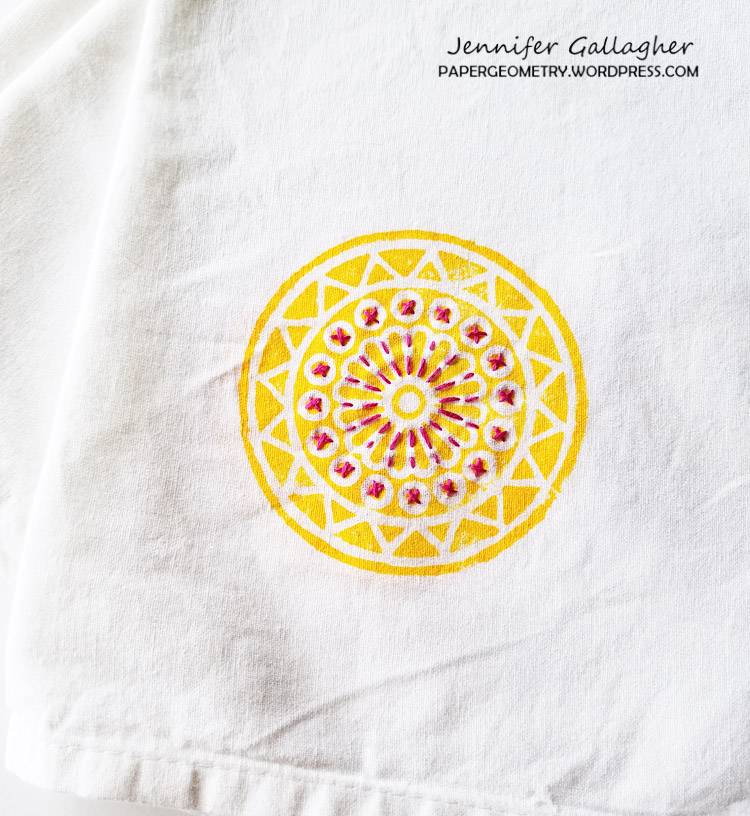
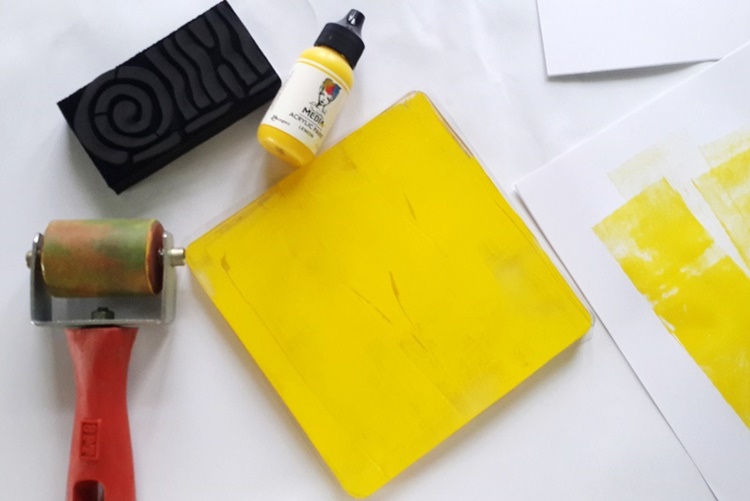
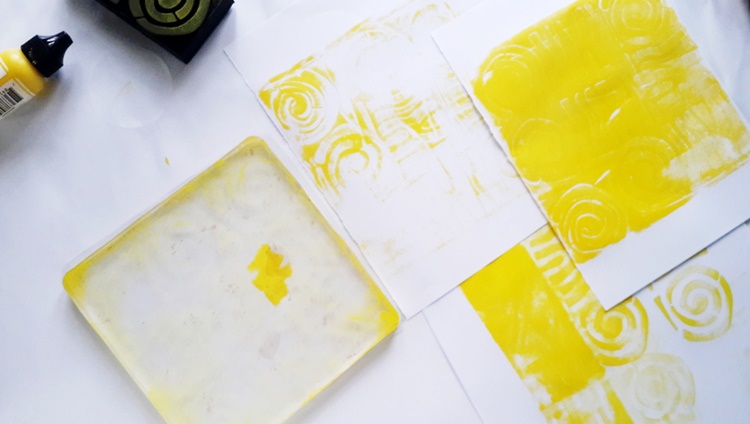
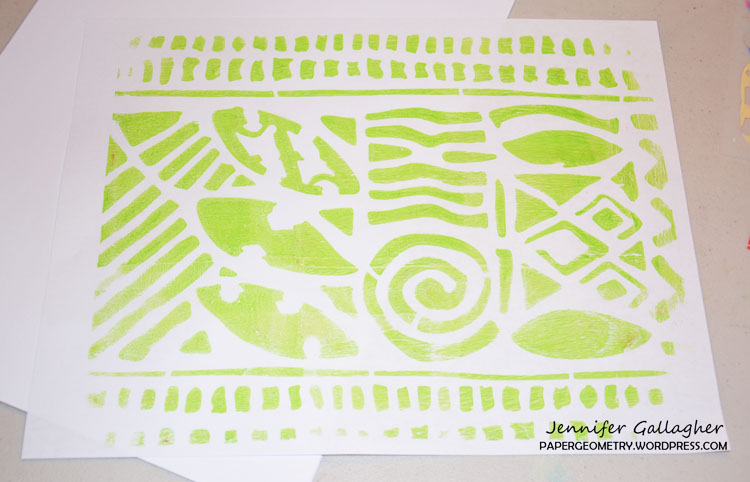
I didn’t have any textile paint on hand, but I did have some textile medium. I mixed up my paint with the medium according to the directions. This product turns your regular acrylic paint into fabric paint. I settled on a bright and cheerful yellow.

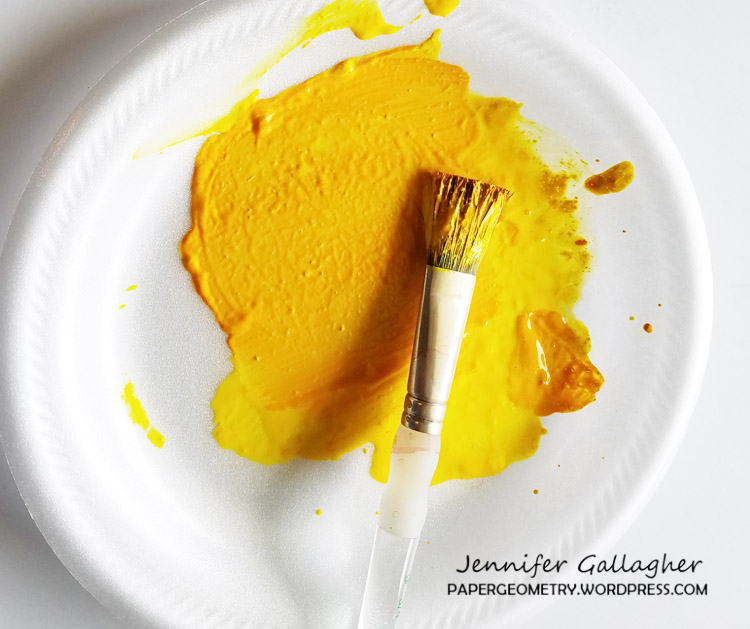
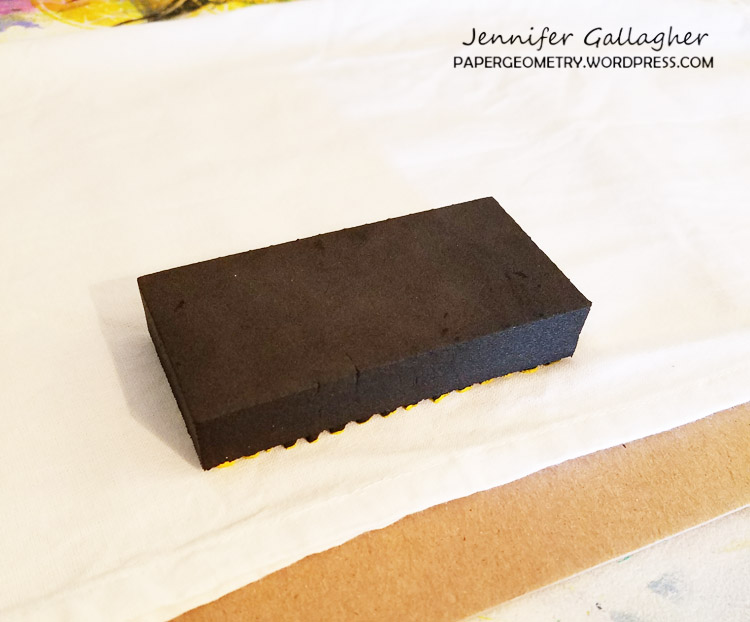
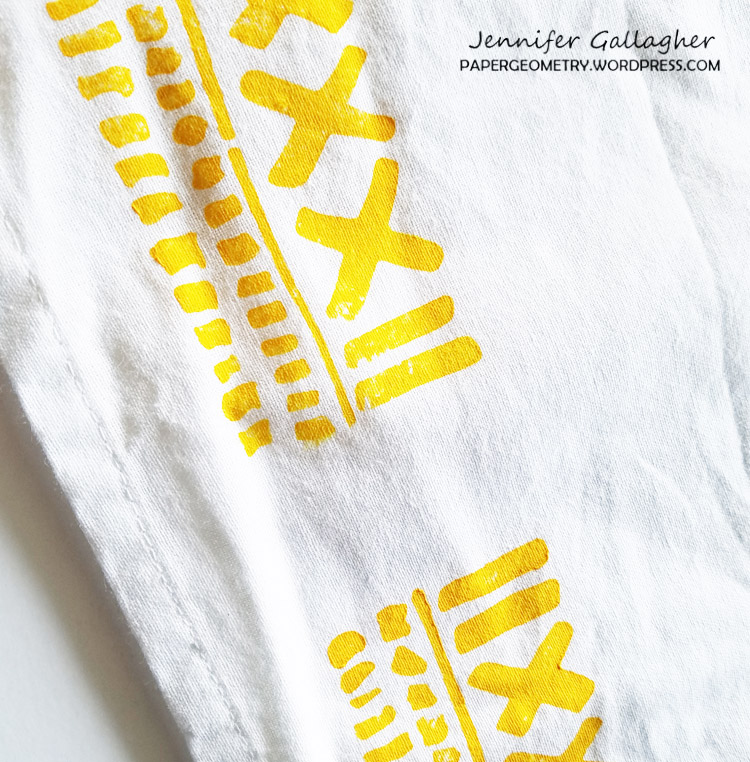
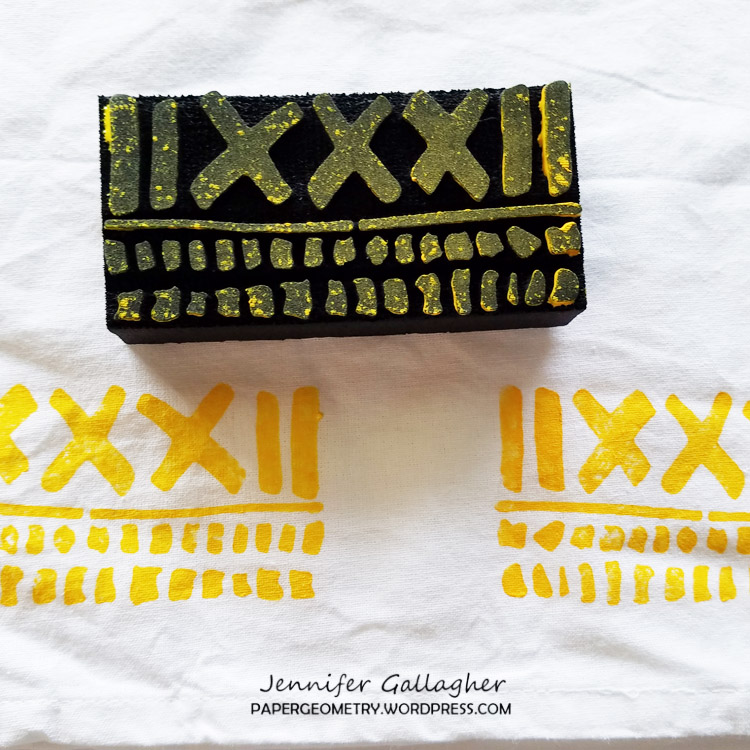
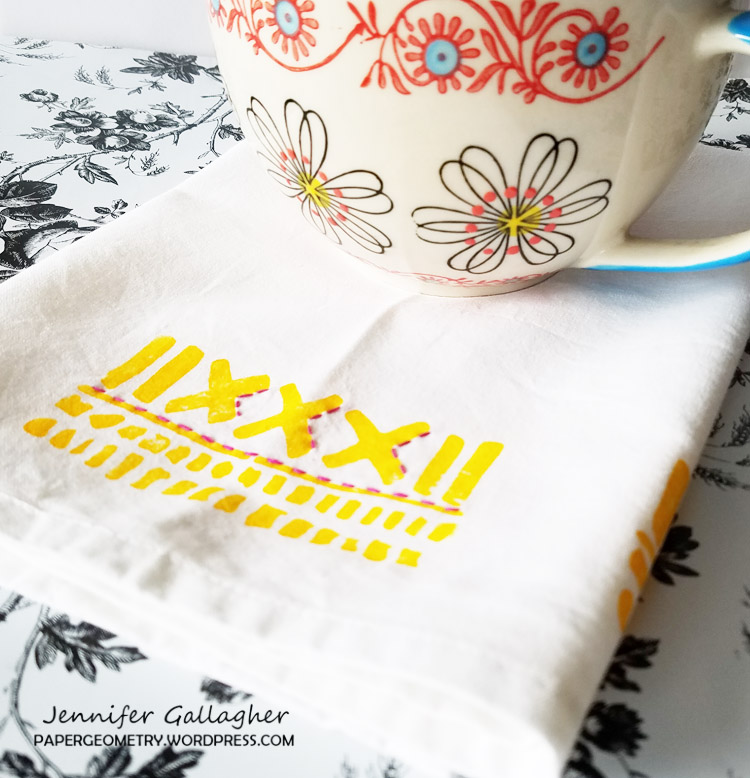
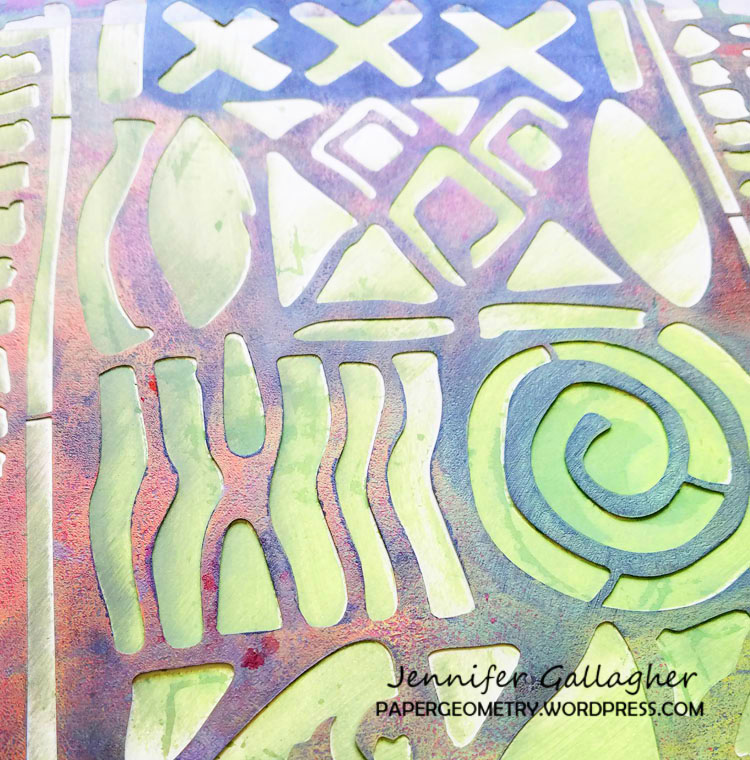
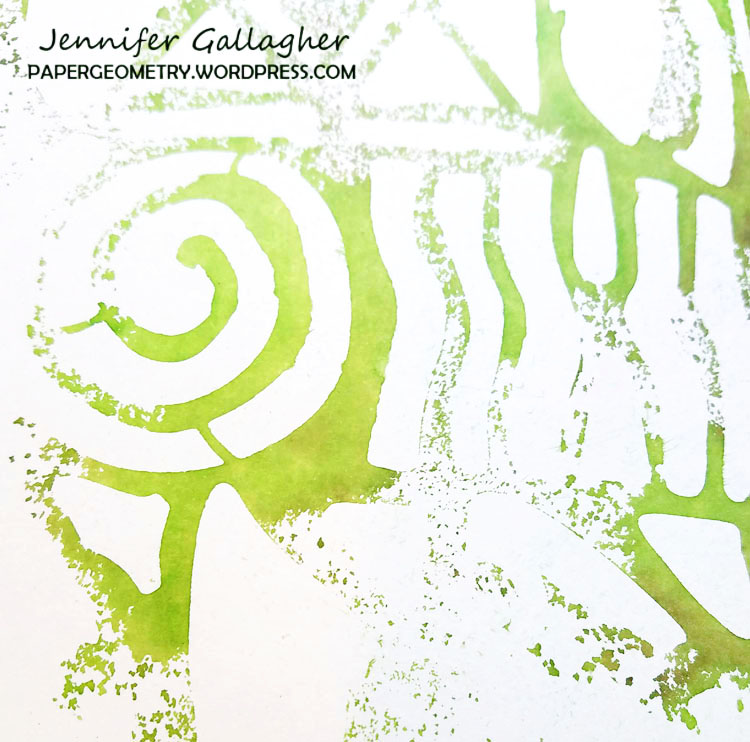
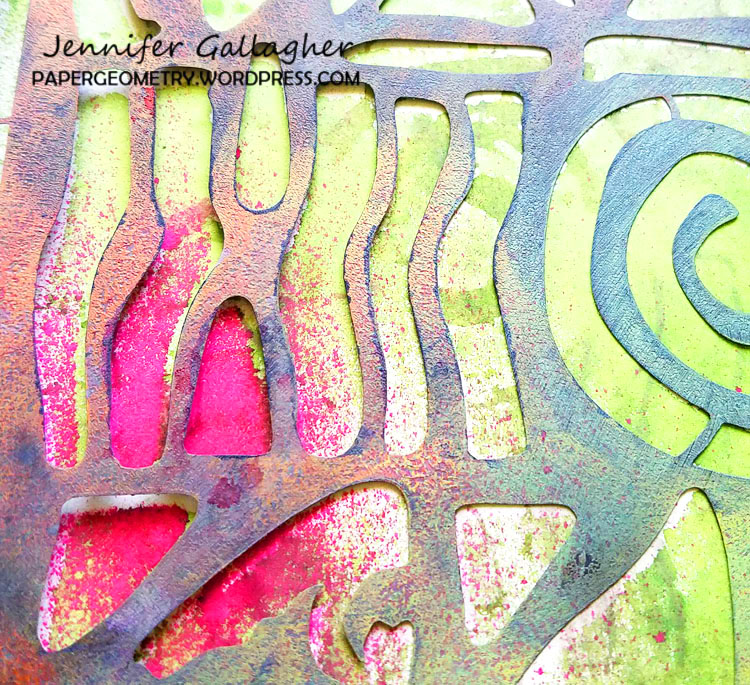
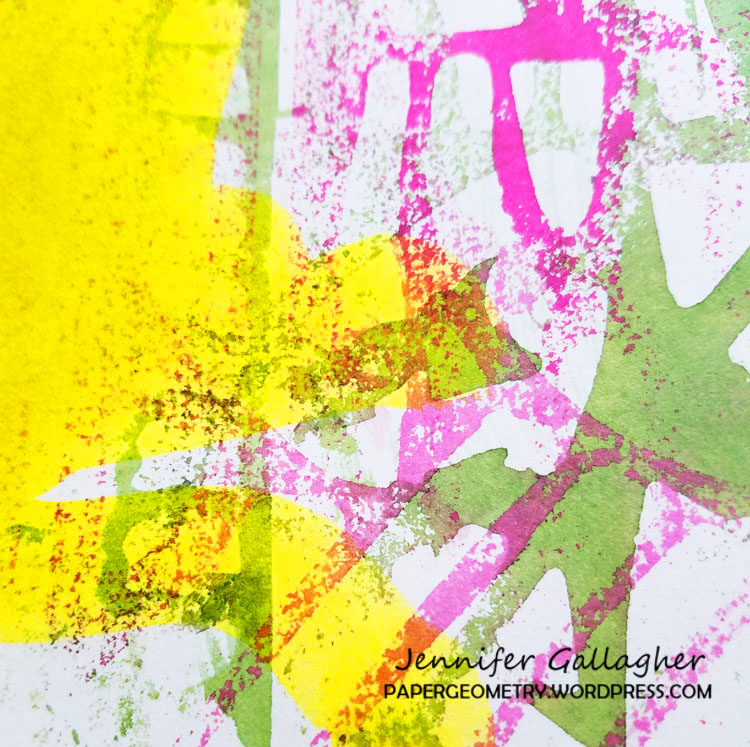
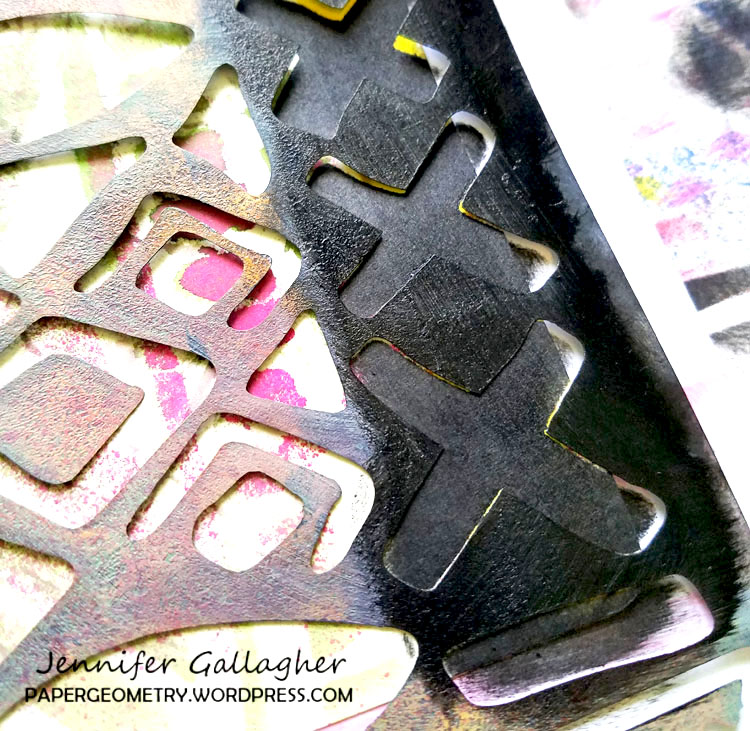
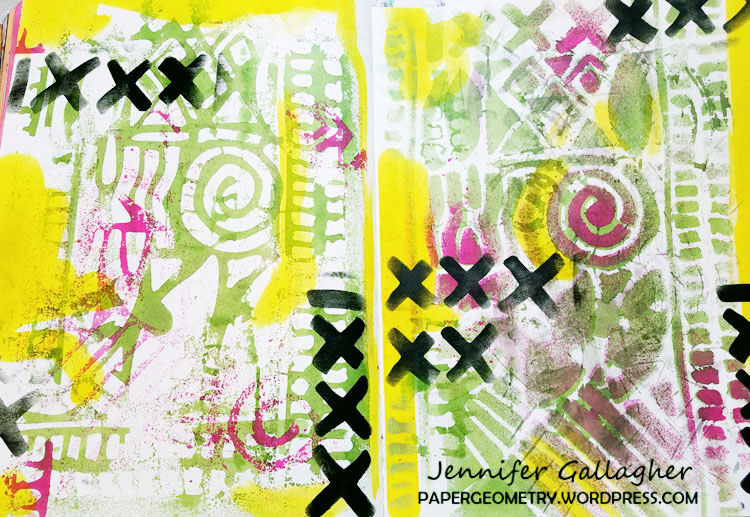
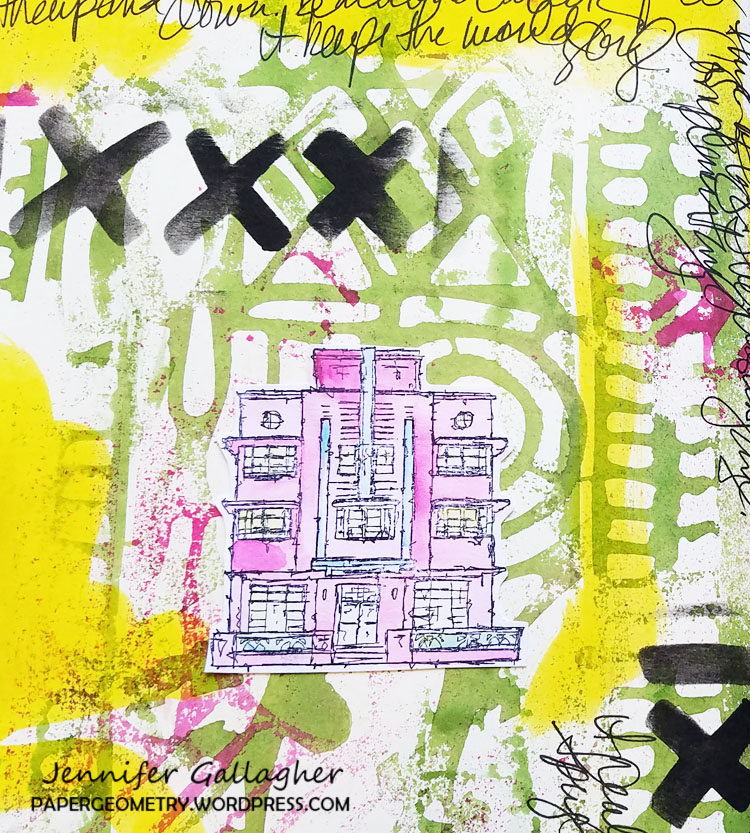
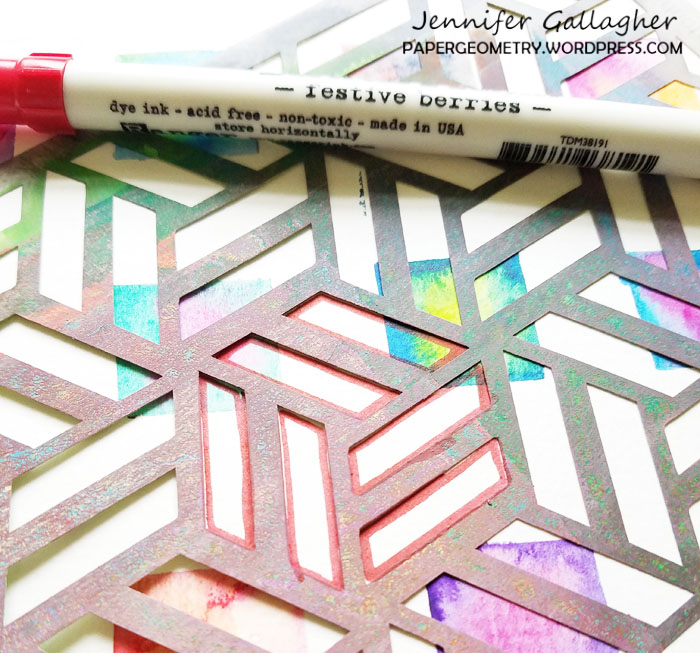
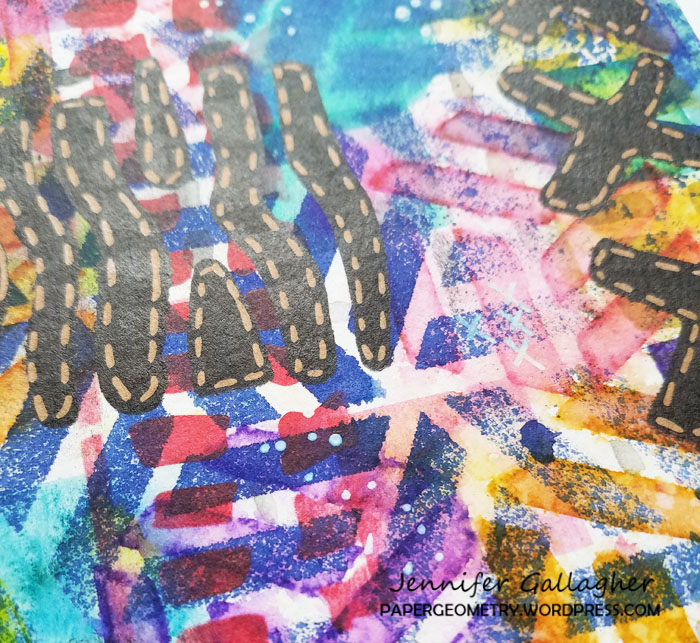
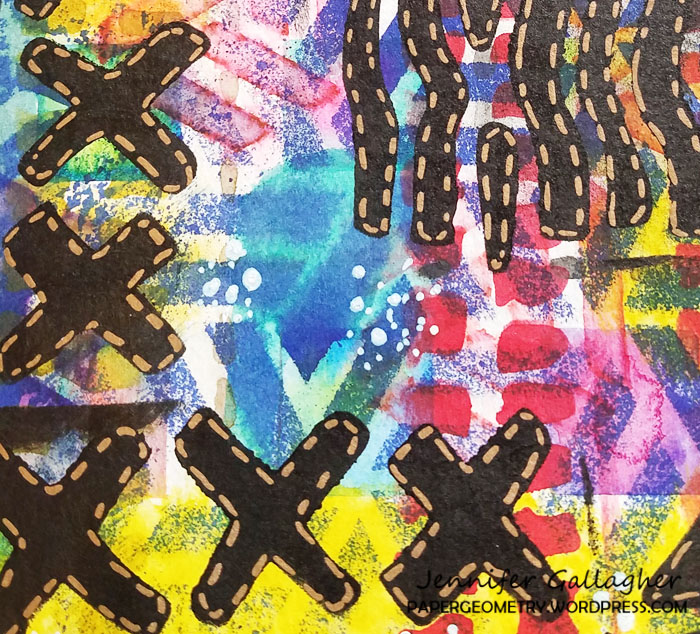
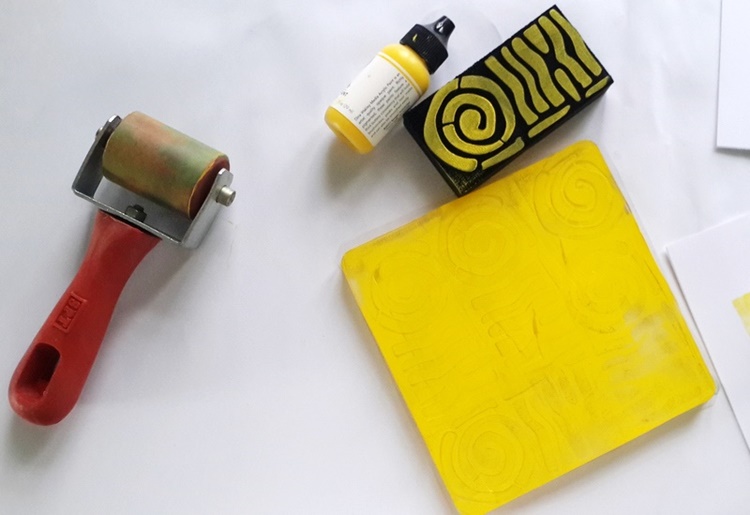
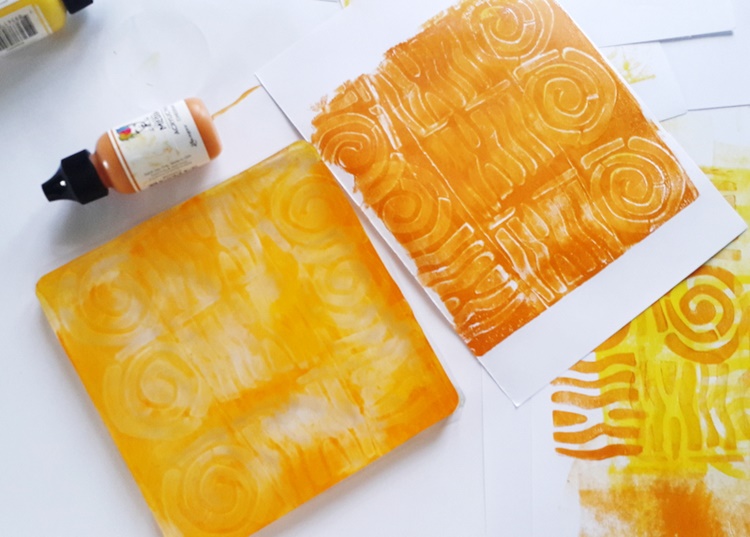
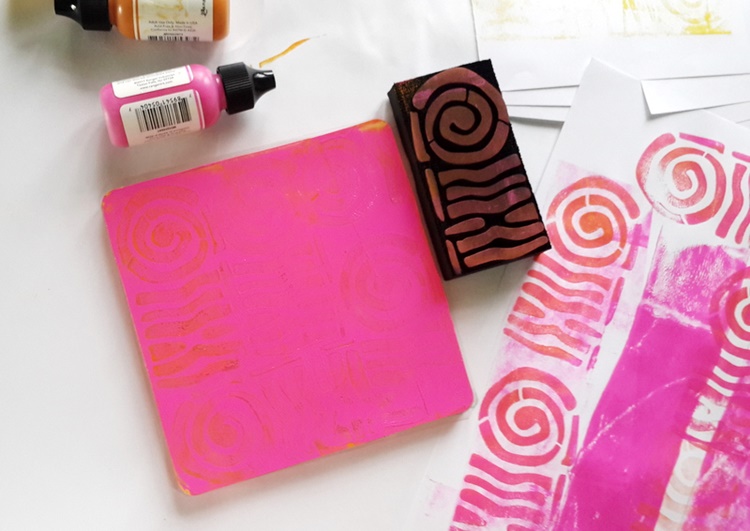
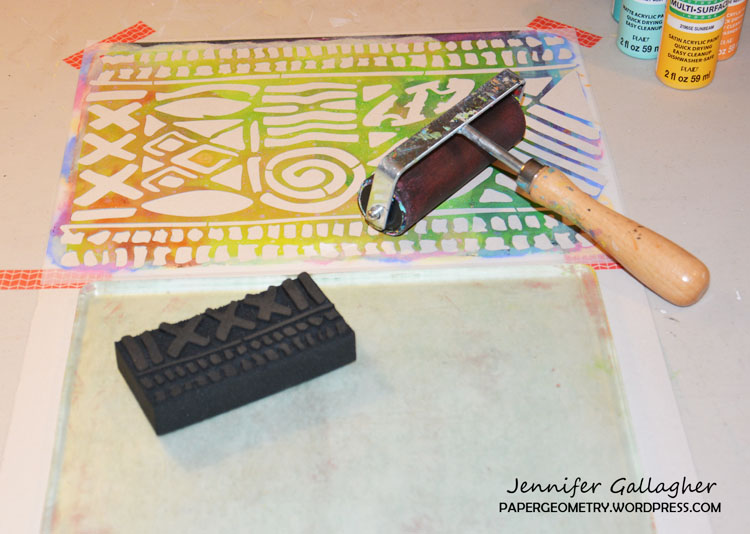
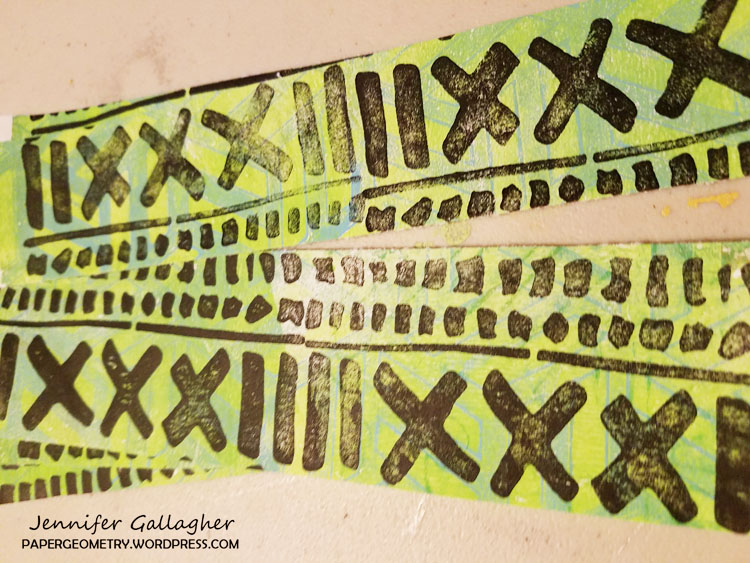
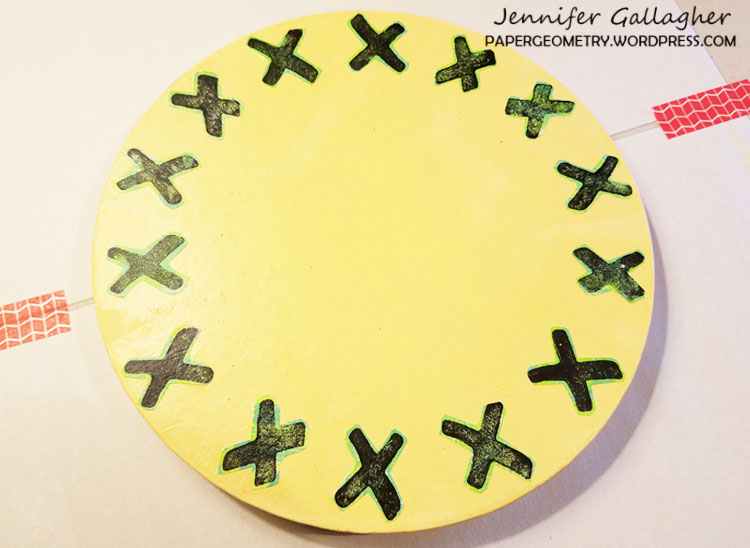
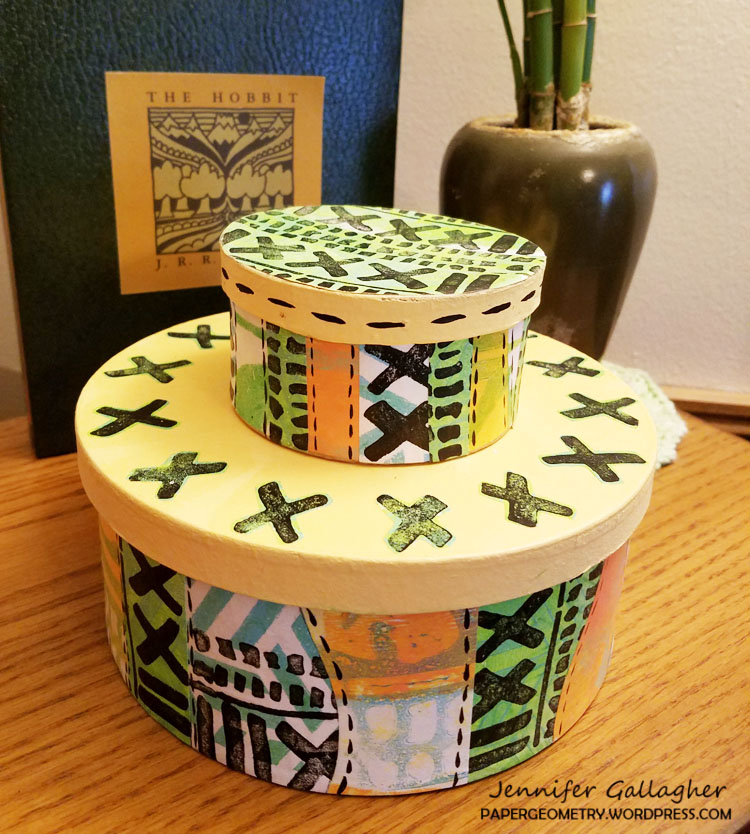
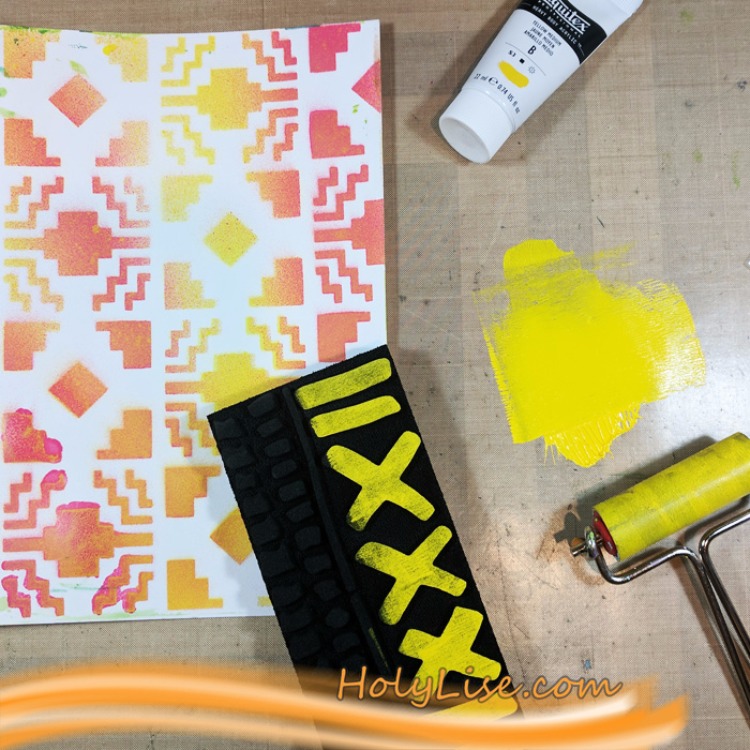
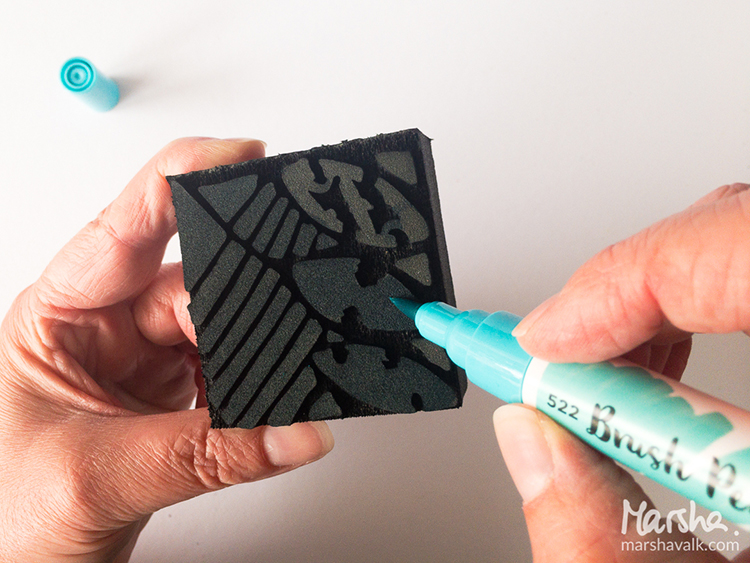
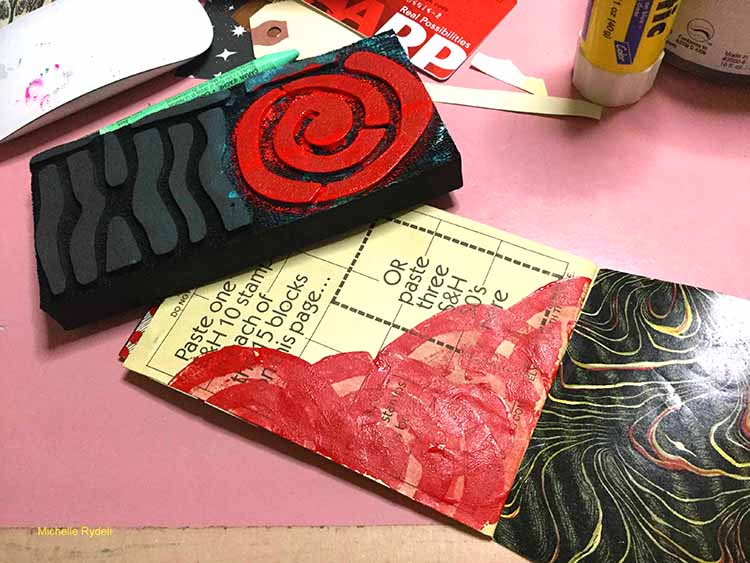
Next, I dipped my ArtFoamie onto the paint. It is important not to overload your stamp with too much paint. ArtFoamies are very high quality stamps and will hold the paint and leave a wonderful impression. There is no need to load too much paint as it will seep into the negative spaces of your stamp and leak out once pressed down. I am stamping with Nat’s Mini Batik Pattern 1 stamp and the Valley Road stamps.

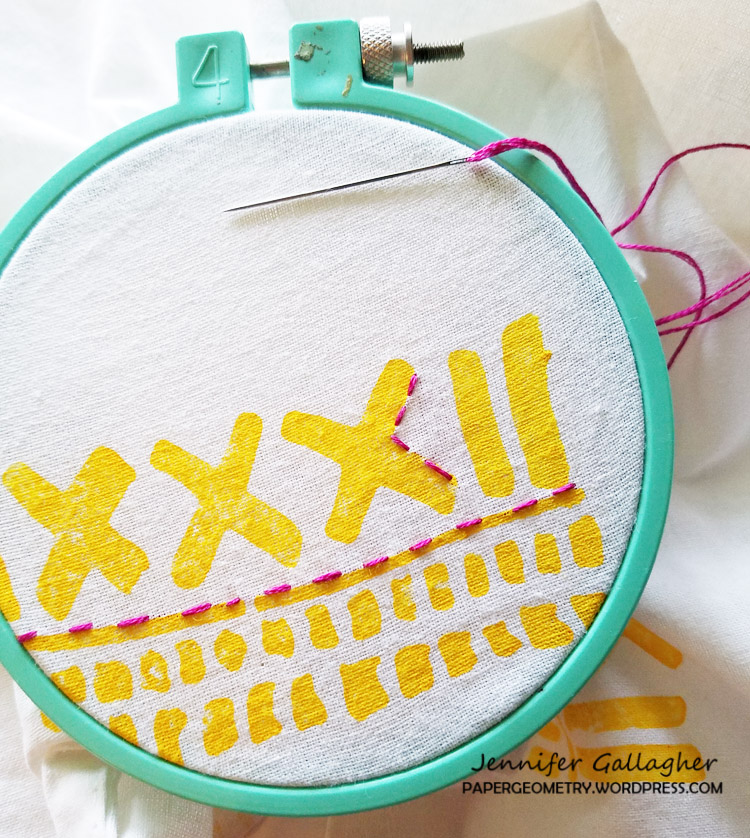
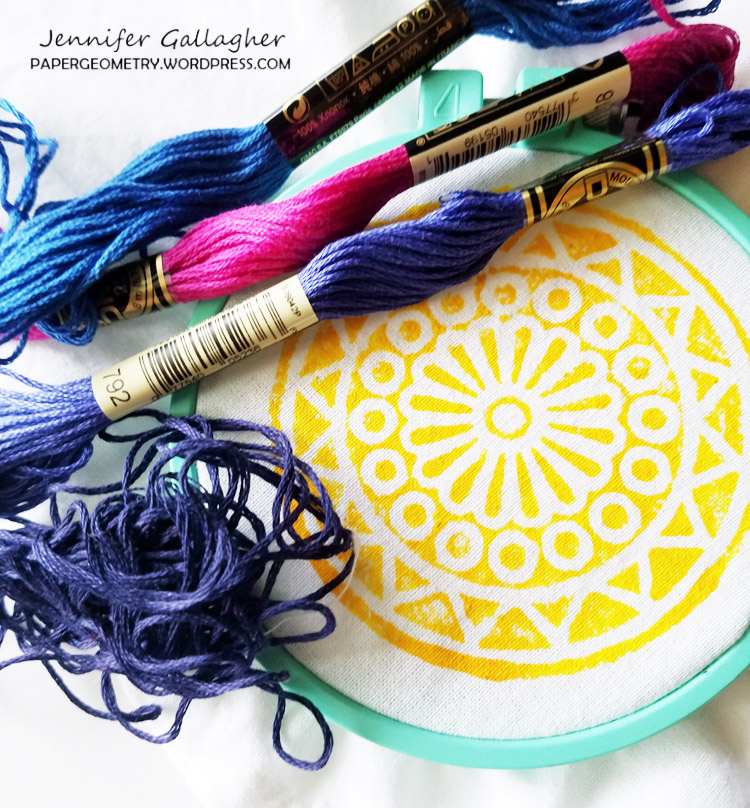
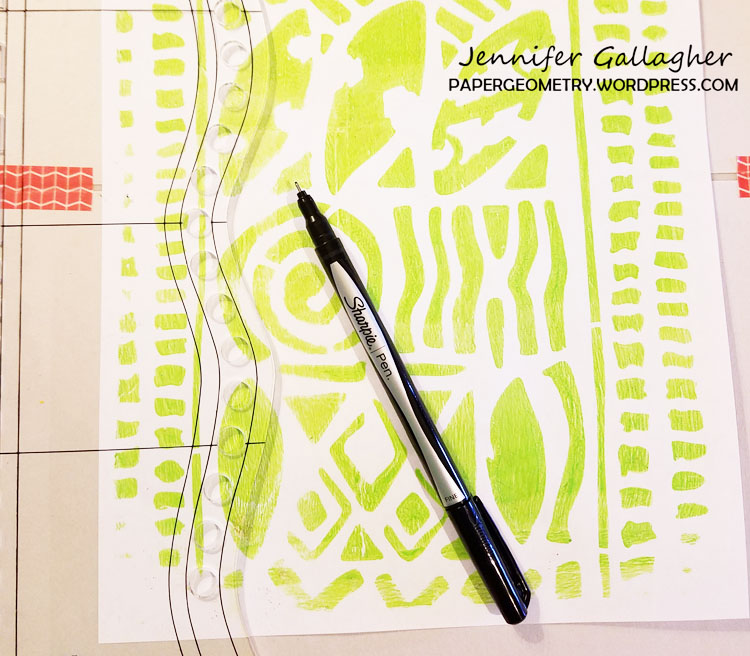
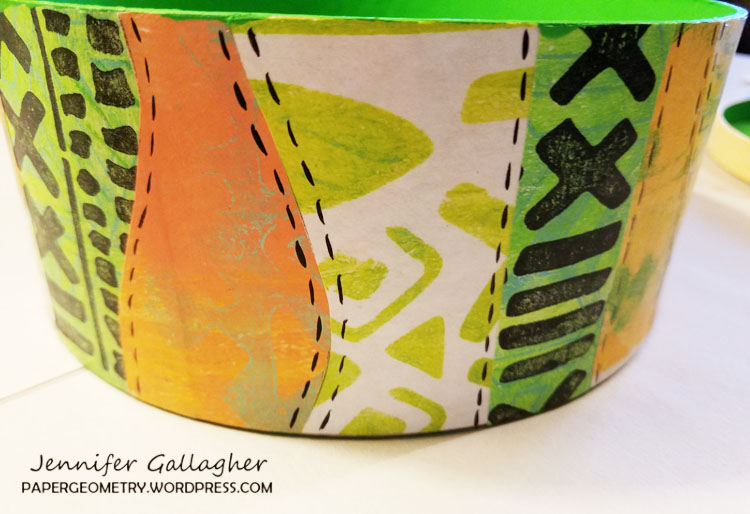
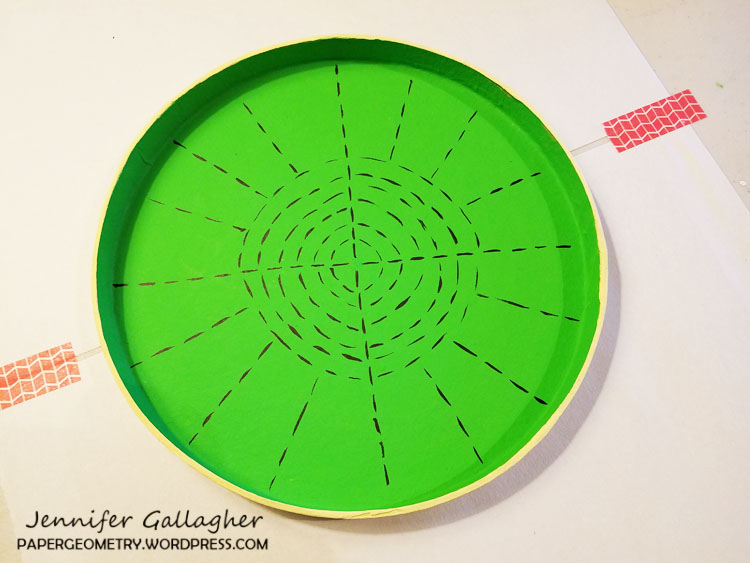
Once the paint dried, I placed my napkin into a four inch embroidery hoop. After choosing a handful of colors to embroider with, I began some basic stitching. You don’t need to be an embroidery whiz to add some basic stitches to your napkins. There is a wealth of free information online about embroidery. If you have never tried it before just do a quick google search.

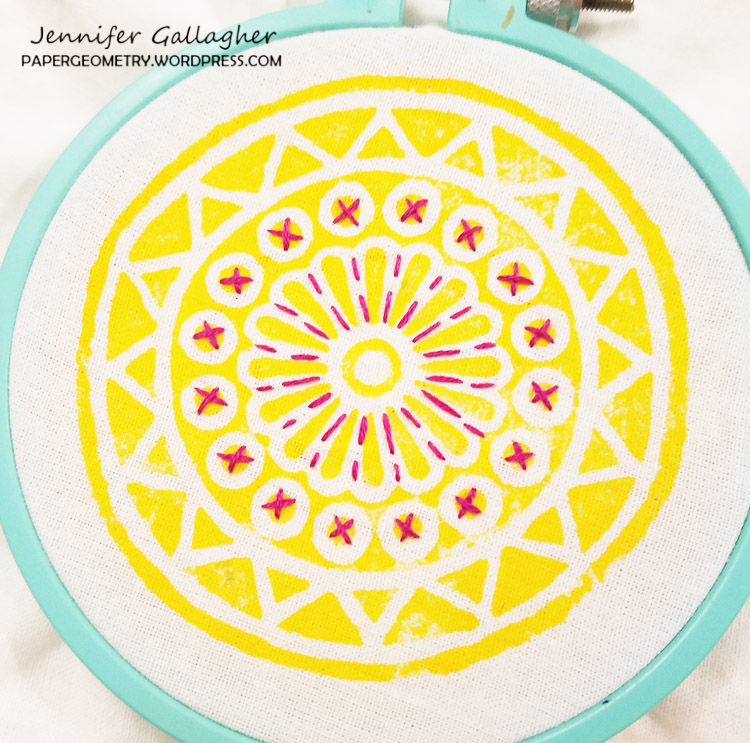
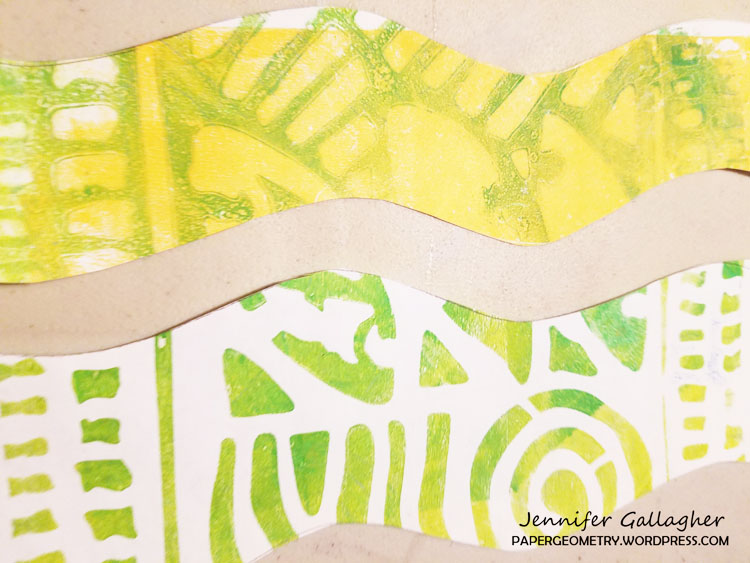
Each napkin has a variety of stitches and colors used. You can customize your own set by varying the n*studio artfoamies you use and the colors you coordinate.

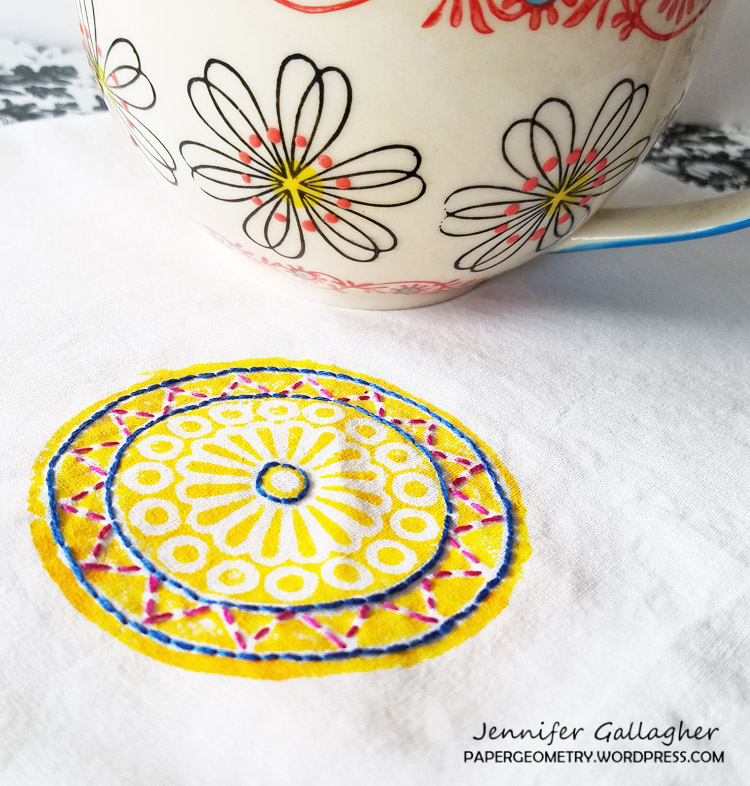
These fun napkins are perfect for a summer picnic. I hope I have inspired you to stamp and embroider your own items. Be sure to share with us what you create! Enjoy.


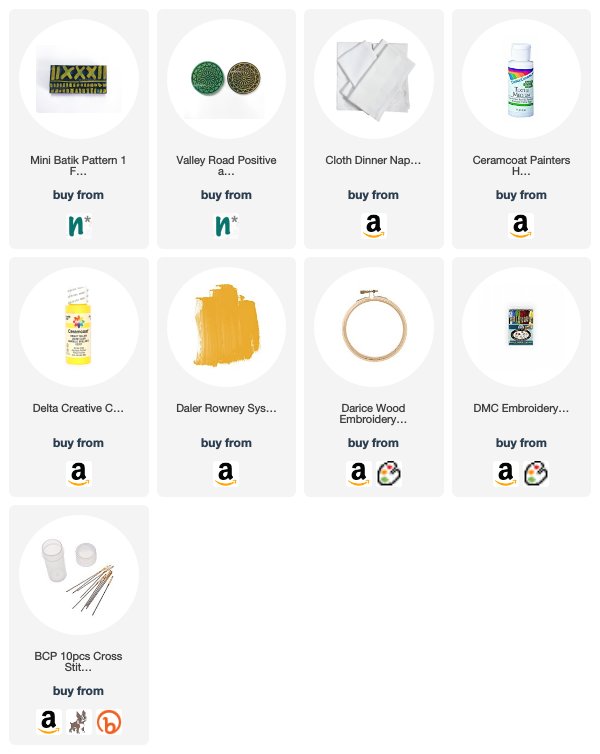
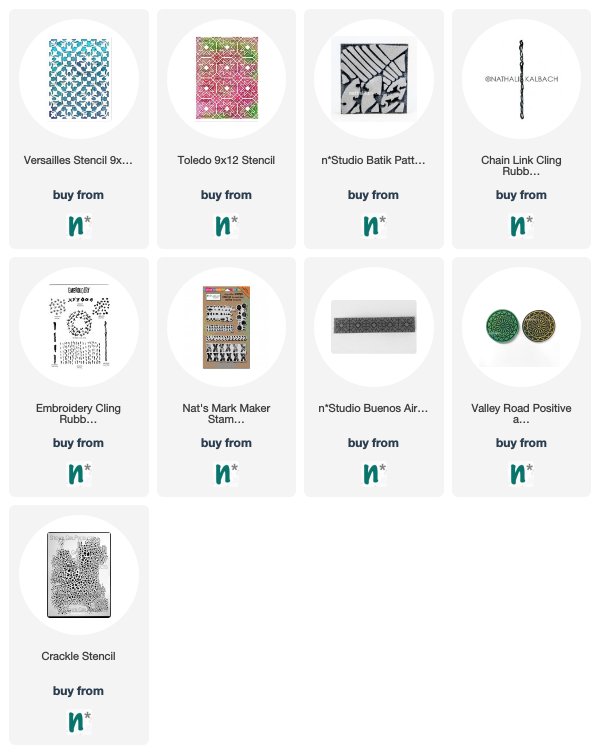
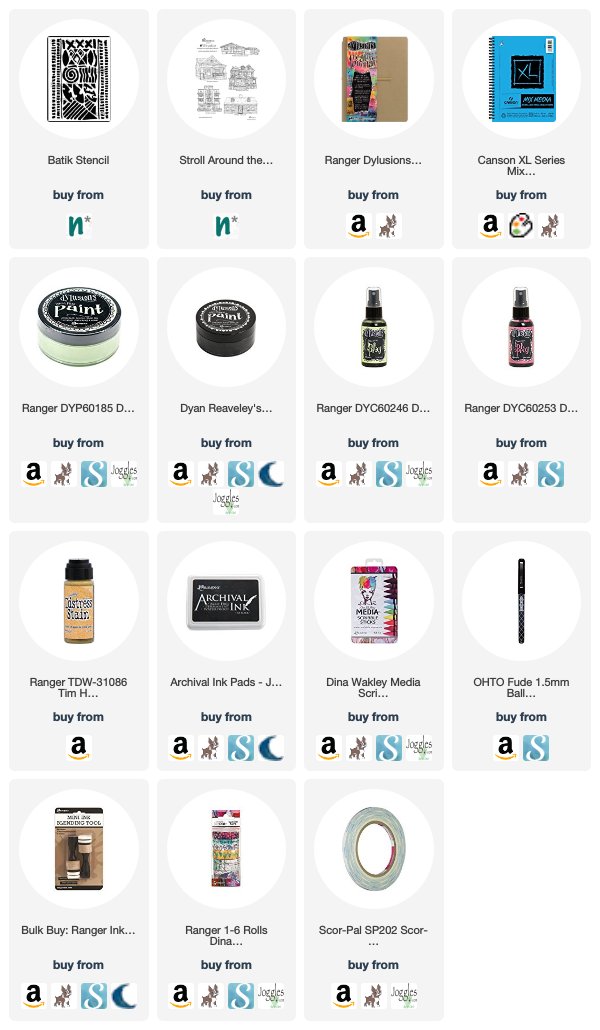
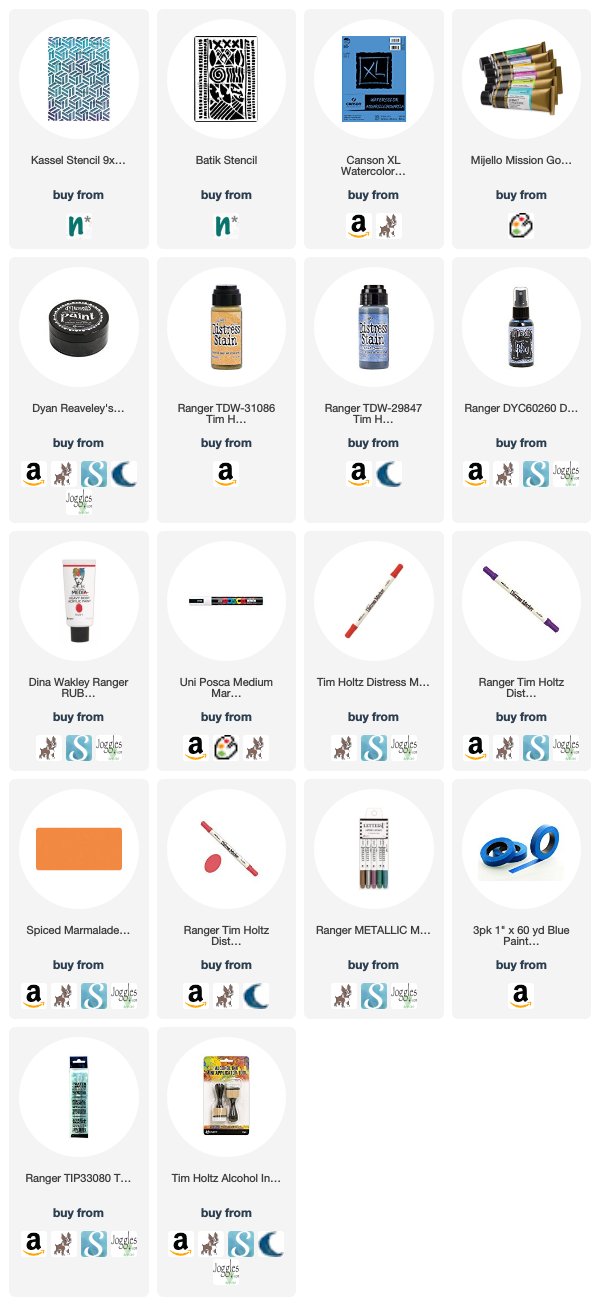
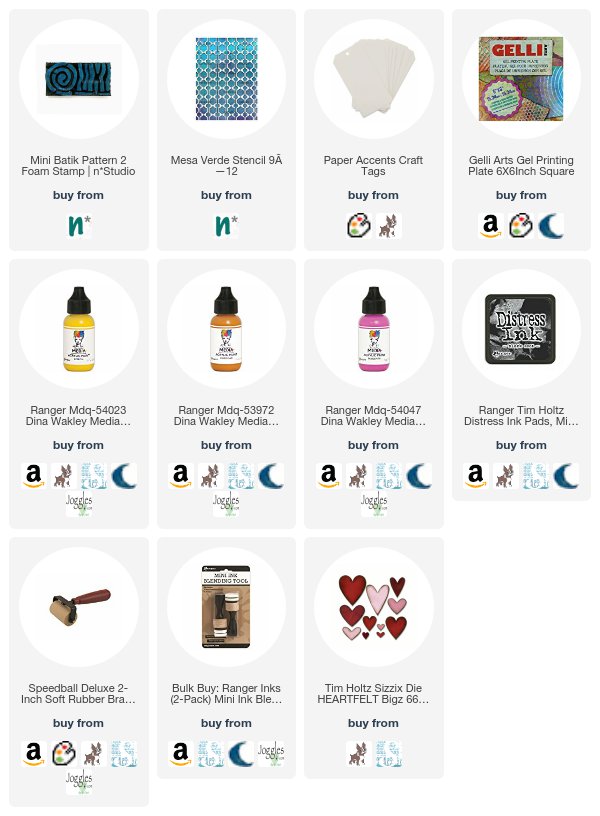
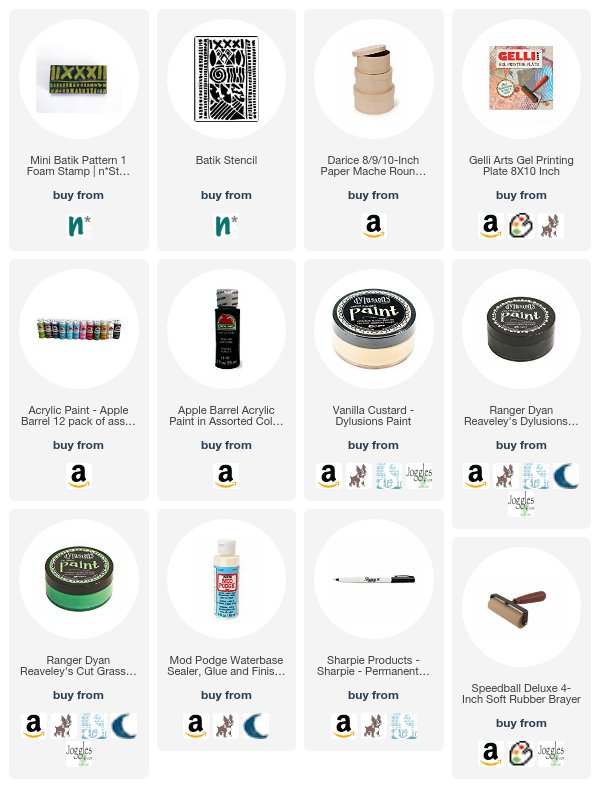
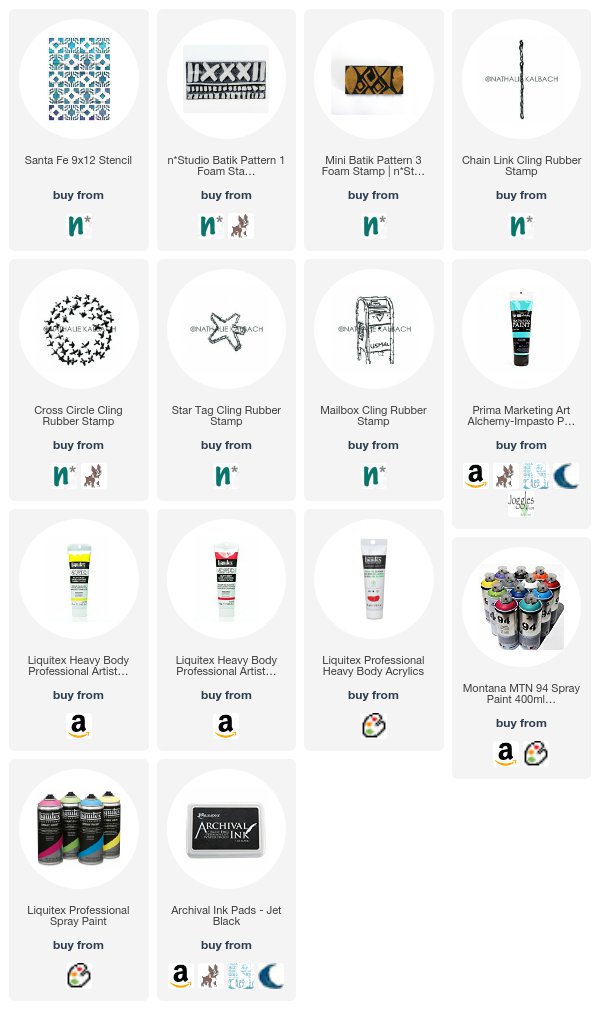
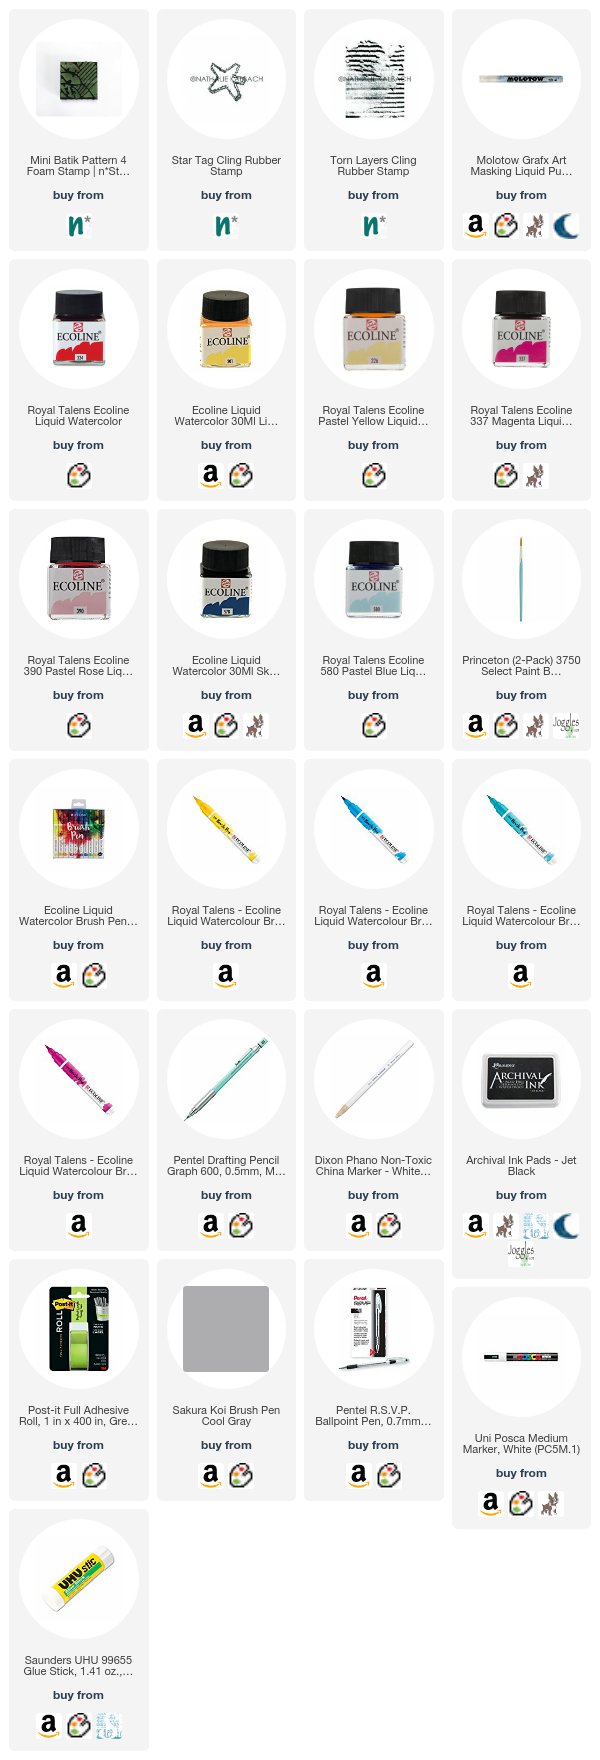
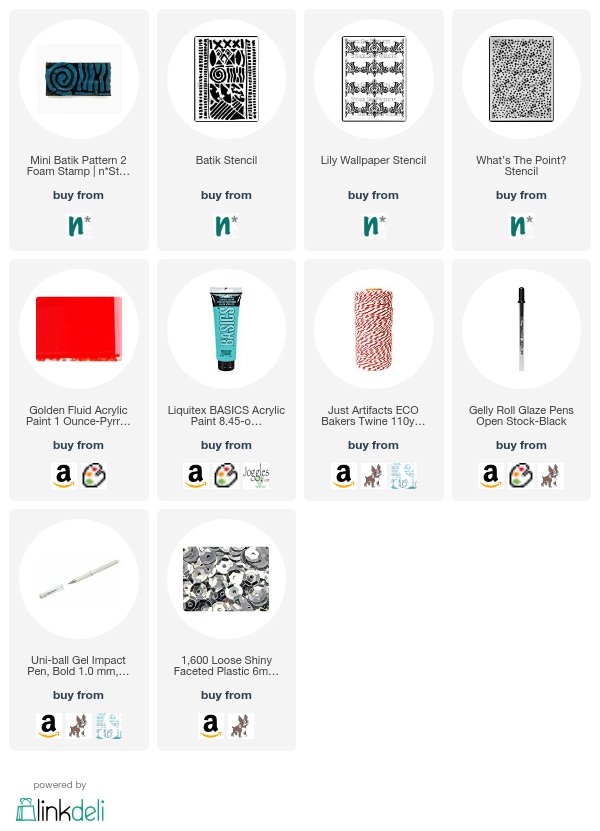
Thank you Jennifer – these napkins made me so happy. What a cheery and fun project! Here are some of the supplies that Jennifer used:


And if you feel inspired to share some of your own projects with my stamps and stencils, please send them my way. I post projects almost every month in my Inspiration From Around the Globe posts!

Leave a comment

Inspiration from Around the Globe – May 2018

Ready for some inspiration? Today we have some projects from around the globe. It’s always fun to see how you’re using my stamps and stencils and I am so happy to share some examples today. So let me know if you’re doing something cool with my products, and you might see yours on the next Inspiration from Around the Globe!


First from the US we have a gorgeous little book for Earth Day by Tina Walker (who was a member of our Creative Squad and you can check out some of her other projects HERE). On this page she is using my Versailles stencil for the background.

Here she uses my Toledo stencil as a background pattern for another page.

Next is an art journal spread from Mary Thoma in the US also. I love this portrait and the use of my Batik Pattern 4 foam stamp for the bold background and that little chain border is my Chain Link rubber stamp from the Embroidery set. What a beautiful page!

Loving all these patterns from Kate Crane in the UK! She’s using my Marks stamp set for those red and black xxx marks and hash marks.

Here is a beautiful page from Ellen Captijn from the Netherlands, inspired by this year’s Creative JumpStart online workshop. Be sure to visit her Instagram page to see the full art journal spread. I love how she’s incorporated by Buenos Aires Border foam stamp along the bottom in blue and my Valley Road foam stamps along the right side.

And finally we have an “oldie but a goodie” from Louise Nelson in Australia. She reposted this layout from 2013 so we thought we’d give it some love too :)  That awesome texture in the background is none other than my Crackle stencil – one of my first stencil designs and always a fan favorite after all these years! Thank you Louise!


Thank you to all the talented artists!  If you’d like to give some of these ideas a try, here are the stamps and stencils that they used:


Don’t forget to tag me when you post your projects! I’d love to include your work in my next Inspiration From Around the Globe post!

Comments (1)

  • Sue Clarke

    |

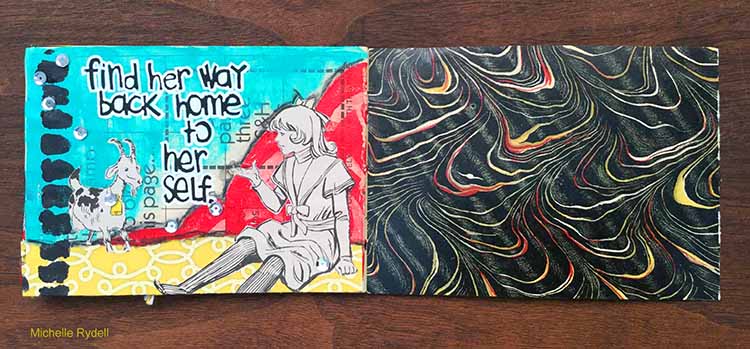
    Love love love Ellen’s page and the way she used your supplies for the border!

    Reply

Leave a comment

Inside Outside – Jennifer Gallagher


Hello my friends from the Creative Squad! Today we have a boldly patterned and colorful art journal page from Jennifer Gallagher. She uses my Batik stencil for some awesome background patterns and my Stroll Around the Block stamp set for the houses. This month’s inspiration was our theme:  Inside Outside – Inside can be cozy and warm. Outside is about fresh air and freedom. Are you a homebody or do you suffer from cabin fever? We’re creating with these opposites in mind.


This month we are creating with opposites in mind. I immediately thought of positive and negative and wanted to play with this idea through stenciling. I went straight to my Dylusions large journal to create a fun art journal spread. Nat’s Batik stencil is one of my favorites and the bold designs would be perfect for the play on positive and negative space. On the right hand side page, I laid my stencil down and painted with Dylusions Mushy Peas, leaving some parts of the design not painted. I then filled in those spots with the matching Dylusions Ink Spray in Mushy Peas. This is where the fun starts. There will be a lot of ink left on the stencil. Carefully turn the stencil over and press it down on the left hand page. This will leave the opposite, yet complementary, design of your stencil. Do this technique multiple times until you are satisfied with the left hand page.


I knew I wanted to add another color and decided to go with a complementary color choice. Red is the complement to green but this always makes me think of Christmas. I tend to avoid this direct combination in my art. I decided to go with a deep pink and peony blush was just perfect. I sprayed my peony blush ink spray through the stencil on the right page and then pressed the leftover ink onto the page on the left. Repeating the process the same as before.

At this point I added a third color for a visual pop. Yellow is always great for this, so I used my Distress Stain in mustard seed. And no page in my art journal is complete without a little black paint. The ‘x’ design on Nat’s Batik stencil makes a cool design detail.

I stamped up a few of Nat’s rubber stamps from her Stroll Around the Block Set and finally, keeping the theme of opposites in mine, I settled on the Art Deco stamp and the Queen Anne stamp. I colored them with my Dina Wakley Media scribble sticks.

I cut out the stamped images and placed them on my pages with scor-tape. I added journaling on both pages with my fude ball pen and ran a stripe of Dina Wakley Media washi tape down the center of where the pages meet. I hope you have enjoyed this page. Be sure to play along with the Creative Squad each month and share your creations with us.


Thank you Jennifer! I love all the different elements you pulled out of my Batik stencil for that gorgeous background! Here are some of the supplies that Jennifer used:


Feel inspired? Working on something yourself that you’d like to share?  I love to see how you interpret our monthly themes. Email me how you used my stencils and stamps with the theme and email me an image – I would love to share your projects in my next  “n*Spiration From Around the Globe“.

Comments (2)

  • maura

    |

    Love how you’ve layered the Batik stencil, Jennifer! It’s one of my faves too. Your pink houses are so fun! Maura

    Reply

  • Sue Clarke

    |

    Thanks Jennifer…you’ve inspired me to play in my art journal!

    Reply

Leave a comment

Layers of Love – Jennifer Gallagher


Welcome to a post from the Creative Squad! Today we have a set of Artist Trading Cards from Jennifer Gallagher – little masterpieces of layered fun for sure! Jennifer uses my Batik and Kassel stencils along with this month’s theme: Layers of Love – We love layers and all the juicy yummy goodness they bring to mixed media. This month we’re layering it up and letting viewers discover all the different strata of our artistic mark making.


One of the great joys of working in mixed media is creating delicious layers of color and pattern. This month, I thought I would share with you a fun way to create the perfect layered background you can use for many different projects.

I am starting with a sheet of watercolor paper, 140 lb. I used painters tape to create a square grid on my paper and painted some watercolor squares. You can do circles or any type of watercolor wash. Remember to leave a little bit of white space here and there. It leaves places for your eyes to rest.

Next, I laid Nat’s Kassel stencil over my watercolor paper and chose places to put the cube designs. Using my distress markers I drew in the design. The Tim Holtz water brush is the perfect tool for filling in the designs for a watercolor look.  I also did a little mark making with my watercolors. You will notice little black dots here and there.

At this point I used my distress stains to add a few circular areas of color. Then I sprayed Dylusions ink spray through the Kassel stencil in a few select areas. Don’t forget to keep some white space! At this point I chose a special stencil as a focal point. Nat’s Batik stencil is the perfect one for this. I chose parts of the stencil I wanted to use and painted through with Dina Wakley Media paint in ruby and Dylusions black marble paint using a Tim Holtz mini blending tool.

Once the black paint dried I went back over the designs with a Ranger Letter It Metallic Marker and a Uni Posca Pen. I also added some more art marks on the background with the white Posca Pen.

Now that we have this yummy layered paper, what can we do with it? I turned mine into Artist Trading Cards. You can use your background for a paper flag, bookmarks, or an art journal page. You are only limited by your imagination. Won’t you join the creative squad this month and try our techniques?


Thank you Jennifer! I love how you used my stencils to create so many interesting layers of shape and color in these! They are really fun ATCs! Here are some of the supplies that Jennifer used:


Feel inspired to get in on the layered action? Working on something yourself that you’d like to share?  I love to see how you interpret our monthly themes. Email me how you used my stencils and stamps with the theme and email me an image – I would love to share your projects in my next  “n*Spiration From Around the Globe“.

SaveSave

SaveSave

SaveSave

Comments (1)

  • maura

    |

    Love how you created your layers on these awesome ATC’s, Jennifer!

    Reply

Leave a comment

Each Day is a New Adventure – Shilpa Nagaonkar


Hello and welcome to a post from the Creative Squad! Today we have some super colorful tags from Shilpa Nagaonkar to brighten your day. Shilpa used my Mini Batik Pattern 2 foam stamp and my Mesa Verde stencil for lots of layered pattern goodness. This month the Squad is working with the theme: Each Day is a New Adventure – Be adventurous this month and try something new in your art-making! Use a new tool, medium, or technique that you’ve been meaning to try for too long now. Go on a new adventure TODAY!


Hello Everyone! My teamies have shared beautiful projects with this month’s theme – “Each Day is new Adventure” and now it’s my turn today. I love to try new techniques in my mixed media work. I am using Nat’s beautiful stamps for the first time these days, and that itself is an adventure for me… but today I’m going further and using a Gelli Plate for the first time…

Here is what I did: I applied acrylic paint to the Gelli plate using a brayer.

I stamped on the Gelli plate several times with the Mini Batik Pattern 2 stamp.

Then I pressed copy paper onto it and I got my monoprint/ Gelli print.

I did this same procedure using 3 different colors – Lemon, Cheddar and Magenta.

You will find in the pictures, I got several backgrounds.

After that, I cut out tags from the gelli printed papers and adhered them on white card tags. For my next layer, I applied blacksoot distress ink through Nat’s Mesa Verde Stencil randomly on the tag.

I also cut out hearts from the same gelli prints and adhered them on the tag. and they are ready :)

Nat’s ArtFoamies and Gelli plate are a perfect match! I am sure going to make more monoprints with them…

Thanks so much for stopping by.


Thank you Shilpa for a fun combination of color and pattern! In addition to some white copy paper and glue, Shilpa used the following supplies (some are affiliate links):


Play along with us too: I love to see how you interpret our monthly themes. Email me how you used my stencils and stamps with the theme and email me an image – I would love to share your projects in my next  “n*Spiration From Around the Globe“.


And join me tomorrow, Wednesday November 29th for a little gossip from my studio! I’ll be on Facebook Live chatting about all sorts of fun NEW stuff. You’ll have to join us to see what all the excitement is about ;)


SaveSave

SaveSave

SaveSave

SaveSave

Comments (1)

  • Deleted User

    |

    These are beautiful, Shilpa!

    Reply

Leave a comment

Each Day is a New Adventure – Jennifer Gallagher


Hello from the Creative Squad this fine Tuesday! Today we have a super creative way to dress up some storage boxes with Jennifer Gallagher. Jennifer is using my Mini Batik Pattern 1 foam stamp and my Batik stencil, as well as this month’s theme: Each Day is a New Adventure – Be adventurous this month and try something new in your art-making! Use a new tool, medium, or technique that you’ve been meaning to try for too long now. Go on a new adventure TODAY!


I am so excited to be back with you again this month for another creative squad post. This month our team is focusing on new artistic adventures. Each day really is a new adventure! Keeping that theme in mind, I decided to try something I have always wanted to try. I have always wanted to decorate a few pre-made paper mache boxes for some decorative storage. I figured this was the perfect time.

I began this project on my 8×10 inch gelli printing plate. After selecting several shades of blues, greens, and oranges, I decided to go with a Batik design. (Color list: Sunbeam, Nectarine, Laguna, Key West, Cool Blue, Parakeet, Black) Lucky for me, Nat has a great Batik stencil and set of Batik foam stamps. I used my 9×12 inch Batik stencil and gelli printed multiple pages on white paper.

I picked through my gelli-printed papers and chose my favorites. I then used my large Dylusions journal block and a black fine tip sharpie and drew alongside the outside edge of the journal block. I saved a few sheets of batik paper for another step.

Then I cut along the drawn lines. These strips will eventually be glued down the paper mache box in alternating strips.

While I had my gelli plate out, I thought it would be quicker to use it instead of a stamp buddy. I brayered the black paint out in a small spot. I then pressed my Mini Batik Pattern 1 foam stamp onto the black paint and pressed the design on the paper I had reserved earlier. I continued this design all along the paper. I then cut the papers into strips.

I painted the inside of both containers and their lids with Dylusions paint. One box I painted with cut grass and the other with vanilla custard. Let the acrylic paint dry before moving on.

Using matte finish mod podge, I glued the strips down to both of my boxes while alternating the colors and patterns. Patience during this step is the key to a nice finished piece. Do not try to glue too many at once and allow sections to dry before moving on. I also glued down strips to the top of the small box. Using the leftover paper, I cut out all of the x’s. I then arranged them on top of the large box top. Once I had them arranged how I wanted, I glued them down too.

After gluing down all of the strips to the containers and their lids, and allowing them to thoroughly dry, I decided to add some final details. Using black Dylusions paint I added some fun designs to the interior of each container. I also did some dashed lines alongside the strips on the outside.

I hope this post has inspired you to try something new. I am very happy that I did! Be sure to comment and let us know how you intend to try something new. See you next time.


Thank you Jennifer – I love your colors! In addition to white paper, Jennifer used the following supplies (some are affiliate links):


Play along with us too: I love to see how you interpret our monthly themes. Email me how you used my stencils and stamps with the theme and email me an image – I would love to share your projects in my next  “n*Spiration From Around the Globe“.

Leave a comment

Each Day is a New Adventure – Josefine Fouarge


Hello my friends and welcome to a project by my Creative Squad! This month’s theme is all about trying something new, so today we have an art journal spread by Josefine Fouarge who is trying out some spray paints for the first time. She rocks my Batik Pattern 1 foam stamp, Mini Batik Pattern 3 foam stamp, and Santa Fe stencil along with our theme: Each Day is a New Adventure – Be adventurous this month and try something new in your art-making! Use a new tool, medium, or technique that you’ve been meaning to try for too long now. Go on a new adventure TODAY!


Welcome to a new Creative Squad post. This month’s topic is “each day is a new adventure” and we are trying new techniques. For me that means working with spray paints. I got a few sample sizes during a shopping spree at a local art supply store and never had the courage to try it.

Thanks to this topic I finally did and I really like the result. But let’s start at the beginning. I used the Santa Fe stencil to create the first layer of the background and sprayed some yellow and pink paint all over it. Yes, these are definitely messy.

Usually I create one sided pages in my art journal, but there was so much paint left on the stencil that I turned it around and created a negative impression.

Then I started decorating the background even further. I used yellow and red Liquitex acrylic paints to stamp some more patterns around both pages. The Batik Pattern 1 was partially stamped at the edges of the page and the Chain Link stamp at the inside of the border.

Then I went a little nuts with the leftover paints. I added a few marks using the Cross Circle stamp and I blended the red and yellow around the edges of the page.

The pages needed a little more contrast, so I decided to paint something with a contrasting color. The Jade Impasto paint was perfect, so I thinned it down a little and stamped parts of the Mini Batik Pattern 3 into the middle of one page. I have always seen a face in this stamp, so I tried to create one. Well, it turned out as an alien :)

In addition, I outlined a few of the patterns on both pages with the same Jade color. Still not finished, I stamped a few Star Tag stamps, the Mailbox stamp, and added some handmade marks. Now I was happy and finished my page with a feeling of success.

Thanks for stopping by! I hope you enjoyed my little experiment :)


Thank you Josefine – love your page! In addition to her art journal, Josefine used the following supplies (some are affiliate links):


Play along with us too: I love to see how you interpret our monthly themes. Email me how you used my stencils and stamps with the theme and email me an image – I would love to share your projects in my next  “n*Spiration From Around the Globe“.

Leave a comment

Each Day is a New Adventure – Marsha Valk


Hello from the Creative Squad! Today we have a fun art journal page from Marsha Valk.   Marsha uses my Mini Batik Pattern 4 foam stamp, my cute little Star Tag stamp , and my Torn Layers stamp to create a colorful page with this month’s theme: Each Day is a New Adventure – Be adventurous this month and try something new in your art-making! Use a new tool, medium, or technique that you’ve been meaning to try for too long now. Go on a new adventure TODAY!


Liquid watercolour Ecoline has been around forever. It’s a staple you can find in every Dutch school art room, and it’s very likely that the first time I ever used it was in kindergarten. I was very excited to see that Royal Talens was releasing Ecoline brush pens and I bought three or four colours the moment I could get my hands on them. I always intended to buy more, but once I had them, I couldn’t find a good use for them besides brush lettering, and I forgot about them.

Fast forward to last week. Ecoline brush pens were back on my radar, and I treated myself to a big set. With no intended purpose, just for play. Then I read this month’s n*Studio Squad theme… And it was the perfect excuse to break in my new pens!

Start with drawing some doodles with masking fluid. Leave to dry completely.

Apply Ecoline to the paper. Ecoline works just like watercolour, so you apply it straight out of the pen or from the bottle with a brush. Or you can wet the page with a brush first and then apply the Ecoline to let it spread. Wait for the Ecoline to dry.

Colour the Mini Batik Pattern 4 ArtFoamies stamp with an Ecoline brush pen and stamp the pattern on the page.

You can get multiple images from one layer of Ecoline if you lightly spritz some water (from a distance) onto the foam stamp in between stamping.

Rub away the masking fluid once the paper is completely dry.

Take a separate sheet of paper and use a pencil to draw a girl.

Use a China Marker or a crayon to add a couple of white stripes to the hair. The grease in the marker will create a resist when you apply Ecoline over it.

Add some interest to the girl’s outfit by stamping a couple of stars on her sweater with the Star Tag stamp and a permanent stamping ink.

Use masking fluid or post-it tape to mask off any areas you do not want to be stamped.

Then use the Torn Layers stamp to add texture to the sweater.

Finish colouring the girl with Ecoline and Ecoline brush pens. Add details with a black waterproof fineliner. Use a black ballpoint pen instead if you need to draw over the China Marker.

Cut out the girl and adhere her to the background page.

Happy November!


Thank you Marsha – now we’re super excited to try the Ecoline brush pens on my foam stamps too! In addition to her art journal, Marsha used the following supplies (some are affiliate links):


Play along with us too: I love to see how you interpret our monthly themes. Email me how you used my stencils and stamps with the theme and email me an image – I would love to share your projects in my next  “n*Spiration From Around the Globe“.

SaveSave

SaveSave

Leave a comment

Reduce, Reuse, Recycle with Michelle Rydell


Happy Tuesday everyone and welcome to a project from Creative Squad member Michelle Rydell! Michelle brought together a bunch of different items from her stash to create a beautiful little book with a message that is just perfect. She used my Mini Batik Pattern 2 stamp and my Batik, Lily Wallpaper, and What’s the Point stencils to help her with this month’s theme: Reduce, Reuse, Recycle – Let’s do Mother Earth a favor this month and use what we already have.  Maybe we’ll dip into our stash of leftovers from other creative projects or maybe we’ll repurpose something unexpected.  This month we’re thinking about how artmaking can impact the environment and we’re trying to make our footprint just a little bit smaller.


About five years ago, I found a bunch of old S&H Green Stamp books at an antique store, and I thought they were so cute I just had to buy them.  Remember green stamps?  Well, they have been just waiting for the right project, and this month’s Reduce, Reuse, Recycle fit the bill perfectly!

I decided to make one into a mini-journal.  Here’s how I did it…

I combed thru my stash of vintage ephemera and picked out a pile of things that I thought had possibilities – mostly because they matched the color scheme of the green stamps…

I decided on a theme for the book, and then combed thru my stamps and stencils designed by Nat, and picked out some that I thought would work great for the project.  The ones I ended up using were: Mini Batik Pattern 2 Foam Stamp, and three stencils: Batik, Lily Wallpaper and What’s the Point?

The toad I wanted to put on the first page needed a background to rest on, so I pulled out the foam stamp and added a couple of swirls to start things off.

Then a little paint and a bit of patterned paper…

To create some consistency, I flipped to the back page and did something similar with the background.

From there I was off and running, adding stamps and stencils, paint and bits of paper to each page.  I also took out the rusty old staples and changed the binding to bakers twine. The dots here are made with the What’s The Point stencil. At the end I added a favorite quote to pull it all together.  Here’s how it turned out…


Thank you Michelle for this inspiring little book! In addition to various vintage papers, Michelle used the following:


Play along with us too: I love to see how you interpret our monthly themes. Email me how you used my stencils and stamps with the theme and email me an image – I would love to share your projects in my next  “n*Spiration From Around the Globe“.

Comments (6)

  • datatar

    |

    Amazing album! I just love everything about it. Thanks for the inspiration!

    Reply

  • Deb

    |

    What a FUN idea!!!
    I too remember the green stamps and going with my Mom to the redemption store!

    Reply

    • Michelle Rydell

      |

      Thanks so much Deb! I’m glad it brought back memories for you!

      Reply

  • Julie Tucker

    |

    I do remember those green stamp books!!! I loveeeeeeeeeeeee this!! FABULOUS!!!!!!!!!

    Reply

    • Michelle Rydell

      |

      Thank you so much Julie! I appreciate your kind words!!!

      Reply

Leave a comment