Creative Squad

Feel the Rhythm – Judi Kauffman

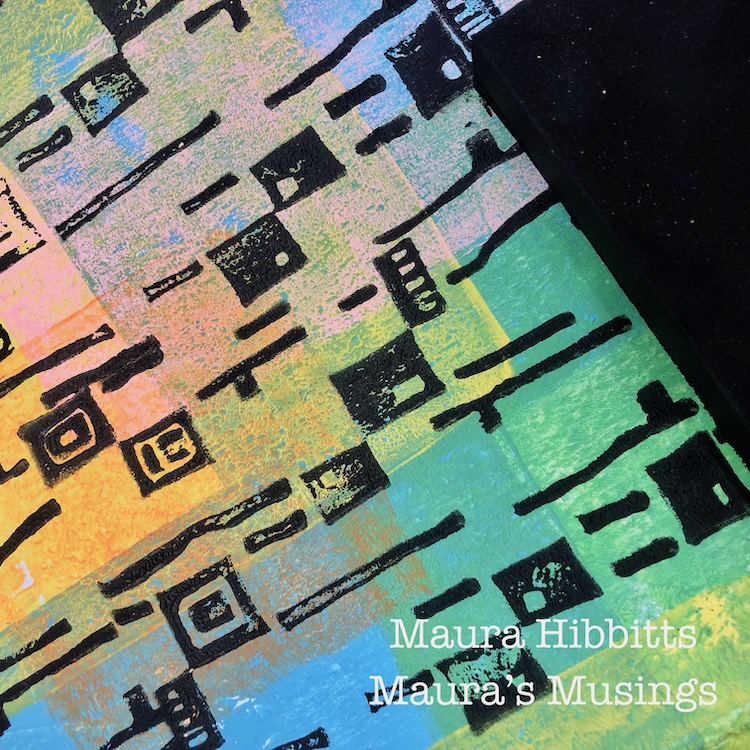
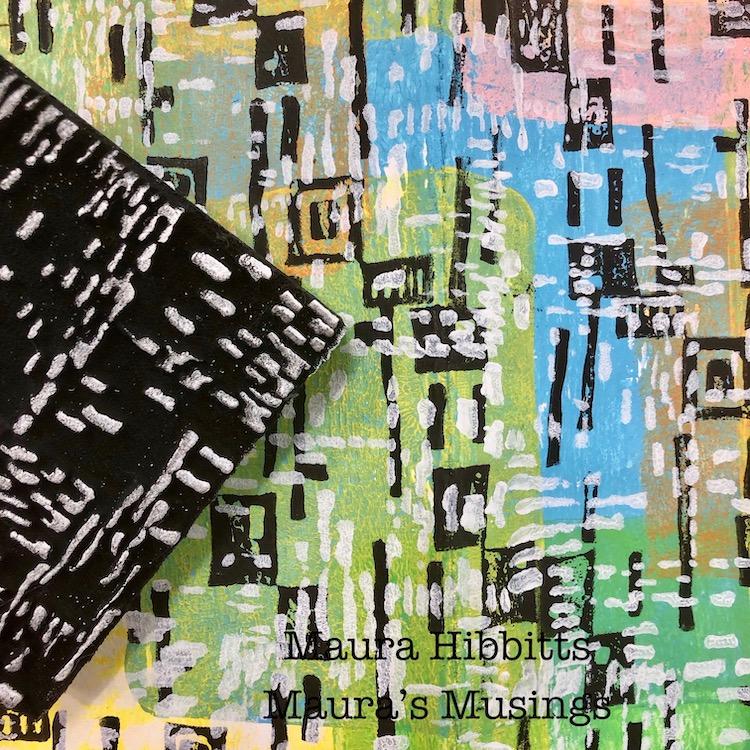
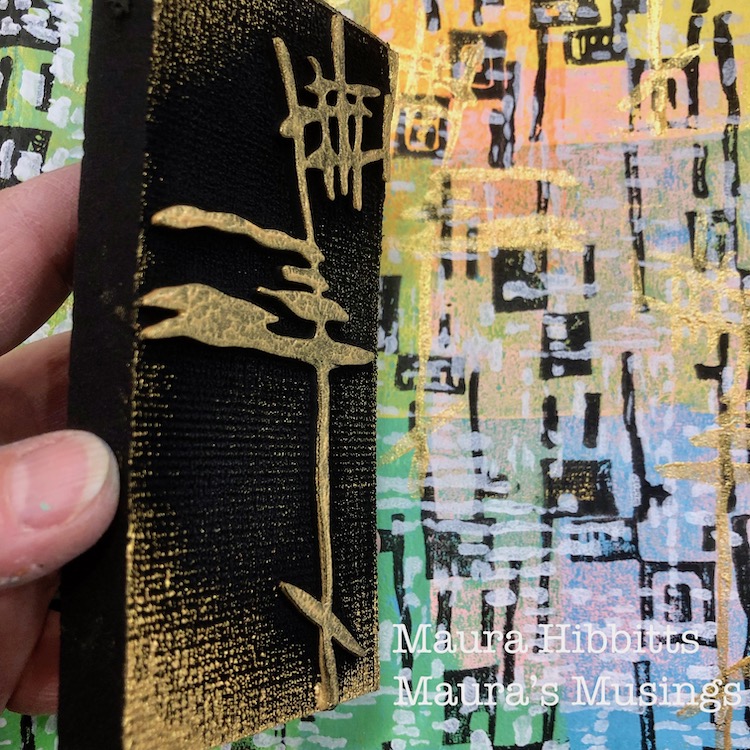
Hello from my Creative Squad! Today we have a post from Judi Kauffman. You can learn more about Judi from our Nice to Meet You blog post featuring her creative story and artwork. This time Judi is sharing some funky notebooks with us that use my Mid Century Squared ArtFoamie and discarded sheet music. She was inspired by this month’s theme: Feel the Rhythm – We’re thinking about patterns this month and using stamps to create a rhythm of marks. Show us your sense of rhythm!


Aretha Franklin Meets Mid-Century Squared

I have close to zero musical abilities. My singing voice can clear the room and my dancing isn’t exactly top notch, so when we were given Feel the Rhythm as this month’s theme I panicked and went into denial. Rhythm? Not so much.
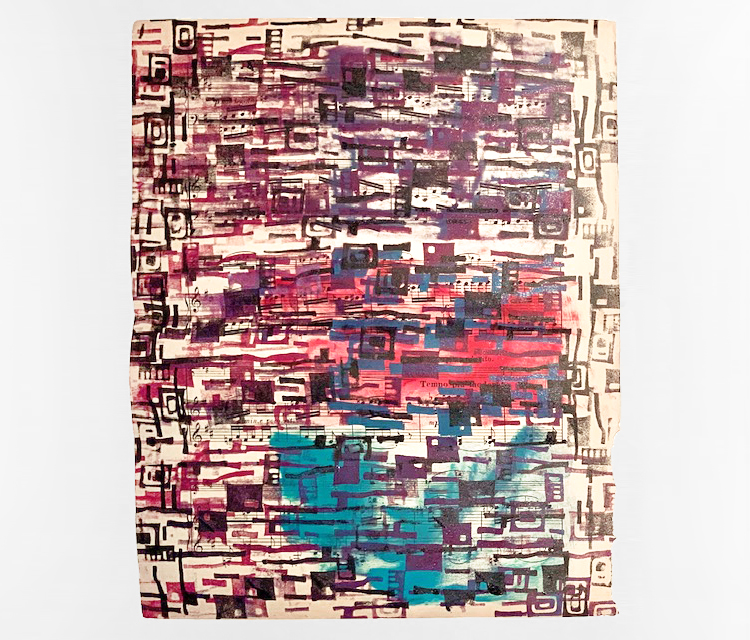
Then two friends sent me some damaged sheet music – it seemed like a reasonable starting point. And I went to see Amazing Grace, the documentary about Aretha Franklin! I was so moved by her voice and way it mixed with the choir behind her and the congregation in front of her – a visual feast as well as magic to hear – and I knew just what I would do for my project:
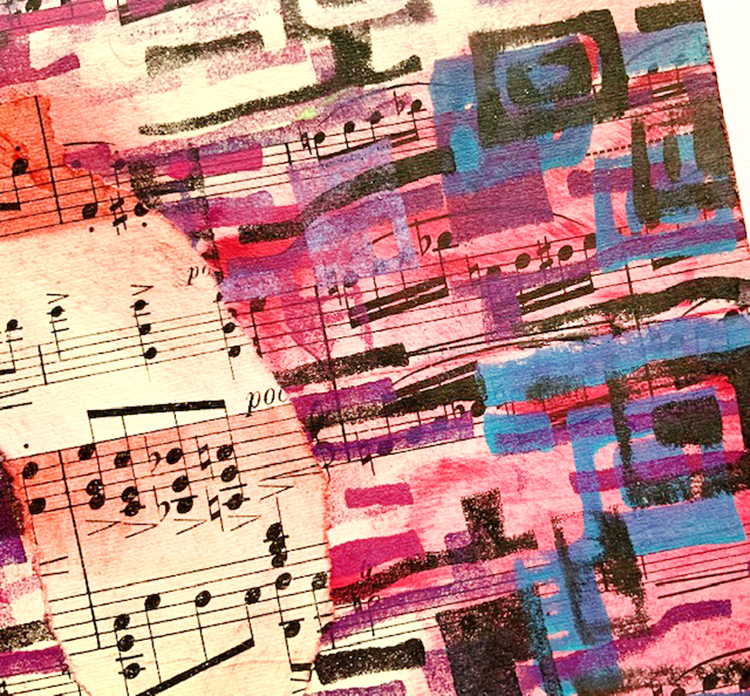
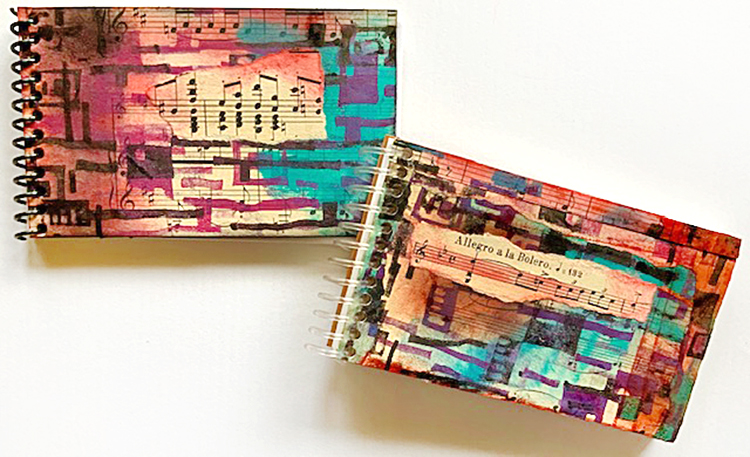
Instead of lining up the stamp and going for a precise regular repeat pattern, my first impulse, I channeled my inner Aretha (helped along by a couple of CDs and a handful of M&Ms) and was off and running. I stamped, smudged and smeared onto the sheet music, did a bit of heat embossing with clear powder, dancing around the studio between colors and humming to the beat. I cut and tore and combined the pieces, layering onto chipboard. A quick visit to the coil binding punch, a bit of embellishment for the holiday keeper, and my notebooks were done!
Your turn:

1. Using 3 or more inks, including black, stamp Mid-Century Squared repeatedly on sheet music or pages from a damaged book. Optional: Align the design horizontally for most of the stamping, combine with vertical alignment down the sides. Smudge 
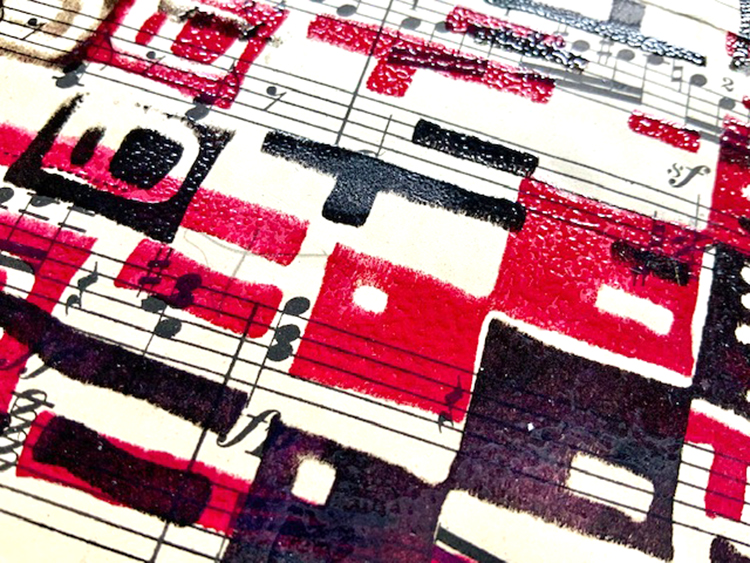
2. If heat embossing is desired, use pigment inks and clear embossing powder to add shine and texture.
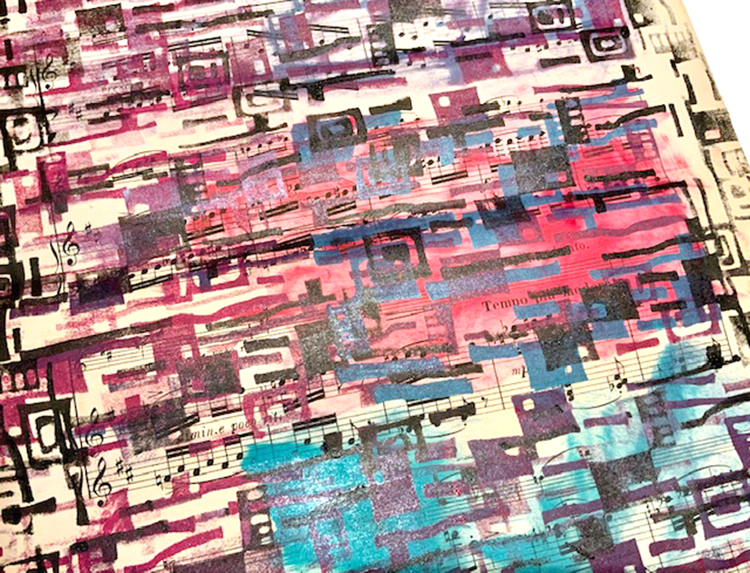
3. Cut covers for journals and notebooks from chipboard. Glue cut and torn stamped papers to the covers; trim at the edges as needed. Smudge on more inks to enhance the collage.
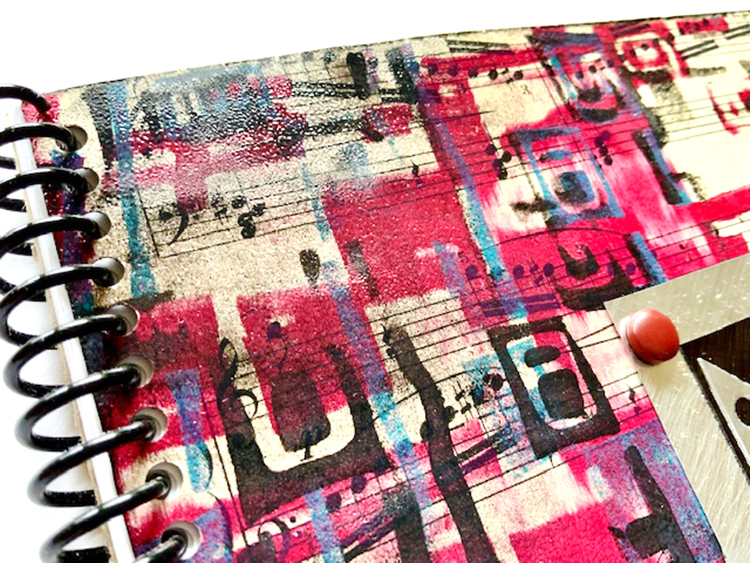
4. Use a coil binding punch or other binding system to complete the projects.
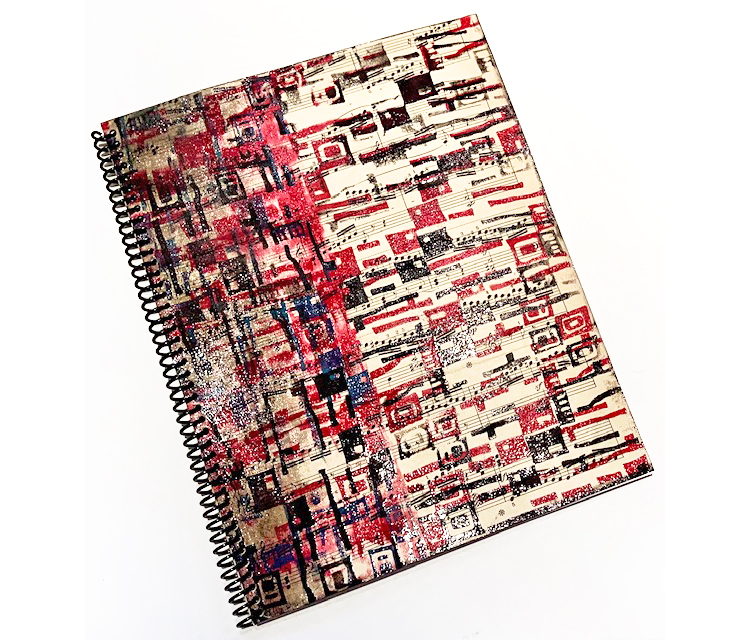
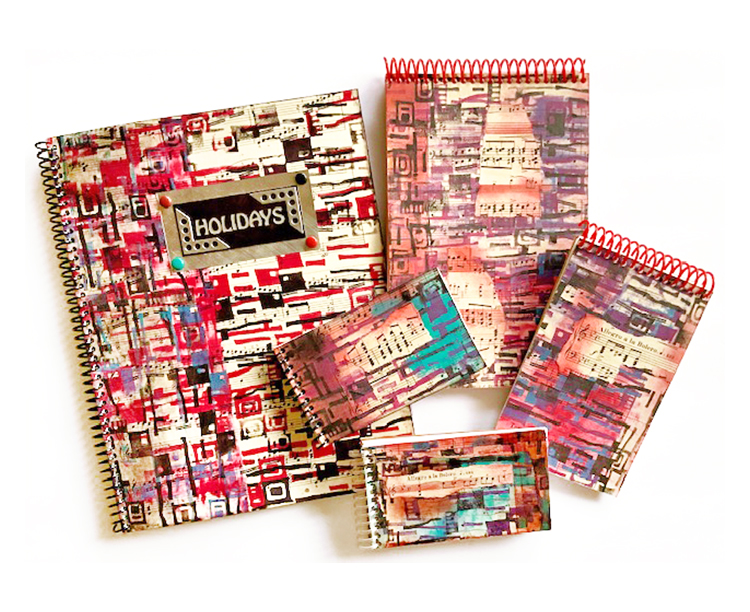
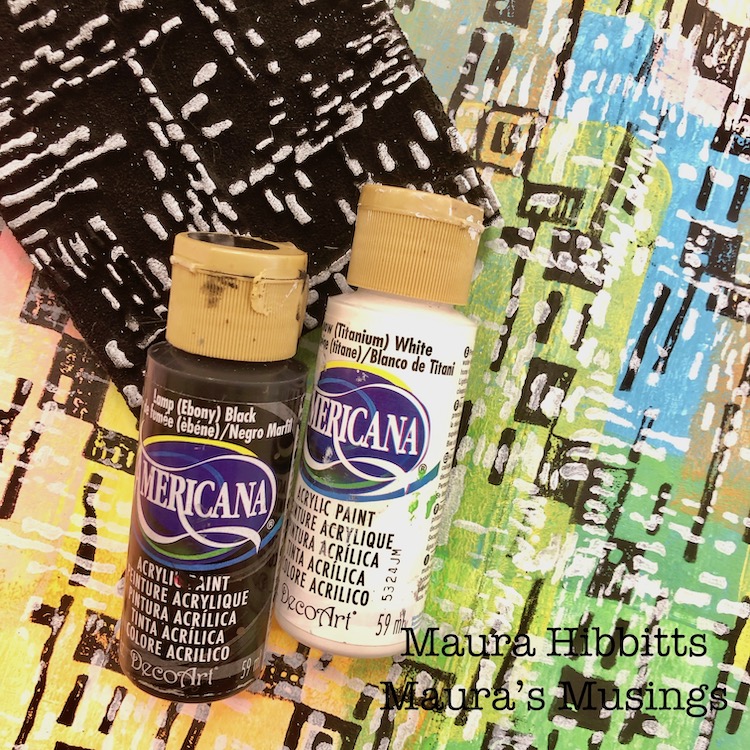
Thank you Judi! I love all the variation in the rhythm of the patterns! Want to give Judi’s project a try? You can find my Foam Stamps in my Online Shop. Here are some of the supplies that Judi used:


Feel inspired? Working on something yourself that you’d like to share?  I love to see how you interpret our monthly themes. Email me how you used my stencils and stamps with the theme and email me an image – I would love to share your projects in my next  “n*Spiration From Around the Globe“.

Leave a comment

Currently Digging – Creative Squad Edition with Coordinator Kim Bricker

It’s time for a special edition of Currently Digging – with my Creative Squad! Once in a while I like to share with you some nifty finds – like an Artist whose work caught my eye…, some Inspiration that got my creative juices flowing, and Tools & Techniques I am currently digging. Today I asked Kim Bricker, the Coordinator of my Creative Squad what SHE is Currently Digging :) Hope you enjoy this.


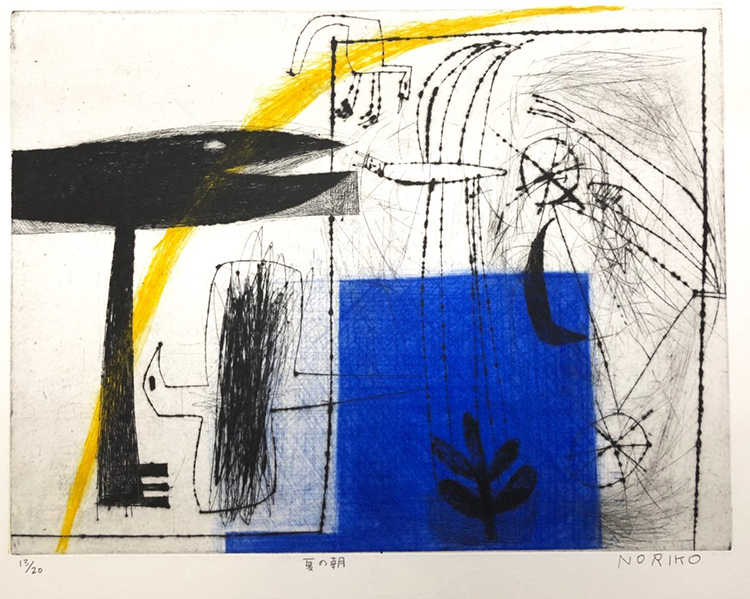
Noriko Saito – I’ve been digging this artist for about a year now after seeing her work at an art fair. Her etchings just make me happy – the quirky animals, the bold pops of color, the variety of lines. It feels fun and childlike in a really authentic way.

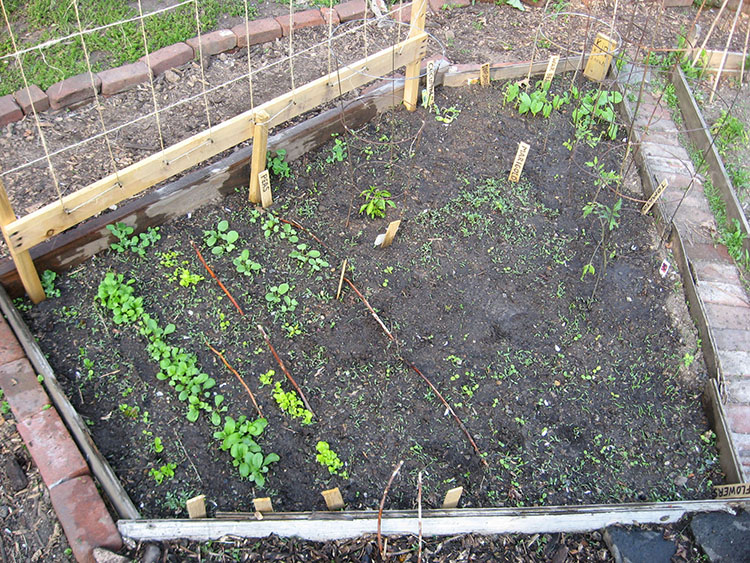
Springtime in the Garden – I live in an apartment so my garden is a plot in the local community garden. I’ve had it for over 10 years now and although it is very tiny, it becomes a big part of my life every Spring. The miracle of seeds sprouting and turning into big bushy plants never gets old.

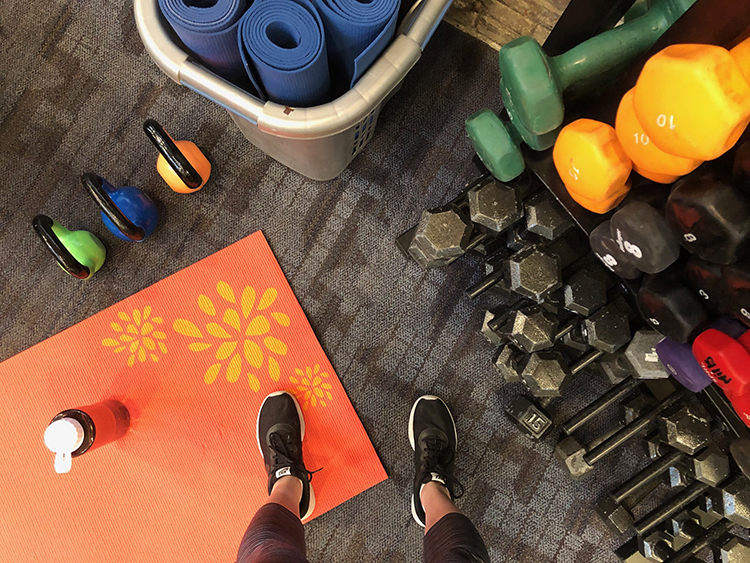
The Gym! – OK now that you’ve stopped rolling your eyes, hear me out: I recently started going to the gym again with Nat and I really haven’t felt this positive and energetic in a loooong time. It has helped me relax at the end of the day, sleep better, and actually focus when I need to be productive. I’m beginning to think what they say about exercise might be true: It’s good for you. And not just the obvious body part, but mentally and even creatively it can be a pretty great tool.


Thank you Kim! Stay tuned for the next Currently Digging Creative Squad edition for more from our other members :)

Leave a comment

Feel the Rhythm – Maura Hibbitts

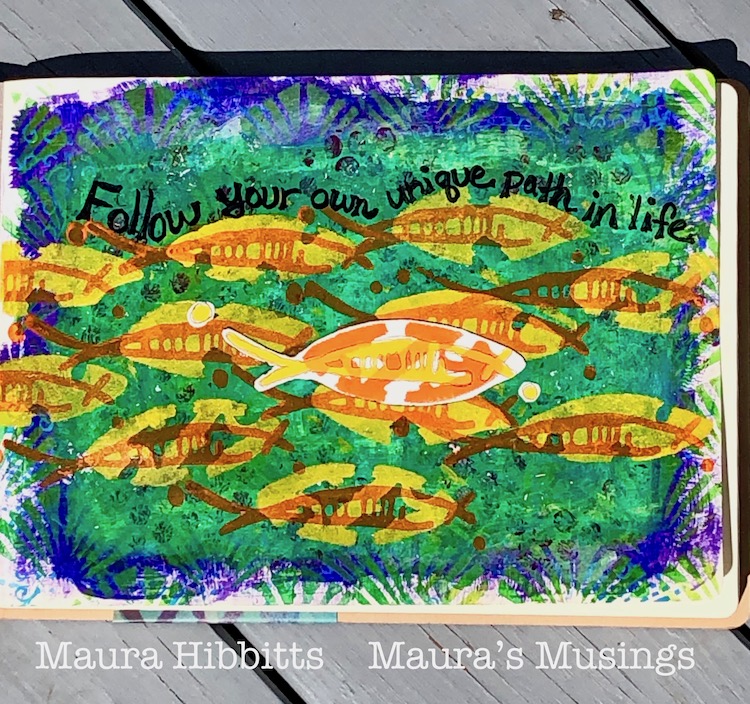
Hello from my Creative Squad! Today we have a post from Maura Hibbitts with a gorgeously layered art journal page using my New Orleans, Crackle, Art Deco, and Batik stencils and my Neato foam stamp. This month’s theme is Feel the Rhythm – We’re thinking about patterns this month and using stamps to create a rhythm of marks. Show us your sense of rhythm!


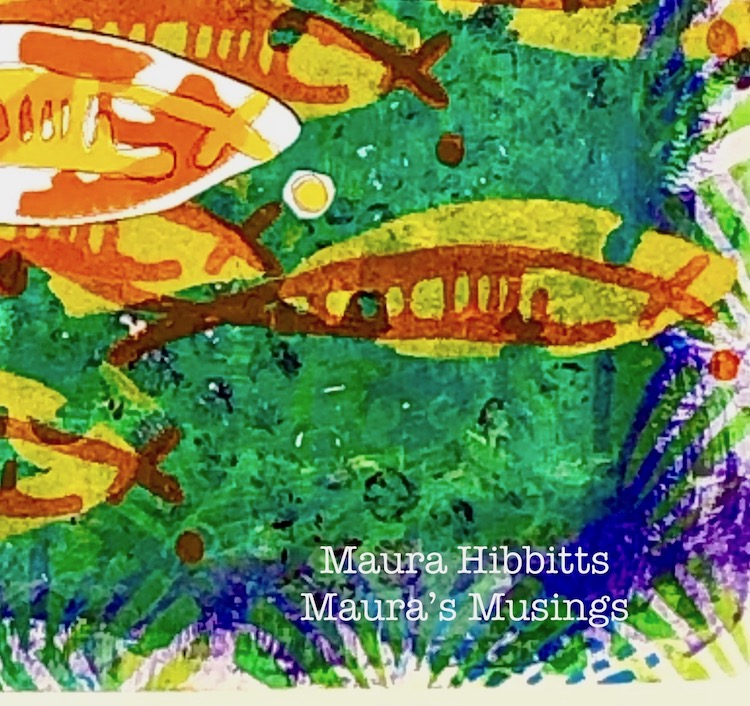
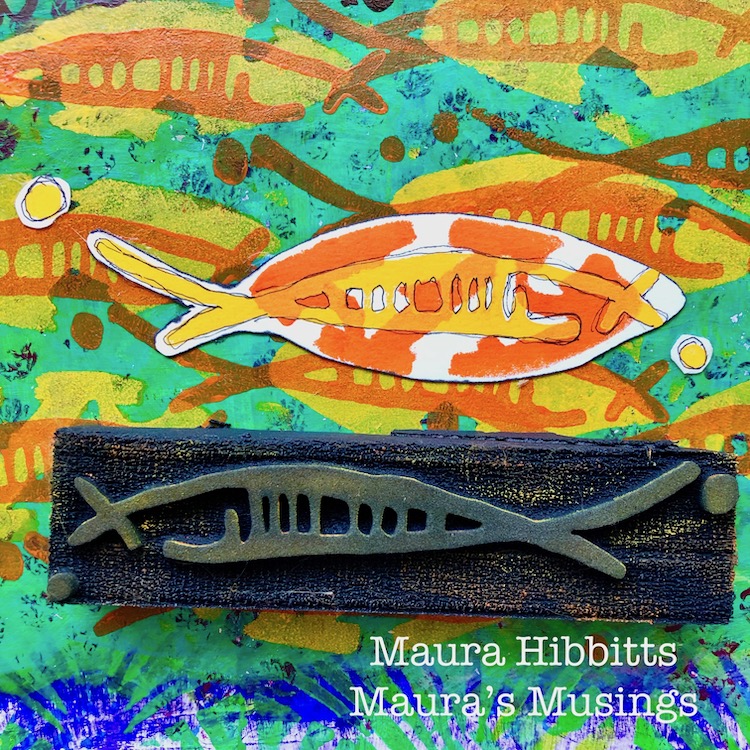
When you stop and look around in the natural world, there’s a lot of rhythm and flow going on, from the rhythm of the seasons, to the flow of the water and air. When I first saw Nathalie’s Neato Art Foamie stamp, I saw a fish, and knew I wanted to create a water scene. A school of fish is just perfect for a repeating pattern, I think.

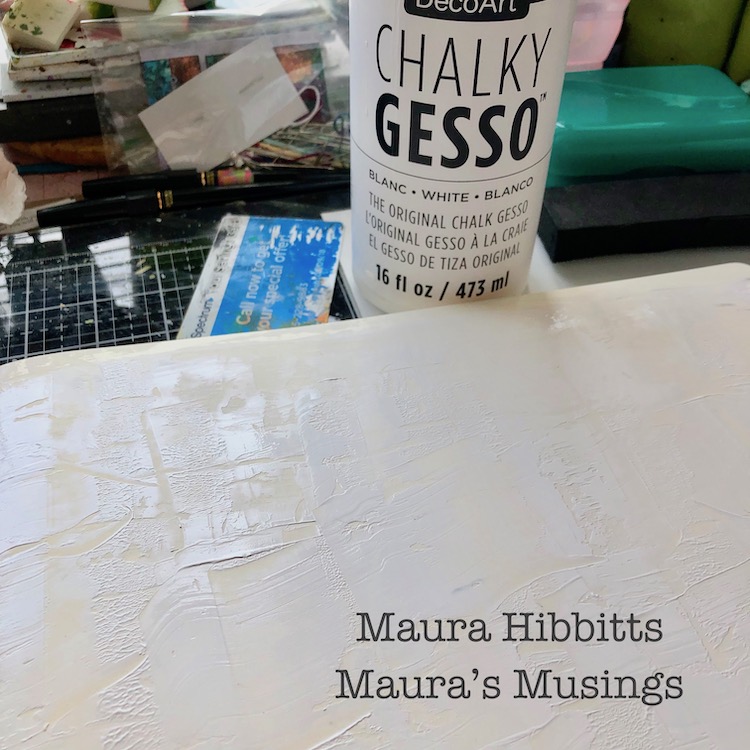
I pulled out one of my big journals with a landscape format, so my fish school could swim across the page. First step was to scrape on some chalky gesso with a key card and let it dry. 

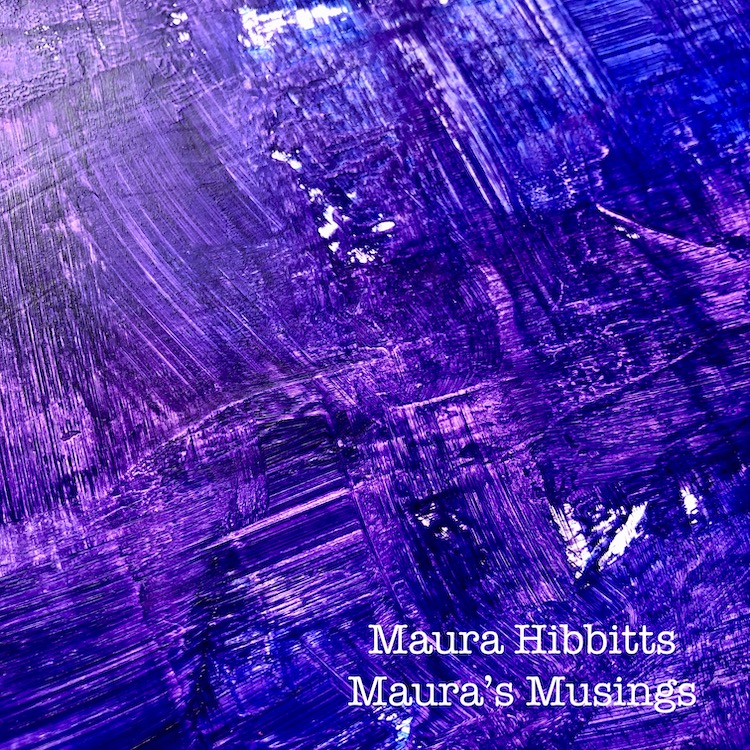
To create a dark underwater background, I painted on a mixture of Dioxazine Purple and Ultramarine Blue. Before the paint dried, I “scratched’ into it with my brush strokes. 

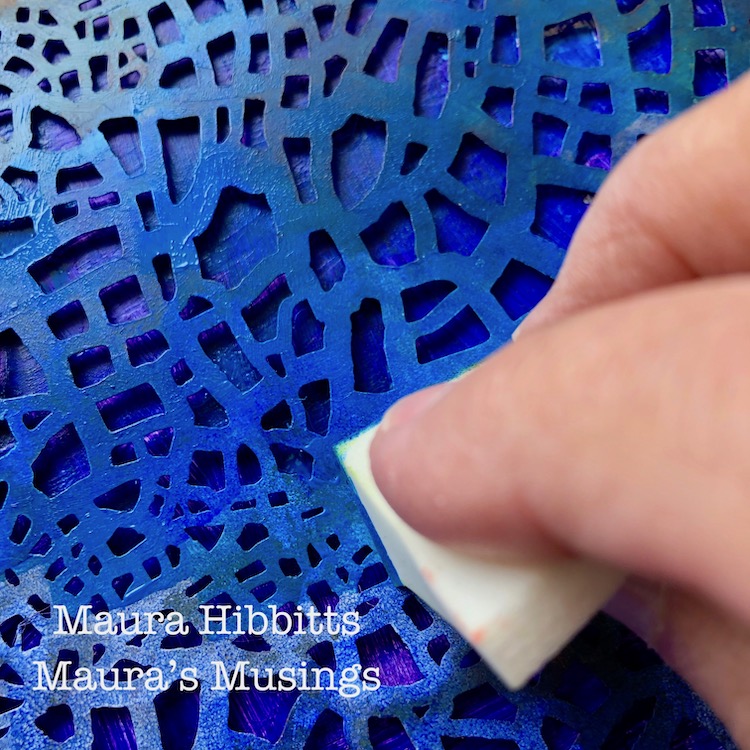
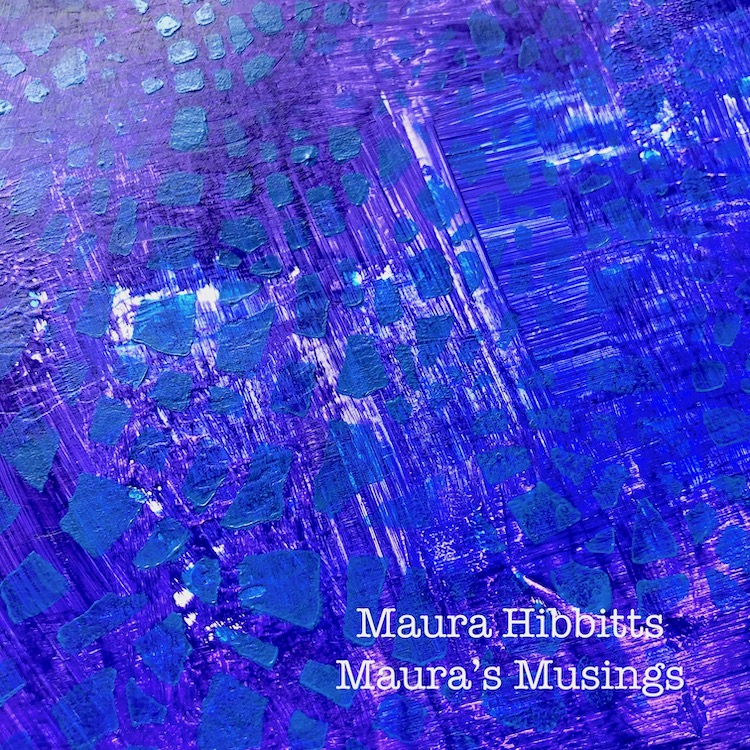
Time to begin the stenciling. First up is the Crackle stencil, sponged in with Cerulean Blue. This layer is very understated. 


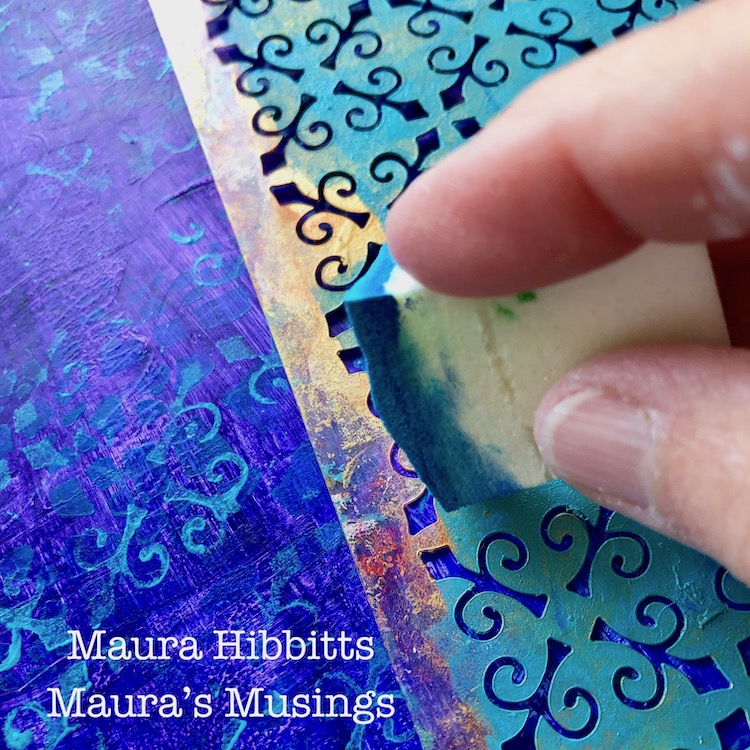
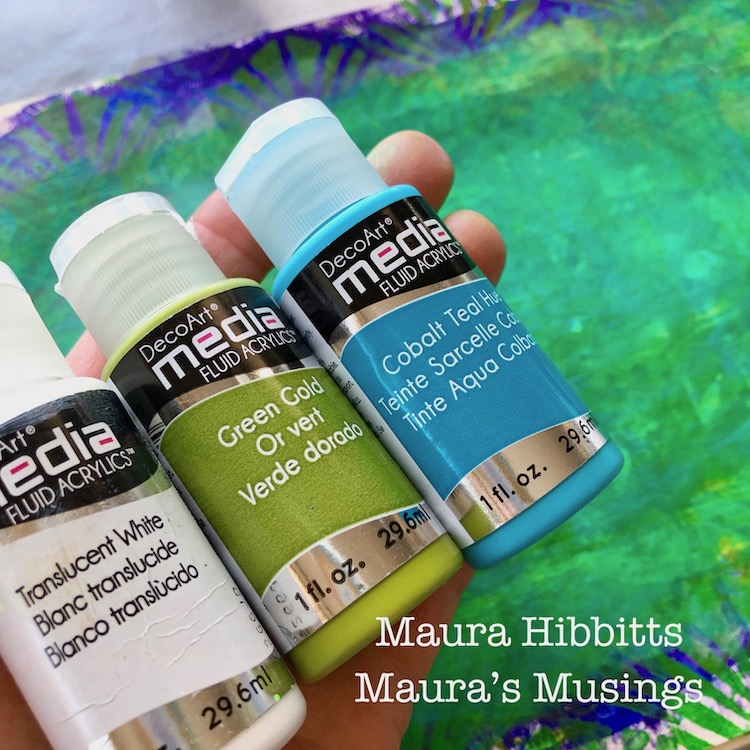
I used the New Orleans stencil with Cobalt Teal Hue and worked across the page, sponging in the design. 

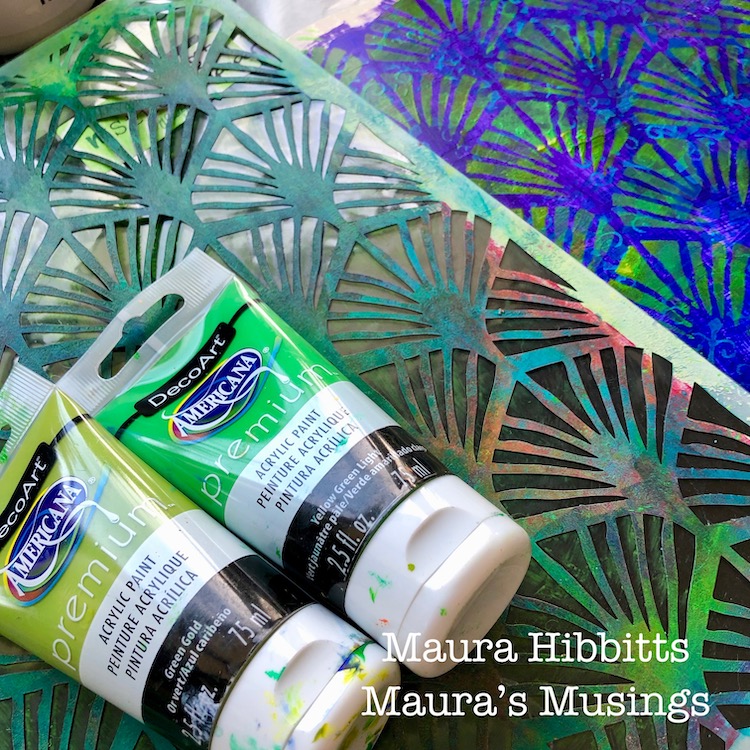
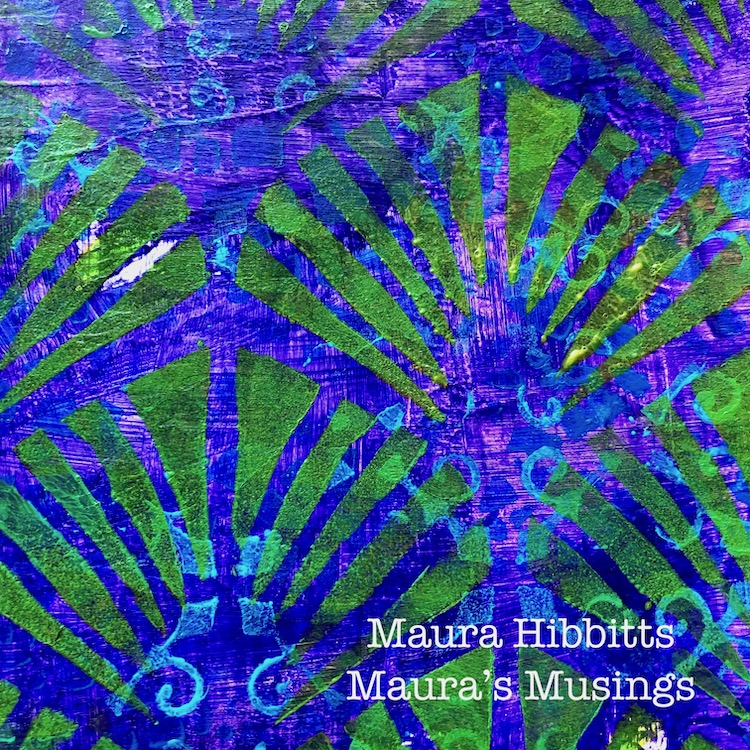
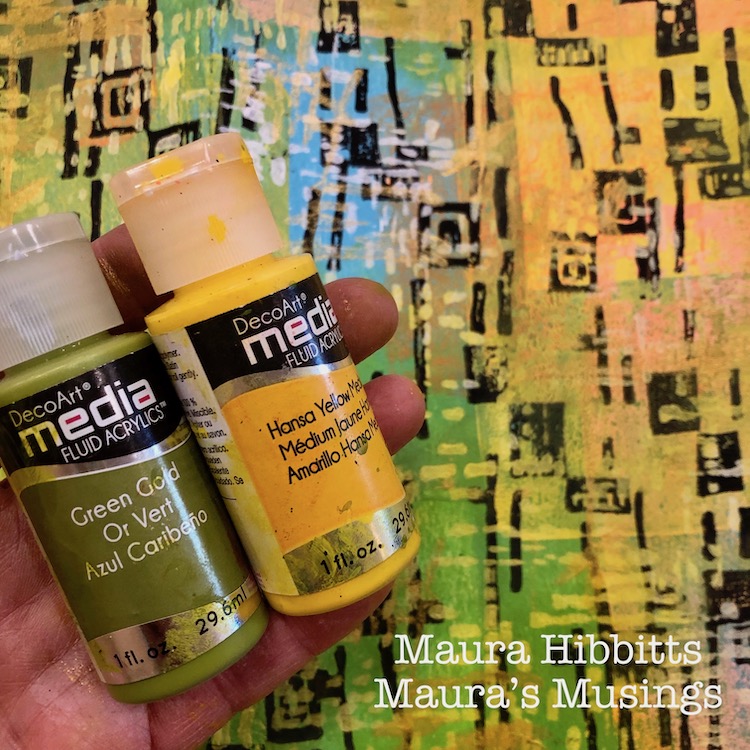
The Art Deco Wallpaper stencil with the Green Gold and Yellow Green Light paints is used in the next layer to give a hint of plants in the water. 

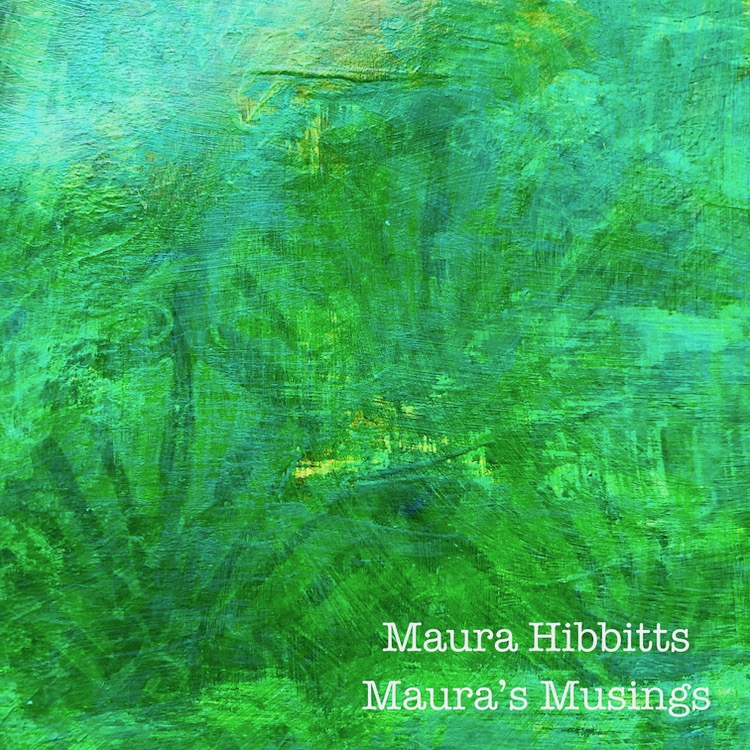
Now that my page is covered in a variety of blue, purple and green paints and designs, I decided to fade out the central area. I started by brushing on the Translucent White, then wiping that back with a baby wipe. I repeated this step with the Green Gold, and ended with the Cobalt Teal Hue. 

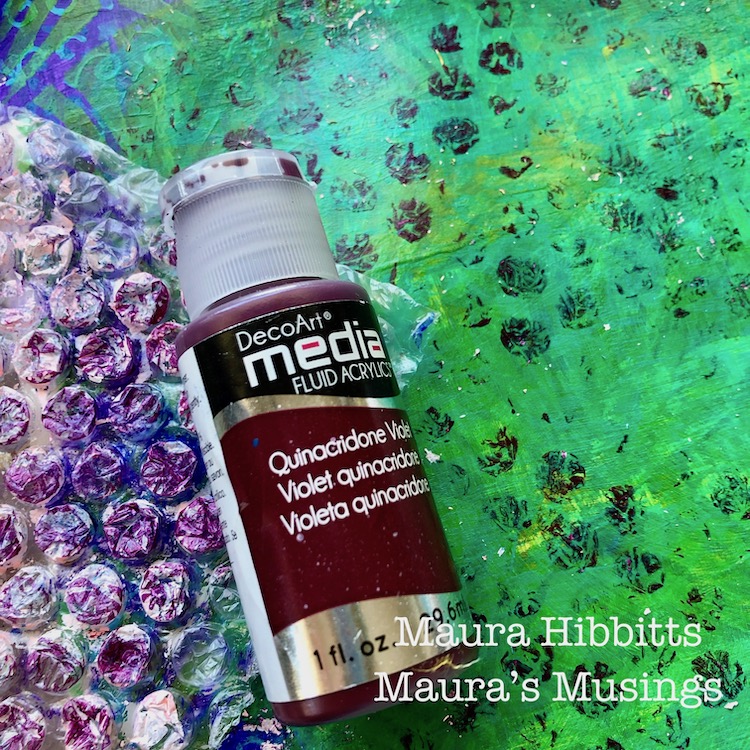
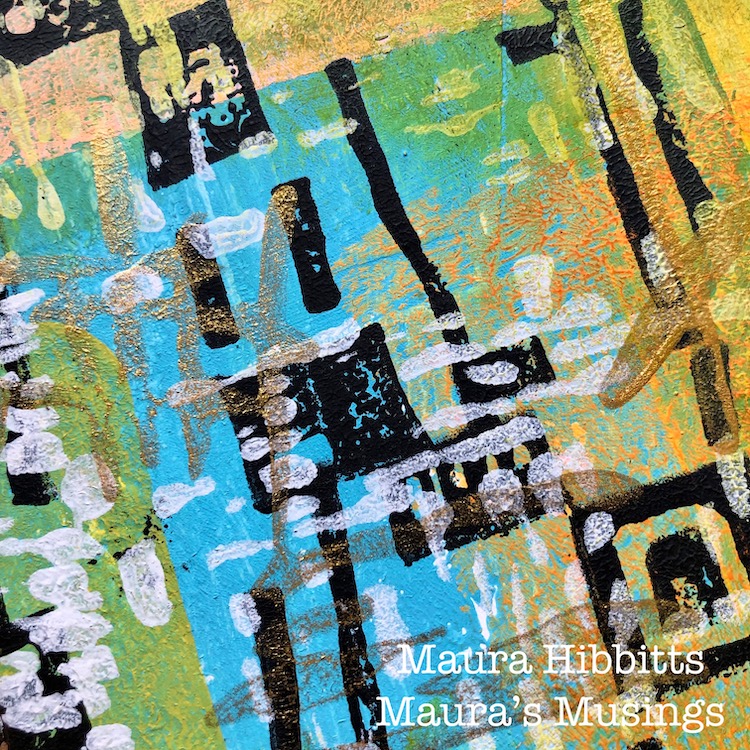
I couldn’t resist adding some bubbles into this area with some bubble wrap and Quinacridone Violet. Some of the old paint came off too which just added some fun spots. 

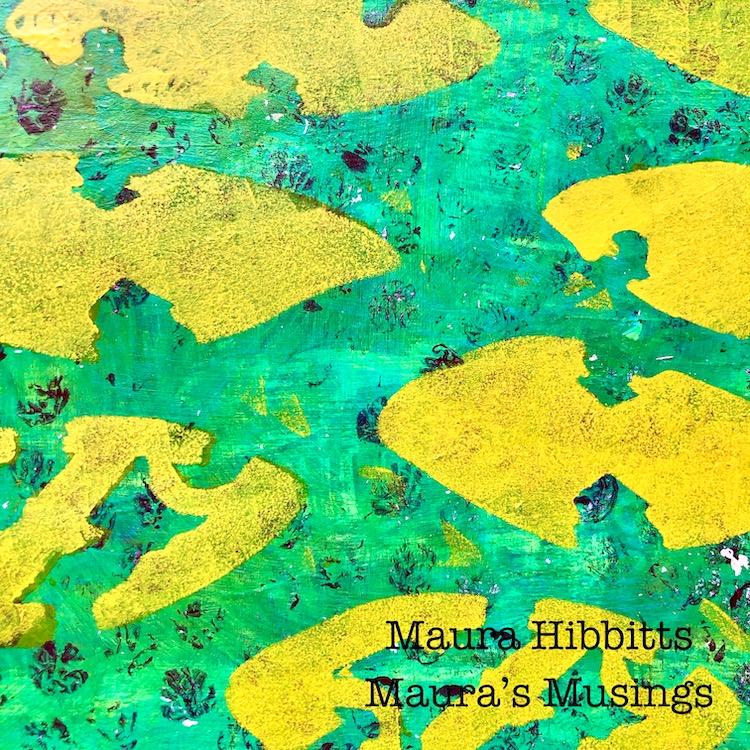
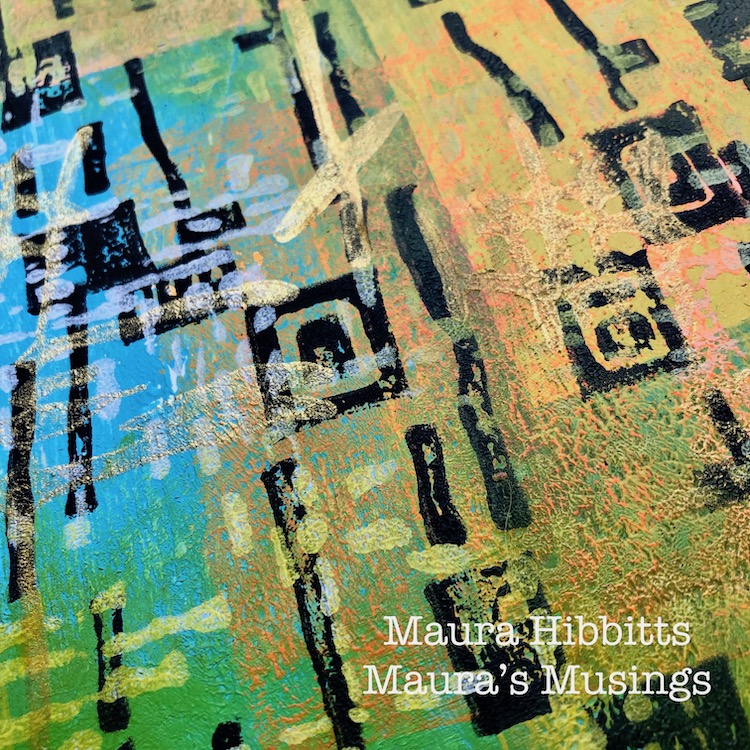
Now comes the fun part – creating the school of fish! Certain shapes in the Batik stencil just seemed to work really well as fish bodies, so I stenciled a school of them across the page with the Cadmium Yellow Hue. 

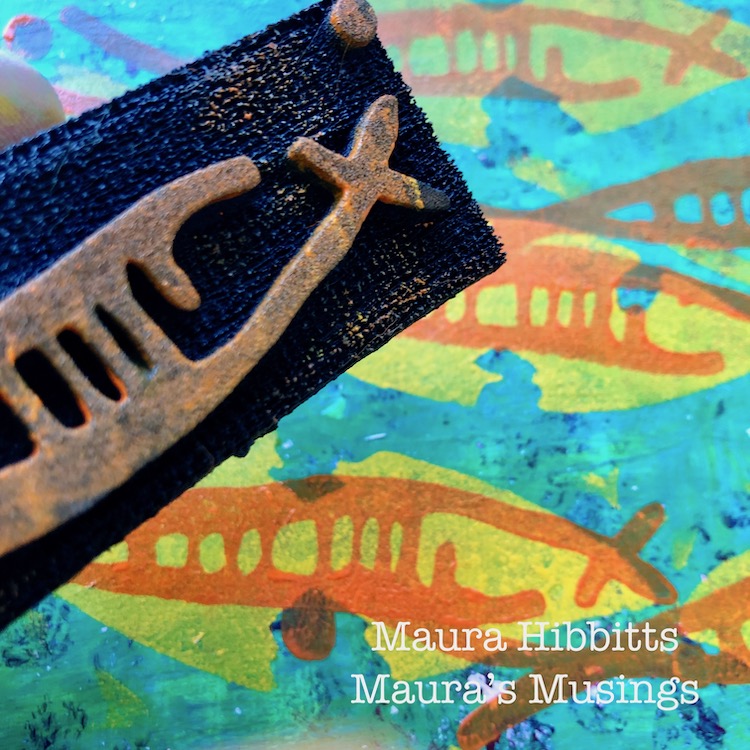
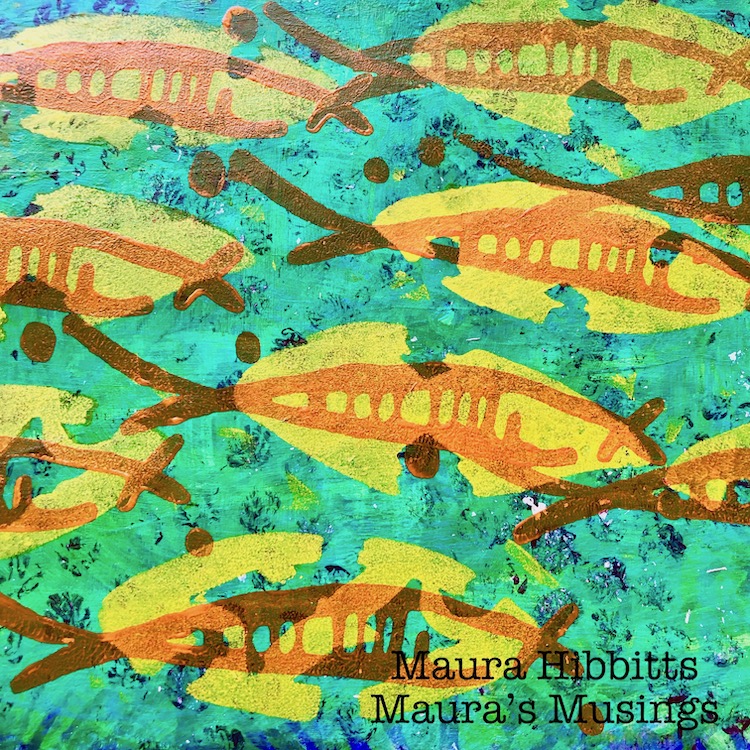
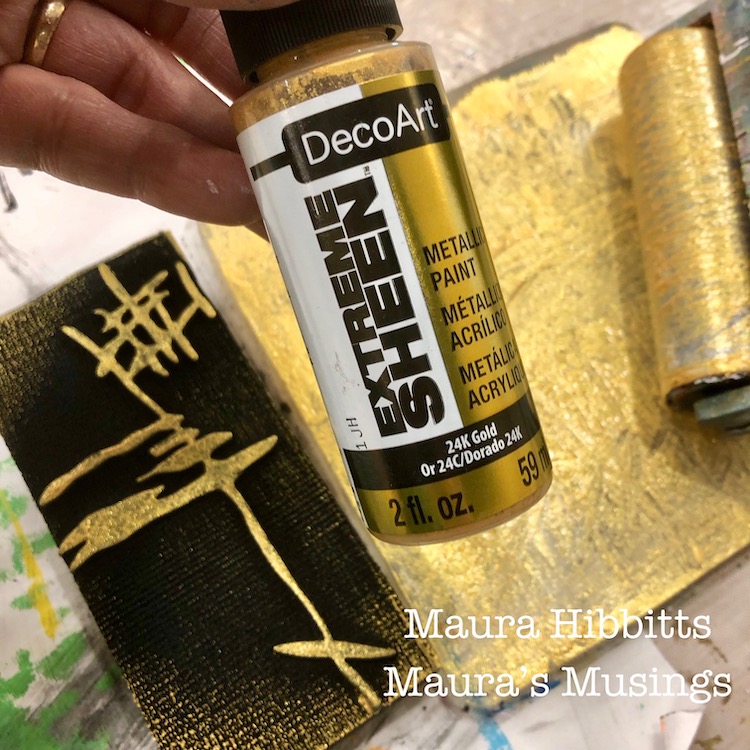
I finished up my fish by stamping the Neato Art Foamie design in Cadmium Orange over the yellow bodies. I just used my cosmetic sponge to apply the paint to the stamp.  

Then, because I wanted one fish to be unique and stand out, I stenciled the body in orange and stamped the Neato design in yellow onto watercolor paper. Once it was dry, I cut it out and edged it with a black sharpie, then glued it onto my page. My final step was to doodle around the Neato design with my carbon ink pen, and hand letter my thoughts across the top of the page with the Sharpie – “ Follow your own unique path in life”. 

So many fun layers of color and design on my art journal page. 

Feel the rhythm as the school of fish moves and flows through the water. It truly is fascinating to watch as a school of individual fish move and act as one body. I guess it could be a bit dangerous to be that fish that stands out in the crowd, but in my own life, I have always liked being unique. So, follow your own unique path in life! 


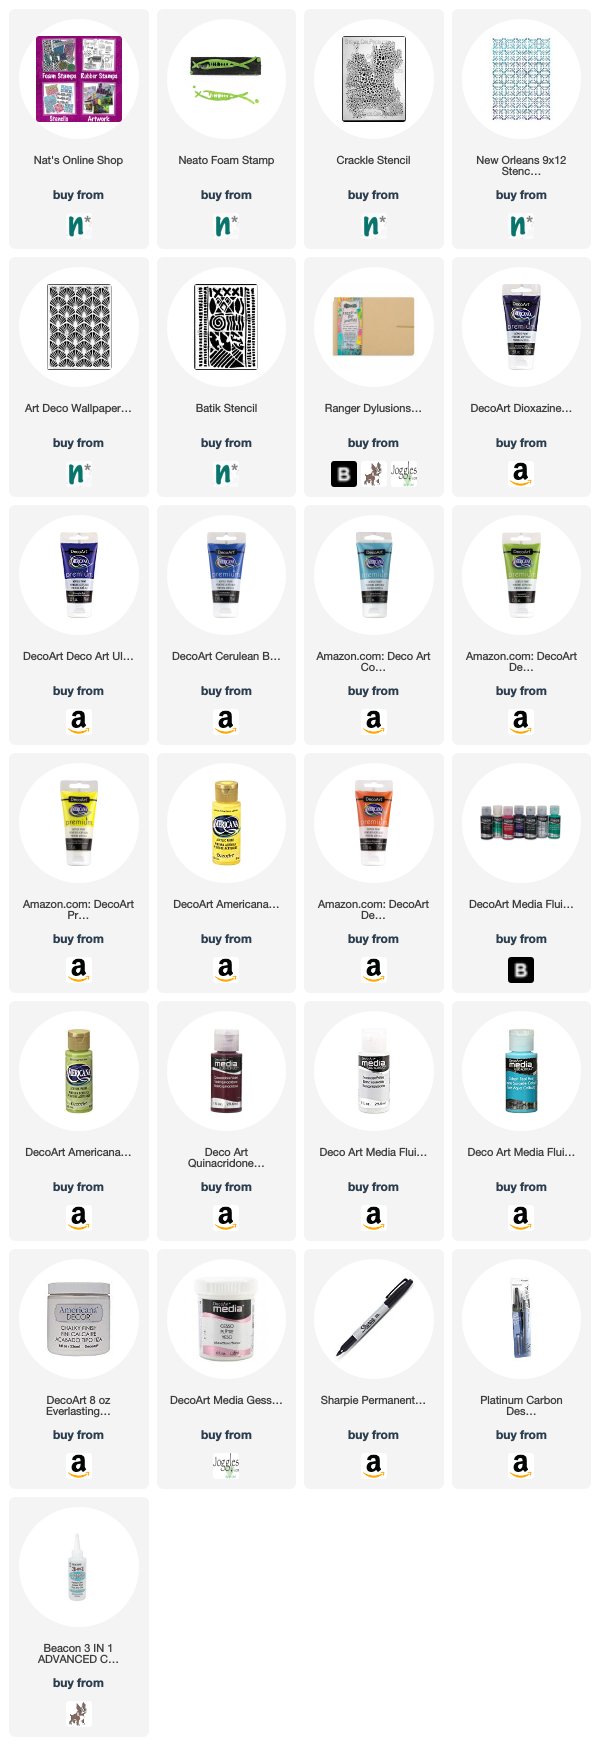
Thank you Maura! I love the feeling of underwater that you created with all those layers! You can find my Stencils and my Foam Stamps in my Online Shop. Here are some of the supplies that Maura used:


Feel inspired? Working on something yourself that you’d like to share?  I love to see how you interpret our monthly themes. Email me how you used my stencils and stamps with the theme and email me an image – I would love to share your projects in my next  “n*Spiration From Around the Globe“.

Leave a comment

Feel the Rhythm – Jennifer Gallagher

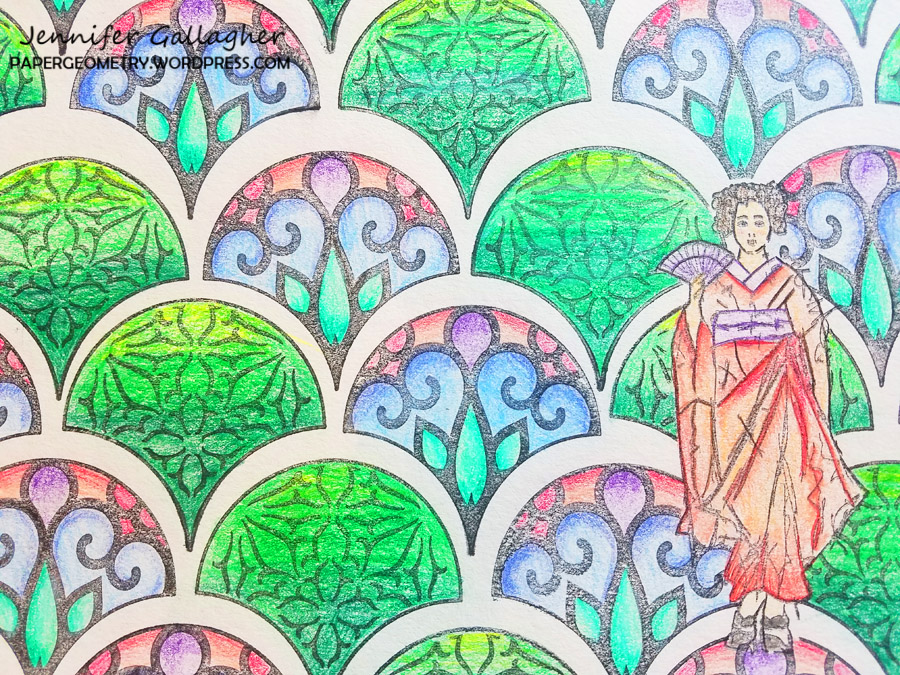
Happy Tuesday from my Creative Squad! Today we have Jennifer Gallagher sharing her method for making a custom coloring sheet using my Maiko stamp and my Fan-tastic Large stamp set. Her inspo was this month’s theme: Feel the Rhythm – We’re thinking about patterns this month and using stamps to create a rhythm of marks. Show us your sense of rhythm!


When contemplating creating patterns for this month’s creative squad post, it occurred to me how much I enjoy coloring in patterns. Long story short, I decided to create my own customized coloring sheet with Nat’s stamps. Coloring is very popular now and I totally understand why. It is a very fun and relaxing way to pass the time. Follow along with me and create your own unique coloring pages. It’s quick and easy.

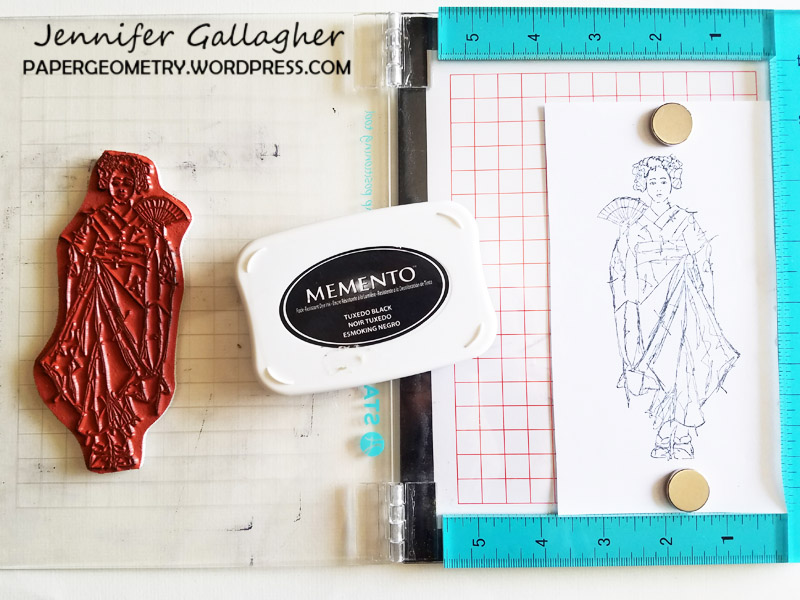
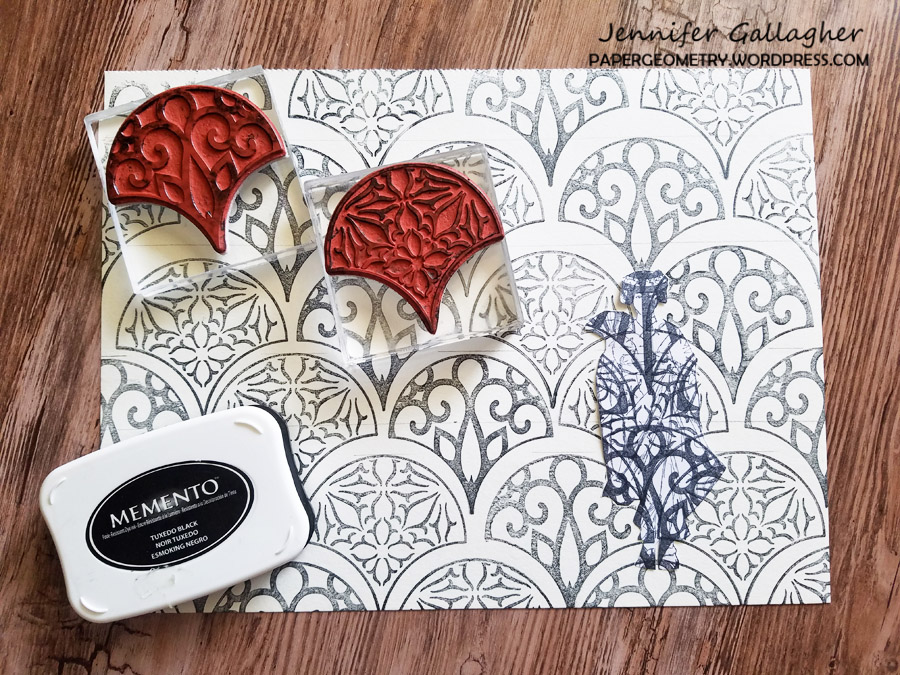
1. We are going to need a mask of Nat’s Maiko stamp. Begin by stamping the image onto a piece of white copy paper.

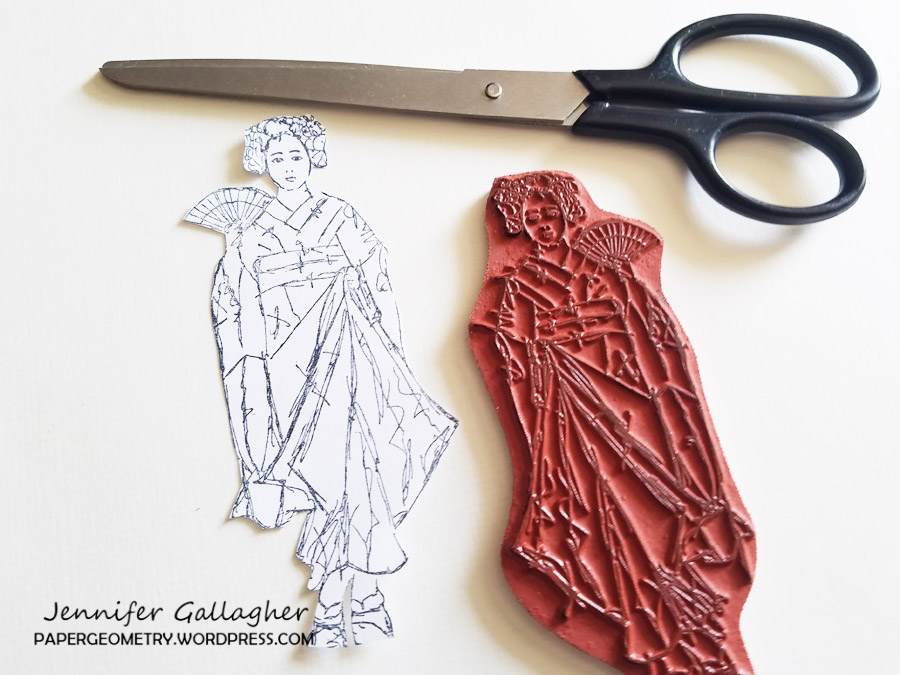
2. Cut the stamped image out.

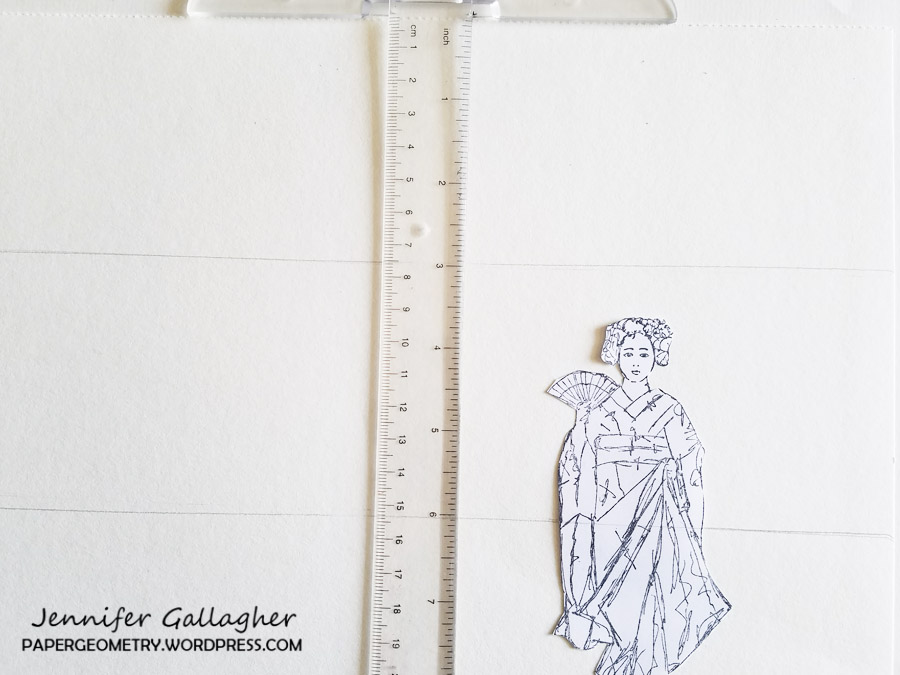
3. Using low tack tape, place your Maiko mask down onto a 9×12 piece of drawing paper. Then using a ruler create a grid-line every three inches across the paper. This step is optional but I find it helpful.

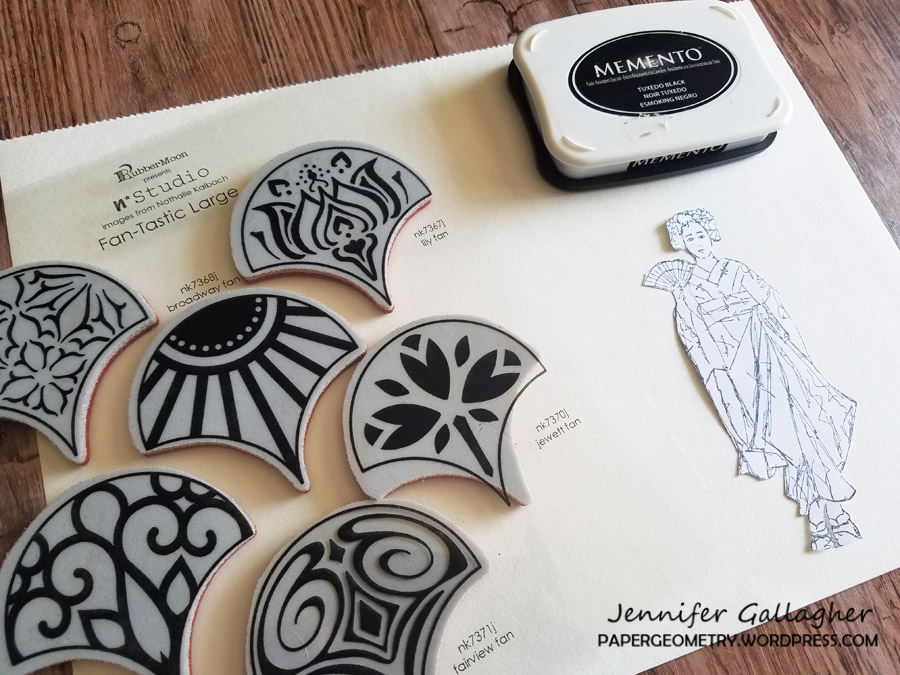
4. Choose a few stamps from Nat’s Fan-tastic Large stamp set to create a pattern.

5.Stamp your pattern with a black ink like Momento Tuxedo black. 

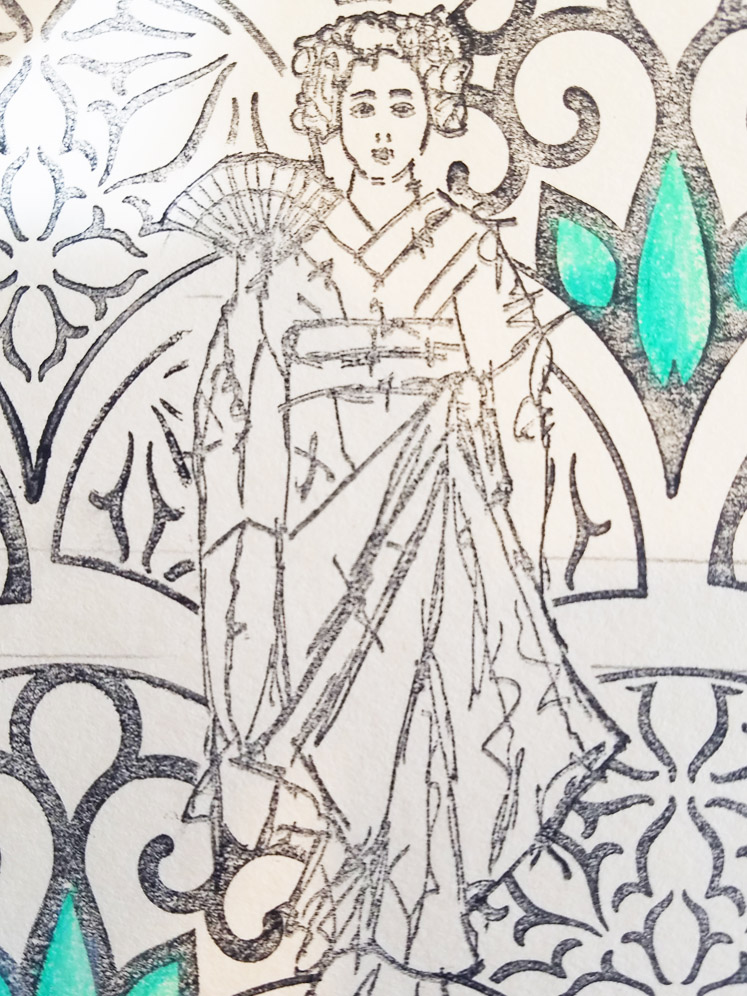
6. Lift the Maiko mask off the paper and stamp the image down in the negative space left behind.

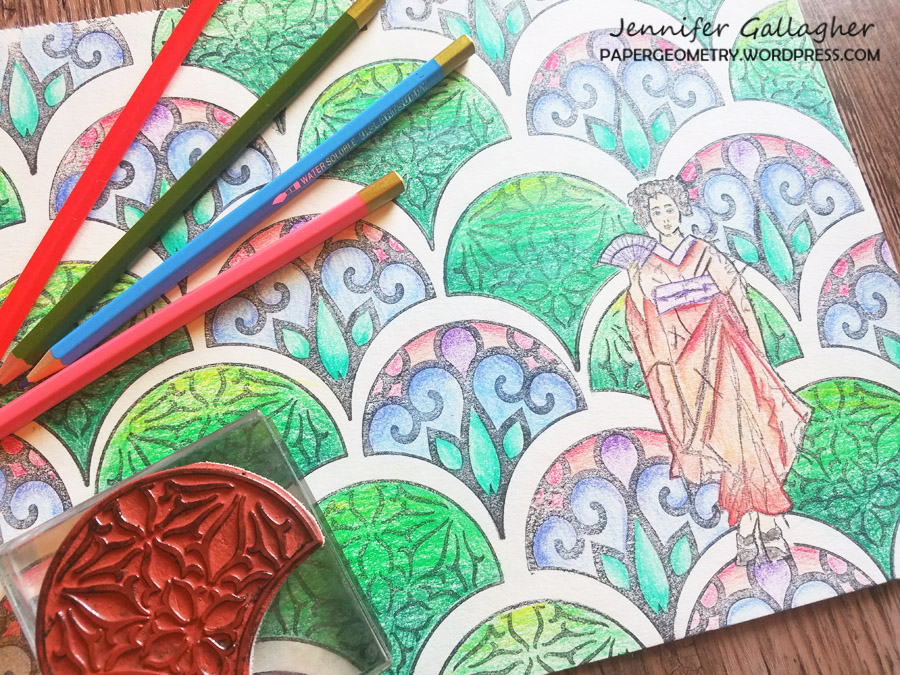
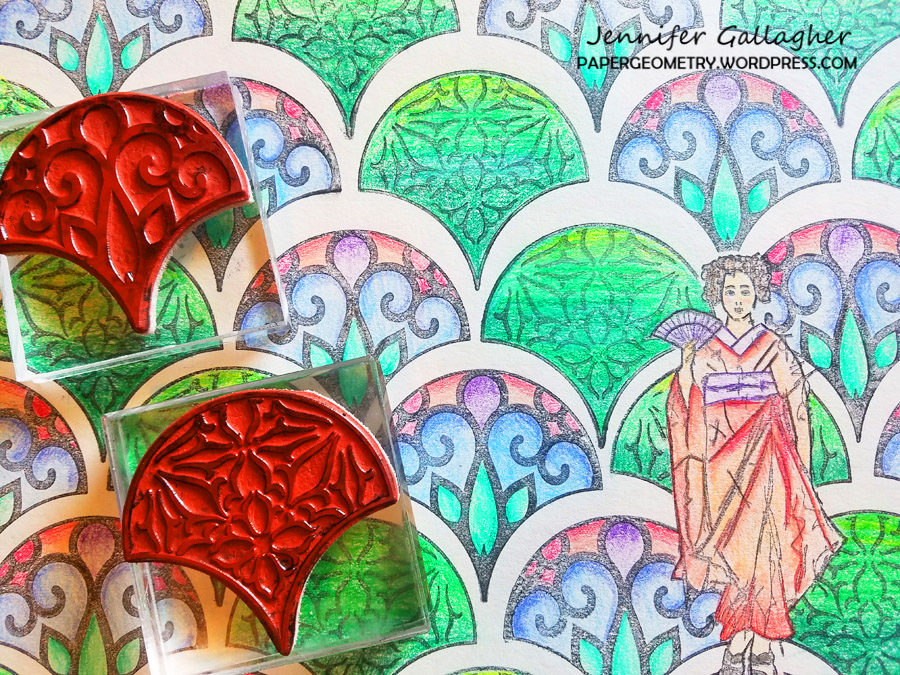
7. Now is the fun part – color your design in with your favorite colored pencils.

I had a blast coloring in my hand-made coloring page. I don’t know why it didn’t occur to me to make some before now. Be sure to play along each month with the creative squad and share your creations online. 


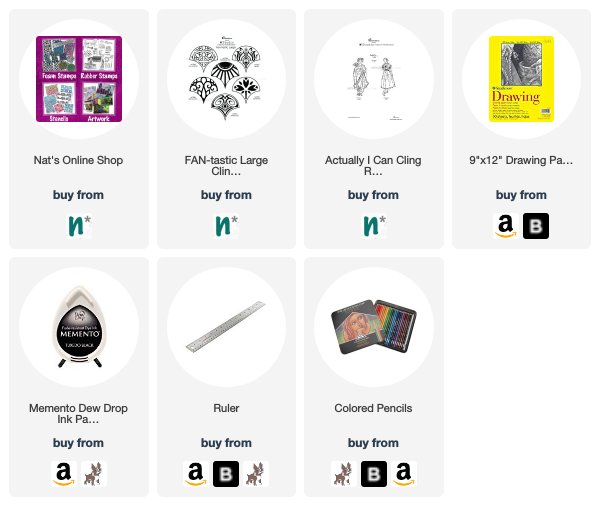
Thank you Jennifer – I love how Maiko looks on that gorgeous background! You can find my rubber stamps in my online shop. Here are some of the other supplies that Jennifer used:


Feel inspired? Working on something yourself that you’d like to share?  I love to see how you interpret our monthly themes. Email me how you used my stencils and stamps with the theme and email me an image – I would love to share your projects in my next  “n*Spiration From Around the Globe“.
Leave a comment

Feel the Rhythm – Marsha Valk

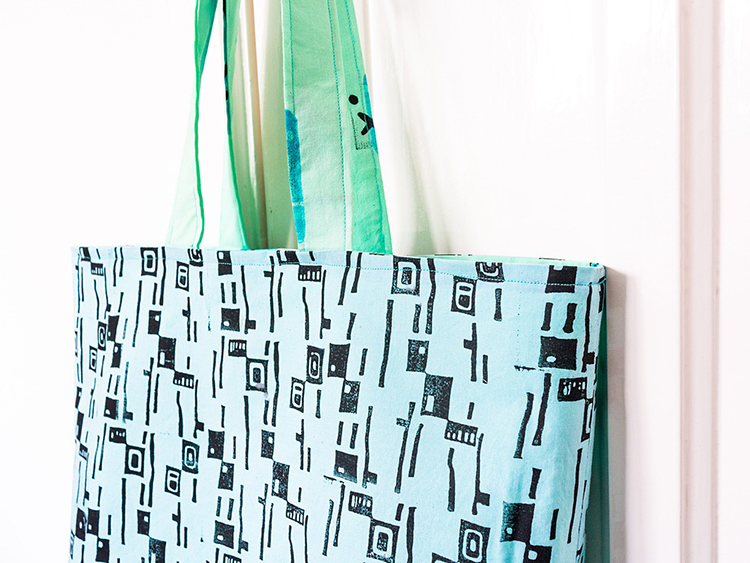
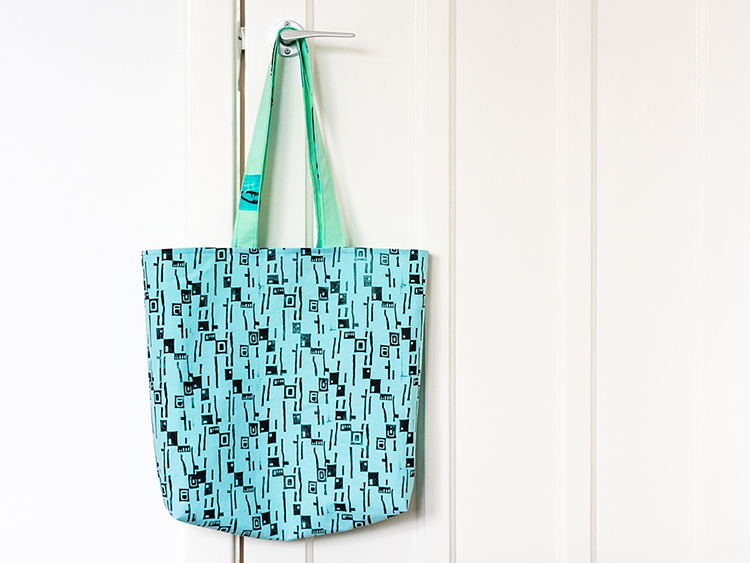
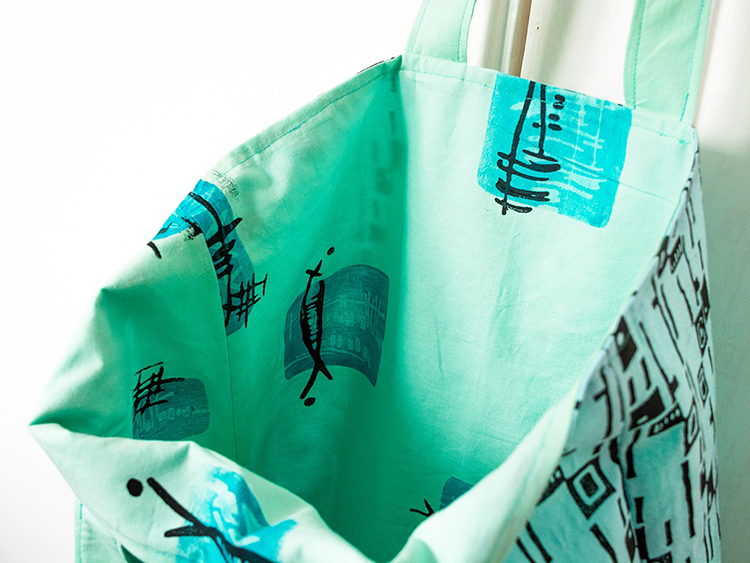
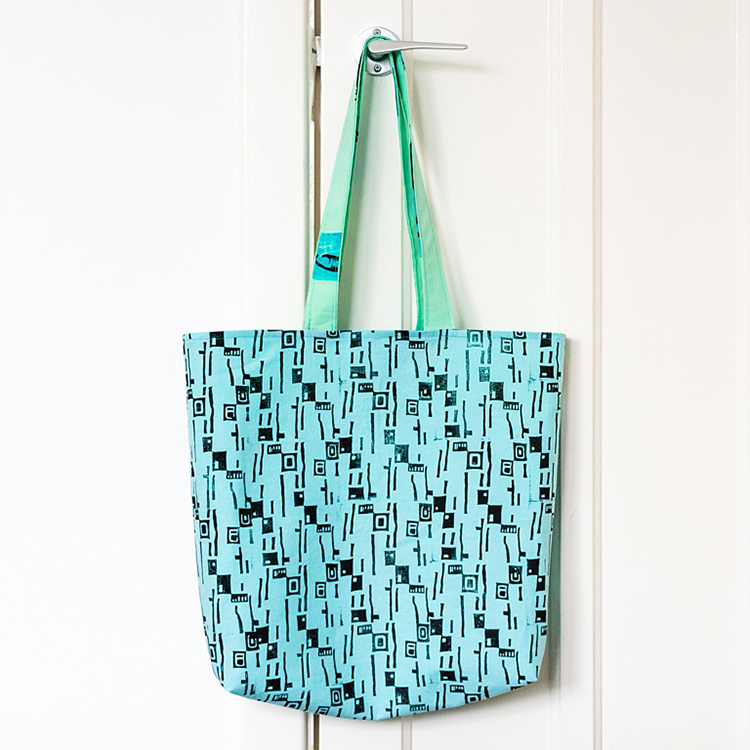
Here’s a post from my Creative Squad! Today we have Marsha Valk back with us again for another round of fun. Welcome back! Marsha is using my Mid Century Squared, Neato, Funky, Gnarly, Groovy, Jazzed and Far Out foam stamps for this awesome tote… and our theme for April: Feel the Rhythm – We’re thinking about patterns this month and using stamps to create a rhythm of marks. Show us your sense of rhythm!


I remember that when I saw Nat’s new stamp designs for ArtFoamies I immediately thought of stamping them on fabric. So that’s what I did!

When it comes to stamping fabric designs, I always like to think about what I want to do with the fabric. This time I thought it would be cool to try and sew a simple tote bag.

You can find tons and tons of great sewing tutorials on YouTube these days. So what I tend to do is to look for a tutorial that matches my sewing skills, gather all the materials and then go from there.

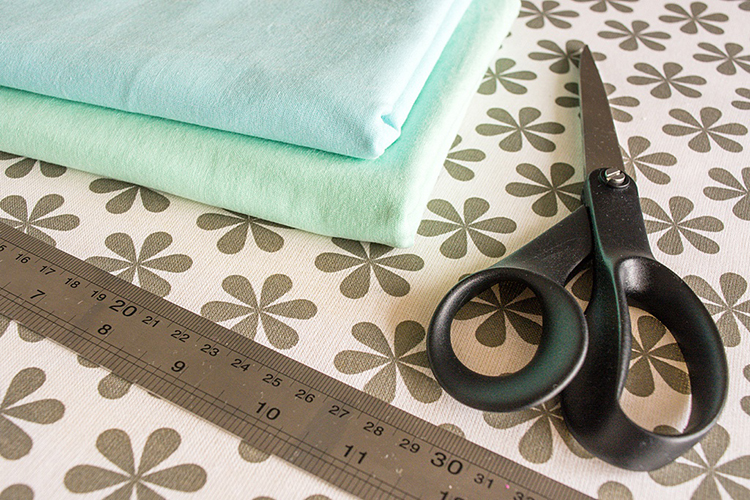
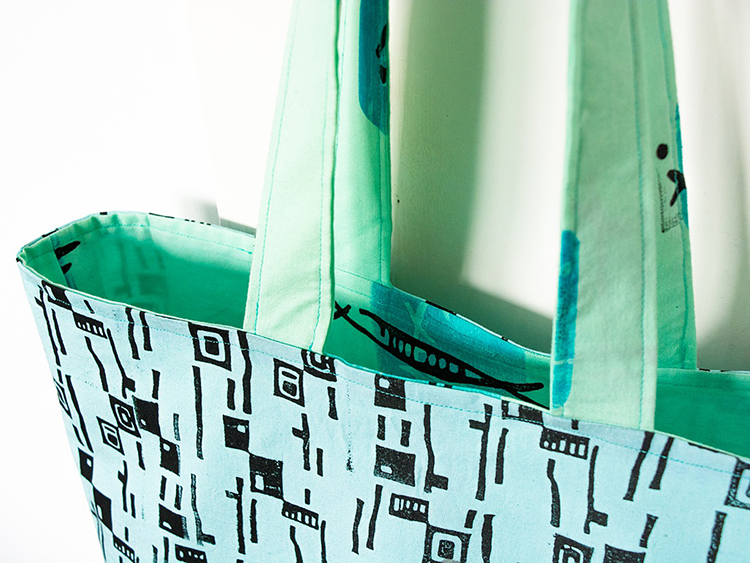
For the tote bag pattern I chose, I needed two different fabric designs, so I bought two slightly different colours of cotton fabric.

Step 1 Pre-wash and iron the fabric before printing. The paint will grab the cotton fibres a lot better when all the sizing is washed out.   

If you already know what you are going to make with the fabric once it’s printed, you can cut it to the sizes needed for your project at this point. 

Step 2  Set up your printing station. Protect your work surface if needed. The paint usually seeps through the fabric onto the underlying surface, so make sure you can easily wipe it clean.

Choose the paint colours you want to use. Limit your colour palette to a maximum of two colours plus a neutral. 

You can use regular acrylic paint to print on fabric, but if you want it to be washable, you’ll need to use fabric paint or acrylic paint mixed with a fabric medium.  

Follow the instructions on the packaging to make sure you are mixing the correct amount of paint/medium for the best result. 

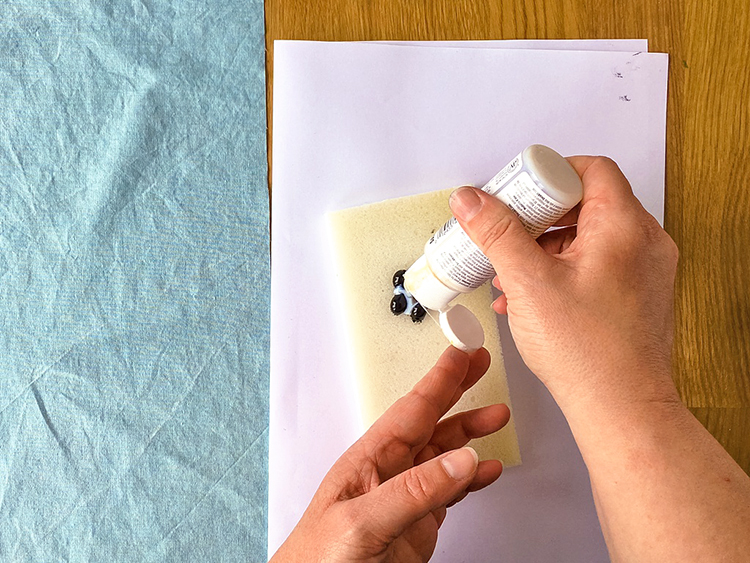
I’m using acrylic paint mixed with a fabric medium. You can mix it on an inking palette and use a brayer to apply the paint to your foam stamps or you can create a custom stamp pad using an ArtFoamies StampBuddy. 

Step 3 Start stamping!

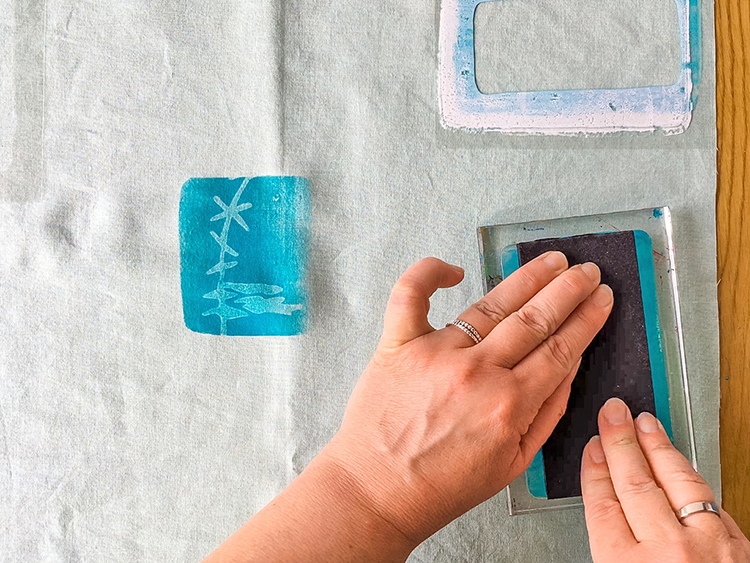
Step 4 For my second fabric design I also used one of my smaller gel printing plates to print with.

First I handcut three stencils from transparencies slightly larger than the gel printing plate and I placed the stencils on my fabric to help me determine the pattern I wanted to print.

Cover the brayer with paint and then roll the paint out over the gel printing plate. 

Take a foam stamp and stamp it into the paint. Here I am using Nat’s Groovy stamp.

Press the gel printing plate paint-side down onto the fabric on top of the stencil. Lift up the gel printing plate. 

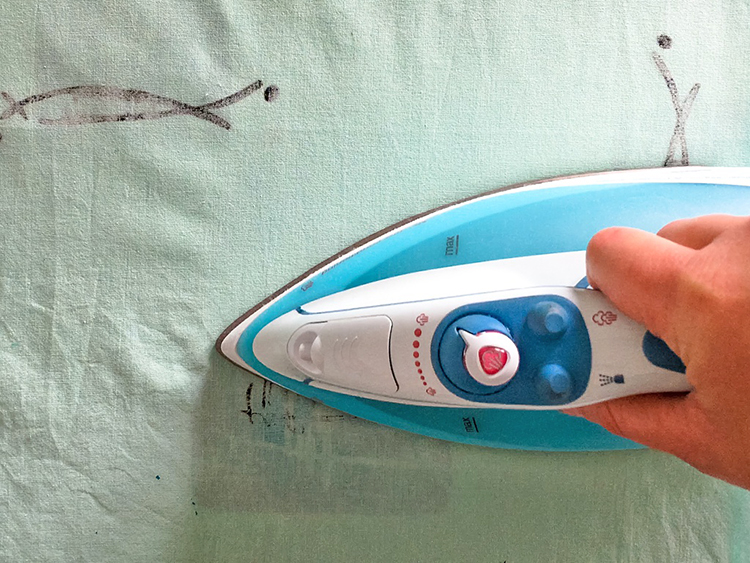
Step 5 Leave your gel printed fabric to dry entirely before heat setting the paint with an iron. Consult the label of your fabric paint or fabric medium for the exact instructions. 

Be sure to protect your ironing board cover with a cloth or parchment paper before ironing printed fabric. This will prevent the paint from accidentally staining the cover. 

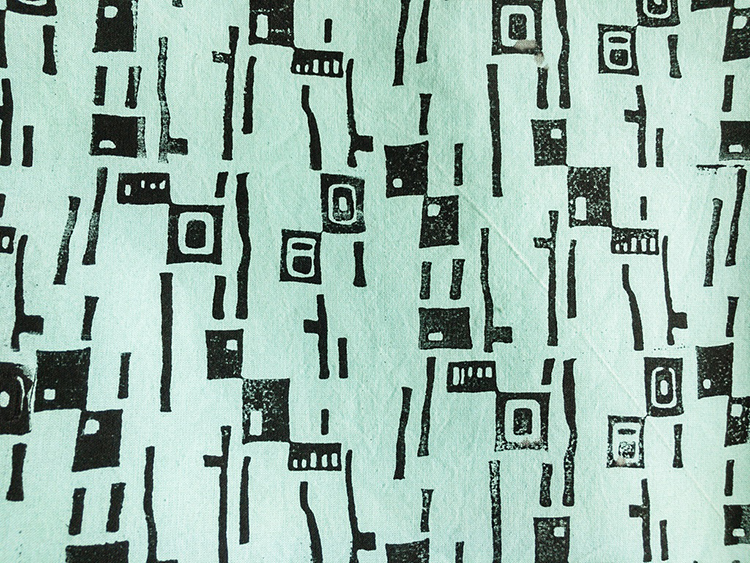
Step 6 Now your fabric is ready for the sewing project of your choice! This one I printed with Nat’s Mid Century Squared stamp.

Happy foam stamping!


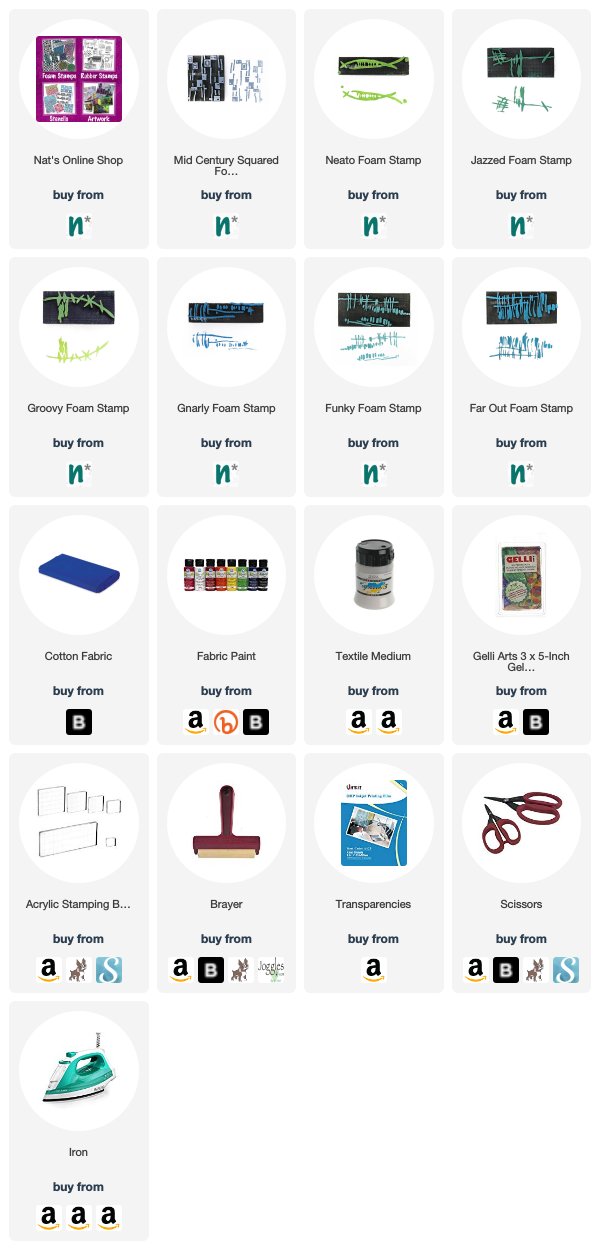
Thank you Marsha for inspiring us to create some of our own printed fabrics for sewing projects! You can find my foam stamps in my online shop if you’d like to create the patterns that Marsha shows. In addition to sewing equipment, here are some of the other supplies that she used:


Feel inspired? Working on something yourself that you’d like to share?  I love to see how you interpret our monthly themes. Email me how you used my stencils and stamps with the theme and email me an image – I would love to share your projects in my next  “n*Spiration From Around the Globe“.

Comments (2)

  • Sue Clarke

    |

    Marsha…LOVE love LOVE this bag!!!

    Reply

  • Janene

    |

    Fabulous and one-of-a-kind! I love the stamp patterns and the colors used. I might have to get out my sewing machine and give it a try. It’s been awhile since I’ve sewn anything, but I think I can manage the straight lines of a tote bag. :-)

    Reply

Leave a comment

Feel the Rhythm – Tania Ahmed

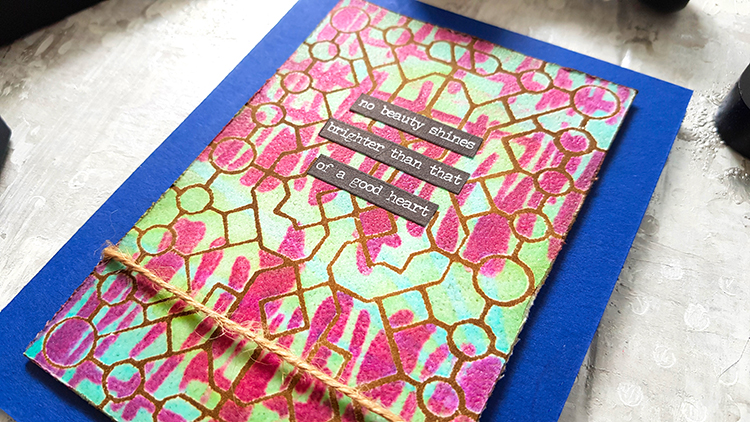
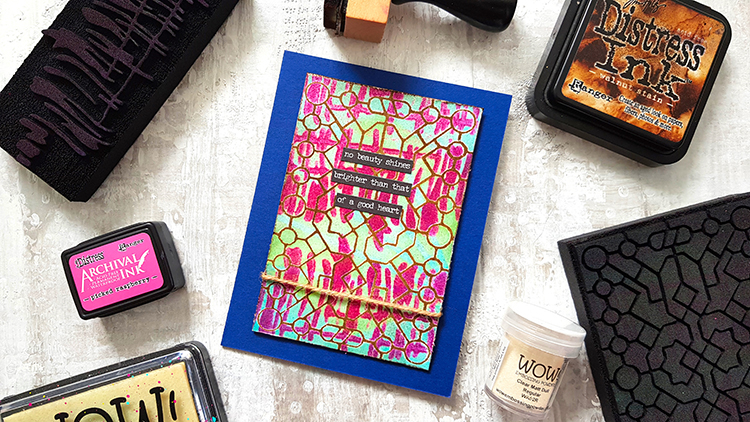
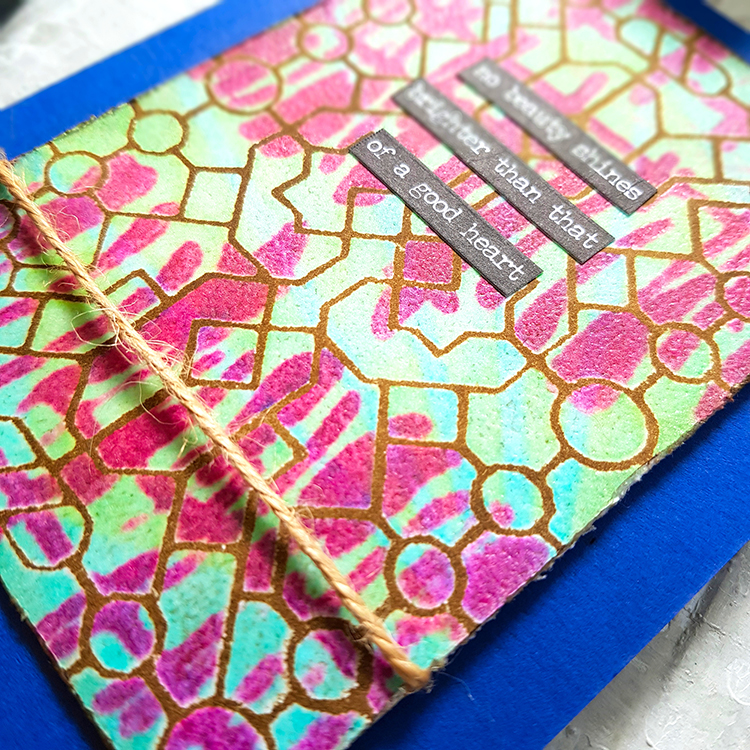
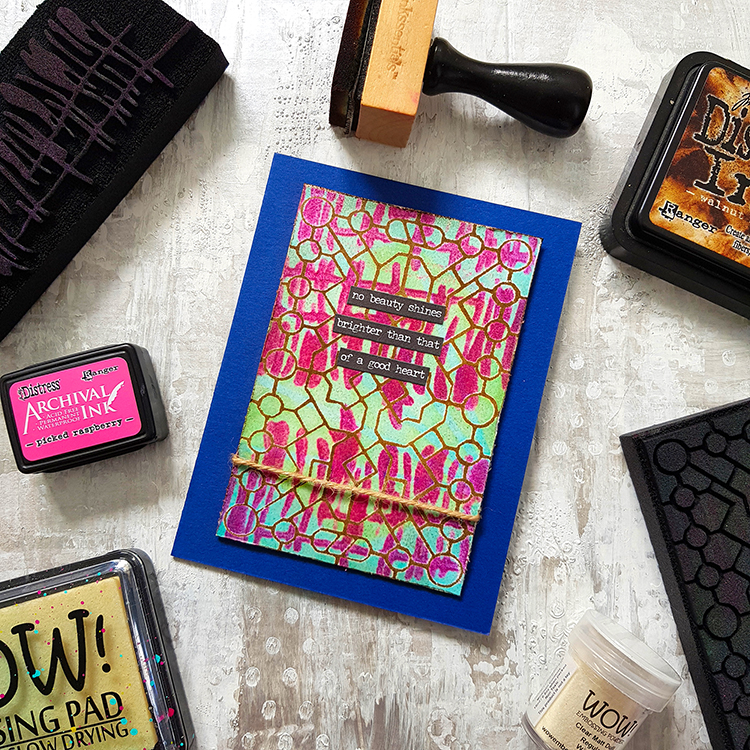
Welcome to a post from my Creative Squad! Today we have Tania Ahmed with a wonderful card and a video to show exactly how she puts it together. She is using my Exchange Place and Far Out foam stamps for this one and our theme for April: Feel the Rhythm – We’re thinking about patterns this month and using stamps to create a rhythm of marks. Show us your sense of rhythm!


It’s funny how mistakes can turn into happy accidents :) I had one such moment when I was filming this video and realized that my Art Foamie was not clean!!! As always I simply said an “oh dear” and thought let’s just go with it, haha!

My Exchange Place Art Foamie had been previously inked with Aquamarine Archival Ink and Fossilised Amber Distress Archival Ink which is what the Embossing Ink picked up when I stamped it. In the end I loved the effect and I hope you enjoy the video!

Nat’s latest Art Foamies release are so much fun to work with if you enjoy mark making with stamps and of course they all are a joy to work with as the impression is always gorgeous. 

Please do let me know if you have any questions and I will answer them as best as I can!

Steps:

1 Ink Exchange Place Art Foamie with Embossing Ink

2 Ink Far Out Art Foamie with Picked Raspberry Distress Archival Ink and stamp this on to the Exchange Place Art Foamie. 

3 Stamp the ink Exchange Place Art Foamie on to white cardstock and heat emboss with Clear Matt Embossing Powder. Heat set the embossing powder 

4 Apply Walnut Stain Distress Ink to white spaces and wipe off excess ink with damp kitchen towel

5 Trim cardstock Panel and distress edges and apply ink if desired

6 Assemble card!


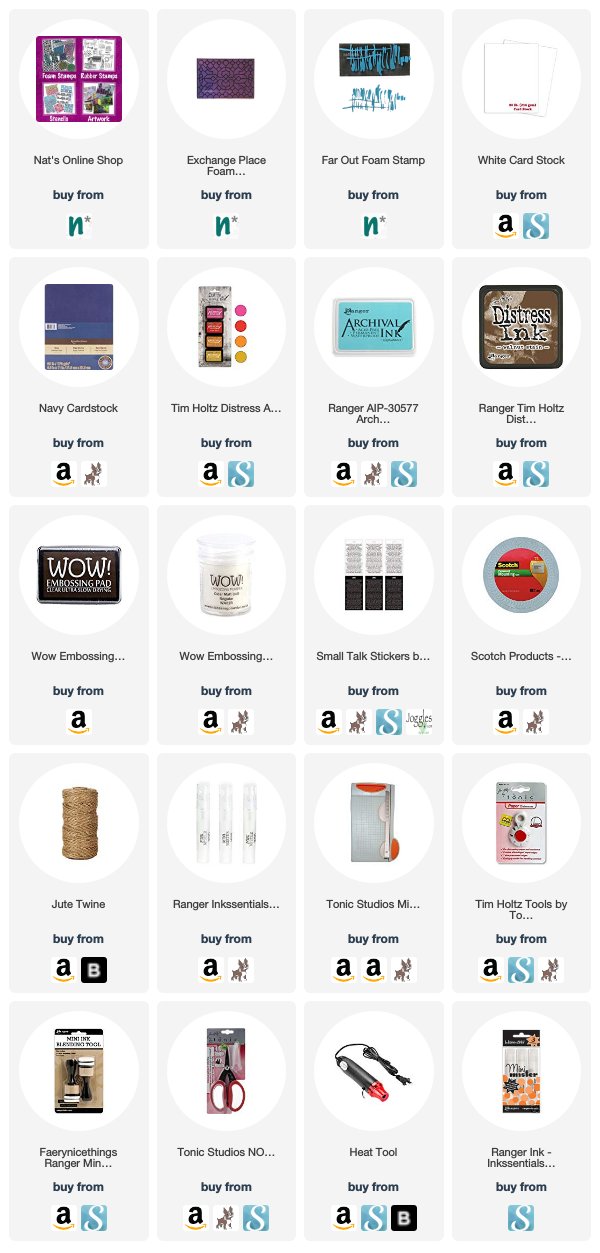
Thank you Tania! I love how you “kissed” the stamp with clear embossing ink with a colored inkpad! Want to give it a try too? You can find all my Foam Stamps in my Online Shop. Here are some of the supplies that Tania used:


Feel inspired? Working on something yourself that you’d like to share?  I love to see how you interpret our monthly themes. Email me how you used my stencils and stamps with the theme and email me an image – I would love to share your projects in my next  “n*Spiration From Around the Globe“.
Leave a comment

Foam Stamplifier Challenge with the Creative Squad – Maura Hibbitts

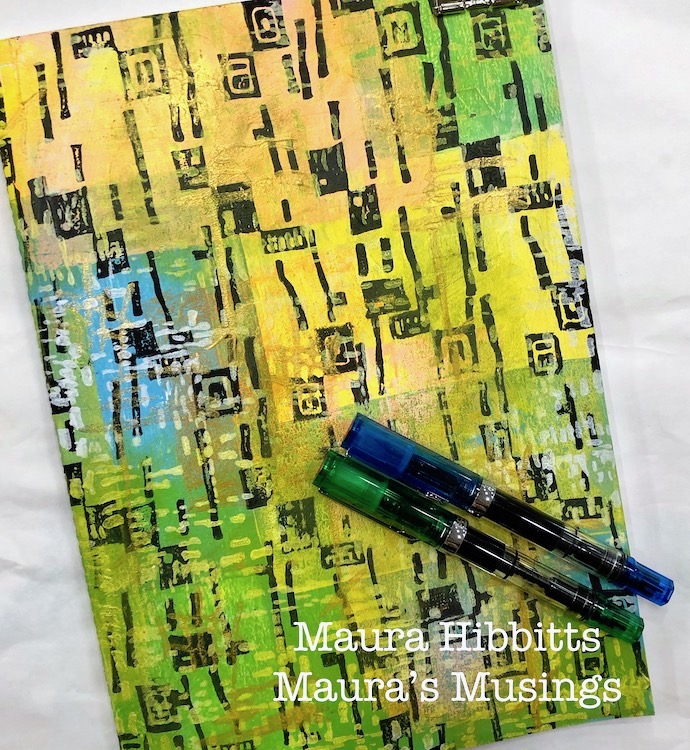
This month my Creative Squad is playing along with my new Foam Stamplifier Challenge: All month long you can follow my daily prompts on Instagram and on the blog to amplify your foam stamps!!! Today Maura Hibbitts is following the prompt Mix & Match. She’s using my Mid Century Squared, Signals, and Jazzed foam stamps to dress up a monthly planner.


How fun is it to mix and match several Art Foamies into a project? For me, it’s a blast! I love to create layers with colors and designs, and I am mixing and matching to my heart’s content as I transform  a calendar. I use a large calendar to keep track of all my art deadlines, and I’m going to need a new one soon, so time to get started!

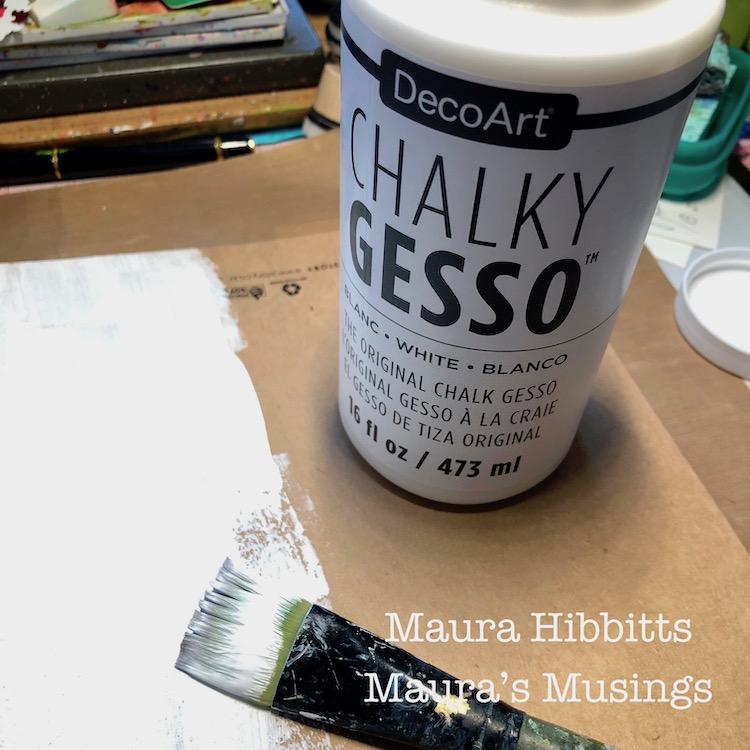
First step is to apply a layer of gesso to the kraft calendar and let it dry completely. 

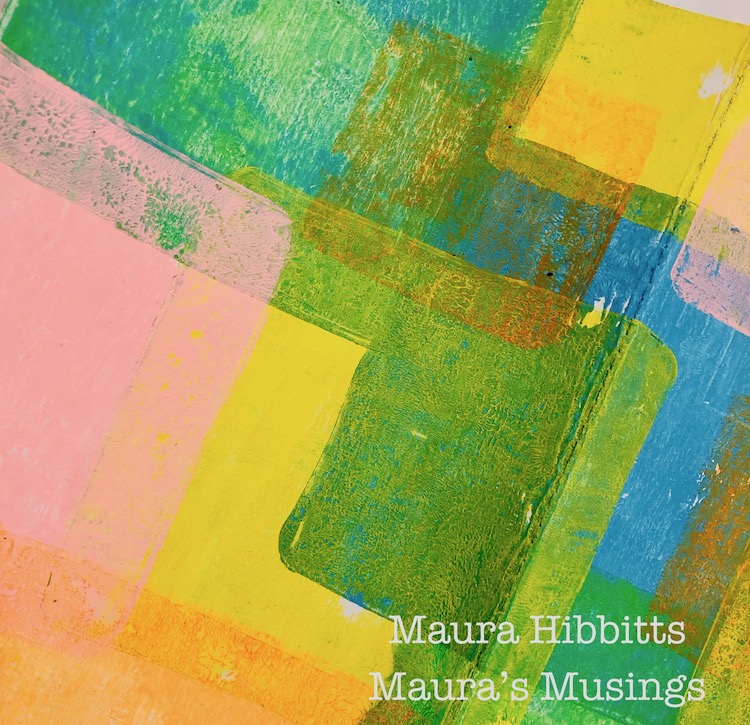
I wanted a colorful background to build my layers onto, and came up with this idea. I took my 6×6 gel plate, and added a layer of paint with the brayer, then “stamped”my plate onto the calendar. I repeated this several times with one color, then added new colors. I also overlapped my blocks of color to make it more interesting. 

Now, it’s time to stamp a repeating pattern onto my calendar with the Mid Century Squared ArtFoamie (love this pattern!) and black acrylic. I brayer the paint onto the gel plate, press my stamp into it to get a good solid layer of paint on it, and then line it up and stamp the bold pattern. My gel plate acts like a giant stamp pad, only with paint. Use the heat tool if necessary to speed up the drying time of the layer.

Next layer is white acrylic with the Signals ArtFoamie. I repeat the previous step in order to get another overall pattern that I am mixing and matching with the black. 

Every calendar needs a bit of glitz and glamour, right? The Jazzed Art Foamie is perfect with a shimmer of gold.  I randomly stamped this image onto the calendar, again using my gel plate like a giant stamp pad with the paint. 

I mixed and matched three different patterns onto a very colorful background, and at this point it was looking a bit wild. I decided to tone it down and pull it together by rubbing on some transparent fluid acrylics with my fingers, and using a baby wipe to remove it a bit if I got too heavy fingered. Once my cover was dry, I stamped the months on the pages and started writing in the dates. 

Check out the details to see how easy it is to mix and match ArtFoamies to create delicious layers! Each design remains visible, but is linked to the others. 

I toyed around with the idea of adding a focal piece to my calendar, but decided I like it just how it is. I now have my own personalized, colorful calendar which will be fun to pull out and use for planning. 


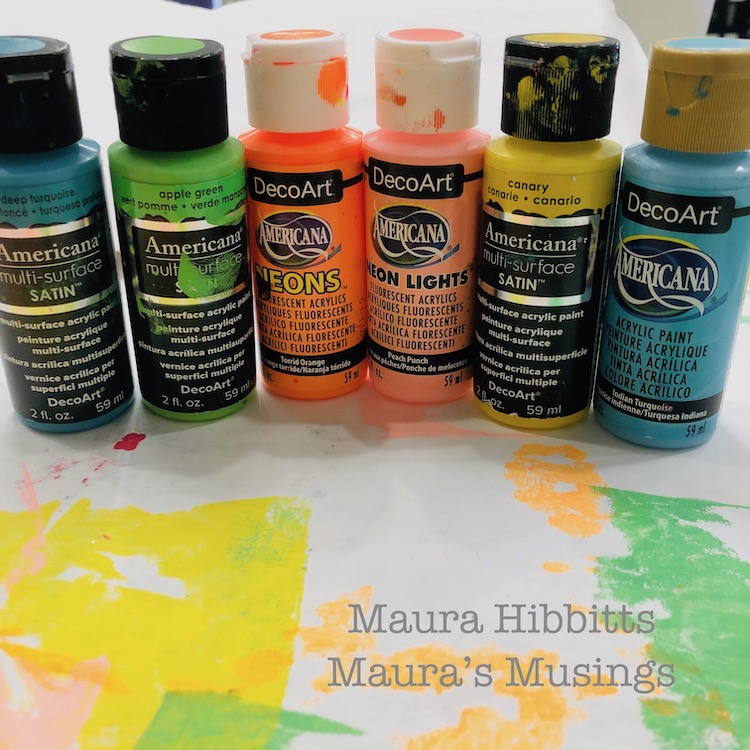
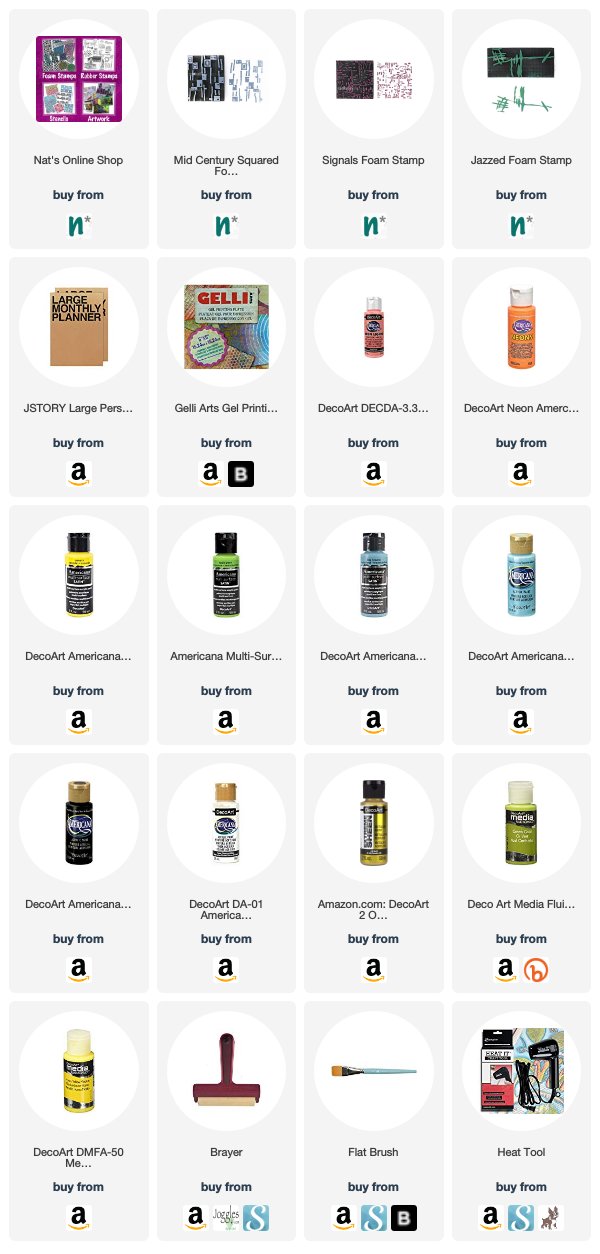
Thank you Maura! I just love these colors and how my Mid Century Squared stamp pops when done in black. Awesome! You can find my Foam Stamps in my Online Shop. In addition to white Chalky Gesso, here are some of the supplies that Maura used:


Feel inspired? I hope you join us for the Foam Stamplifier Challenge this month. As you play along, don’t forget to tag me when you share your creations – I would love to share your projects in my next  “n*Spiration From Around the Globe“.

Leave a comment

Foam Stamplifier Challenge with the Creative Squad – Jennifer Gallagher


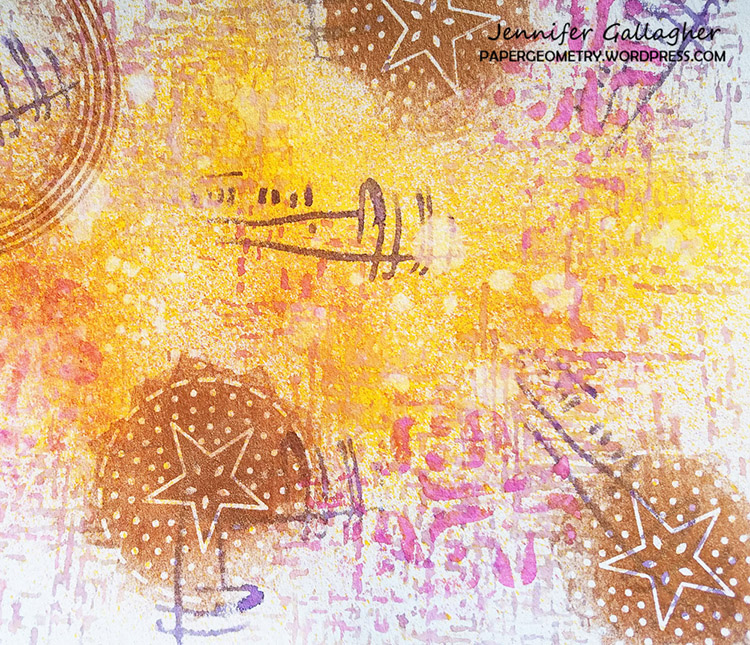
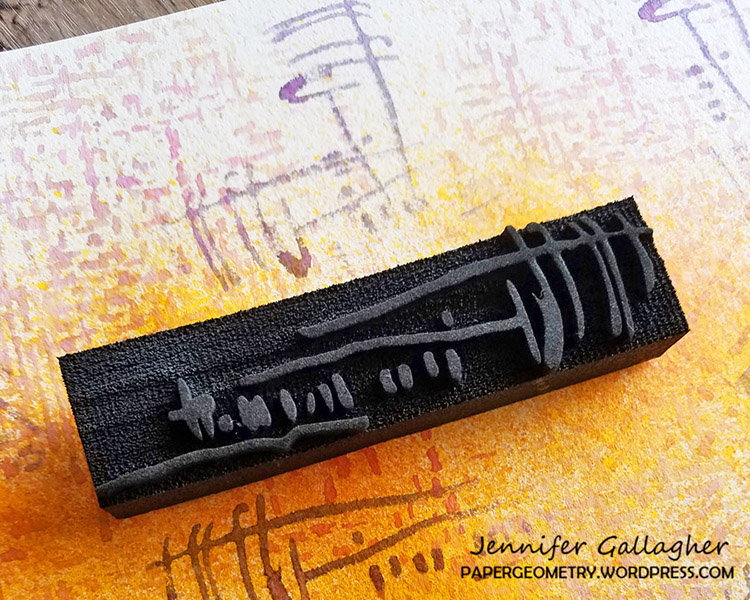
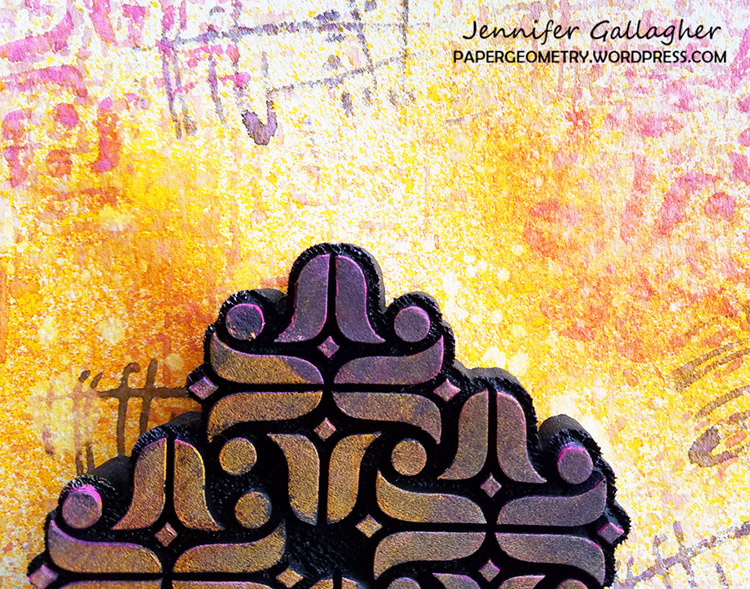
This month my Creative Squad is playing along with my new Foam Stamplifier Challenge: All month long you can follow my daily prompts on Instagram and on the blog to amplify your foam stamps!!! Today Jennifer Gallagher is following the prompt Spray! She’s using my Circle DriveSignals, Amsterdam, Gnarly, and Mid Century Squared foam stamps to demonstrate the art of making and using a masterboard!


All month long the Creative Squad is playing along with Nat’s Foam Stamplifier Challenge. Today’s prompt is “Spray!” So I pulled out my favorite spray inks, Dylusions ink spray by Ranger Ink, and all of my n*Studio foam stamps and got to work. This tutorial will walk you through using water-reactive spray inks and artfoamies to create a beautiful masterboard. Knowing how to create a masterboard will make quick work of backgrounds for Artist Trading Cards and Coins, greeting cards, and more.

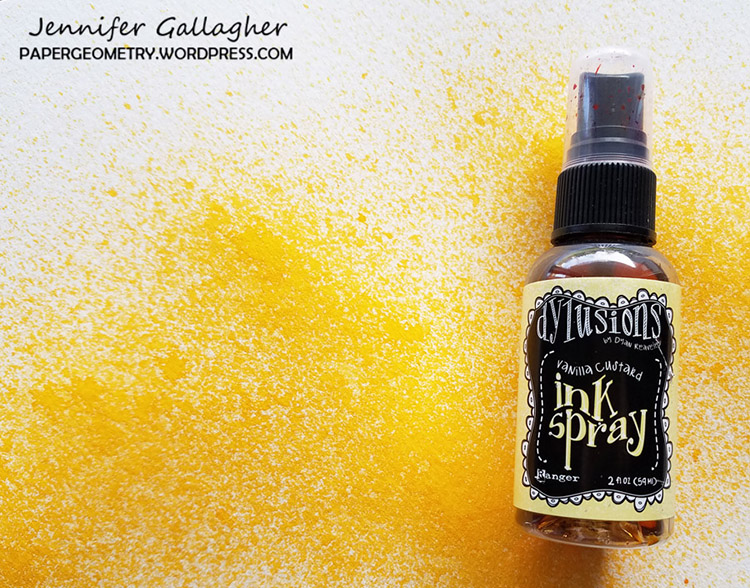
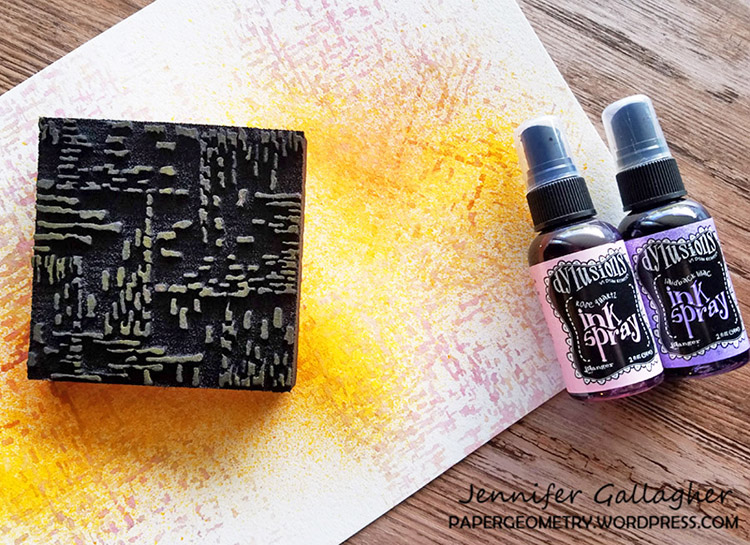
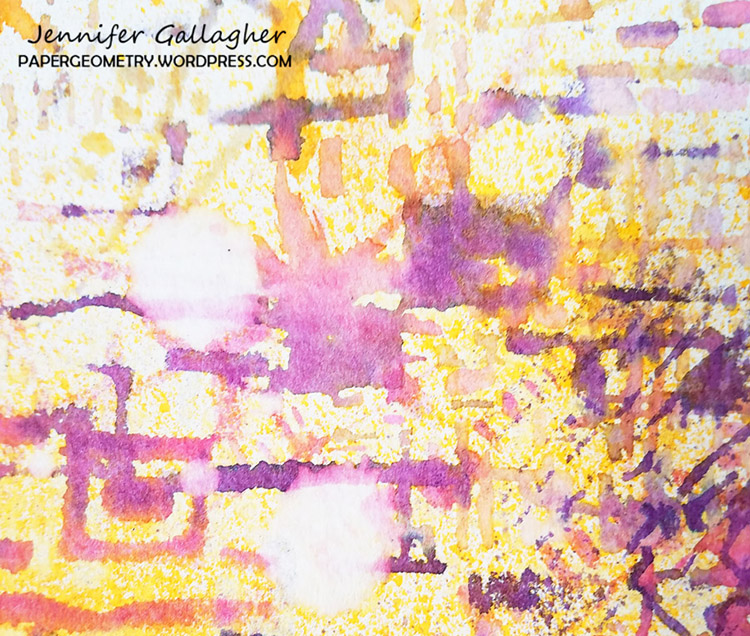
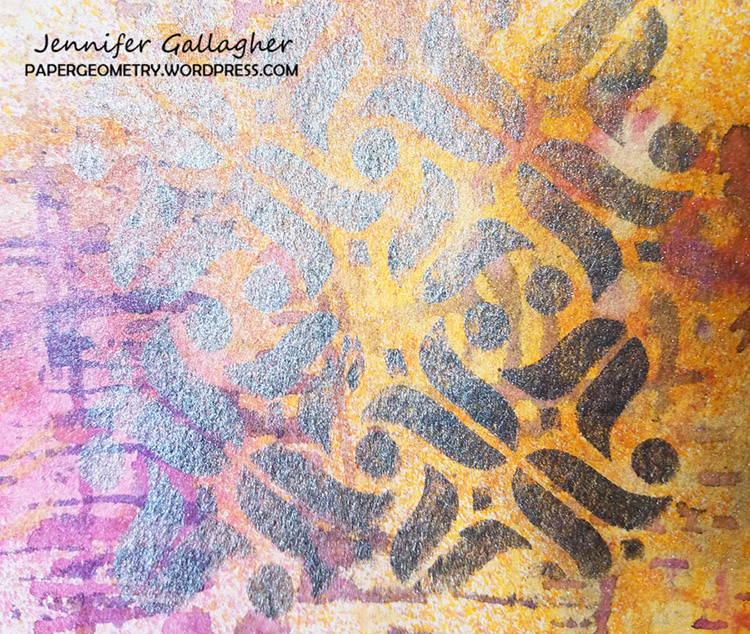
Begin with a sheet of heavy watercolor paper. Spray a little of Ranger’s vanilla custard ink spray leaving white space here and there. Next, using Nat’s new Signals foam stamp, spray the stamp with rose quartz ink spray and press the stamp in a few places. Mist the foam stamp with a spritz of water and press it into a paper towel to remove the pink ink. Repeat the process again with laidback lilac ink spray.

Add some additional detail with Nat’s Gnarly or Mid Century Squared foam stamps by spraying it with laidback lilac and pressing it in various spots around the paper. Once dry, we can remove some of the ink to recover some white space and add additional interest by spraying the Signals foam stamp with water, gently pressing onto an area, and dabbing (don’t wipe) the water left behind with a paper towel.

Spray rose quartz ink onto Nat’s Amsterdam foam stamp and press onto the paper.

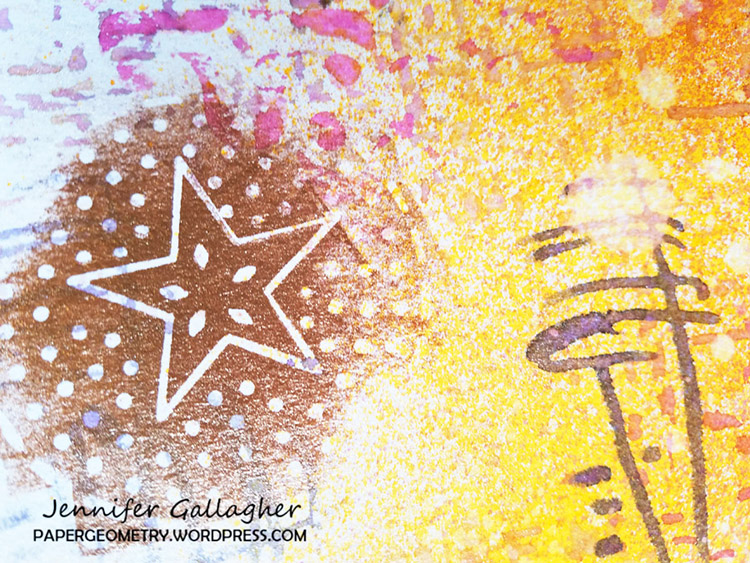
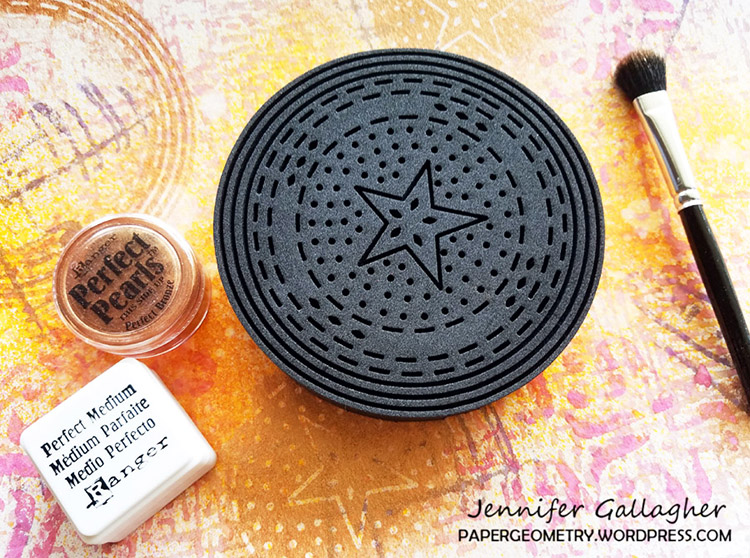
For a fun metallic flair, apply Ranger Ink Perfect Medium onto Nat’s Circle Drive stamp and Amsterdam stamp and emboss with perfect pearls in pewter and perfect bronze.

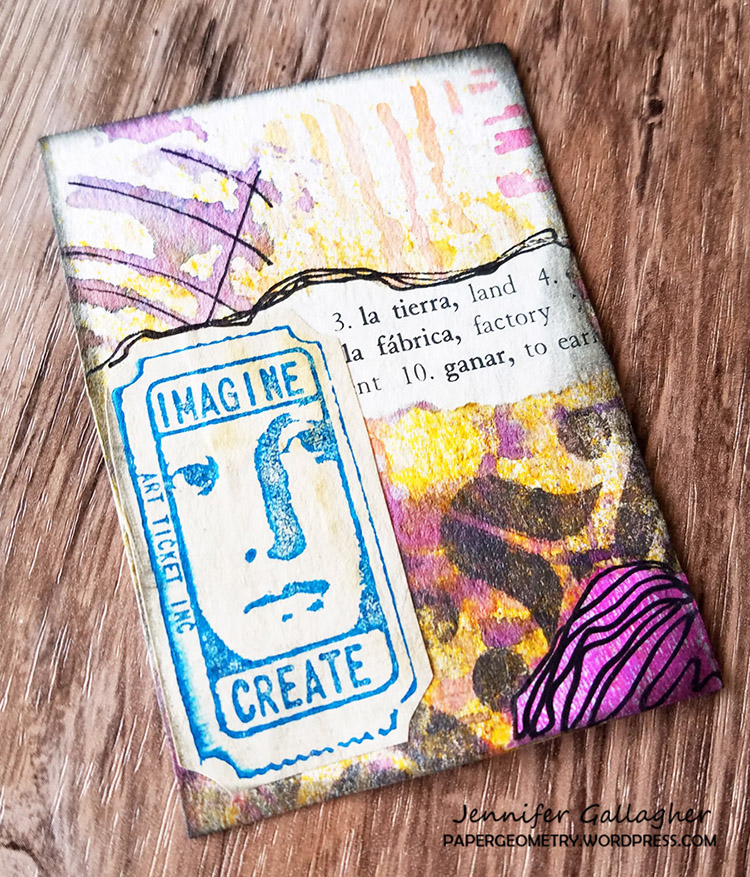
I’ve turned my masterboard into artist trading cards and coins. The possibilities are endless. I hope you’ve enjoyed this tutorial. Be sure to play along with Nat’s Foam Stamplifier Challenge and show us what you’ve created.


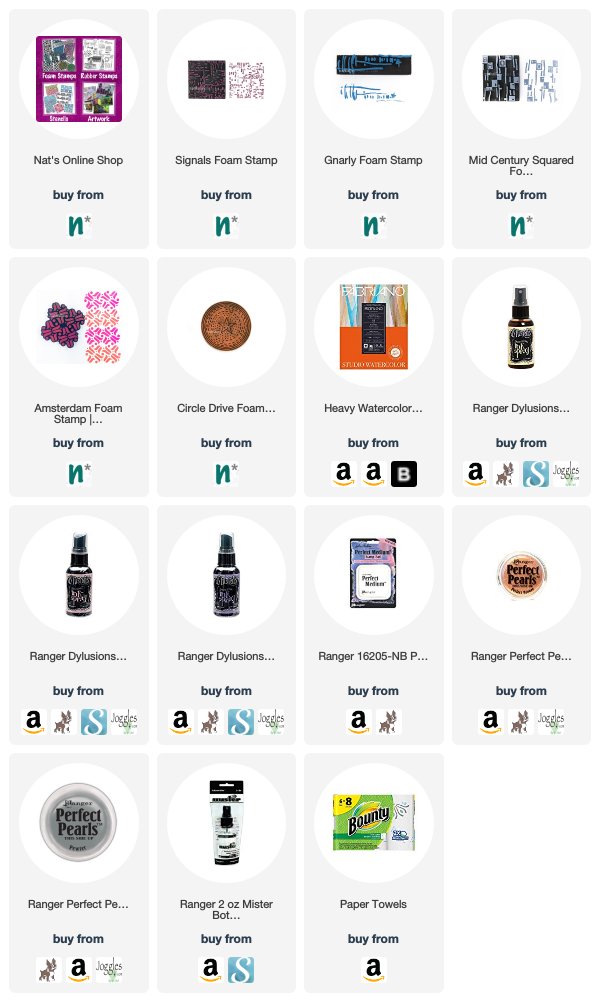
Thank you Jennifer – I love imagining all the possibilities for your gorgeous masterboard! You can find my Foam Stamps in my Online Shop. Here are some of the supplies that Jennifer used:


Feel inspired? I hope you join us for the Foam Stamplifier Challenge this month. As you play along, don’t forget to tag me when you share your creations – I would love to share your projects in my next  “n*Spiration From Around the Globe“.
Leave a comment

Currently Digging – Creative Squad Edition with Josefine Fouarge

It’s time for a special edition of Currently Digging – with my Creative Squad! Once in a while I like to share with you some nifty finds – like an Artist whose work caught my eye…, some Inspiration that got my creative juices flowing, and Tools & Techniques I am currently digging. Today we asked Josefine Fouarge from my Creative Squad what SHE is Currently Digging :) Hope you enjoy this.

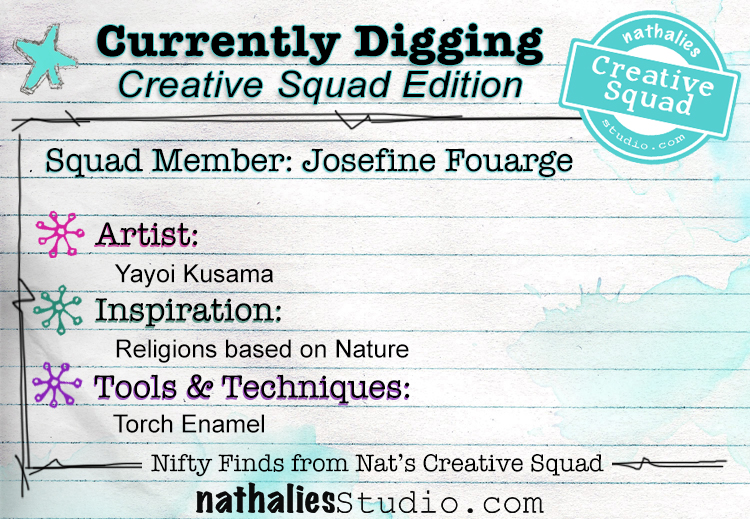
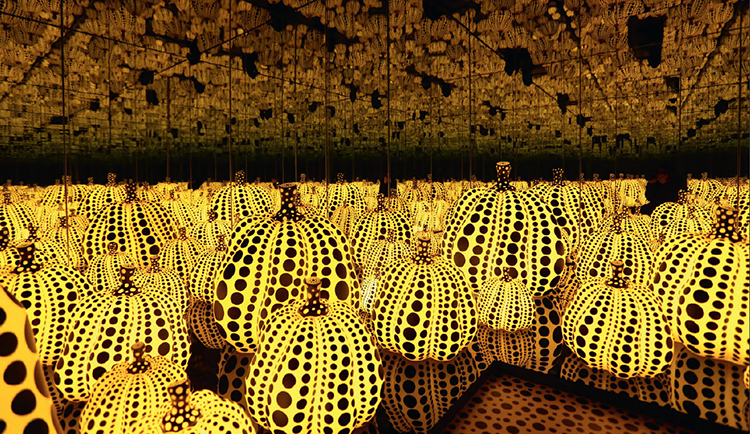
Yayoi Kusama’s polka dot pumpkins are breathtaking and it gets even better when you look at them as part of her mirror room exhibition. Hundreds and hundreds of them, just mesmerizing. Some of her other pieces include huge murals that are full of texture and spikes in all sorts of shapes and sizes.

Religions based on nature: Paganism, Druidism, Voodoo, Wicca are some examples of nature-worshipping religion. I enjoy all the iconology of these religions, scanning through books that describe them, the style they are published in, etc. The images are usually eerie and full of meaning. You can look at them for a long time and always find something new. The way things are arranged on i.e. tarot cards inspire me to let my creativity flow and do what it wants to.

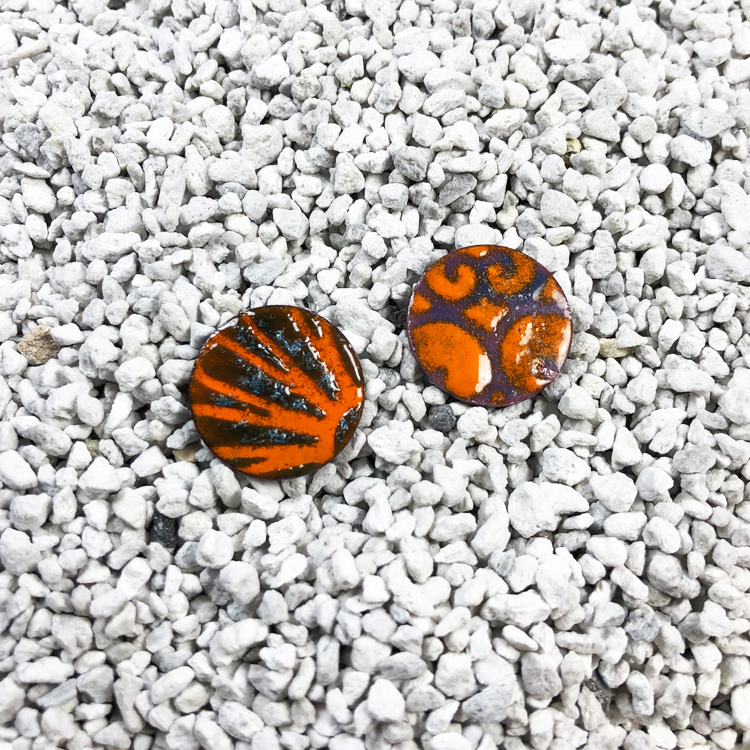
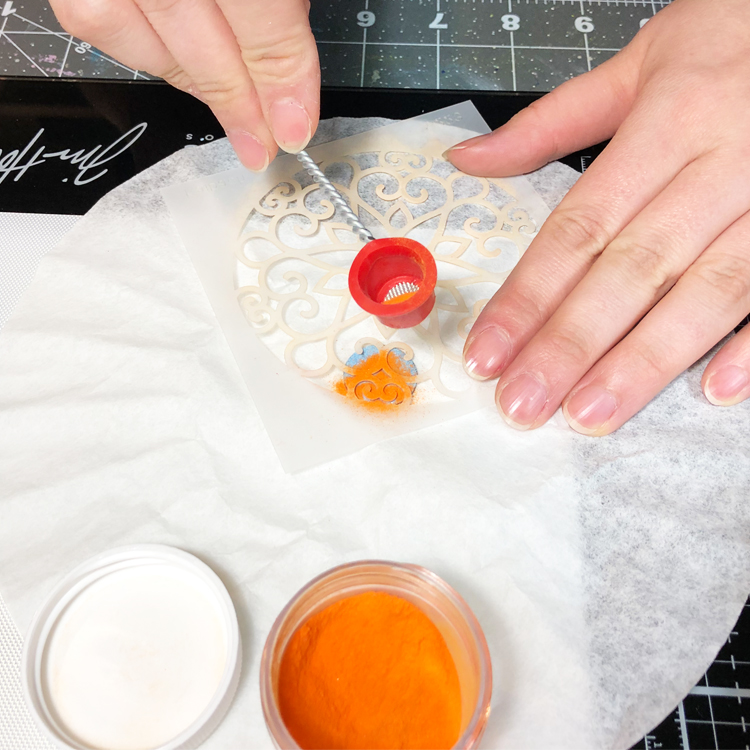
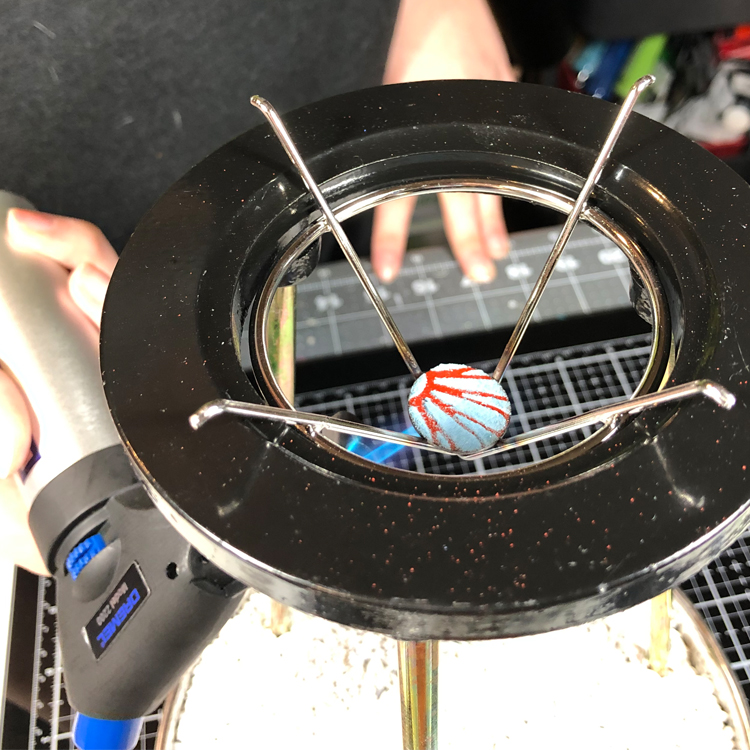
Torch Enamel: I just recently heard about torch enameling and was immediately hooked. I love trying new things – from blacksmithing to glass blowing – and always try to think about how to combine it with my art. Torch enameling seems to be a little bit of both worlds and it’s easy to play with the glass powder on smaller surfaces, even using existing supplies like stencils.


Thank you Josefine! I hope you all enjoyed hearing a bit more about what inspires Josefine as an artist. Stay tuned for the next Currently Digging Creative Squad edition for more from our other members :)

Leave a comment