Day 24 – Castle – Another stamp from my Mini Motifs Stamp set inspired by our fireplaces. This one always reminds me of a little castle – maybe because it is part of our home. I thought the triangle stamp from the Triple Play set would make a nice addition to the pattern …if only I could have stamped more straight …boy oh boy ..but it is cool- I see this coming up in the future again.
Here is a look at April 24:
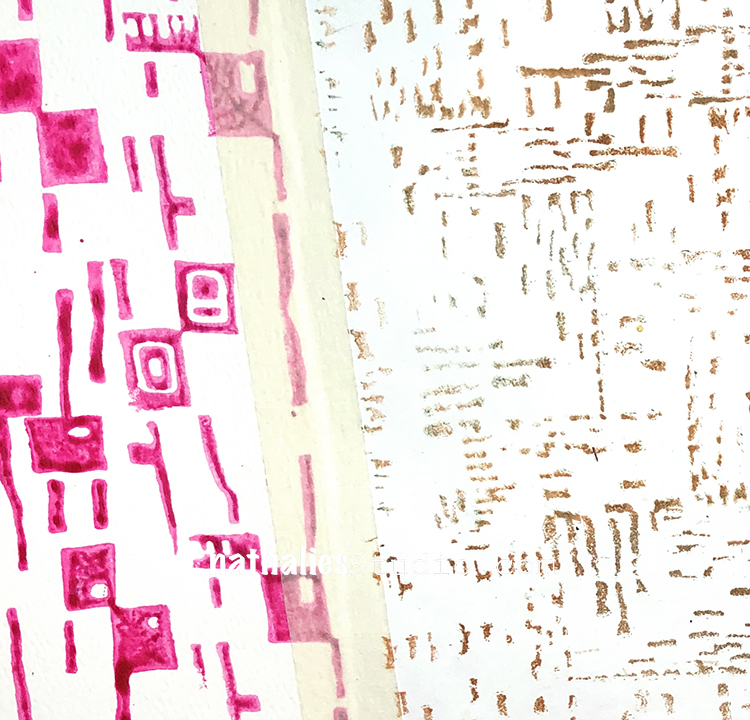
April 25 – Print – My MidCentury Squared Stamp is always reminding me of wallpaper from that time -so I wanted to play a bit with stamping layered on top in different directions and different colors. I really like this- I would take a printed wallpaper like this :)
And a looksie at April 25:
Follow along with the challenge on instagram and post your artwork too with the hashtag #artcollabChallengeAccepted
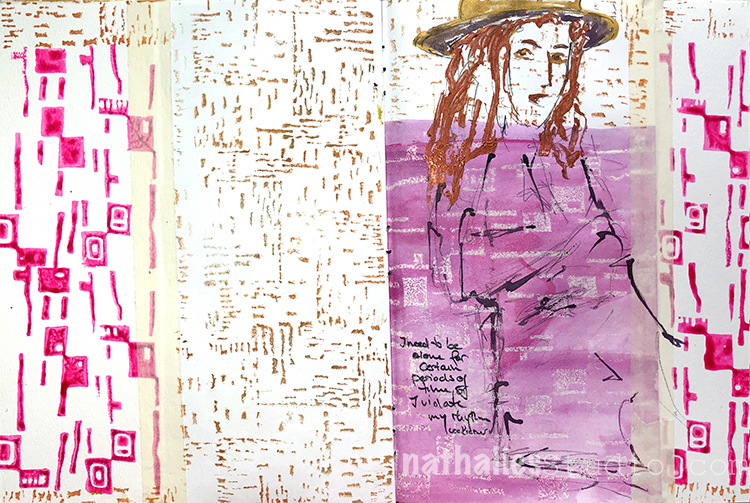
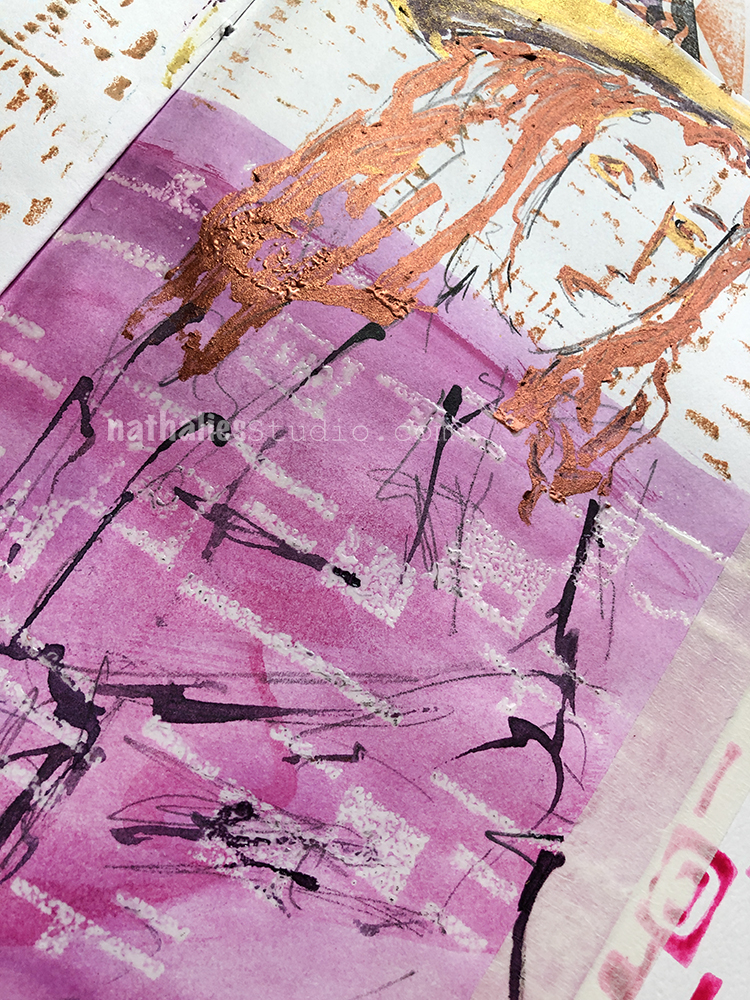
“I need to be alone for certain periods of time or I violate my own rhythm.” Lee Krasner
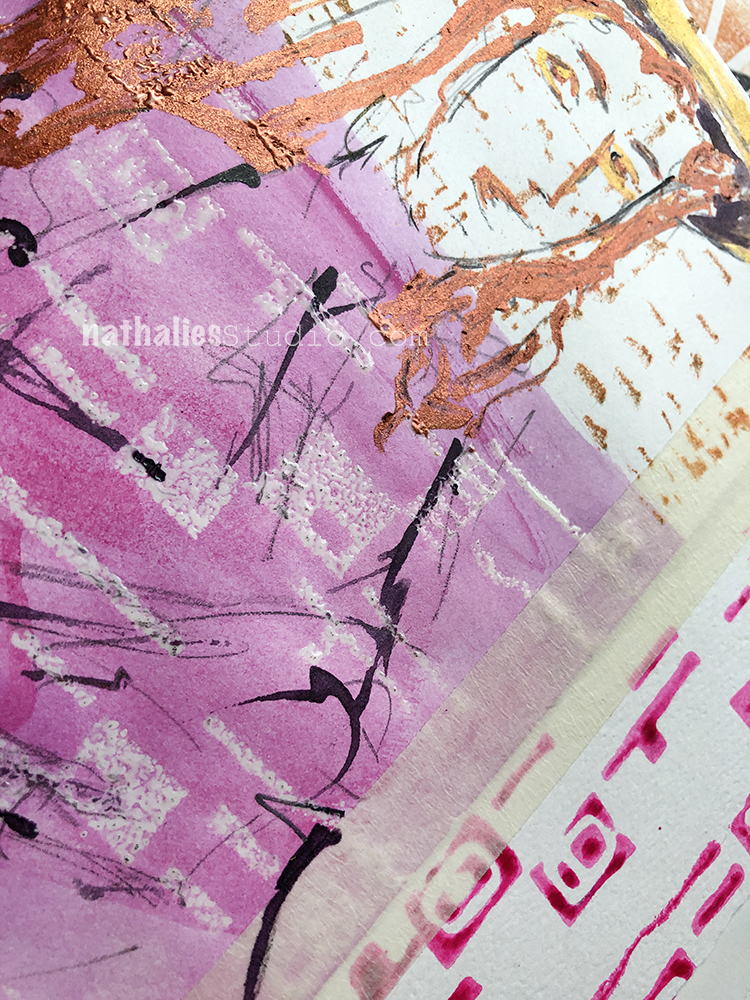
So true- while I am a very extrovert person – I also love long stretches of alone time :) For my rhythm of the journal page I used the Midcentury Squared foam stamp with UTEE and then added some acrylic ink on top. Then I used ink to draw the lady .
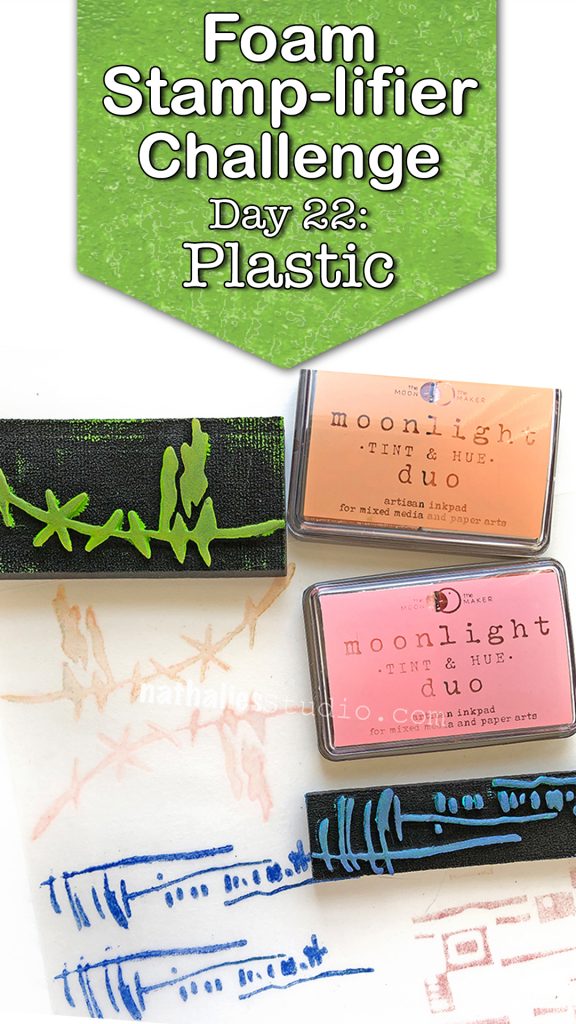
On the left here i used Watercolor and added it to my foam stamp – Love the look. the Signal foam stamp on the right was stamped with acrylic paint.
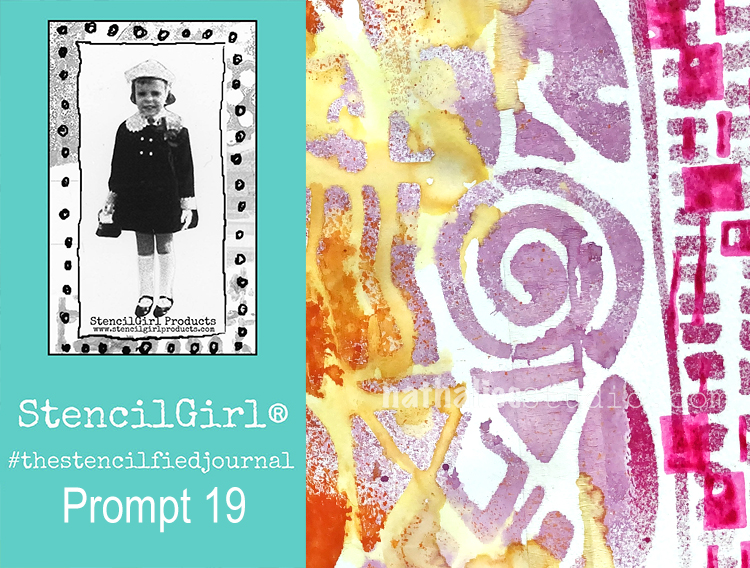
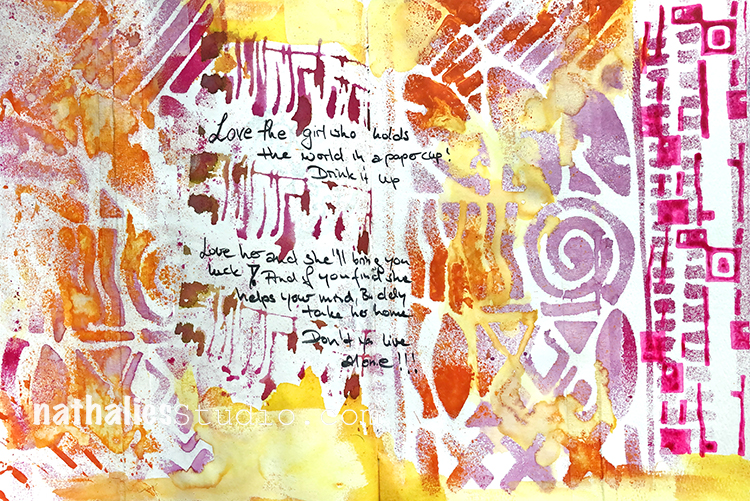
My wonderful friend Tina Walker is at it again – she invited several people to join her Stencilfied Prompts. The prompts are music related and each week she is posting a song. You can be inspired by the lyrics, the video, the album cover or anything related and the only restriction is that you have to use StencilGirl Product Stencils. Here is my take on Prompt 19
This week’s prompt was Danny’s Song by Loggins and Messina which I had never heard before. It’s a pretty uplifting song about love so I was inspired to make a bright and happy page.
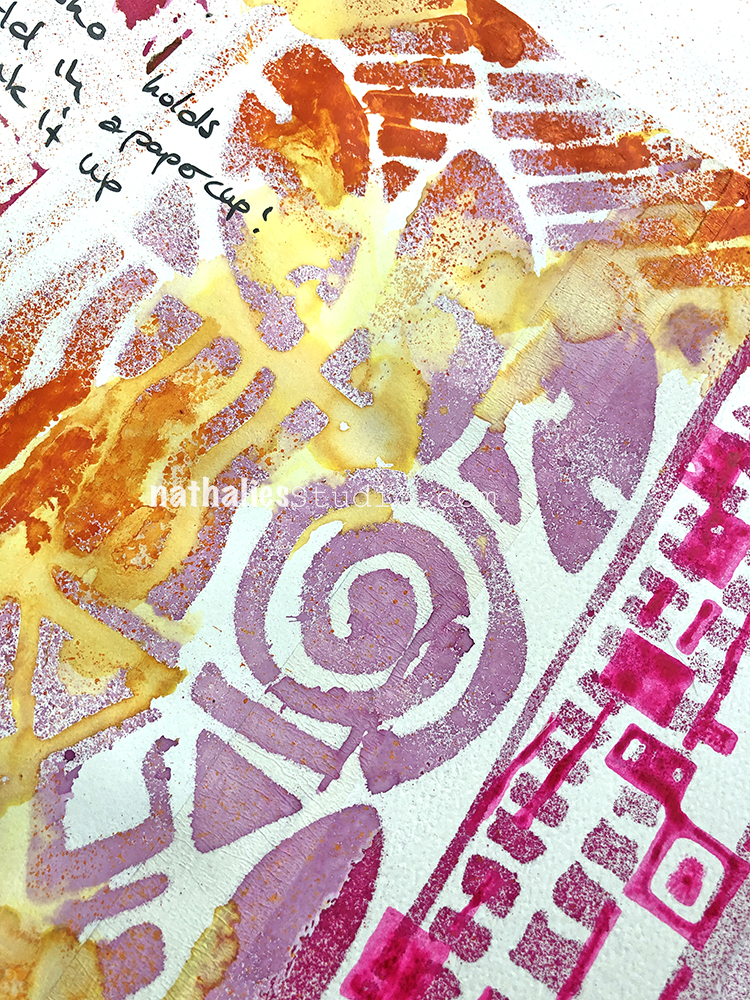
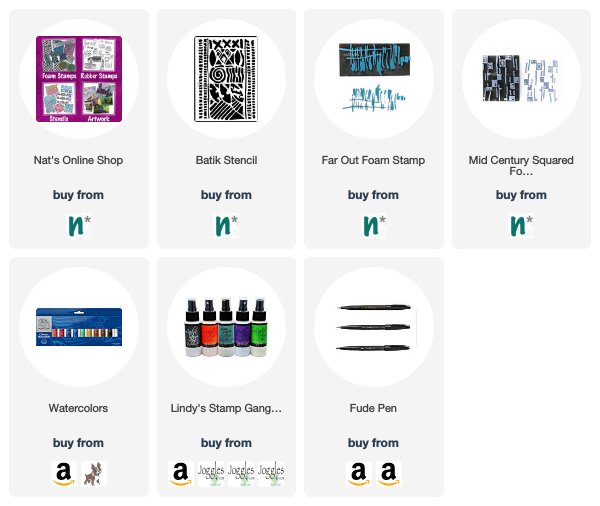
I used my Batik stencil with spray paint – one of my favorite stencils that is an “oldy but a goody.”
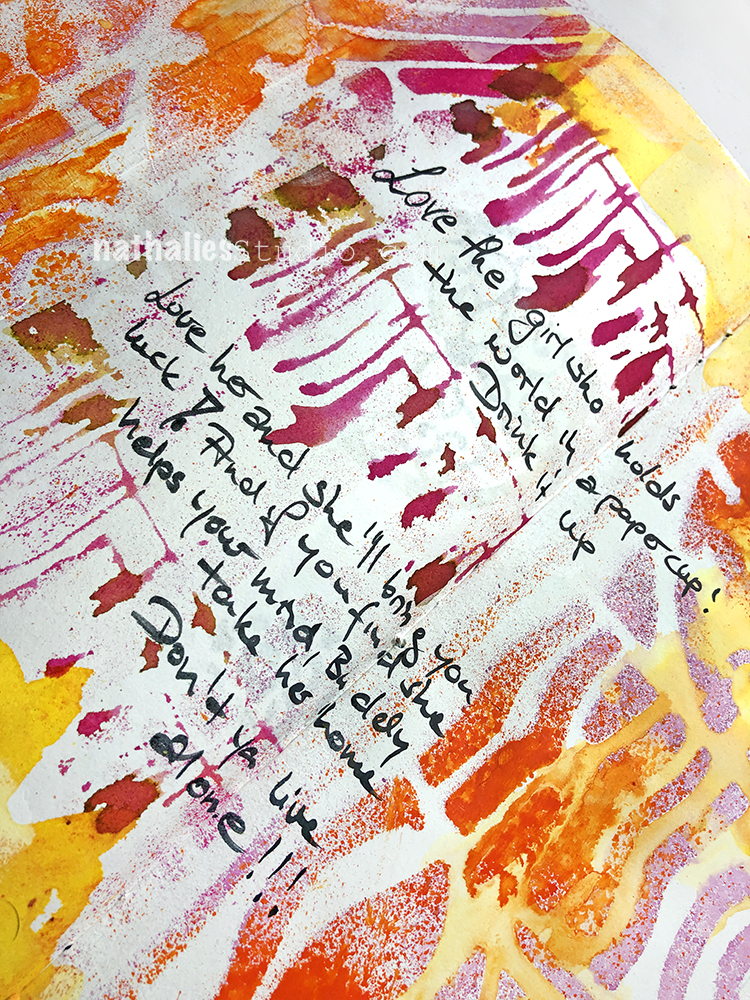
I wrote out some of the lyrics with a Fude pen and also added my Far Out and Mid Century Squared foam stamps with watercolor and spray paints.
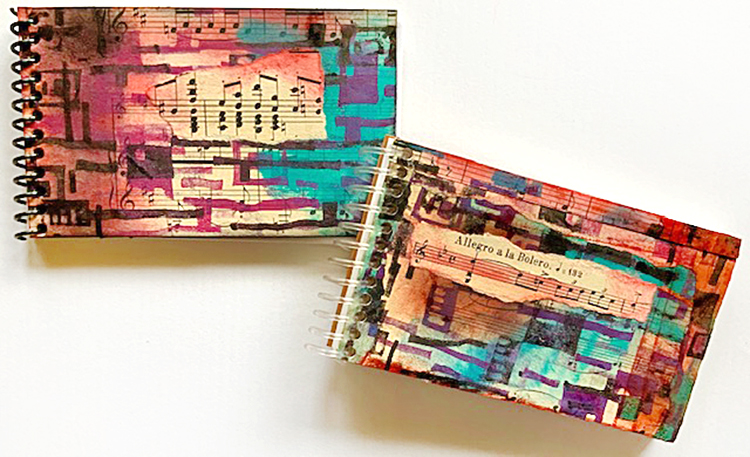
Hello from my Creative Squad! Today we have a post from Judi Kauffman. You can learn more about Judi from our Nice to Meet You blog post featuring her creative story and artwork. This time Judi is sharing some funky notebooks with us that use my Mid Century Squared ArtFoamie and discarded sheet music. She was inspired by this month’s theme: Feel the Rhythm – We’re thinking about patterns this month and using stamps to create a rhythm of marks. Show us your sense of rhythm!
Aretha Franklin Meets Mid-Century Squared
I have close to zero musical abilities. My singing voice can clear the room and my dancing isn’t exactly top notch, so when we were given Feel the Rhythm as this month’s theme I panicked and went into denial. Rhythm? Not so much.
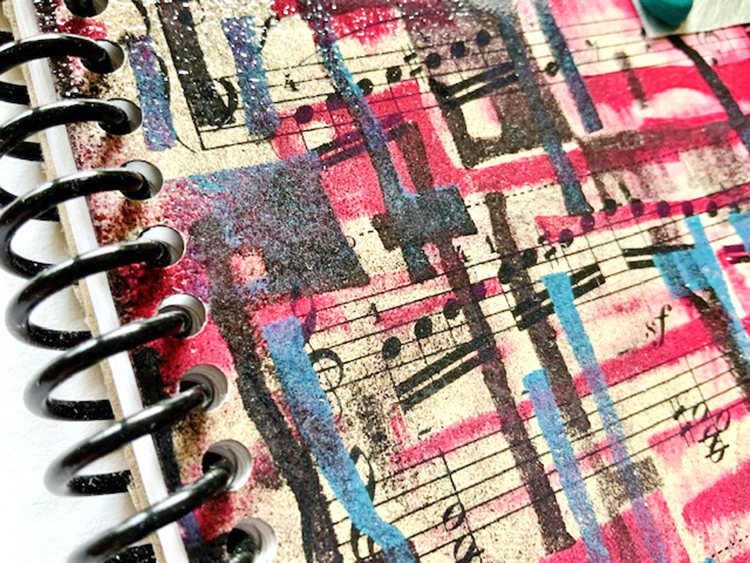
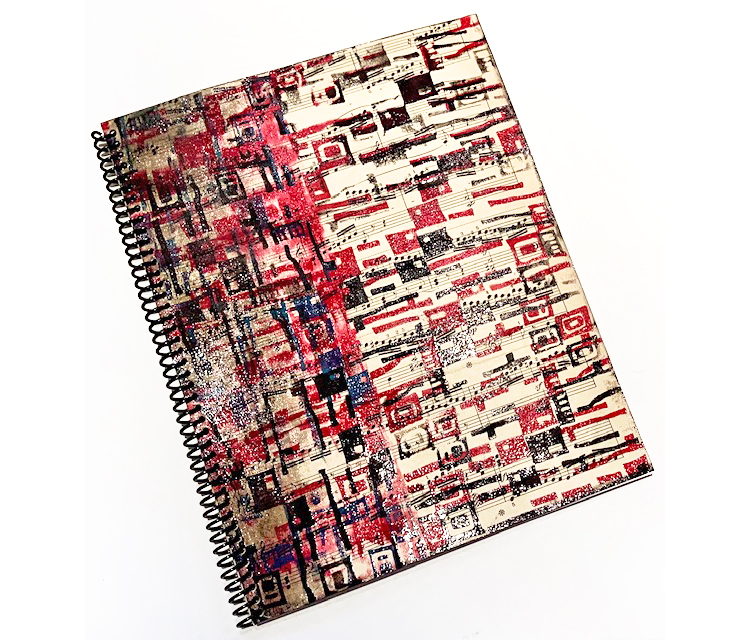
Then two friends sent me some damaged sheet music – it seemed like a reasonable starting point. And I went to see Amazing Grace, the documentary about Aretha Franklin! I was so moved by her voice and way it mixed with the choir behind her and the congregation in front of her – a visual feast as well as magic to hear – and I knew just what I would do for my project:
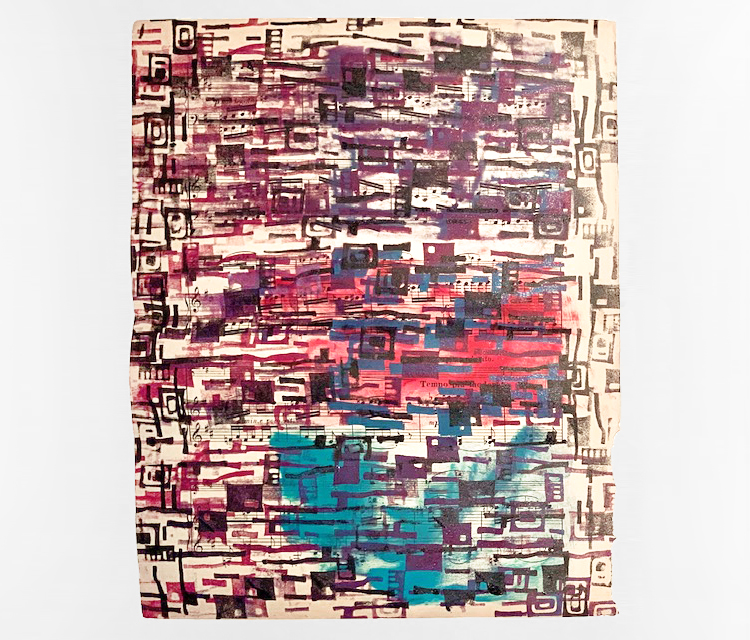
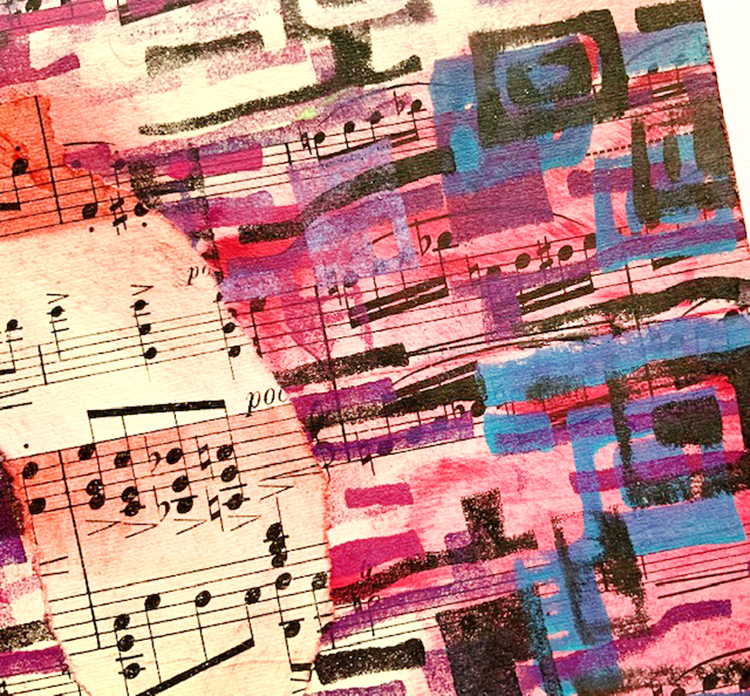
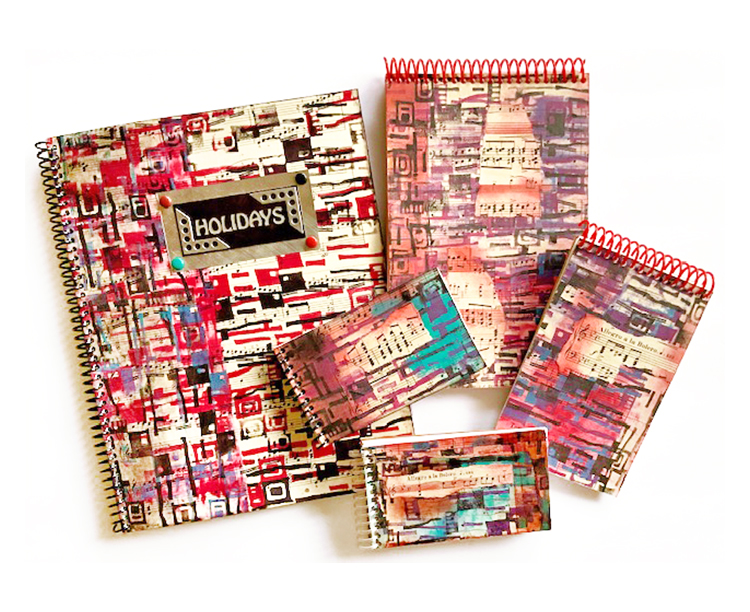
Instead of lining up the stamp and going for a precise regular repeat pattern, my first impulse, I channeled my inner Aretha (helped along by a couple of CDs and a handful of M&Ms) and was off and running. I stamped, smudged and smeared onto the sheet music, did a bit of heat embossing with clear powder, dancing around the studio between colors and humming to the beat. I cut and tore and combined the pieces, layering onto chipboard. A quick visit to the coil binding punch, a bit of embellishment for the holiday keeper, and my notebooks were done!
Your turn:
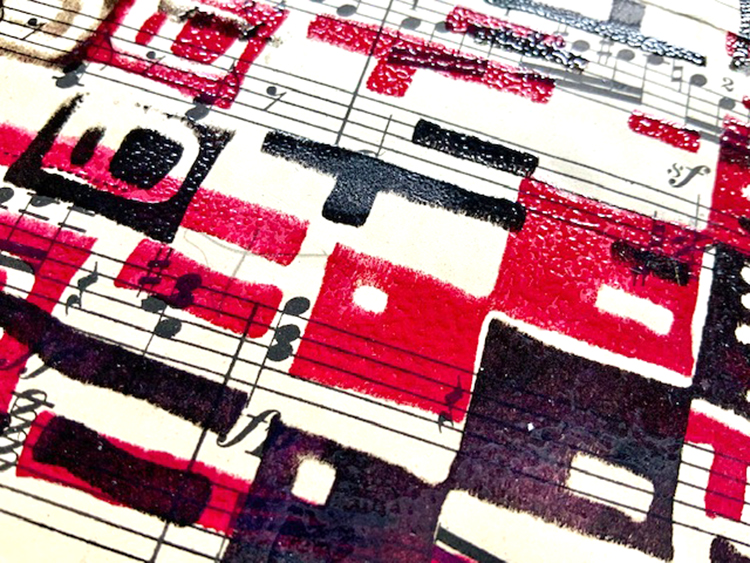
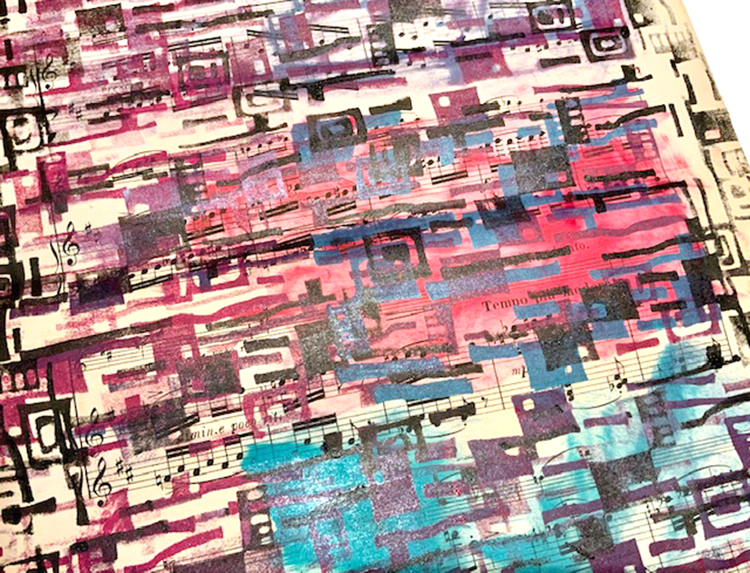
1. Using 3 or more inks, including black, stamp Mid-Century Squared repeatedly on sheet music or pages from a damaged book. Optional: Align the design horizontally for most of the stamping, combine with vertical alignment down the sides. Smudge
2. If heat embossing is desired, use pigment inks and clear embossing powder to add shine and texture.
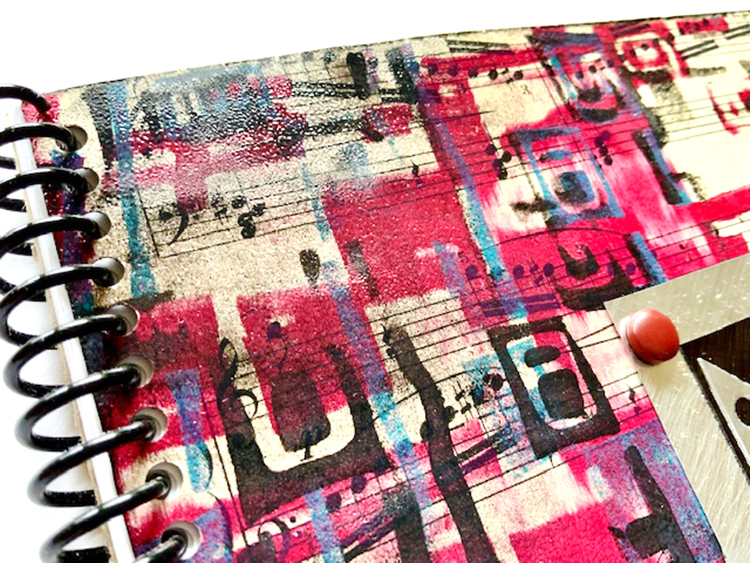
3. Cut covers for journals and notebooks from chipboard. Glue cut and torn stamped papers to the covers; trim at the edges as needed. Smudge on more inks to enhance the collage.
4. Use a coil binding punch or other binding system to complete the projects.
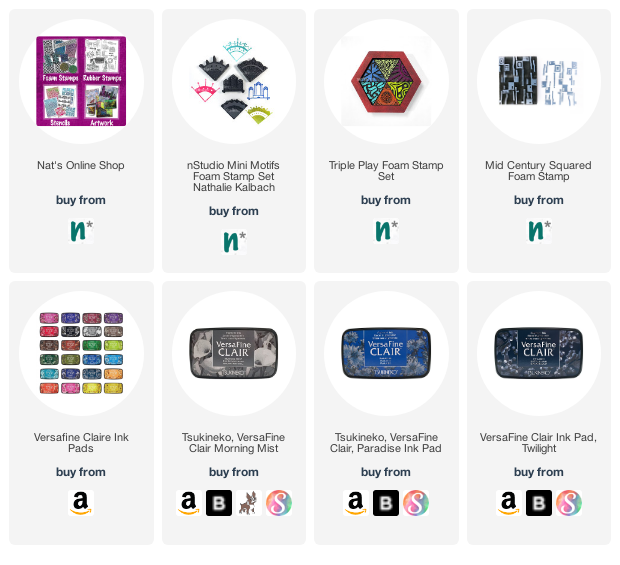
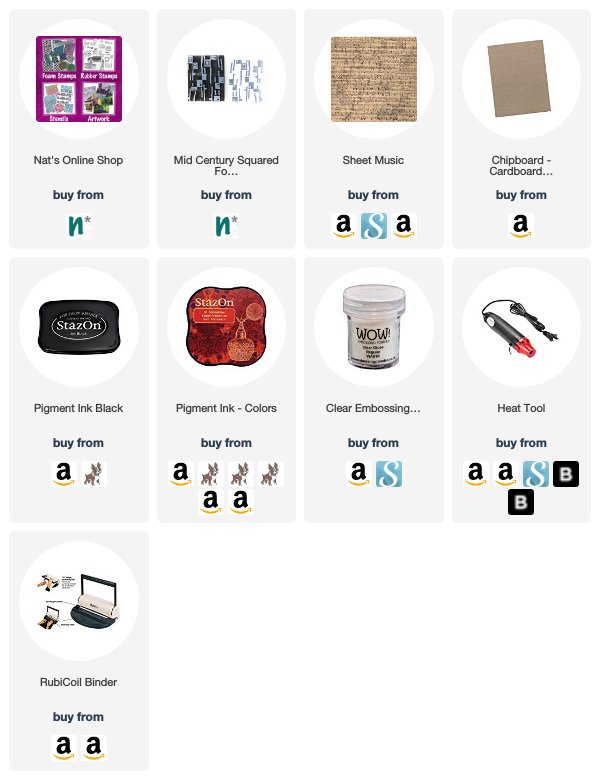
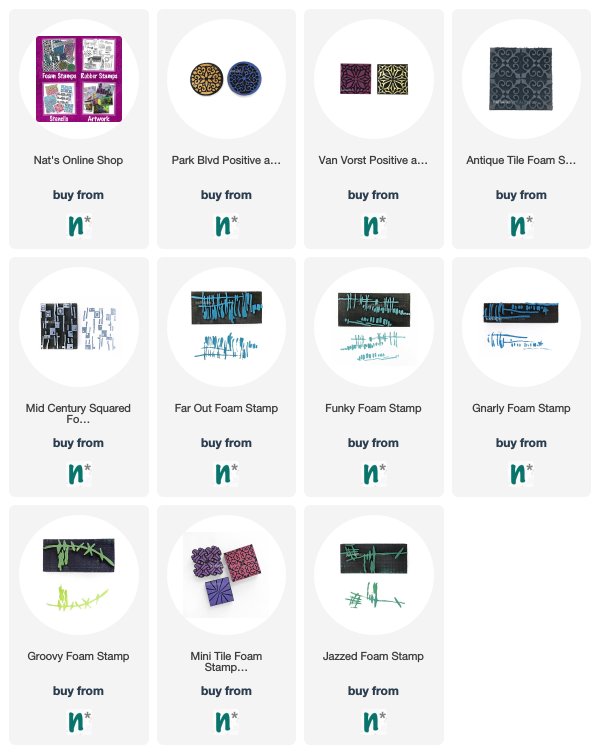
Thank you Judi! I love all the variation in the rhythm of the patterns! Want to give Judi’s project a try? You can find my Foam Stamps in my Online Shop. Here are some of the supplies that Judi used:
Feel inspired? Working on something yourself that you’d like to share? I love to see how you interpret our monthly themes. Email me how you used my stencils and stamps with the theme and email me an image – I would love to share your projects in my next “n*Spiration From Around the Globe“.
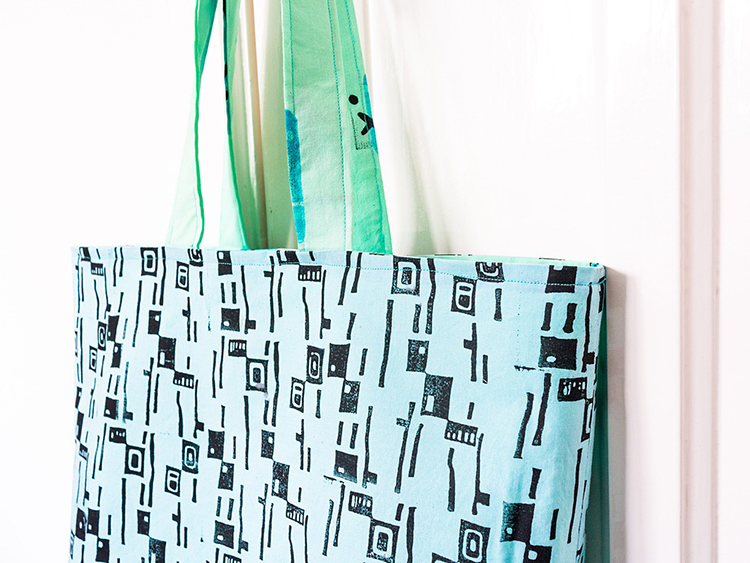
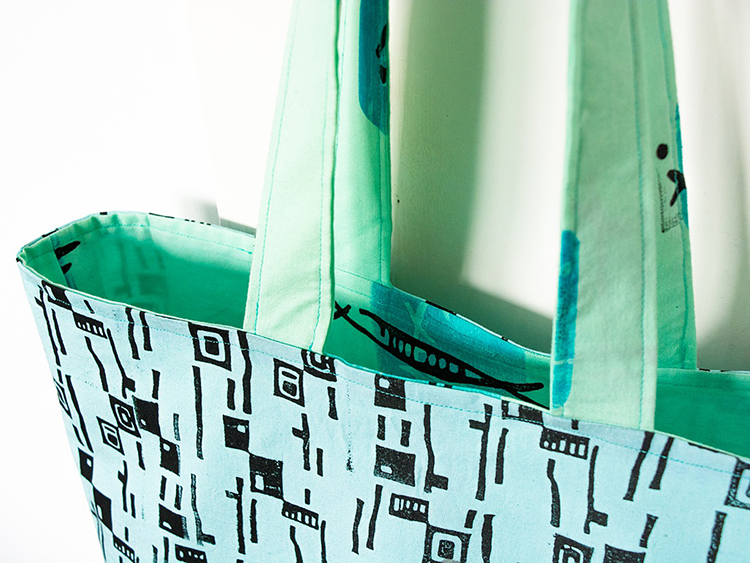
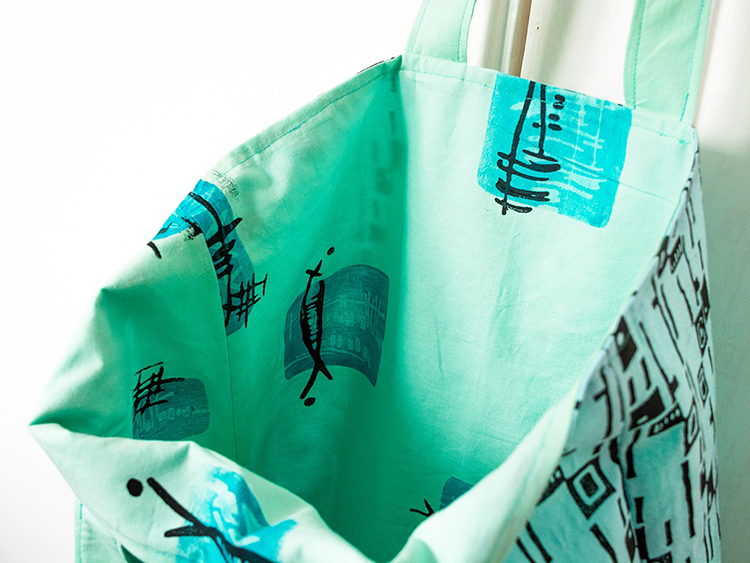
Here’s a post from my Creative Squad! Today we have Marsha Valk back with us again for another round of fun. Welcome back! Marsha is using my Mid Century Squared, Neato, Funky, Gnarly, Groovy, Jazzed and Far Out foam stamps for this awesome tote… and our theme for April: Feel the Rhythm – We’re thinking about patterns this month and using stamps to create a rhythm of marks. Show us your sense of rhythm!
I remember that when I saw Nat’s new stamp designs for ArtFoamies I immediately thought of stamping them on fabric. So that’s what I did!
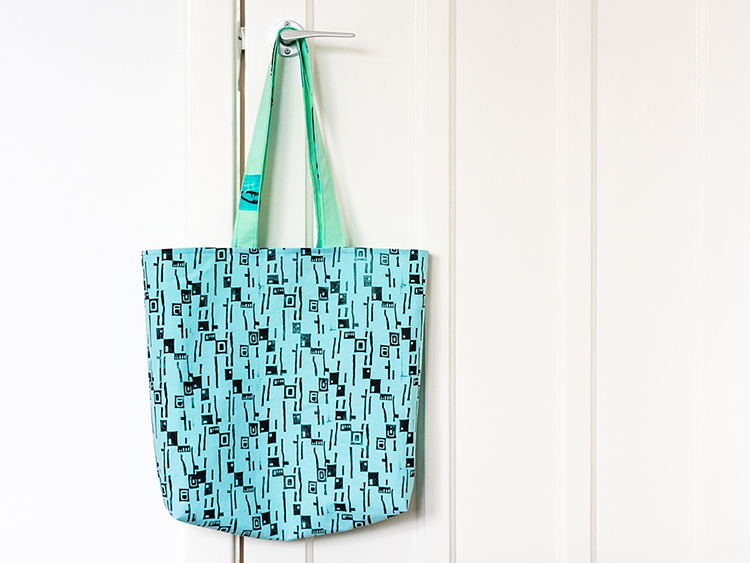
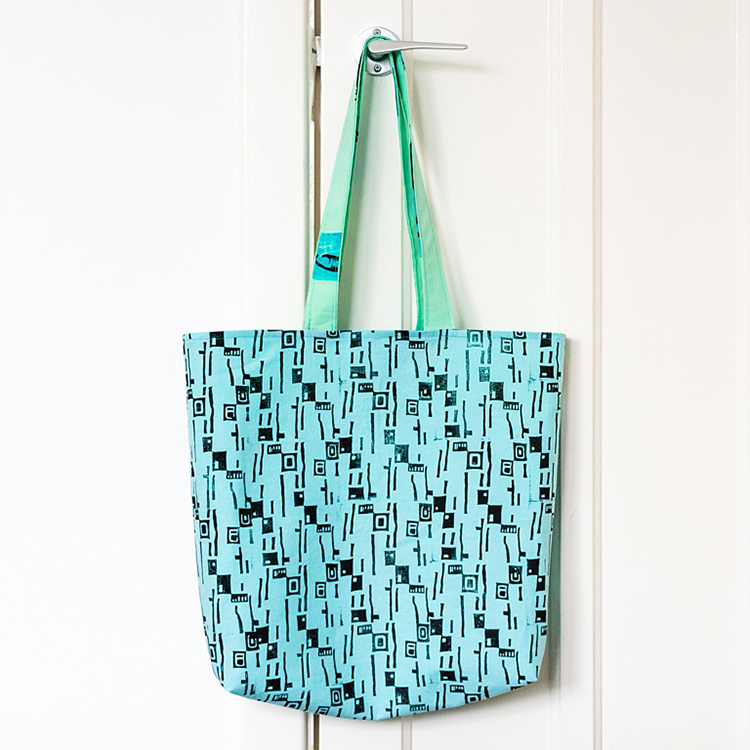
When it comes to stamping fabric designs, I always like to think about what I want to do with the fabric. This time I thought it would be cool to try and sew a simple tote bag.
You can find tons and tons of great sewing tutorials on YouTube these days. So what I tend to do is to look for a tutorial that matches my sewing skills, gather all the materials and then go from there.
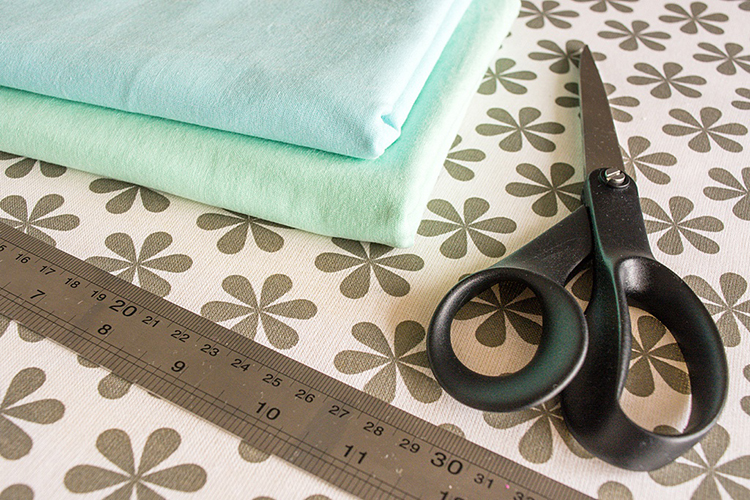
For the tote bag pattern I chose, I needed two different fabric designs, so I bought two slightly different colours of cotton fabric.
Step 1 Pre-wash and iron the fabric before printing. The paint will grab the cotton fibres a lot better when all the sizing is washed out.
If you already know what you are going to make with the fabric once it’s printed, you can cut it to the sizes needed for your project at this point.
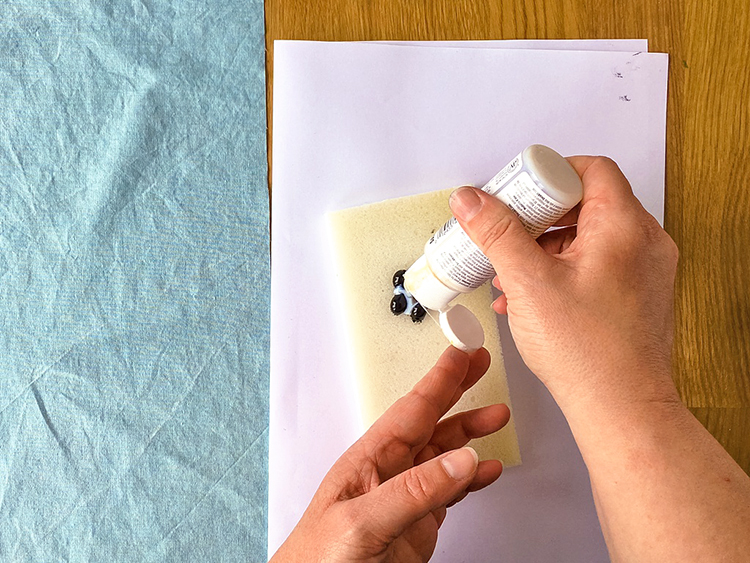
Step 2 Set up your printing station. Protect your work surface if needed. The paint usually seeps through the fabric onto the underlying surface, so make sure you can easily wipe it clean.
Choose the paint colours you want to use. Limit your colour palette to a maximum of two colours plus a neutral.
You can use regular acrylic paint to print on fabric, but if you want it to be washable, you’ll need to use fabric paint or acrylic paint mixed with a fabric medium.
Follow the instructions on the packaging to make sure you are mixing the correct amount of paint/medium for the best result.
I’m using acrylic paint mixed with a fabric medium. You can mix it on an inking palette and use a brayer to apply the paint to your foam stamps or you can create a custom stamp pad using an ArtFoamies StampBuddy.
Step 3 Start stamping!
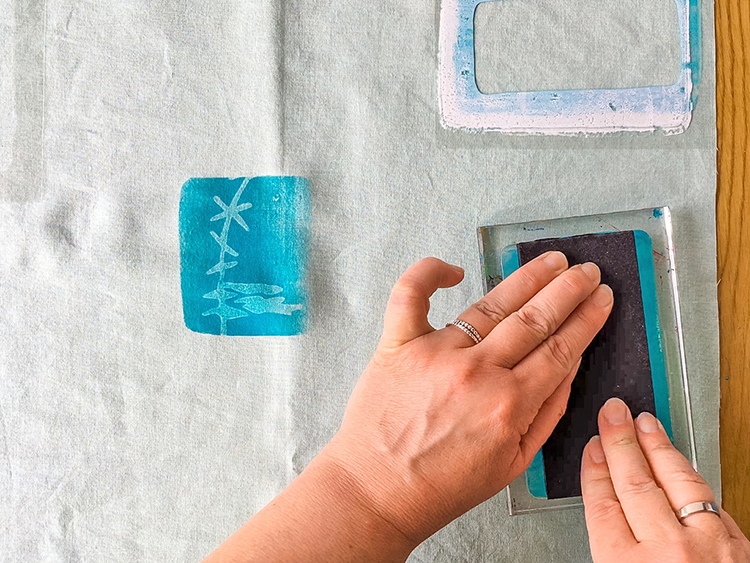
Step 4 For my second fabric design I also used one of my smaller gel printing plates to print with.
First I handcut three stencils from transparencies slightly larger than the gel printing plate and I placed the stencils on my fabric to help me determine the pattern I wanted to print.
Cover the brayer with paint and then roll the paint out over the gel printing plate.
Take a foam stamp and stamp it into the paint. Here I am using Nat’s Groovy stamp.
Press the gel printing plate paint-side down onto the fabric on top of the stencil. Lift up the gel printing plate.
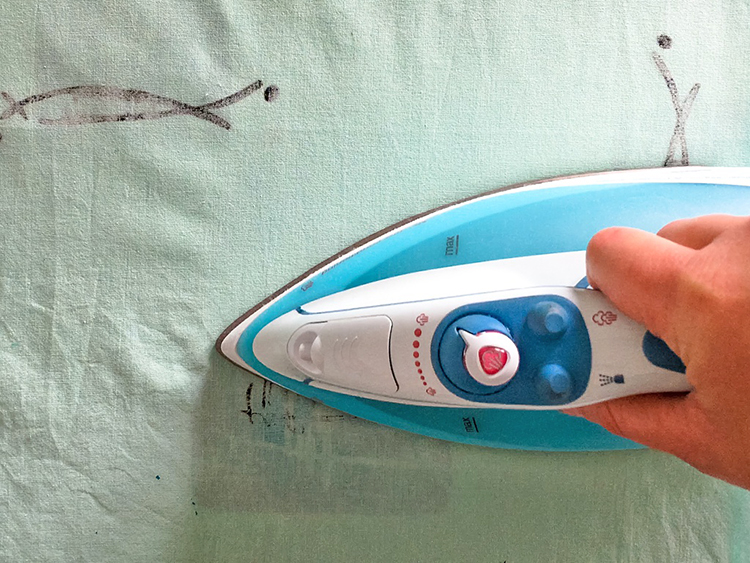
Step 5 Leave your gel printed fabric to dry entirely before heat setting the paint with an iron. Consult the label of your fabric paint or fabric medium for the exact instructions.
Be sure to protect your ironing board cover with a cloth or parchment paper before ironing printed fabric. This will prevent the paint from accidentally staining the cover.
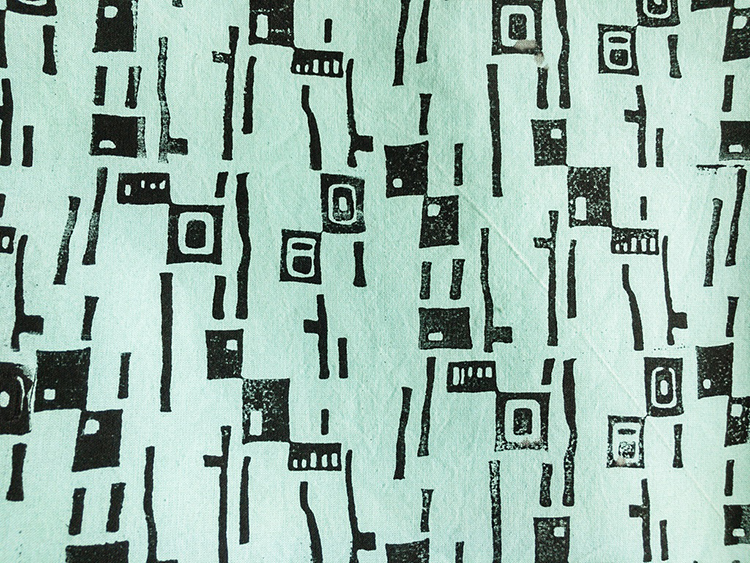
Step 6 Now your fabric is ready for the sewing project of your choice! This one I printed with Nat’s Mid Century Squared stamp.
Happy foam stamping!
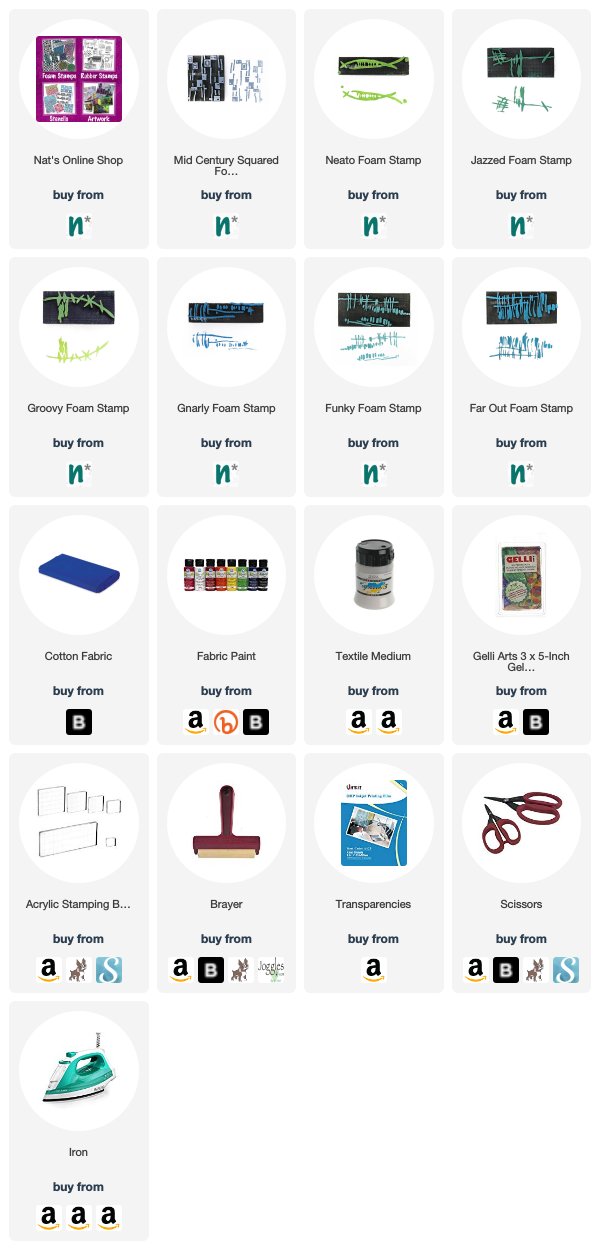
Thank you Marsha for inspiring us to create some of our own printed fabrics for sewing projects! You can find my foam stamps in my online shop if you’d like to create the patterns that Marsha shows. In addition to sewing equipment, here are some of the other supplies that she used:
Feel inspired? Working on something yourself that you’d like to share? I love to see how you interpret our monthly themes. Email me how you used my stencils and stamps with the theme and email me an image – I would love to share your projects in my next “n*Spiration From Around the Globe“.
Fabulous and one-of-a-kind! I love the stamp patterns and the colors used. I might have to get out my sewing machine and give it a try. It’s been awhile since I’ve sewn anything, but I think I can manage the straight lines of a tote bag. :-)
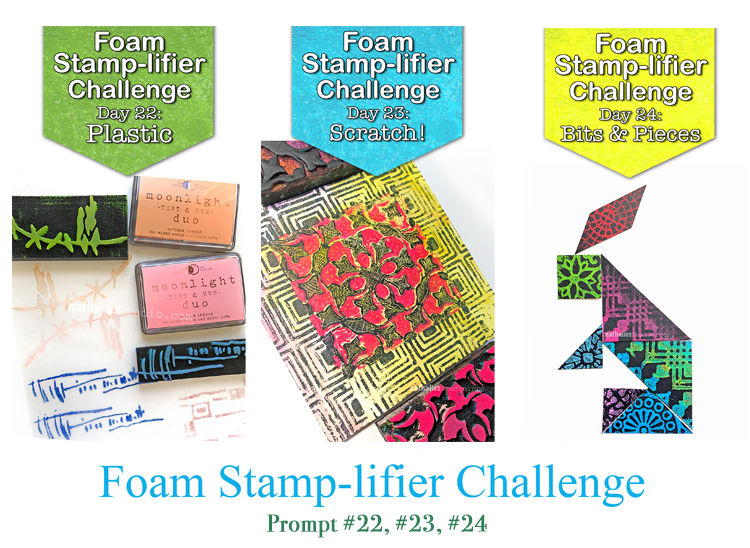
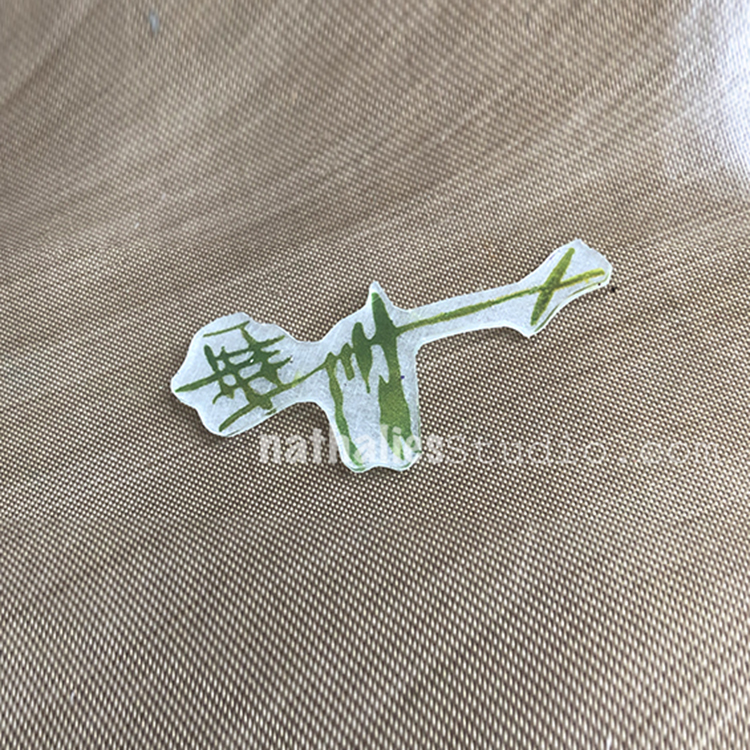
Printing on top of plastic sheets or overhead foils is a fun way to create transparent elements for your work or nice dividers for your art journal but my favorite of all must be using Shrink Plastic. From wine charms, to embellishments to earrings. Using the foam stamps with inkpads of your choice, stamp your desired images.
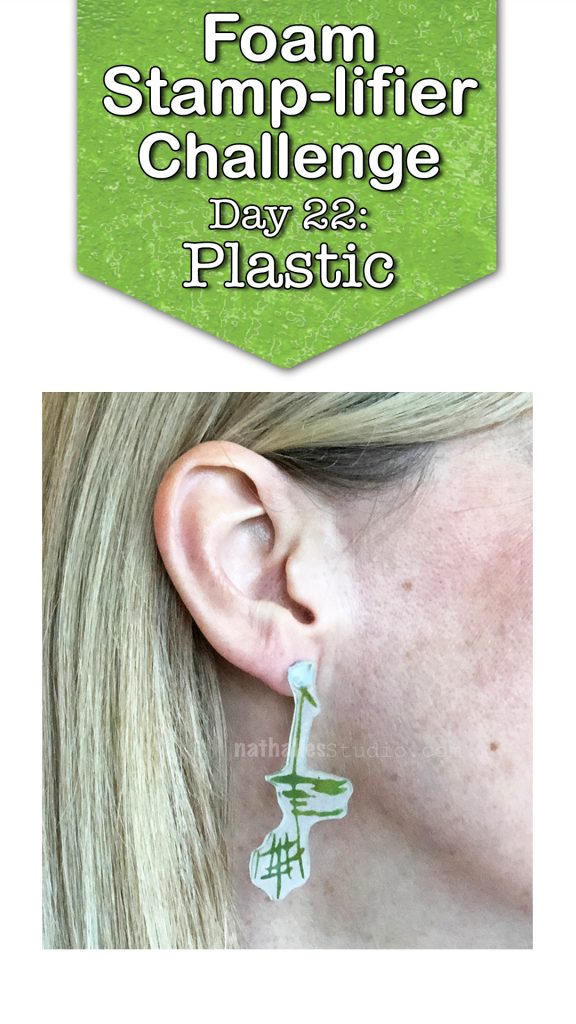
Then heat the shrink film up as the manufacturer recommends and you will get a tiny version of your stamped image. Too cute! Here is a sample where I used the shrink film to create myself some new fancy earrings.
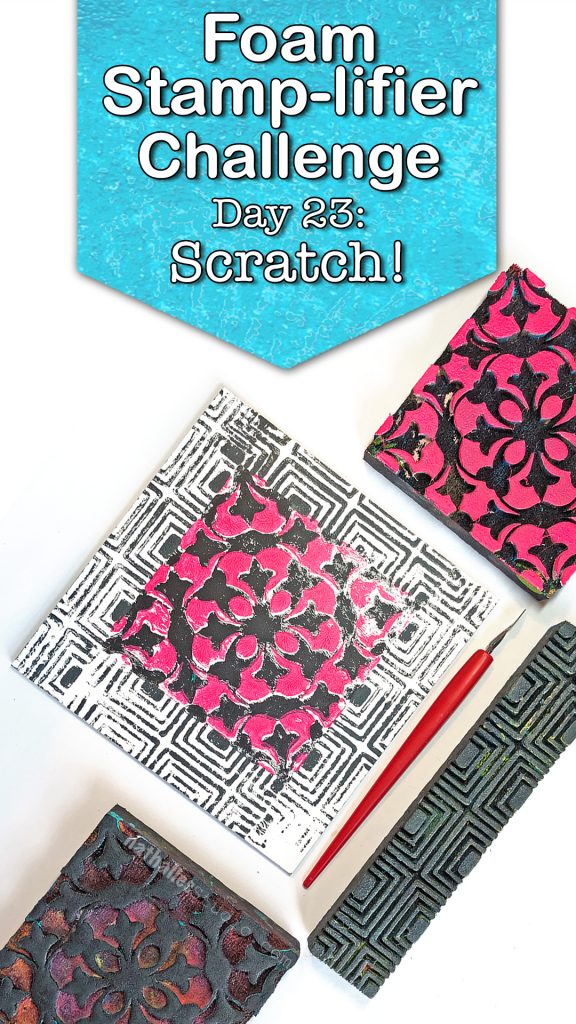
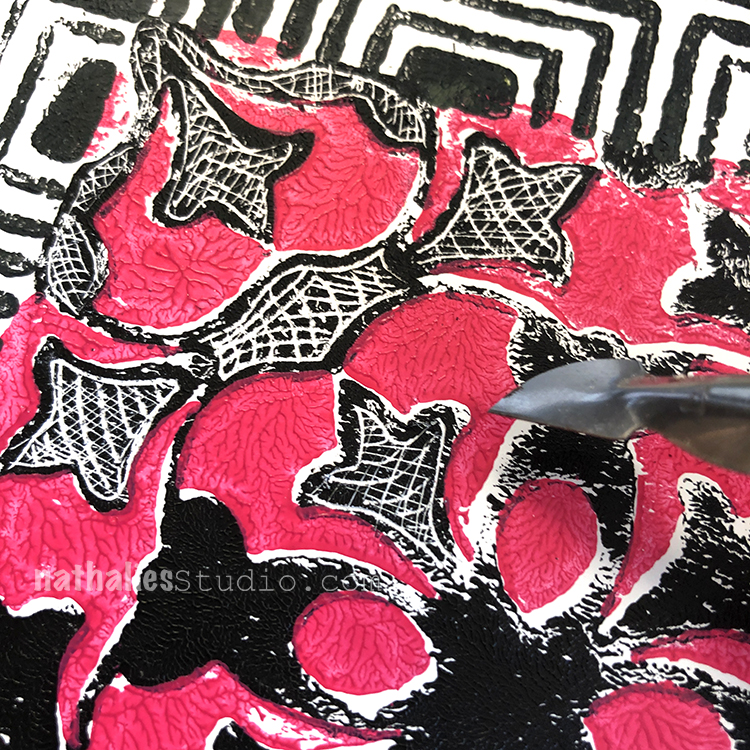
Day 23 – Scratch!
Another fun way to use Foam Stamps is to stamp onto some Ampersand Clayboard to create some great textured designs.
Stamp on top of the clay board with acrylic paint or spray ink or inks and then start scratching into the design. It is like doodling by scratching- better then coloring books- trust me!
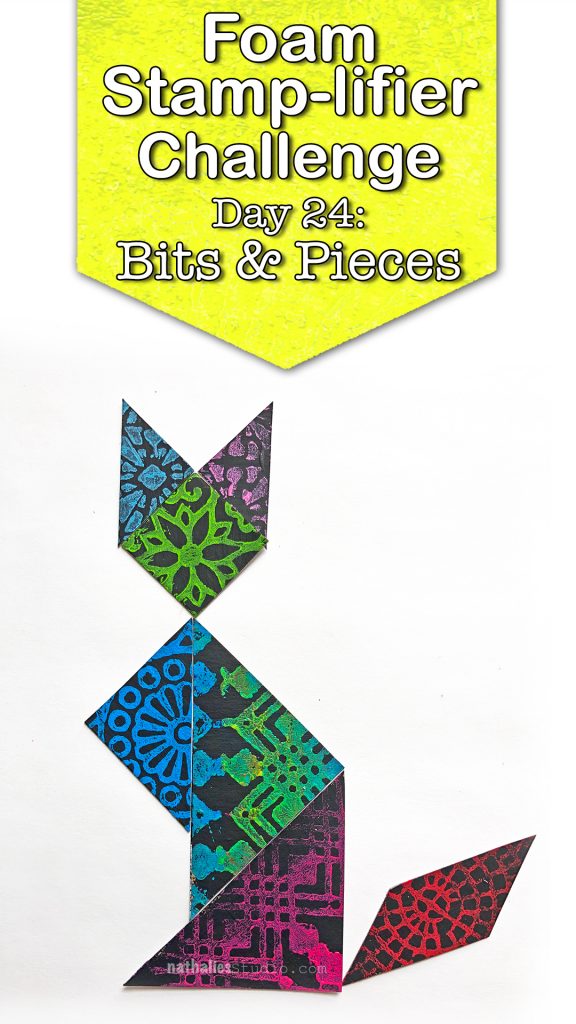
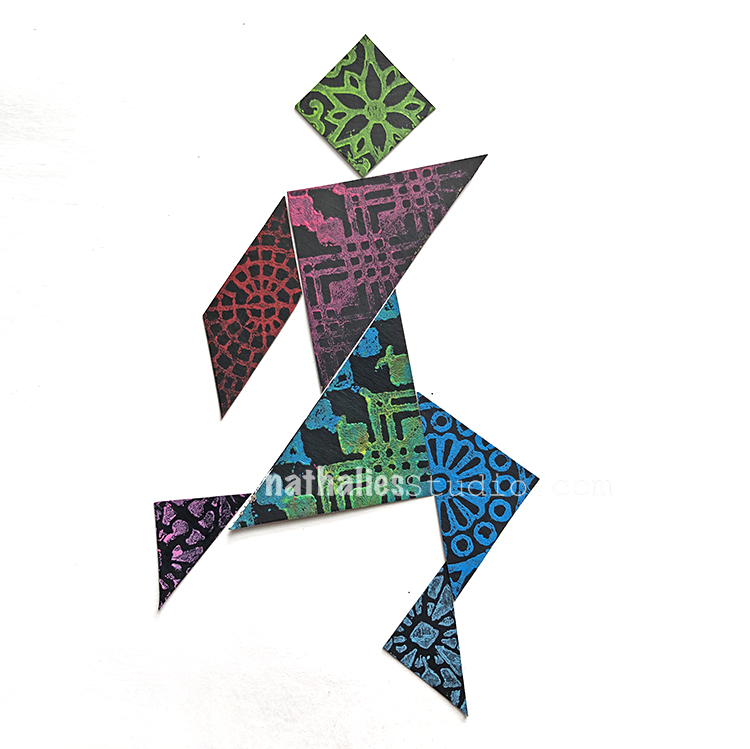
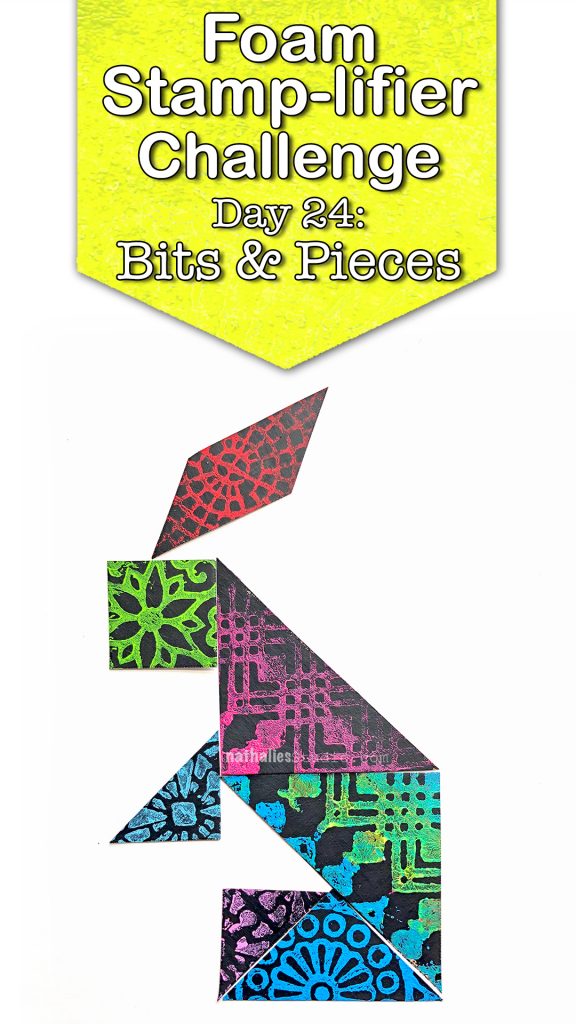
Day 24 – Bits & Pieces
How about using bits and pieces of foam stamped paper to create something new?
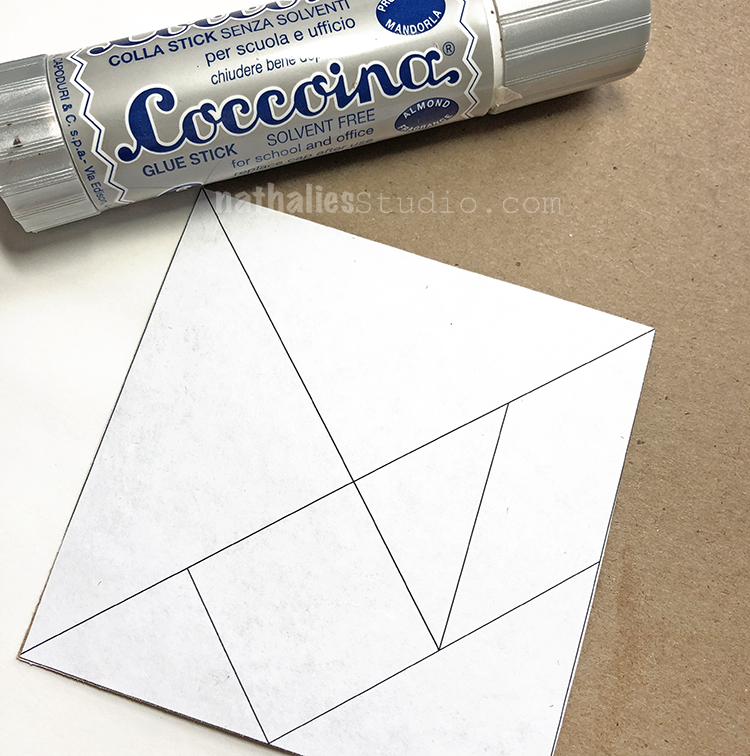
You could create a tangram which is a puzzle which consists of 7 flat geographic shapes which put together can create a new shape.
Simply google tangram, print out the template, glue it on some white or black paper, start stamping with your foam stamps and cut it.
And then go and play …
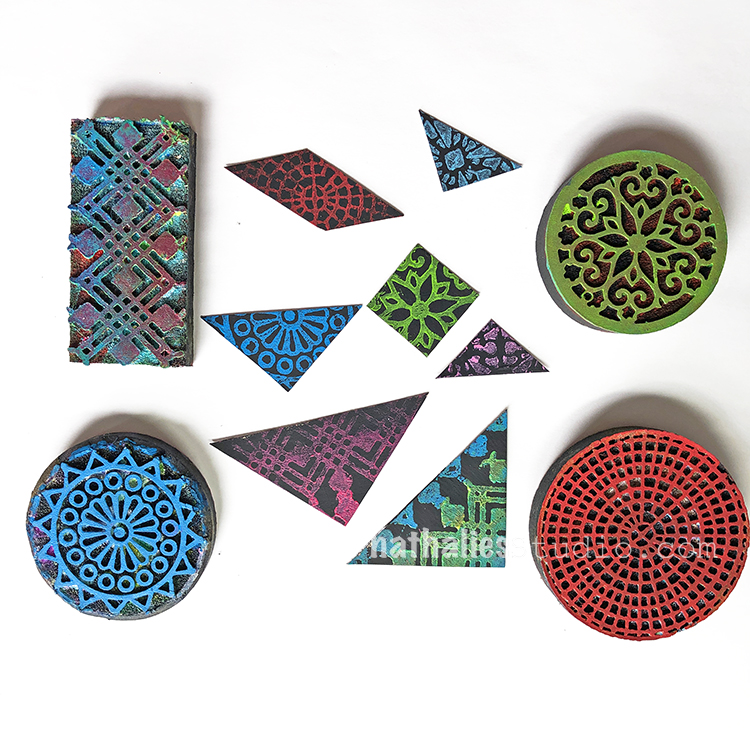
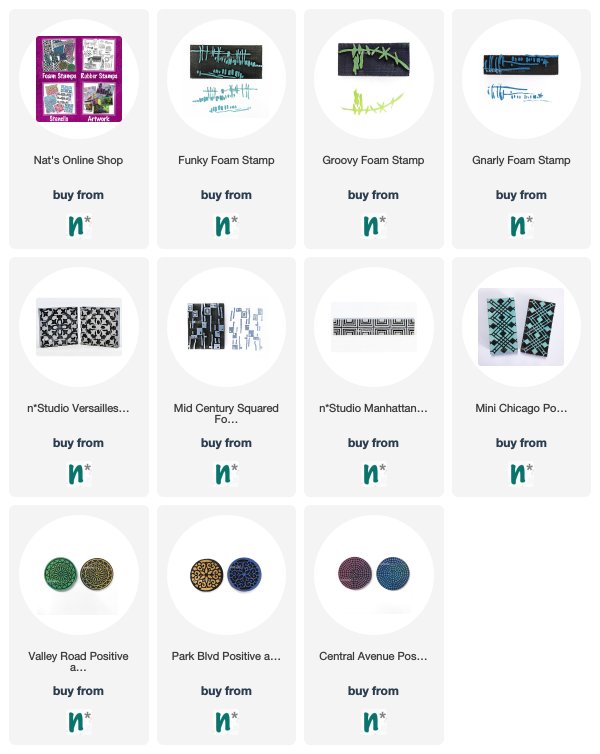
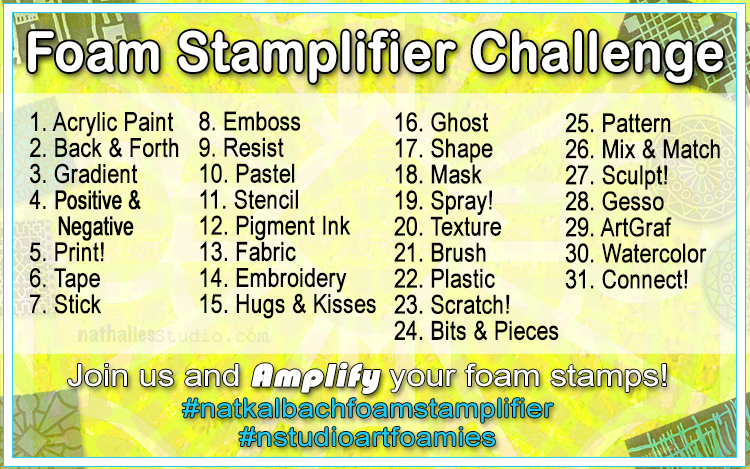
Here are the different foam stamps I used for these prompts
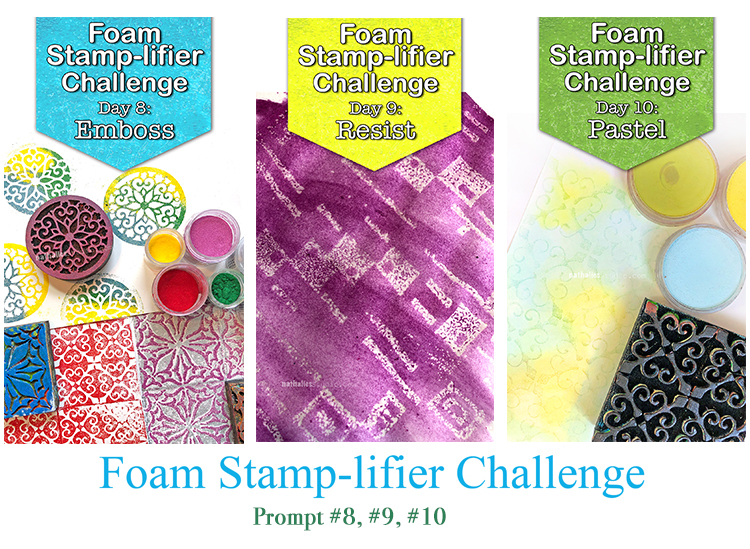
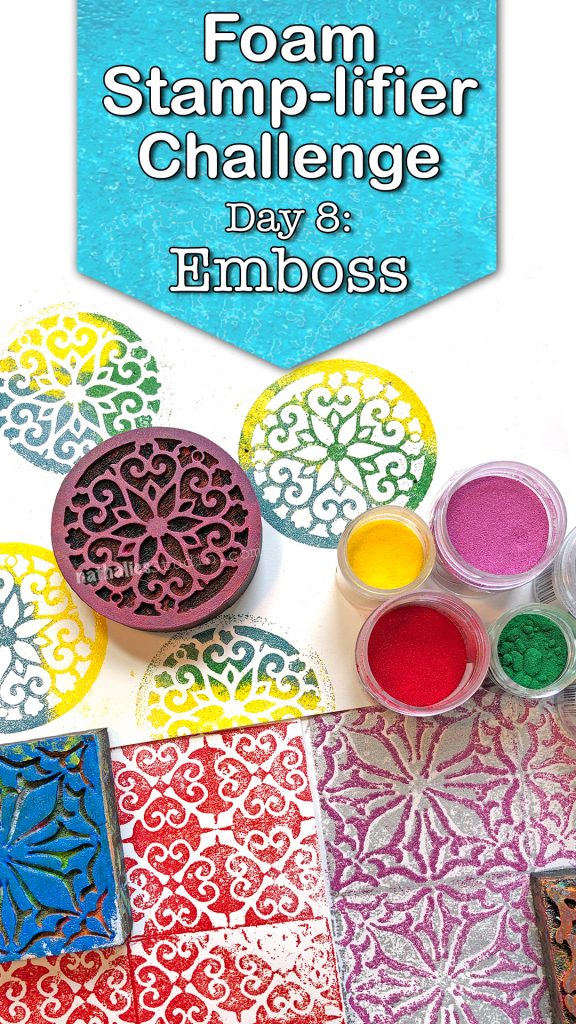
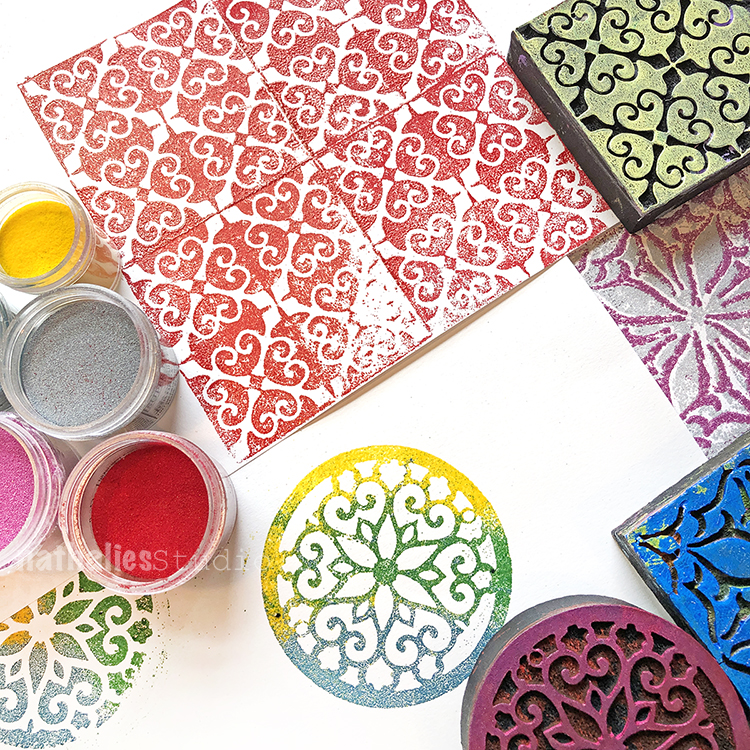
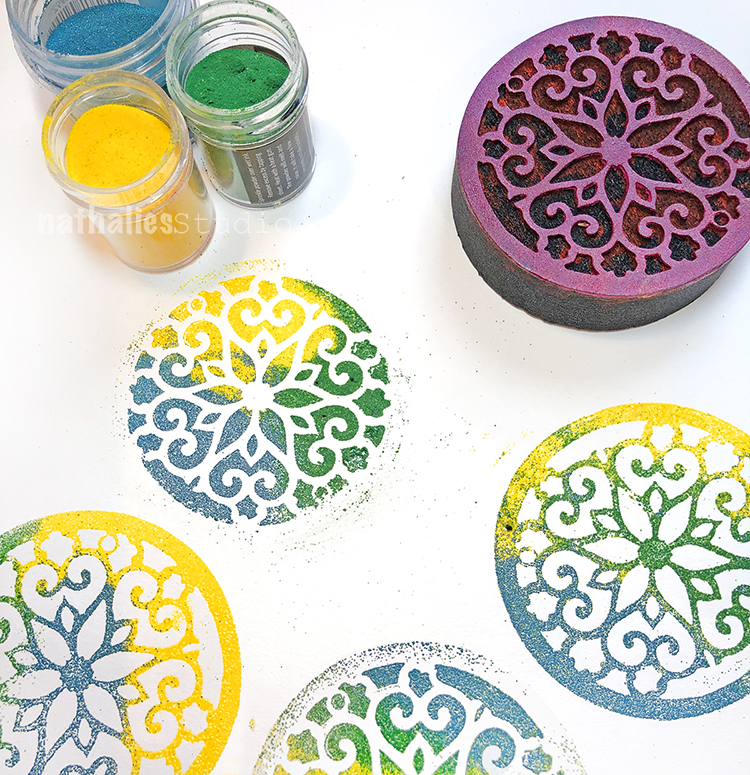
I love to emboss with my foam stamps. The foam surface creates some added texture even if you use super fine embossing powder.
Simply press the clear embossing pad onto the foam stamp and then stamp on paper. You can add just one solid color of embossing powder to your image and then heat emboss.
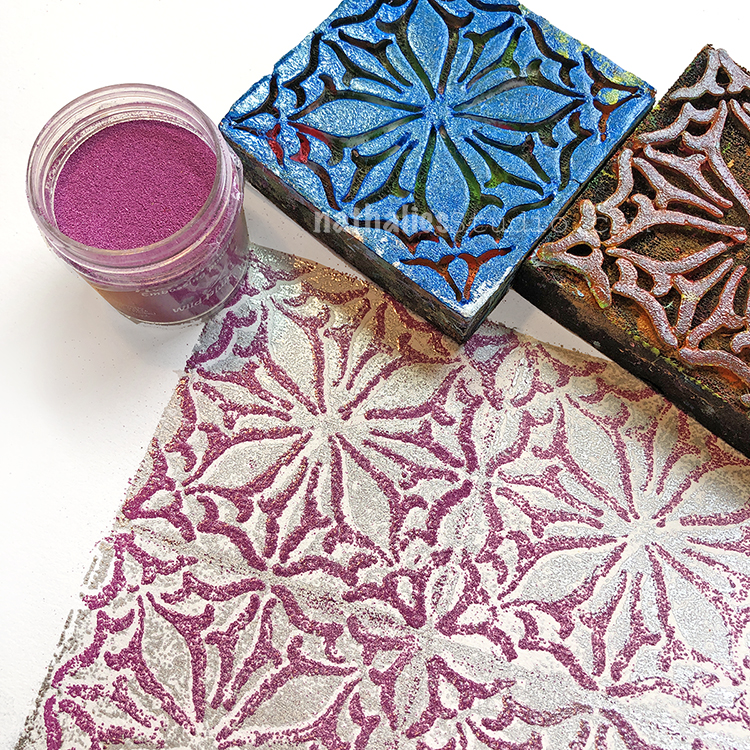
Or for even more fun, add several different colors of embossing powder and heat emboss one after the other.
Another fun way to use embossing powder is to use the positive and negative sets and layer the embossing. I hope you try it
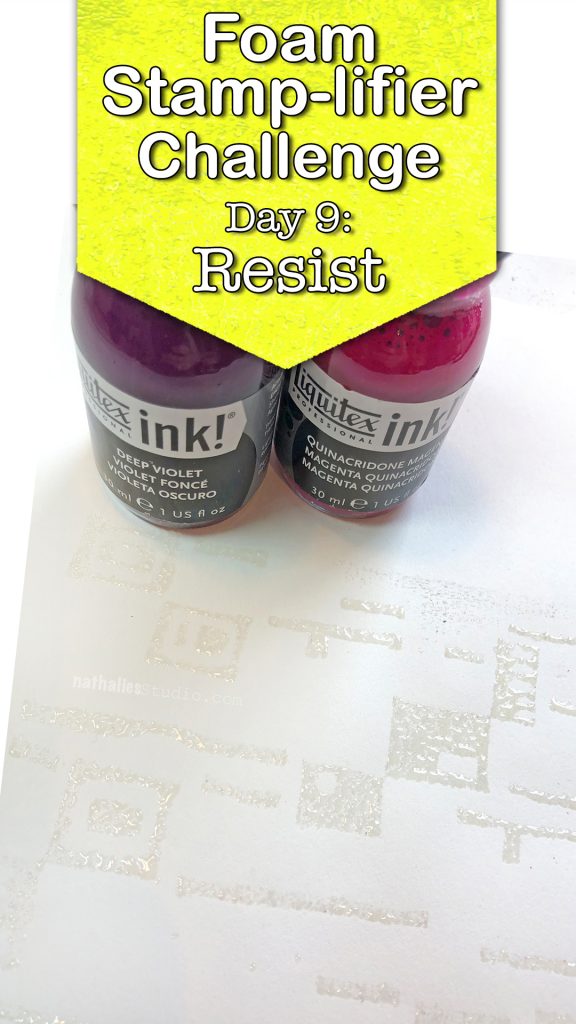
Day 9 – Resist
I am a huge fan of resist techniques and this has always been one of my favorite ones.
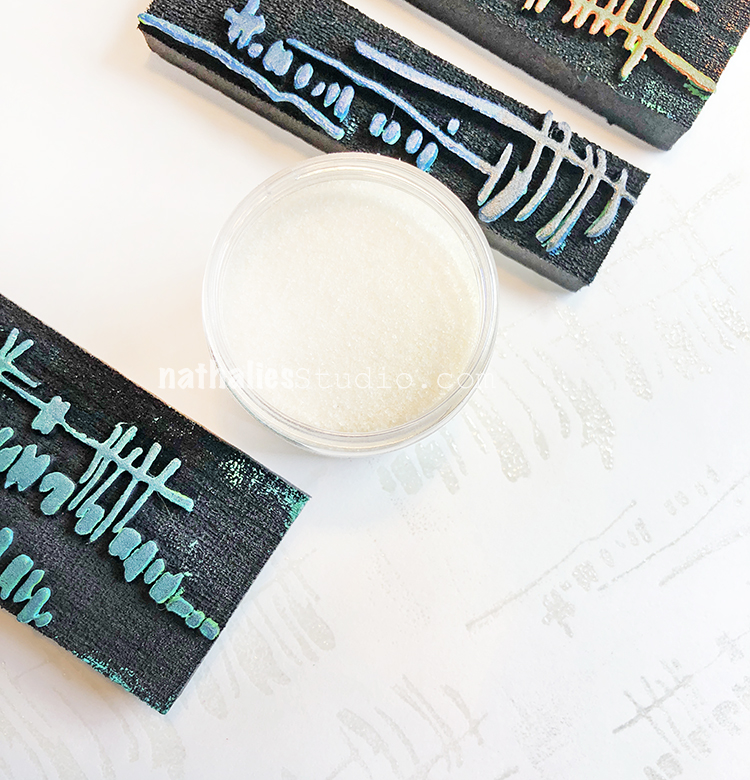
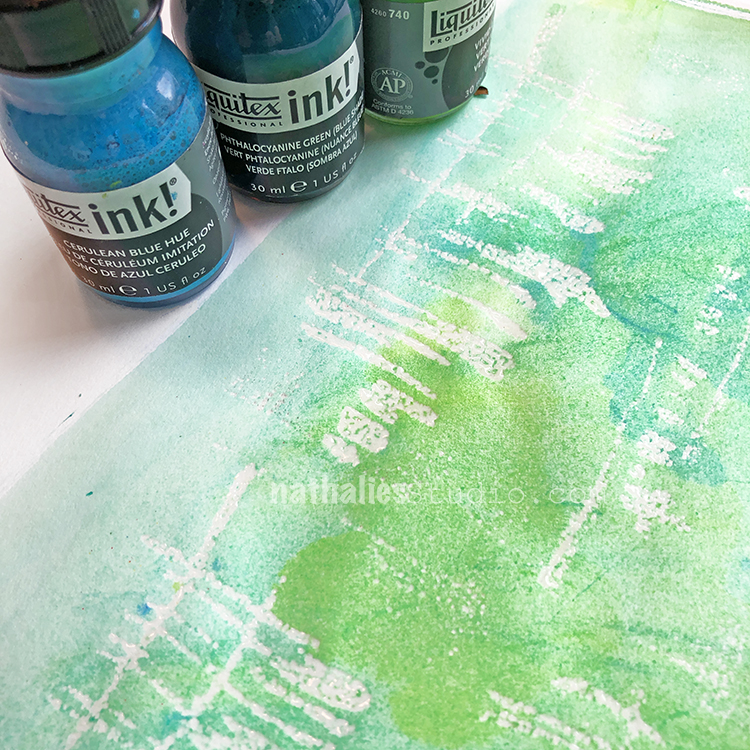
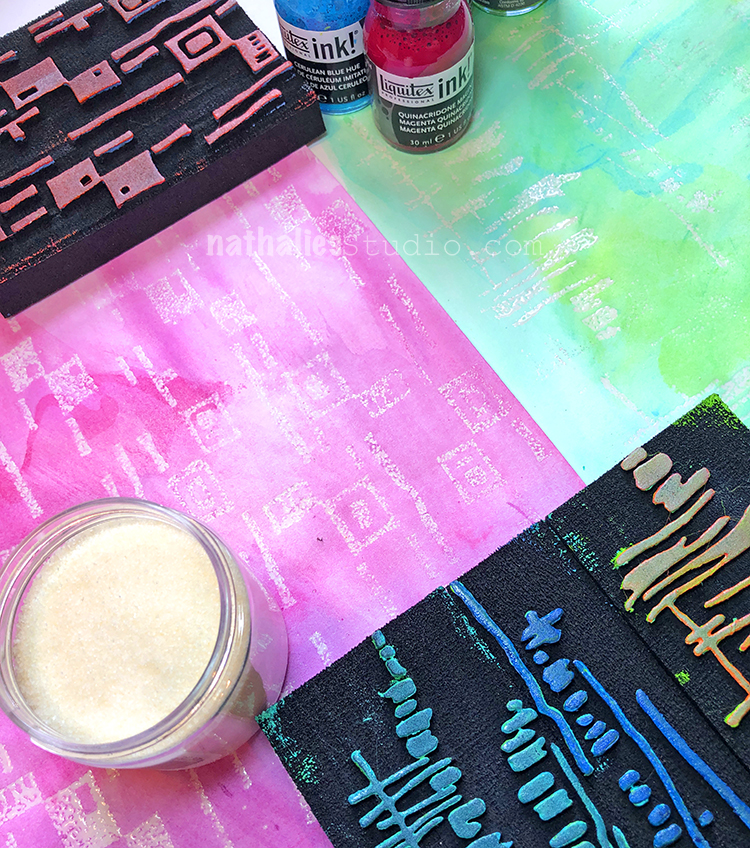
Apply clear embossing ink to your foam stamp. Stamp onto paper. Sprinkle UTEE (ultra thick embossing powder) on top and heat emboss. Let cool and then apply a very thin layer of acrylic paint or acrylic ink over the surface.
The paint or ink will dry slower on top of the UTEE as that area will resist the paint. Use a moist rag or a baby wipe and gently wipe over the raised UTEE pattern to remove the paint.
What remains is a wonderfully textured clear pattern.
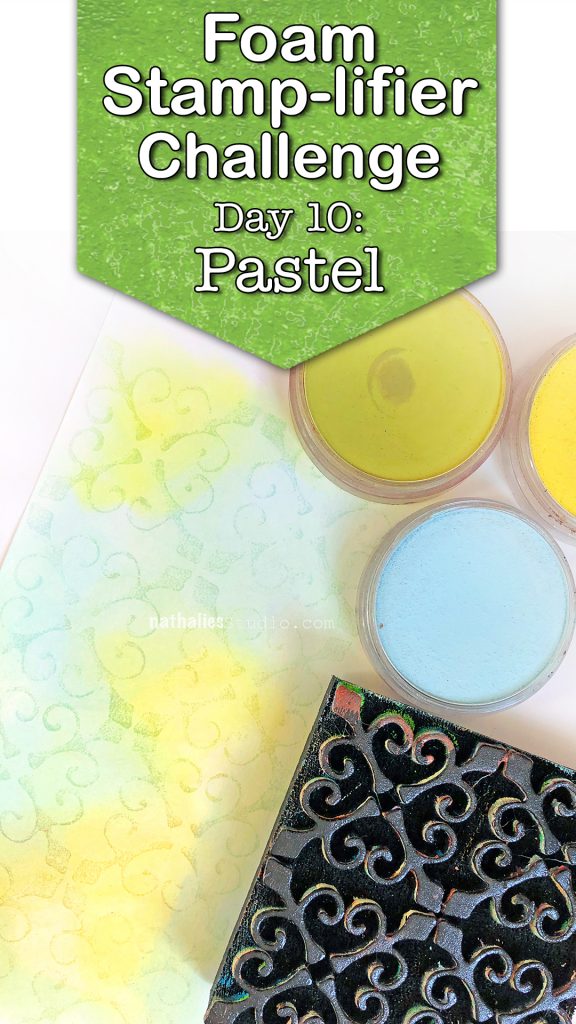
Day 10 – Pastel
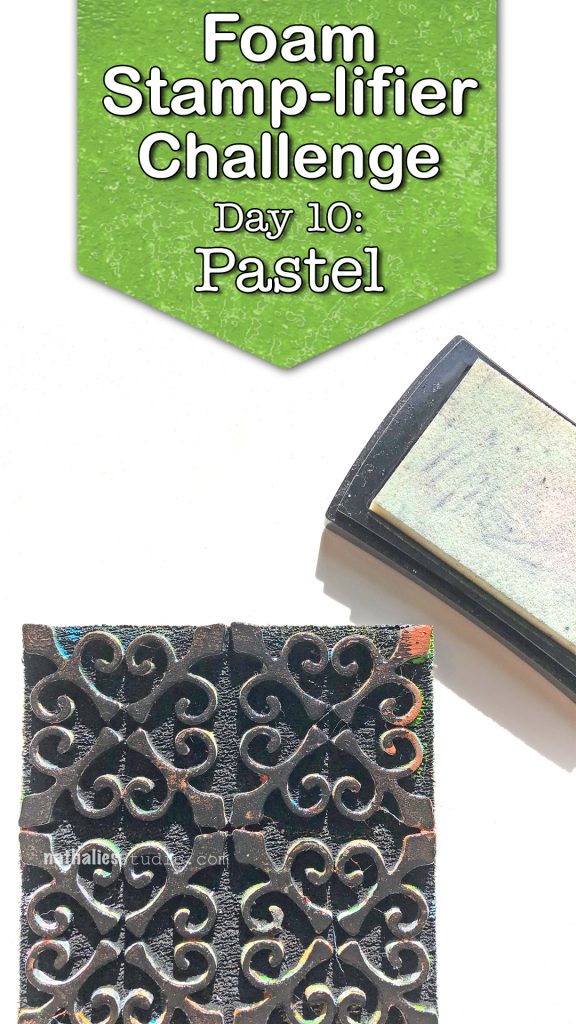
I love using Pastels with my foam stamps. In order to make the pigments stick you need a little trick though. I usually use a clear embossing ink pad and apply it to the stamp, then I stamp onto paper.
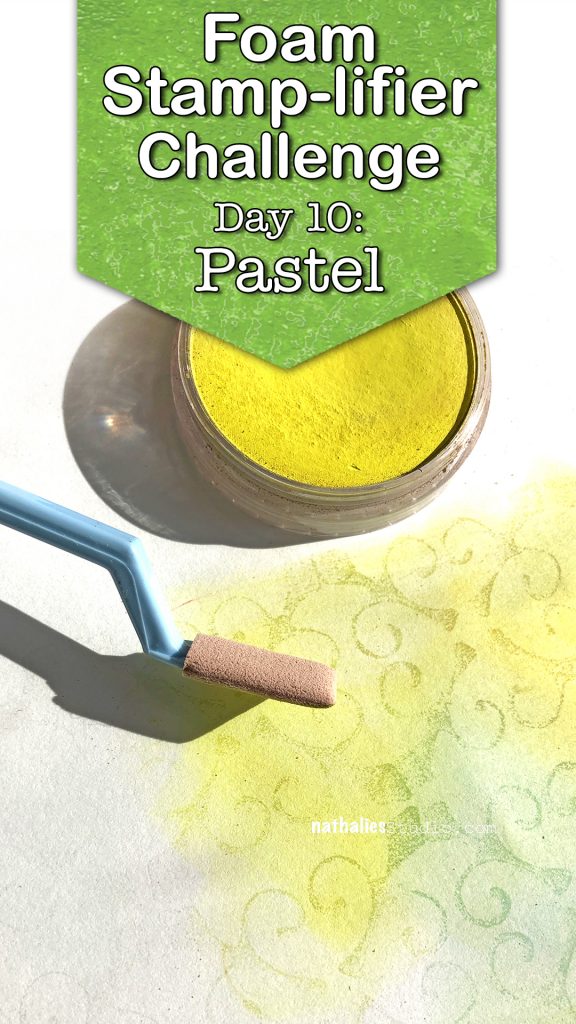
My favorite pastels are PanPastels but you can use over pastels as well.
I apply the pastel with a tool over the stamped surface and wherever the embossing ink is on the paper the pastel will accumulate more and collect more of the pastel.
The stamped design will appear darker.
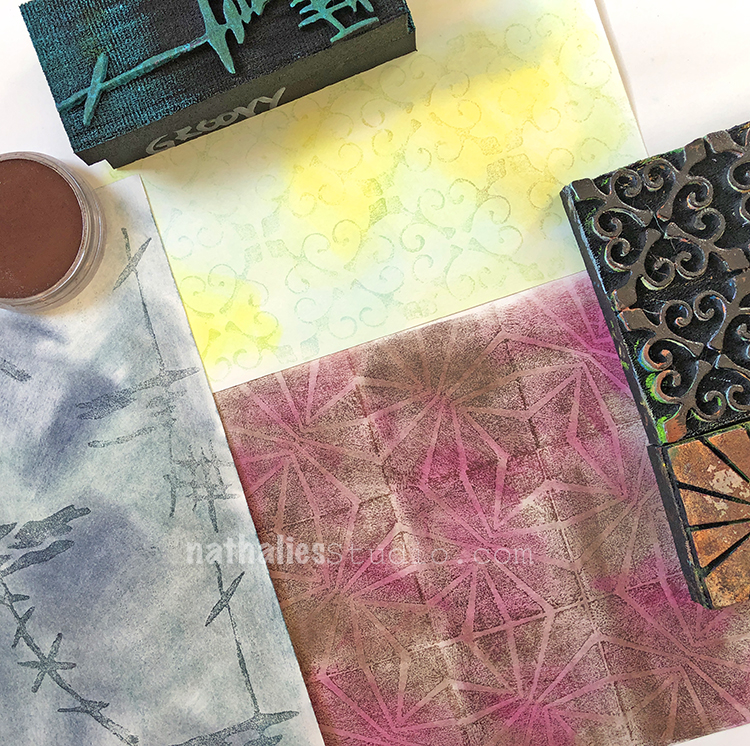
Here are the foam stamps I used for those prompts. Hope you enjoying the Foam Stamplifier Challenge!


Marsha…LOVE love LOVE this bag!!!
Reply