Creative Squad

Never Stop Dreaming – Maura Hibbitts


Welcome to a post from Maura Hibbitts from my Creative Squad! Today Maura is sharing with us an art journal spread that reminds us of all the strong momen who have come before us! Maura is using my Mesa Verde and Downtown stencils and my Actually I Can stamp set. This month’s theme is: Never Stop Dreaming – This month we’re sending a message of confidence and empowerment to all those in the world (near and far and maybe even you!) who have been told “You can’t”, “That’s not possible”, or “Not you”. Actually we can and we will! And we’ll never stop dreaming either :)
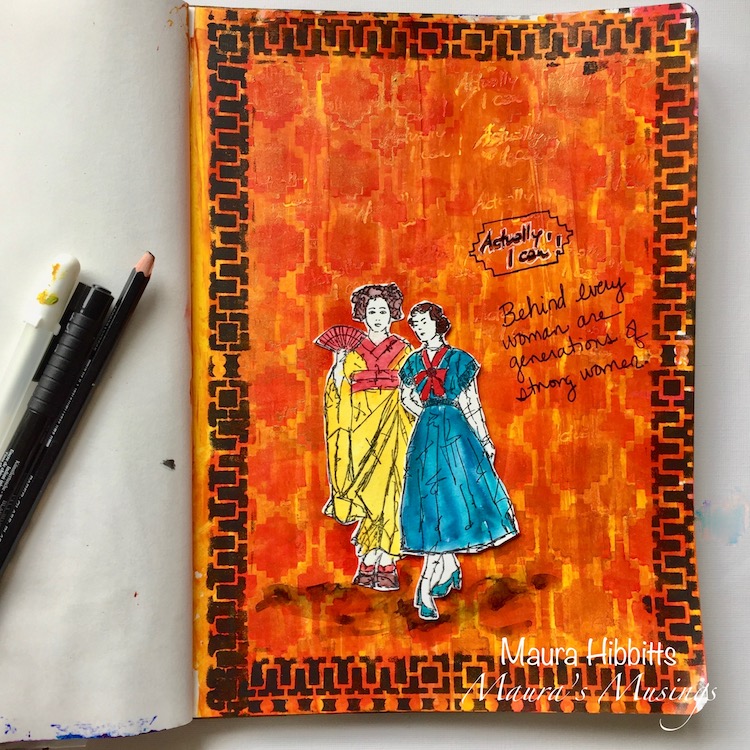

When I looked at this month’s theme, I began to think about all the dreams we women have in our lives…family, friends, career, health, financial, pets…so many things touch our lives. I know my mother encouraged me to become the person I am today, and I am thinking her mother did the same for her. It could be our relatives cheering us on, or friends, but just think of the many generations of women behind each of us who have believed in the next generation.

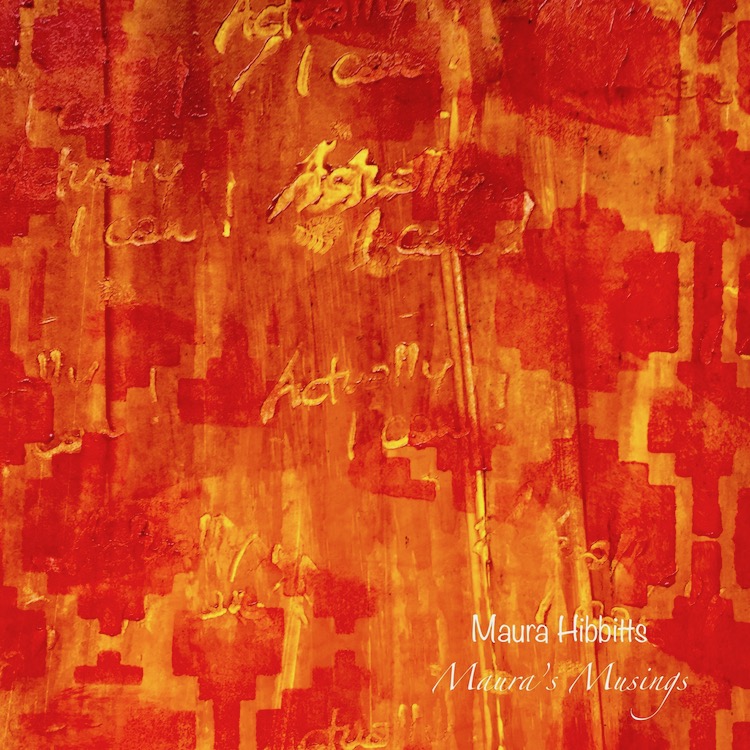
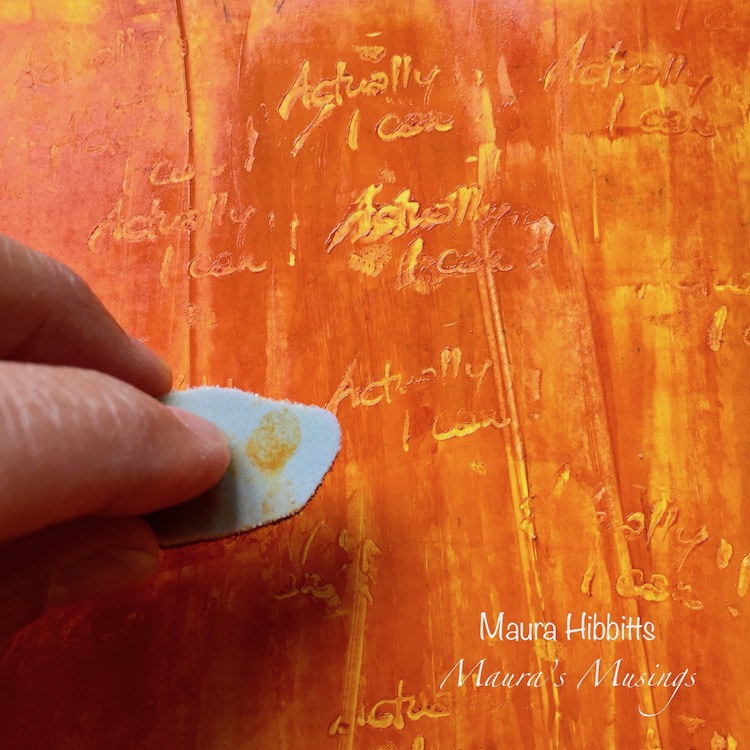
I headed to my art journal, and scraped a layer of Diarylide Yellow and Quinacridone Gold down my page with a key card. Before the paint dried, I stamped in Nat’s “Actually I can” rubber stamp a number of times.
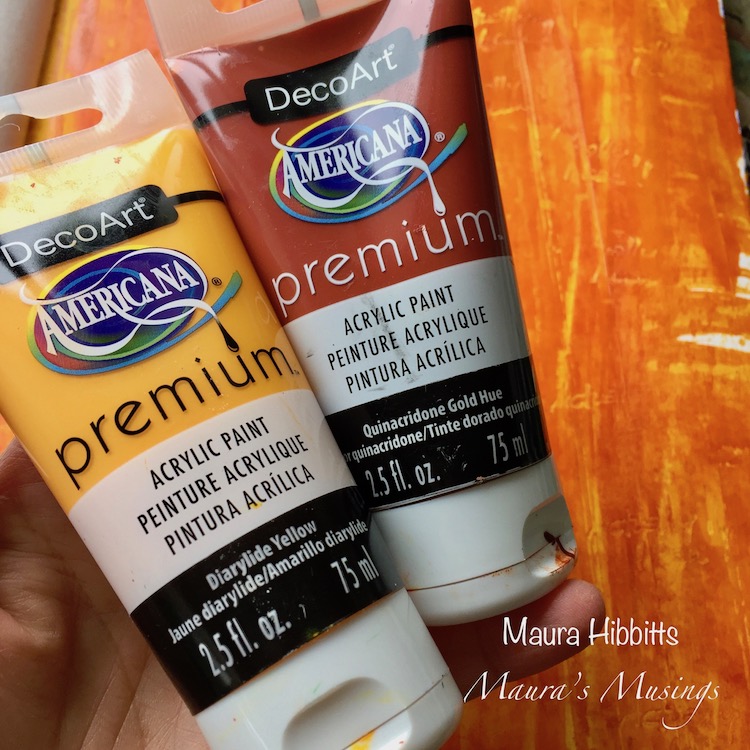
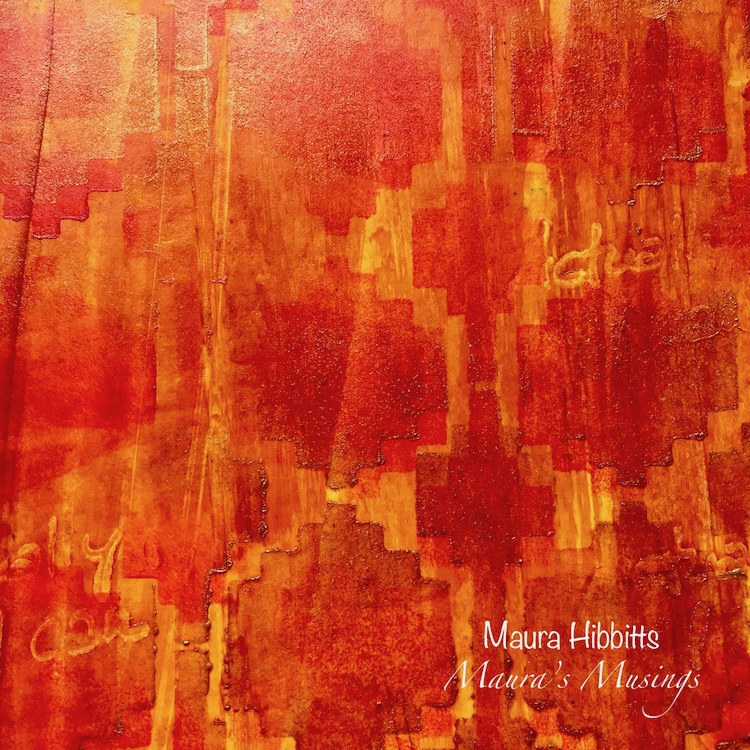
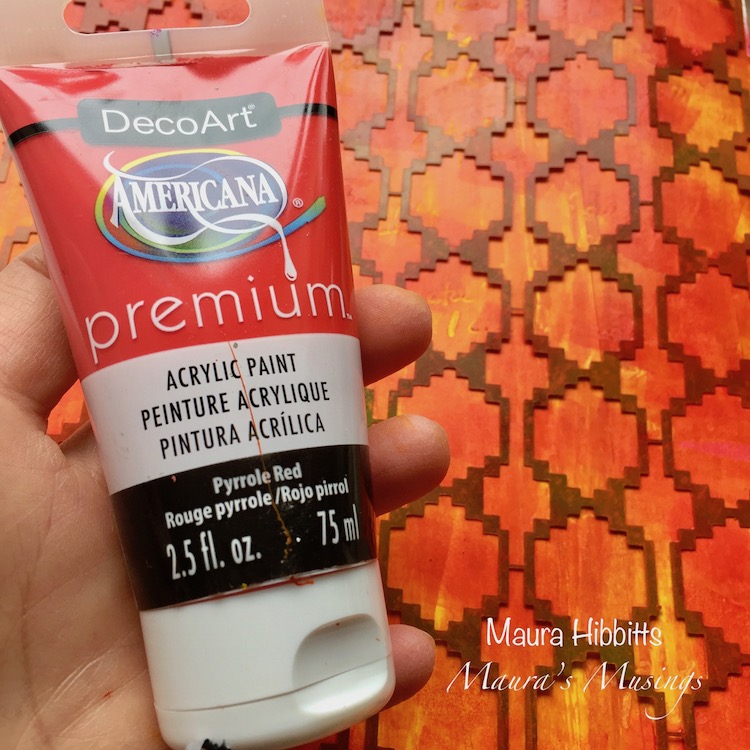
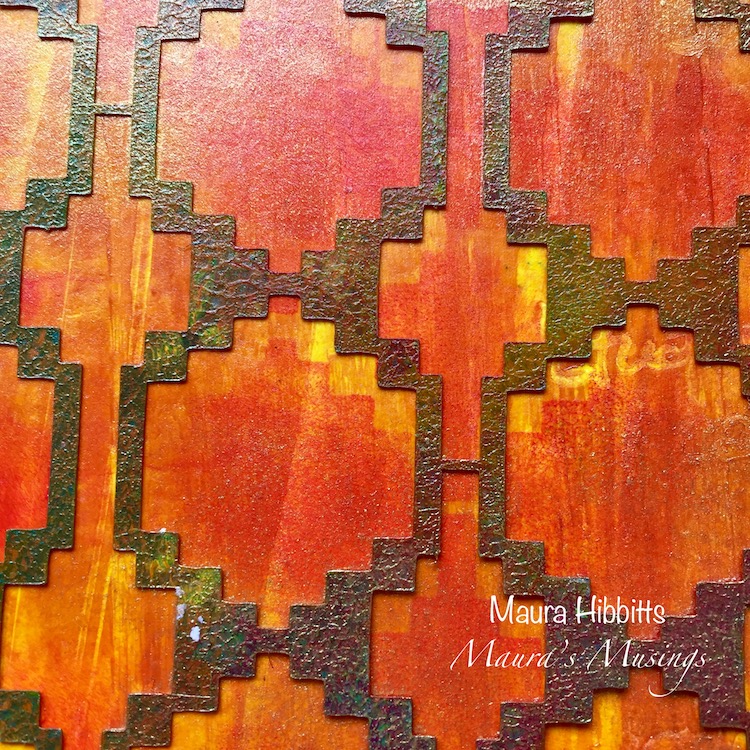
I added my next layer using the Mesa Verde stencil and some Pyrrole Red, using a light touch.I worked in a random fashion and left some areas open.
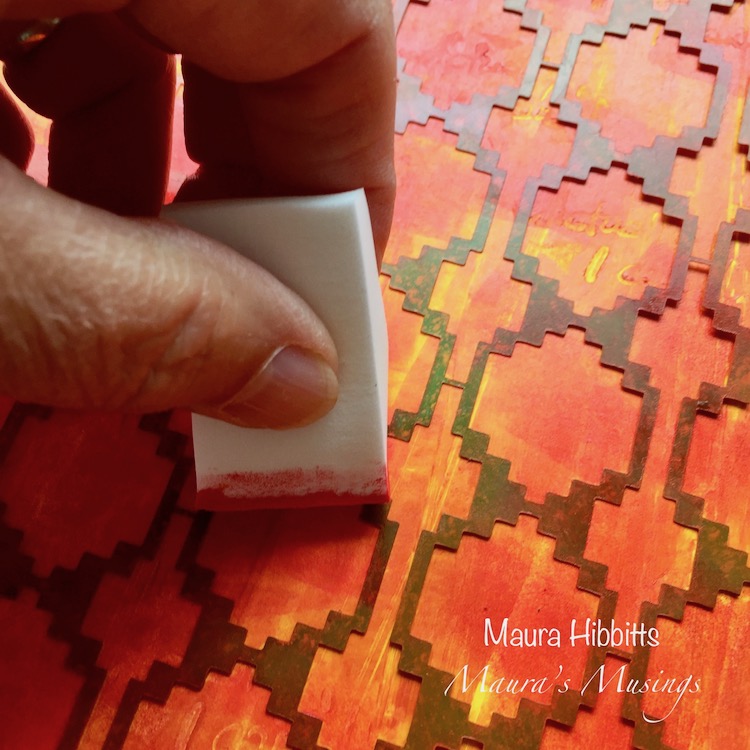
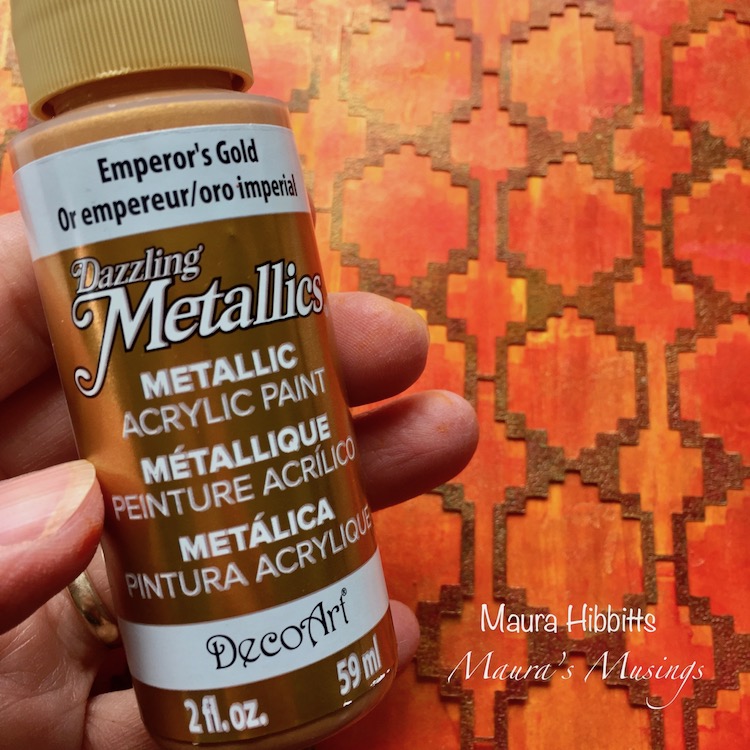
Then, I shifted the stencil down slightly and sponged in a layer of gold. Now I have a shadow effect.
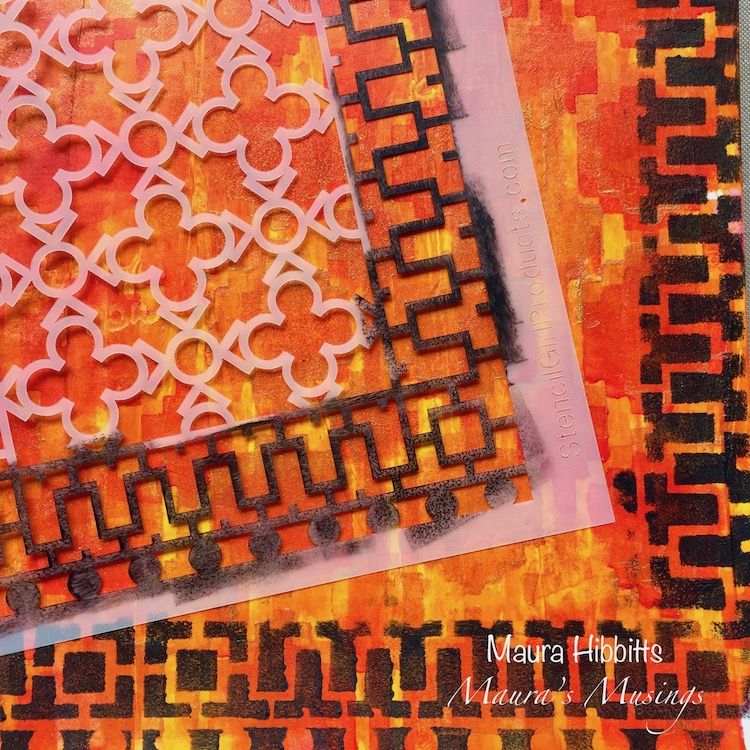
Time to add a border to my page with Nathalie’s new Downtown stencil. As you can see, I just used part of it to make my border with black.
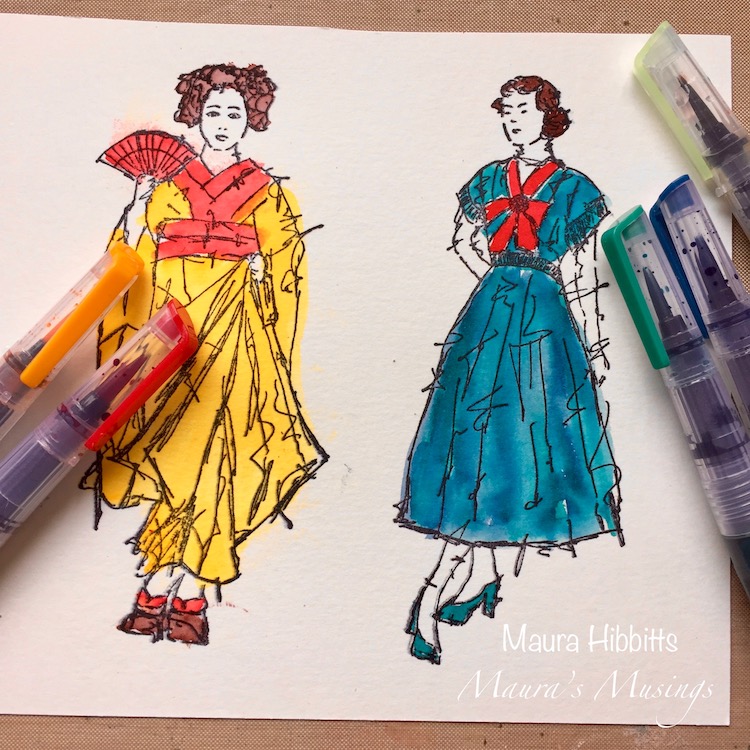
Now comes the fun part – stamping and coloring these two lovely ladies, Maiko and Millie. I wanted to tie in some of the same colors in both of their outfits to help link them together.
Time to put it all together! I put Maiko, in traditional dress behind Millie, to represent the previous generations of women. I stamped “Actually, I can” with black ink, and outlined it a bit with a white pen, and added my own thoughts. I also used the Mesa Verde stencil with the black pen to create the word box, by outlining one side, and moving it to “stretch” it. Finally, a shadow under the ladies to create a bit of depth with a graphite pencil and water brush.

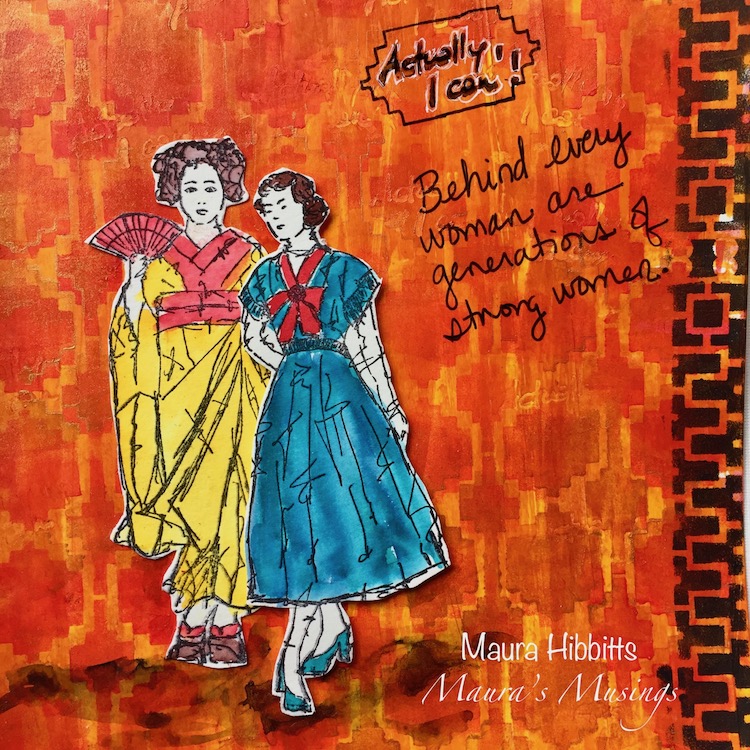
Think of the many generations behind each one us, and Never Stop Dreaming!


Thank you Maura for such a thoughtful project! You can find my stencils and my stamps in my online shop. Here are some of the other supplies that Maura used:


Feel inspired? Working on something yourself that you’d like to share?  I love to see how you interpret our monthly themes. Email me how you used my stencils and stamps with the theme and email me an image – I would love to share your projects in my next  “n*Spiration From Around the Globe“.

Leave a comment

Each Day is a New Adventure – Shilpa Nagaonkar


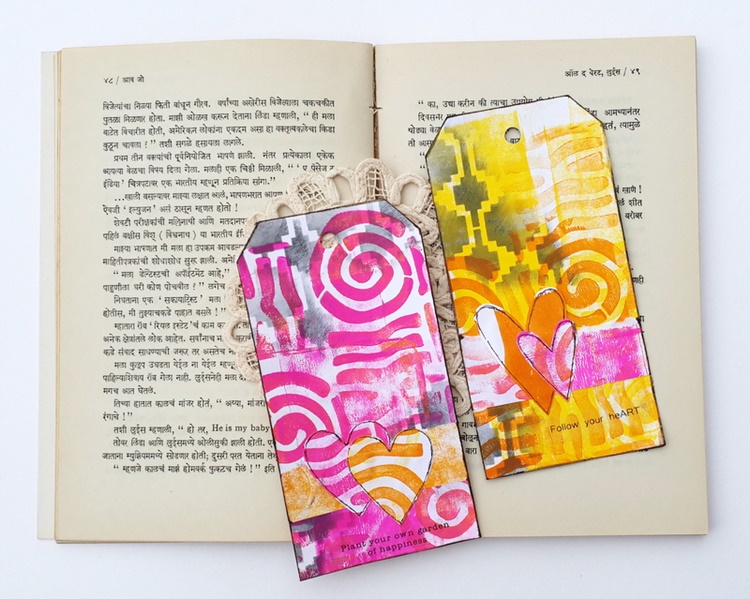
Hello and welcome to a post from the Creative Squad! Today we have some super colorful tags from Shilpa Nagaonkar to brighten your day. Shilpa used my Mini Batik Pattern 2 foam stamp and my Mesa Verde stencil for lots of layered pattern goodness. This month the Squad is working with the theme: Each Day is a New Adventure – Be adventurous this month and try something new in your art-making! Use a new tool, medium, or technique that you’ve been meaning to try for too long now. Go on a new adventure TODAY!


Hello Everyone! My teamies have shared beautiful projects with this month’s theme – “Each Day is new Adventure” and now it’s my turn today. I love to try new techniques in my mixed media work. I am using Nat’s beautiful stamps for the first time these days, and that itself is an adventure for me… but today I’m going further and using a Gelli Plate for the first time…

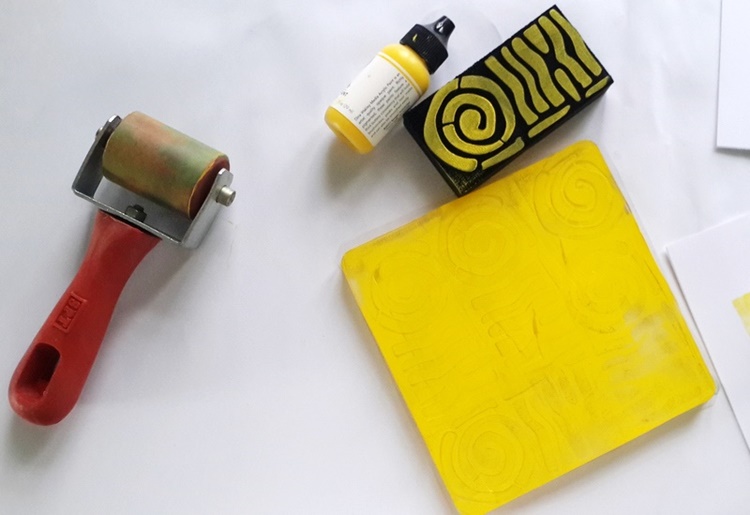
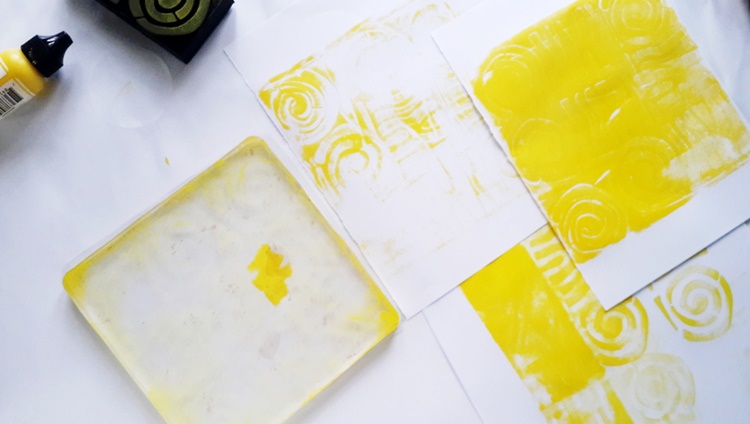
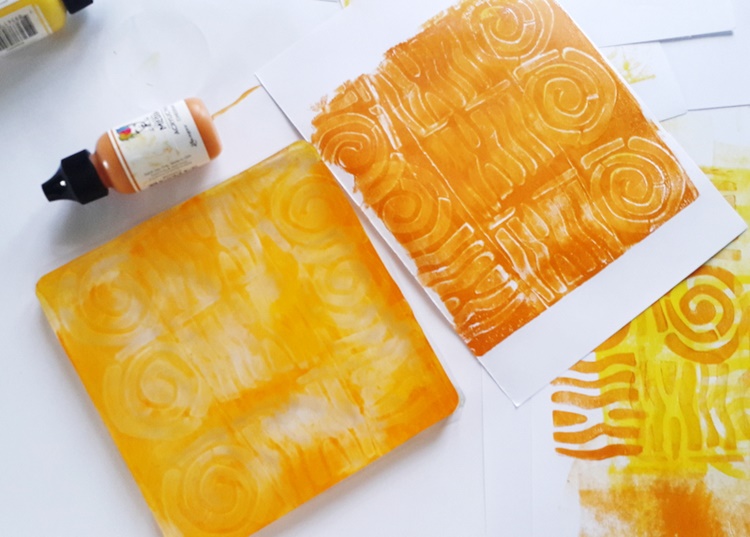
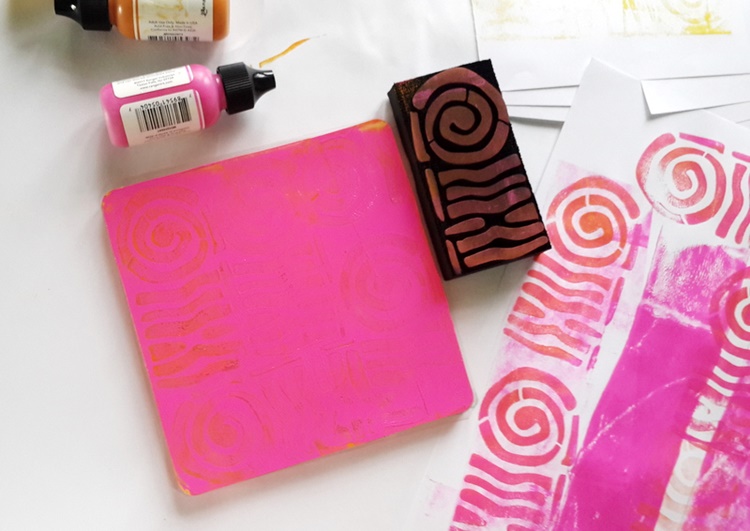
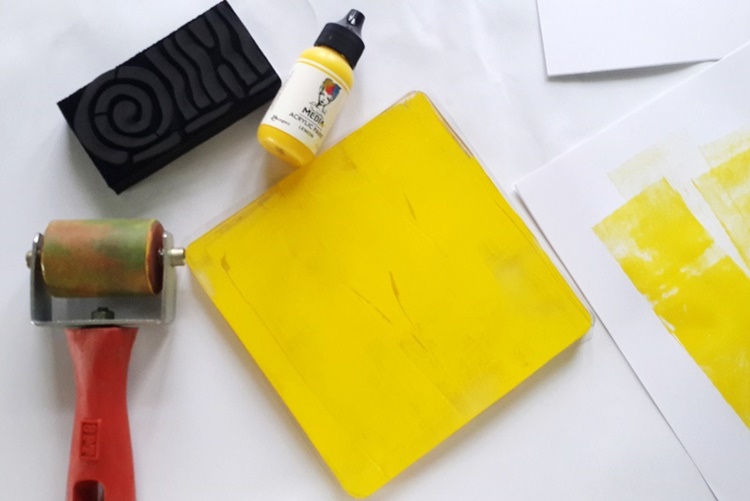
Here is what I did: I applied acrylic paint to the Gelli plate using a brayer.

I stamped on the Gelli plate several times with the Mini Batik Pattern 2 stamp.

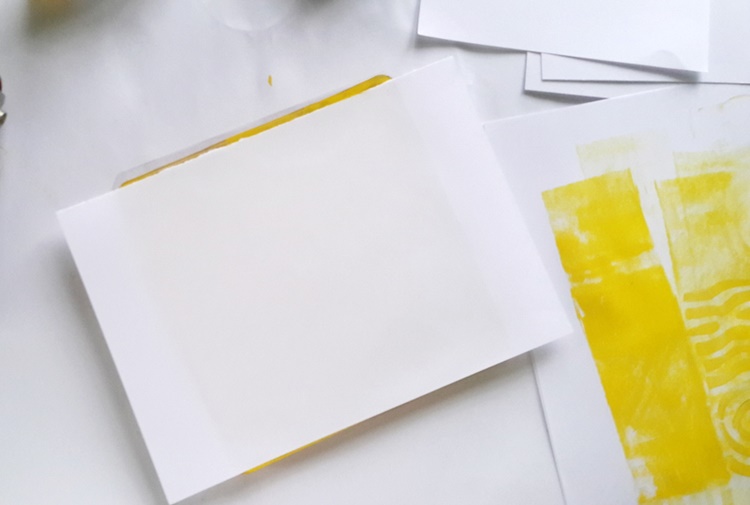
Then I pressed copy paper onto it and I got my monoprint/ Gelli print.

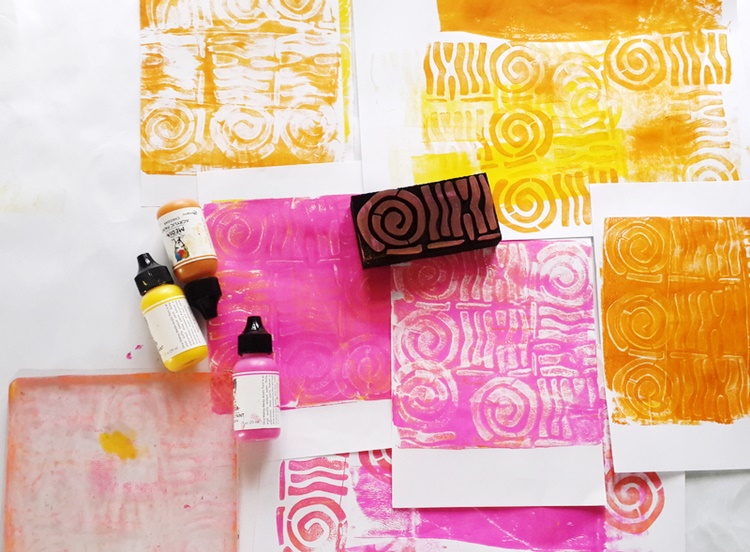
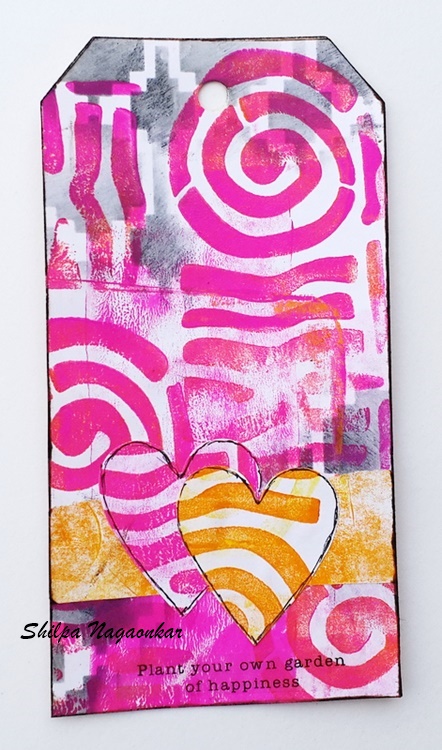
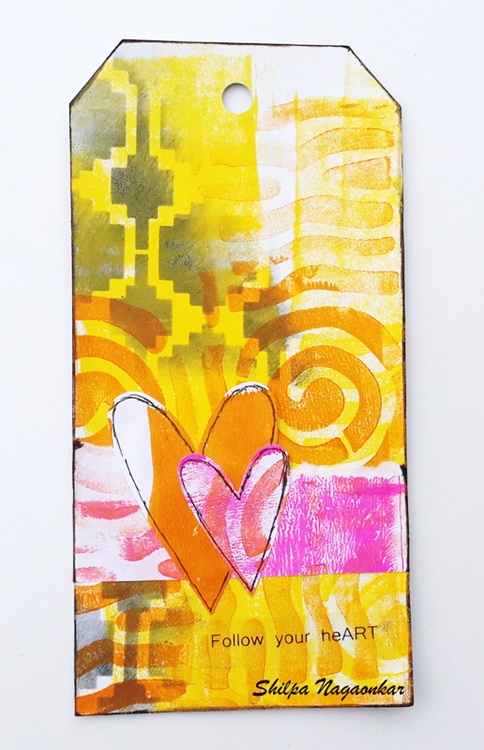
I did this same procedure using 3 different colors – Lemon, Cheddar and Magenta.

You will find in the pictures, I got several backgrounds.

After that, I cut out tags from the gelli printed papers and adhered them on white card tags. For my next layer, I applied blacksoot distress ink through Nat’s Mesa Verde Stencil randomly on the tag.

I also cut out hearts from the same gelli prints and adhered them on the tag. and they are ready :)

Nat’s ArtFoamies and Gelli plate are a perfect match! I am sure going to make more monoprints with them…

Thanks so much for stopping by.


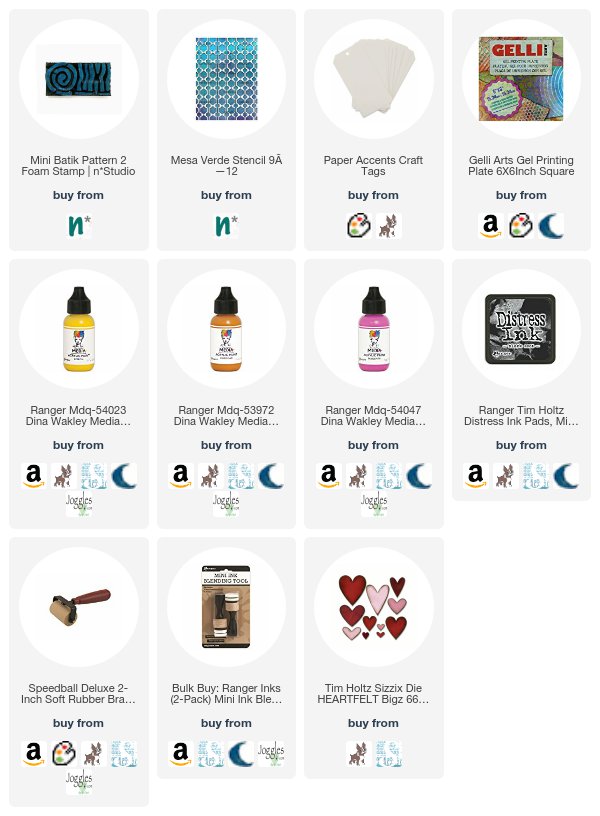
Thank you Shilpa for a fun combination of color and pattern! In addition to some white copy paper and glue, Shilpa used the following supplies (some are affiliate links):


Play along with us too: I love to see how you interpret our monthly themes. Email me how you used my stencils and stamps with the theme and email me an image – I would love to share your projects in my next  “n*Spiration From Around the Globe“.


And join me tomorrow, Wednesday November 29th for a little gossip from my studio! I’ll be on Facebook Live chatting about all sorts of fun NEW stuff. You’ll have to join us to see what all the excitement is about ;)


SaveSave

SaveSave

SaveSave

SaveSave

Comments (1)

  • Deleted User

    |

    These are beautiful, Shilpa!

    Reply

Leave a comment

Colors Are My Friends – Shilpa Nagaonkar


Happy Tuesday my friends from the Creative Squad! Today we have an art journal spread from our new member Shilpa Nagaonkar, using my Mesa Verde stencil and my Park Blvd foam stamp. Shilpa is working with our theme: Colors Are My Friends – Let’s kick off the new Creative Squad with a celebration of color! What are your favorite, go-to signature hues? Let’s go bold and bright this month and use color to ring in a new season of inspiring projects!


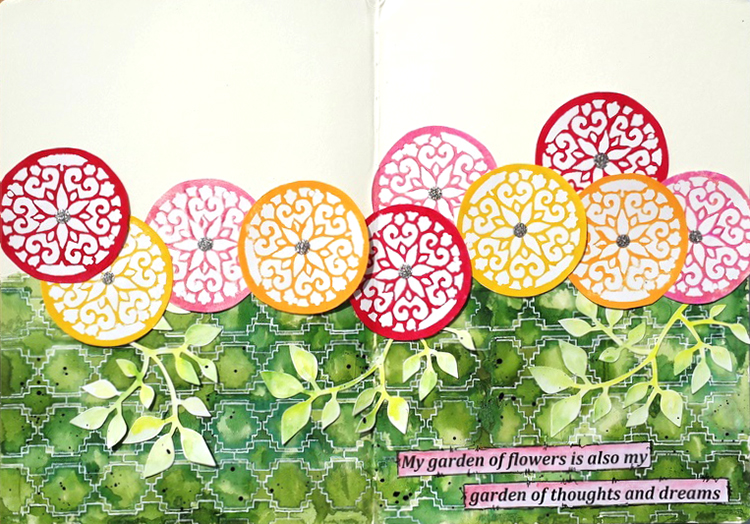
Hello Everyone, super excited to share my first post on Nathalie’s N*studio blog :) As you are aware, the Creative squad is using the theme “Colors are my Friends” this month. Ahh… colours are inspiration to me…especially bright ones! Orange, yellow, pink and red are my  favourites … so I chose them for today’s journal. I get a lot of inspiration from our home garden too. Winter has just begun in India and beautifully colored flowers are blooming in our garden. .. here comes my garden theme journal spread with lots of colors.

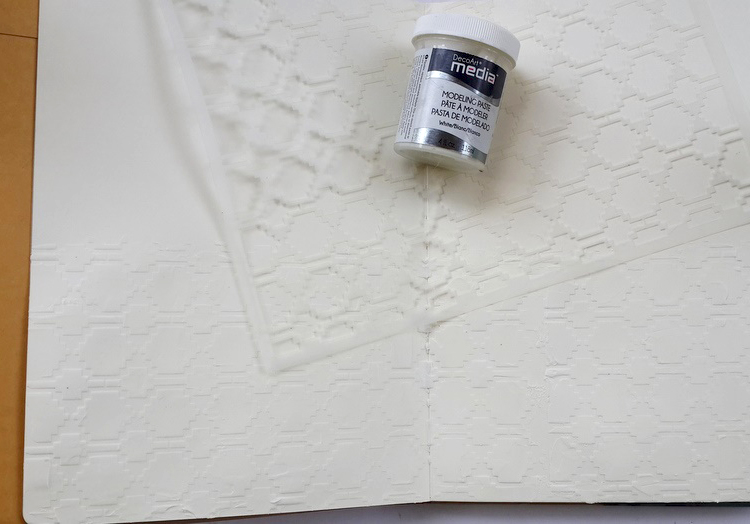
I started by applying modelling paste through the Mesa Verde Stencil. I let it dry completely.

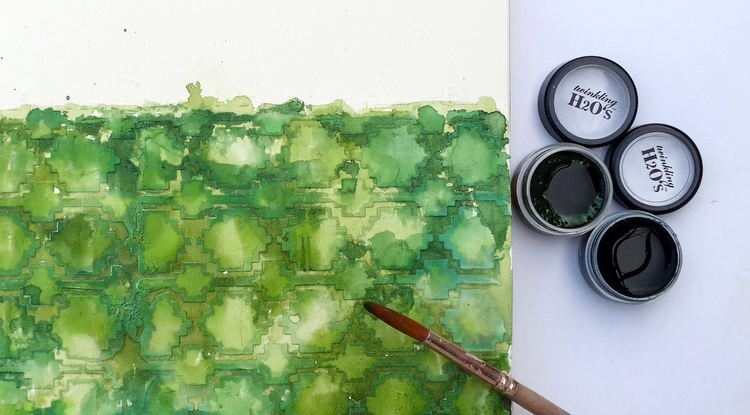
I used Twinkling H2O watercolors here, in greens.

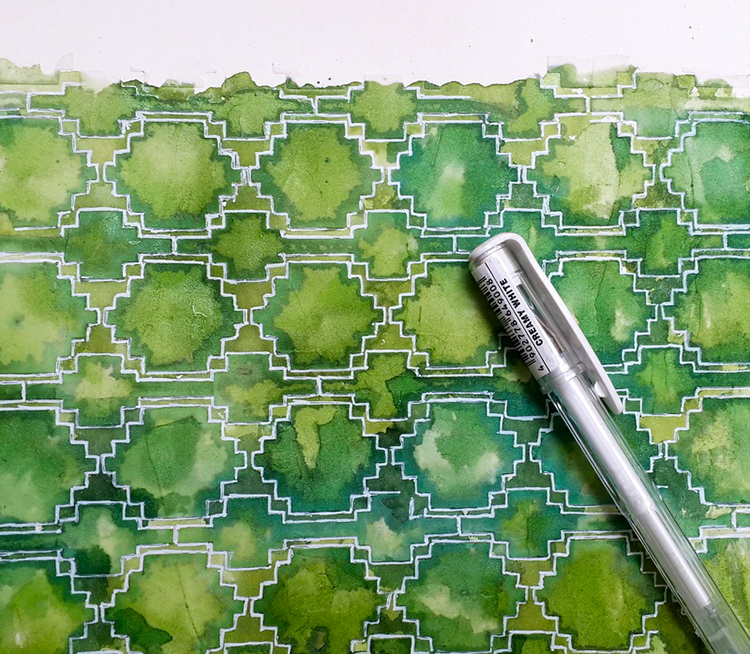
When the green colors were dried, I outlined the stencil design using a gelli roll pen.

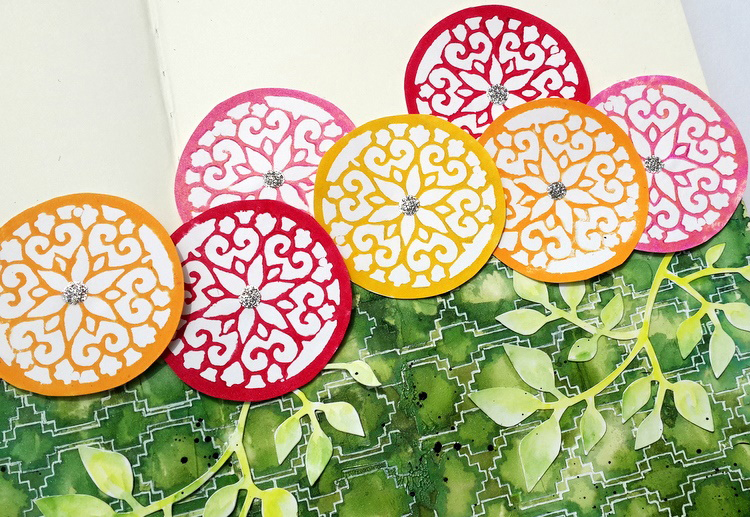
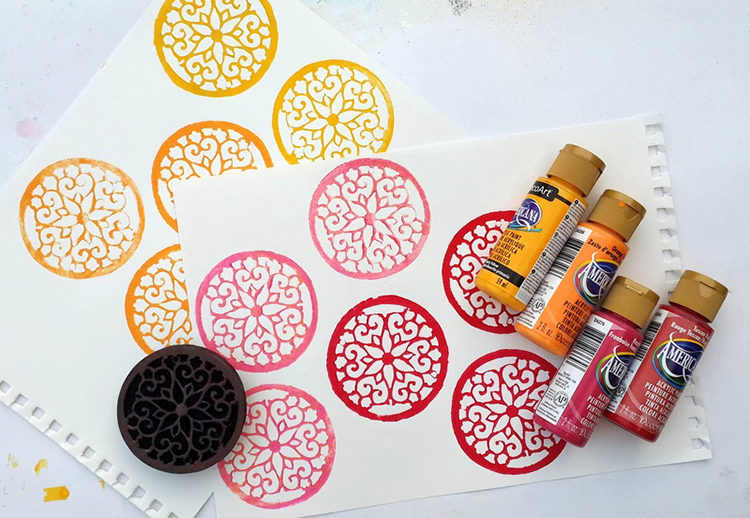
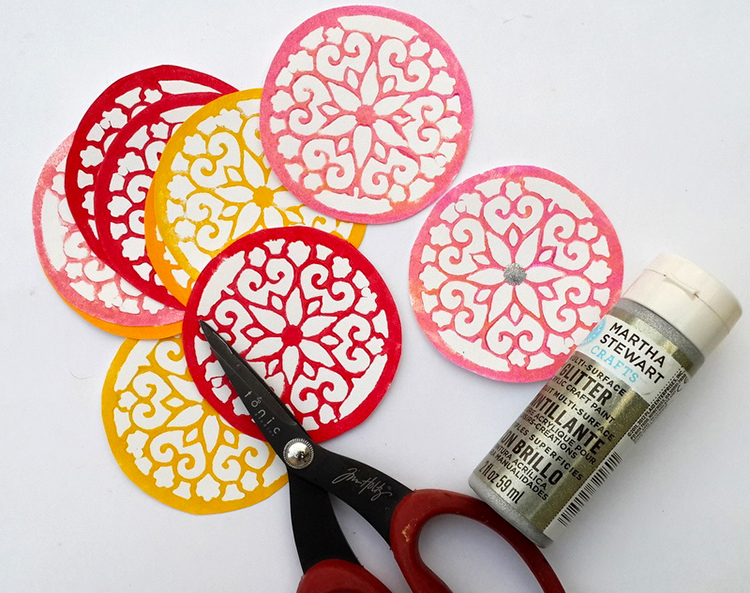
On another paper, I stamped designs with Nat’s Park Blvd foam stamp using acrylic paints in yellow, pink, orange, and red.

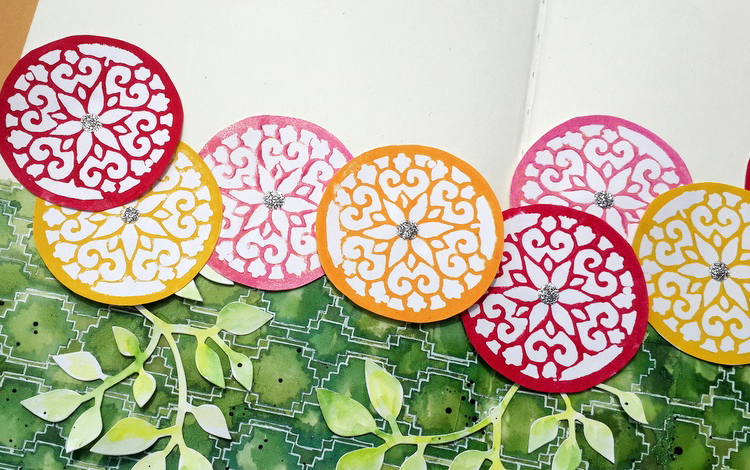
I cut them out to use them as flowers. I applied silver glitter paint in the middle of all my flowers.

I arranged them all with diecut leaves on the pages. Lastly I colored the leaves with watercolors and created splatters with black ink.


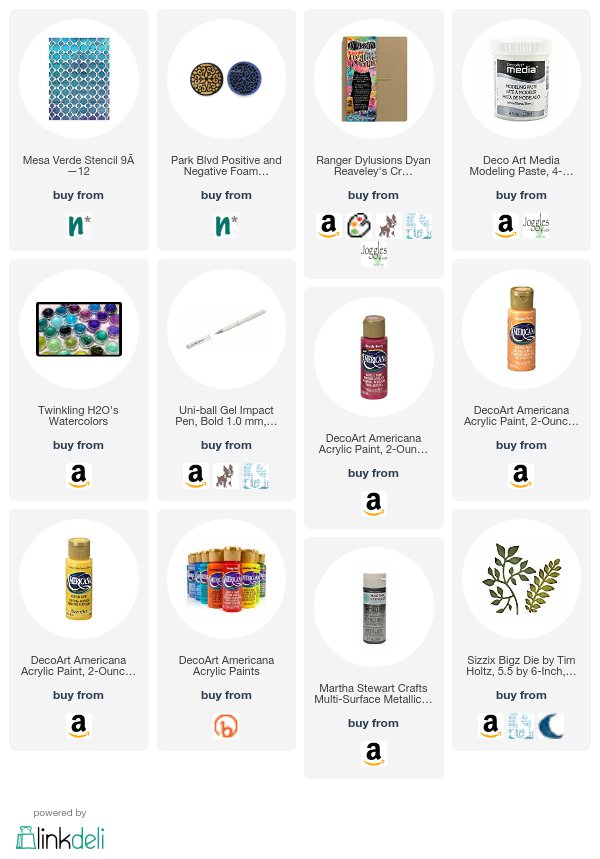
Thank you Shilpa for this beautiful homage to your garden and your favorite colors! Shilpa used the following supplies (some are affiliate links):


Play along with us too: I love to see how you interpret our monthly themes. Email me how you used my stencils and stamps with the theme and email me an image – I would love to share your projects in my next  “n*Spiration From Around the Globe“.

Also, please drop by and join me for a Facebook Live Kaffeeklatsch tomorrow afternoon. I’ll be chatting about Inktober and playing with ink throughout the month of October, I’ll recap my workshop retreat in the UK, and I’ll tell you about some fun adventures I had with graffiti in Birmingham, England. Come say Hi and join in on the chat!

SaveSave

SaveSave

SaveSave

SaveSave

SaveSave

SaveSave

SaveSave

Leave a comment

Reduce, Reuse, Recycle with Marsha Valk


Hello again from the Creative Squad! Today we have a gorgeous gift wrapping project from Marsha Valk that is sure to send you running to your kitchen for some coffee filters :) Marsha used a whole slew of my stencils on this one (so be sure to check the materials list at the bottom) to rock the theme: Reduce, Reuse, Recycle – Let’s do Mother Earth a favor this month and use what we already have.  Maybe we’ll dip into our stash of leftovers from other creative projects or maybe we’ll repurpose something unexpected.  This month we’re thinking about how artmaking can impact the environment and we’re trying to make our footprint just a little bit smaller.


Reduce, Reuse, Recycle – that’s a topic that has been on my mind a lot lately. I have a lot of different craft supplies. I like to donate any excess supplies I have, but I still have plenty left that I’m reluctant to get rid of because I don’t want to waste it and it may come in handy someday…

The upside to this is that I’m never short on stuff when it comes to gift wrapping!

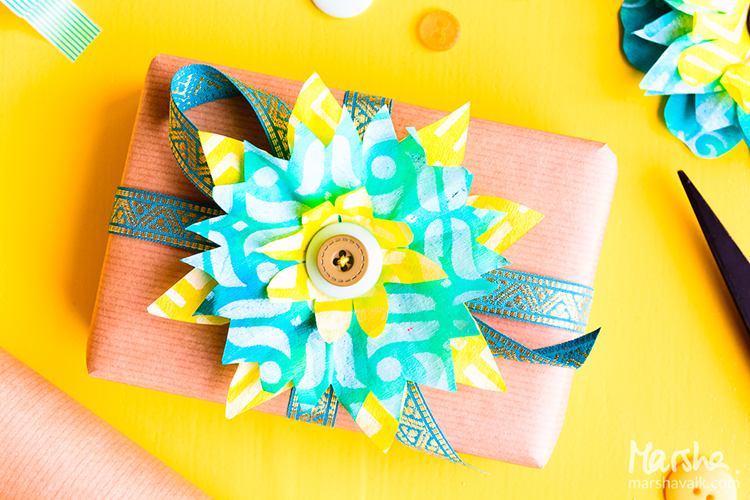
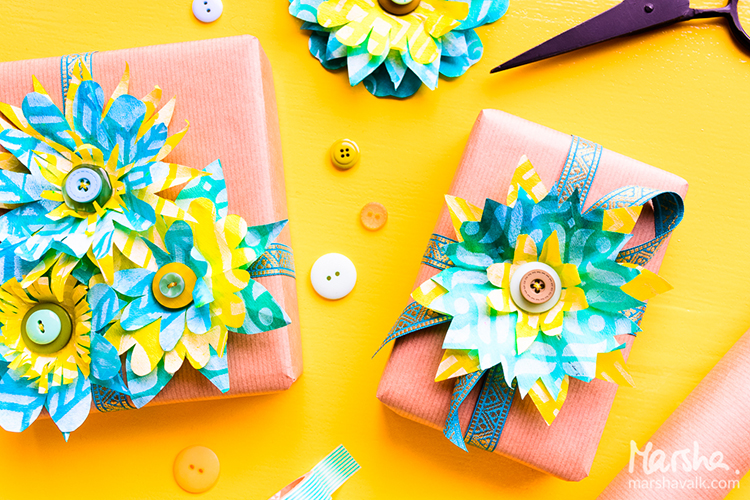
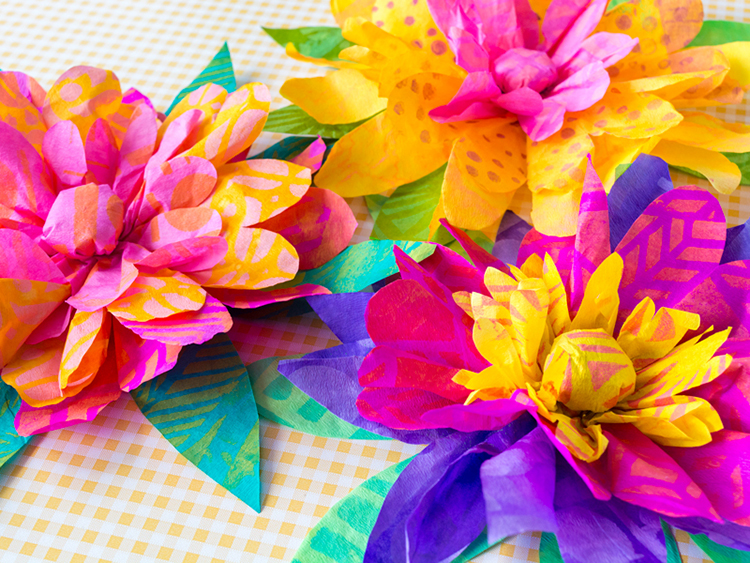
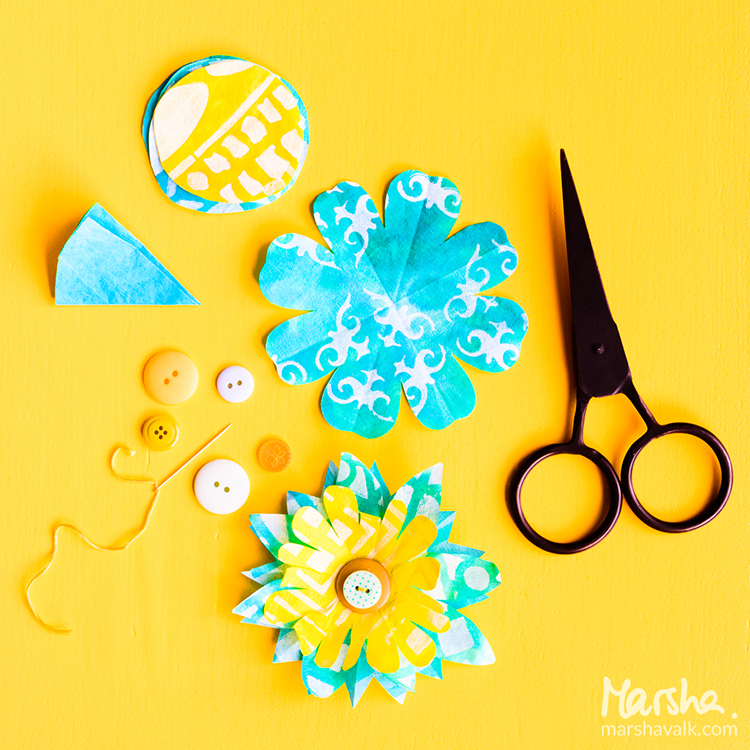
Paper flowers make fun and easy gift toppers, so I for this month’s prompt I decided to make coffee filter flowers.

I’ve shared how to create similar flowers on the Gelli Arts® blog before:

Using brand new (bleached) coffee filters for a craft project probably isn’t the greenest choice you can make. If you are looking for an environmentally friendlier option, you can recycle used coffee filters.

Unfortunately I don’t have access to a coffee maker that uses filters like these, so I haven’t tested it for you, but I believe you can rinse and dry them. They will be stained, but that will actually add interest to the paper (and the flowers).

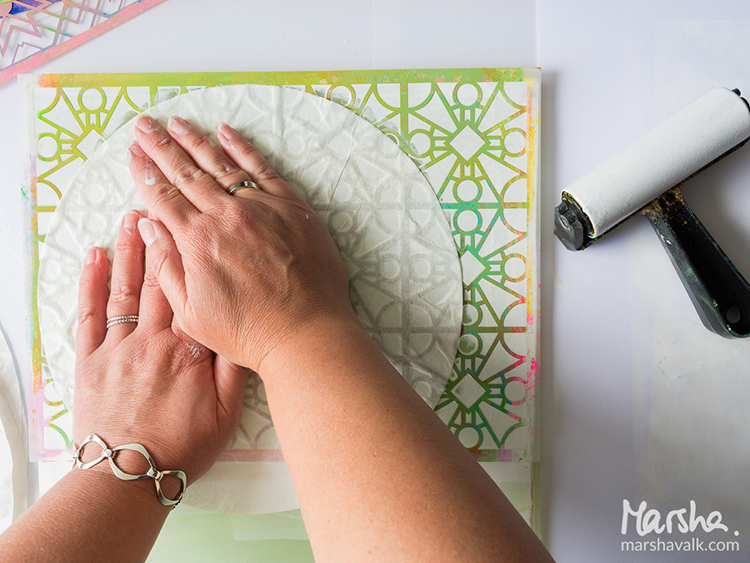
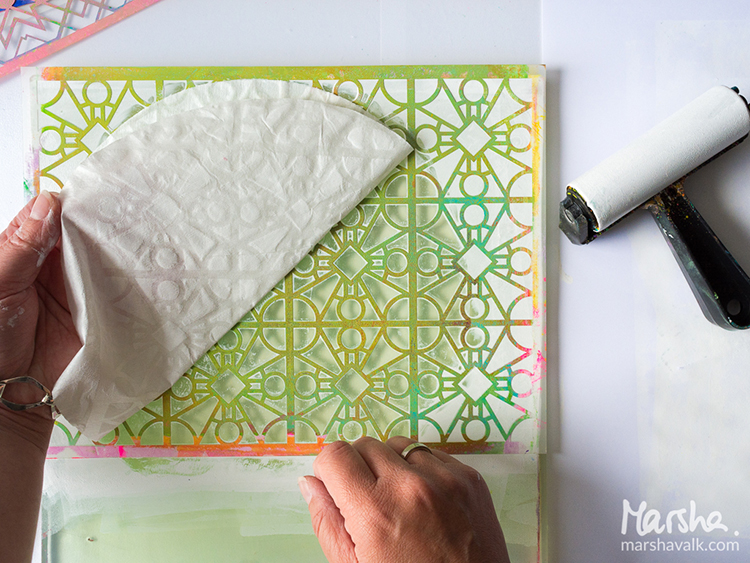
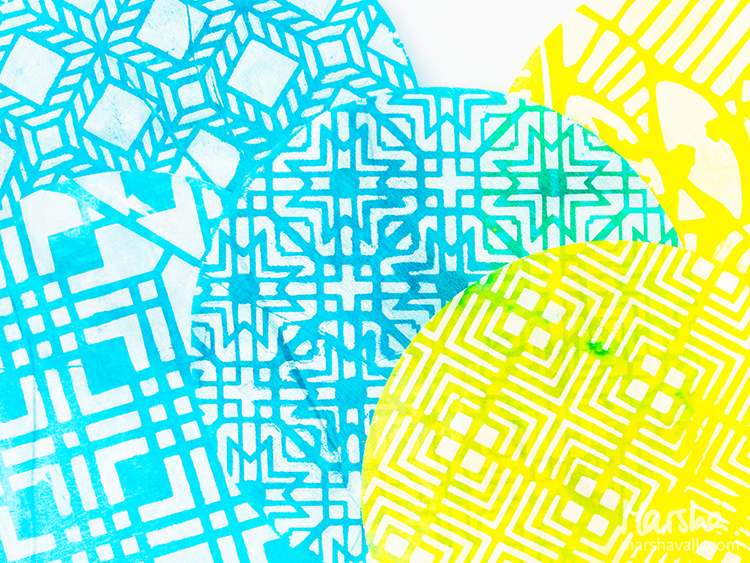
Step 1: Monoprint a couple of coffee filters with your Gelli Arts® printing plate using stencils and (white) acrylic paint. Here I’m using Nat’s Buenos Aires stencil.

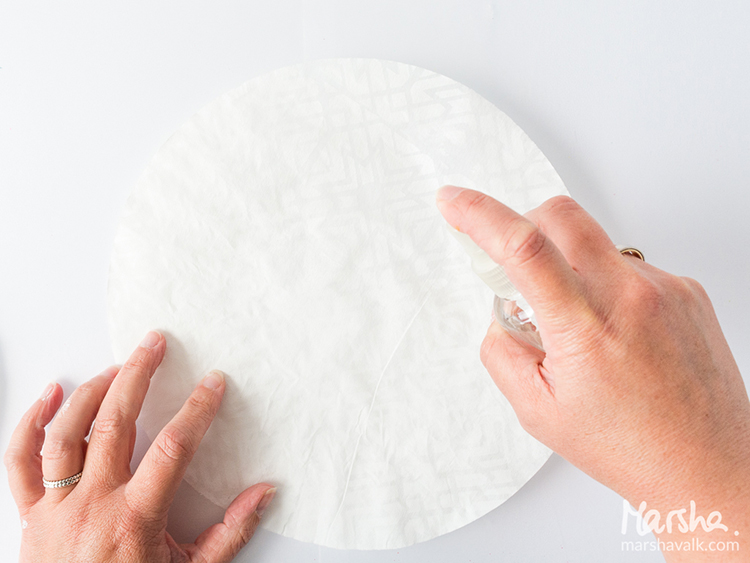
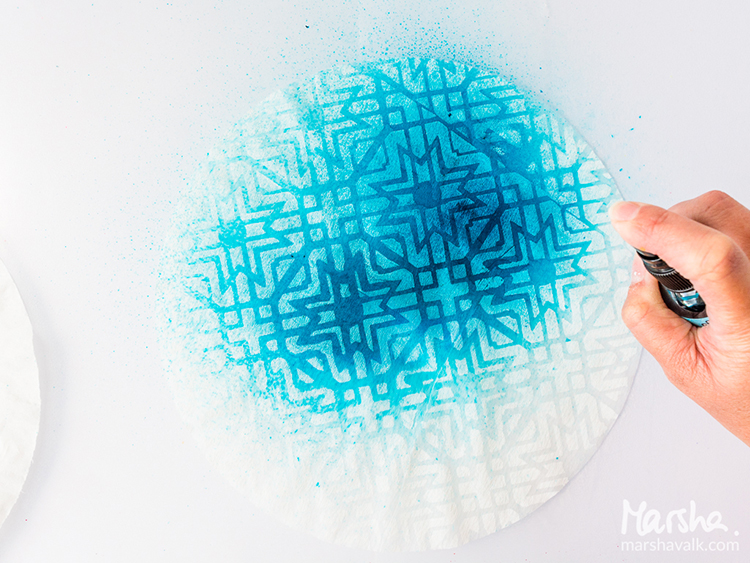
Step 2: Stain the monoprinted coffee filters with spray inks.

Wet the coffee filter with a spray bottle of water before you spray on the spray ink. The water will help the spray ink spread across the coffee filter, this one has Nat’s Toledo stencil pattern on it.

You can stack the coffee filters you want to have the same colour while spraying. Each new filter will absorb the excess ink from the already sprayed ones!

Leave the coffee filters to dry completely.

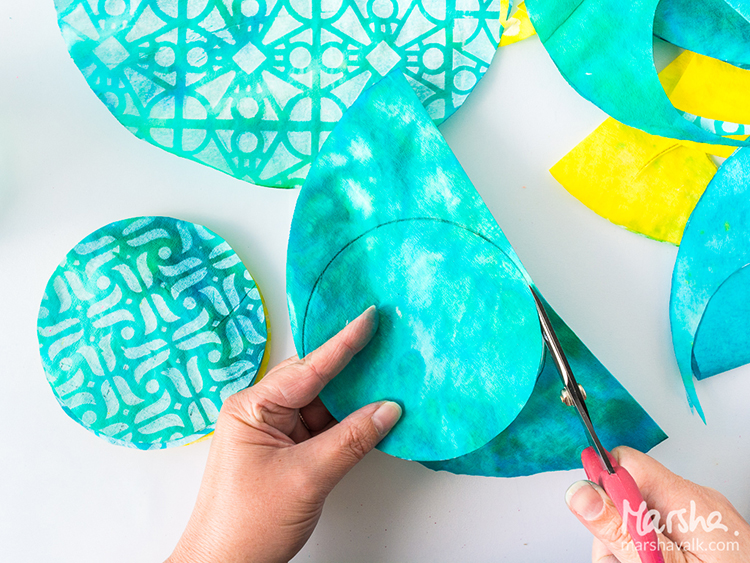
Step 3: Cut two smaller circles out of each coffee filter. I folded each coffee filter in half and used a jar to trace a circle shape onto them to get a uniform size.

Step 4: Fold the circles into eighths (or more) and cut leaf shapes. Make sure to cut some larger and some smaller.

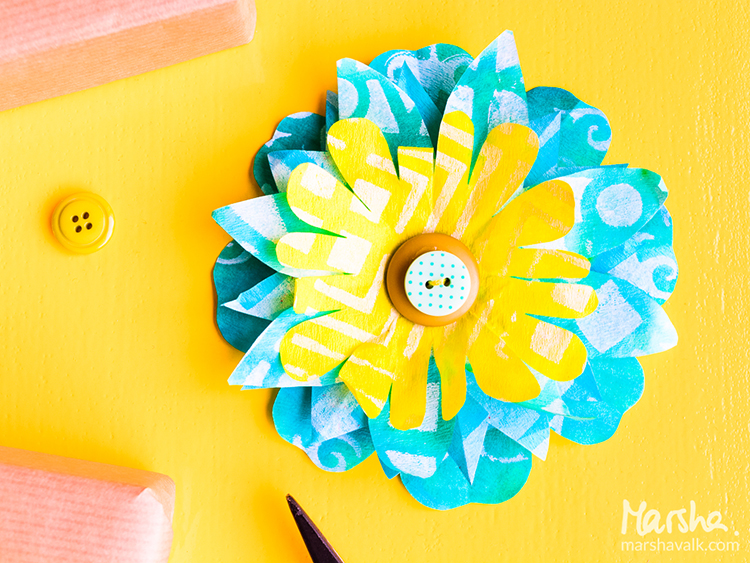
Step 5: Unfold the coffee filter flowers and stack two or three on top of each other. Secure them by sewing one or two buttons in the middle of each stacked flower.

Fluff the petals until you are happy with the result.

Step 6: Use a glue dot or double-sided tape to adhere the flowers to your gifts!


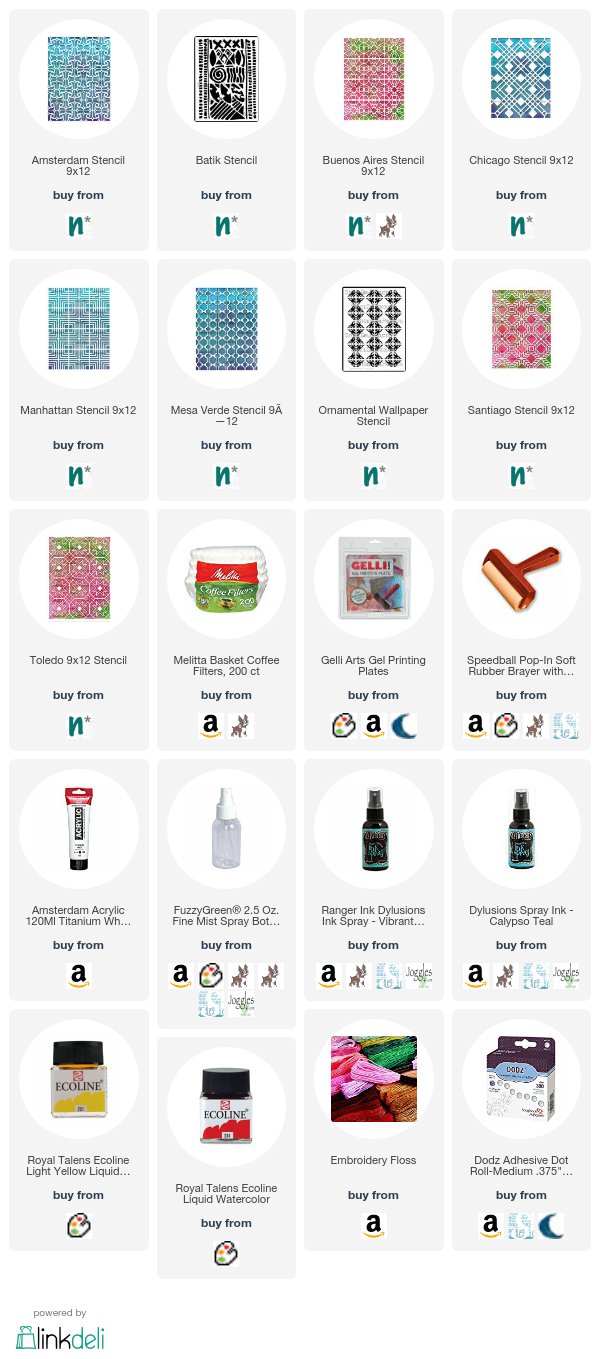
I love this Marsha – such a great way to dress up a gift! In addition to buttons and ribbon, Marsha used the following supplies (some are affiliate links):


Play along with us too: I love to see how you interpret our monthly themes. Email me how you used my stencils and stamps with the theme and email me an image – I would love to share your projects in my next  “n*Spiration From Around the Globe“.
Leave a comment

Artful Adventures – Marsha Valk


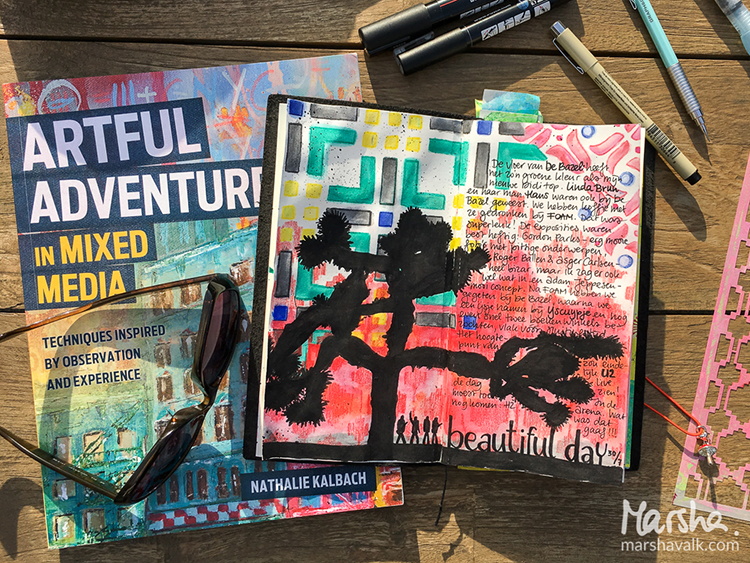
Hello my friends! Today we have a post from Marsha Valk from the Creative Squad. She is sharing an art journal page from a journal that she created just for taking Artful Adventures :)  She uses my Amsterdam, Chicago, and Mesa Verde stencils, and this month’s theme: Artful Adventures. Are you planning an Artful Adventure this summer? Whether it’s a day at the beach or a full blown International Vacation, don’t forget to take the time to soak up the uniqueness of your new surroundings and gather some inspiration for future artmaking. This month we’re turning to Nat’s new book Artful Adventures in Mixed Media, to help us find inspiration as we travel. We’ll be noticing color, shape, texture and more and then we’ll be taking that to the studio to help inspire some mixed media projects. Join us in the adventure!


I’m not going away on vacation this Summer. We were planning to, but it just didn’t happen. And that’s OK because when you read Nat’s new book ‘Artful Adventures in Mixed Media’, you quickly realize that you don’t have to go far to experience an artful adventure!

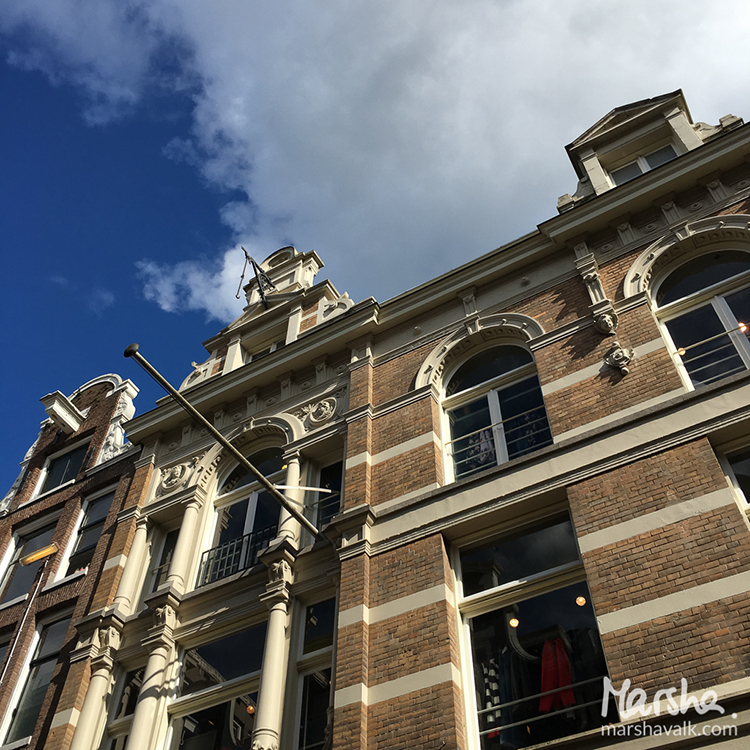
I was set on taking inspiration from the city I live in, and the photos I had taken during the Artful Adventures Stroll Through The Hood Challenge leading up to the release of the book. You can see the photos I took during the challenge here.

But when it came down to creating I took one look at my Wanderlust stencils and changed my mind!

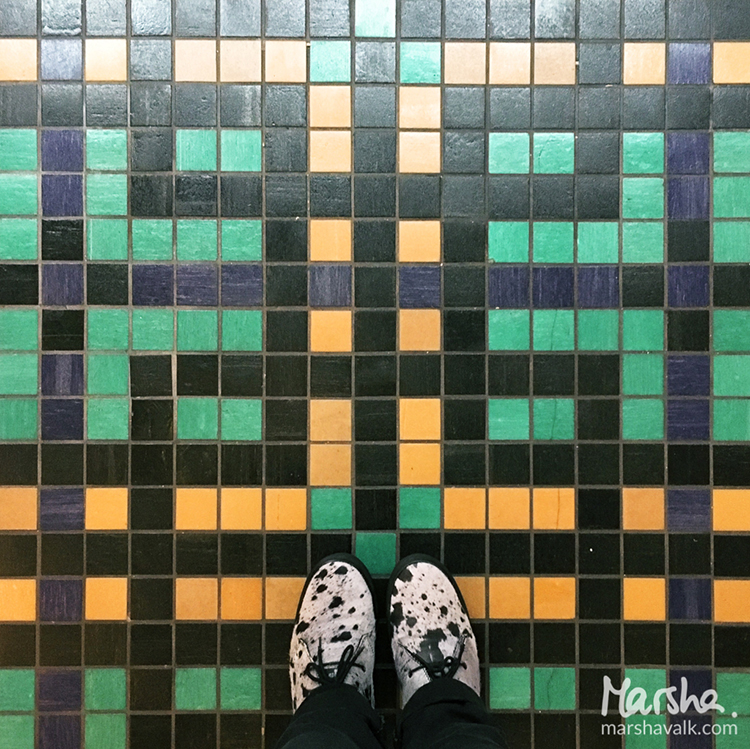
The Chicago stencil reminded me of the floor of the place in Amsterdam we had lunch recently. And the Amsterdam stencil reminded me of the logo of the ice cream place we went to after that. And the Mesa Verde stencil…

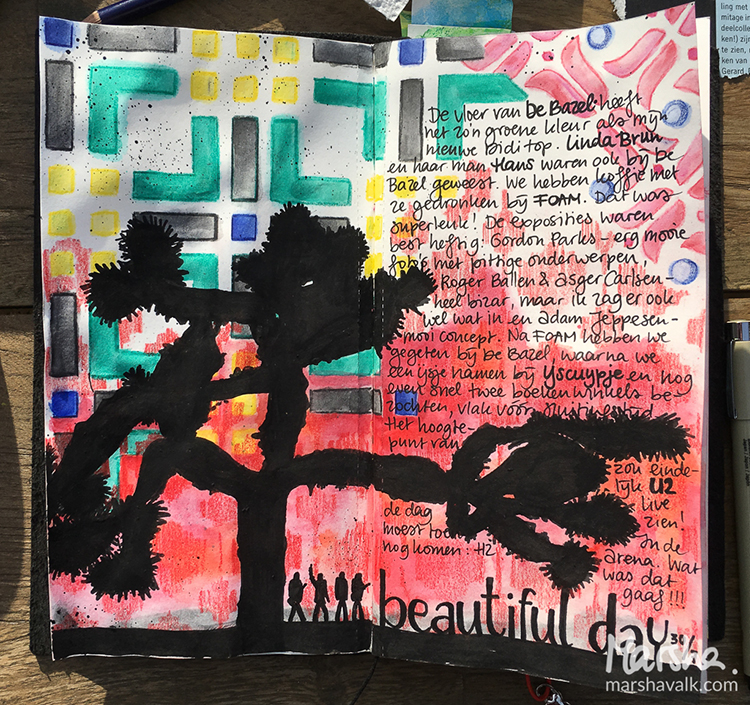
All these stencils combined told another story: the story of a beautiful day in Amsterdam. Not Amersfoort. Amsterdam!

So I took my art-on-the-go kit into the yard and explored what this day in Amsterdam would have looked like in a travel journal (a regular Midori sketchbook), had I been on vacation.

I even did the Observation exercise from the book to remind myself of what I saw and felt that day. I also went online to collect images of things I hadn’t photographed or wasn’t allowed to take photos of at the time (museum).

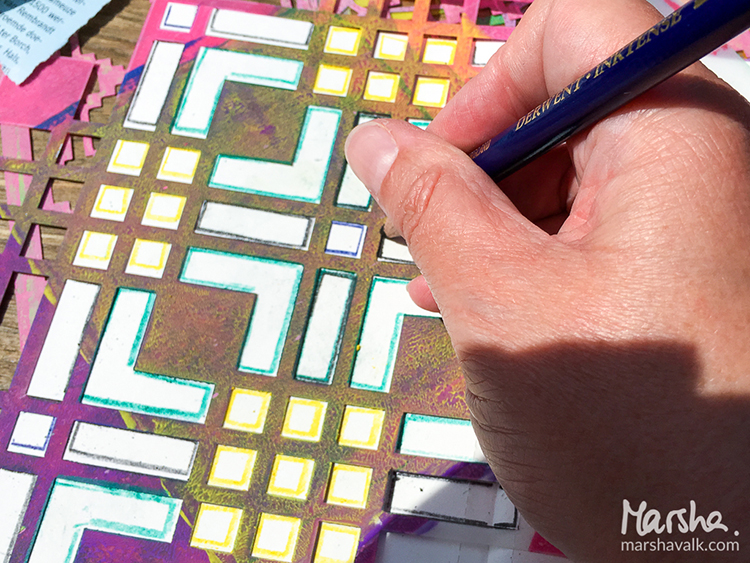
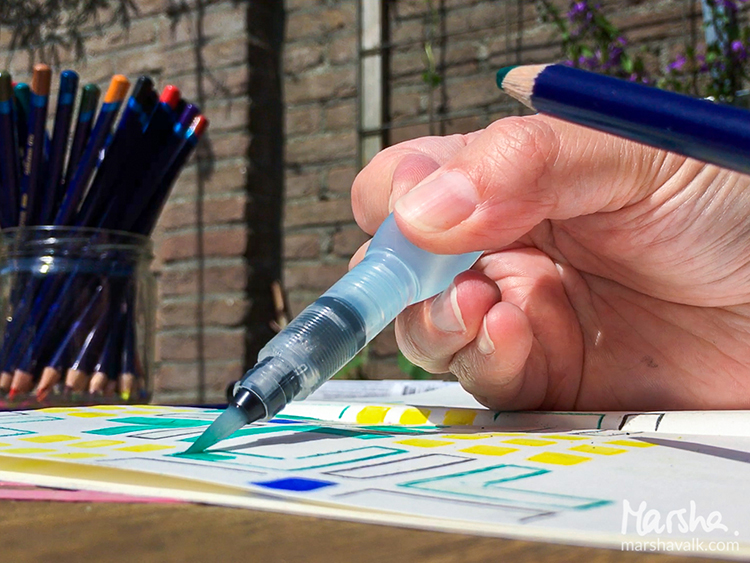
My art-on-the-go kit doesn’t include Inktense watercolour pencils, but I decided to use these with the stencils instead of my regular watercolours.

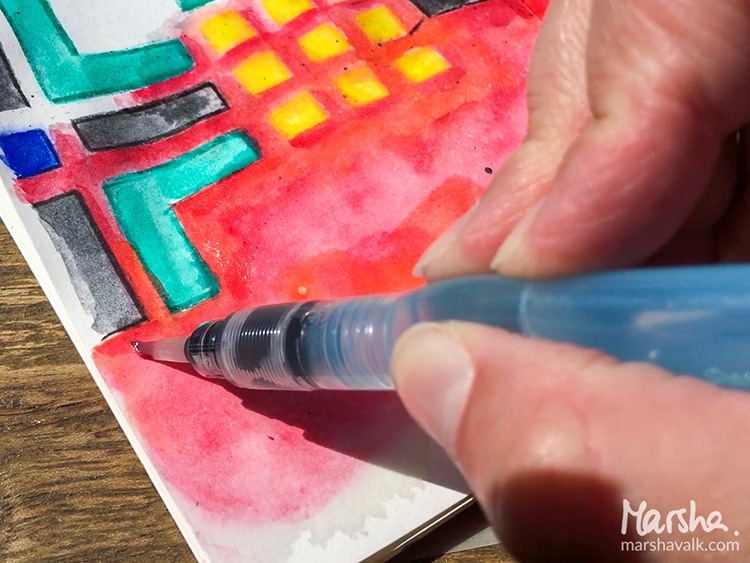
Watercolour pencils are a great addition to an art-on-the-go kit though, because you can use them as a regular coloured pencil as well as activate them with a waterbrush: I used a warm red Inktense pencil without water to colour in the openings of the Mesa Verde stencil.

The Chicago and Amsterdam stencil designs were first traced with the pencils before I used a waterbrush to pick up the pigment from the same pencil and coloured inside the lines.

The red watercolour background is created with regular watercolours, and I used Posca markers to draw and colour the black tree.

It was super relaxing to create like this, with limited supplies, having to pause to wait until the watercolour was dry. And I especially love that I have this particular day recorded in a journal now!


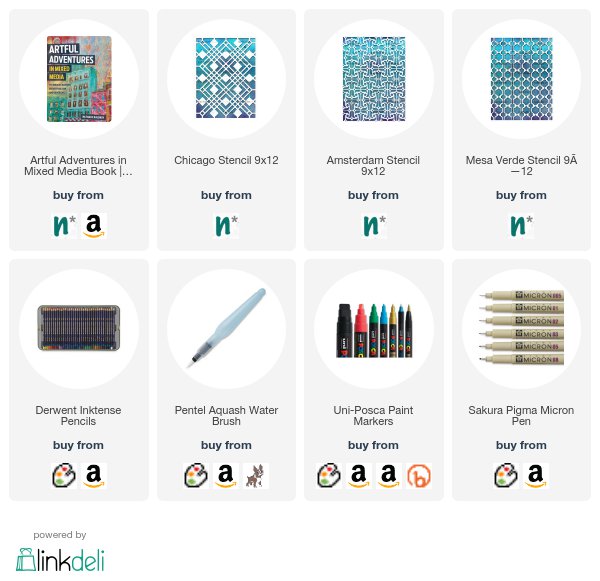
Thank you Marsha for sharing your vision of an Artful Adventure in Amsterdam! In addition to her sketchbook, Marsha used the following supplies (some are affiliate links):


Play along with us too: I love to see how you interpret our monthly themes. Email me how you used my stencils and stamps with the theme and email me an image – I would love to share your projects in my “n*Spiration From Around the Globe“.
Leave a comment

Live Like It’s Spring – Marsha Valk


Hello from the Creative Squad! Today Marsha Valk is officially ushering in spring with a collection of gorgeous collages using a whole bunch of my stencils and the monthly theme Live Like it’s Spring – Springtime is when Mother Nature kicks it into high gear. It’s the time to wake up and approach life with renewed energy.  Let’s join Mother Nature in this reawakening and create some things in the Spirit of Spring!


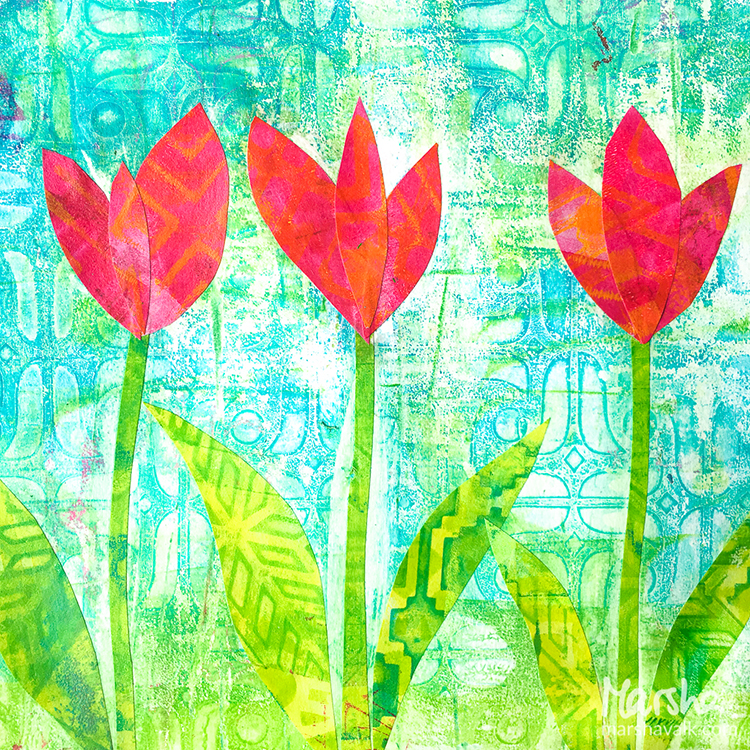
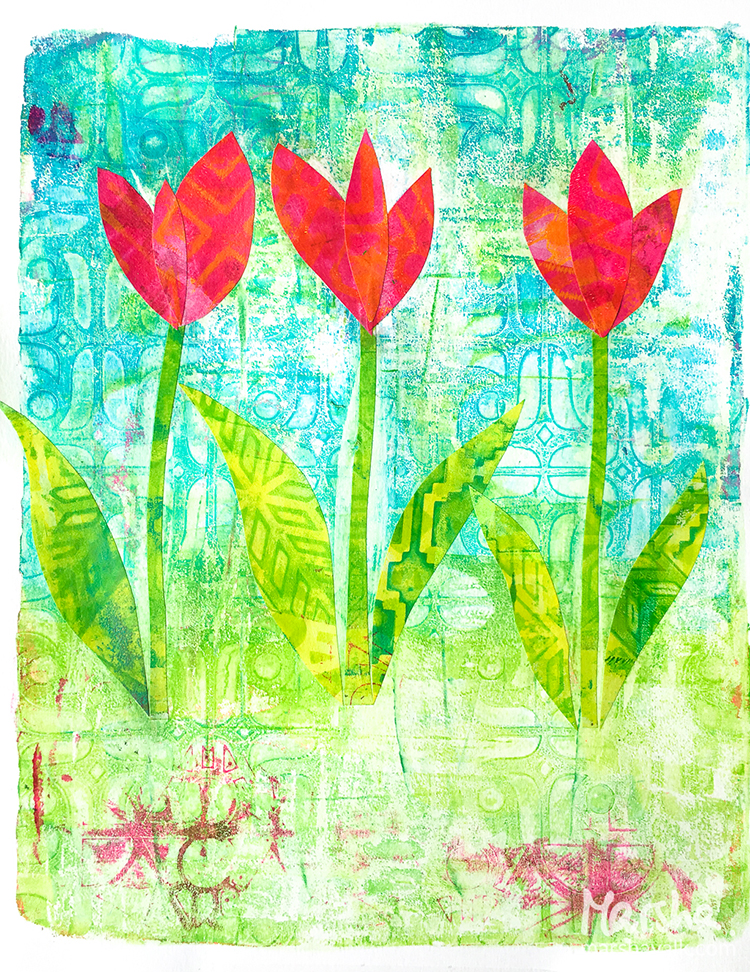
When it’s Spring again I’ll bring again… Tulips from Amsterdam! They’re actually from my craft room about 50 km east of Amsterdam… but that’s near enough I think ;-).

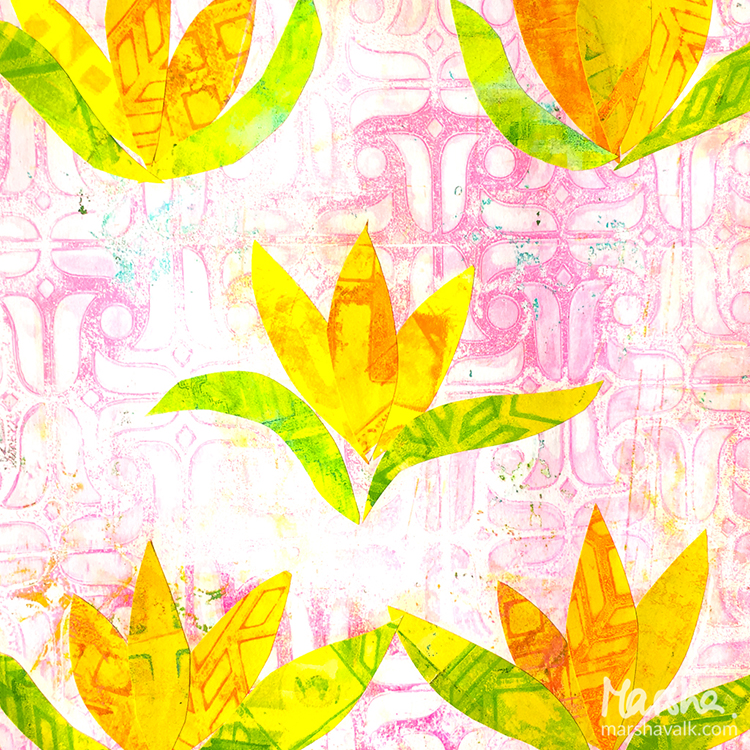
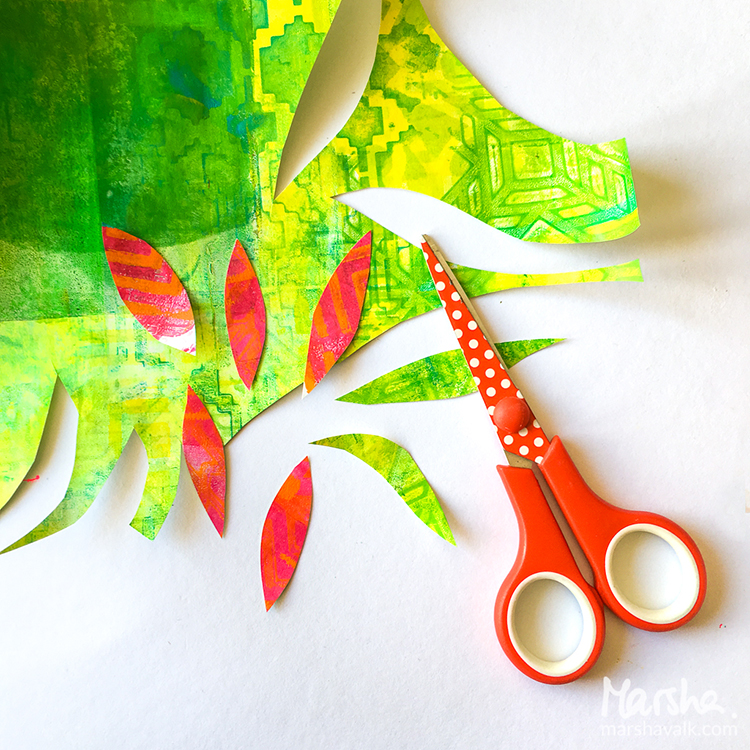
I started with mono printing a bunch of greenish, reddish and yellow/orangey prints on copy paper with my Gelli plate and Nathalie’s Buenos Aires, Manhattan, Mesa Verde, Santiago, and Toledo stencils. Once dry I cut them up into tulip leaves and stems.

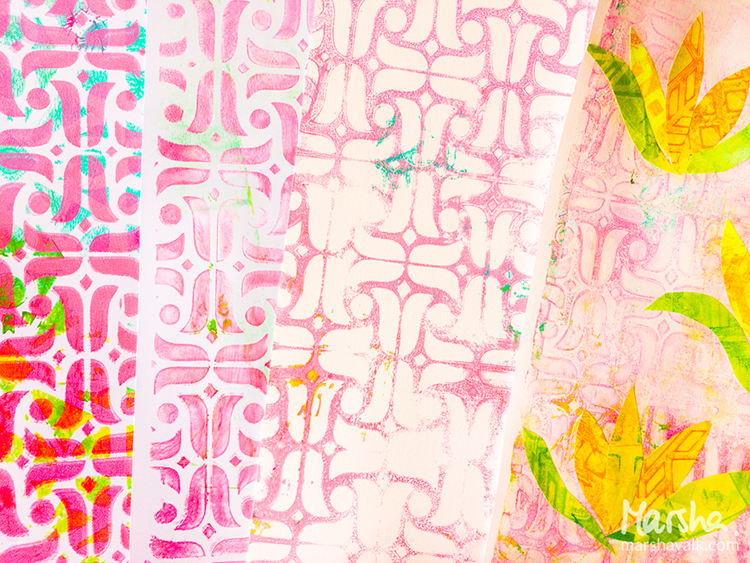
I wanted to use Nat’s ‘Amsterdam’ stencil, with the tulip pattern, for the background. To achieve a softer ‘ghost’ print, I had to pull four prints: I applied paint onto the Gelli plate, layered the stencil on top and pulled two prints to remove most of the paint.

Then I removed the stencil and pulled another print to remove even more paint. And then for the final print I applied white paint onto the Gelli plate and pulled a last ghost print. And this last print is what I used for the background.

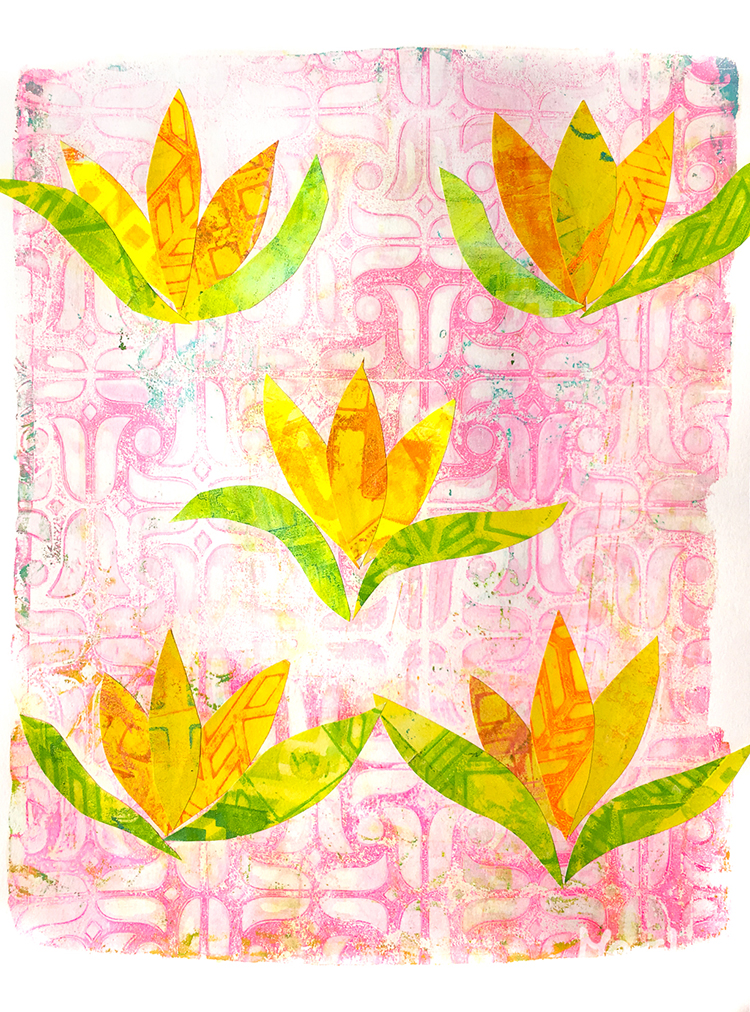
The last step was to collage the tulip parts onto the Gelli printed backgrounds.


Thank you Marsha! I love how you combined all those different stencil patterns with those gorgeous spring colors. In addition to some white copy paper, Marsha used these supplies – some links are affiliate links:


Play along with us! I love to see how you interpret our monthly themes. Email me how you used my stencils and stamps with the theme and email me an image – I would love to share your projects in my “n*Spiration From Around the Globe“.
Leave a comment

All of Me Loves All of You – Art Journal

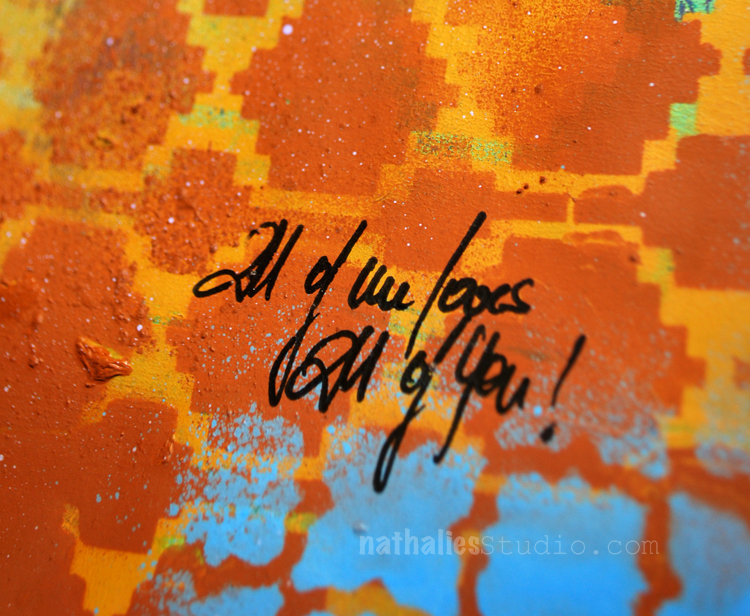
I guess I have spring feelings- LOL. I love this – “All of Me Loves All of You” .
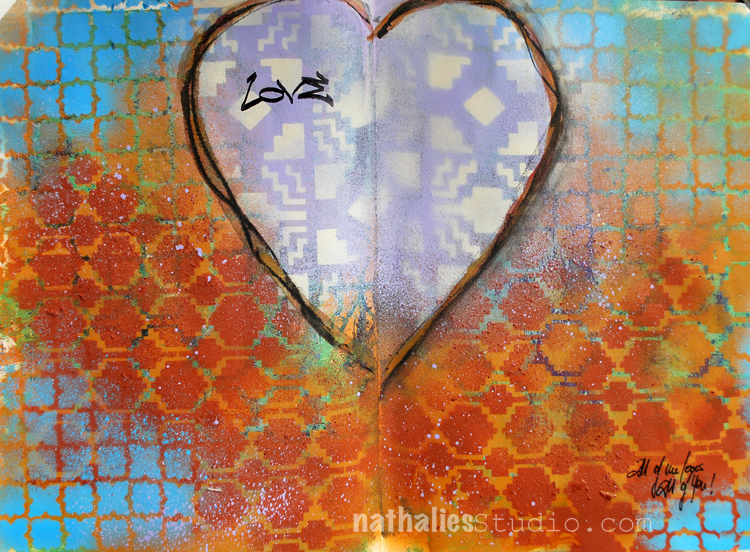
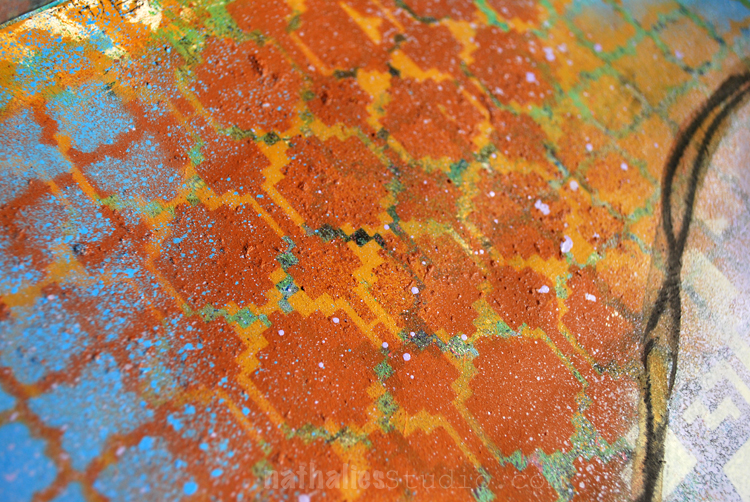
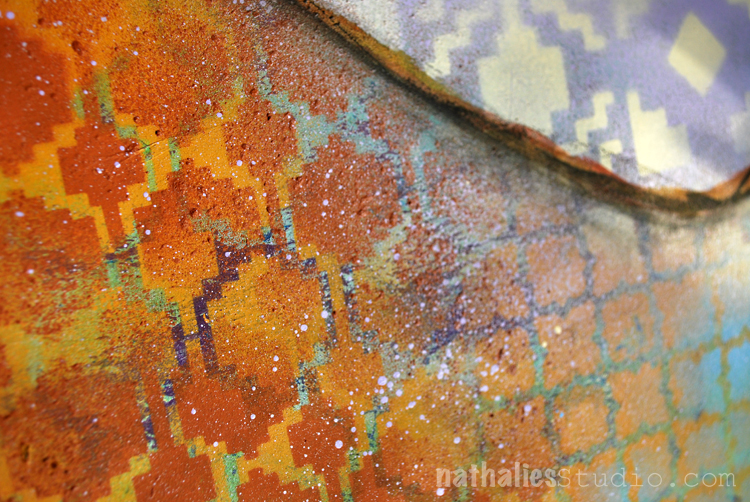
This was a quick but fun spread using different acrylic spray paints over three different stencils.

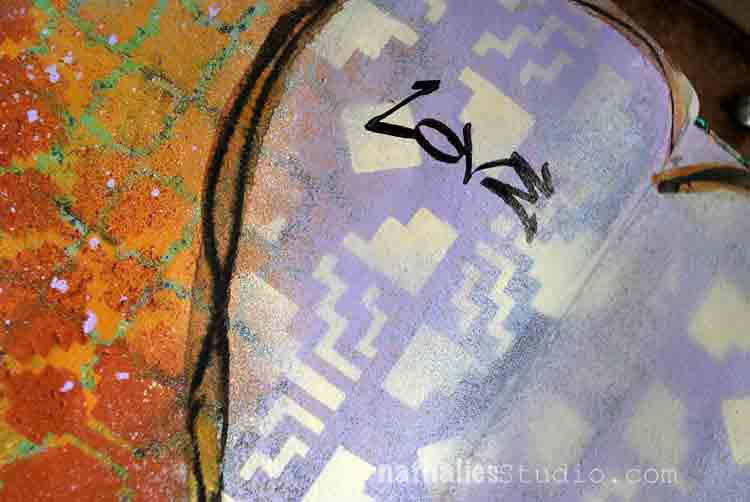
I like how the stencil pattern of Santa Fe, Granada and Mesa Verde look so good together – I want a blanket with this :)

I added the journaling with a Fude pen and stamped with the Love Tag stamp into the heart.

To define the heart a bit more I traced it with some Artgraf Pigments -dry and wet.

I think I found a new color combination I like :)

Here are some of the supplies I used for this spread- some links are affiliate links:


Comments (4)

  • Joi@RR

    |

    This page looks 3D. It seems to me like I am looking thru a screen and there are some lovely orange flowers and then the sky. The sky looks far away – 3D to me!!! Orange is my favorite color and that deep sky blue looks so yummy with it here. I REALLY am enjoying this journal creations Nat. Thanks bunches for your inspiration! Xj.

    Reply

    • nathalie-kalbach

      |

      Thank you Joi ! I love what you see in the artjournal spread! Have a gorgeous day Joi!

      Reply

  • Sue Clarke

    |

    I love my Fude pens and the color combo of rust and blue has been a fav of mine. I wouldn’t have thought to use the purple with it but I like it.

    Reply

    • nathalie-kalbach

      |

      sue, that is so true- it was a surprise for me too how much I liked the color combination. It is fun to sometimes try out new things – this is a good reminder for me :)

      Reply

Leave a comment