Creative Squad

Good Things Just Keep Happening – Cheiron Brandon

cs-november-good-things

Today, Cheiron Brandon from my Creative Squad is sharing three wonderful cards using this month’s theme: “Good Things Just Keep Happening.” I invite you to join me and my Creative Squad this November, in the spirit of the Thanksgiving holiday in the US, to remind ourselves to be thankful for even the smallest things.  Every once in a while it feels nice to slow down and recognize the good stuff that’s all around us.  What Good Thing happened to you today?


cheiron-november-headshot

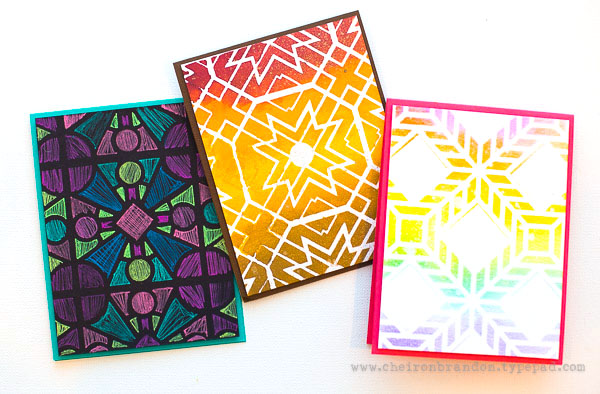
Hi there! It’s Cheiron with my post for November and we are playing with the theme of Good Things just keep happening. I am thankful today that I finally have my own studio in my house where I can create and I get to relax there every night even if its just for a small amount of creative time. I couldn’t wait to try out Nat’s new stencil release and wanted to try out all the patterns. You know I am a card maker, so I cut a bunch of card panels, took out the stencils and made 3 cards with 3 different techniques.

cheiron-nov-photo-1

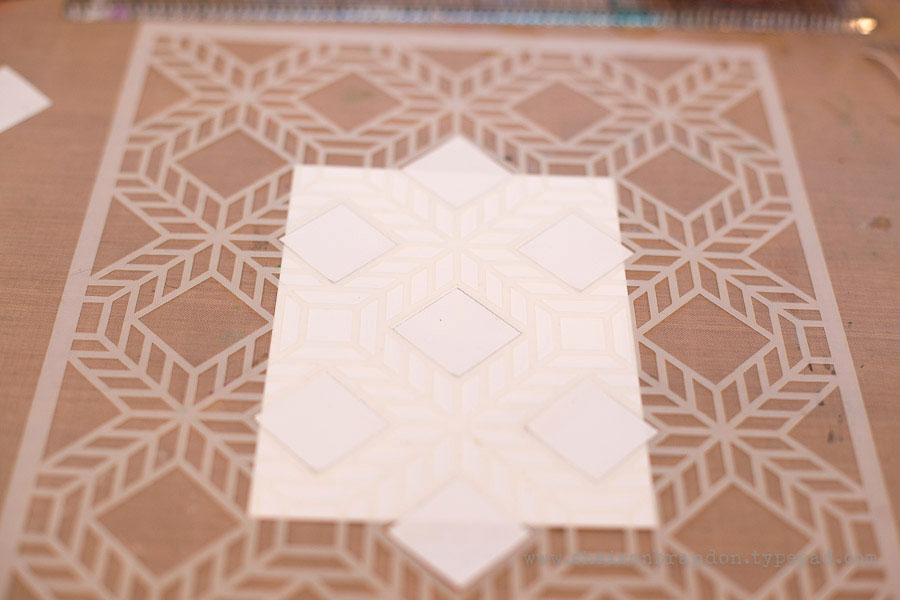
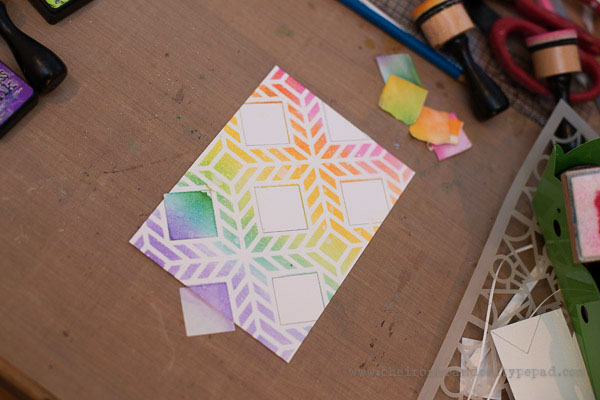
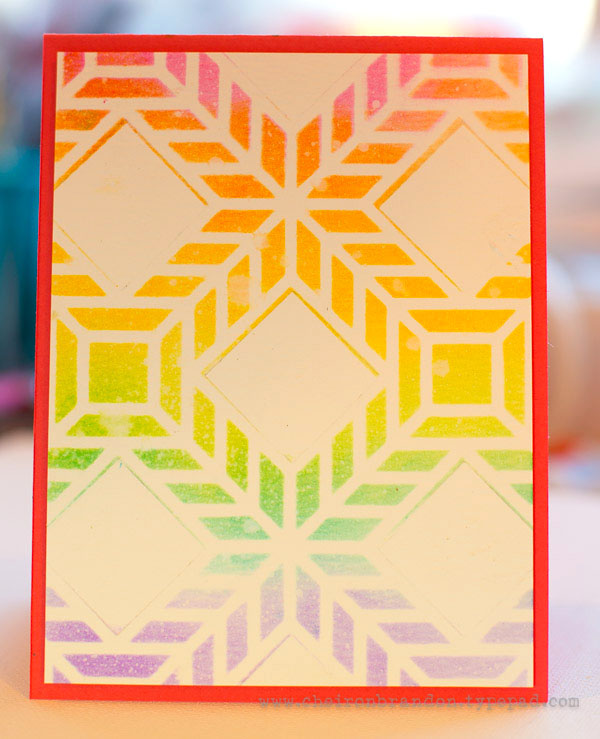
For my first card, I wanted to do some basic ink blending through the Santiago stencil, but decided that I wanted to keep the squares in the center white…so I masked them off with some masking paper.

cheiron-nov-photo-3

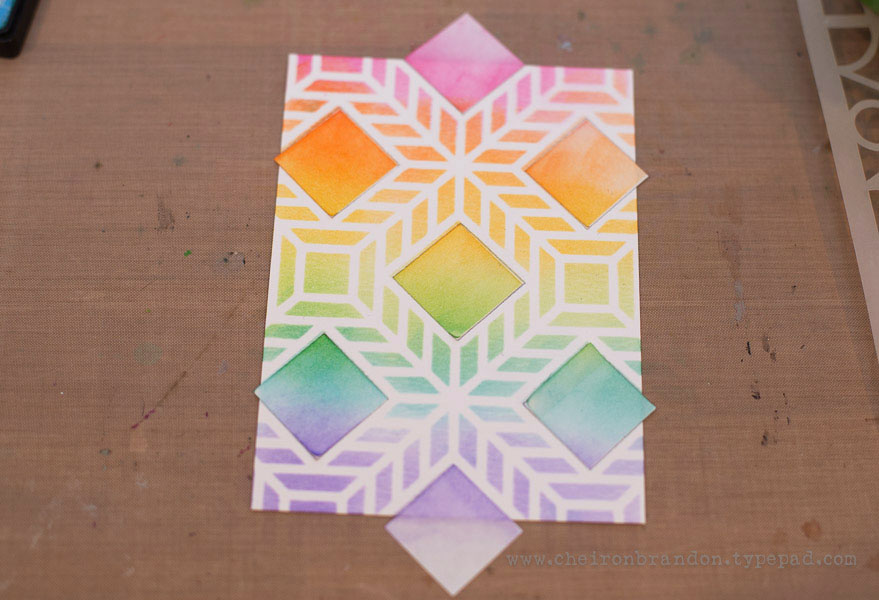
Then I blended my inks through the stencil with the foam blending tool.

cheiron-nov-photo-4

Once that was done I removed the masking paper

cheiron-nov-photo-5

And then adhered the panel with foam tape to a card base:

cheiron-nov-photo-2

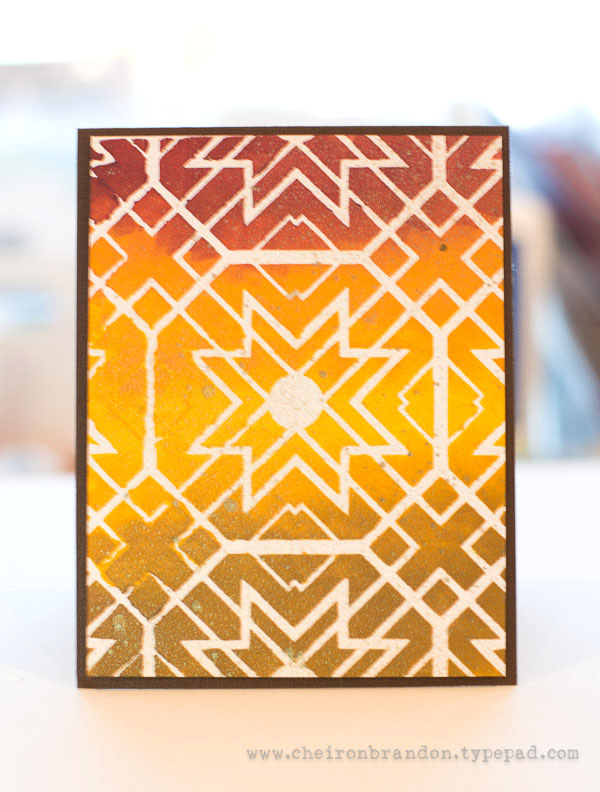
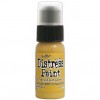
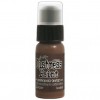
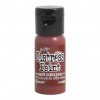
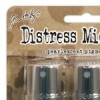
For my second card, I played around with some Distress Paints in Fossilized Amber, Aged Mahogany, Gathered Twigs and Spiced Pumpkin and pounced paint through the Toledo stencil. Then I sprayed the entire thing with a bit of Tarnished Brass Distress Mica Spray. This one will be perfect to send as a Thanksgiving card!

cheiron-nov-photo-6

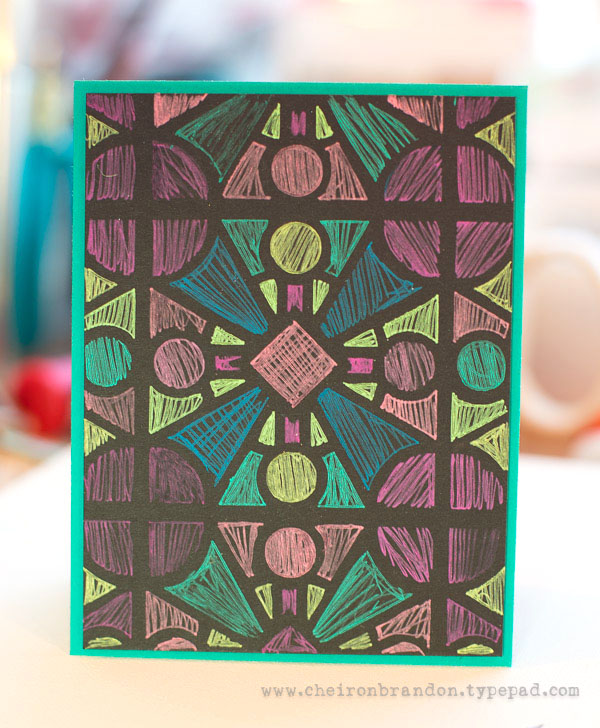
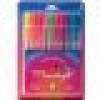
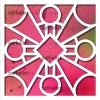
For my last card, I pulled out my Gelly Roll Moonlight pens and colored through the Buenos Aires stencil, I have not played with these in a while and forgot how good they look on black paper.

cheiron-nov-photo-7

I am thankful today that I got to play with these fun new stencils and that I get to create something almost every day! 

————————————————————————————————————————————————————————————————————————————————–
Thank you Cheiron for those amazing cards! I love them all so much – the Gelly Roll – Card blew me away though – it looks like stained glass- yum!
Here are the supplies Cheiron used to create her cards- some links are affiliate links:
supplies


Maybe you will even play along with us -I would love to see how you interpret our monthly themes. Email me how you used my stencils and stamps with the theme and email me an image – I would love to share your projects in my “n*Spiration From Around the Globe“..

Comments (1)

  • Joi@RR

    |

    Love them. So fun, cheerful and unique. j.

    Reply

Leave a comment

All the Colors I am … or In my Art Journal today

kalbachallthecolorsaj01

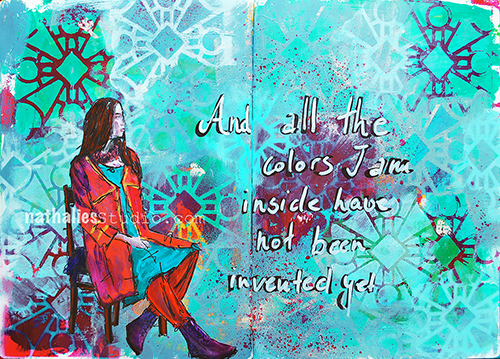
“And all the colors I am inside have not been invented yet”

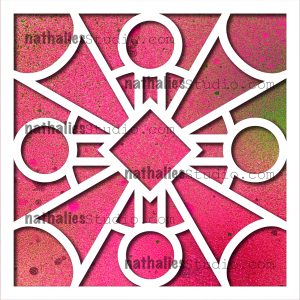
Such a beautiful quote. I played with my brand new StencilGirl Products 4×4 Buenos Aires Stencil

buenosaires4x4background-watermarked

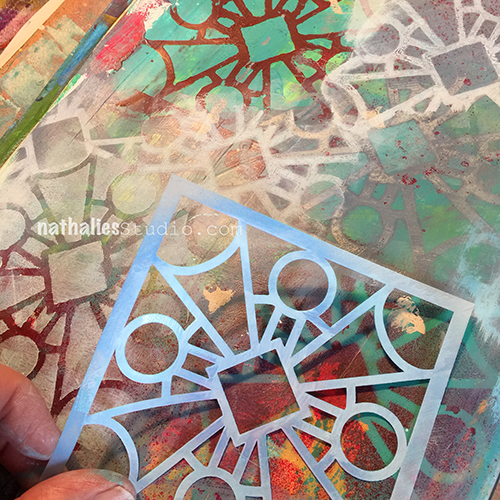
On a pre-painted background I used the stencil with different acrylic paint colors.

kalbachallthecolorsaj05

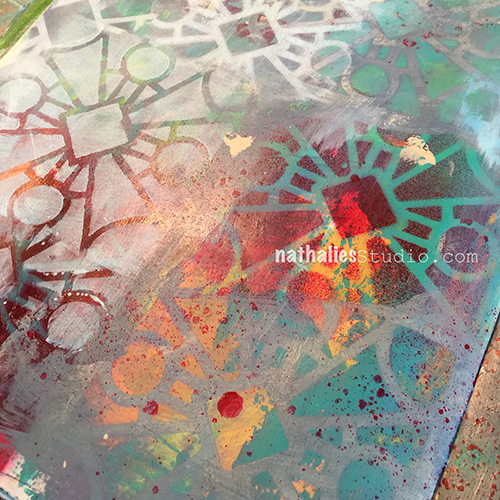
Stenciling through the stencil, but sometimes also painting the background, laying the stencil on top and removing the paint through the stencil.

kalbachallthecolorsaj04

I love the layering effect I got by repeating this over and over

kalbachallthecolorsaj03

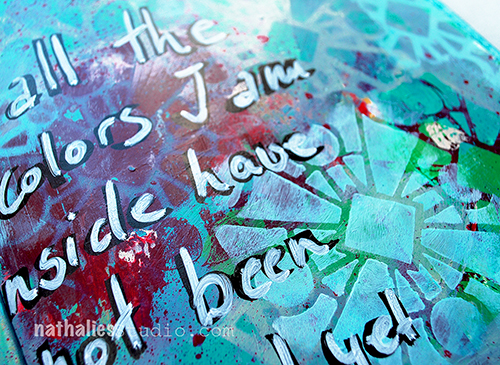
I added the journaling and overpainted a magazine image with acrylic markers.

kalbachallthecolorsaj02

Here are the supplies I used for this art journal spread – note some links are affiliate links.

supplies

Have a wonderful day!

Leave a comment

n*Studio + StencilGirl present: Latin Impressions

nathalie-nov-sq-graphic

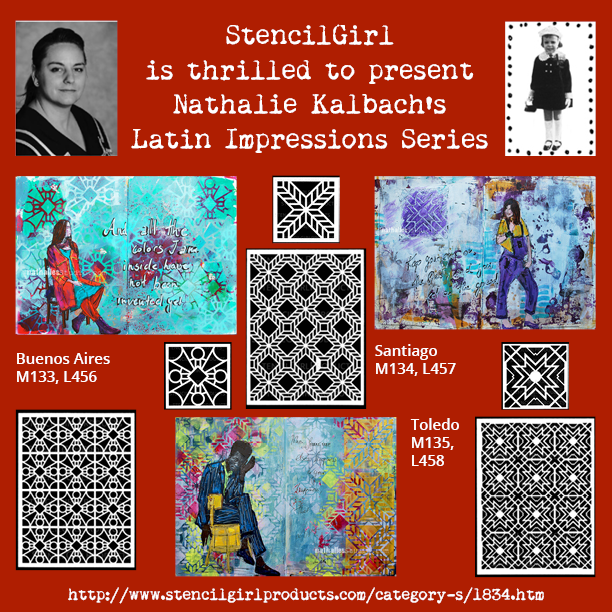
I am super excited that I have six new Stencils being released today with StencilGirl Products.

Let me tell you a little bit about those stencils

n*Studio and StencilGirl Fall Release: Latin Impressions from Nathalie Kalbach on Vimeo.

The Creative Squad has been busy with the new stencils as well, check out their amazing projects:

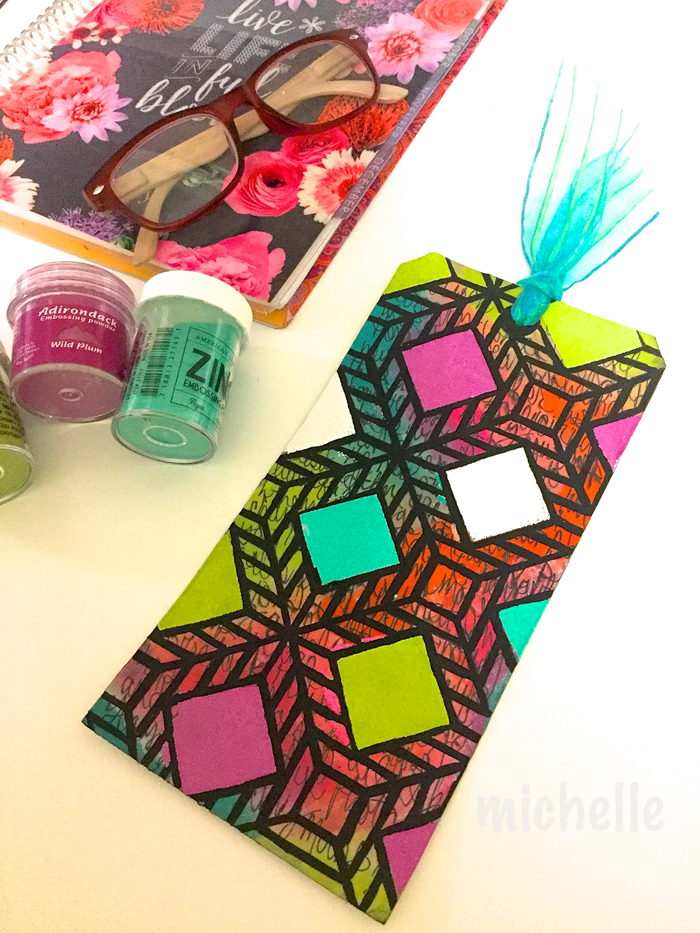
Here is Michelle’s beautiful book mark using the Santiago Stencil.

michellerydellelatinimpressions

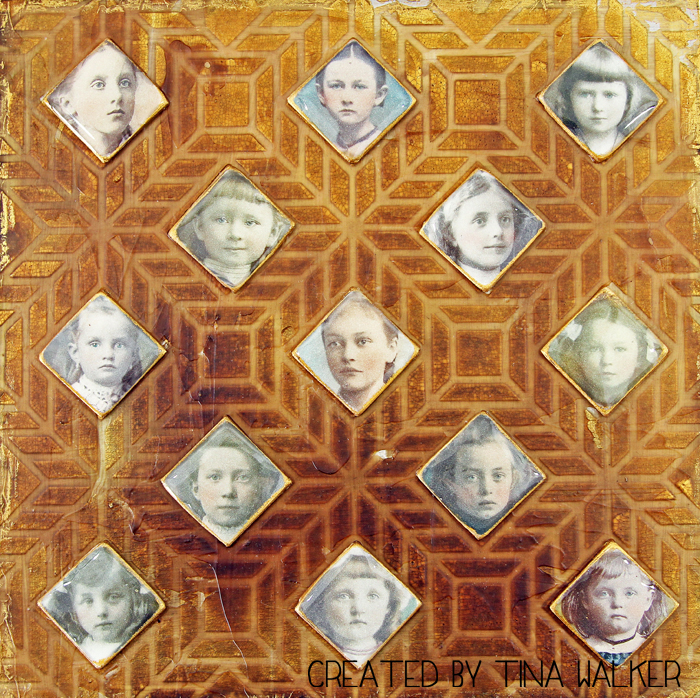
And Tina did a really cool Faux-Encaustic project using the Santiago Stencil as well.

img_5002a

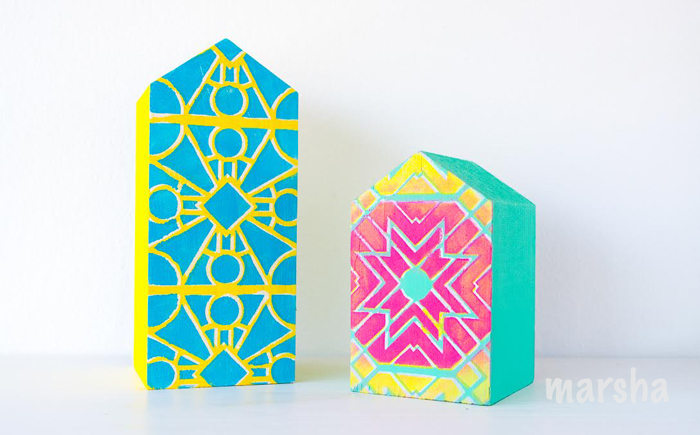
Marsha did these super cute colorful wood block houses using the Buenos Aires and the Toledo Stencil.

marshavalklatinimpressions

I hope you like my new Stencil Designs! Which one is your favorite?

The Stencils are available in the shop now and …don’t forget there is still the Website Launch Party on and you get 20% off in the Shop and on Online Workshops – use the Coupon Code NEWNAT20 when checking out!

nstudiowebsitelaunch-coupon-code-graphic

Have a wonderful day!


Comments (5)

  • Jill

    |

    Can’t wait to get my hands on these babies! I absolutely love your journal pages.

    Reply

  • stresso

    |

    Woo hoo! Loving these. Congrats on the release

    Reply

    • nathalie-kalbach

      |

      Thank you so much Stephanie :) have a wonderful rest of the week! Nat

      Reply

  • Joi@RR

    |

    COMPLETELY AWESOME – love them all. And so excited for you Nat. Great projects from all the design team too. Just WONDERFUL. Xj.

    Reply

    • nathalie-kalbach

      |

      Thank you so much Joi! They are really fun to work with and I love the creative squad’s projects a lot too :) Nat

      Reply

Leave a comment

Letter to My Future Self – Gwen Lafleur

CS July Letter

It’s Tuesday again and time for my Creative Squad to share a project with you with this month’s theme: “Letter to my Future Self”. Throughout the month of July, the team will use any of my n*Studio Stamps and Stencils they would like to use to interpret the theme. This month’s theme is in honor of my recent 10 year (!) blog anniversary- which we will celebrate later this month!  I asked the team to create something that they’d like to tell themselves in 10 years. Like a mixed media time capsule. This theme flips the “If only I knew then what I know now” sentiment up-side-down.

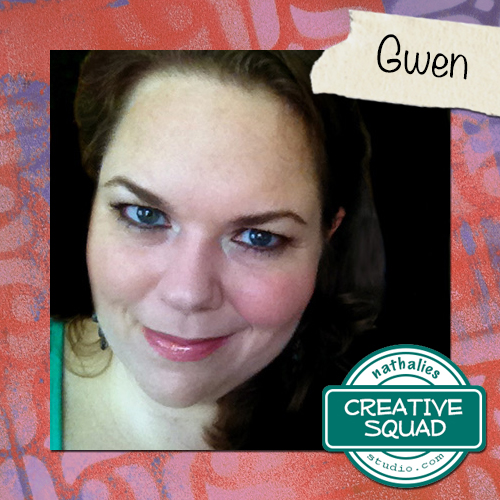
This week we show you Gwen Lafleur‘s amazing mini book and the advice she would hope she will have followed in the next ten years !

—————————————————————————————————
Gwen July Headshot

For this month’s theme, I thought it would be fun to get creative with the “letter” part of the letter to my future self theme. I love to make books, so I decided that instead of writing a traditional letter and including it in my art journal (or regular journal,) that I would make a mini journal that would be the actual letter. I took a little time to think of my top five pieces of advice that I would hope that 10 years from now, my future self will have followed, and then created this book around them.
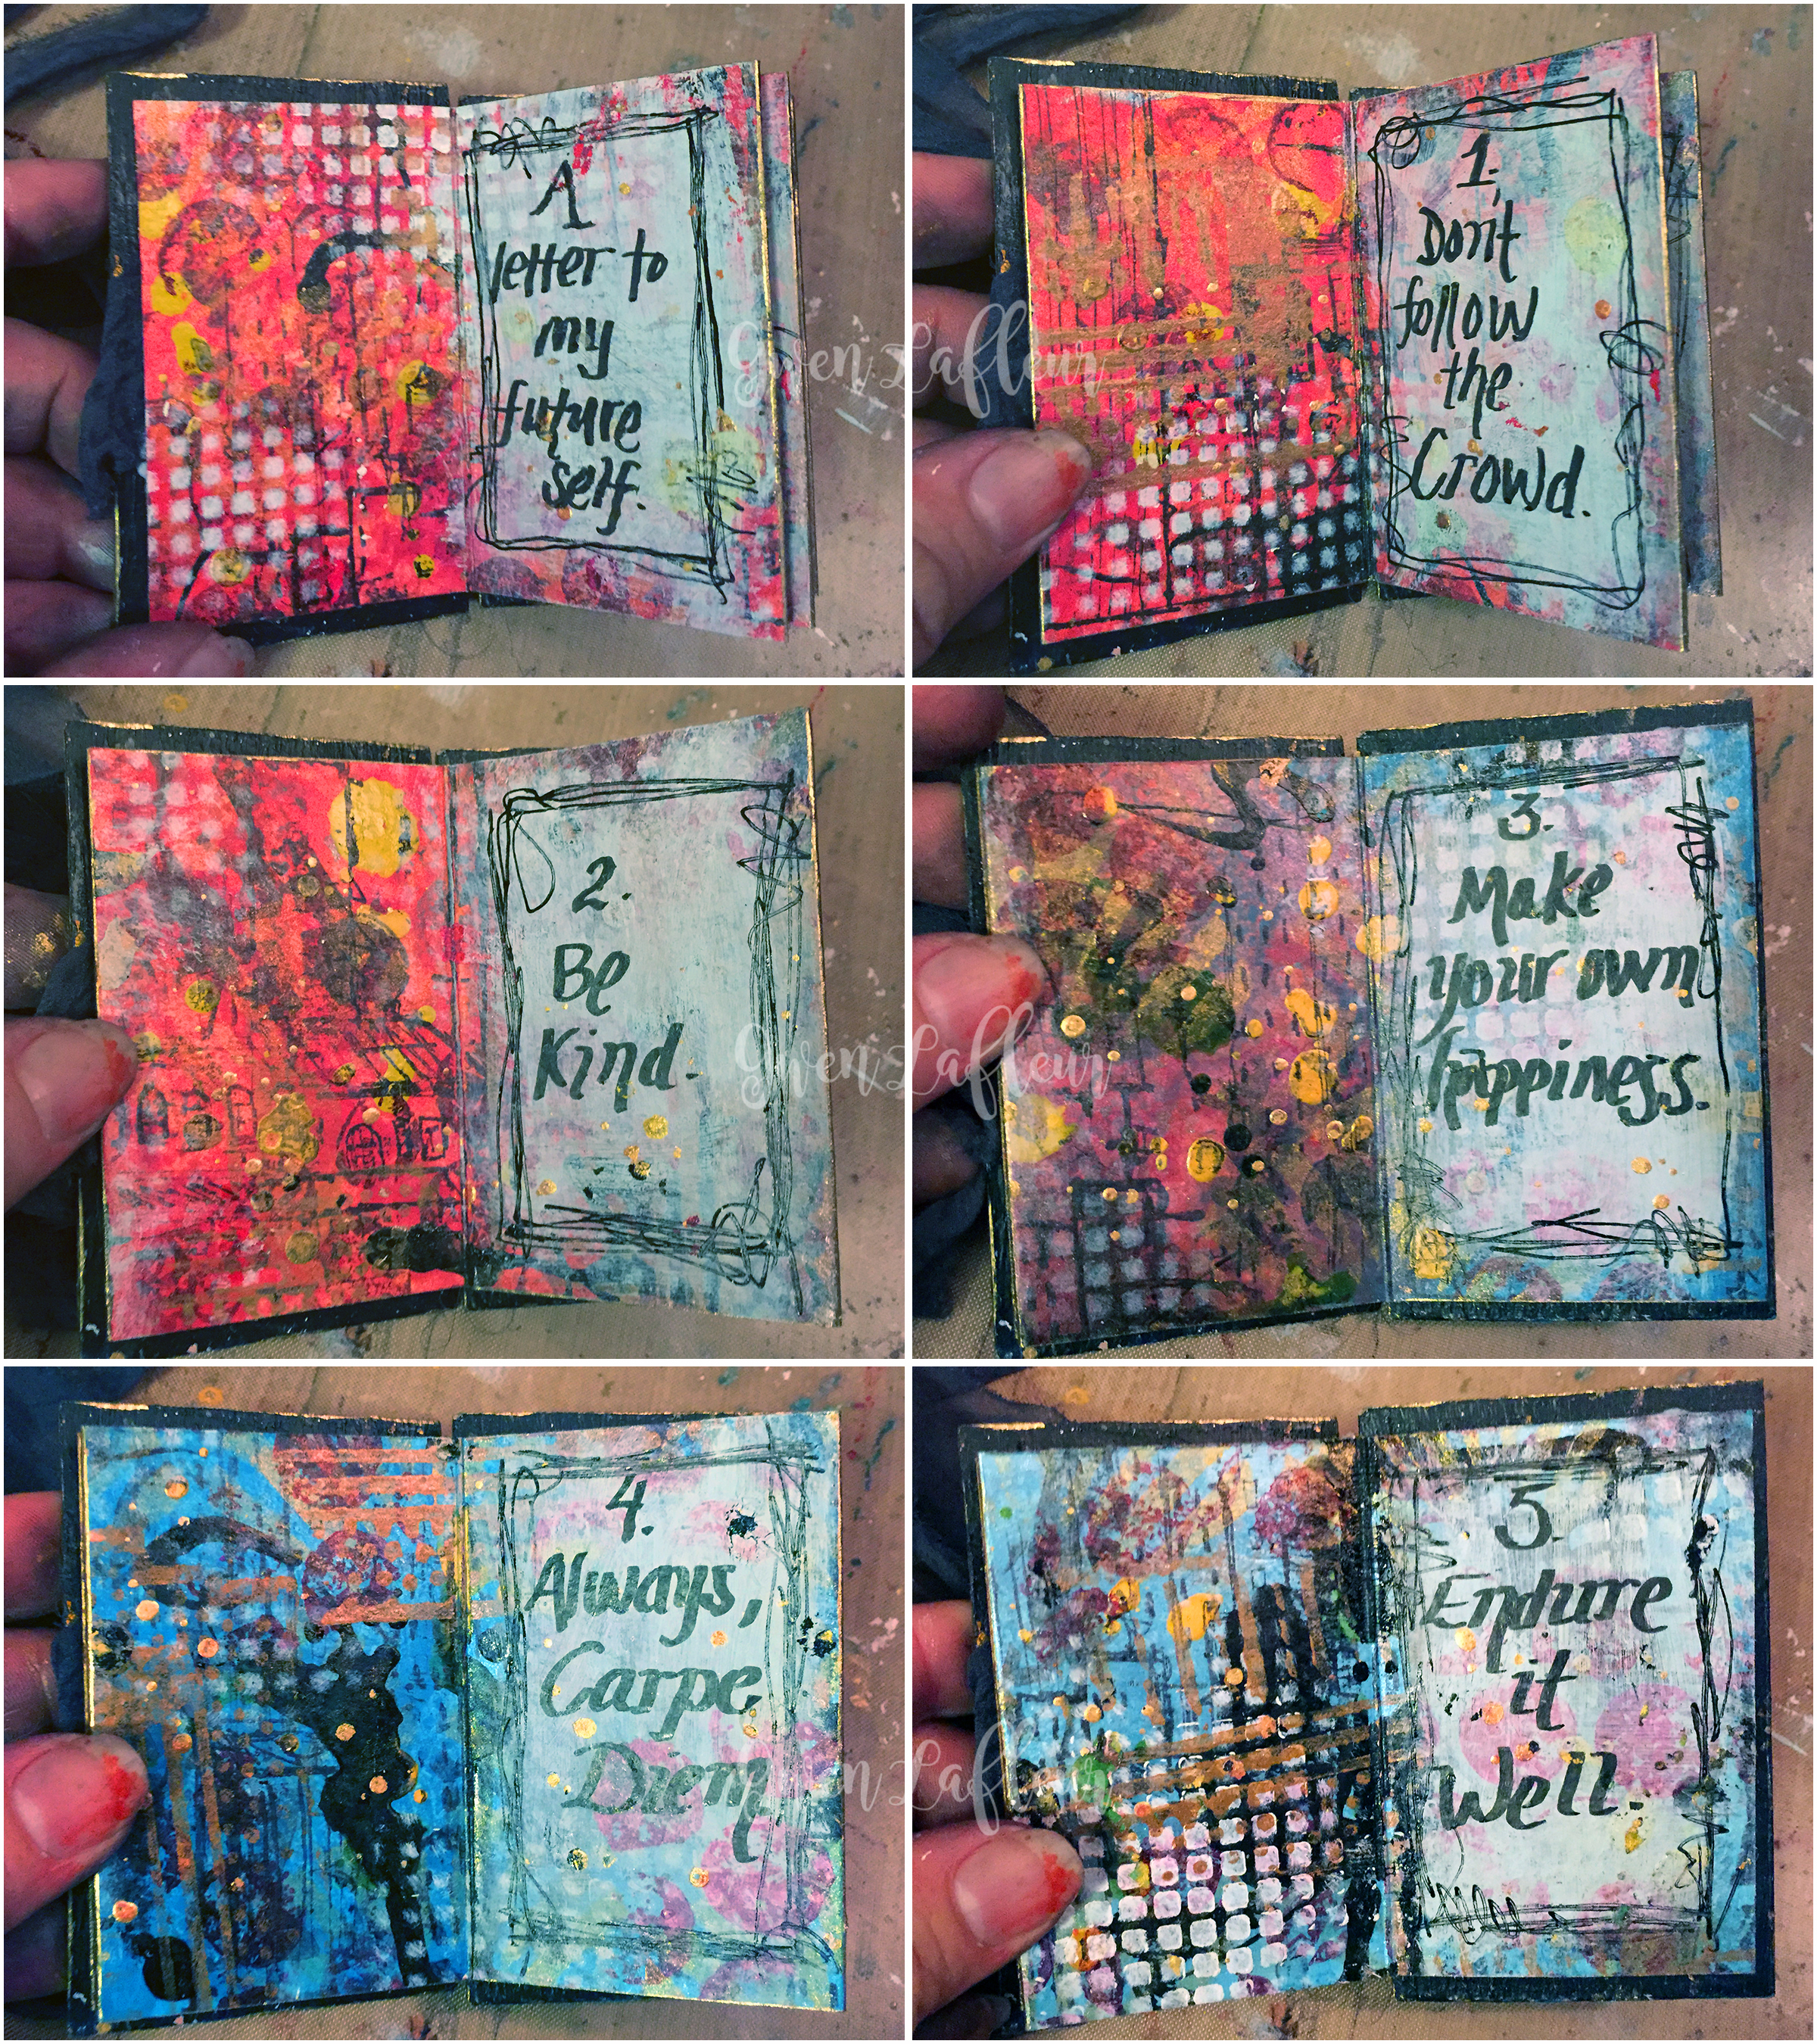
Letter to Future Self - Mini Art Journal Inside Pages - Gwen Lafleur
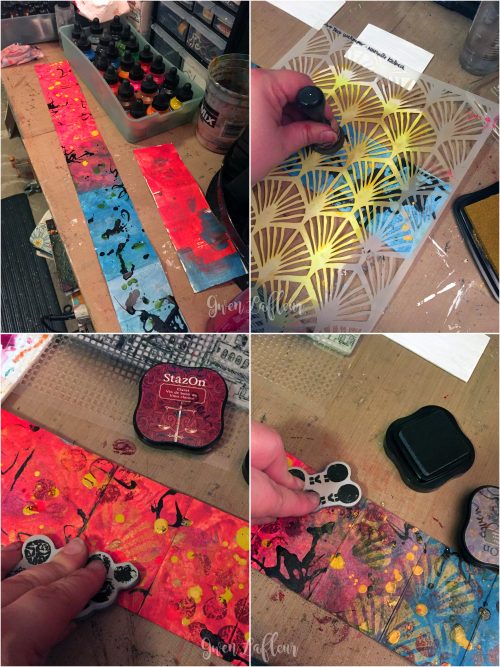
To start, I took watercolor paper and cut enough that after it was all attached, I’d have a strip that was 3″ tall by 24″ wide. I scored the paper every 2″ so that when it was done, I’d have a 2″x3″ book with 6 spreads. I pulled out some acrylic inks and just painted the background. (I did the whole thing at once instead of making each spread individually; I like the effect when you take a larger piece of art and break it down into pieces and I thought that would work well here.) I started with reds and oranges on one end and blues on the other and let them blend in the middle. Then I used more inks to add lots of blobs and splatters. I let that dry, then I used Nathalie’s Art Deco Wallpaper stencil and some gold pigment ink to start adding layers of color and pattern.
I followed that up with some stamping using designs from the Grunge and Marks stamp sets with burgundy and gray StazOn inks. I just used parts of each stamp to get some texture onto the page since I was going for an abstract look.
Letter to Future Self - Mini Art Journal Steps 1-4 - Gwen Lafleur
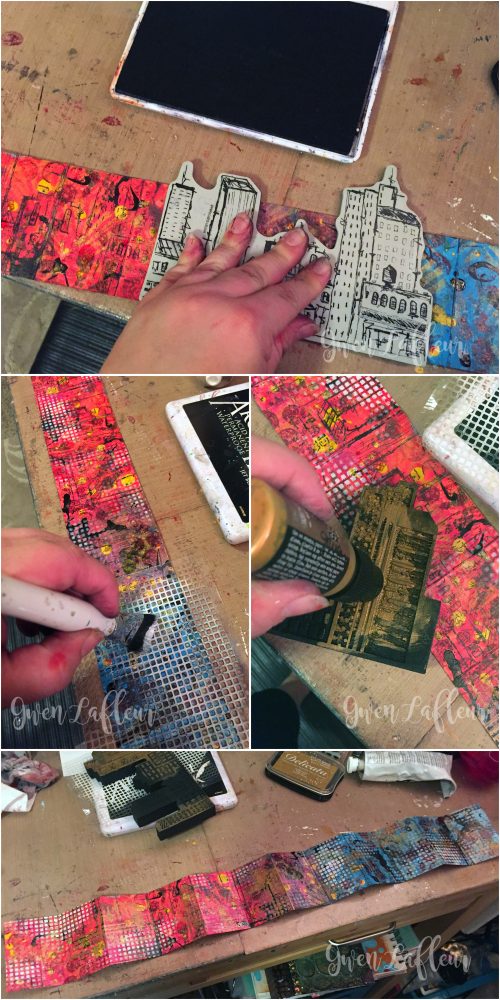
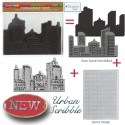
Next up, I grabbed the rubber stamp from the Urban Scribble set and used it with black ink. I moved it around as I went so that parts of the buildings would stamp. I liked this stamp set for this project because even though I wasn’t trying to add buildings into my design, the stamps have lots of great lines and pattern that are perfect for building up layers of texture. In the end you won’t even be able to tell what the original stamp was!
I followed that up by stippling some white paint through stencil that comes with the Urban Scribble set, then I used copper paint on the detailed side of the foam stamp – I only painted and stamped part of it because once again, I just wanted the lines. I stamped it in different directions to get some really cool effects!
Letter to Future Self - Mini Art Journal Steps 5-8 - Gwen Lafleur
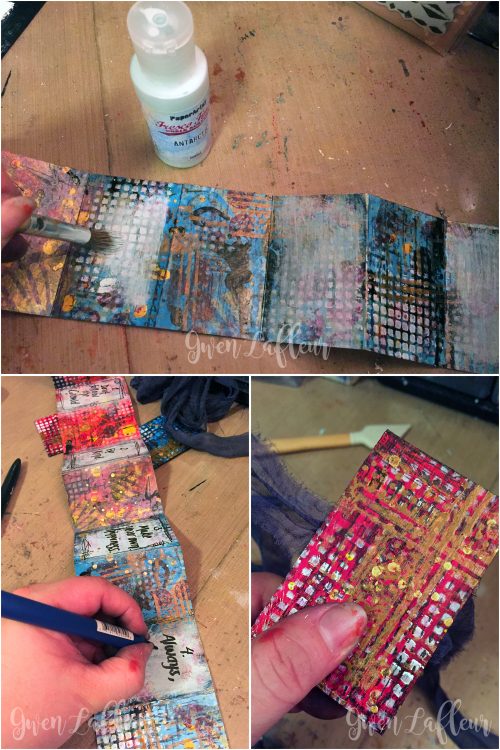
Once that was done and dry, all of my background layering was done – next it was time to add the text. Since the backgrounds were so busy, I took some matte finish paint in a very light and fairly opaque color (matte makes it much easier to write on) and dry-brushed the center section on what would become the right-hand side of every spread. Once that was dry, I wrote out the advice to myself and added a scribbly frame around each section of text.
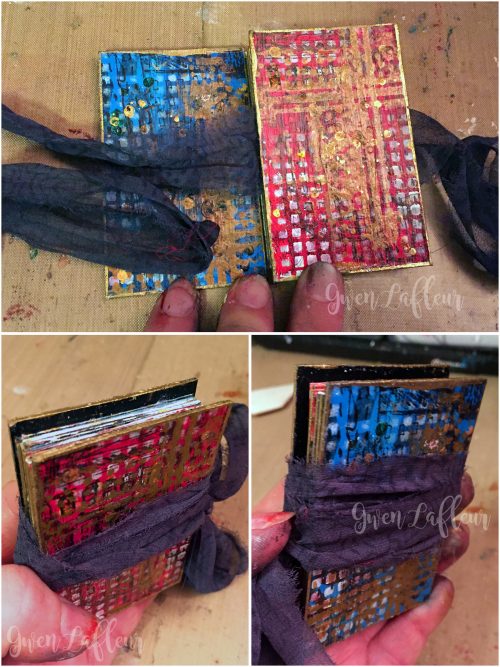
Last but not least, I made the covers. I basically followed the exact same process on these as I did to make the backgrounds – the only difference was that since I was using chipboard, I gesso’d them first. I also only added layering on one side of each cover; I painted the other sides with Payne’s Gray since they’d be covered up when I assembled the book.
Letter to Future Self - Mini Art Journal Steps 9-11 - Gwen Lafleur
I took a strip of sari yarn and laid it across the back of the front cover and glued it in place, then assembled the book. I just took my long strip (the text block) and accordion folded it and used the first and last flaps as the end papers – those got adhered to the inside of each cover. You could actually make this a 2-sided book and do each side of the paper strip, but instead I glued the back sides together so that it would function like a book with pages that turn. The sari yarn just wraps around the book when it’s closed so I can keep it secret and tucked away until future me is ready to read it.
Letter to Future Self - Mini Art Journal Covers - Gwen Lafleur
So that’s it! I hope you enjoyed today’s project and that you’re feeling inspired to find a creative way to write your own letter to your future self!
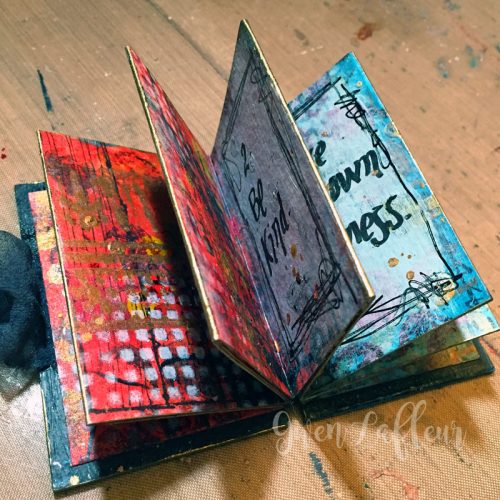
Letter-to-Future-Self---Mini-Art-Journal---Gwen-Lafleur

—————————————————————————————————

Gwen’s book is so adorable and amazing – I love this idea and I love how she used elements of all the stamps and stencils to make it create some great design elements!

Gwen used the supplies listed below (some are affiliate links) as well as aStrathmore 400 Series cold-pressed watercolor paper (6″x18″ pad), Copper Distress Paint,scrap chipboard, calligraphy pen, sari yarn (from Darn Good Yarn.):
SuppliesCJS


Maybe you will even play along with us -I would love to see how you interpret our monthly themes. Email me how you used my stencils and stamps with the theme and email me an image – I would love to share your projects in my next “n*Spiration From Around the Globe“.

See you next Tuesday for another project from the Creative Squad!
Comments (4)

  • Joi @RR

    |

    Precious and creative! j.

    Reply

  • Michelle Rydell

    |

    Wow! What a creative take on the theme! I LOVE this! So beautiful and textured! What a cute size for a journal too!

    Reply

    • gwenlafleur

      |

      Thanks… I have to admit, I had a lot of fun with this one :D I’ve been wanting to make a journal this size for a while – perfect opportunity!

      Reply

Leave a comment

Song Bird or… In My Art Journal Today

NatkalbachSongbirds01

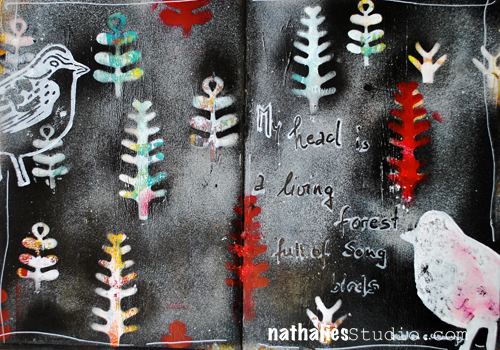
Free after E. E. Cummings “My head is a living forest full of song birds.”

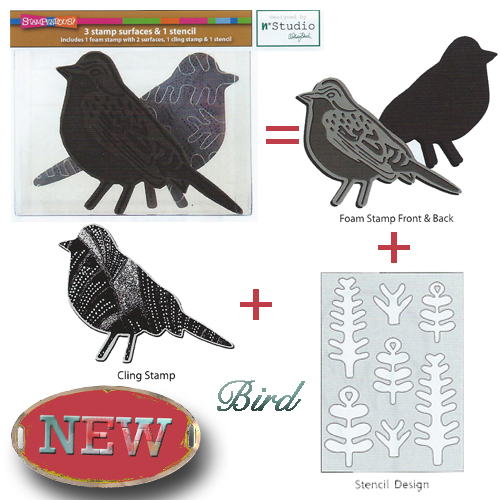
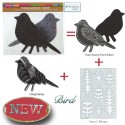
I made this page based on a background that to be honest was really really bad. The colors were just awful on the spread, so I used some gesso here and there to tone it down and then I layered my new frond masks which are part of my new Bird StampSet on top of the background. You can pop the fronds out of the plastic and that gives you a stencil and masks in one :)

Bird

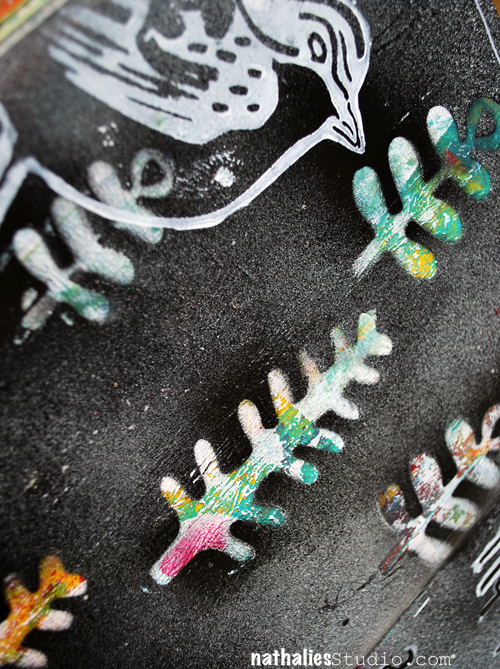
I then used Carbon Black and Parchment Spray Paint and sprayed over the masks, which revealed after lifting them, the really cool colors and designs. I used a brayer to layer some white paint on top of the foam stamp and the patterned and the solid side to stamp the birds onto the spread.

NatkalbachSongbirds02

An easy way to make something nice out of a really ugly beginning :) And a great way to start the day with a little art journaling warm up.

Thank you all for your wonderful comments about the new stamp sets- I am so excited! They are being shipped right now to the Brick-and-Mortar stores and they are already available at some Online Stores. I will list the stores as soon as I have an update from the Stores. I will also have them soon available on my website for you to purchase direct if you cannot buy them locally. I cannot wait to see what you are doing with them and I am also excited to share some more projects and tutorials with them soon :)

SuppliesCJS


Hope you have a wonderful day- with or without song birds in your head ;)

hugs

Comments (5)

  • colourfly

    |

    Liebe Nat, Ich finde deine neuen Stempel so supertoll…. Kann eskaum erwarten diese zu kaufen!!! Ich hoffe, dass sie auch in good old Germany zu haben sind?!
    Die Journal Seite ist super!
    Ganz liebe Grüße, Sabine

    Reply

    • nathalie-kalbach

      |

      vielen Dank Sabine! Ja- in Deutschland sollte es sie auch geben – ich poste sobald ich weiß, welcher Shop in Deutschland sie führt :) Liebe GRüße in die Heimat :)

      Reply

  • Jenny Petricek

    |

    Love this spread, Nathalie! I love the dark background and the colorful fronds that pop out in front of it!

    I appreciate that you explained the process of how you arrived at this particular background. Sometimes the most delightful surprises come from adding to and covering things that we weren’t happy with originally!

    Reply

  • gloz

    |

    Hi Nathalie, Thanks so much for leaving a comment on my blog. I am really enjoying my Creative Jumpstart 2016 and I have decided to use it as a new diet ploy for myself! I tend to nibble all night long in the winter, there-by gaining weight. But of I am doing art projects between 8 and midnight, I can’t eat at the same time!

    Reply

Leave a comment

Used to be ….or In My Art Journal Today

Usedtobe_natKalbach01

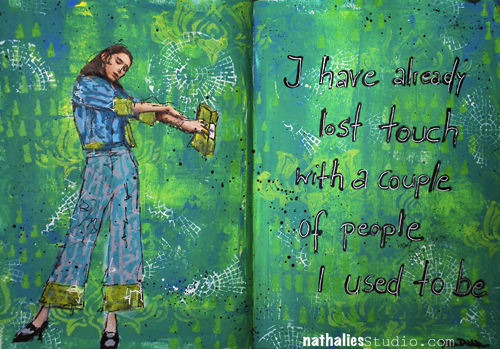
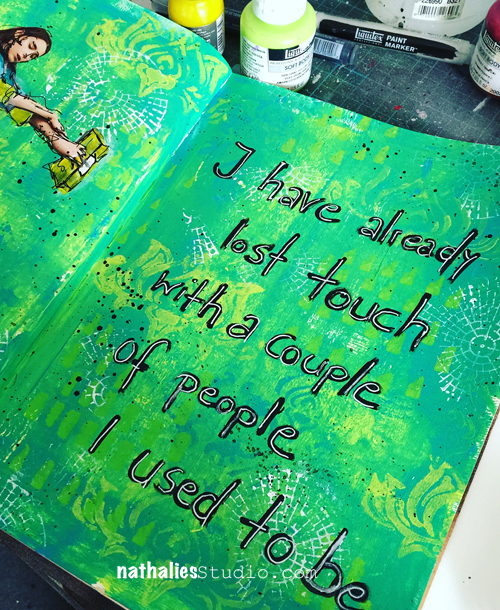
“I have already lost touch with a couple of people, I used to be” – so true ;)

Usedtobe_natKalbach02

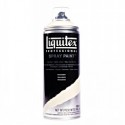
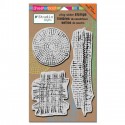
For this spread I painted the background with Liquitex Brilliant Yellow Green, Yellow Light Hansa and Brilliant Blue – mixing the colors with a brayer. I then used my Lilly Wallpaper and Batik Stencil with some of the colors in the Background and used the Mish Mesh Stamp with some Titanium White. The image is painted with Liquitex Markers as well as the Journaling. An easy but fun spread – the right amount of work to get the morning creativity flowing.

nSupplies


I wish you a wonderful day!

Comments (1)

  • Gunvor

    |

    Love this AJ spread! Thanks for sharing!
    Reply

Leave a comment

If it Scares You or … In My Art Journal Today

NatKalbach_GoodThing01

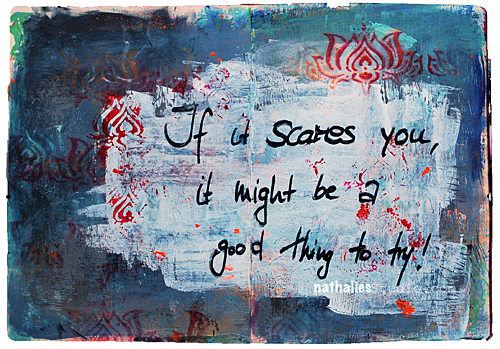
If it scares you, it might be a good thing to try!
I believe that is true – almost every time, I thought of something I would love to do or achieve and it sounded scary it was a good decision …like quitting my paralegal job to become an artist…or moving to the U.S. … So time for me to encounter another thing that scares me – we shall see ;)

NatKalbach_GoodThing02

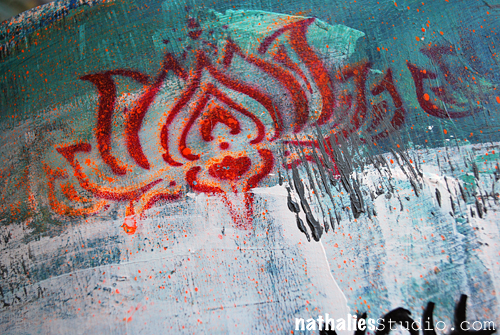
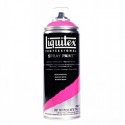
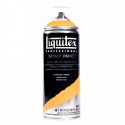
This was a quick page in the morning – I had painted the background a couple weeks ago and had experimented with glazes. It got a bit dark in the process, so I added a huge field of white gesso scratched on with an old hotel key card. Later I spray painted using my StencilGirl Products Lilly Stencil and two different colors of Liquitex Spray Paint. Sometimes Art Journaling doesn’t have to be a long process- remember – you are the boss apple sauce ;)

nSupplies


Leave a comment

The Real Weird Magical Person … Or In My Art Journal Today

NatKalbach_justbeyourself01

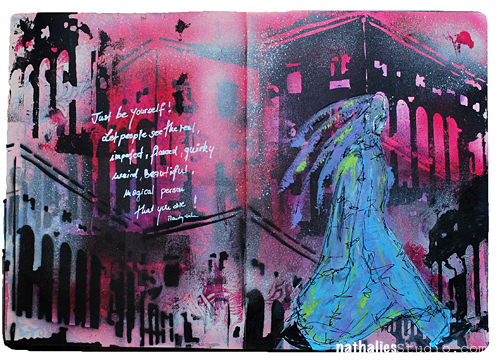
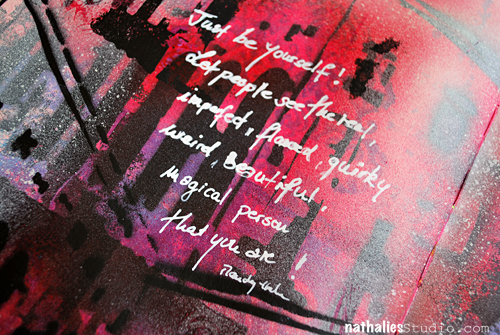
Just be yourself! Let people see the real, imperfect, flawed, quirky, weird, beautiful, magical person that you are!

YES!

NatKalbach_justbeyourself02

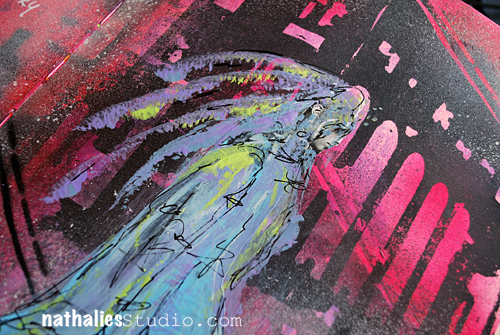
I used some smaller stenciling and paints in the background – leaving a lot of white space. Then I took the building stencil I made and used in my Art Journal spread last week again – this time playing with the negative and positive usage. I brushed some magenta acrylic ink over the spray painted areas as this always sets it off so nice.

NatKalbach_justbeyourself03

For the journaling I use a fine line pen and filled it with white acrylic ink.

Very grungy spread but also happy- and I might fall more and more in love with the building stencil :)

nSupplies


Comments (2)

  • Joi@RR

    |

    Easier said than done! Great message and what a SUPER journal page Nat. Love the “architecture” in the background – looks so good with the colors you chose. The quirky person in the front is perfect. Really special creation…. soooo inspiring. j.

    Reply

    • nathalie-kalbach

      |

      True – it is easier said than done- but hey…we keep trying ;) Thank you!

      Reply

Leave a comment

XOXO … or …In My Art Journal Today

NatKalbach_XOXO01

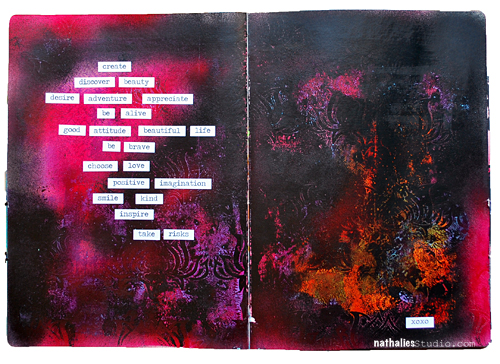
create, discover beauty, desire adventure, appreciate, be alive, good attitude, beautiful life, be brave, choose love, positive imagination, smile, kind, inspire, take risks !

XOXO

NatKalbach_XOXO02

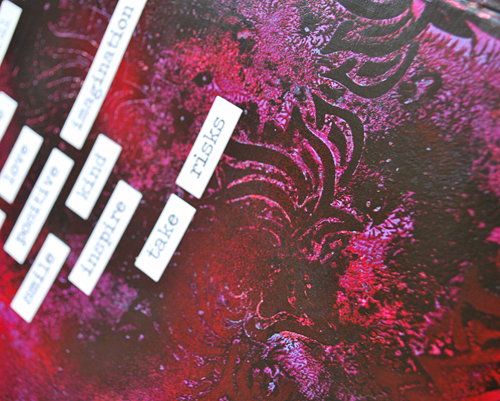
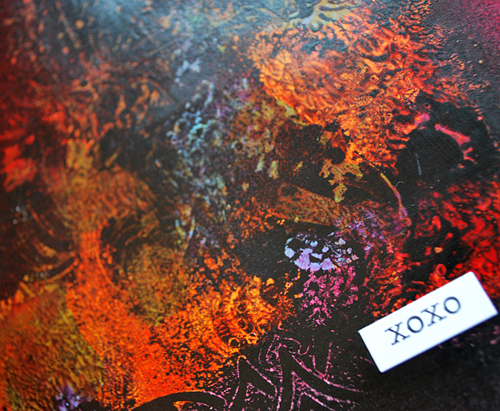
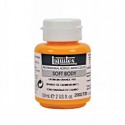
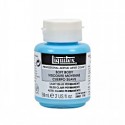
I used one of my favorite quick texture techniques for the background. I painted the background with different Soft Body paints, let it dry, and then used Liquitex Spray Paint over it in black and magenta. Using my Lilly Wallpaper Stencil I pressed into the still wet spray paint and lifted the stencil off right away – sometimes I just pressed the stencil down, sometimes I moved it a bit. The pressing and lifting actually lifts off the spray paint under the Spray Paint creating a gorgeous stencil effect revealing the background again (picture above). The pressing and moving creates a wonderful marbled effect (picture below).

NatKalbach_XOXO03

I used some Tim Holtz Ranger Stickers (supplies in detail below) and since they wouldn’t stick for a long time on the acrylic painted background I applied some Matte Medium underneath and on top the sticker area.

Here are the supplies I used

nSupplies


Have a beautiful day!

Comments (3)

  • Sue Clarke

    |

    LOVE the colors and the texture.
    I’ve been playing around more with paints these days in my art journal.

    Reply

  • Joi@RR

    |

    I can always count on you Nat for some new teachings!! Wow – this is soooo fun. Your background is FABULOUS… you did it so wonderfully. Ok – going to read this again…. love it. Thanks bunches… happy weekend. j.

    Reply

    • nathalie-kalbach

      |

      Glad you like it Joi – hope you will give it a try- it is really fun! <3

      Reply

Leave a comment