nathalie-kalbach

Layout: 1959 Graduation *Scrapbook Adhesives by 3L*

I love those 50’s pictures- my mother in law’s graduation pictures from 1959 are beautiful. They actually speak “smart and beautiful” to me :)

There is something about the MyStik™ Vellum Adhesive Tape Runner that is amazing over the fact that it really is an amazing adhesives for vellum – but let me start at the beginning:
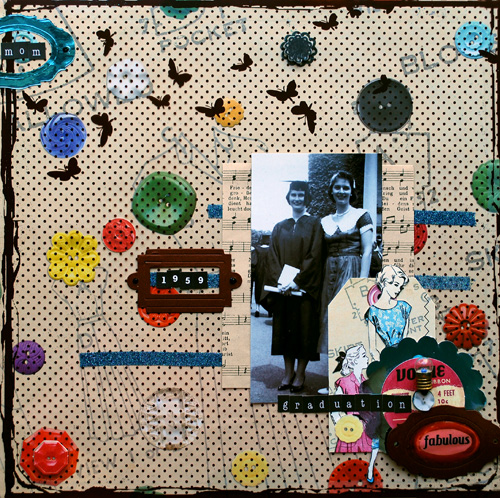
I used the MyStik™ Vellum Adhesive Tape Runner to adhere the transparency as it is also one of the best double sided adhesive tapes that doesn’t show too much underneath a transparency.

But I also love the MyStik™ Vellum Adhesive because it has a good yardage and you can use it also to adhere paper and photos. I used it furthermore to adhere some of the glitter on top of the transparency.
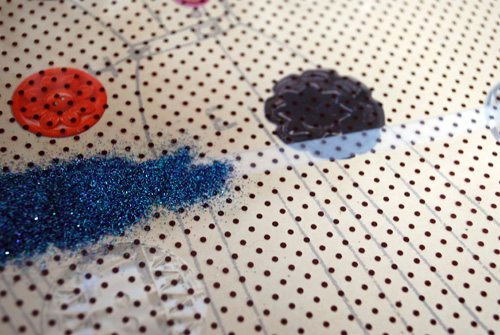
It is a fun way to add some extra texture and shine.
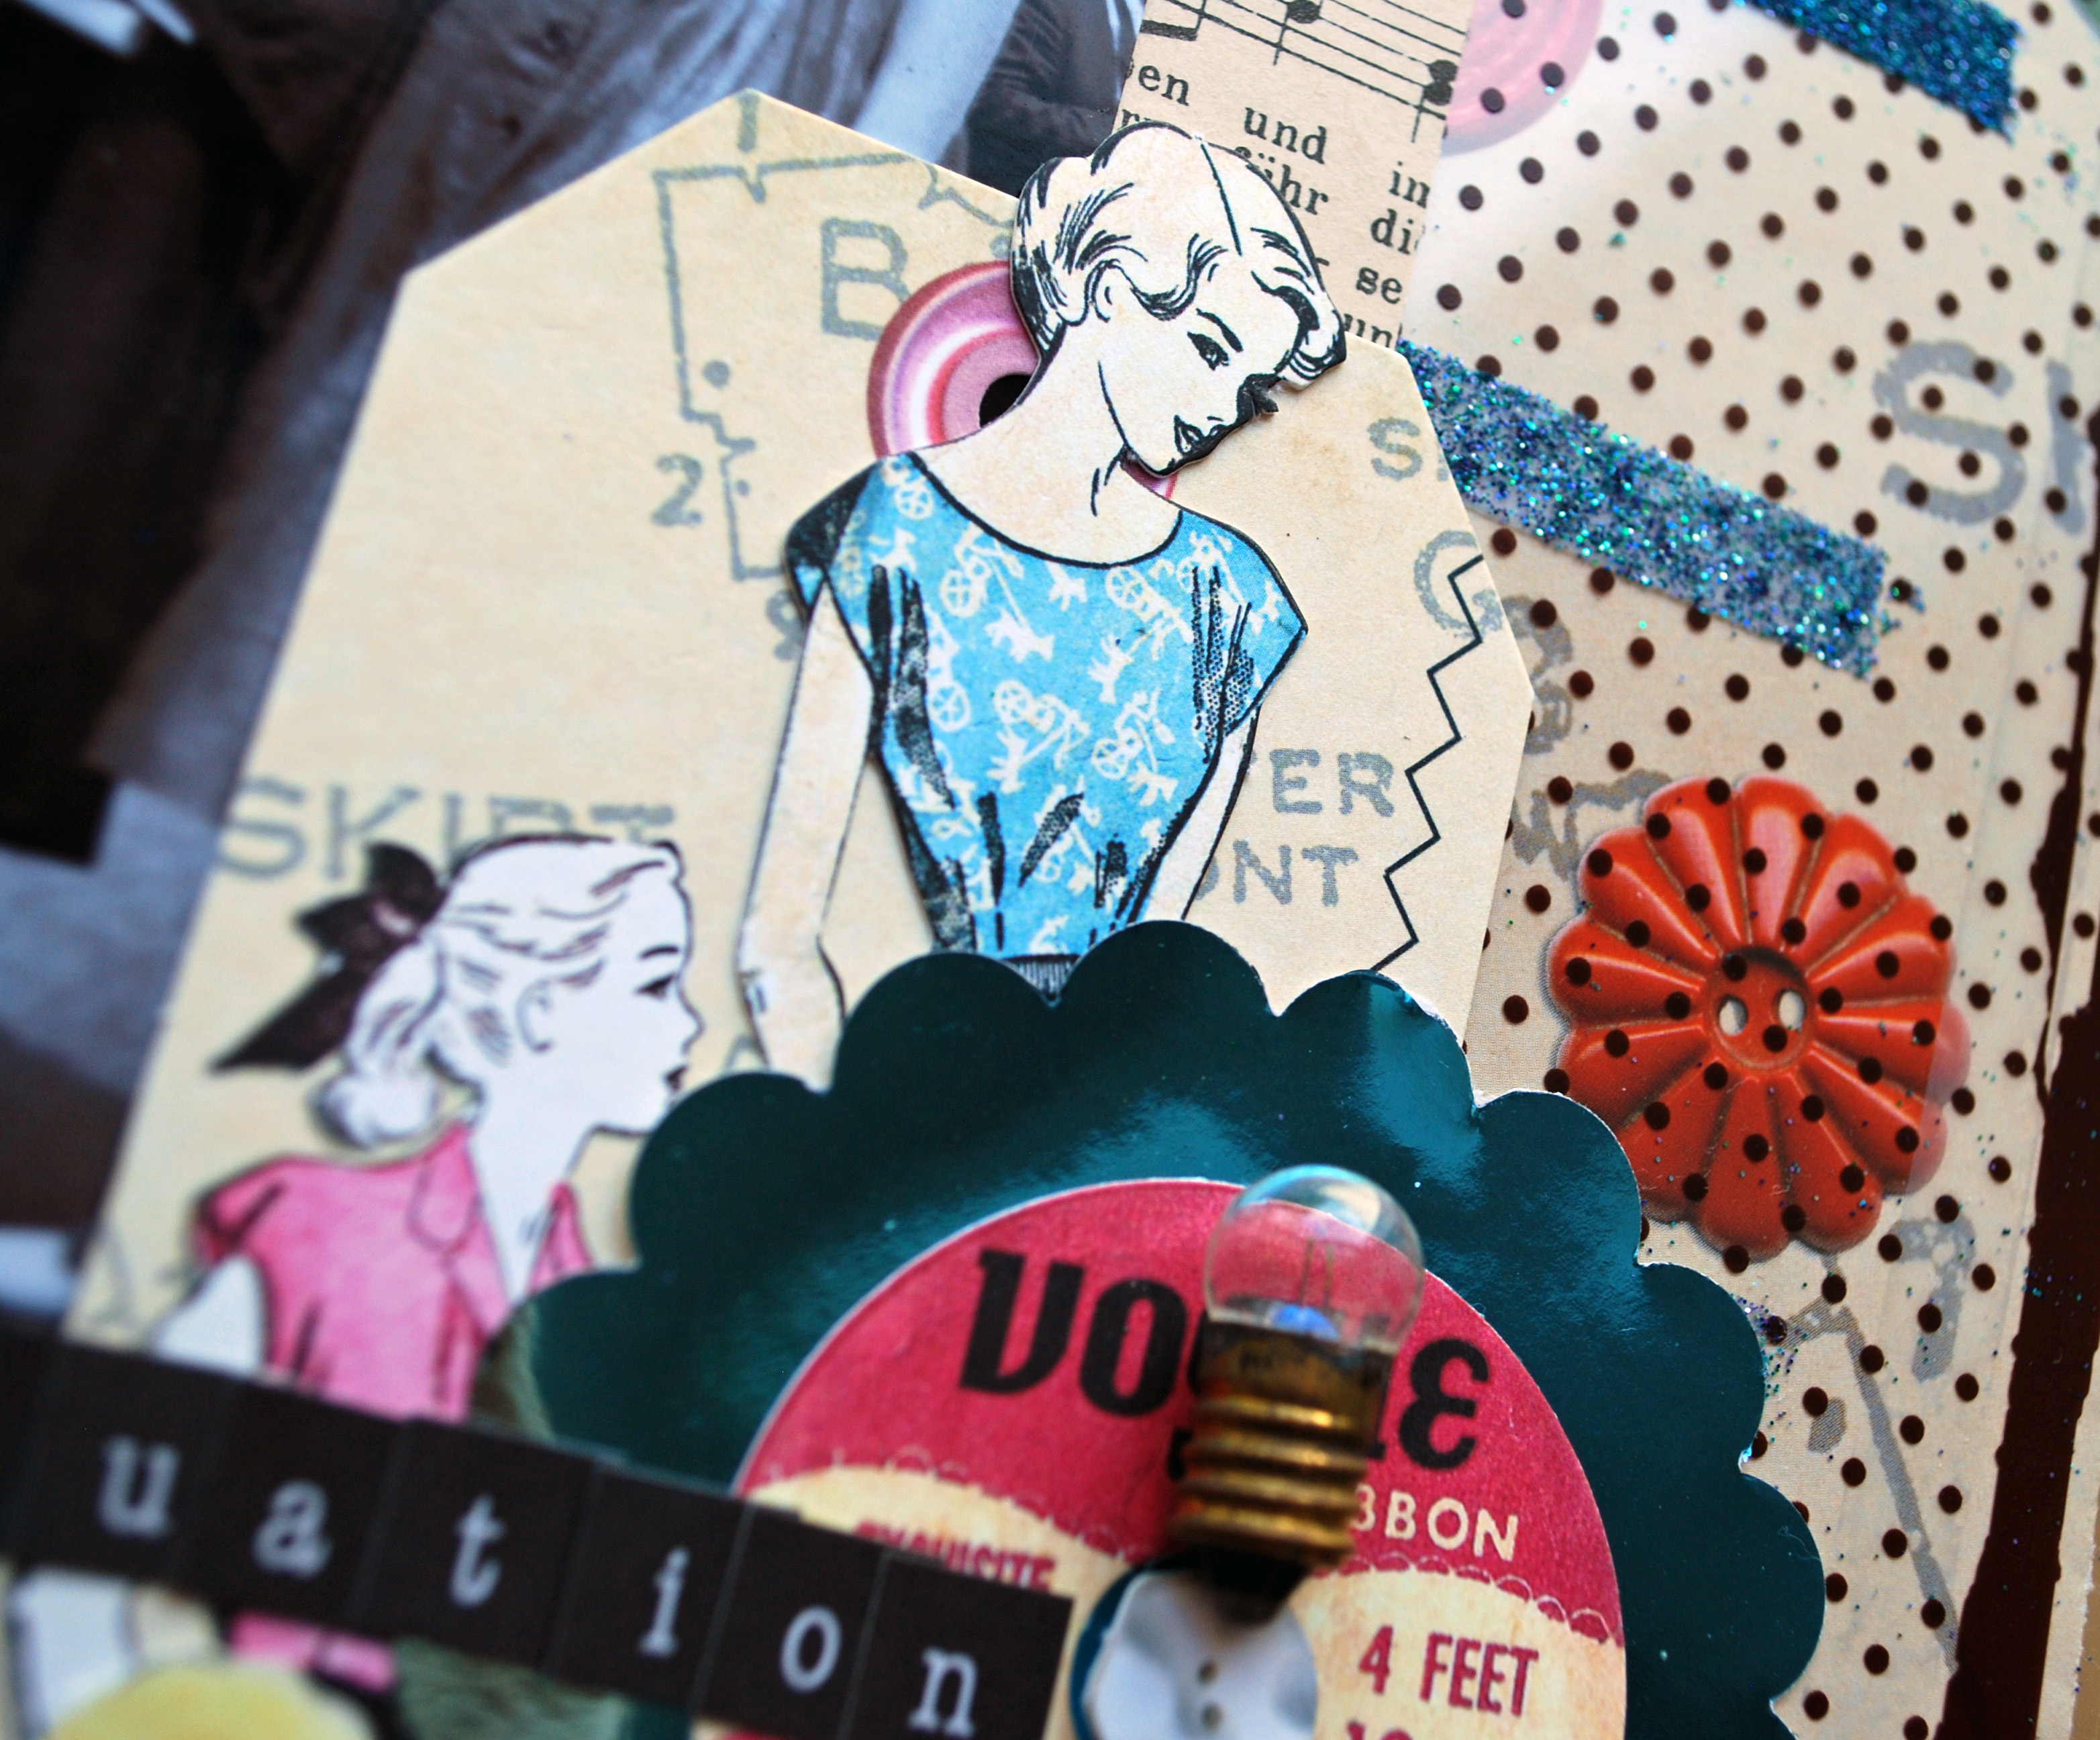
It was so much fun to work with the Vintage Street Market Paper and Diecuts and my mother in law’s graduation picture was a perfect fit to it.

Supplies

Scrapbook Adhesives by 3L

MyStik™ Vellum Adhesive Tape Runner

Adhesive Sheets

3D Foam Pads

Other:

Vintage Street Market Dimestore Vogue Paper and DieCuts

Sultane Transparency

Have a great day

Leave a comment

Wedding Card – Tutorial *Tattered Angels & Basically Bare*

BBTACard04

I love that you can use the four Tattered Angels Paint Media and use them alone or together to archive different looks on different products in the industry and different surfaces.

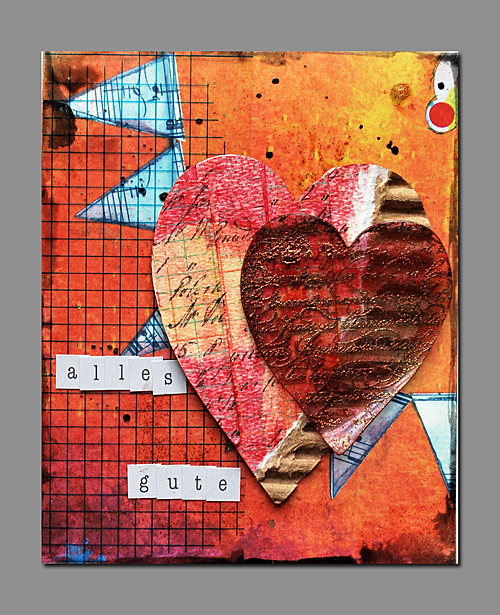
For a funky Wedding Card for one of my best and oldest friends I used the Basically Bare Corrugated Chipboard and the Acrylic Heart and here is what I did:

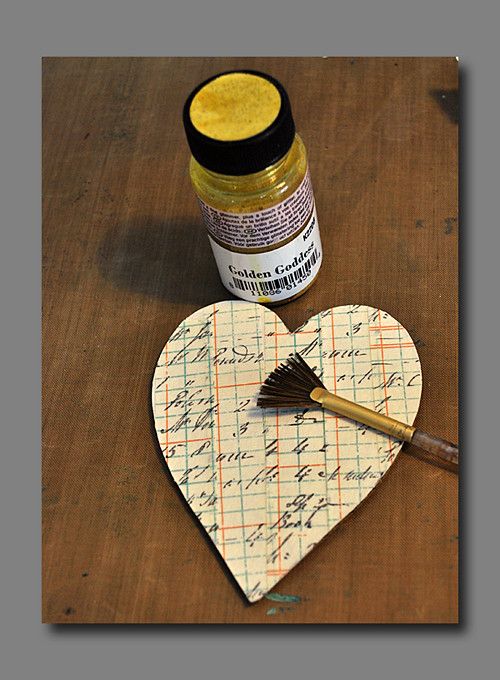
I taped the corrugated Heart with Tim Holtz Paper Tape

BBTACard06

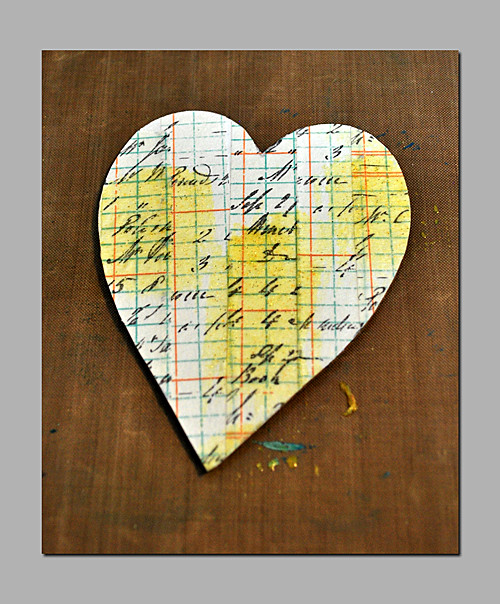
and then painted over some Golden Goddess Glimmer Glam with a Fan Brush
BBTACard07
and let it dry.

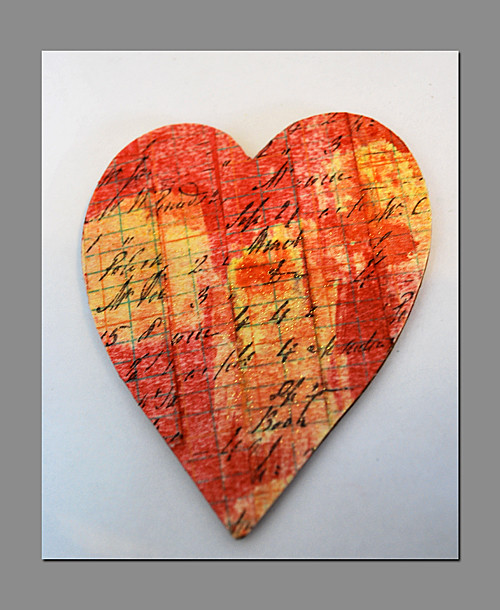
Then I sprayed it with Red Velvet Glimmer Mist – having the areas that were treated with the Glimmer Glam resist the Glimmer Mist.
BBTACard03

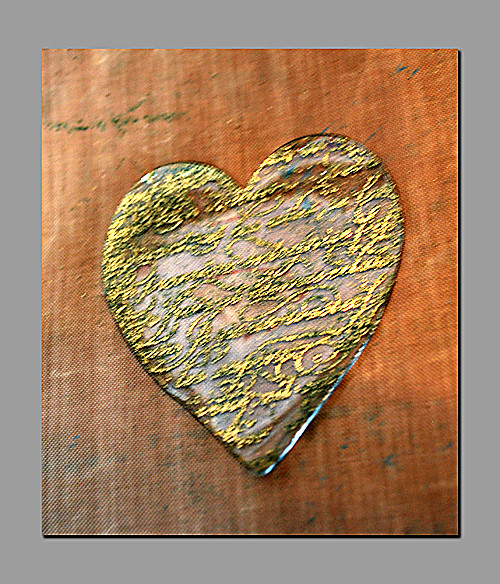
Next I took the acrylic heart, stamped it with Embossing Ink and then embossed it with a golden-green Embossing powder. -sorry for the blurry picture- I did only this one terrible shot….:)
BBTACard01

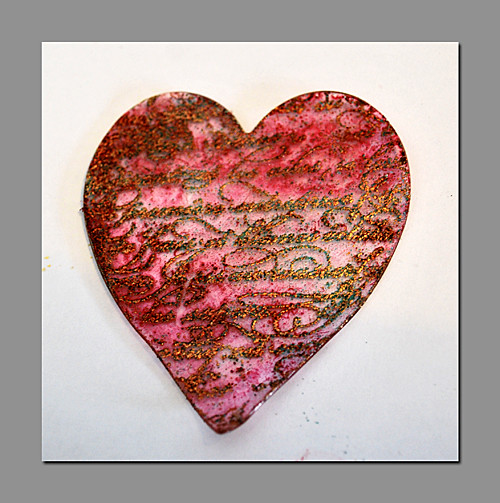
I sprayed the Heart with Cherry Cola Chalkboard Glimmer Mist because the Chalkboard niceley grabs so slick surfaces too and leaves a nice look on acrylic.

BBTACard02

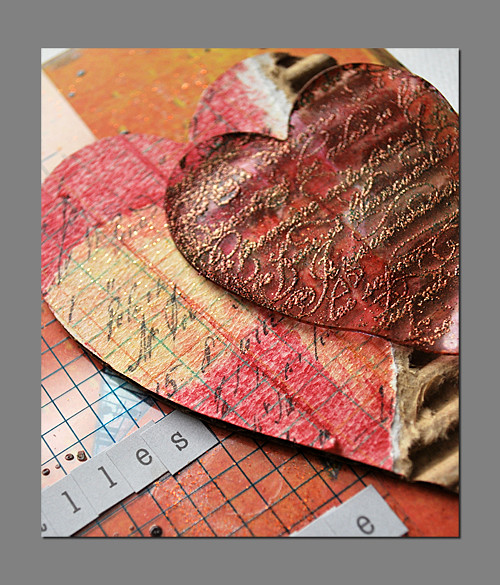
I ripped off some of the paper tape again from the chipboard heart to release some of the currogated areas and used some Pewter Glimmer Glaze flicking it onto the background- and also stippled some Hammered Copper Glimmer Glam onto the background. And there you go :)
BBTACard05

You can learn lot’s of techniques using Tattered Angels Products in one of my upcoming workshops – the next ones are

on August 27th, 2011 – at Creavil in Berlin, Germany.

don’t hesitate to contact me if you want me in your store or area .

Nathalie Kalbach – www.scrapbook-trends.com

  • Kerstin

    |

    Ich guck mir das dann mal in echt und farbig an. Wir sehen uns nämlich bei Creavil. :)

    Reply

Leave a comment

Cards *Tattered Angels*

This Month Tattered Angels features Epiphany . It was fun working with those tools and products. And…I’m actually not huge on making cards- well I like to make them but I’m by no means a good cardmaker- LOL – but I had a lot of fun doing them ;)

*Love*

some of the new Riptide Glimmer Mist on the background- ahh I love this color.

Painted the Epiphany Bubble Caps Hearts with Flirty Glimmer Glaze…pretty fitting for a Love Card, isn’t it- LOL

*Gratulier*

I sprayed the background and the some left over Pink Paislee Parisian Antrophology paper with Marigold Glimmer Mist. Then used a Prima Mask and sprayed with Tomatoe Cerise Chalkboard Glimmer Mist . I stamped and clearembossed. Then sprayed over again with Sugar Maple Glimmer Mist.

I used the Epiphany Bubble Caps Round and the Studio Tool Round 14 for the misted Pink Paislee Paper then. The stitching Stamp and the “Gratulier” Stamp which is German for Congrats are from MyStampBox.

*wish*

Here I used the Marmelade Glimmer Mist and Mermaid Glimmer Glam and Flirty Glimmer Glaze all wet and let them running into each other- I love the effect of mixing our Paint Media while they are wet.

Can’t wait to see what the other design team members are coming up with this month !

Have a great day

  • Sue Clarke

    |

    I especially like the WISH card/colors.

    Reply

  • Kim Sonksen

    |

    I already spotted them on the TA blog – fab cards!

    Reply

  • conny

    |

    *gg* den spass sieht man den karten auch an – schaun super aus! immer positiv denken sind mini-layouts und gar nicht resteverwertung ;-) von den farben ist mein favourite “gratulier”, stempel is auch mächtigst cool ….

    Reply

Leave a comment

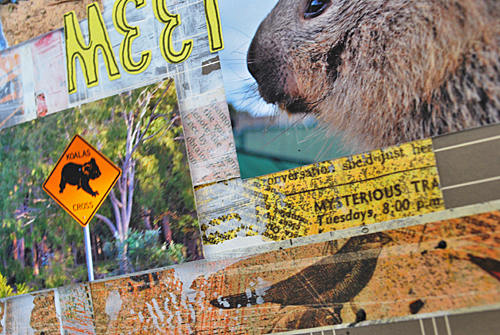
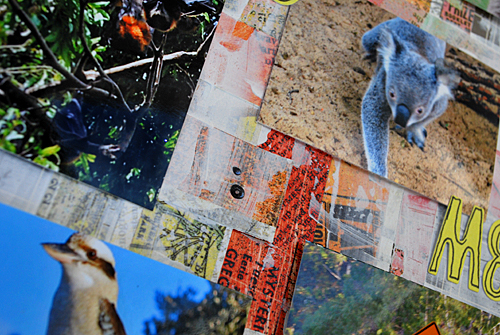
Cocoa Daisy – July: Urban Loft II

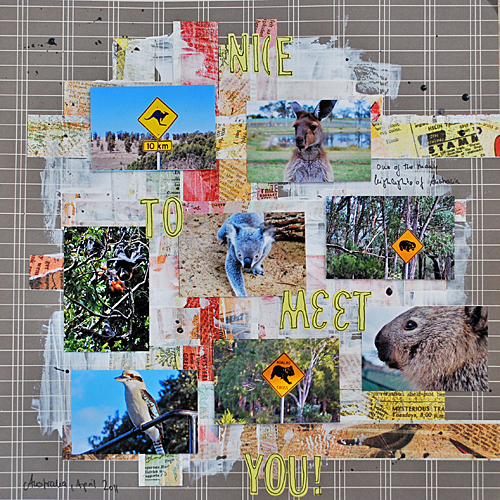
Here is another layout with the awesome Cocoa Daisy – Urban Loft Kit.

*Nice to Meet You*

NiceToMeetYou01

Perfect kit for these Australia Trip photos and the fun animals I saw :)

NiceToMeetYou02

NiceToMeetYou03

Have a gorgeous day

Nat

  • Sarale

    |

    Tolles Layout, die Fotos sind super und die Alphas passen so schön zu den australischen Straßenschildern.

    LG,

    Tanja

    Reply

  • Jenny Petricek

    |

    I like the fun yellow letters you used for your title…did you design and hand-cut them yourself?

    Reply

  • Karen

    |

    Very sweet and those colors are so Australia.

    Reply

  • Sue Clarke

    |

    I really love the movement that this LO has and the pics are too cute!

    Reply

  • Mandy Collins

    |

    fun collection of images from your trip down under

    Reply

  • Kim Sonksen

    |

    LOve this – you are rocking the Kit!

    Reply

Leave a comment

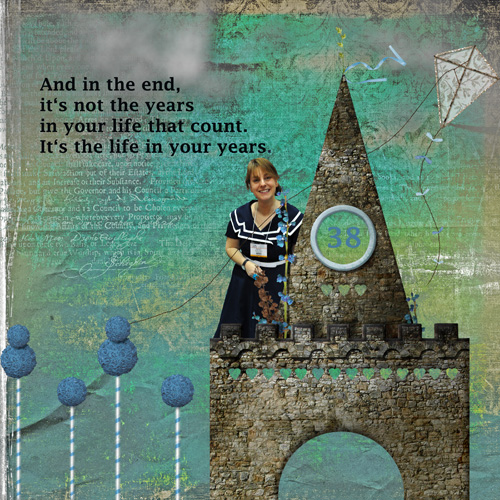
Another year….:)

BDaynat

Thank you for all your birthday wishes in the snail mail, as emails and via facebook :) ! Have a wonderful and amazing day :)
hugs
nat

  • cuchy

    |

    What a sweet page. Enjoy your day, Cuchy

    Reply

  • Sue Clarke

    |

    Happy B-day Nat. You make the world a better place!
    Hugs, Sue

    Reply

  • Heidi

    |

    Hi sweets, happy happy B day.
    Hugs from Denmark ;)

    Reply

Leave a comment

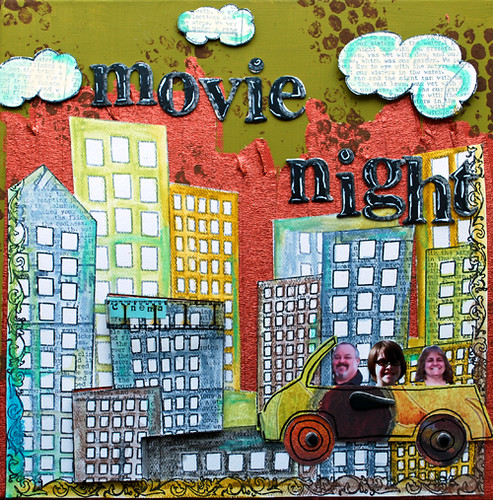
Canvas: Movie Night

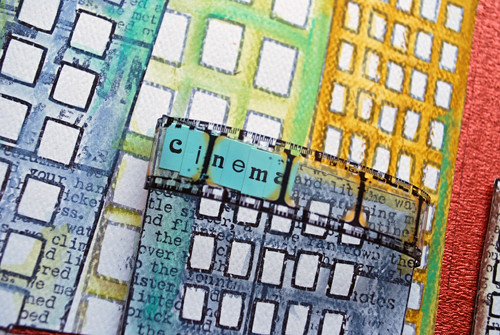
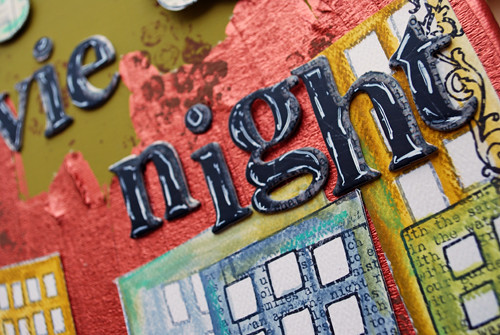
This Canvas I made for Sue who was so wonderful to auction it for the Flood Victims in Queensland – she wished for a movie night theme and some earth tones. I heard she liked it :)

Diese Leinwand habe ich für Sue gemacht, die diese Leinwand bei einer Auktion für die Flutopfer in Queensland erstanden hat – sie hat sich ein Filmnacht-Motto und ein paar Erdtöne gewünscht. Ich habe gehört es gefiel ihr :)

MovieNightCanvas01

MovieNightCanvas02

MovieNightCanvas03

have a good one :)
Euch einen guten Tag :)

  • Sue Clarke

    |

    I am Sue. I won the auction and then Nat made the canvas to order. The colors are beautiful and it is hanging in my kitchen. My MIL (who never comments on items on my walls), went out of her way to say how much she loves it! Thanks Nat…I will treasure it. PS: Jimmy wants to know why his head is bigger and I told him that his head was bigger in the photos I sent you (too funny).

    Reply

  • Jenny Petricek

    |

    What a fun item for auction! Someone is very lucky to win it!

    Reply

  • Vicki Chrisman

    |

    Awesome Canvas!!

    Reply

  • elina

    |

    this is soo much fun!!! lol lol lol!! love the color combo and the happy feeling of it!!

    Reply

  • Debby's lewis

    |

    Awesome. I love it!

    Reply

Leave a comment

Foil Pin Wheel *Vintage Street Market*

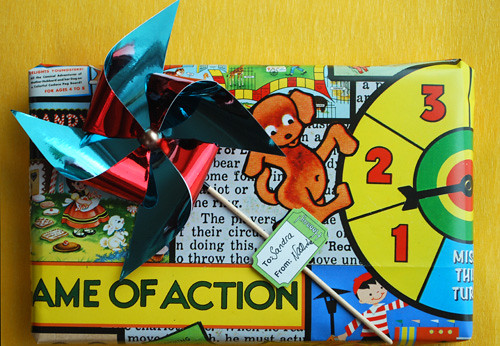
Maybe you have heard me saying before that I really am not the best gift wrapper – LOL – but with Vintage Street Market I seem to get there. At least one of my best friends was pretty impressed getting for once a present wrapped niceley in the beautiful Party Games Paper.

Vielleicht habt Ihr mich das ja schon mal sagen hören – ich bin echt eine Niete beim Geschenke einpacken – LOL – aber mit den Vintage Street Market Papieren….da klappt das schon ein wenig besser. Zu mindest war eine meiner besten Freundinnen dann doch ziemlich beeindruckt mal ein eingermaßen gerade eingepacktes Geschenk zu bekommen – in dem wunderschönen Party Games Papier.

Foil Pinwheel01

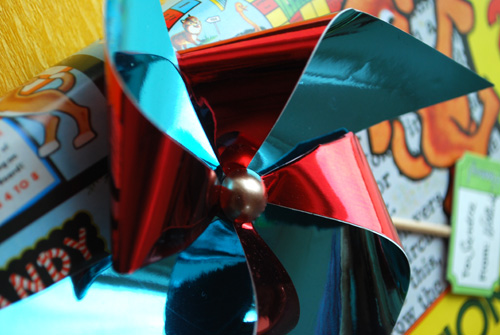
I cut two squares – one from the red Foil Paper of the Party Games Kit and the other one from the teal on in the Dimestore Vogue kit . I used the Scrapbook Adhesives by 3L Adhesive Sheets to put those two square together – an easy way to make sure that even if you bent the foil later the two squares are not coming apart. Then I folded the square two times in half diagonally- so I got four triangles and cut those to the middle. I mounted then one of the sides to the middle where I had adhered an Scrapbook Adhesives by 3L 3D Foam Square.I actually posted a tutorial on how to do a pinwheel in 2006 here

On top of that I put a half pearl. Voila- ready to impress friends ;)

Ich habe zwei Quadrate ausgeschnitten – einmal aus dem roten Folienpapier des Party Games Kits und dann von dem türkisen aus dem Dimestore Vogue Kit.  Eine Anleitung für das Windrad habe ich schon mal hier in 2006 gemacht.

Foil Pinwheel02

Have a wonderful day
Nat

  • Sue Clarke

    |

    Who needs to open the gift…it is already a fun present!
    My MIL was at the house yesterday and she LOVES the canvas you made:-)

    Reply

Leave a comment

Cocoa Daisy – July: Urban Loft I

I’m so in Love with this kit and the colors- yum yum. Here is my first layout with it.

Ich bin ja so verknallt in dieses Kit und die Farben – yum yum. Hier ist mein erstes Layout damit.

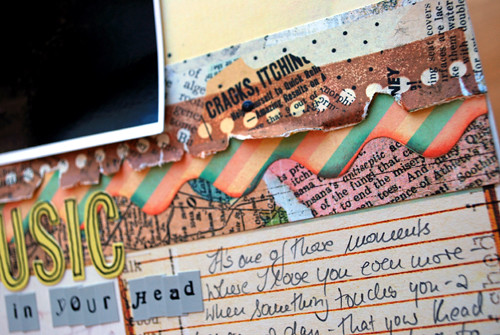
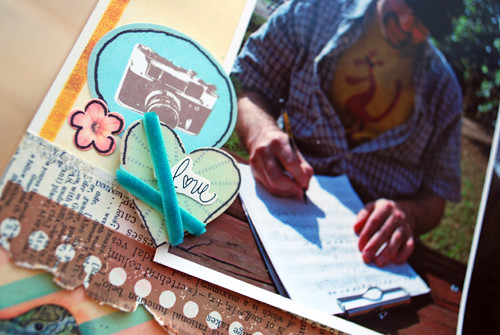
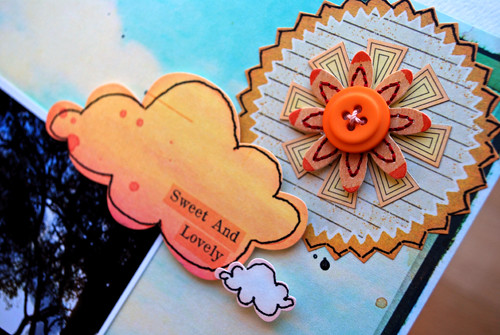
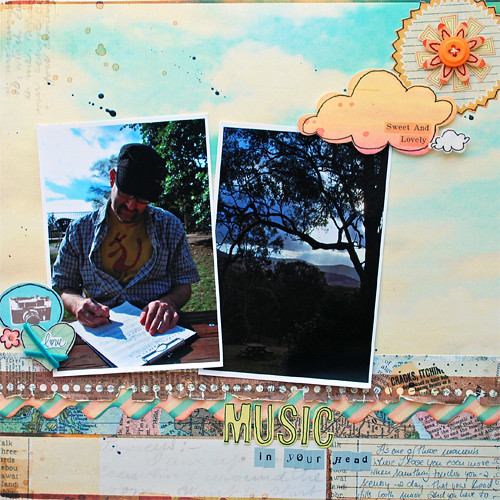
*Music in Your Head*

MusicInYourHead_01

I used the main kit and the Basic Grey Paper Mish Mash out of the Patterned Paper Add On

Ich habe das Hauptkit und dazu noch das Baisc Grey Papier Mish Mash aus dem Patterned Paper Add On  verwendet.

MusicInYourHead_02

I so love the included Stamp – I used it here on the paper and then cut and distressed along the pattern.

Ich liebe diesen Stempel – ich habe ihn hier auf dem papier verwendet und dann ausgeschnitten und entlang des Muster distressed.

MusicInYourHead_03

The package of by My Little Shoebox Tiny Letters includes some handwritten words- I cut out one and attached it to the cute Sassafras Sticker.

Die My Little Shoebox Tiny Letters Packung beinhaltet auch ein paar handgeschriebene Worte -ich habe eines ausgeschnitten und auf den Sassafras Sticker geklebt.

MusicInYourHead_04

A little bit dimension with Scrapbook Adhesives 3D Foam Pads and some Glimmer Glaze Pewter flicks – voila :)

Ein wenig mehr Dimension mittels Scrapbook Adhesives 3D Foam Pads und ein paar Glimmer Glaze Pewter Tropfen – voila :)

More to come – mehr kommt später

nat

Comments (6)

  • Kerstin

    |

    Au Backe, ‘nem Scrap-Kit bin ich ja ewig nich hinterhergelinkt. Ich hab echt überlegt, ob ich sowas nich doch unbedingt mal wieder haben muss. :) Und heh, Dein Text is im Layout zu sehen, bevor man das Journaling liest!

    Reply

  • Sue Clarke

    |

    Sweet LO Nat. When I first looked at the photo I thought your hubby had a red kangeroo tatoo on his chest (I think it is his sheet).

    Reply

  • cuchy

    |

    I love those little details. So beautiful

    Reply

Leave a comment

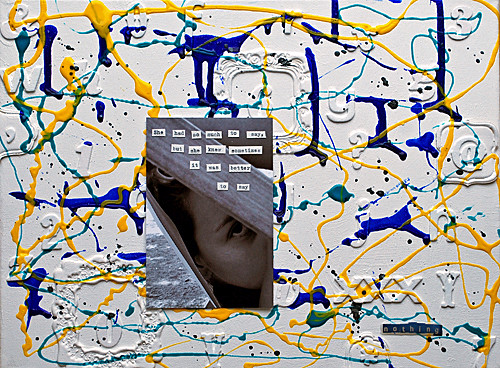
Canvas: Sometimes it is better to say NOTHING

I love how this canvas turned out -using for the first time Tar Gel- yum yum.

Diese Leinwand gefällt mir richtig gut – ich habe das erste Mal Tar Gel verwendet – yum yum
NothingCanvas

She had so much to say, but she knew sometimes it was better to say NOTHING

NothingCanvas2

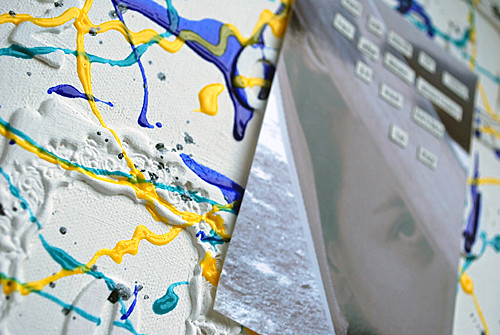
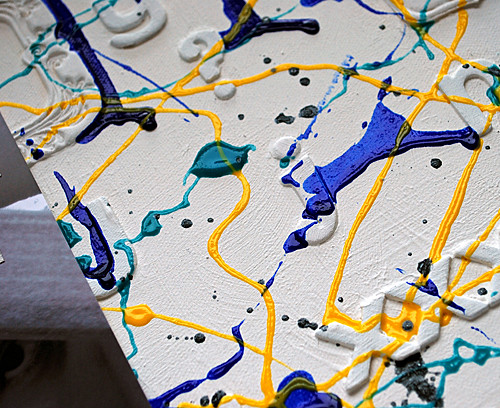
I used old leftover chipboard letters and painted them over with gesso and then used Tar Gel and mixed in Acrylic Paints – let it set and then used it to get those strings. I also flicked some Tattered Angels Glimmer Glaze on top.

Ich habe alte übriggebliebene Chipboard Buchstaben auf die Leinwand gesetzt und dann mit Gesso übermalt. Tar Gel mit Acryl Farben vermischt und diese gummiartigen Fäden gezogen. Dann noch ein wennig Tattered Angels Glimmer Glaze oben drauf gespritzt.

NothingCanvas3
The letters symbolize the “communication”- and the strings are tying my words.

Die Buchstaben symbolisieren die “Kommunkation” und die Fäden verschnüren meine Worte.

Have a great day :)

Euch einen schönen Tag :)

  • sylvia

    |

    oh man, i just made that experience tonight. i just wish i had said NOTHING.
    maybe some art will help?

    ANYWAY, that canvas looks amazing!

    Reply
  • Sue Clarke

    |

    Totally different and I love the message. Looks like you had fun making it too!

    Reply

  • AnnaB

    |

    Love this Nat! So cool!

    Reply

  • Robyn W

    |

    LOVE LOVE LOVE THIS …..thanks for sharing it

    Reply

Leave a comment