Mixed Media

She… – or the anatomy of a layout *Prima Educators*

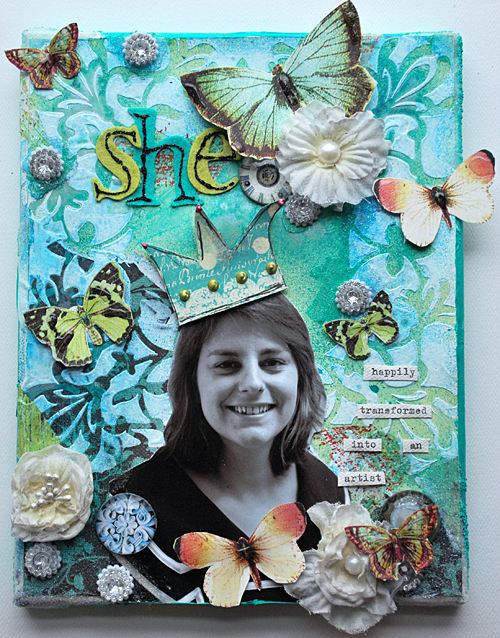
She…
sheart

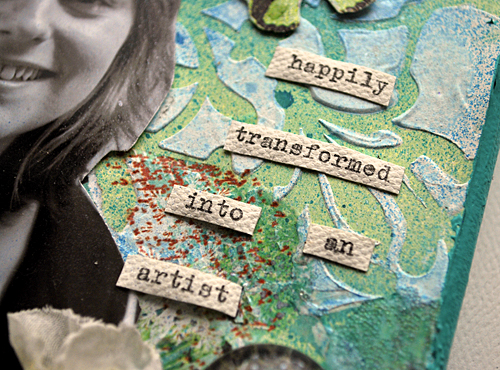
…happily transformed into an artist

I created this canvas a couple days after I quit my job as a paralegal to become an artist and workshop teacher full time and realizing how good I feel about this. I wanted to use some of the Prima supplies that I hoarded for a while cause I was too afraid using up some of my favorite supplies. But sometimes you just have to use your supplies :)

I first painted the Canvas on the edges and the frame with acrylic paint.
sheart1

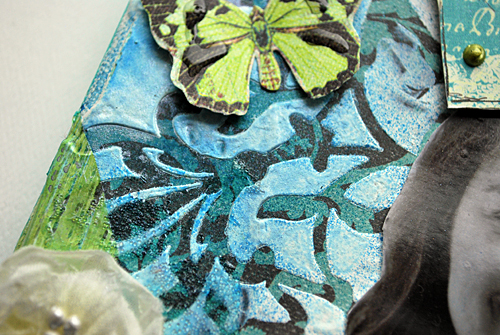
I ripped some of the paper and glued it down. Then I used a Prima mask with gesso over the mask to give this some dimension and texture and sprayed it afterwards with Glimmer Mist.

sheart2

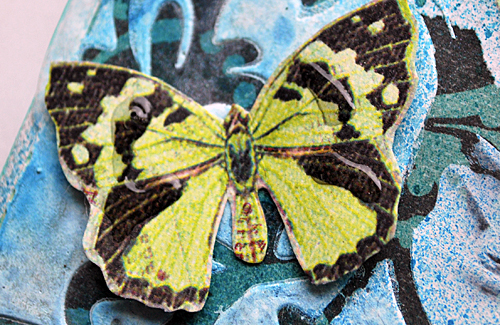
As you can see I used some left over Rub Ons and rubbed it partly over the textured areas – especiall when I had the feeling that some parts would have to be connected, as not having floading elements. I added some Glossy Accents on top of the butterfly to give them some dimension too. The butterflies are also great to symbolize the Transformation I’m talking about in my little journaling.

sheart4

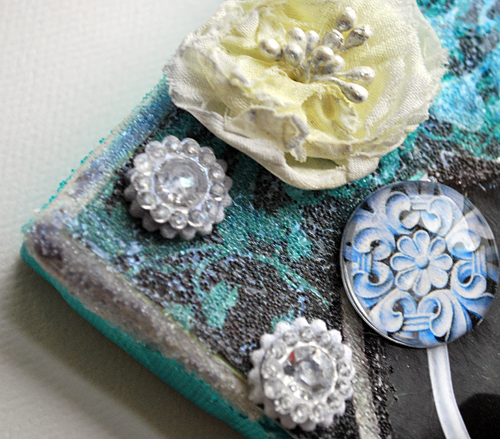
One of my favorite supplies the last months is Glass Beads by Golden, I just love how it gives texture and lets everything shine through. I also love that it is not taken off the Glimmer Mist even when you sprayed before and even though it is a wet medium.
sheart3
So why not gather some of your left over supplies and make a fun Mixed Media Collage?

Prima Supplies:

# 880712 Pebbles – time gone by

Straw Berry Kisses Cupcake Paper

# 842574 Arabesque Melody Collection Paper

# 843045 Pink Parfait – Sweet Fairy Collection Paper

# 840365 Rub-Ons Value Pack

# 545581 8×8 Masks

# 547271 Belina – Annette Collection Flowers

# 811860 Letter Perfected Felt Alphabet

# 811853 Letter Perfected Felt Alphabet

# 535209 Sultan Centers

Other Supplies:

Stretched Canvas, Tattered Angels Glimmer Mist, Golden Glass Beads, Golden Gesso, Ranger Dimensional Pearls, Ranger Glossy Accents, Scrapbook Adhesives by 3L™ Adhesives Shees and 3D Foam Pads, Crafty Power Tape,Canvas Fabric

Thanks for stepping by :) Nat

PrimaSignatureNathalie

  • Jenny Petricek

    |

    Hi Nathalie! I was quite surprised to read about how you’ve recently left your career of paralegal in order to pursue your art full-time. It’s so inspiring to know there are other women out there who take that plunge. Since last summer when I lost my job, I’ve had to reevaluate who I am and what I’m meant to do. I know that creating needs to be a part of it—but sometimes it’s so scary when you don’t know what the future holds! I look forward to reading more about your journey in future posts!

    Reply

  • sylvia

    |

    yay for the fulltime artist!! :-)

    Reply

  • Sue Clarke

    |

    I LOVE this and I hope that you are glad that you made the change. I’m sure that it can be a bit hectic having your creative hobby become your job, but you so rock that I’m glad that you did it!

    Reply

  • chien-ya

    |

    helloe~i am from Taiwan.
    and also scrapbook lover.
    are you in Holland ? because i will visit there on AUG. so i wanna fine some scrapbook shop there or some friends can make scrapbook together and so on ..?expect your reply

    Reply

  • conny

    |

    sehr genial!!!!

    Reply

  • Kim Sonksen

    |

    What an amazing canvas. I think this is easily my favourite one, everything is just so divine

    Reply

Leave a comment

Cocoa Daisy – July: Urban Loft III

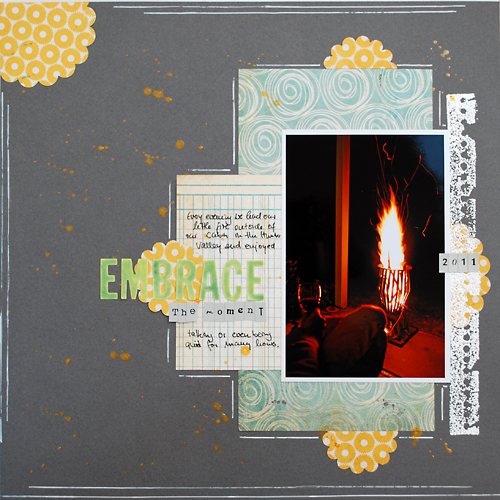
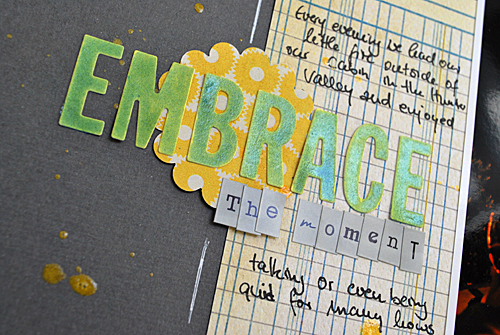
This layout is a pretty simpe style for me- but somehow I felt that way with this photo :) And I loved that the Urban Loft Kit was making it possible to scrap in different styles.

*Embrace*

Embrace01


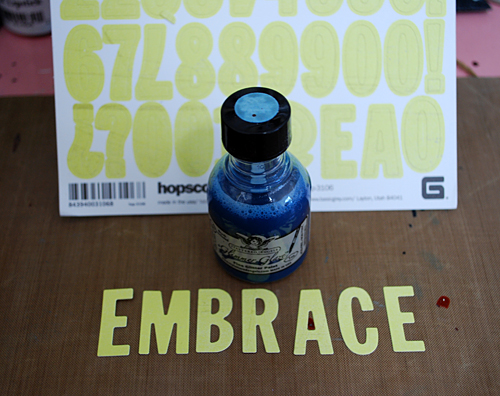
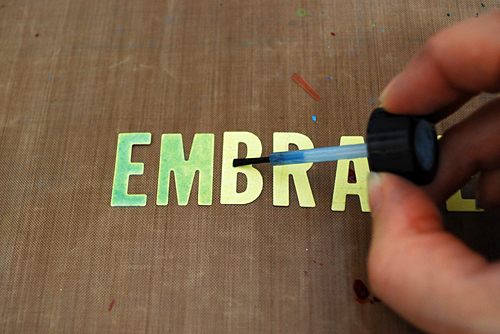
I used the stamp here with white Utee- so much fun.   I also sprinkled with Glimmer Glaze on top of the Cardstock which I used with the non textured side up. The Letters were colored with Glimmer Glaze.

DSC_0716

You just need a non sticky crafting map and then you can place your letters on it.

DSC_0719

Paint it with the glaze.

DSC_0721

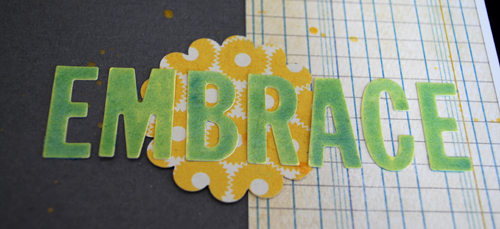
And lift the letters up and adhere them to the paper.

Embrace02

Have a wonderful day!

Nat

  • Anja Wade

    |

    Awesome trick, Nat! Perfect for the CD blog! :)

    Reply

  • Kim Sonksen

    |

    This is gorgeous. Love that it is different to your usual style but still very Nat :)

    Reply

  • Felicitas Klink

    |

    wow, das ist wirklich sehr scrappig für dich :D aber sieht klasse aus!!! der stempel auf der rechten seite ist der hammer *haben will*
    ein schönes WE, LG Felicitas

    Reply

Leave a comment

Wedding Card – Tutorial *Tattered Angels & Basically Bare*

BBTACard04

I love that you can use the four Tattered Angels Paint Media and use them alone or together to archive different looks on different products in the industry and different surfaces.

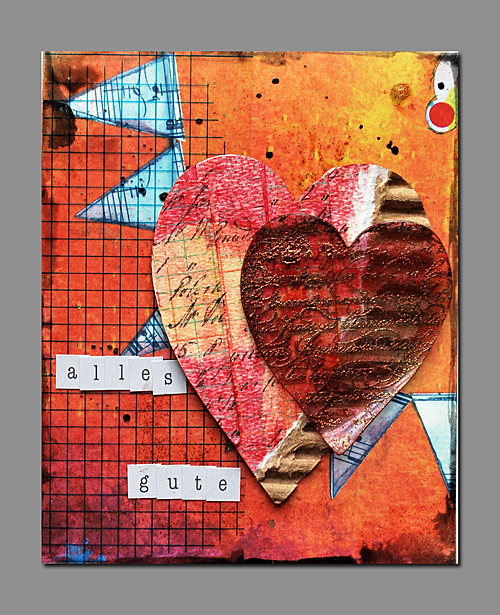
For a funky Wedding Card for one of my best and oldest friends I used the Basically Bare Corrugated Chipboard and the Acrylic Heart and here is what I did:

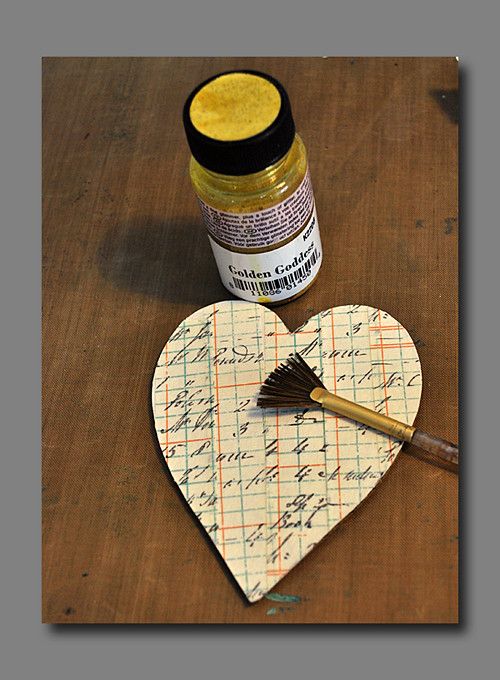
I taped the corrugated Heart with Tim Holtz Paper Tape

BBTACard06

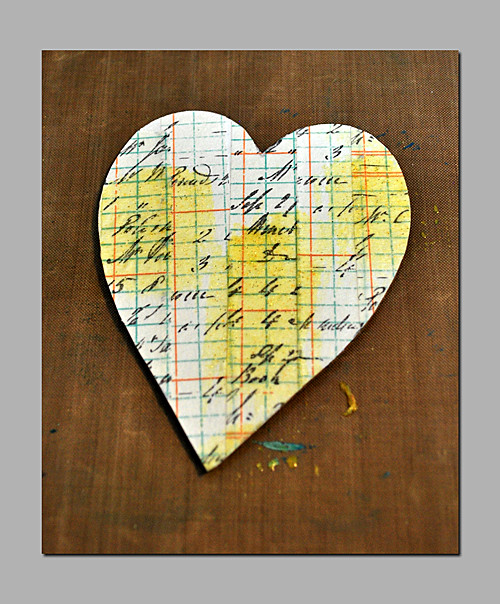
and then painted over some Golden Goddess Glimmer Glam with a Fan Brush
BBTACard07
and let it dry.

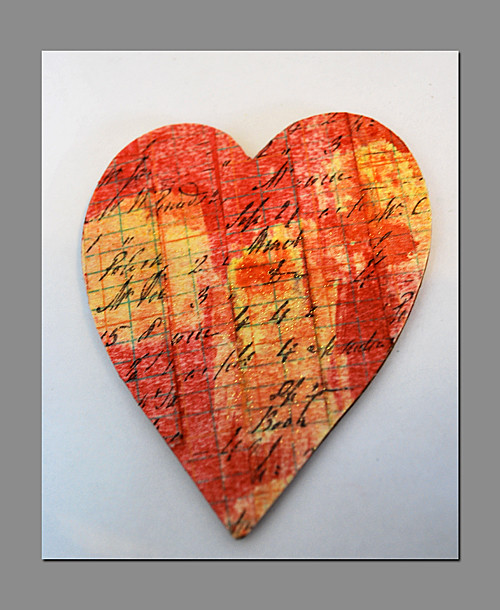
Then I sprayed it with Red Velvet Glimmer Mist – having the areas that were treated with the Glimmer Glam resist the Glimmer Mist.
BBTACard03

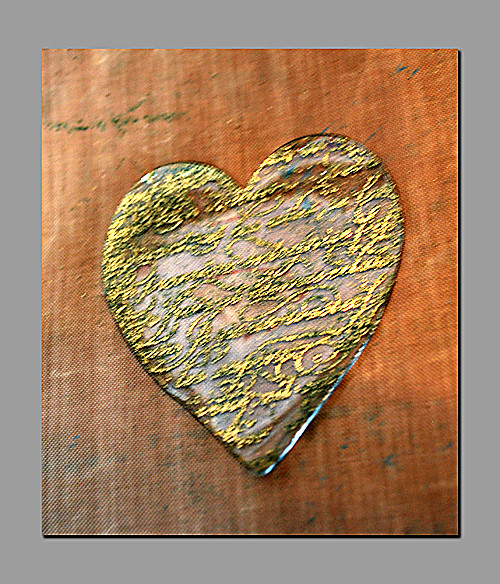
Next I took the acrylic heart, stamped it with Embossing Ink and then embossed it with a golden-green Embossing powder. -sorry for the blurry picture- I did only this one terrible shot….:)
BBTACard01

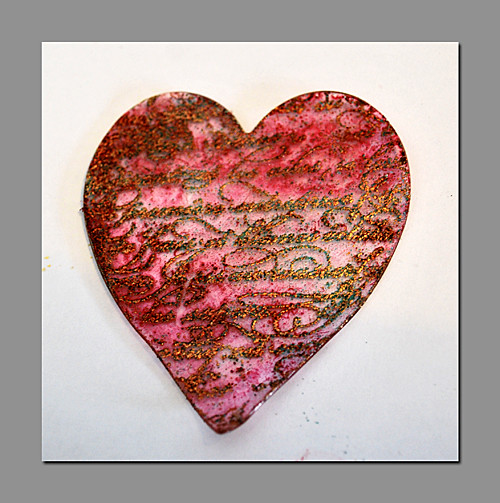
I sprayed the Heart with Cherry Cola Chalkboard Glimmer Mist because the Chalkboard niceley grabs so slick surfaces too and leaves a nice look on acrylic.

BBTACard02

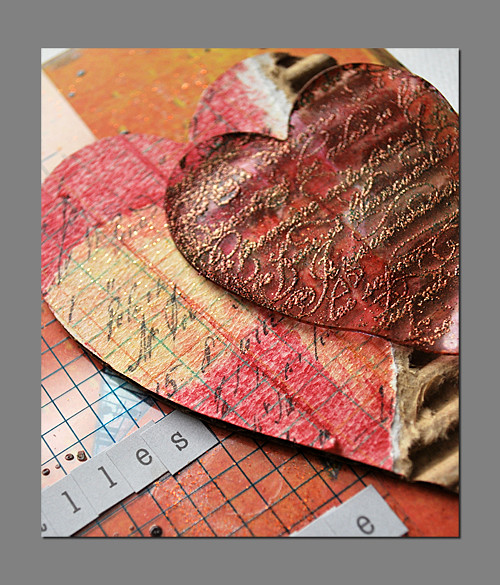
I ripped off some of the paper tape again from the chipboard heart to release some of the currogated areas and used some Pewter Glimmer Glaze flicking it onto the background- and also stippled some Hammered Copper Glimmer Glam onto the background. And there you go :)
BBTACard05

You can learn lot’s of techniques using Tattered Angels Products in one of my upcoming workshops – the next ones are

on August 27th, 2011 – at Creavil in Berlin, Germany.

don’t hesitate to contact me if you want me in your store or area .

Nathalie Kalbach – www.scrapbook-trends.com

  • Kerstin

    |

    Ich guck mir das dann mal in echt und farbig an. Wir sehen uns nämlich bei Creavil. :)

    Reply

Leave a comment

Cocoa Daisy – July: Urban Loft II

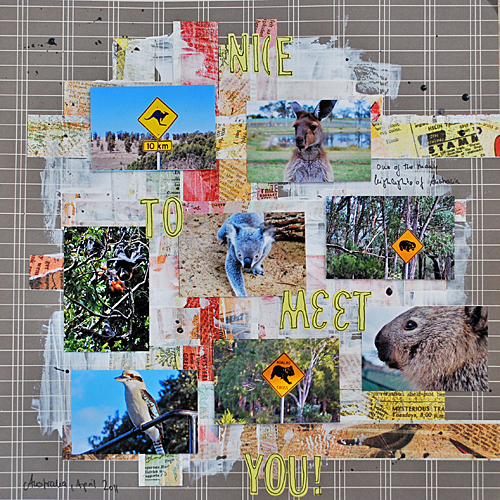
Here is another layout with the awesome Cocoa Daisy – Urban Loft Kit.

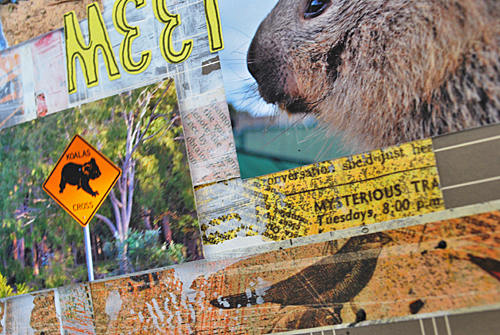
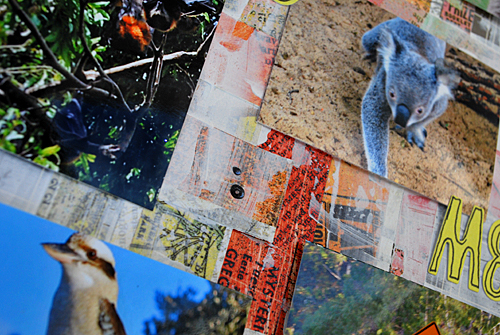
*Nice to Meet You*

NiceToMeetYou01

Perfect kit for these Australia Trip photos and the fun animals I saw :)

NiceToMeetYou02

NiceToMeetYou03

Have a gorgeous day

Nat

  • Sarale

    |

    Tolles Layout, die Fotos sind super und die Alphas passen so schön zu den australischen Straßenschildern.

    LG,

    Tanja

    Reply

  • Jenny Petricek

    |

    I like the fun yellow letters you used for your title…did you design and hand-cut them yourself?

    Reply

  • Karen

    |

    Very sweet and those colors are so Australia.

    Reply

  • Sue Clarke

    |

    I really love the movement that this LO has and the pics are too cute!

    Reply

  • Mandy Collins

    |

    fun collection of images from your trip down under

    Reply

  • Kim Sonksen

    |

    LOve this – you are rocking the Kit!

    Reply

Leave a comment

Canvas: Movie Night

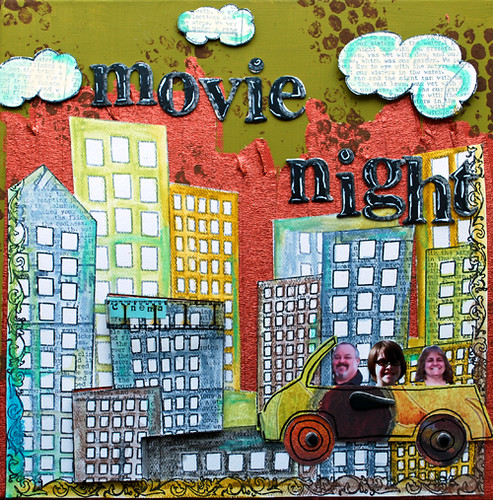
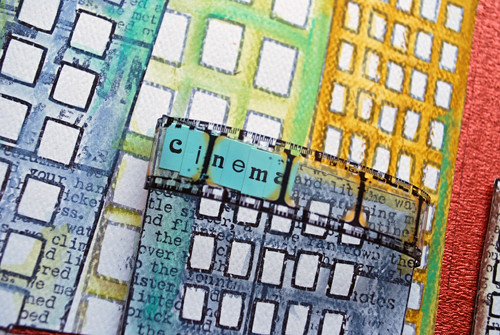
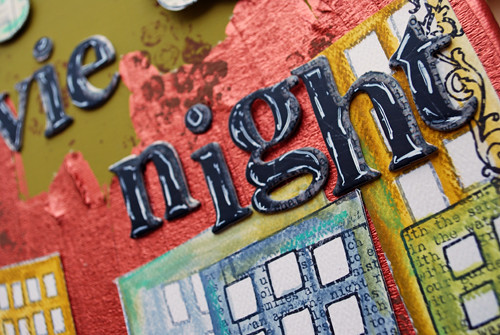
This Canvas I made for Sue who was so wonderful to auction it for the Flood Victims in Queensland – she wished for a movie night theme and some earth tones. I heard she liked it :)

Diese Leinwand habe ich für Sue gemacht, die diese Leinwand bei einer Auktion für die Flutopfer in Queensland erstanden hat – sie hat sich ein Filmnacht-Motto und ein paar Erdtöne gewünscht. Ich habe gehört es gefiel ihr :)

MovieNightCanvas01

MovieNightCanvas02

MovieNightCanvas03

have a good one :)
Euch einen guten Tag :)

  • Sue Clarke

    |

    I am Sue. I won the auction and then Nat made the canvas to order. The colors are beautiful and it is hanging in my kitchen. My MIL (who never comments on items on my walls), went out of her way to say how much she loves it! Thanks Nat…I will treasure it. PS: Jimmy wants to know why his head is bigger and I told him that his head was bigger in the photos I sent you (too funny).

    Reply

  • Jenny Petricek

    |

    What a fun item for auction! Someone is very lucky to win it!

    Reply

  • Vicki Chrisman

    |

    Awesome Canvas!!

    Reply

  • elina

    |

    this is soo much fun!!! lol lol lol!! love the color combo and the happy feeling of it!!

    Reply

  • Debby's lewis

    |

    Awesome. I love it!

    Reply

Leave a comment

Cocoa Daisy – July: Urban Loft I

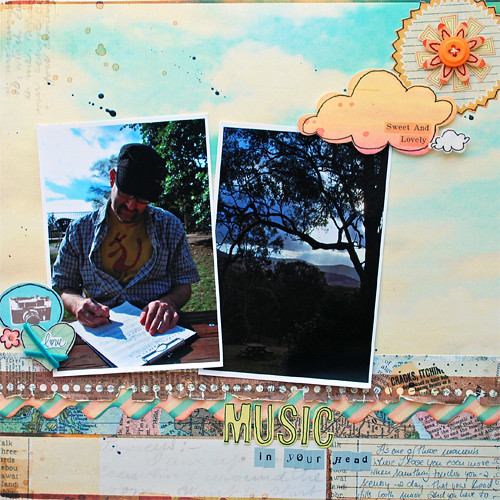
I’m so in Love with this kit and the colors- yum yum. Here is my first layout with it.

Ich bin ja so verknallt in dieses Kit und die Farben – yum yum. Hier ist mein erstes Layout damit.

*Music in Your Head*

MusicInYourHead_01

I used the main kit and the Basic Grey Paper Mish Mash out of the Patterned Paper Add On

Ich habe das Hauptkit und dazu noch das Baisc Grey Papier Mish Mash aus dem Patterned Paper Add On  verwendet.

MusicInYourHead_02

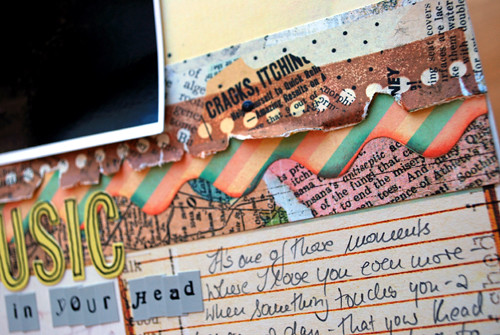
I so love the included Stamp – I used it here on the paper and then cut and distressed along the pattern.

Ich liebe diesen Stempel – ich habe ihn hier auf dem papier verwendet und dann ausgeschnitten und entlang des Muster distressed.

MusicInYourHead_03

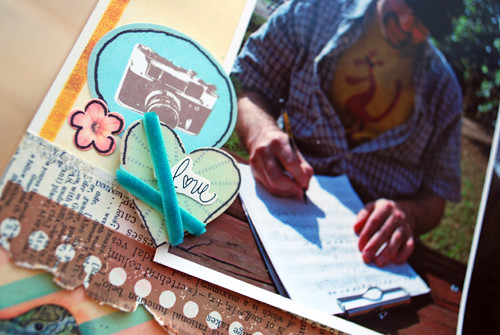
The package of by My Little Shoebox Tiny Letters includes some handwritten words- I cut out one and attached it to the cute Sassafras Sticker.

Die My Little Shoebox Tiny Letters Packung beinhaltet auch ein paar handgeschriebene Worte -ich habe eines ausgeschnitten und auf den Sassafras Sticker geklebt.

MusicInYourHead_04

A little bit dimension with Scrapbook Adhesives 3D Foam Pads and some Glimmer Glaze Pewter flicks – voila :)

Ein wenig mehr Dimension mittels Scrapbook Adhesives 3D Foam Pads und ein paar Glimmer Glaze Pewter Tropfen – voila :)

More to come – mehr kommt später

nat

Comments (6)

  • Kerstin

    |

    Au Backe, ‘nem Scrap-Kit bin ich ja ewig nich hinterhergelinkt. Ich hab echt überlegt, ob ich sowas nich doch unbedingt mal wieder haben muss. :) Und heh, Dein Text is im Layout zu sehen, bevor man das Journaling liest!

    Reply

  • Sue Clarke

    |

    Sweet LO Nat. When I first looked at the photo I thought your hubby had a red kangeroo tatoo on his chest (I think it is his sheet).

    Reply

  • cuchy

    |

    I love those little details. So beautiful

    Reply

Leave a comment

Canvas: Sometimes it is better to say NOTHING

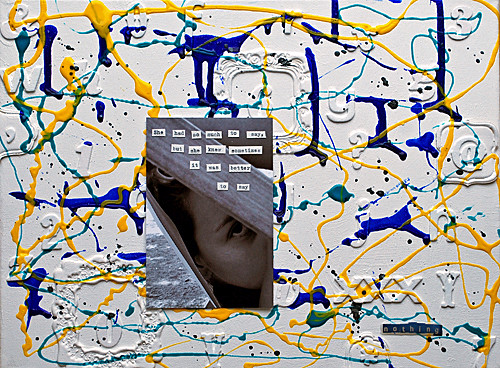
I love how this canvas turned out -using for the first time Tar Gel- yum yum.

Diese Leinwand gefällt mir richtig gut – ich habe das erste Mal Tar Gel verwendet – yum yum
NothingCanvas

She had so much to say, but she knew sometimes it was better to say NOTHING

NothingCanvas2

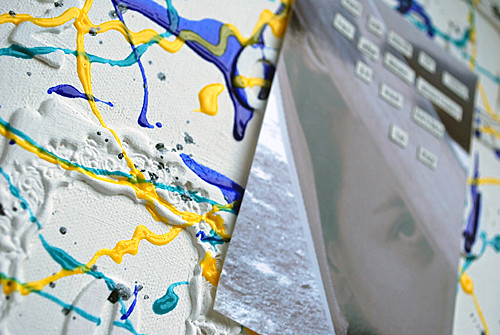
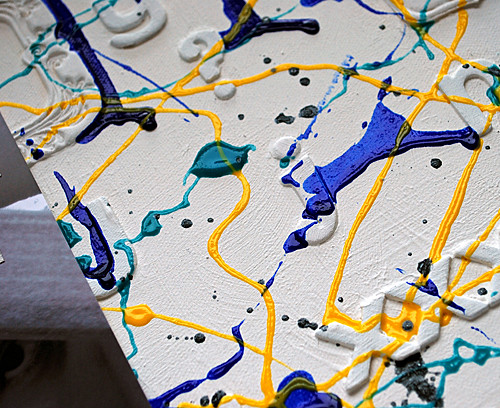
I used old leftover chipboard letters and painted them over with gesso and then used Tar Gel and mixed in Acrylic Paints – let it set and then used it to get those strings. I also flicked some Tattered Angels Glimmer Glaze on top.

Ich habe alte übriggebliebene Chipboard Buchstaben auf die Leinwand gesetzt und dann mit Gesso übermalt. Tar Gel mit Acryl Farben vermischt und diese gummiartigen Fäden gezogen. Dann noch ein wennig Tattered Angels Glimmer Glaze oben drauf gespritzt.

NothingCanvas3
The letters symbolize the “communication”- and the strings are tying my words.

Die Buchstaben symbolisieren die “Kommunkation” und die Fäden verschnüren meine Worte.

Have a great day :)

Euch einen schönen Tag :)

  • sylvia

    |

    oh man, i just made that experience tonight. i just wish i had said NOTHING.
    maybe some art will help?

    ANYWAY, that canvas looks amazing!

    Reply

  • Sue Clarke

    |

    Totally different and I love the message. Looks like you had fun making it too!

    Reply

  • AnnaB

    |

    Love this Nat! So cool!

    Reply

  • Robyn W

    |

    LOVE LOVE LOVE THIS …..thanks for sharing it

    Reply

Leave a comment

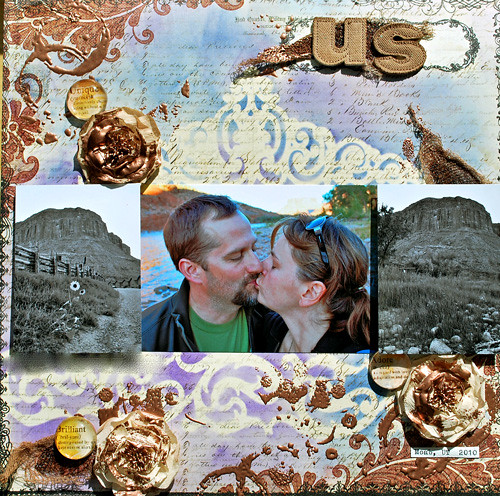
US – or the anatomy of a layout *Prima Educators*

There is this special thing about the Prima Products that I love – they are sometimes so feminine and yet give me the possibilty to give them the little grungey edge and make them a bit more me.

US_Prima_NatKalbach01#

For this layout I used the Scribe Paper from the Reflections Collections and then placed some of the beautiful Prima Masks onto the background.  I used two different colors of Ranger’s Distress Ink and wiped them over the masks .

US_Prima_NatKalbach03
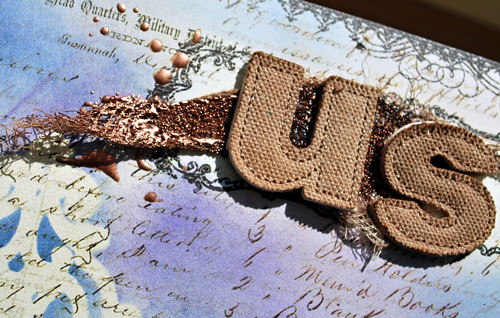
For the title I used Canvas letters which I sprayed with Tattered Angels Bronze Glimmer Mist. For the background then I aslo used some cheesecloth which I also sprayed with the Bronze Glimmer Mist and then attached it with Gel Medim. I stamped the background with Distress Stamp and Versamark and added some Bronze Utee on top of the stamped images and on the still wet Gel Medium of the cheesecloth and heated it up for a nice texture.

US_Prima_NatKalbach02

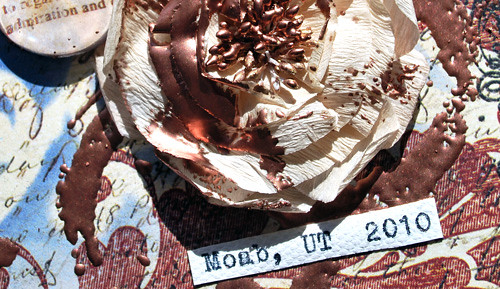
Next I used a Scrapbook Adhesives by 3L Adhesive sheet to just add a little bit of adhesive here and there to the beautiful Lady time Flowers. On top of that I also sprinkled Bronze Utee and heatset it so that the flowers wold match the rest of the layout and unify the look.

Then I mounted the photos left and right on Scrapbook Adhesives by 3L Foampads and glued down the Prima Definition Pebbles which had saved for years since I love those so much.

And there it is a romantic, still a bit grungey layout that fits the photo and the beautiful rough scenery in Moab, UT where my hubs and I spent some wonderful days last years.

Prima Products: Reflections Coll. Scribe, Prima Masks, Definition Pebbles, Lady Time Flowers
Others: Distress Inks, UTEE, Cheesecloth, Stamps, Canvas Fabric, Scrapbook Adhesives by 3L

Have a gorgeous day :)

Nat

www.scrapbook-trends.com

Comments (4)

  • Jenny Petricek

    |

    I am so inspired by your use of masks…I’ve never tried to use a mask before, and I think I will need to try this soon!

    Reply

  • Sue Clarke

    |

    Love the grunge with the mountain photos. Those canvas letters are cool!

    Reply

  • marie-anne raeman

    |

    i like this ;-)

    Reply

  • Kim Sonksen

    |

    Love he grungy feel and the textures

    Reply

Leave a comment

Cocoa Daisy – July Kit- Urban Loft Sneak Peek

Sooo looking forward to the upcoming Cocoa Daisy Kit –  I so missed working with kits and I’m so excited about this :)

Ich freue mich ja so auf das kommende Cocoa Daisy Kit– ich habe es total vermisst mit Kits zu arbeiten und ich bin ganz aufgregt :)

Here is what is coming in July/Hier ist was uns im Juli erwartet:

“Urban Loft”

Ronda’s class “10 things” completer set:

Add Ons:

“Pencil Factory”

“South Loop”

“Theatre District”

“Telegraph Hill”

Lieber Postbote …schneellllll- LOL

Dear Mail man….hurry uuppppp LOL

Leave a comment