ENGLISH Description (Deutsche Version unten)
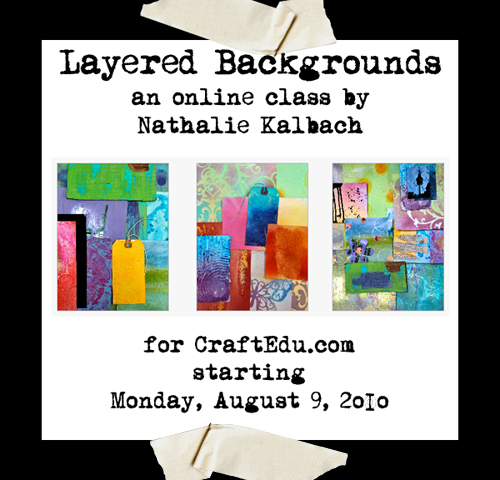
My online Class “Layered Backgrounds” on CraftEdu starts today at noon MST (8pm for those who are living in Germany or France/7pm for the UK).
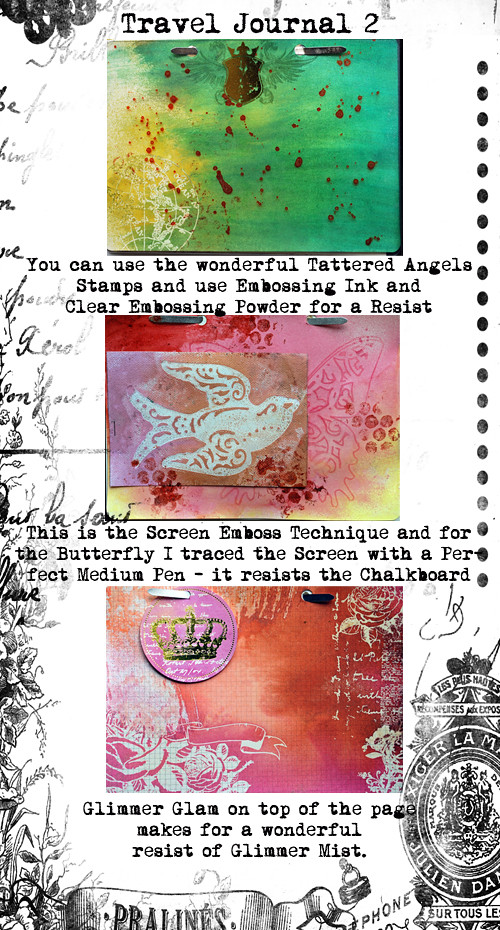
This class is actually a 3 in 1 class with over 30 tutorials and techniques. Starting with techniques showing how to create backgrounds with acrylicpaints you will conitinue with techniques on how to create waterbased spraypaint (for example Tattered Angels Glimmer Mist) backgrounds.In the last and third part of the class you will learn techniques on adding texture and how to put those techniques and layers learned in part 1 and 2 together for an interesting, unique and complicated background or embellishment.
You will hear about the right adhesives, design principles, products and how to also use cheap household materials to achieve a one of a kind piece of art!
In over 80 minutes videos, photos, narration and annotation I will lead you through the class and give you the possibilty to work in your own pace and time table. On top of that you can join my personal classroom in the CraftEdu Community to ask questions, talk to other classmates and share you outcomes of the classes with me and the other students.
The class suits best for advanced beginners and intermediates.
Once you signed up you will be able to access to the class for 365 days and you can watch each of the parts 12 times.
The class will cost 55 Dollars – those that sign up the first 24 hours will get a discount of 25%- meaning you pay 42 Dollars. For the European Folks that are paying in EUR that means you will only pay round about 32 EUR.
Watch the preview and see a list of the materials we will use throughout the workshop!
I’m looking forward to see you at my class!
Deutsche Beschreibung (English version above)
Mein Online Workshop “Layered Backgrounds” auf CraftEdu beginnt heute um 20.00 Uhr. Der Workshop ist in Englisch – aber auch gut zu verstehen mit wenig Englischkenntnissen.
Der Workshop ist eigentlich ein 3 Workshops in einem Workshop mit über 30 Anleitungen und Techniken. Es beginnt mit Techniken wie man Hintergründe mit Acrylfarben kreieren kann und geht dann weiter mit Techniken wie man Hintergründe mit wasserbasierten Sprühfarben (z.B. Tattered Angels Glimmer Mist) erstellen kann. Im letzten und dritten Teil des Workshops zeige ich Euch verschiedene Techniken um Textur aufzubringen und wie man die Techniken und Ebenen aus den ersten beiden Teilen miteinander verbindet, um einen interessanten, einzigartigen und komplizierten Hintergrund oder ein ebensolches Embellishment herzustellen.
Ihr werdet viele Details und Tipps über die richtigen Klebstoffe, Design Prinzipien und Produkte hören. Darüber werdet Ihr auch billige Haushaltsmaterialien verwenden und damit Unikate erstellen!
In über 80 Minuten gefüllt mit Videos, Photos, Erzählungen und Beschreibungen führe ich Euch durch den Workshop und gebe Euch die Möglichkeit in Eurer eigenen Geschwindigkeit und Euch angenehmen Zeiten zu arbeiten. Darüberhinaus könnt Ihr in meinem persönlichen Klassenzimmer in der CraftEdu Community Platz nehmen und Fragen stellen, mit anderen Teilnehmern sprechen und auch Eure Ergebnisse zeigen. Es gibt auch einen Deutschen Teil im Klassenzimmer, so dass auch alles in Eurer Muttersprache besprochen werden kann.
Der Workshop ist am besten für den fortgeschrittenen Anfänger und für Fortgeschrittene geeignet.
Sobald Du eingeschrieben bist, kannst Du den Workshop für 365 Tage anschauen – jeden Teil jeweils 12mal. Eine tolle Erklärung auf Deutsch wie man sich einschreibt, gibt es hier (nicht wundern- hier wird noch von 120 Tagen gesprochen)
Der Workshop kostet 55 Dollar – diejenigen die sich in den ersten 24 Stunden einschreiben, erhalten einen Rabatt von 25% – das heißt der Workshop kostet dann 42 Dollar. Für Euch aus Deutschland bedeutet das, dass der Workshop nur ungeführ 32 EUR kostet.
Schaut Euch die Vorschau an und seht auch eine Liste der Materialien, die wir während des Workshops verwenden werden!
Ich freue mich sehr Euch bei meinem Workshop zu sehen!






















Comments (15)
Scrapbooking & Paper Crafting Tutorial
| #
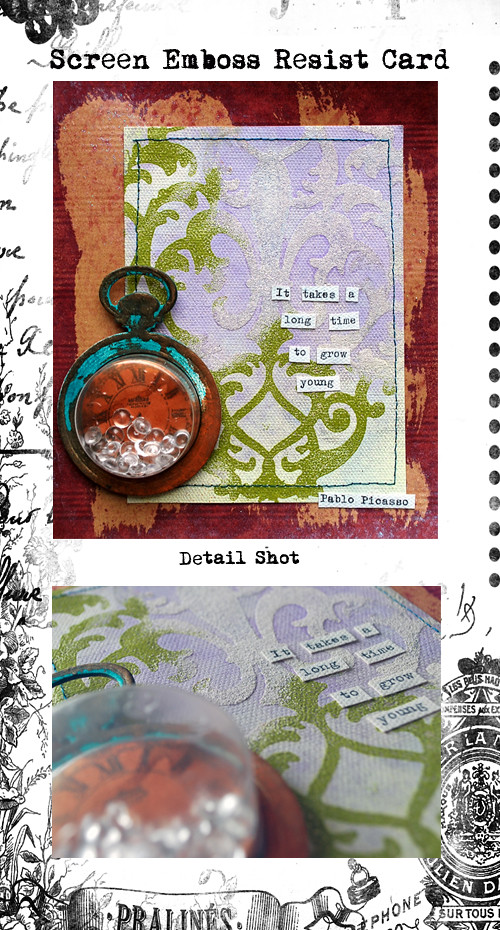
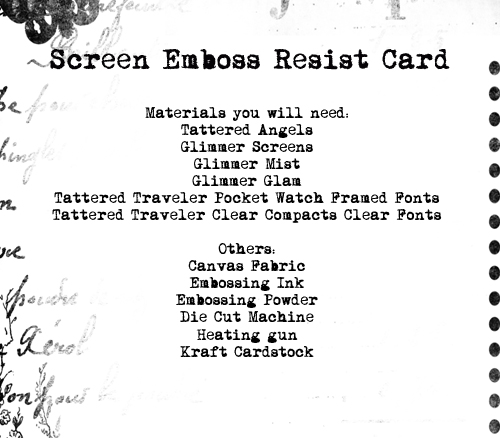
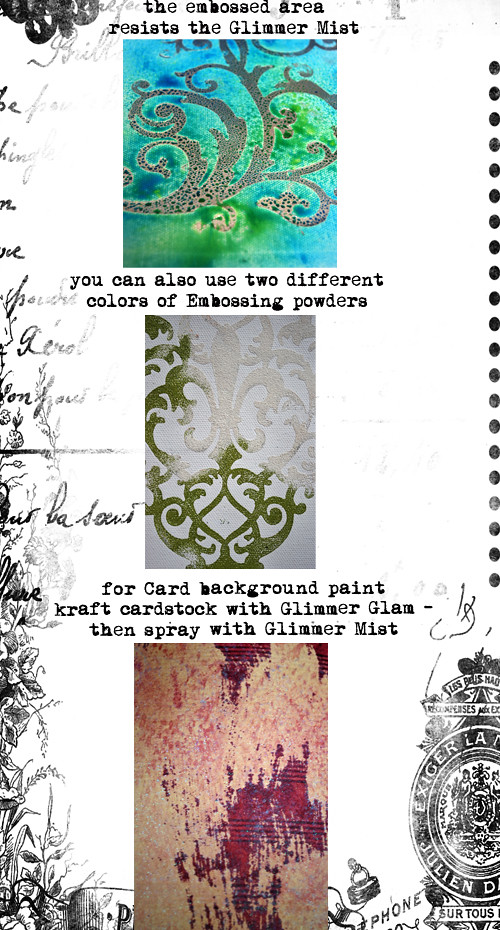
[…] Nathalie Kalbach has a technique tutorial on Glimmer Screen emboss resist which you can check out here. […]
Reply
mireia carbonell
| #
AWESOME!
LOVE IT!
thanks for your inspiration!
Reply
milkcan
| #
Great technique! And Happy Anniversary!!
Reply
Diane
| #
Your blog is awesome, so glad Vicky spotlighted you so I can follow you! ~Diane
Reply
Maria Schmidt
| #
Ohman wie genial ist das denn wieder!? Hm…dann muss doch noch so ein Maschinchen her! Ein Argument mehr!!! :-)
Lg, Maria
Reply
Irene at GoneScrapbooking.com
| #
Great technique and tutorial! I linked to it from today’s daily scrapbook news article at http://exm.nr/aX2ro9 :) Have a terrific Tuesday!
Reply
See my Crafts
| #
sehr lehrreich. tfs!
hab mir gerade meine erste canvas zugelegt und werd das bestimmt probieren.
hast du einen tipp, was man statt der “die cut mashine” nehmen könnte um die höhe zu erlangen? hab leider noch keine :(
LG Felicitas
Reply
ellen s
| #
so cool!
Reply
sylvia
| #
amazing Nat! you’re an artist, seriously!
Reply
Vicki Chrisman
| #
THIS IS AMAZING!!! So cool Nat! You think of everything girl!
Reply
lynn
| #
oooooooooo very cool!
Reply
Birgit
| #
das sieht so g..l aus!!!!
Reply
nathalie
| #
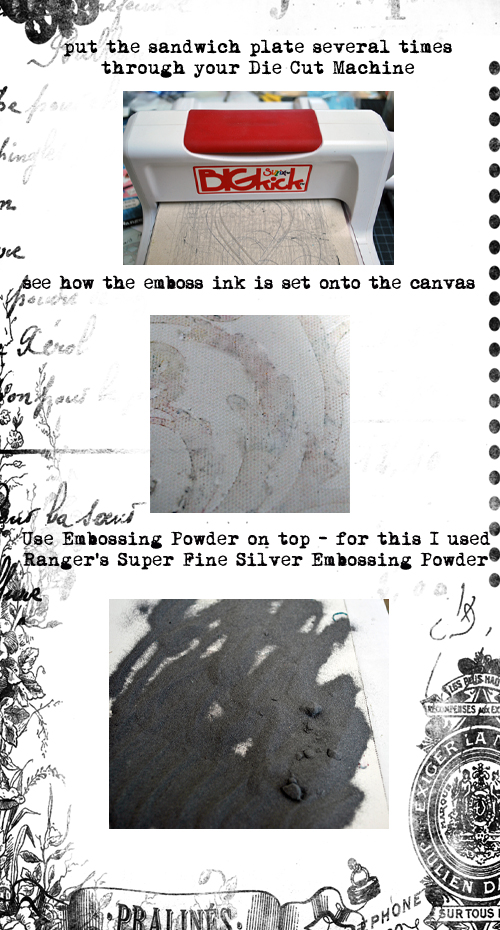
Cuchy: It makes a little mark – but not really mention wise – and as you water it with the glimmer mist- it almost vanishes. So there is only a small imprint- that adds with the embossing powder to a nice texture and depth.
Reply
christiane
| #
cool – gefällt mir!!! :D tfs!!
Reply
Cuchy
| #
Love it! Funny technique. As you pass the screen through the embossing machine, it dry-embosses also the cardstock? or the screen is too thin to leave a mark?
Reply