
This is a tutorial I actually originally posted on June 7th, 2010 *- but with all the Mixed Media stuff out there and using spray paints…I thought some of you might like to see it either again or for the first time ;) *I edited some of the wording and content to fit into 2012 :)
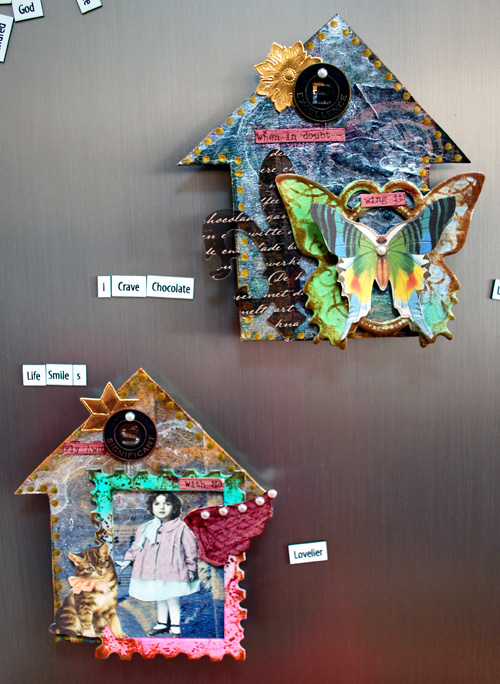
*Inspirational Fridge Magnets*
Supplies:
I used Tattered Angels:
Glimmer Mist: Turquoise Blue, Cosmos, Meadow Green, Delphinium, Pearl – you can use other water based spray paints too that are translucent and have a shine to them
Chalkboard: Evergreen, Cornflower – you can use other spray paints that are opaque
Glimmer Glam: Golden Goddess, Chandelier, Bordeaux
Regal Glimmer Glass
Framed Fonts Butterfly and Traveler
Glimmer Screens: Elegant Emblems and Fanciful Screens – you can use any stencils for example Crafter’s Workshop Stencils since Tattered Angels doesn’t produce Stencils anymore
Other:
Cardboard
Crafty Secrets Fairy Sheet or other Vintage Images
7Gypsies Paper Tape or Washi Tape
Ranger’s Crackle Paint, Sepia Archival Ink Pad and Glossy Accents
Tim Holtz Tokens or found objects
German Borders
Posca Marker
SCRAPBOOK ADHESIVES by 3L™
Magnets
half pearls- unknown
Acrylic Paint
vintage music sheets

Cut out a house shape out of Cardboard. Paint with acrylic paint.

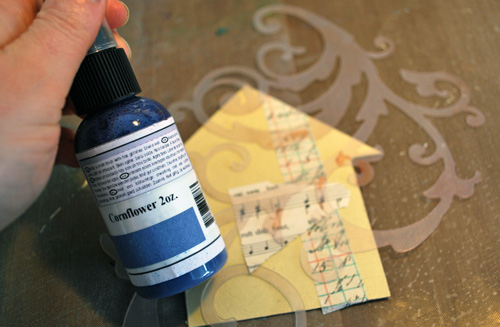
add some stripes of paper (I used old music paper – old book paper would be also good) and/or tissue paper or washi tape

Place a stencil over the house and start spraying with chalkboard. Set aside to dry
Take a Frame from the Frame Fonts and spray with two different Glimmer Mist Colors
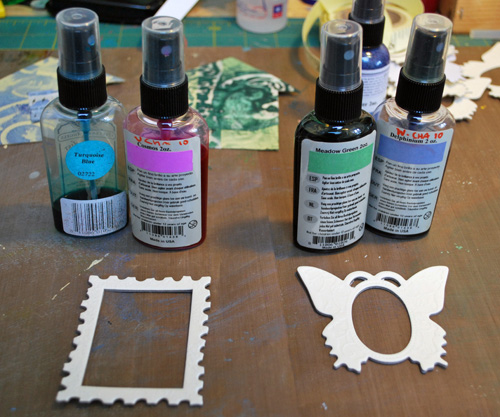
go over the frame with an archival ink pad and paint with clear crackle paint. Set aside to dry.
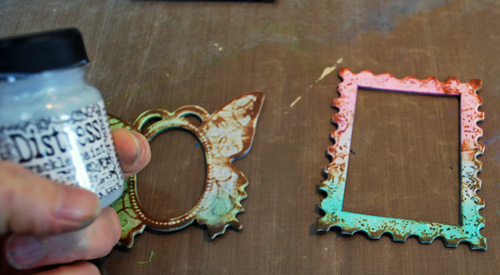
Paint Houses with Glimmer Glam which is also going to work as a sealer. You can use two different color – one for the roof and one for the bottom of the house.
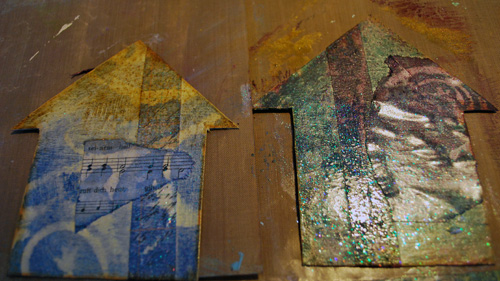
Now take the Pearl Glimmer Mist and spray over the House – heat it up – don’t burn it with the heating gun and move the liquid around with the heating gun. Once everything is dry, spray it again and repeat. Do several times until you get a mother-of-pearl like look.

Do this until you are satisfied with the look

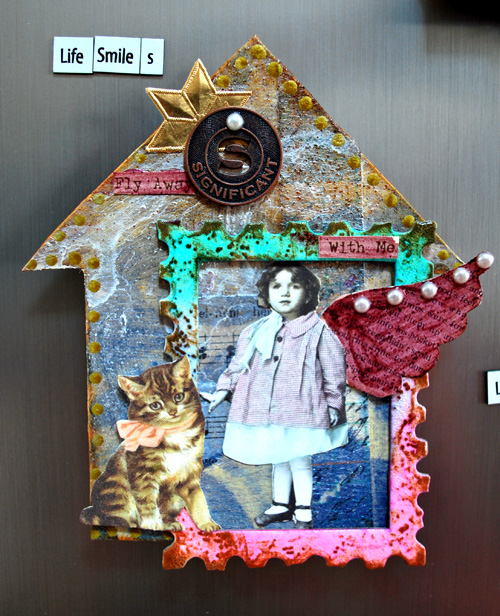
You can now dress up your houses – doodle with markers around the edges, add scraps and fairies, some nice inspirational sentences and the frames.
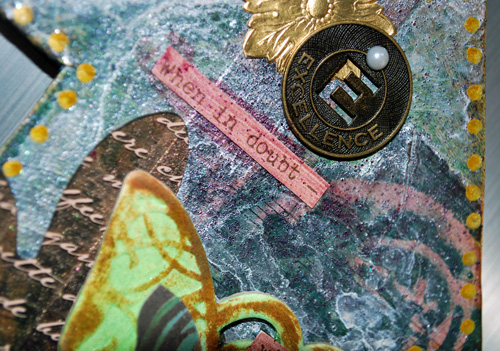
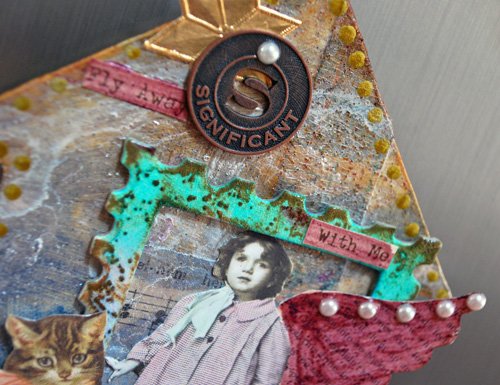
Attach strong magnet to the back – and take a walk to the fridge ![]()
And there you go – a nice little present or to keep for yourself – an inspirational Fridge magnet.
I hope you had fun with this Oldie but Goodie :)
Have a gorgeous day
Nat
Related articles
- n*Lab Tales – Today featuring Letraset Promarkers with Letrajet Airbrush System (nathaliesstudio.com)


Comments (8)
Sandy
| #
Hi Nat, I’m glad Vic sent me this link to your magnet tutorial as they look cool! People love ideas like this so I will link back here on my next post
I hope you are having a great summer! I’m lucky to be on vacation this week at a friends cabin and we are having beautiful weather.
Reply
nathalie-kalbach
| #
HI Sandy, so wonderful to hear from you :) Thank you ! Our summer is a rainy summer- wish us more sun :) Have a gorgeous gorgeous time at the cabin hugs nat
Reply
Jessica
| #
these are great. Thanks!
Reply
Vicki Chrisman
| #
Very cool Nat!!!
Reply
Marjie Kemper
| #
I totally love these, Nat!
Reply
Martha Richardson
| #
TFS for bring back the oldies…great tutorial. I can see this used on other projects!
Reply
Andrene
| #
Thanks for sharing this today. I have been wanting to create some DIY fridge magnets but had no good ideas (cant have boring fridge magnets!!). You have sparked my magnet creativeness LOL….gonna give this a whirl. THANKS!!
Reply
jan1219
| #
love these Nat!
Reply