Creative Ice Breaker

Creative Ice Breaker – Morning Art Journal Play Video #7

In the mornings I play in my art journal to get myself into the creative groove and break the ice – so to speak- and get ready to paint. I recorded and fast forwarded my morning ritual for this video – and hope you enjoy it. Take it as what it is – a morning art journal play- not a tutorial.

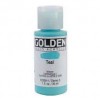
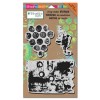
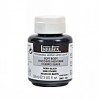
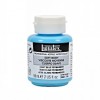
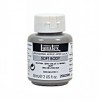
Here are the supplies I have used in my Creative Ice Breaker video above – some links are affiliate links.


I hope you enjoyed the little glimpse into my morning warm up play! Have a wonderful and creative day!

Comments (4)

  • stephanie

    |

    Great video! A good way to get warmed up

    Reply

  • Sherry Canino

    |

    What a great video I loved watching you create in your art journal and I love those stamps !!!

    Reply

Leave a comment

What is an Angel Policy… or Can I Sell This?

Every so often I get an email from one of my readers asking about selling something they’ve created using my stamps or stencils. I appreciate that respectful question very much..

I love to see projects created by you – cards, artwork, wearables – I’m always surprised by the creative ways that you use them and it inspires me to try new things, too. The questions about “Selling” also bring up a super important topic in the world of stenciling, stamping, and art-making. I’m talking about copyright and the Angel Policy.

What is an Angel Policy?

It is the policy determined by each designer and manufacturer and it specifies how the products (stamps, stencils, etc.) may be used by the purchaser. If there is no Angel Policy it usually means a company does not permit any commercial use (if you need to know- email the company). The policy spells out rules that are an extension of the copyright owned by the designer and/or manufacturer. In other words, when you buy a product you have essentially agreed to respect the ‘intellectual property’ of the person who created it.

Please be aware that Angel Policies vary widely within the industry. Once you are familiar with a company’s policy it should be easy to keep track and stay within the parameters.

Here is my Angel Policy:

My products are licensed under agreements with several manufacturers and each product falls under the explicit Angel Policy of that company, rather than not permitting ANY commercial use. Each of these companies has a generous and fair policy and as a licensed designer I am in total agreement with the guidelines and restrictions they spell out.  Check out the web sites at Stampendous StencilGirl Products, ArtFoamies, and  RubberMoon for the specifics (the fine print).

In general a common theme of all of those companies (with exceptions and there you have to read their policies!) is this: Hand-stamped and hand-stenciled projects are always permitted for personal use. You can hand-stamp or stencil cards or make wall art and garments and accessories and home decor items and other stuff for your friends and family. You are also allowed to sell one of a kind and small editions of hand-stamped and hand-stenciled items/artwork. But under the Angel Policies the companies and I agreed to put out,  mechanical, electronic or digital reproduction is not permitted. No scanning, altering, resizing or changing the designs. No scanning for electronic cutting systems.

Again, let me say that not all companies’ and artists’ policies are the same. My main goal here is to clarify under which ones my designs fall in general.

Angel Policies and New Technologies:

Angel Policies have had to adapt to the changes in how artwork can be reproduced. With websites like Zazzle, CafePress, and Society6, it is even more important to know what you can do with the projects that you’ve created with someone else’s stamps or stencil designs.

I get emails where someone wants to use an electronic scanning and cutting system with my design and then change something or upload something made with my design to CafePress or a similar company and create rugs, fabric, or other items with my designs, etc.

Now that you know about the Angel Policies regarding my designs, I think you know that the answer is ‘No”

Thank You:

It’s complicated, and it may seem limiting, but these guidelines help to protect all the work that goes into designing and producing stamps and stencils. It is not easy to make a living as an artist, but guidelines like this allows artists to keep on creating, to keep bringing their designs to the marketplace, and it lets you to keep on creating, too.

I have thought long and hard about addressing this and I appreciate that you’ll respect that I have chosen to do so. I love saying ‘YES’ and I think Angel Policies give me a way to come up with a good way to say ‘YES’ a whole lot, way more than ‘NO’!

Please contact me if you still have more questions about the Angel Policies my designs fall under.

Comments (3)

  • Marjie Kemper

    |

    You’ve spelled it out so clearly. Great post!

    Reply

  • aksusan

    |

    Nathalie,
    Although i don’t sell anything i make, i appreciate the Angel Policies. Intellectual Copyright is a messy and scary thing. It is too easy for people to take your ideas and run. Artists have been taken advantage of since that first day mechanical reproduction was available to the masses.
    Thanks for your article and the links for each company you work with! I was able to read their policies quick as could be to be sure that i follow them!
    Art on!!!
    susan

    Reply

    • nathalie-kalbach

      |

      Susan, thank you so much! Yeah it really is not an issue if you do something for yourself or sell small quantities of handmade art.Thank you so much for reading it- Loves and hugs, Nat

      Reply

Leave a comment

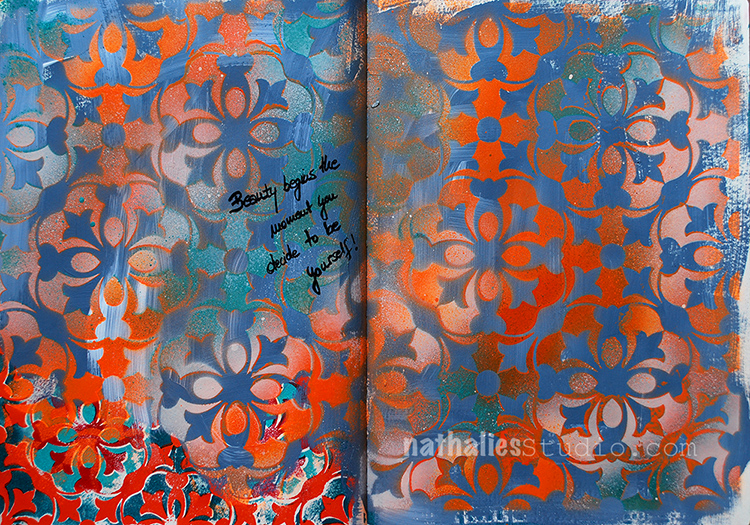
When Beauty Begins – Art Journal Spread

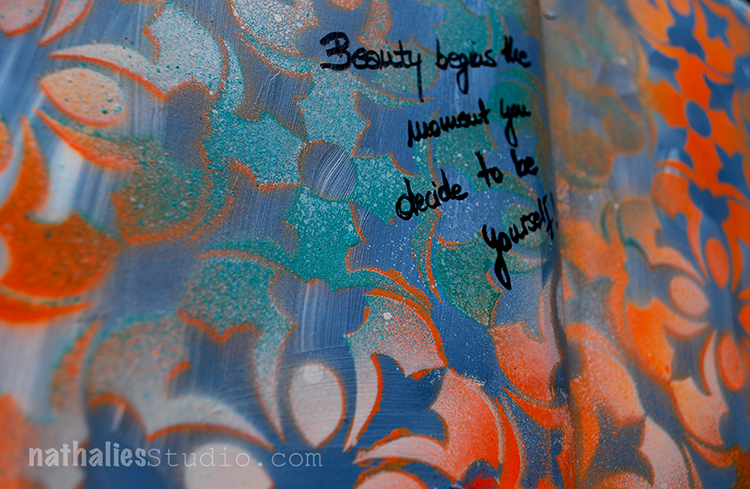
Beauty begins the moment you decide to be yourself!

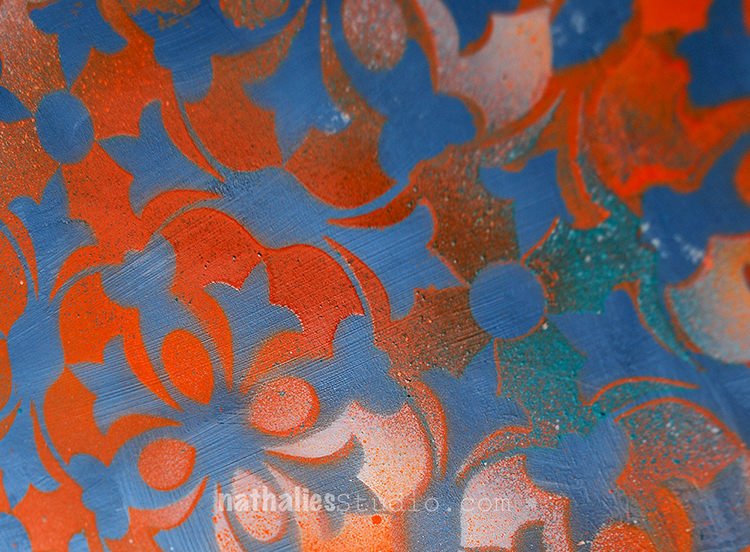
I painted the background with different blue and teal acrylic colors – also mixing some white gesso in there in between.

I layered the Versailles 9×12 Stencil on top and sprayed some orange and parchment colored acrylic spray paint over the stencil.

I love the dimension spray paint layered up can give and this is definitely one of my favorite stencils.

Here are the supplies I used for this art journal spread – some links are affiliate links:


have a beautiful day!!!

Comments (1)

  • joi

    |

    Absolutely FABULOUS – wow… wow… love this. And…. YOU dear Nat are always just YOURSELF and BEAUTIFUL! Xj.

    Reply

Leave a comment

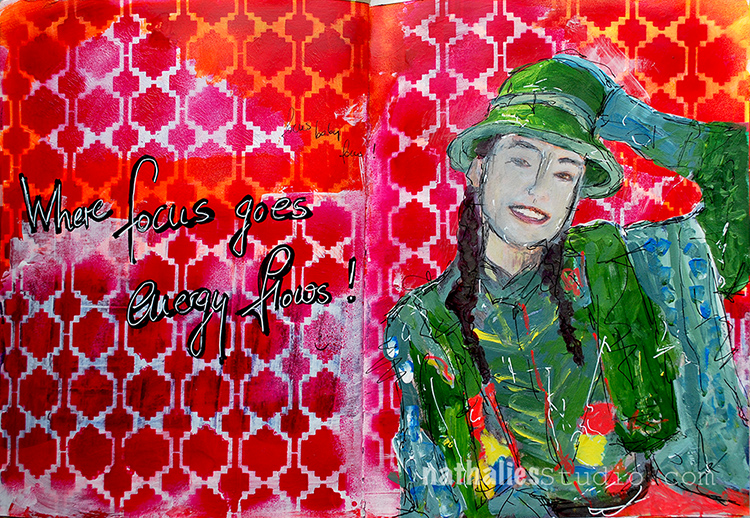
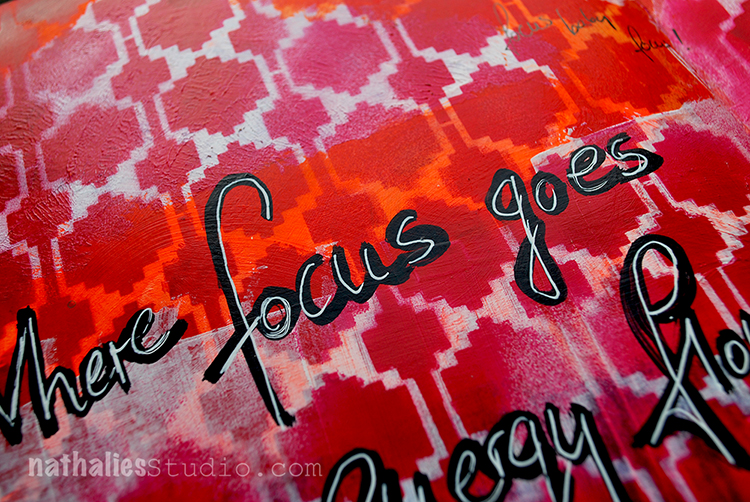
Focus Baby, Focus! – Art Journal

jaja jaaja – I knooooooww- but it is so hard to focus , isn’t it? LOL.

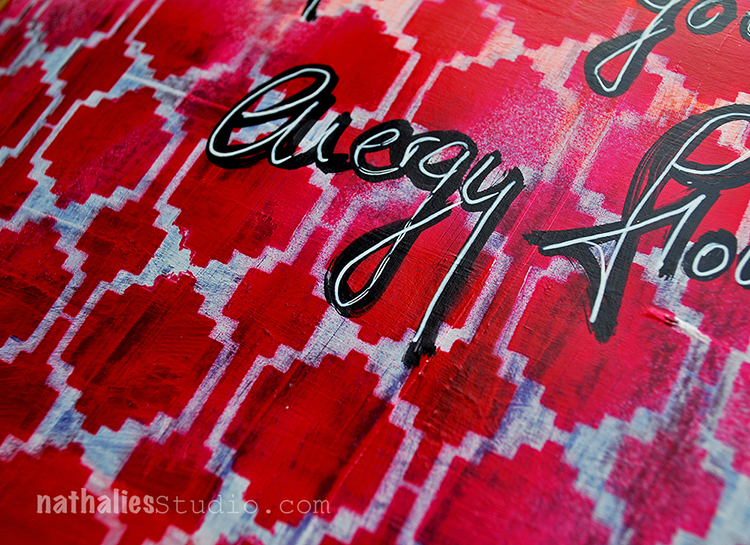
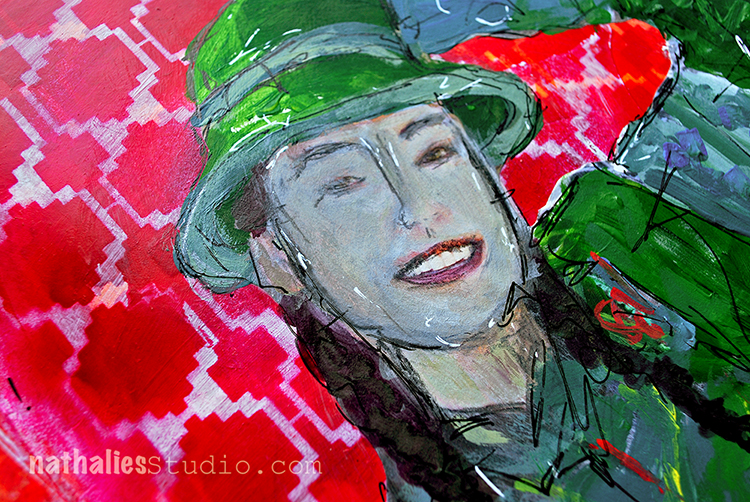
I used my new Mesa Verde 9×12 Stencil and sprayed with read acrylic spray paint over a previously painted background.

I painted over a magazine image with acrylic paints and used some pencil and pens on top.

Love the pattern – it makes me want to travel now, forget focus I guess ;)

Here are some of the supplies I used for this art journal spread – some links are affiliate links:


Are you good focusing on your stuff?

Comments (7)

  • stephanie

    |

    The red is great! BTW I see you’re coming to Ohio for Artiscape – yay!!! Hoping to get into a couple of your classes

    Reply

      • stephanie

        |

        Same here :)

        Reply

  • marshavalk

    |

    Oh! You know what… I have that spray paint. And I still haven’t used it! I also have some ugly painted backgrounds in my art journal… I think I know what to do with those now! ;-)

    Reply

    • nathalie-kalbach

      |

      LOL I love using it with those backgrounds because it really nicely covers :)

      Reply

  • Joi@RR

    |

    What a great background – love the way the colors blend. Great girl too. I wear some type of hat every day – love her hat!! Always inspiring Nat. Xj.

    Reply

    • nathalie-kalbach

      |

      Thank you so much Joi! I always wanted a hat but somehow I think I am not a hat person- LOL – I don’t look to smashing in it ;) Have a wonderful week! Nat

      Reply

Leave a comment

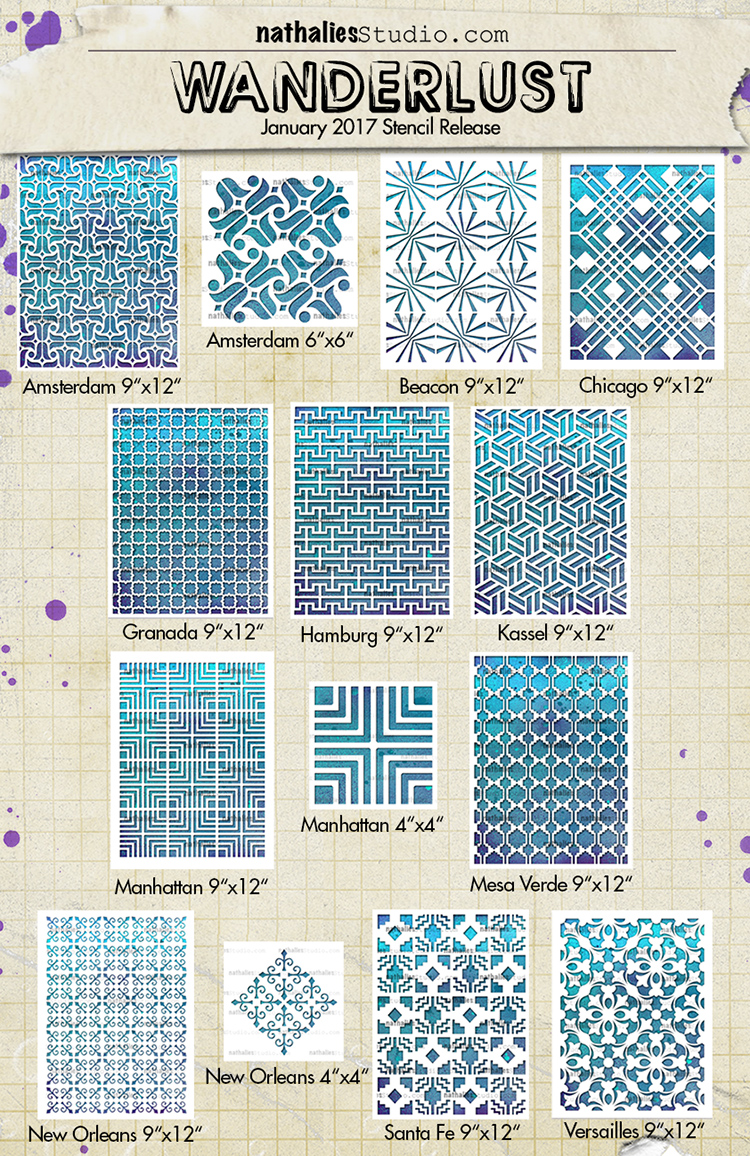
n*Studio + StencilGirl present: Wanderlust Stencils


I am super excited about my new stencils coming out today with StencilGirl Products – and as they are all inspired by my travels – I called this collection Wanderlust – a german word meaning “a strong desire to travel” which pretty much sums my urge to discover new and foreign place up :) All Stencils are now available in my shop!

I will show loads of projects with them in the next couple weeks- but hey- check in today for my Facebook Live Event – Kaffeeklatsch with Nat at 3pm EST on my n*Studio Page . I will talk about what inspired them and show some art journal pages with them already and you can ask me questions and be live on board :)

Hope you like the stencil and I hope to see you later today!

Comments (2)

  • Jean marmo

    |

    Fantastic. Such fun designs.

    Reply

Leave a comment

Return to the Light – Marsha Valk

cs-december-theme

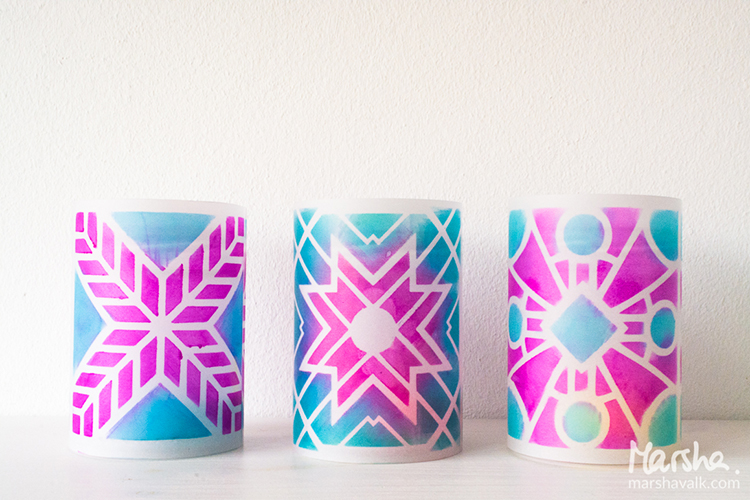
Today, Marsha Valk from my Creative Squad is sharing a wonderful and illuminating project using my small Santiago, Toledo, and Buenos Aires stencils for this month’s theme: “Return to the Light.” As we pass through the Winter Solstice here in the Northern Hemisphere, the ever lengthening nights turn to ever lengthening days. This ancient marker in the calendar has always been a celebration of light and the promise of a new day. Let’s Return to the Light with some bright and luminous mixed media projects!


marsha-dec-headshot

I do not like the dark days of December. I mean: it’s OK when the sun comes out for a couple of hours, but here in the Netherlands December weather is mostly gloomy and grey… Candles and fairy lights are a must, because they make even the greyest days a bit brighter.

marshavalk_nstudio_light-4

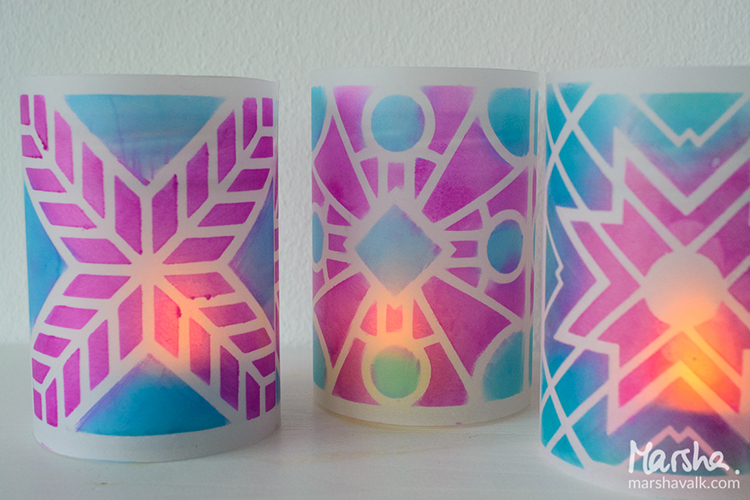
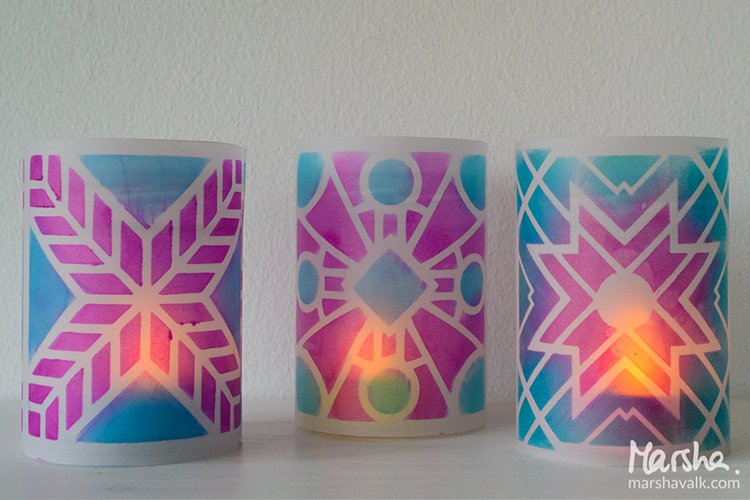
These votives do not take long to make and chances are that you already have everything you need to make them. They look cute on a festive table, but they will also keep until after the holidays!
marshavalk_nstudio_light-step-1

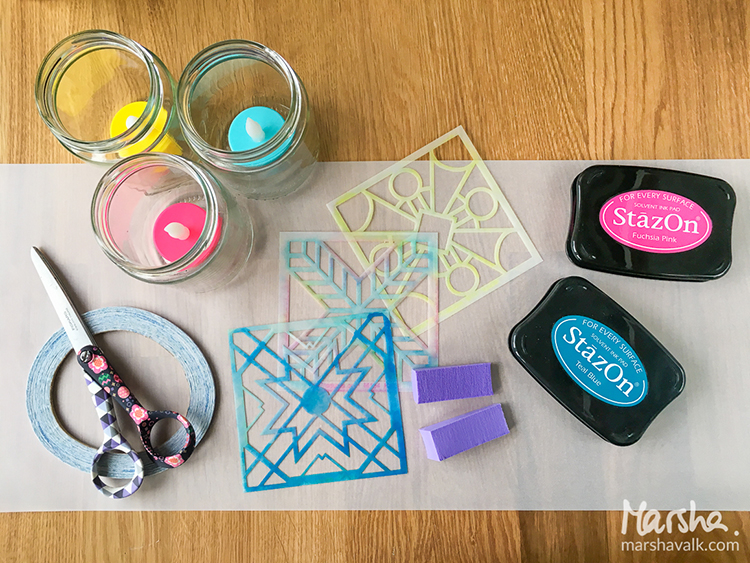
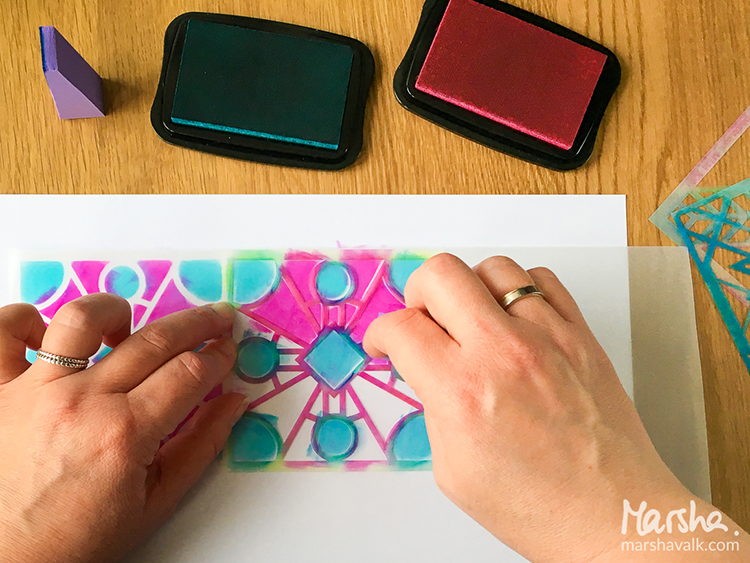
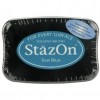
Choose two colours of StazOn ink that when blended will make a third colour. In my sample I chose teal and pink and those two colours together make a purple shade. Darker shades will ensure that your stenciled pattern is still visible once a tealight is lighted inside the jar.

marshavalk_nstudio_light-step-2

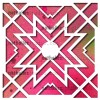
Use a cosmetic sponge to apply StazOn ink through your stencil onto a sheet of vellum. I used Nathalie’s Buenos Aires, Santiago, and Toledo stencils.  Just dab the cosmetic sponge onto the ink pad and then lightly dab the ink onto the vellum.
Tip: Use rubbing alcohol to clean your stencils afterwards.

marshavalk_nstudio_light-step-3

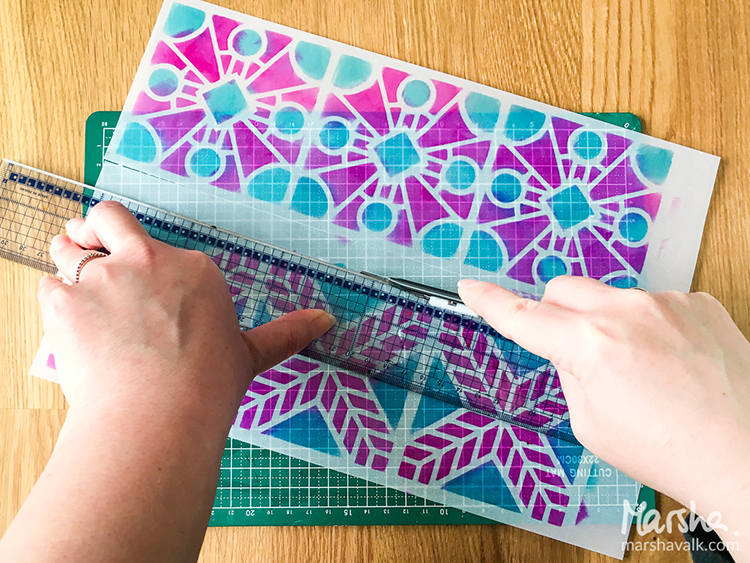
Find three small jars and cut the vellum to size so you can wrap the vellum around the jars.

marshavalk_nstudio_light-step-4

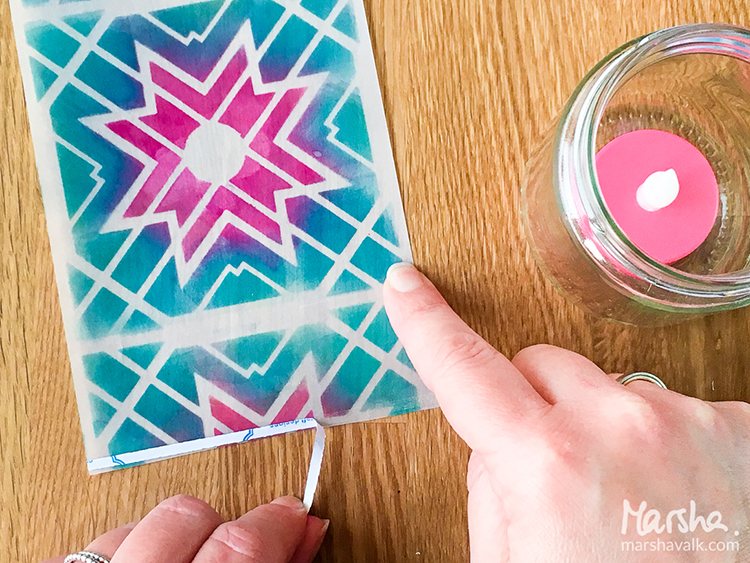
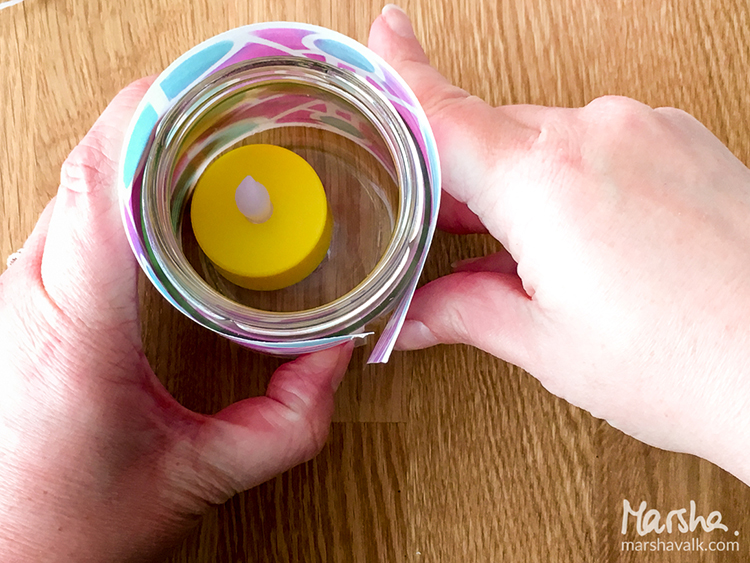
Add a strip of double-sided adhesive to one side of the vellum, remove the backing and then place the vellum around the jar.

marshavalk_nstudio_light-step-5

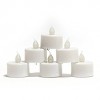
Add LED tealights and enjoy the lights!

marshavalk_nstudio_light-1

marshavalk_nstudio_light-3


Thank you Marsha for brightening these dark winter days!  I love this idea – it is simple and yet so beautiful.  It’s definitely something I’m going to make. In addition to some small jars, Marsha used these supplies – some links are affiliate links:

supplies


Play along with us! I love to see how you interpret our monthly themes. Email me how you used my stencils and stamps with the theme and email me an image – I would love to share your projects in my “n*Spiration From Around the Globe“.

Comments (6)

Leave a comment

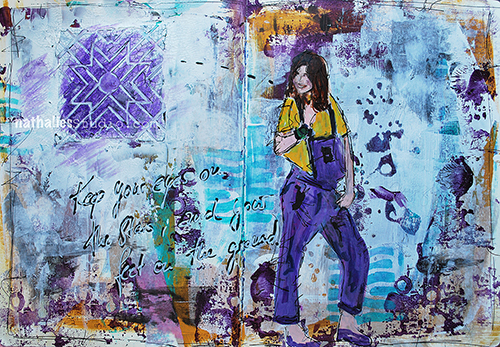
Keep your eyes on the stars !

kalbachkeepyoureyesaj01

“Keep your eyes on the stars and your feet on the ground” – what a wonderful advice this is. Truly something to follow :)

kalbachkeepyoureyesaj03

For this art journal spread I used some gesso to blend over the background which was colored from some scrape off paint from other painting sessions. I stamped over the background with the Grunge Stamp set and stenciled with the Batik Stencil to add some pattern and tie everything more together.

kalbachkeepyoureyesaj02

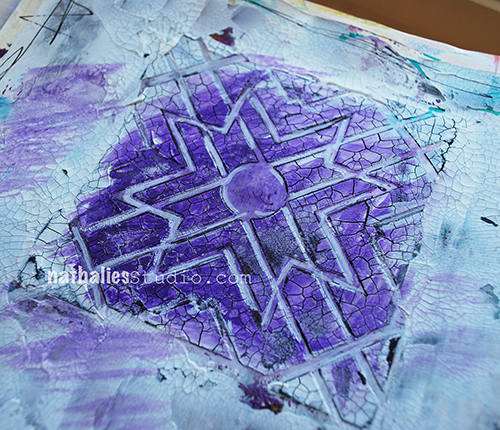
I applied some crackle paste through the Toledo 4×4 Stencil, let it dry and then lightly spread some purple ink over the crackled areas.

kalbachkeepyoureyesaj04

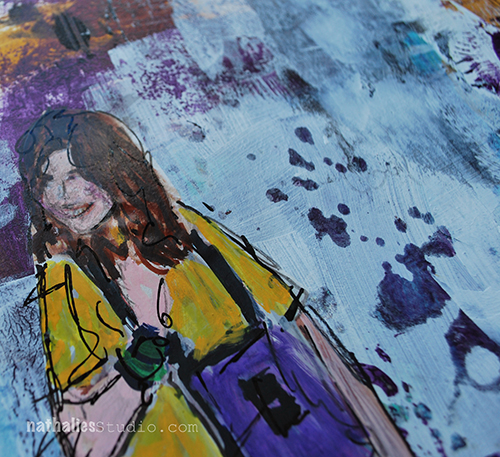
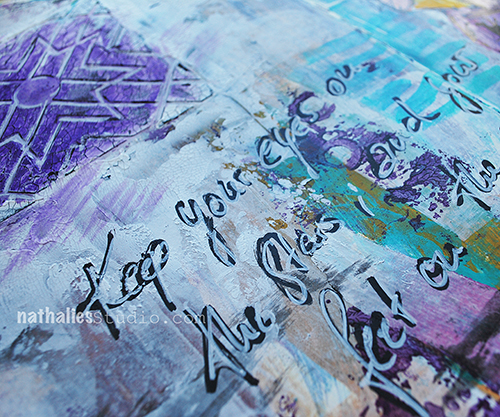
I added the journaling with a black marker, overwrote it with a white marker and painted over a magazine image to finish the page up.

Here is a list of the supplies that I used for the page -some links are affiliate links:

supplies


I hope you enjoyed the page and have your eyes on the stars and actually reach them  :)

Leave a comment

Art Journal: The Wand Chooses The Wizard

kalbachthewandaj01

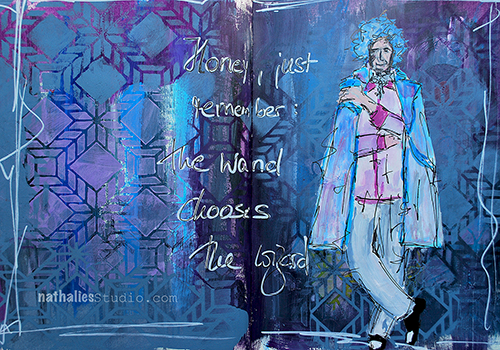
“Honey, just remember: the wand chooses the wizard” – what a fun quote.

kalbachthewandaj02

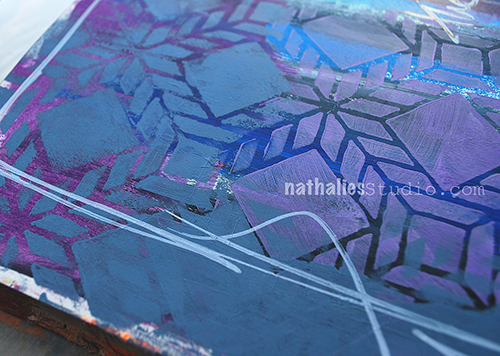
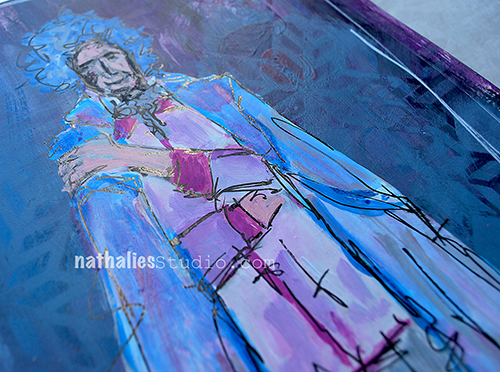
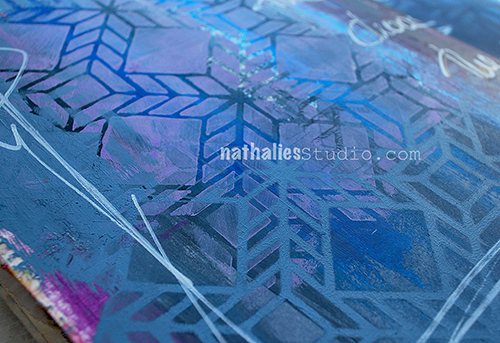
I painted the background in different purple tones and shades with acrylic paint and then used the Santiago 9×12 Stencil on top with some grey and also some purple.

kalbachthewandaj03

I used acrylic markers on top of a magazine image and added some detail with a black pen and a pencil.

kalbachthewandaj04

Love the worn painted look and the stencil gave it a lot of dimension.

Here are the supplies I used for this art journal spread- some are affiliate links:

supplies


Hope you are wearing a great wand this week :)

Leave a comment

Upcycled , Recycled: Stenciled Coasters Project

kalbachcoasterscollage

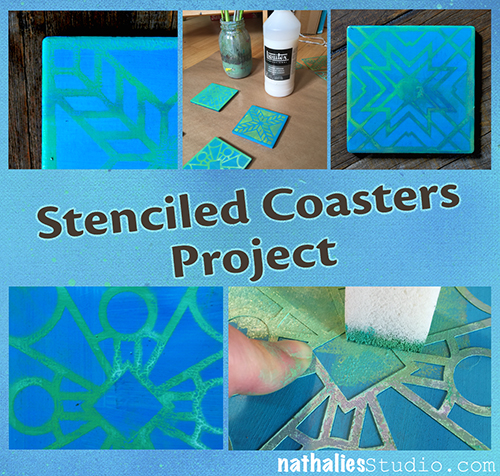
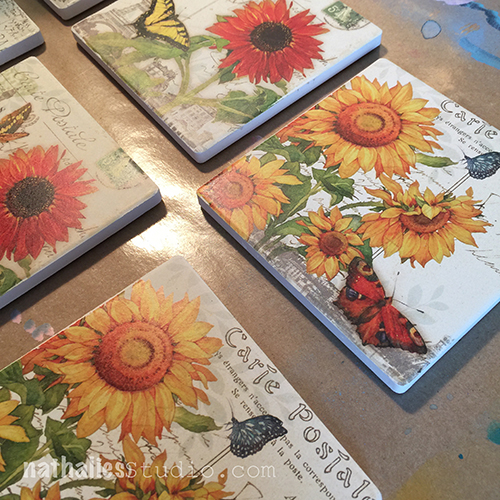
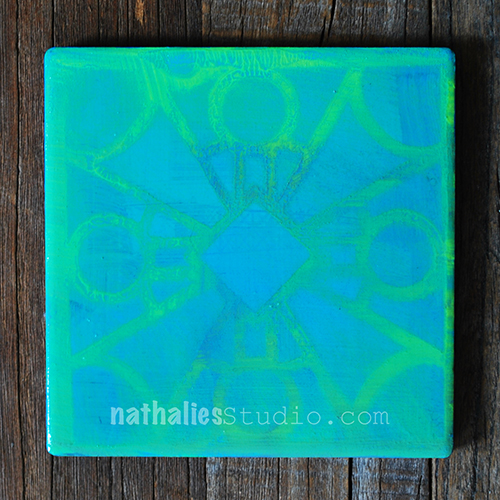
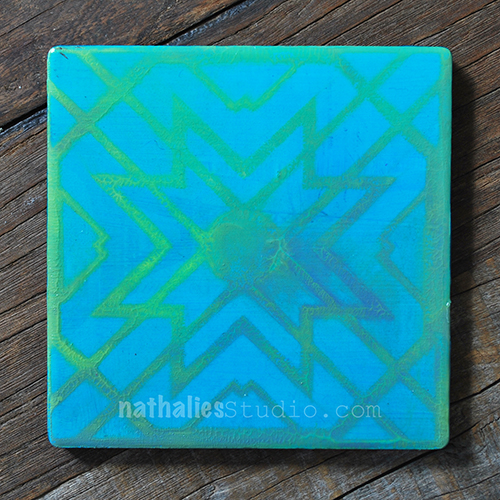
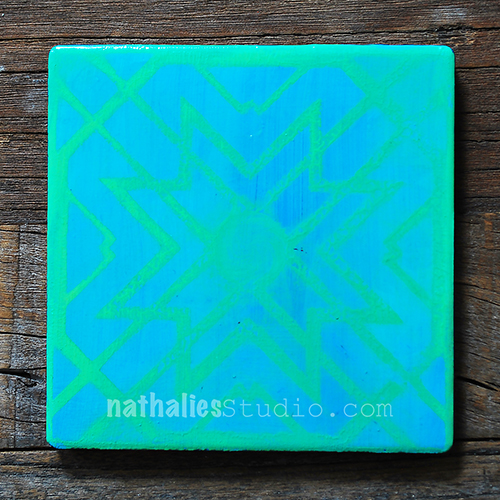
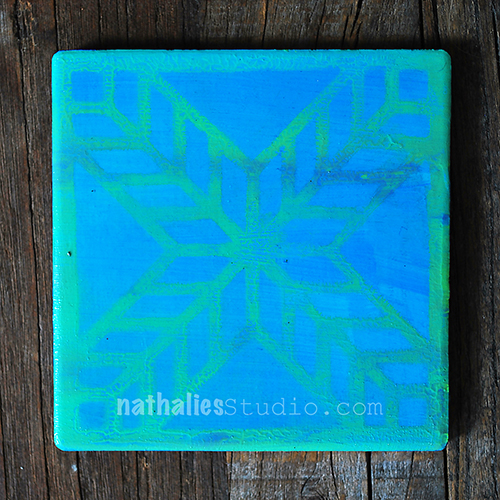
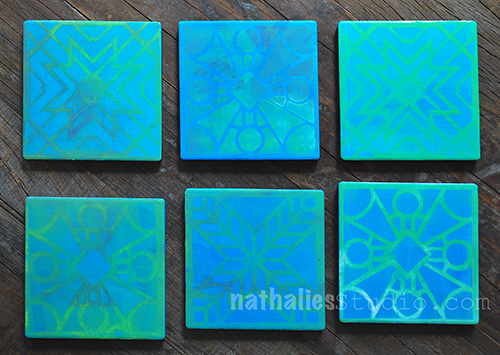
These coasters were so much fun to make. A couple years ago, someone had given me those coasters, which were pretty, but not quite my taste. Time to upcylce and recylce!

kalbachcoaster10

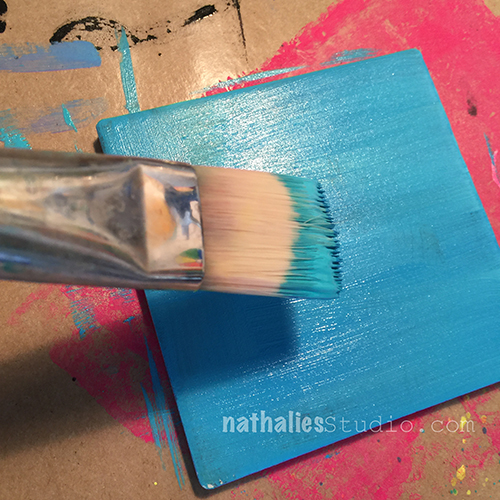
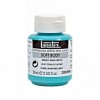
I painted all coasters in the same color  mix of two different blues with acrylic paint and let them dry.

kalbachcoaster11

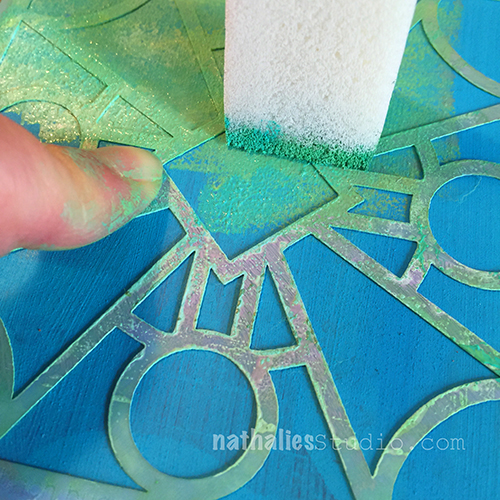
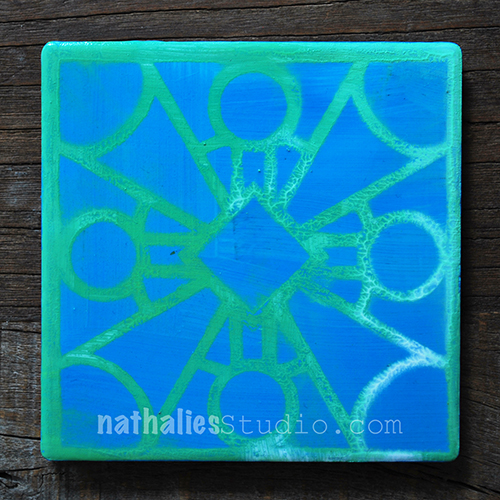
Then I grabbed the Buenos Aires, Santiago and Toledo 4×4 stencils which fit exactly onto the coaster. For some coasters I simply placed the stencil on top of the surface and stenciled with a different acrylic paint color through.
kalbachcoaster12

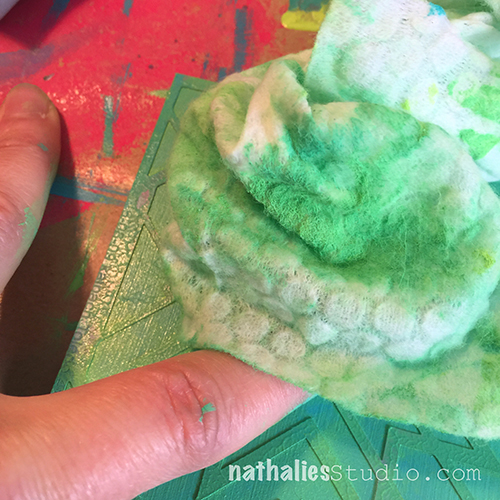
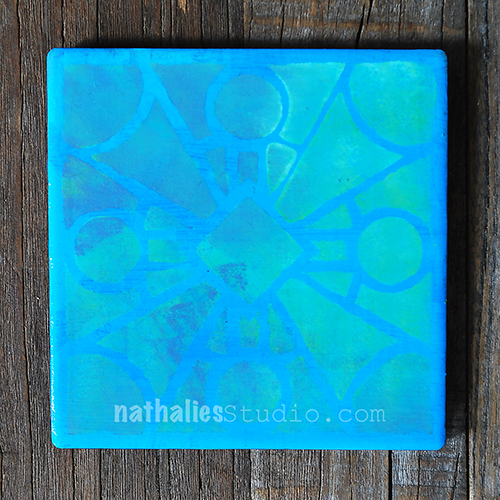
For some I layered some color directly on top of my blue background and then placed the stencil in the wet paint surface and removed paint through the stencil with a baby wipe.

kalbachcoaster13

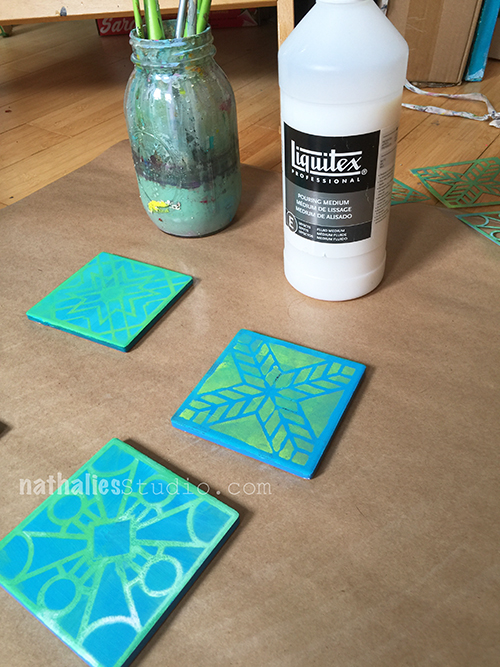
Once all the stenciling was done and the paint was dry, I coated the coasters with Pouring Medium. I let everything dry overnight and gave them another coating with Pouring Medium to seal the surface off and also to give the coasters some depth and sheen.

kalbachcoaster14

And here you go – the different coasters

kalbachcoaster02

kalbachcoaster03

kalbachcoaster04

kalbachcoaster05

kalbachcoaster06

kalbachcoaster07

I gave those to my sister in law and she really loved them as they are in her favorite colors. Now …time to make some for myself…maybe for Thanksgiving .

kalbachcoaster01

Here are the supplies I used to make those coasters – some are affiliate links:

supplies


What have you put aside to upcylce or recylcle, but haven’t gotten around to do it yet?

Comments (2)

  • Joi@RR

    |

    These turned out so much more YOU Nat! Perfect way to showcase your stencils. Xj.

    Reply

Leave a comment