Jaaa- endlich haben Daphne und ich wieder mal Zeit gefunden eine Technik gemeinsam zu versuchen – und ich gebe offen und ehrlich gesagt zu, es lag an meinem Zeitmangel. Aber ich bin so froh, dass wir es endlich wieder hingekriegt haben. Bei dieser Technik geht es darum mittels Filmoplast eine Schablone zu fertigen, mit der man auf Stoff mit Farbe Motive aufbringen kann.
YESSSS – finally Daphne and I were able to try a new technique together – and I have to admit it was my fault cause of time issues. But I’m so happy that we made it this weekend. The technique this time is about creating a stencil with freezer paper and use it with paint on fabric.
Was Ihr braucht/What you will need:
- Filmoplast/Freezer Paper
- Motiv/nice Motive
- Bleistift/Pencil
- Paper Cutter
- Bügeleisen/Iron
- Stoff/Fabric
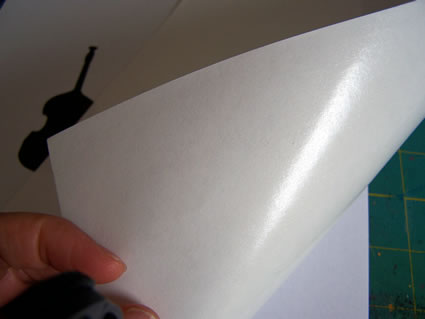
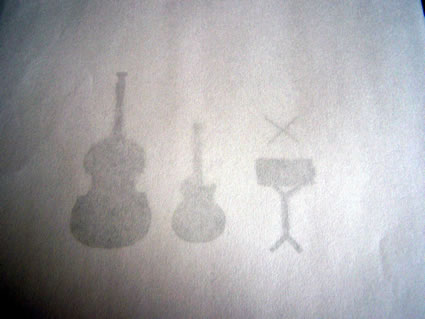
Zunächst nehmt Ihr das Filmoplast – ein Material welches häufig beim Quilten verwendet wird. Es hat eine wachsige Oberfläche und eine ganz normale. Sucht Euch ein Motiv welches Ihr übertragen wollte und legt das Filmoplast obenauf, mit der Wachseite nach unten. Das Motiv scheint weiterhin durch.
First you take the Freezer Paper (it is fairly common in the States- in Germany it is also know as Filmoplast). It has a waxy side and one normal paperside. Pick a motive you want to have – print something – and put the Freezer paper with the waxy side upside down. The Motive will show through.
FreezerPaper/Filmoplast
Musicinstruments taken from the www

Hambly Screen Prints Rub On
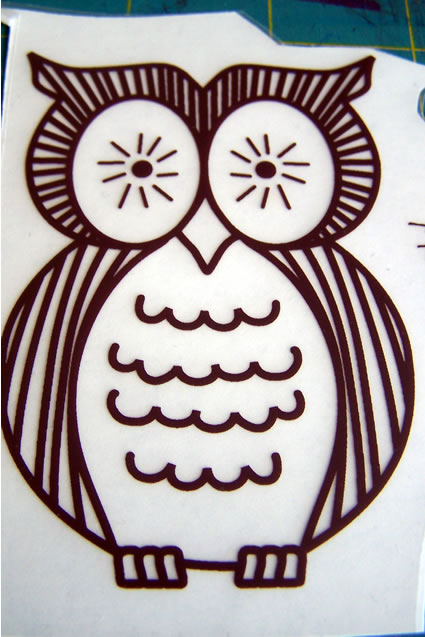
Freezer Paper on top of motive
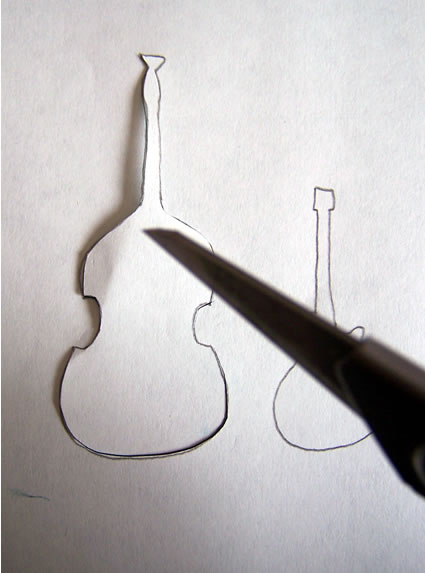
Zeichnet nun die Linien mit dem Bleistift nach.
Trace the lines with the pencil.
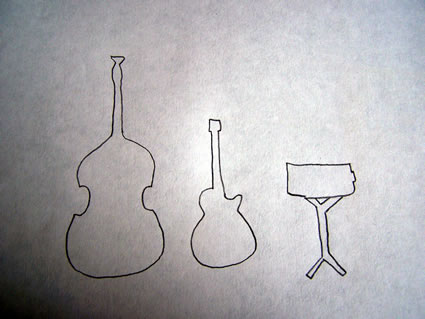

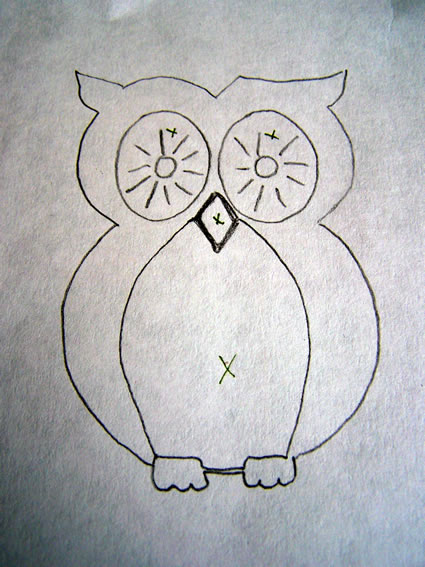
Nehmt den Paper Cutter und schneidet die Stellen aus, auf denen Ihr die Farbe dann auf dem Stoff auch sehen wollt. Bei den Musikinstrumenten ist das natürlicht recht einfach. Bei der Eule habe ich die Stellen vorher mit einem Kreuz gekennzeichnet, um nicht durcheinanderzukommen.
Take the Paper cutter and cut those places out you want to have with paint on your fabric. It is really easy with the music instruments – with the owl I put some crosses where I want to cut out- so I want screw it up.


Nun nehmt Ihr die Schablone und legt sie auf ein Stück Stoff. Ich habe ein Stück Leinwandstoff genommen. Bei der Eule habe ich die inneren Kreise für die Augen ebenfalls nochmal mit reingelegt. Dann bei niedriger Hitze aufbügeln.
No you take the stencil and put it on top of the fabric. I chose a piece of canvas fabrique. For the owl I placed the inner eye circles back in too. Now iron the freezer Paper on top of the fabric.
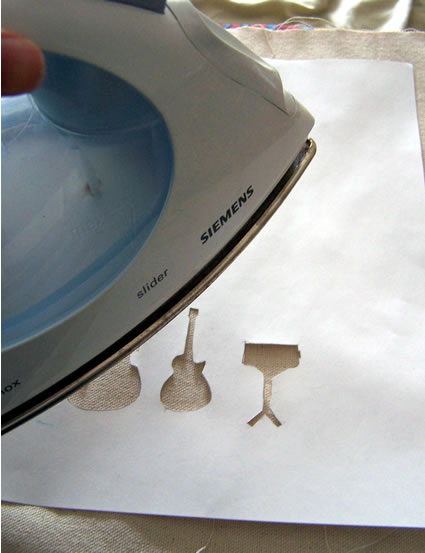
Das Filmoplast wird fest mit dem Stoff verbunden.
The Freezer paper will be attached with the fabric.
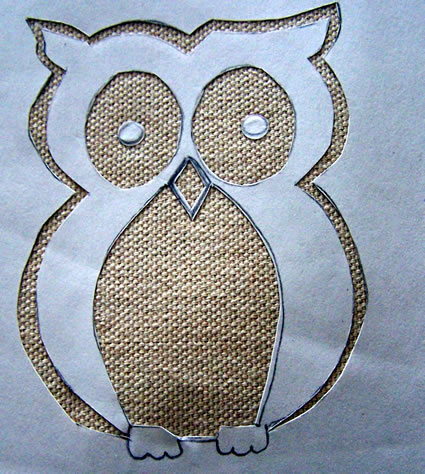
Nun nehmt Ihr Acrylfarbe und streicht sie über die Schablone drüber. Nicht zu fest streichen, damit sich die Ränder des Filmoplasts nicht anheben und dann Farbe unter die Schablone kommt.
Now you take acrylic paints and brush it over the stencil. Don’t brush to hard, so that the edges of the Freezer paper won’t come off and paint get’s underneath the Stencil.
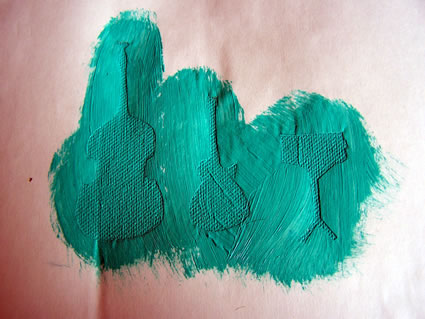

Ihr könnt die Farbe entweder vollständig trocknen lassen oder ungeduldig wie ich, das Filmoplast gleich vorsichtig runterpuhlen und- ziehen.
You can either wait until the paint is dried or if you are as impatient as I am – you can peel of the freezer paint and take it off the fabric.
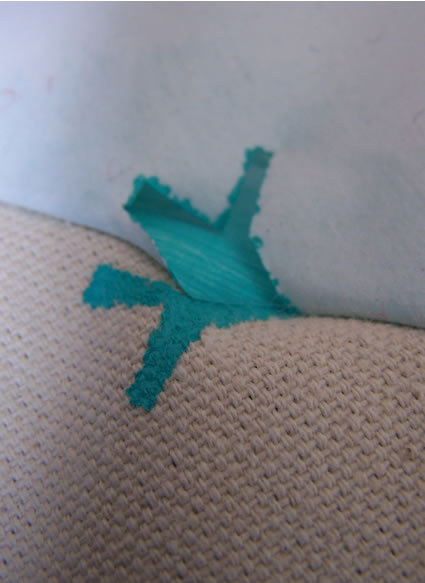
und da ist das Ergebnis:
and voila!
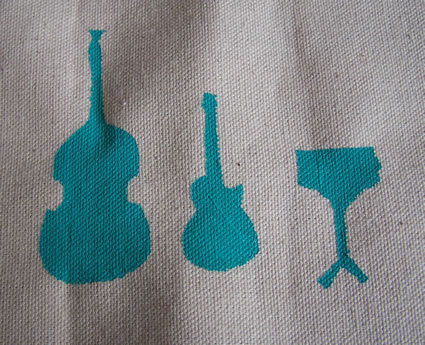
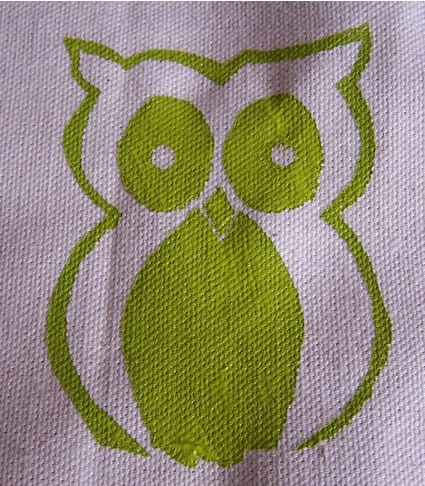
Schaut mal was Daphne hiermit so gezaubert hat und in bald zeigen wir Euch dann, was wir mit diesen Ergebnissen hier Scraptechnisch angefangen haben ;-)
Don’t forget to look what Daphne did with this technique and we will also show you soon what we created with those results ;-)

Comments (19)
Janine
| #
This is a cool technique! Thanks for sharing this Nathalie.
Reply
keandra
| #
thanx so much for the great inspiration! once i add another 45 hours to my day, i’m gonna try this technique, too!
Reply
Scrapbook-Trends
| #
[…] at 3:34 pm Layouts : Studio DaphNat | permalink | rss Eine meiner neuen Lieblingstechniken – Die Freezer Paper Stencil Technik – die Daphne und ich vor einigen Tagen gezeigt haben. Ich habe tausend Ideen im Kopf- LOL. Aber […]
Reply
Scrapbooking Tutorials » ScrapScene
| #
[…] Nathalie Kalbach shows how to make stencils out of freezer paper. […]
Reply
Iris Uy
| #
I love your technique Nat! Thanks for showing us how to do it. I love fabric and paint so I’m really gonna try this one. Hugs!
Reply
jen davis
| #
Wow Nat! I can’t believe how talented you really are! I love checking out what you are up to, such creative goodness! Thanks for the inspiratation!
Reply
Cat
| #
Nat what an amazing technique, THANKS for sharing this. I want to try it for sure!!
Reply
KimmyS
| #
Oh Mann – Ihr zwei seid echt zu genial! Welch coole Technik
Reply
Birgit Koopsen
| #
Wow! Thank you for sharing :)
Reply
renee lamb
| #
what a fabulous technique Nat! thanks for sharing that! I will have to try it!! I love how you did the owl one.
Reply
milkcan
| #
Fabulous technique Nat! I use freezer paper for quilting all the time, but I never thought of using it make a stencil! Awesome!
Reply
Amanda L.
| #
Very cool technique!!!
Reply
Andrea
| #
What a fun technique … now all I need to find is the time to try it :) Fabulous … can’t wait to see what you’ll do with it!
Reply
Andrea
| #
omg, that is so cool! this would be perfect for my daughter’s swim canvas bag!
Reply
jana
| #
das sieht ja interessant aus- sehr coool!
Reply
Lsia
| #
Very sweet! Love this idea!!
Reply
Daffie Online
| #
What a supercool idea to use the rubon!!
THIS TECHNIQUE IS TOTALLY COOL!
Reply
Eeva
| #
Sooo cool!!! I think I’m gonna try this one a canvas bag that I have :)
Reply
christiane
| #
ohh, the owl, the owl!! too cute!! can’t wait what you’ll do with this!! love it!!
Reply