
LOL – well…you know if you are married to a New Jersey Man you learn pretty fast the term “Down The Shore” . In any event – I wanted to show you a beach album I created for my sweet niece who just turned 16 and lives in NJ and I bet…there are days she goes down the shore with her friends. So I wanted to give her an album where she could put in some fun memories of one of those trips.
Ja – das ist ja immer was mit der Übersetzung – also in New Jersey sagt man “runter zu Küste” statt “an den Strand” wenn man ans Meer fährt – wie gesagt- ist ein wenig schwierig mit der Übersetzung ;) Ich wollte ein album für meine süße Nichte machen, die gerade 16 geworden ist und halt in New Jersey lebt und ich wette, dass sie dort ein paar witzige Tage mit ihren Freunden verbringt- und da soll sie natürlich auch ein Album für ihre Erinnerungen bekommen.

All you need for the base is the Beach Bingo Board Set
Alles was Du brauchst für die Basis ist das Beach Bingo Board Set

Don’t throw away the paper packaging included – we will use it as a spine for the book. Fold it
Nicht die Papierverpackung wegschmeißen – die werden wir als Buchrücken verwenden.

Spray it with some dark colors to cover most of the print – I used Chalkboard Chocolate and Glimmer Mist Tattered Leather
Verwende ein paar dunklere Farben zum Beispiel Hot Chocolate Chalkboard und Glimmer Mist Tattered Leather um das Gedruckte teilweise abzudecken.

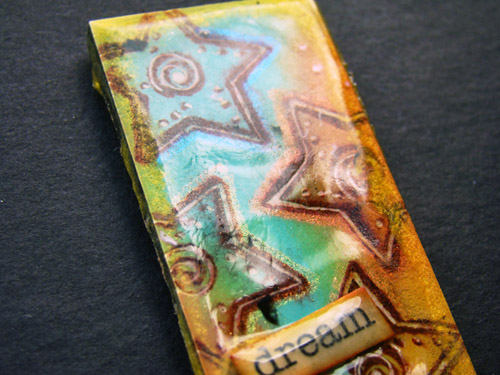
I used the amazing technique Irrisistably Technique posted by Jasmine- check it out! And then sprayed with different Glimmer Mist colors and Calkboard Colors
Für die Bingo Karten habe ich die tolle Irrisistably Technique von Jasmine verwandt – schaut sie Euch an! Dann habe ich die Karten mit unterschiedlichen GlimmerMist Farben und Chalkboards besprüht.

Attach the Bingo Boards to the Spine with double sided tape – you can do it a bit like a fan.
Verwende doppelseitiges Klebeband- zum Beispiel von SCRAPBOOK ADHESIVES by 3L™


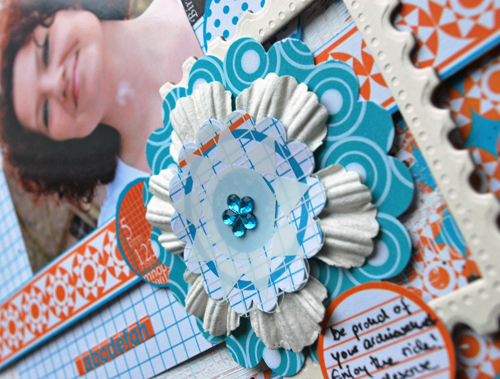
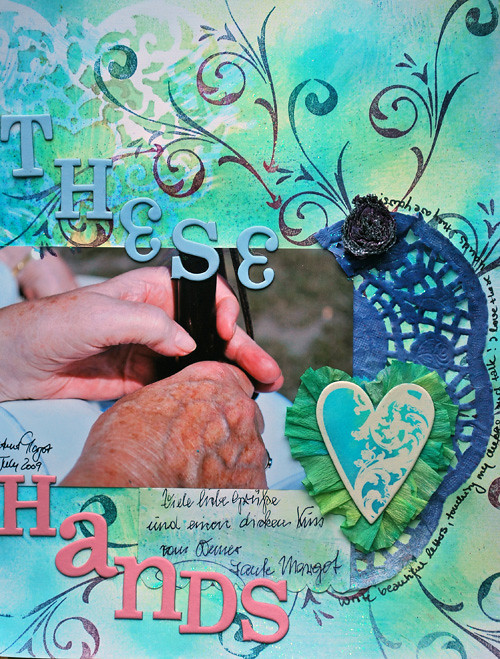
And then you can start embellishing and stamping – here I used the Journaling Stamp (I LOOOOOvvveee It!) from the Notes from the Garden Stamp set. I also attached a Seaside Sea Glass with a thread. And the clam from the Seaside Beach Glimmer Chips is just inked with Archival Ink.
Und dann kannst Du mit dem Embellishing und Stempeln beginnen.

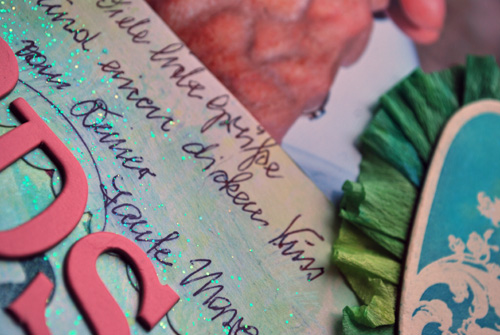
This one is also from the Seaside Glimmer chips Collection – so yummie

There are so many options as you can imagine! Here is the book:

I also used the word stamps from the awesome Seaside Stamp Collection


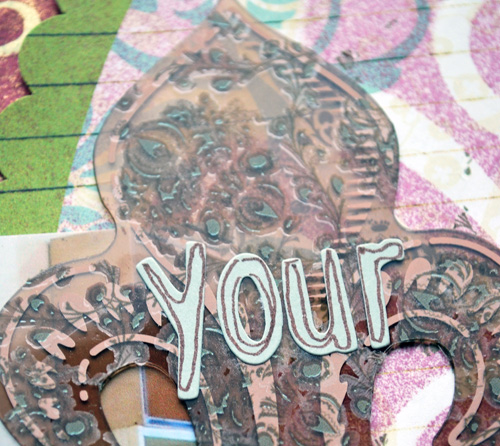
And here I used the Under The Sea Glimmer Screens before Stamping with the Seaside Stamp and adding the Seaside Glimmer Glass – isn’t it awesome to have all those coordinating products to play with. So versatile!

There you have it- wether you say down the shore or at the beach :) you can create a simple and fun Seaside -Album :)
Und schon ist es fertig das Strand-buch :)
If you want to learn more fun techniques using Tattered Angels come and visit my upcoming Tattered Angels workshops or book them for your store. Here is a place where I will be teaching some of those and other fun techniques next:
Wenn Du mehr Techniken mit Tattered Angels Produkte lernen willst, dann besuch doch einen meiner Tattered Angels workshops oder buch mich für Deinen Laden. Hier ist ein Ort an dem ich demnächst einige dieser und andere tolle Techniken unterrichten werde:
September 25, SCRAPTASTIC EVENT 2010 in Belgium
Have a gorgeous day!
Einen wunderschönen Tag!


christiane
| #
simply dreamy!! love this!! :D
Reply
sylvia
| #
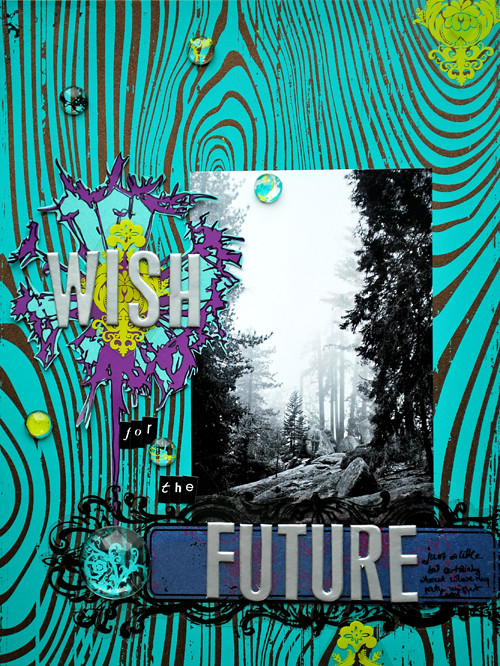
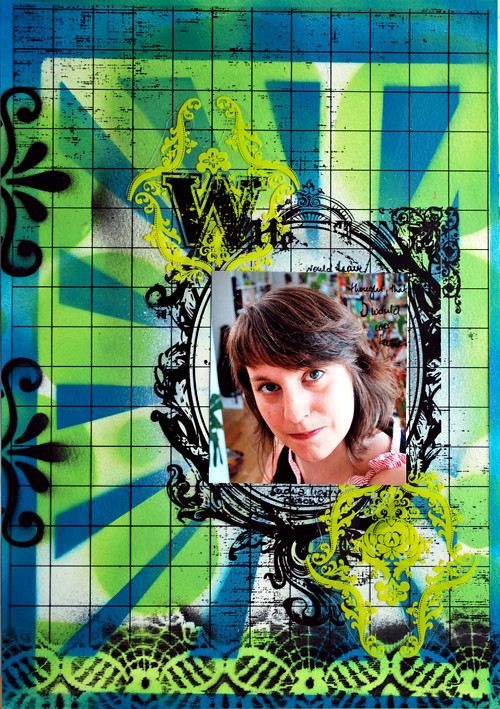
that photo is simply amazing!! love the light, looks like in a fairy tale. and it’s the perfect layout for it!
Reply
Sasha Farina
| #
wow.. that looks magical, Nat!
Reply
Vicki Chrisman
| #
Beautiful Nat! The layout and the photo! Sorry I missed your call today! I wish you lived next door and could just come over! lol
Reply
Kim Sonksen
| #
That is GORGEOUS!
Reply
Sandra
| #
WUNDERSCHÖN!!!! Dieses Papier und die Pepples, herrlich!
Reply
Sue Clarke
| #
This photo is perfect for this LO and I love the cutout flower and the glass embellies!
Reply
Evelien
| #
GREAT!!!
and I love your papercollections, can’t wait to work with it:))
Evelien:)
Reply
Michelle LaPoint Rydell
| #
WOW Gorgeous Nat! The way you use color just blows me away!
Reply
Cuchy
| #
What a beautiful picture. You chose the perfect papers. Stunning!
Reply