Finally…LOL -I finished up my XXL-Scarf. It is 7.20 feet long (2,20 m) – warm and cozy, topped off with some wonderful Prima Flaxence Barley Flowers and I finished it just in time for going to Berlin with Julie Fei Fan Balzer who arrived yesterday :)
I will try to post some pictures of us in Berlin before the Mixed Media Circus starts :)
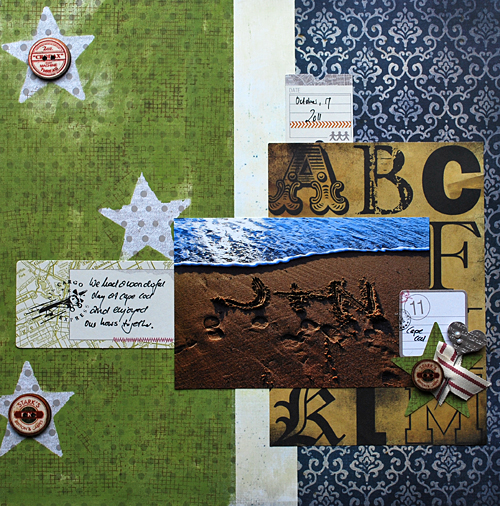
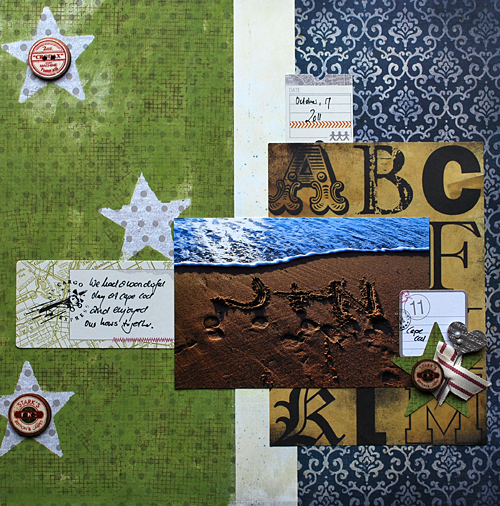
almost on the day …Julie, Vicki and I spent a couple days in Paris after teaching at the PACS event. Here is a layout which was published in the SAZ Sketch Book from that time.
We had such a blast!!!
Lot’s of chatting during the night, lot’s of laughter and lot’s of FUN
Supplies: GCD, Webster’s Pages, 7Gypsies; Tape, Danyeela Patterned Paper: 7Gypsies; Sticker: Jenny Bowlin’s Letters, Basic Grey Die Cuts; Screen: Tattered Angels; Paint: Tattered Angels Glimmer Mist und Glimmer Glaze; Letters: Tattered Angels Framed Fonts; ribbon: Studio Calico Fabric Ribbon and unknown ribbon; others: canvasflower- source unknown, Buttons and Pearls, Pins and Doiles, Riff-Raff , Prima Leave, Eco Green Crafts Glass Pebbles; SCRAPBOOK ADHESIVES by 3L 3D Foam Pads, E-ZRunner, Ranger’s Glossy Accents
And now, as this post goes life… I’m picking Julie up from the airport to have our own event here in Hamburg this coming weekend- wohooo.
I love all the chunky layers of goodness on this LO and I hope that you and Julie have a blast teaching classes together! I’m sure that there will not be much sleep involved in the week.
I’m looking forward seeing all the projects and working with this team ! Ich freue mich schon auf die Projekte und die Zusammenarbeit mit diesem Team !
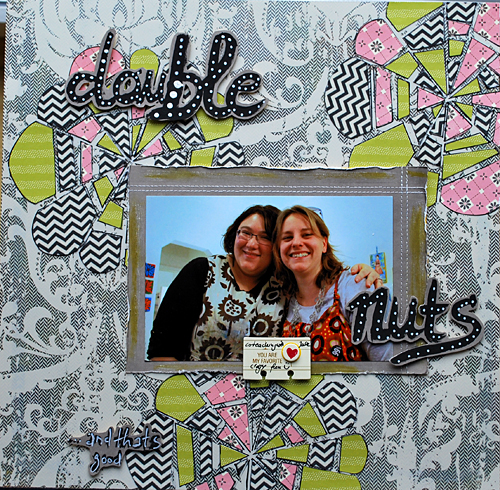
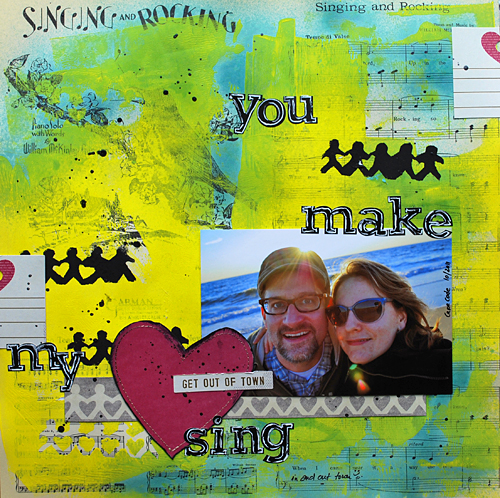
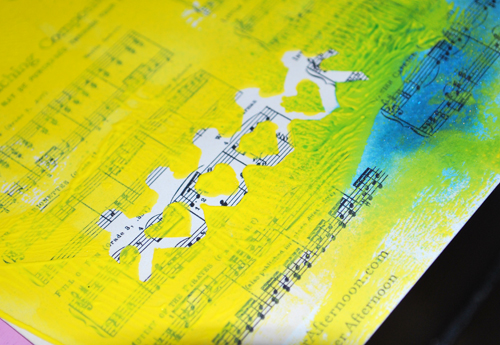
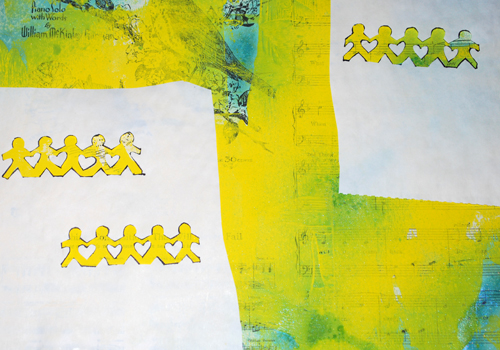
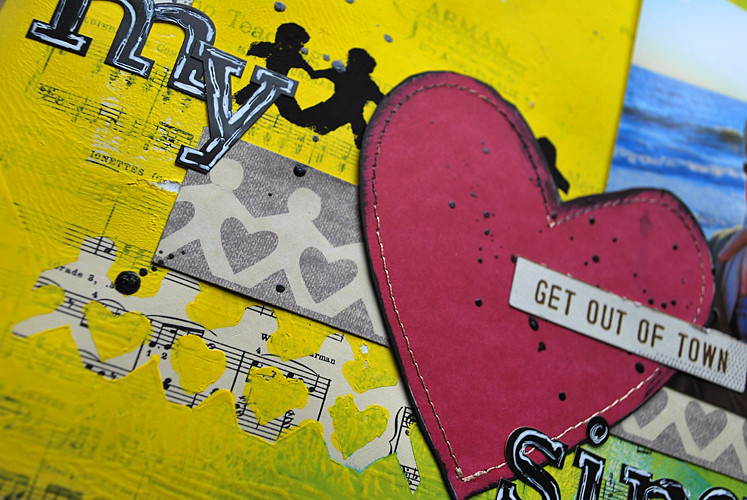
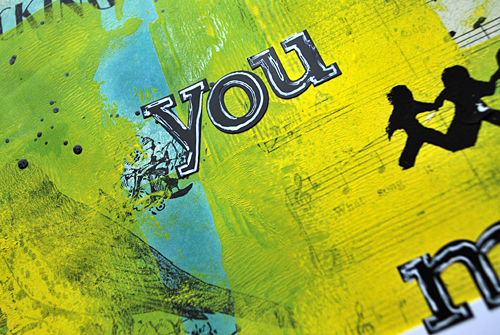
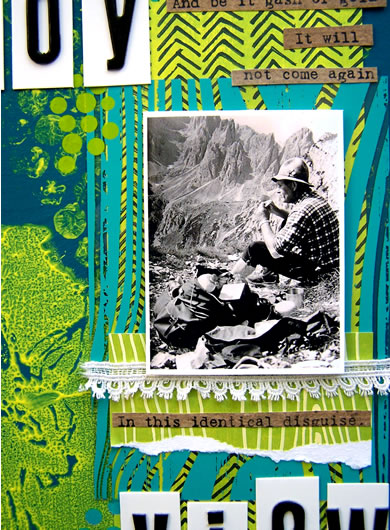
My sweet friend Julie who comes to visit me in THREE days (squeeeeel) had this challenge at the Cocoa Daisy Crop this weekend on using your own handwriting as titles on layouts. I would say this does not really represent my own handwriting- LOL -but it was fun :)
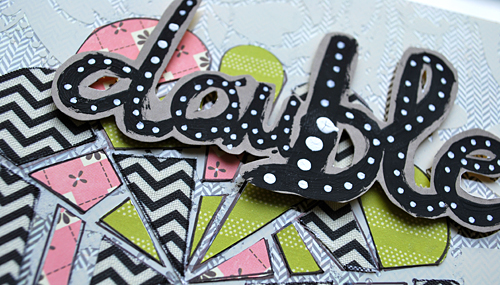
I used a brush and black acrylic paint as well as a white marker
I love the handmade loook of it- need to practice more
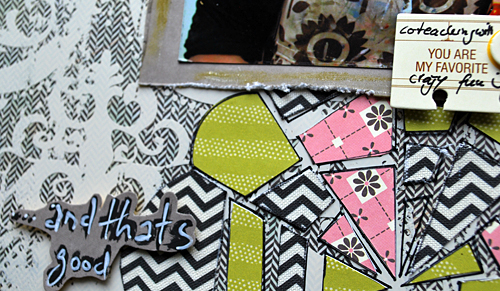
This page is so cute …and the way you used the stencil look fabulous.
I will try to go to the Cocoa Daisy for participate I never been in this site before.
Have a wonderful weekend.
Kisses and huges
Cynthia
Amber Snowflake Definition: the color of a snowflake
when lit by a street lamp at night.
All is quiet. The snow is gently covering the ground. Winter may be a cold time of year in Michigan, but a beautiful evening snowfall, the sight of snowflakes slowly falling down, lit by the street lamps, can warm even the chilliest of souls. Our December kit, Amber Snowflake, echoes the same colors and look as a deserted main street during lovely nighttime snowfall. Warm golden tones balanced against cool blues and dusky grays, a bit of glitter, lots of texture, an exclusive stamp-unique in its negative space and grungy design, antique inspired designs, all these add up to make Amber Snowflake a cozy way to document your memories.
The add-ons:
Sunshine & Snowflakes
Frosty Windowpane
Cocoa & Marshmallows
The kit and add ons go on sale to subscribers on the 28th of November, and to the general public, December 1st.
What I’m working on Sneaks:
So that was my sneaky post :) I wish you a wonderful …unsneaky day :)
Ich liebe ja die Kits von Cocoa Daisy und bin schon sehr gespannt was du wieder geniales draus gemacht hast!!!! Die Sneaks sehen ja schon Hammer mäßig aus!!!
xo
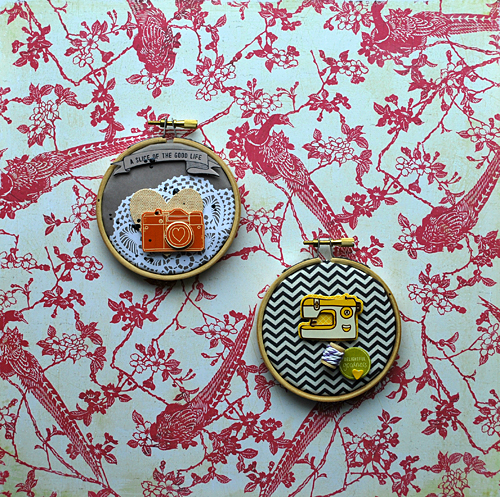
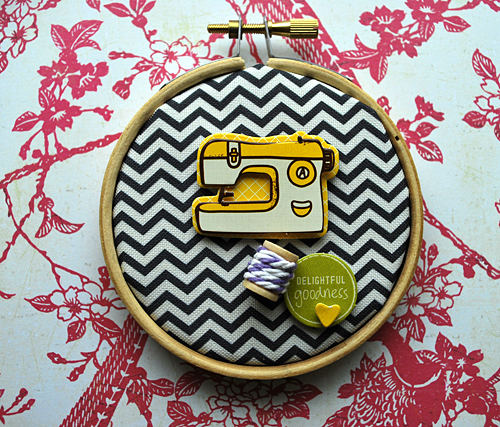
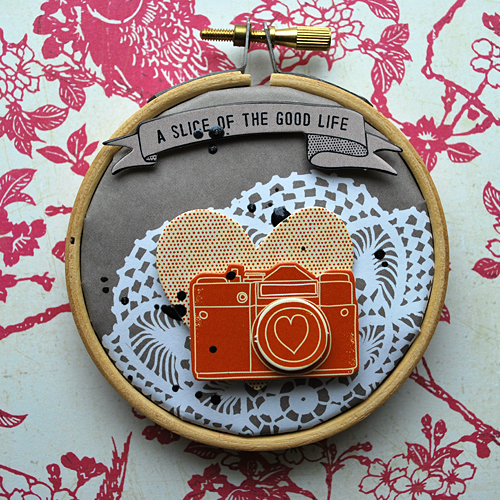
At Cocoa Daisy we had a crop with lot’s of challenges last weekend and one was to be inspired by hoops and do some wall art. Well – the Cocoa Daisy November Kit was perfect for using two hoops that I had laying around for quite some while and I love the simple and quick result :)
I think this might be a great gift for someone ;)
Maybe this inspires you for some fun wall art too :)
haaaa! that is amazing nat! I am soo into embroidery hoops, so far i’ve only been using them the other way round (for mobiles), but i have things on my list for using them as wall decor… and it never occurred to me to stick on scrapbooking embellishments. very cool!
This weekend we had a crop at Cocoa Daisy and I showed three ways on how to do your own Silk Screens and I wanted to share those with you too :)
Silk Screening is such a wonderful craft – I love the look of it- the crafty selfmade look on fabric. When I see home decor or clothing created with silk screening I get instantly drawn to it. I have thought of a couple things on how to incoporate silk screening into my paper art and I thought I would share three techniques with you today, because you can do it too and you can make your own screens.
Let’s start with an easy technique – I call it
FAUX SCREEN PRINTING
One of the things that are so intriguing with the silk screening is the texture of fabric and the imperfection and we…can fake it just with some shapes and our amazing Cocoa Daisy stamps
Supplies:
Shape – DieCut – Star, Circle etc.
Scrapbooking Paper from your Cocoa Daisy Kit
Non-Permanent double -sided Tape- for example MyStik Non Permanent by Scrapbook Adhesives by 3L
Cocoa Daisy Background Stamp – for example November Kit
Ink Pad- for example Distress Ink or Maya Road Ink pad from October Kit
Archival Ink
Step by Step:
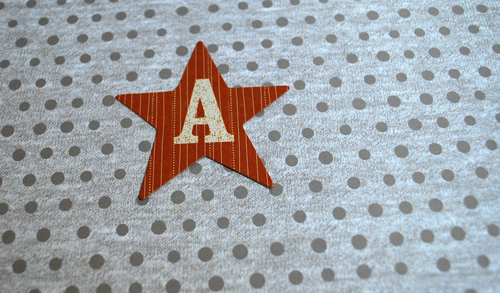
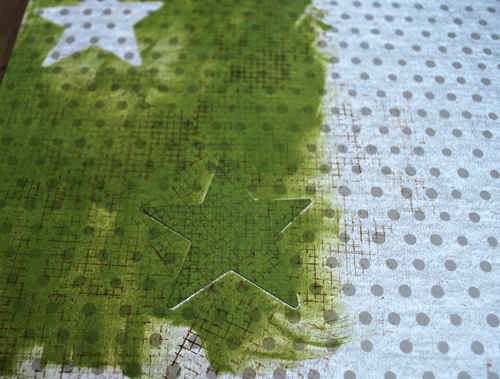
Take a piece of Scrapbooking Paper- here from the wonderful November Kit and a Die Cut Shape.
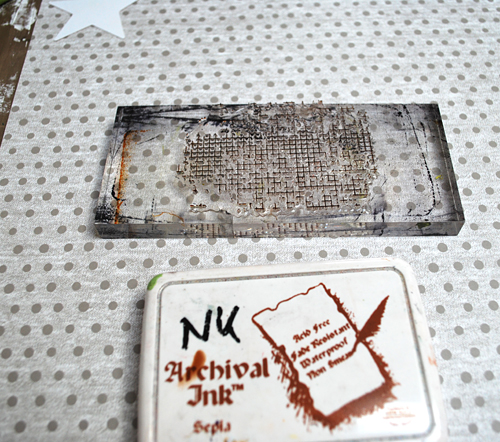
Take the Cocoa Daisy Stamp and Archival Ink (permanent)
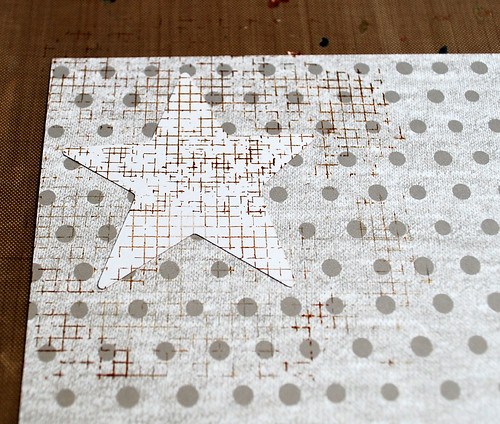
Apply some non permant tape onto the shape- here the star and put it down onto the paper. Stamp over with the stamp
Go over with an ink pad -for example the Maya Road Ink Pad that was included in the October Kit.
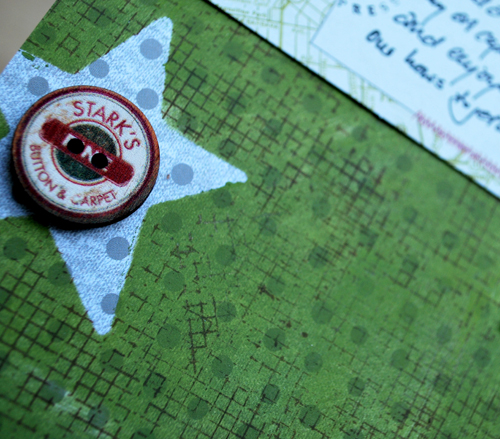
Take off the shape- if you have more then one then you can just use them all in one setting- but with one this is the way to go. Repeat all steps. It doesn’t matter if you stamp first or ink first.
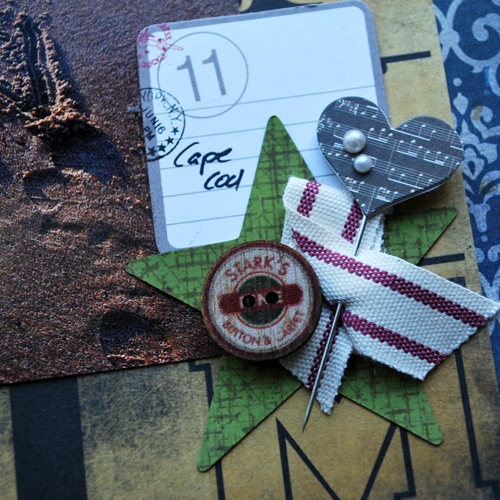
You can even use the shape you used- either with the treated side or the side you inked and stamped on as an embellishment
next up is a technique that is often used on making you own T-Shirts
FREEZER PAPER SCREEN PRINTING
Supplies:
Freezer Paper
Scissor
Cutting Tool
Cutting Mat
Iron
Brayer and/or Brush
Acrylic Paint
Scrapbooking Paper- for example the wonderful Amy Tan American Crafts Paper in the November Kit
Step by Step:
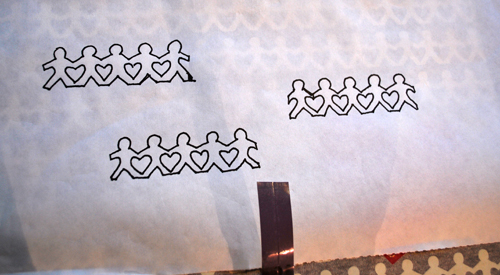
Take a paper and put some Freezer paper on top – shiny side onto the paper and the paper side up – and trace the pattern – or just make your own pattern if you want.
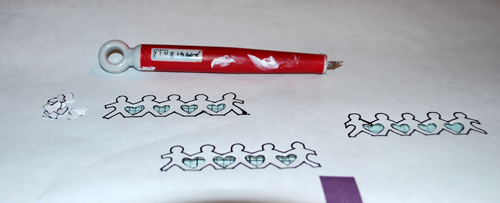
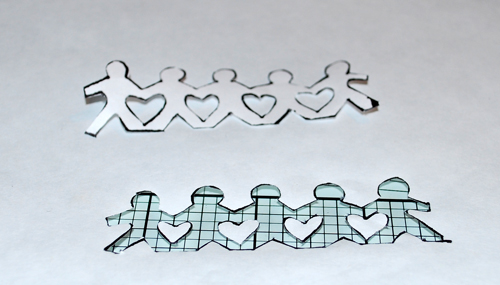
Place the Freezer paper now on a cutting mat and start cutting out the patterns. Keep the insides- here the hearts- you can use them
you actually have two patters after you are done- that you can use
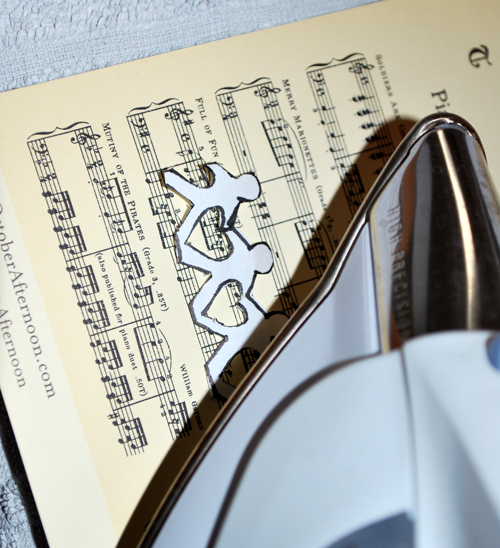
Now you can iron on the first cut out piece stencil onto the Scrapbooking Paper
You can now either brayer some acrylic paint over the stencil or just dab some acrylic paint around. Let dry
Peel off the stencil and voila
Let’s take it up a notch and put the other mask on top and iron it – you will need also the little cut out middle pieces- in this case the hearts
dab over acrylic paint, let dry and lift the freezer paper – and voila you have the reverse print of the one before
It is so much fun to incorporate this technique with the actual paper you traced as you can see here- it ties the design together by repeating the pattern:
And last but not least I throw in a video about a technique that I have shown long time ago – so for those of you who want to get even a bit more adventureous – you can do this too
SCREEN PRINTING
Materials and tools you’ll need:
• A surface to work on–cardboard or canvas
• Paint brush
• An embroidery hoop (You can get this at most craft supply stores, but you might also
get a cheap one at one of the kid’s toy stores.)
• Acrylic paint
• A gel medium or fluid mask gel
• Sheer curtain material, such as a tulle or old silk pieces,
• An image, either a print-out or hand drawn
here is the video, which is a bit goofy and was for a competition in 2008 – so I changed a bit….not in the goofiness though- LOL:
I hope this gives you some ideas on how to incorporate some easy Silk Printing in your art work – I would love to see your projects if you try one of these techniques
Hi Nathalie! I’m so happy to be back to visit your site, after several months of easing into full-time work again; I haven’t had the time I used to, to check out the great sites belonging to my blogging buddies.:-(
At any rate, thanks so much for sharing these great techniques! I’ve started exoerimenting with masking lately (when I actually have the time to create art), and your freezer paper process is one I definitely need to add to my repertoire!
Wow!!!!!!!!!!!!Those are stunning yechniques I just love to learn news technique!!!!
I love the way you mix so different styles.
Thanks so muvh for sharing.You inspired a lot.
Kisses and huges from Brazil
Cynthia
Awesome ideas… although, for technique #2 freezer paper is required… I don’t know if it’s easy to find in Germany… in Spain (and I’m guessing in most european countries too) not so much! I’m a quilter (freezer paper is largely used in quilting), and have friends in the US, where those rolls are so inexpensive (here, when you can find the paper, in a quilting store, of course, it’s usually sold by the sheet or by the meter and is quite pricey), but I’ve learned from Spanish friends that you can substitute freezer paper for the paper that covers the printer/copy paper stacks: the inside would be the “tacky” side you iron face down. I’m not sure I’m being very clear here, but I just wanted to share this idea for those of us who don’t have access to freezer paper (if they have access to a computer, they probably also own a printer and the paper used in it, or even work in an office where those papers are just thrown away – and where paper stacks are used much faster that at home!)
Thanks for sharing those techniques with us… I think I’ll try them this week
Information about some workshops in Hamburg in German – if you speak english and want to come- contact me :)
Es gibt noch ein paar wenige Plätze für die Hamburg Workshops am 3.12.2011 bei mir :)
Workshopday bei Nathalie Kalbach The Raw Me – Tattered Angels – Pink Paislee Minialbum Workshop – 10- 13 Uhr
Es ist schon etwas besonderes an diesem derben, nicht perfekten aber doch schönen Drillichstoff. Ein passendes Material für dieses Minialbum “The Raw Me” (Ich – ganz ungeschminkt).
Genau wie Jeansstoff sind wir manchmal rauh, nicht ganz perfekt aber doch immer noch ganz schön – Zeit das einmal festzuhalten in diesem speziellen Buch.
In diesem Tattered Angels- Pink Paislee Workshop lernst Du ein wunderschönes und einzigartiges Cover mit handgemachten Embellishments und einer Menge Techniken zu kreieren. All die erlernten Techniken kannst Du auch in zukünftigen Projekten anwenden.
Komm und mach mit und kreiere ein aussagekräftiges, schönes Buch über das alltägliche ICH.
Kosten bei Buchung NUR dieses Workshops: 36 EUR
Bold About US- Prima Leinwand Workshop 14-17 Uhr
In diesem Prima Workshop mit Nathalie Kalbach wirst Du eine maskuline aber doch romantische Leinwand mit wunderschönen und besonderen Prima Materialien kreieren.
Du wirst mit verschiedenen Medien arbeiten, die gut mit Prima harmonieren. Du wirst Textur und Dimension erarbeiten, die Deine Leinwand zu einem besonderen Hingucker werden lassen. Verschiedene Techniken, das Arbeiten mit Sprühfarben und anderen Farben werden Inhalt des Workshops sein und auch für spätere Projekte sicherlich angewandt werden. Einige handgemachte Embellishments sind dann noch das Highlight und Du kannst Deine eigenen Farben auswählen.
Mach mit in Natahalie Kalbachs witzigem Workshop.
Kosten bei Buchung NUR dieses Workshops: 36 EUR
Bei Buchung beider Workshops insgesamt 62 EUR statt 72 EUR
Bei Interesse bitte unter nathalie.kalbach(bitte computer @ Zeichen einsetzen)gmail.com anmelden. Die Bankdaten werde ich Euch dann weiterleiten :)


















Comments (4)
Kim S
| #
That IS long indeed. have fun in Berlin and share some piccies of you with the scarf!
Reply
Isabel LopezDel RinconTroussel
| #
Cute! I knew you could do it! Have a great stay in Berlin
Reply
Yvonne
| #
Der Schal ist toll und die Prima Blümchen passen darauf wie dafür gemacht. Eine schöne Winterzeit. LG Yvonne
Reply
Michaela
| #
This scarf looks so cozy. I would need that around here – it is so cold here in Munich
Reply