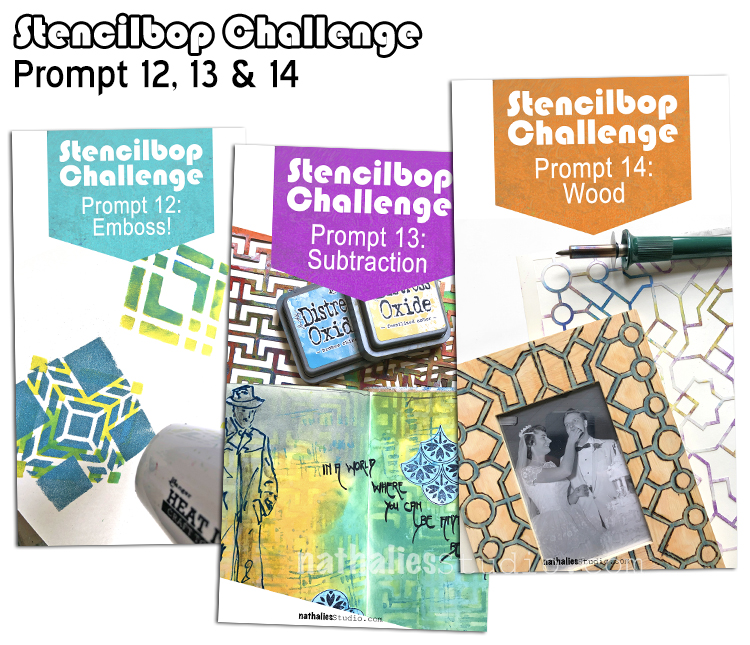
Here is a recap of prompts 12, 13 and 14:
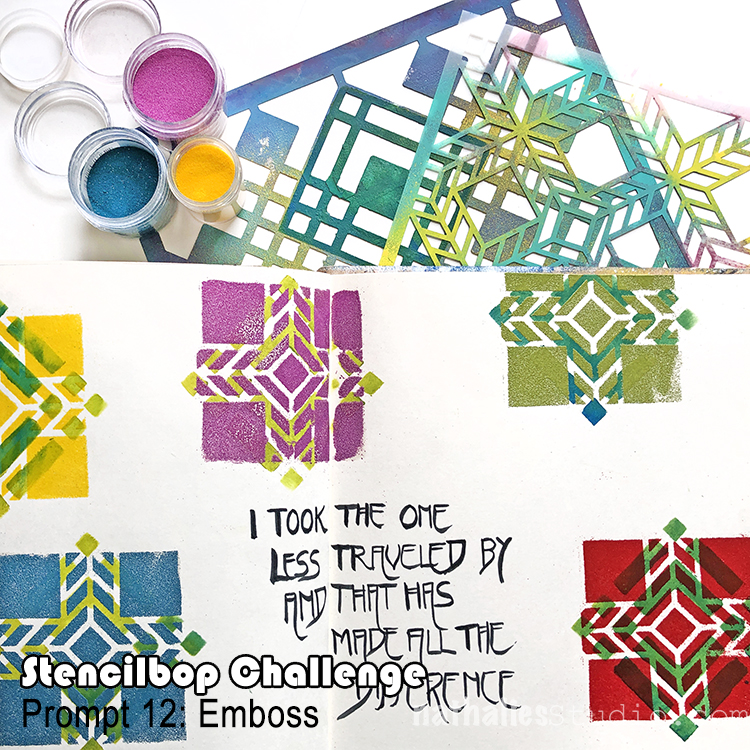
August 12 – Emboss!
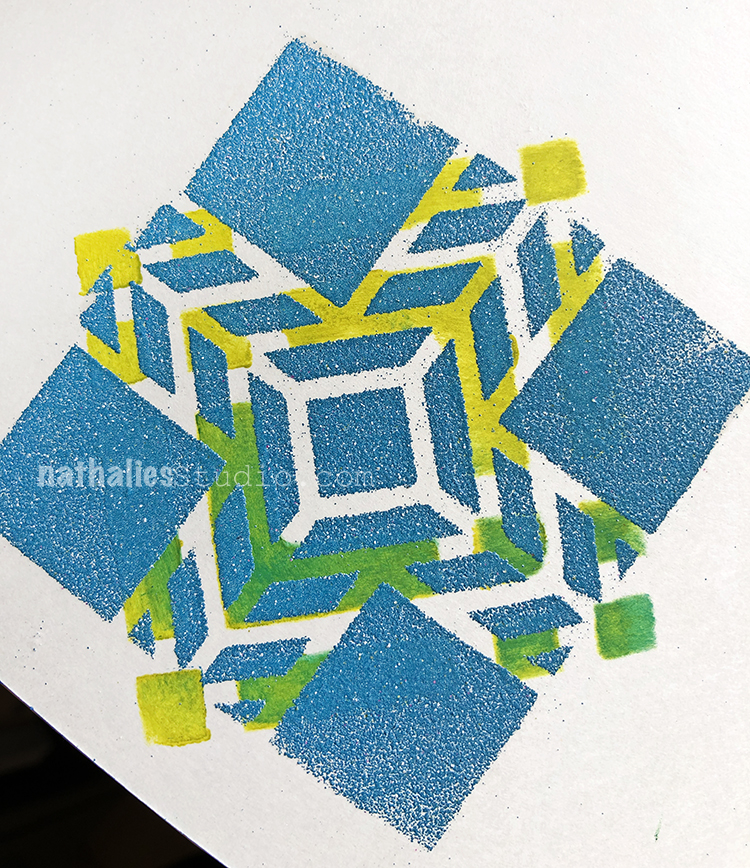
Heat embossing has always been a way to add texture to my mixed media and art journaling – seeing the embossing powder turn into a glossy plastic haptic surface is pretty fun!
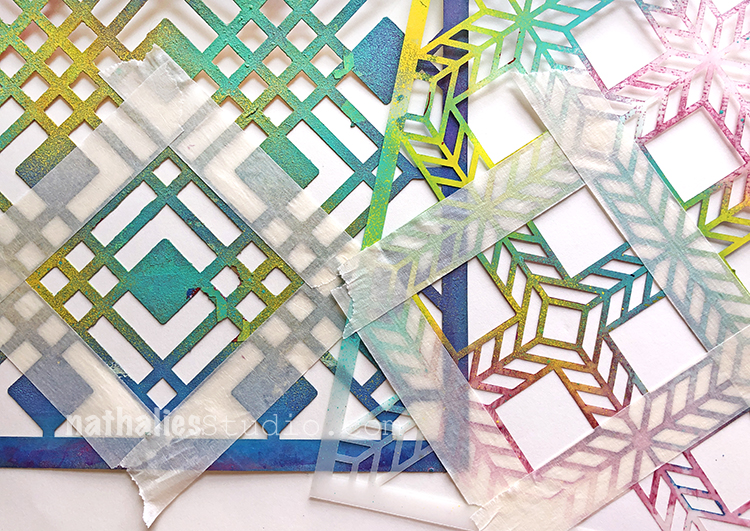
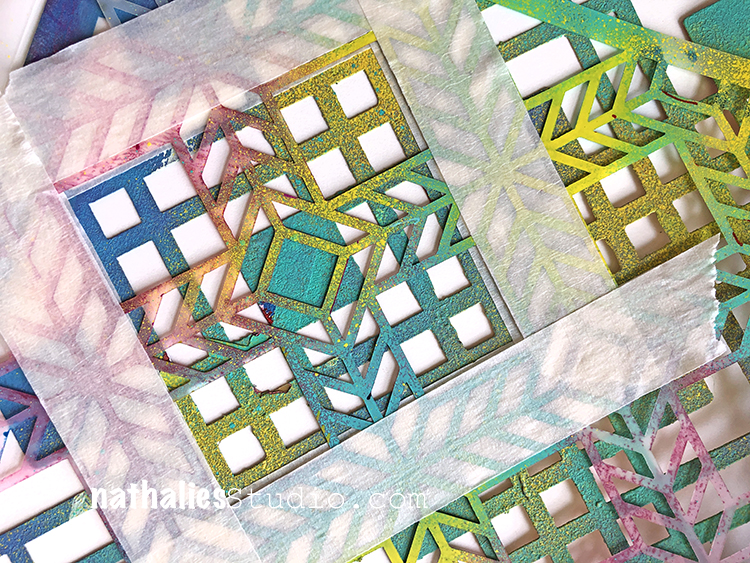
For this spread I used my Chicago and my Santiago Stencil and defined a big square by taping the edges of the design with masking tape.
I used acrylic paint through the square off part of my Chicago stencil. Then I layered the squared off area of the Santiago stencil on top and applied embossing ink through the opening. I sprinkled embossing powder on top- used the heat gun and voila.
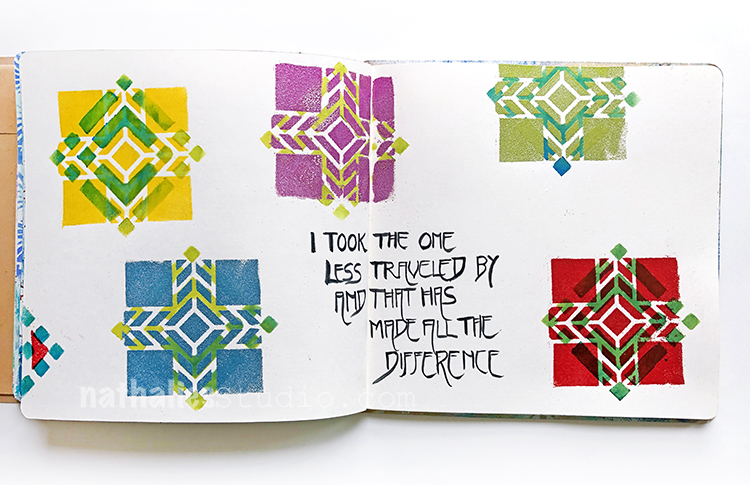
Fun to try out different color combinations!
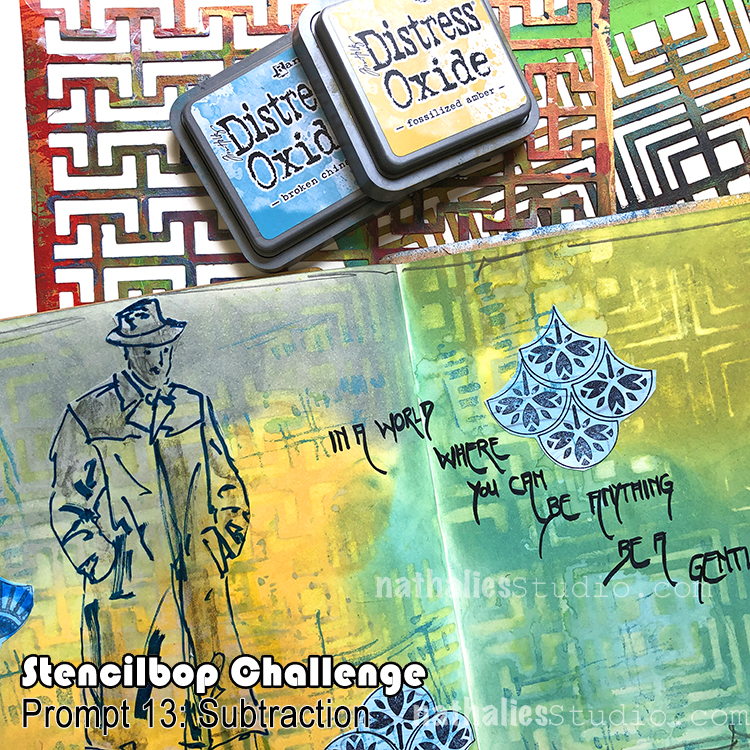
August 13 – Subtraction
Usually paint gets applied through a stencil to create a pattern but you can also take paint off through a stencil to create a pattern.
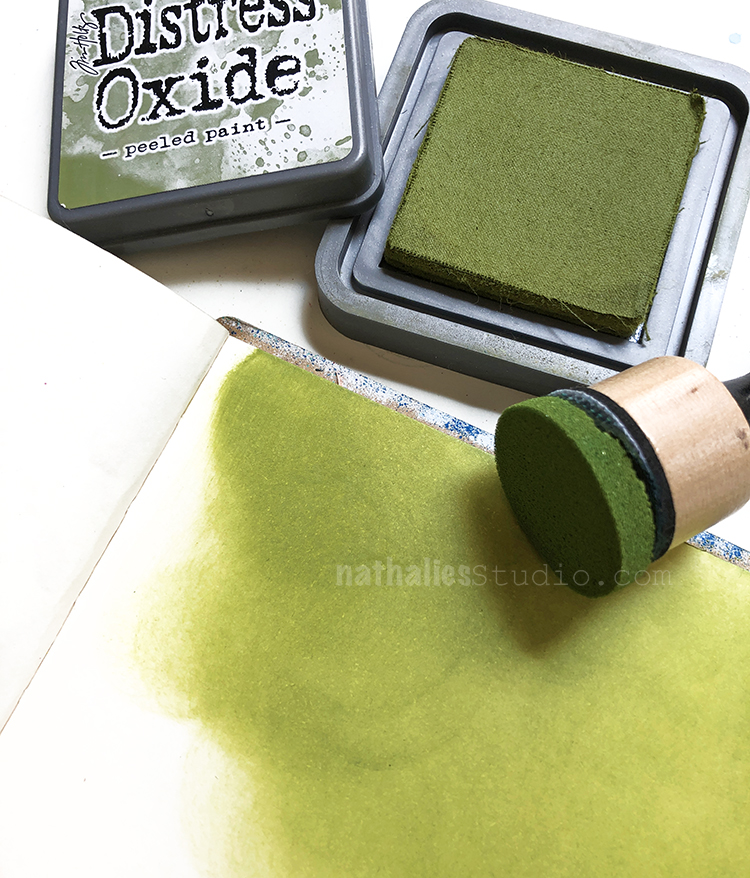
When you do so with acrylic paint you usually layer the stencil on top of still wet acrylic paint and then take the paint off through the stencil. Here I applied some Distress Oxide inks on top of the paper.

Since those can be reactivated with water, I used a slightly moist rag and rubbed the ink off through the Manhattan and Hamburg stencils.
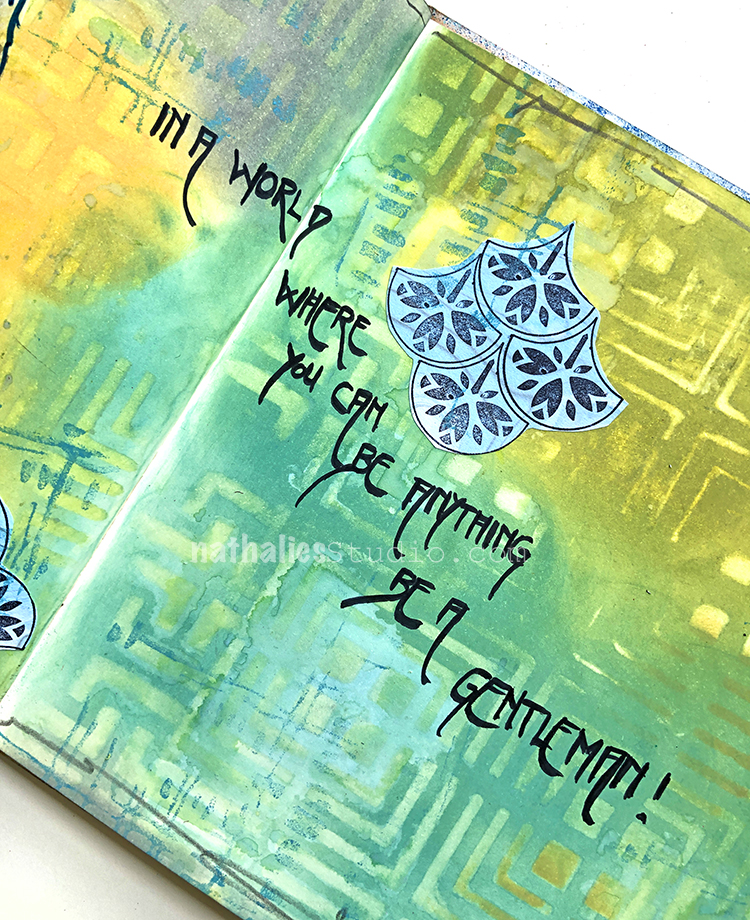
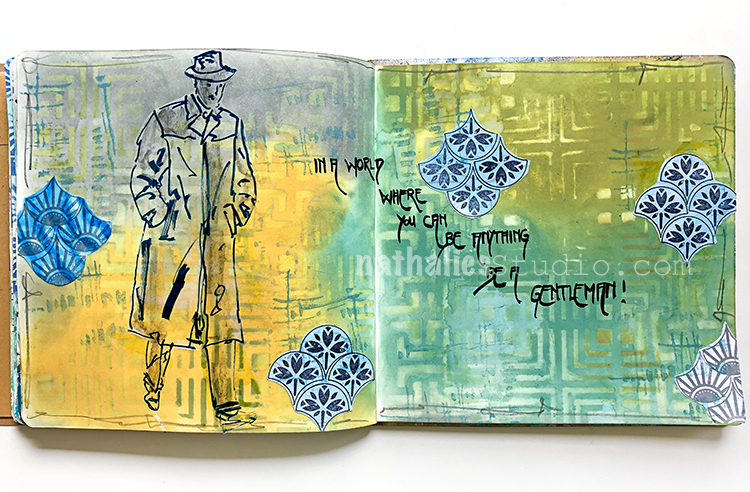
The result is subtle but so effective especially when you then also add some areas of the usual way of stenciling to create a reverse/non reverse effect.
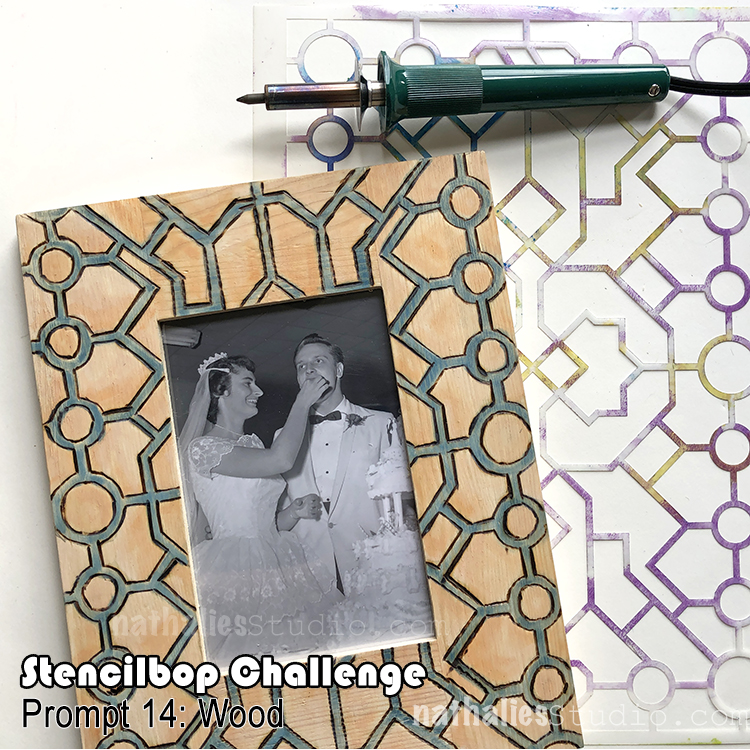
August 14 – Wood
Leaving the art journal for this one. My parents in law are celebrating their wedding anniversary next week and I thought it would be fun to create a fun pattern on a wooden frame using my Exchange Place Stencil.

I love the stencil and it is perfect with it’s bigger opening for this project. I traced the pattern through the stencil with a pencil onto the frame.
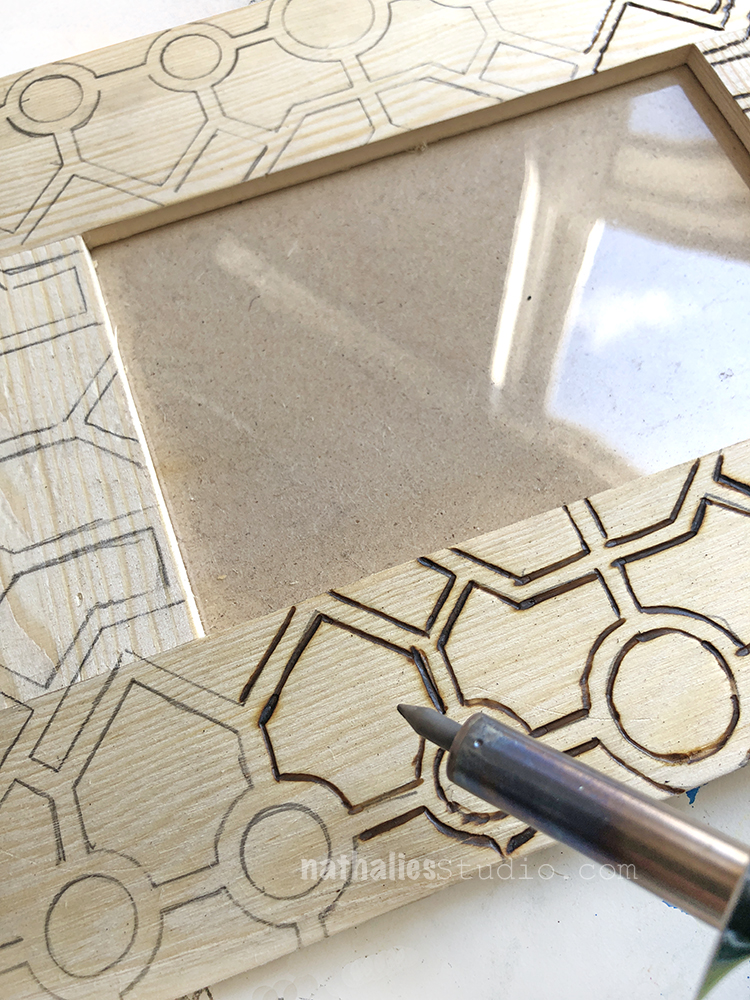
Then I simply followed the line with my wood burning tool.
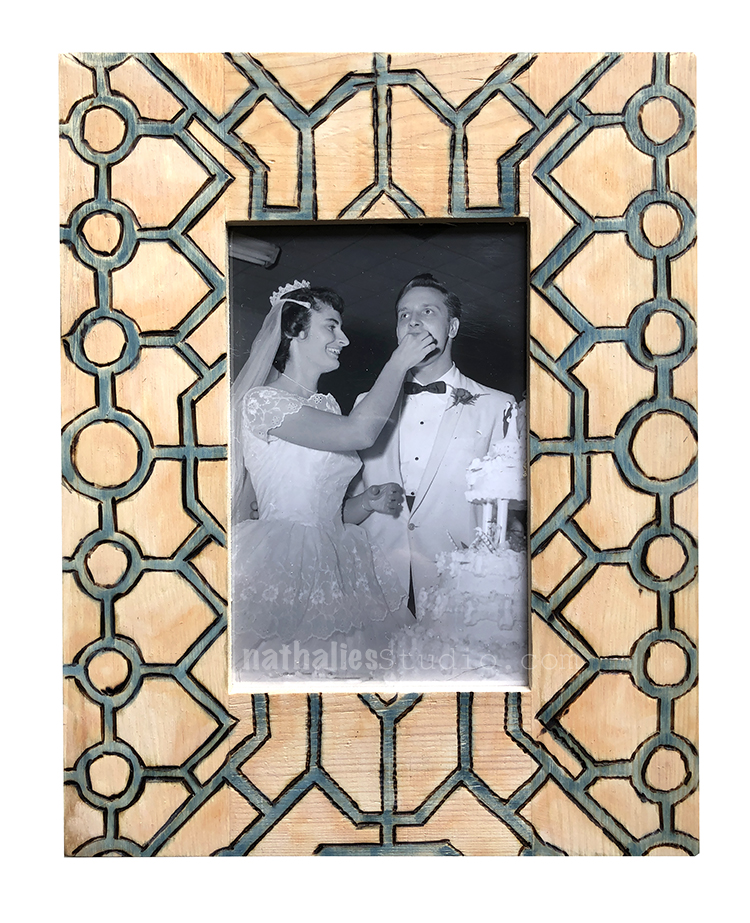
I used some ink pads to add a little bit of color to the pattern but to not loose the wood effect.
Here are some of the supplies I used in these prompts:
Play along with us on on my insta feed! Here is the prompt list: