Creative Squad

My Own Drum – Marsha Valk

CS June My Own Drum

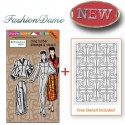
It’s Tuesday again and time for my Creative Squad to share a project with you with this month’s theme: “My Own Drum”. Throughout the month of June, the team will use my new Fashion Dame Rubber Stamp Set to interpret the theme. This theme is all about inspiration, creativity, and personal expression. I asked my squad to create something that celebrates the power of individuality. March to the beat of your own Mixed Media drum this month!

This week we bring you TWO projects from Marsha Valk. Marsha gives us two super fun and colorful answers to the theme to inspire us today.

—————————————————————————————————
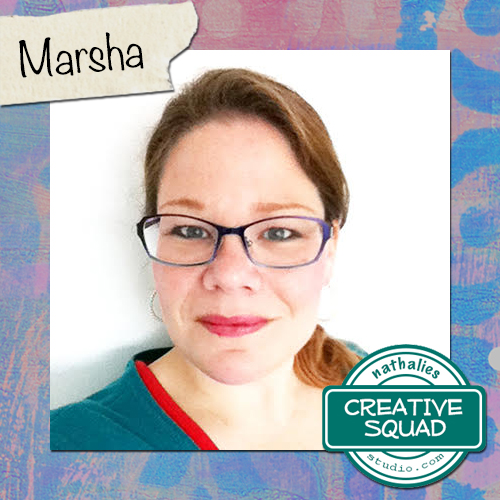
Marsha June Headshot

At first I thought this would be easy. That I could do whatever I wanted. But then I read the theme again and… I started overthinking: My Own Drum… What is my own drum? Do I have one? How does it beat? Is this the right beat? Is this the right drum?! Who do I think I am, claiming a drum for myself!

The best thing would be to just shut off my thoughts… But not before I had decided that my project had to involve a couple of things: it had to have a recycled element (preferably cardboard), colours are important to me so I wanted to choose a colour palette and of course I had to use the Fashion Dame.

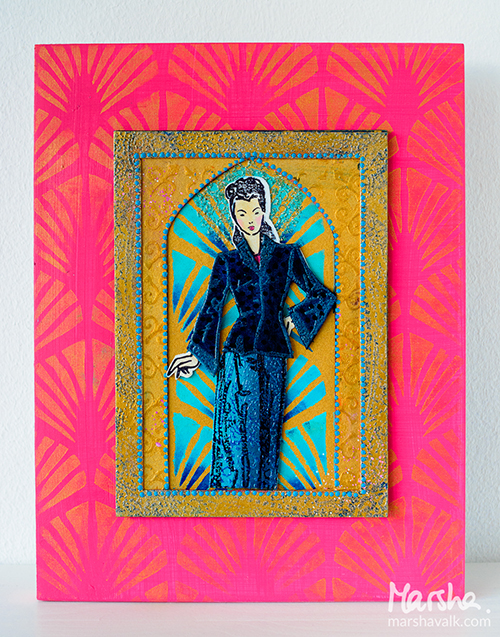
Long story short, this is what I created:
MarshaValk_nSCS_MyOwnDrum_FashionDame-1

(If you want to find out more about how I created it, check my blog post for last weeks Stampendous Summer Blog Hop!)

But then I turned my thoughts back on. And I thought: this drum is fine, I can definitely march to it, but… I think my own beat is messier and free-er than this!

So I tried again, using all the messy stuff that was already there on my table. I had been mixing paint, cleaning brushes and dabbing paint off onto a sheet of grey board… And I decided to use this sheet as a base.
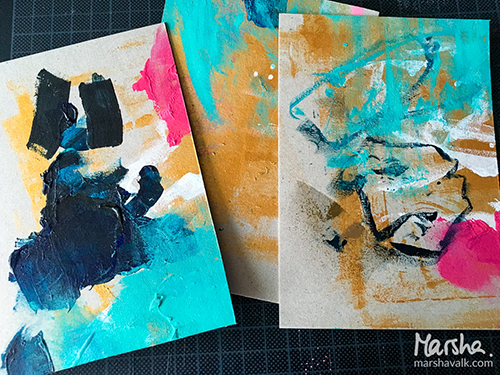
MarshaValk_nSCS_MyOwnDrum_FashionDame-1-4

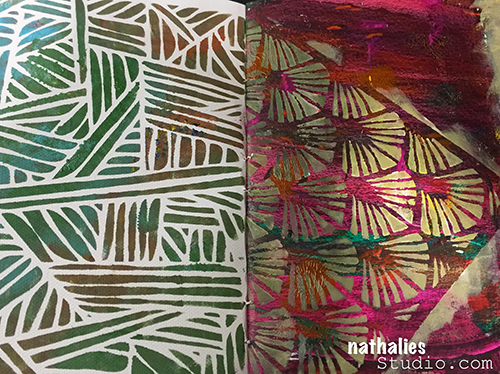
I cut the sheet into 4″ x 6” cards. I added more (leftover) paint and gesso to the cards, using a brayer, using stencils and a cosmetic sponge or an old plastic gift card and of course using my fingers.
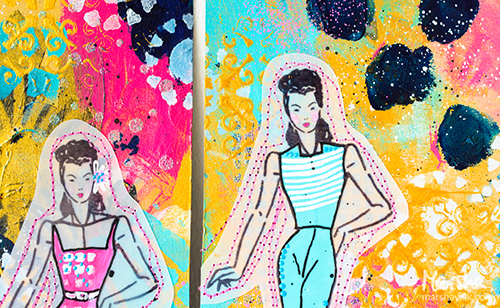
MarshaValk_nSCS_MyOwnDrum_FashionDame-4

I had also spilled some embossing powder and I decided to use this on the cards, applying VersaMark through stencils, sprinkling the (mixed up) powders on top, tapping off the excess powder and then heat setting it.
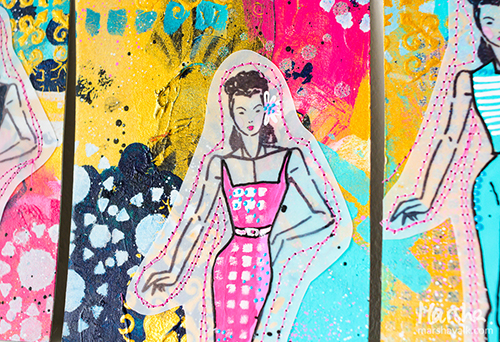
MarshaValk_nSCS_MyOwnDrum_FashionDame-3

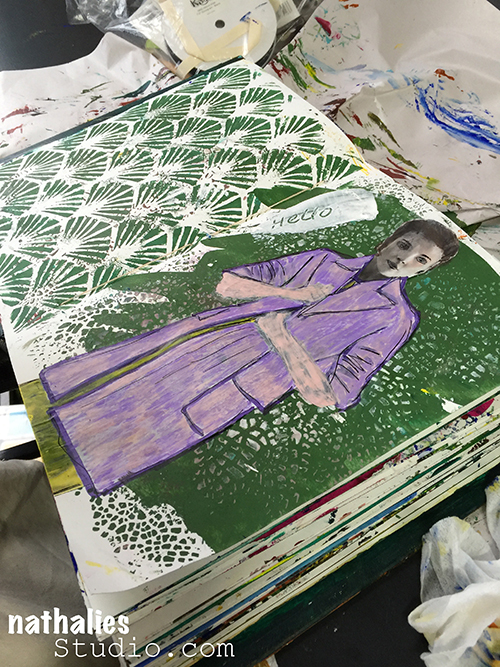
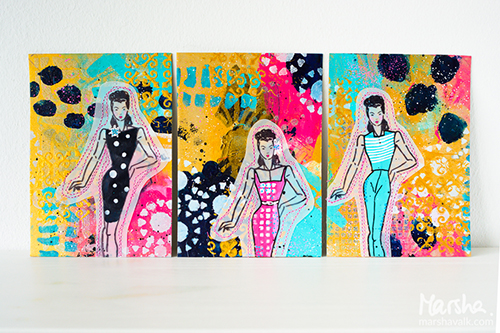
This time I stamped the Fashion Dames on vellum with Archival Ink. I didn’t want to wait for it to dry, so I heat set it.
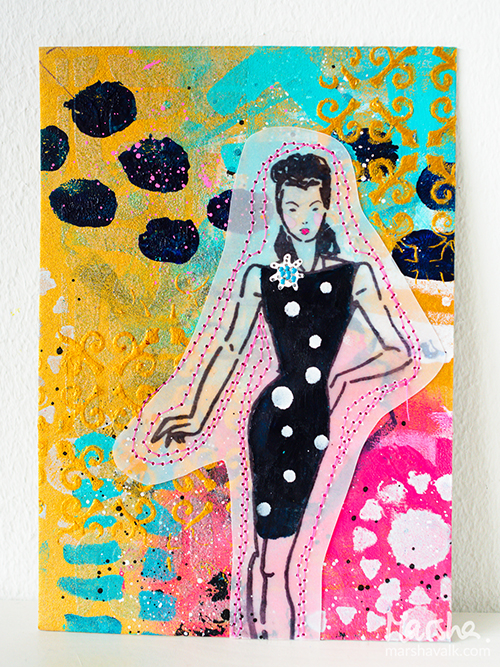
MarshaValk_nSCS_MyOwnDrum_FashionDame-5

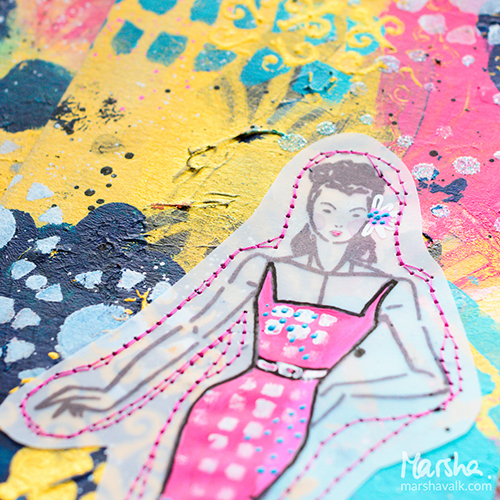
I wanted to machine stitch the Dames to the cards, because that’s something that I used to do a lot, but hadn’t in a while.
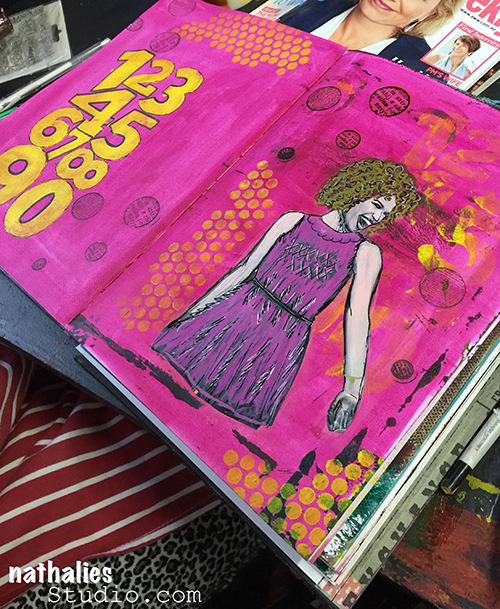
MarshaValk_nSCS_MyOwnDrum_FashionDame-1-2

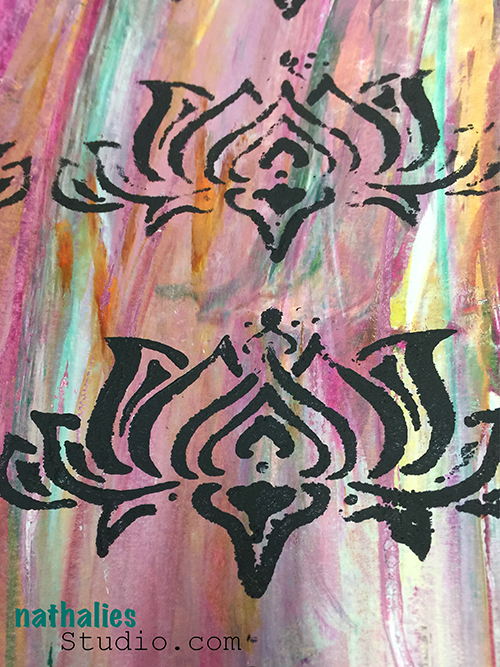
Once the Dames were stitched, I coloured them in with acrylic paint, Posca markers, Pearl Pen, Neocolor II’s and I finished the cards off with some paint marker splatters.
MarshaValk_nSCS_MyOwnDrum_FashionDame-2

—————————————————————————————————

I love Marsha’s super juicy backgrounds and that she wasn’t afraid to get her hands dirty in the process!

In addition to Talens Acrylic Paints in Deep Gold, Lamp Black, Phthalo Blue, Turquoise Green, and Quinacridone Rose, a sewing machine and thread, and an old plastic card, Marsha used the supplies listed below (some are affiliate links):
SuppliesCJS

Maybe you will even play along with us -I would love to see how you interpret our monthly themes. Email me how you used my stencils and stamps with the theme and email me an image – I would love to share your projects in my next “n*Spiration From Around the Globe“.

See you next Tuesday for another project from the Creative Squad!

Comments (4)

  • Sue Clarke

    |

    Love the stitching Marsha!

    Reply

    • Marsha.

      |

      Thank you Sue! So glad you like it!

      Reply

  • Michelle Rydell

    |

    Marsha I LOVE all of your projects! It’s so interesting the huge leap between your first project and the other three! They are all beautiful, but the last three really have your own drum in them! I love all the splatters and the stitching, and the colorful outfits!

    Reply

    • Marsha.

      |

      Thanks Michelle! Yes, I agree: the leap was interesting! I might have to do something like that again!

      Reply

Leave a comment

Inspiration From Around the Globe!

nspiration from around

This Tuesday we’re taking a short break from our Creative Squad (they will be back next week with a new June theme to play with!) to bring you some amazing projects from around the globe. My stamps and stencil designs are available for purchase online and maybe even in your local craft store, so crafters and mixed media artists and art journalers from around the world are using them. I am always excited to see how YOU use my products in your own projects. I am even more excited to share some of the beautiful and creative examples of these projects with you today. Enjoy this inspiration from around the globe!

Robyn Seaniger

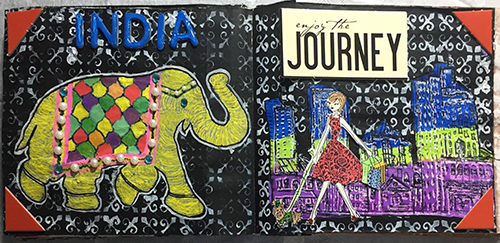
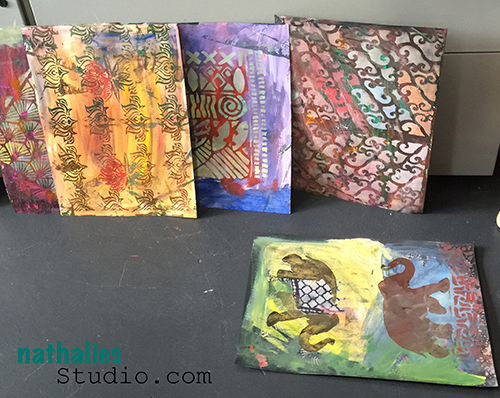
First we have this very fun travel-inspired art journal spread from Robyn Seaniger from NSW, Australia.  Robyn has used both my Elephant and my Urban Scribble foam stamp sets to create this colorful ode to India.

Elephant Parade Metal

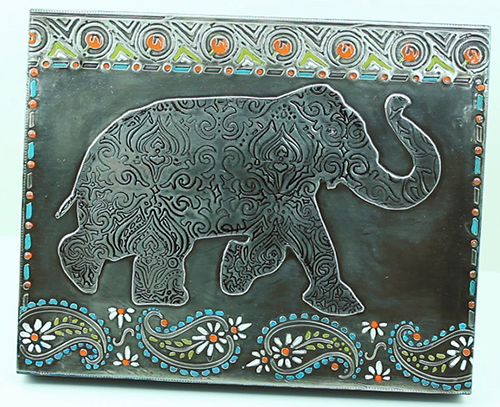
Metal Artist Elitia Hart from Calgary, Canada, used my Elephant Parade stencil in this very original metal embossing project.  This is a very creative use of the stencil and I highly recommend checking out her video below explaining her process.  It is long but definitely worth watching as it is a real step by step class!

Cool, right?

envelope

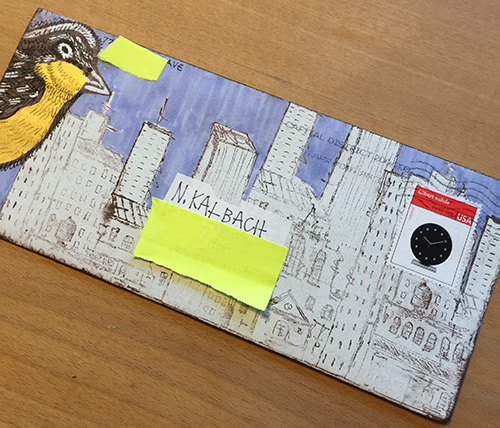
Judi Kauffmann from Maryland, USA sent me this fun mail art envelope using my Bird and Urban Scribble foam stamp sets. What a nice surprise in my mailbox :)

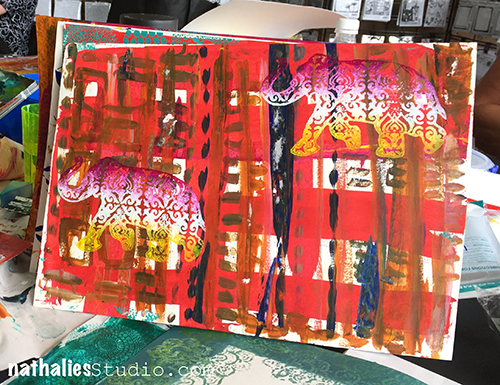
Finally, we have a couple of awesome videos from Lindsay Weirich from Maine, USA for you to check out.  In these videos, Lindsay uses my Urban Scribble foam stamp set to create a cool card project and then she uses my Bird, Elephant, and Urban Scribble foam stamp sets to make a gorgeous art journal.


Join us again next Tuesday for another great project from one of our Creative Squad members!  They will be working with a new theme for June.  And in the meantime, share with me what you’ve been working on with my stamps and stencils.  I would love to feature your project in an upcoming post!

Try some of the above techniques for yourself with these n*Studio supplies:


Leave a comment

Art Tapas – Bite Sized Tips for the Mixed Media Artist – Tip #6 Go-To Brushes

Art Tapas are short videos that will give some practical tips or advice about anything that is related to tools, art supplies or processes and any Mixed Media or Hobby Artist might appreciate.

Lots of times these reflect some mistakes that I made along my journey, so to speak, things that I learned the hard way and sometimes they are just some things that I would have loved to have known when I actually started in Mixed Media.

Today’s Art Tapas is about my Go-To Brushes

Art Tapas – Bite Sized Tips for the Mixed Media Artist – #6 Go-To Brushes from Nathalie Kalbach on Vimeo.

I hope you enjoyed this little bite –  and if you have questions that you would love to have answered in some of the Art Tapas videos- let me know and I might just cook one up for you to nibble on ?


Comments (6)

  • Kathy Adams

    |

    Glad you had the brush “talk” with us! Will never think of a filburt the same way! LOL!

    Reply

  • Joi @RR

    |

    You are such a DELIGHT. I love watching you every time. Great info on the brushes for sure. Thanks bunches Nat. Have a safe and happy holiday. xxj.

    Reply

    • nathalie-kalbach

      |

      Awe Joi- you always write the sweetest things!!! Thank you- hope you had a wonderful holiday as well! Nat

      Reply

  • JoAnn Campisi

    |

    Thank you – I always love your tutorials – love everything you do!!!

    Reply

    • nathalie-kalbach

      |

      Awe- thank you so much JoAnn – I am so glad yo liked it!!! Have a wonderful weekend!
      Reply

Leave a comment

Elephants Never Forget – Marsha Valk

CS May Elephants Never Forget

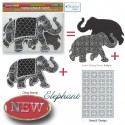
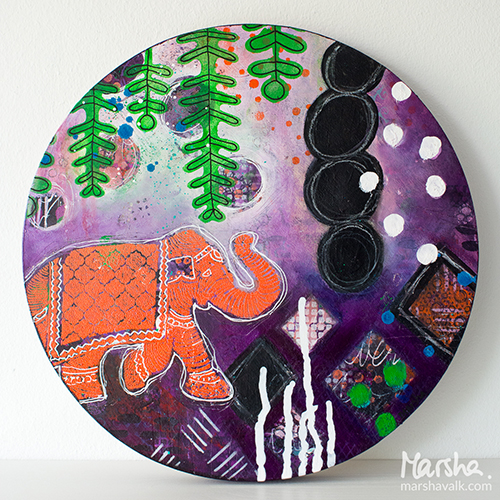
It’s Tuesday again so here is my Creative Squad with another fun project for you with this month’s theme: “Elephants Never Forget”. Throughout the month of May, the team will use my new Elephant Foam Stamp, Rubber Stamp and Stencil Set to interpret the theme. I asked them to draw from a childhood memory, and to use the elephant as a symbol of something that fascinated them as a child, inspired awe, or just got their little brain all wrapped up with wonder. And if you want to hear a little bit about my childhood, you can read about my personal connection to elephants here (just scroll down to “WHY an elephant…”)

Today we have a mixed media piece by Marsha Valk.  After persisting through a brief creative block (it happens to everyone!) she created this gorgeously layered piece using a fantastic combination of purple and orange.
—————————————————————————————————

Marsha May Headshot

It’s hard to choose just one childhood story or memory, so I concentrated on the elephants and tried to come up with as many elephants as I could remember from my childhood. The big one is that my little brother collected elephants when he was young. He had many, many elephant figurines. At least two of those came from my grandmother’s house and I remember that at one point they were in the guest bedroom. The room had a typical 70’s decor. It wasn’t psychedelic in any way, the walls where neutral, the furniture was white, but there was an orange washbasin and purple bed spreads with a fringe.  I loved those bed spreads! When we were very little, my sister and I used to play with them when we woke up early.
MarshaValk_nSCS_ElephantsNeverForget-1
Anyway: the colour scheme for this project was set! It had to contain purple and orange. I struggled with what to do though. I tried some things first with no great success, until I decided to just have fun! I chose the back of a shallow round tray (28 cm) as a substrate. I love working on wood panels, so when I saw this at my local craft store, I knew I wanted to use it as a ‘canvas’!
MarshaValk_nSCS_ElephantSteps-2
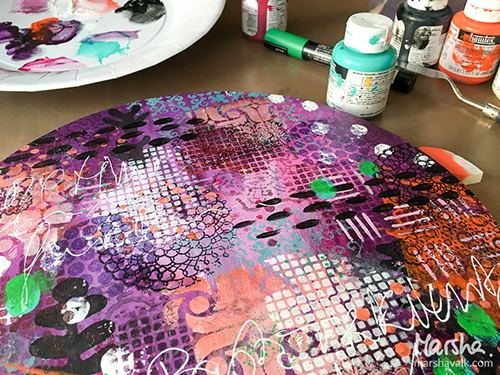
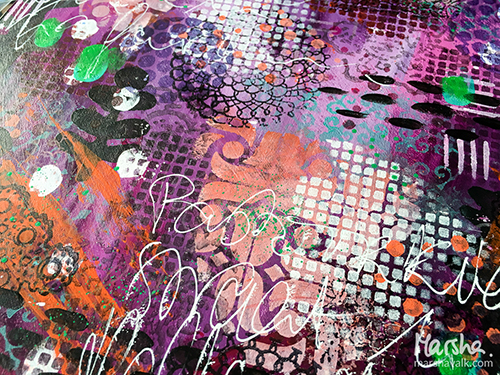
The problem with ‘having fun’ is that I can’t exactly tell you what I did. I started to prepare the wood tray with two coats of gesso that I sanded smooth. Then I randomly applied soft body acrylic paint to the surface. Once that was dry I started painting, stenciling and stamping layers using soft body acrylic paint, paint markers and permanent stamping inks.
MarshaValk_nSCS_ElephantSteps-1
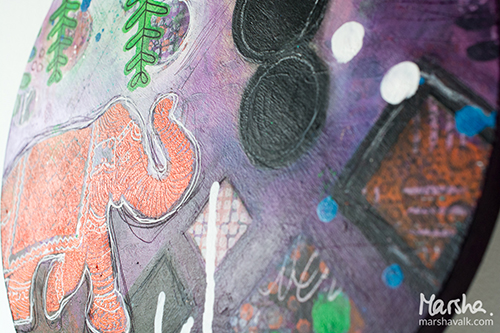
I tried to get the whole surface covered. Then I decided on my composition, stamped and embossed the Elephant cling rubber stamp image and painted the top layer. I also scratched into the surface and I added acrylic inks and black and white charcoal pencil.
MarshaValk_nSCS_ElephantsNeverForget-4

—————————————————————————————————

I love Marsha’s circular design and I’m so glad that she decided to have fun with it! I think the results, and those super nice, 70’s inspired colors :) speak for themselves. In addition to the supplies (some links are affliate links)  listed below, Marsha also used a wooden tray, black and white charcoal, and the stencils from the Urban Scribble, Bird, Mish Mesh, and Fashion Dame stamp sets.

SuppliesCJS


And maybe you will even play along -we would love to see how you interpret the theme. Email me how you used my stencils and stamps with the theme and email me an image – I would love to share what you did at the end of the month!

See you next Tuesday for the another project from the Creative Squad, with the theme Elephants Never Forget.

Leave a comment

Nathalie Kalbach & Friends Blog Hop – Win all three Stamp Sets!

BLOG TEMPLATE[20]

Woot Woot- so stoked that the Stampendous Design Team and my wonderful Creative Squad is doing a blog hop together this week. It always is my favorite thing to see how others use my stamp and stencil designs – makes me so happy. Loads of yummie projects – check it out!!!

Here are the links for today:

Louise Healy 

Janelle Stollfus

Marsha Valk

Gwen Lafleur

Michelle Rydell

Cheiron Brandon

Lea Fritts

Pam Hornschu

Stampendous Blog

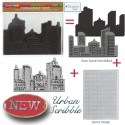
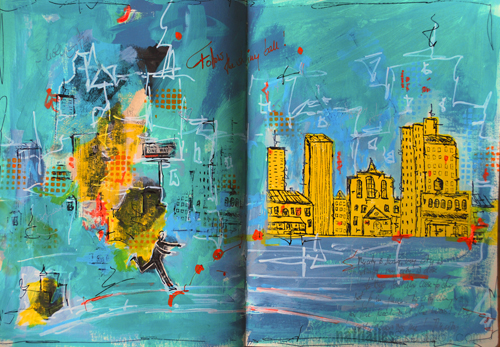
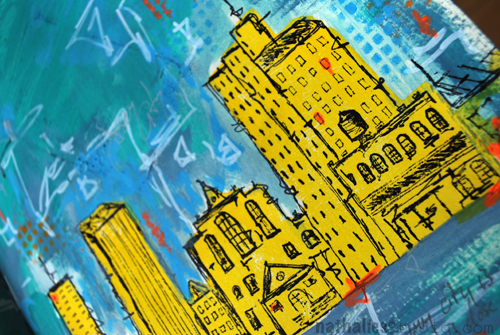
I thought I would play along with my awesome team’s theme this month “My City Speaks To Me” and I used the Urban Scribble Stamp Set as well

NatKalbach_FollowShinyBall01

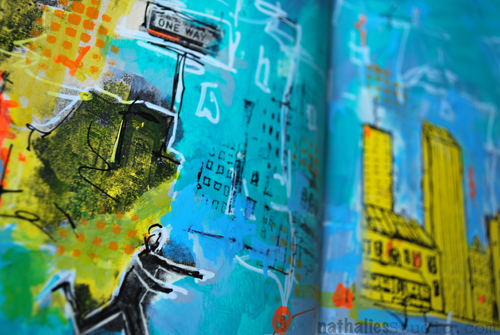
My city – Jersey City – is such a city of juxtapositions. Grungy – Spotless, Old – Modern, Artsy – Financial, Jersey – NYC, Loud – Calm ….and so much more. I love it – it is such an inspiring place to live.

NatKalbach_FollowShinyBall03

I stamped with the solid side of the Urban Scribble Foam Stamp and yellow acrylic paint into my art journal and then used the Rubber Stamp with black ink to stamp over it. The Solid Foam Stamp and the Rubber Stamp pattern fit perfectly together. I painted the background and for the grungy side on the left I used the rubber stamp on purpose rudimentary and in a non perfect manner to enhance the juxtaposition of the two sides.

NatKalbach_FollowShinyBall02

Watch this video if you want to know how to apply acrylic paint to the foam stamps:

Rule of Three – #1 “Three Ways to “Ink” up Foam Stamps from Nathalie Kalbach on Vimeo.

Check out all the wonderful posts, comment on any of those posts and win a price and join us :)

STM_NatNfriendsHop_prize[8]
Stampendous is offering three prize packages that consist of ALL THREE of the foam/cling/stencil sets. THEY’ll ship them to anyone who wins (yes, internationally, too) just comment on this post here or any of the posts the teams or Stampendous or here to be eligible to win. Good luck!!!!
Thank you so much for visiting- I hope you like my new Bird, Elephant and Urban Scribbles Foam, Cling Rubber and Stencil Sets ! Have a beautiful and creative weekend!

Comments (32)

  • Keitha

    |

    Love all three sets Nathalie; it will be hard to decide which one to get first. Great blog hop!

    Reply

  • Agata

    |

    Such a beautiful layout you have created! Love your products!

    Reply

  • Tracy Moloney

    |

    EXCITING pages, your city is ALIVE – LOVE IT!!!
    THANK YOU for sharing your video too, these sound like such an ADVENTURE to CREATE with :)
    Tracy from Australia

    Reply

  • robynseaniger

    |

    I love these new stamps Nathalie and I thoroughly enjoyed using them at your recent Mixed Media Circus Workshop at Darkroom Door. I know I need these for my art journaling :)

    Reply

  • Sandra L.

    |

    Love your project and love the stamp set. I live in New Jersey and you summed up your area perfectly. Thanks for sharing.

    Reply

  • Gayle Kush

    |

    Love your tutrials and all the things you so graciously share with all of us on your blog. Including your friends in the form of this blog hop! Thank you for the tips on inking your stamps. I work in fabric but almost everything you do I can use in my fiber arts adventures. I love your stamps and use them all the time in my work. Thanks again!

    Reply

Leave a comment

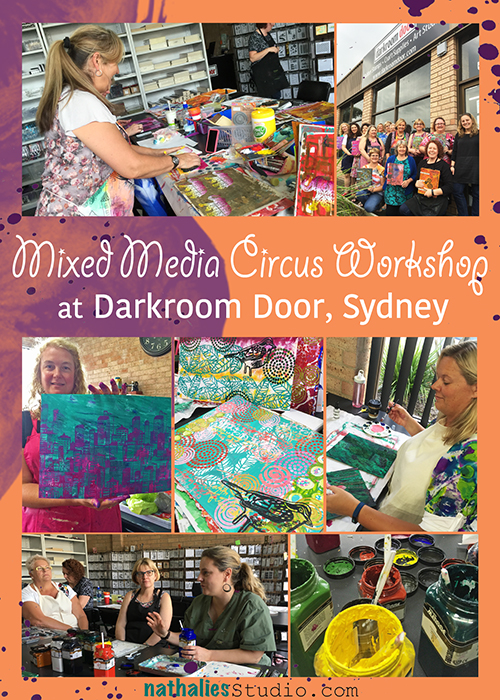
Mixed Media Circus Workshop at Darkroom Door in Berkeley Vale, Australia

KalbachDarkroomDoorCollage

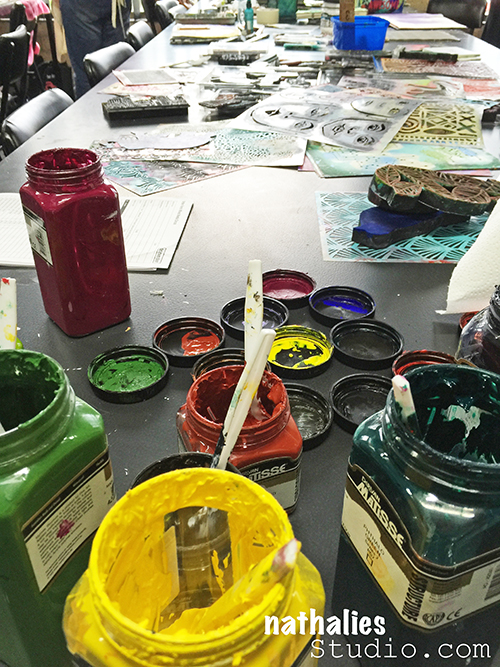
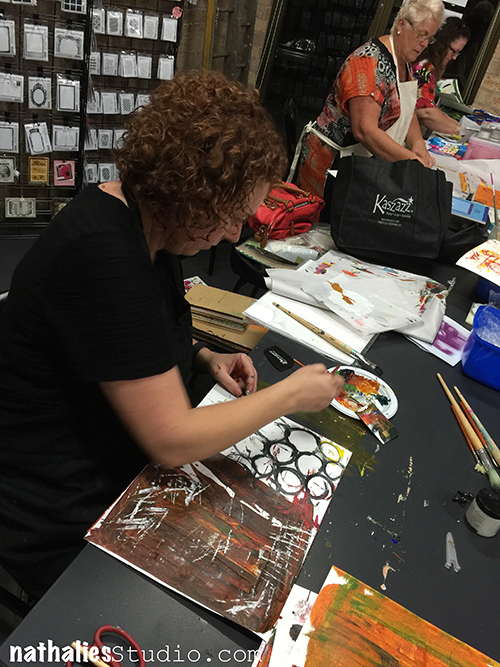
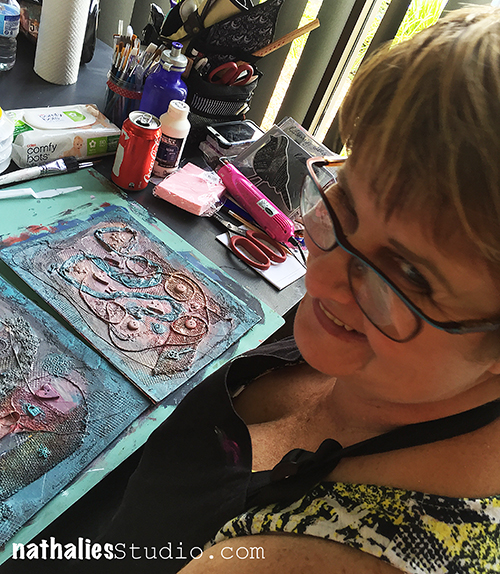
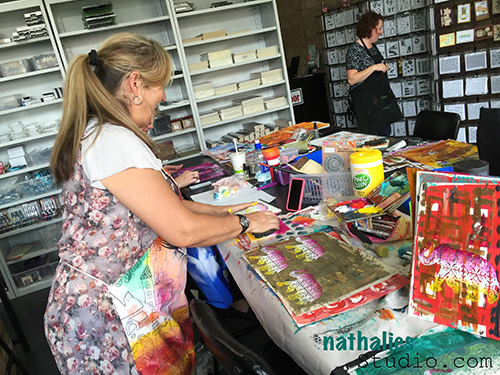
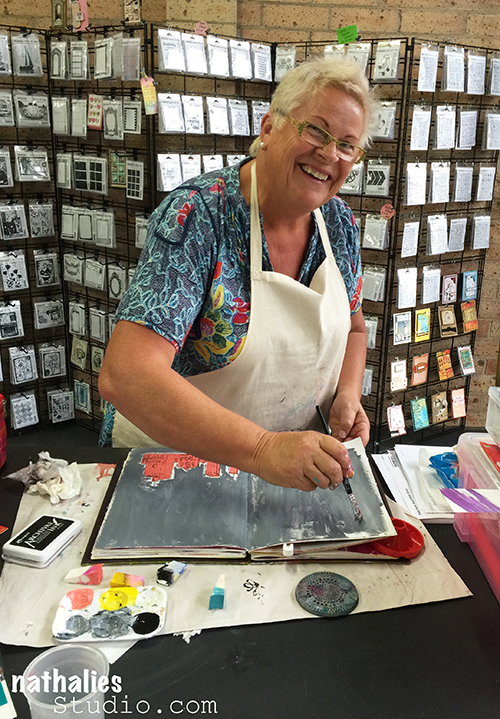
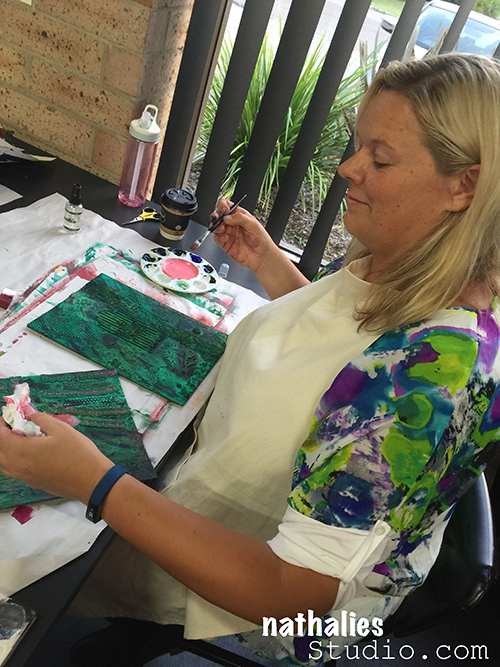
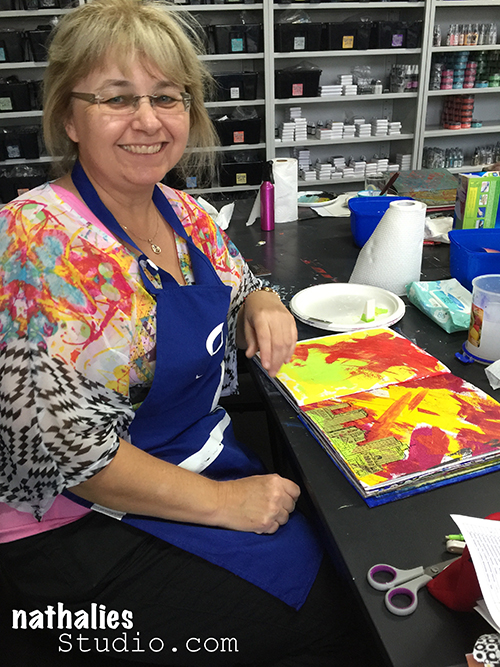
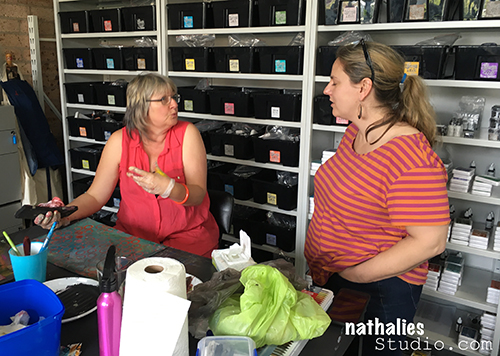
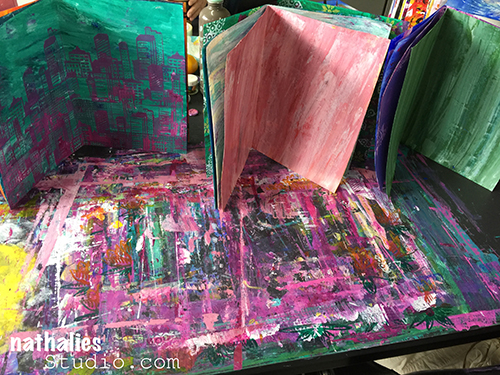
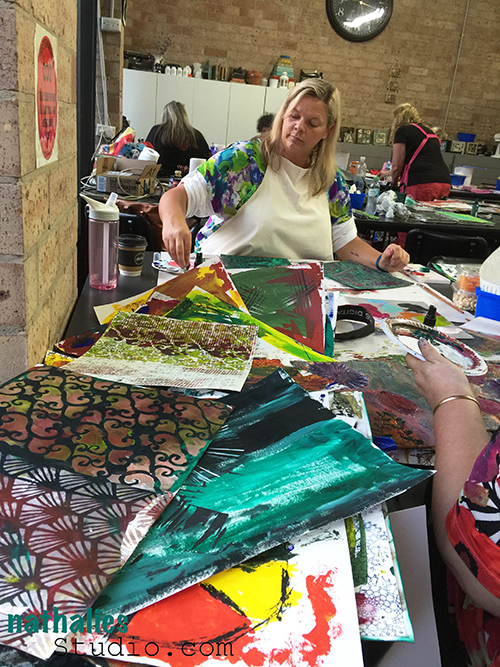
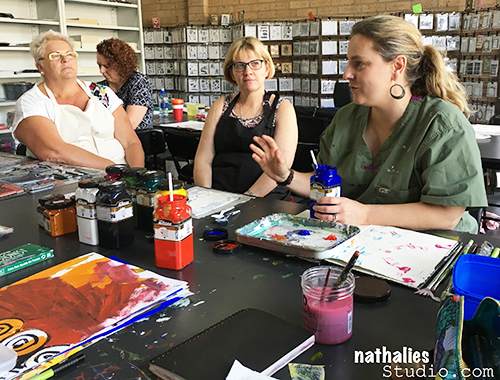
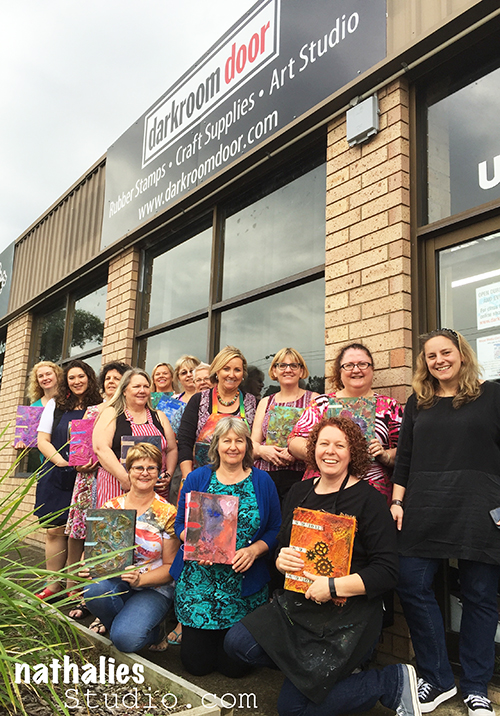
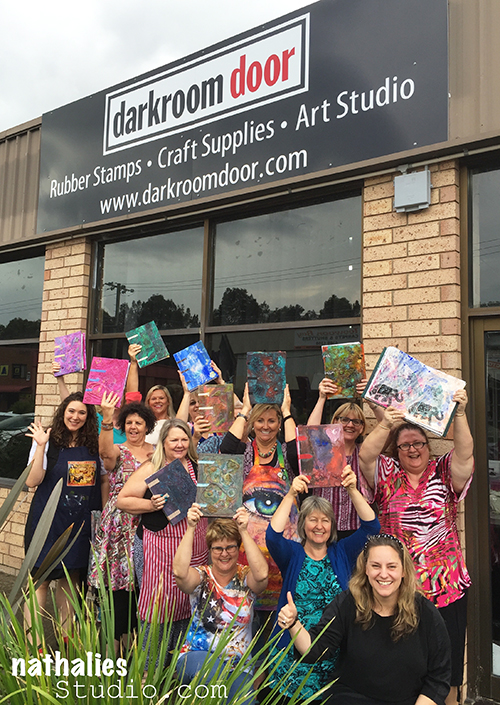
After the workshop in Melbourne, Julie and I taught in Berkeley Vale at Darkroom Door, about 1 1/2 hours North of Sydney. My wonderful friend and awesome manufacturer Rachel Greig hosted us in her warehouse and classroom and it a great group rocking out the paint, art supplies and art journals!

KalbachDarkroomDoor37

Everyone was working for three day, creating covers, painting, stamping, stenciling, book binding – getting messy fingers and tables:) It was so much fun! I loved the class room with high tables and high top chairs, making it possible for everyone to choose to work standing up or sitting. Since I work standing up- this was a dream :)

KalbachDarkroomDoor01

KalbachDarkroomDoor02

KalbachDarkroomDoor09

KalbachDarkroomDoor11

KalbachDarkroomDoor30

KalbachDarkroomDoor15

KalbachDarkroomDoor29

KalbachDarkroomDoor21

KalbachDarkroomDoor26

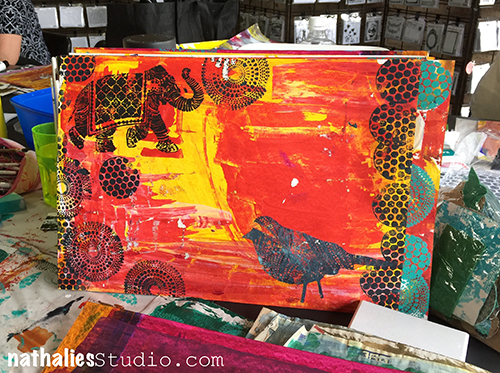
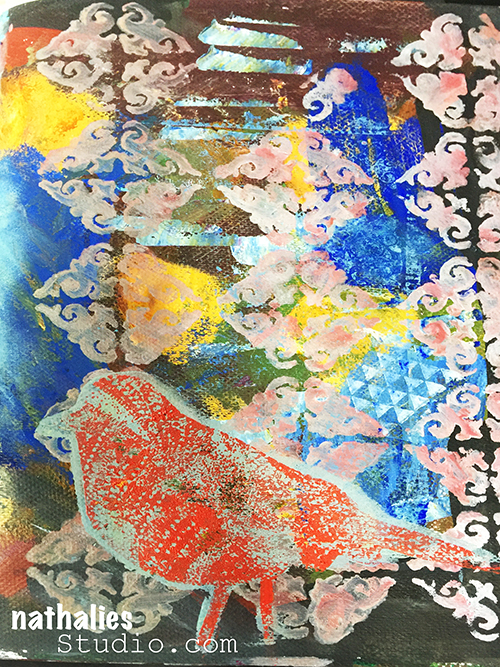
Look at all the beautiful colorful pages …with Birds, and Elephants, and other stamp sets :)

KalbachDarkroomDoor03

KalbachDarkroomDoor38

Birds mixed with Julies Stamps and Stencils.

KalbachDarkroomDoor16

and more elephants :)

KalbachDarkroomDoor04

KalbachDarkroomDoor05

KalbachDarkroomDoor32

KalbachDarkroomDoor10

KalbachDarkroomDoor08

KalbachDarkroomDoor06

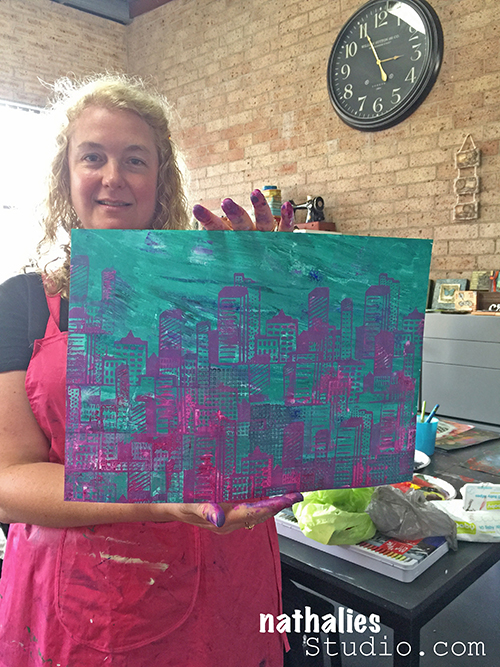
the Urban Scribble – love the staggered city look!

KalbachDarkroomDoor13

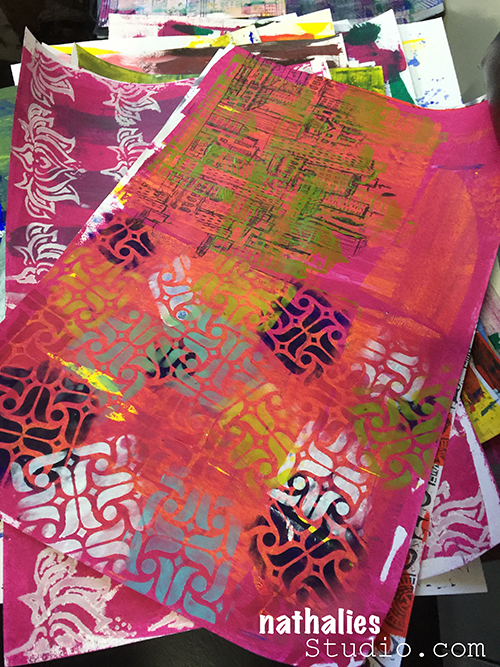
And lot’s of stencil patterns for background papers

KalbachDarkroomDoor07

KalbachDarkroomDoor17

I loved how everyone embraced having two different teachers and stencils and stamps from two different persons as well.

KalbachDarkroomDoor18

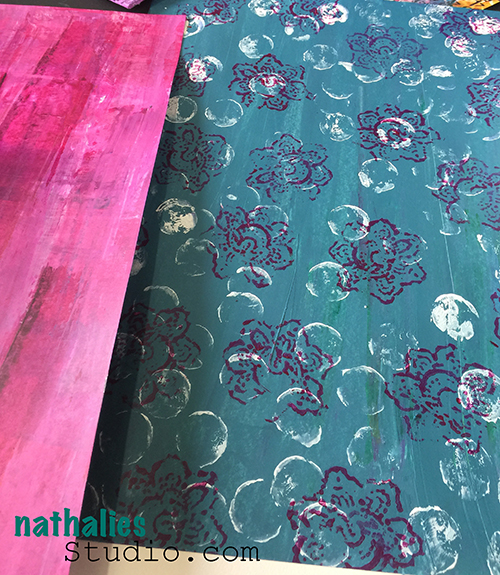
Love the look of the Fashion Dame Stencil used in different colors for pattern

KalbachDarkroomDoor19

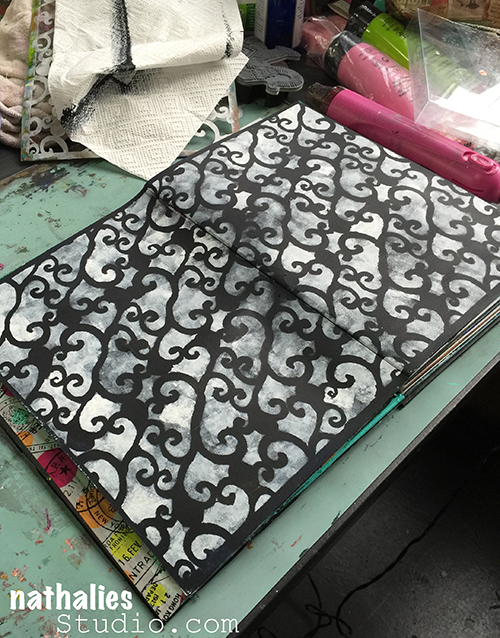
And the Lilly Wallpaper stenciled with black gesso

KalbachDarkroomDoor20

and the Arabesque Stencils used with white over black gesso

KalbachDarkroomDoor33

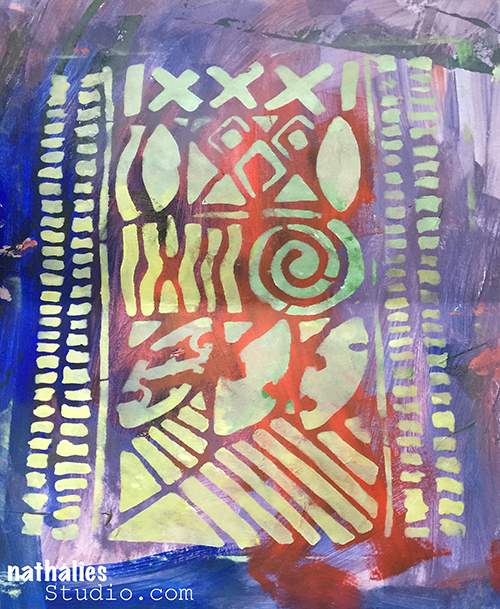
Batik

KalbachDarkroomDoor25

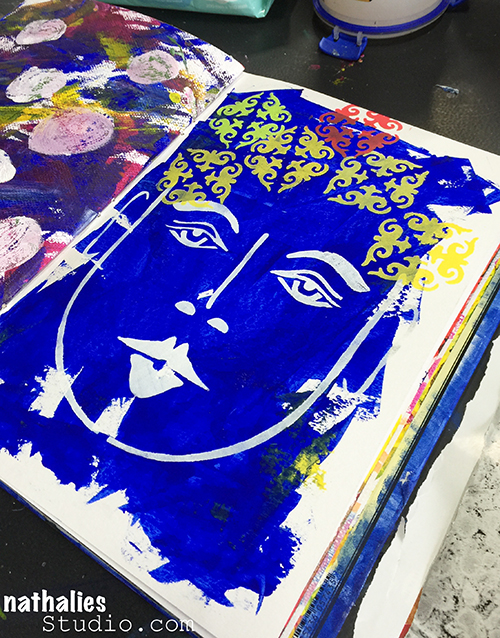
one of Julie`s Face Stencils used with my Ornament Stencil for hair

KalbachDarkroomDoor31

Another hybrid page with Julie’s stencil on the left and my Art Deco Wallpaper Stencil on the right

KalbachDarkroomDoor41

KalbachDarkroomDoor43

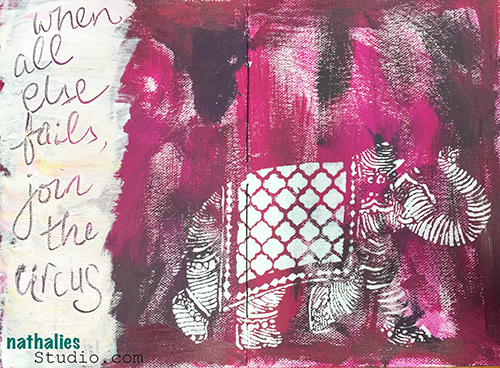
And this is so true – :) If all fails, join the circus :)

KalbachDarkroomDoor40

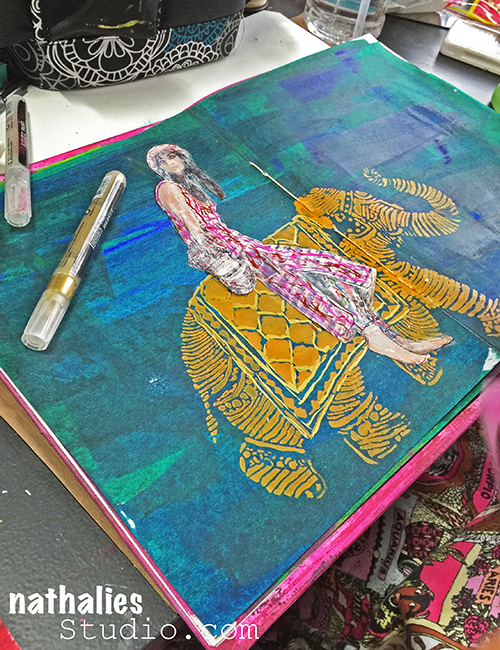
I think this one did? Love the girl taking a ride on the Elephant Stencil!

KalbachDarkroomDoor42

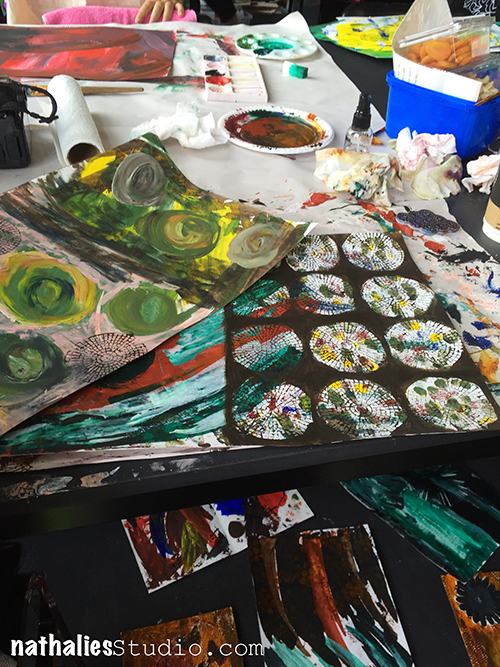
So much creative energy and colors in the classroom

KalbachDarkroomDoor39

And here is Julie explaining something – it was really fun teaching together again :)

KalbachDarkroomDoor27

And here are some photos of me teaching …which usually- you know…there aren’t any :)

KalbachDarkroomDoor22

KalbachDarkroomDoor23

KalbachDarkroomDoor24

Thank you so much Rachel for having us- you are the best!!!!

KalbachDarkroomDoor36

And here we are :) Bound and colorful finished art journals!!!

KalbachDarkroomDoor35

And thank you Amanda and Amanda, Belinda, Rachel, Robyn and Robyn, Paula, Kristy Lee (mmmmhhh did I butcher your name again???? please forgive me with your super cute smile, ok?), Lorraine, Genevieve, Vesna and Vesna! We will always have “I pet a kangaroo”, the dog on the tucker box, create you own at mäccas, don’t hesitate to mess up the table, fire alarms, Lemingtons, Anzac Biscuits and lot’s of laughter together. It was wonderful to spend those three days with you!!!

KalbachDarkroomDoor34

I will post some photos from Melbourne and Sydney, street art and kangaroos in the next weeks – it was such a fun trip :)


Comments (17)

Leave a comment

My City Speaks to Me – Marsha Valk

CS April My City Speaks to Me Blue

Happy Tuesday!  It’s time for my Creative Squad to share a project with you with this month’s theme: “My City Speaks to Me”.  Throughout the month, the team will be using my new Urban Scribble Foam Stamp, Rubber Stamp and Stencil Set. This month’s theme is all about expressing what your hometown or city is all about.  What makes it special, vibrant, and important to you?  This month, our Creative Squad will take us on a trip to their city!

Today we have a super dimensional art journal page from Marsha Valk. Her interpretation of the theme takes us all the way to the Netherlands, and she asks us: how well do we really know our own city?
—————————————————————————————————–

Marsha April Headshot

I live in the middle of the Netherlands in a city with a beautiful medieval city centre.  The neighbourhood I live in was mostly built around the 1930-ies. I decided to concentrate on the question: ‘What does my city say to me?’ and explore that through art journaling.

I’ve never lived anywhere longer than I’ve lived here. I know the best places to eat, to shop, I know the most important sights, I have my own favourite ‘sights’, I know some of the history, but… what else do I know? Well… turns out that I’ve still got a lot to discover. My city is telling me to finally open my eyes. To view it in a different light. There are many places that I have always intended to visit, but that are still on the list. I really, really need to stop and look.

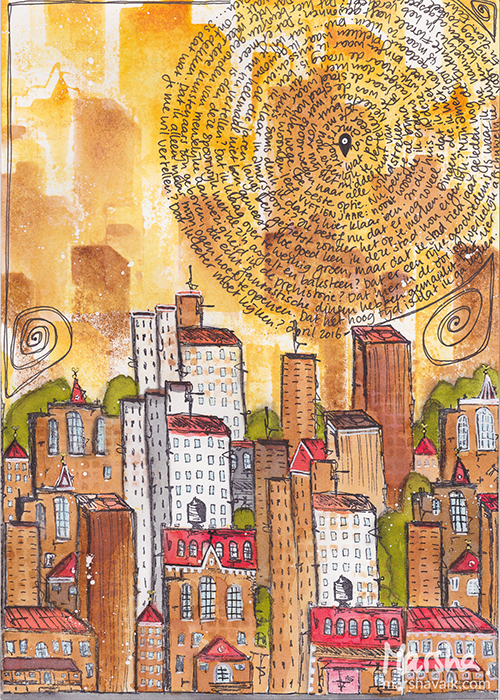
MarshaValk_NStudioCreativeSquad_MyCitySpeakstoMe

I started my page by stamping the Urban Scribble cling stamp at the bottom of the page with black ink. Then I created a mask by stamping the Urban Scribble foam stamp (twice) on a sheet of paper and then cutting the stamped image out. I used the mask to mask off each previous row of buildings before stamping another row behind it.

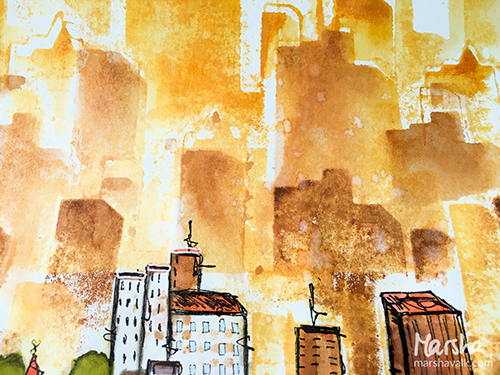
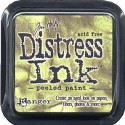
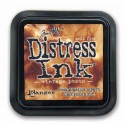
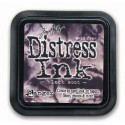
When I had about three rows, I switched gears and inked the Urban Scribble foam stamp with two different tones of Distress Ink and spray mist. To create the watercolour look, I sprayed the stamp with water after inking it up. I used this method to stamp until my whole page was covered, masking off each previous layer.

MarshaValk_NStudioCreativeSquad_MyCitySpeakstoMe_BeforeJournaling

I coloured the buildings with Distress Ink. I tapped some ink onto my craft mat, diluted it with a spritz of water and then picked up the colour with a watercolour brush.

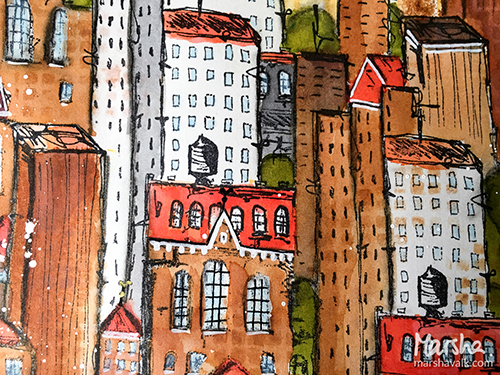
MarshaValk_NStudioCreativeSquad_MyCitySpeakstoMe_Details

Once everything was dry, I added details and depth with markers, charcoal and coloured pencil. I also picked up some of the leftover ink from my craft mat with a make-up sponge and used that to stencil subtle little squares onto the buildings with the stencil that comes with the Urban Scribble Foam Stamp Set.

MarshaValk_NStudioCreativeSquad_MyCitySpeakstoMe_Journaling

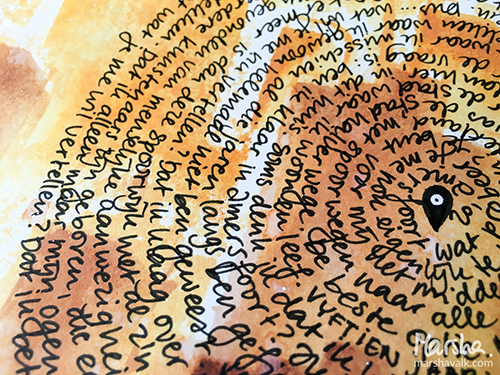
Lastly I wrote down my journaling. I decided to put it in a circle, to emphasise the city being (my base) in the middle of the country.

———————————————————————————————————-

I think we can all relate to Marsha’s desire to take the time to slow down and explore more!  In her art journal page, I love how she used the Urban Scribble stamp with a mask to create a cityscape with many layers of buildings.  It’s also a gorgeous example of how certain colors and details can transform the stamp into a completely different place; last week it was NYC and this week Marsha brought us to the Netherlands.

Besides the supplies listed below, Marsha also used 13arts Ayeeda Mist in Pastel Yellow:
SuppliesCJS


And maybe you will even play along -we would love to see how you interpret the theme – email me how you used my stencils and stamps with the theme and email me an image – I would love to share what you did at the beginning of next month!

See you next Tuesday for the another project with the theme ‘My City Speaks to Me’.

Comments (6)

Leave a comment

My City Speaks to Me – Gwen Lafleur

CS April My City Speaks to Me Blue

It’s Tuesday so it’s once again time for my Creative Squad to show you a fun project, and we are at the start of April now, so we have a new theme too!  The theme for April is “My City Speaks to Me” and throughout the month, the team will be using my new Urban Scribble Foam Stamp, Rubber Stamp and Stencil Set. This month’s theme is all about expressing what your hometown or city is all about.  What makes it special, vibrant, and important to you?  This month, our Creative Squad will take us on a trip to their city!

So without further ado, here is the uber creative Gwen Lafleur with her gorgeous interpretation of the theme!

—————————————————————————————————–

Gwen April Headshot

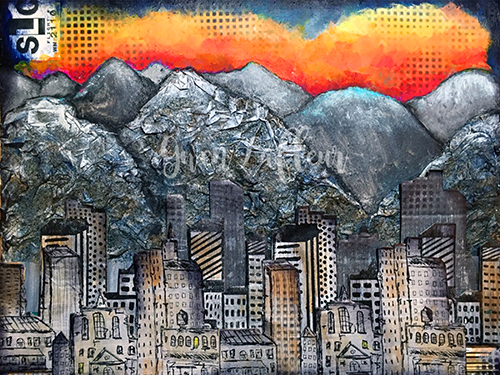
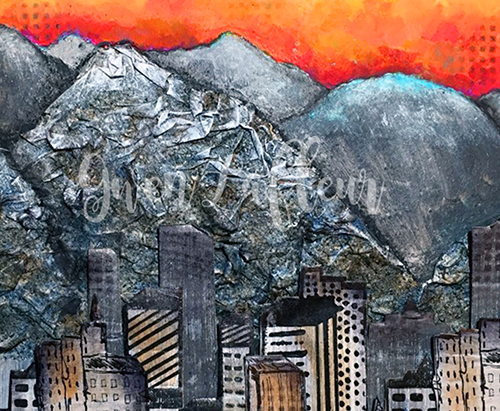
I live in a suburb of Salt Lake City, Utah, but I work downtown and one of my favorite views is when I’m driving in and the city comes into view up against the mountains. I especially love it when the sun is coming up in the background (or the sunset behind the mountains on the other side of the valley when I’m driving home at night!) There are frequently spectacular colors and I never get tired of the view; the contrast of the man-made city with the rugged mountains really draws me. It also influences a lot of the culture here – my office mates are frequently off doing morning ski tours before work and lunchtime discussion usually centers around outdoor activities. I’m not particularly outdoorsy, but I love the views and the openness of this area, and after recently moving back here from Chicago, I’m especially loving the more laid back and less crowded lifestyle!

500 Salt Lake City Mixed Media Painting - Gwen Lafleur - WM

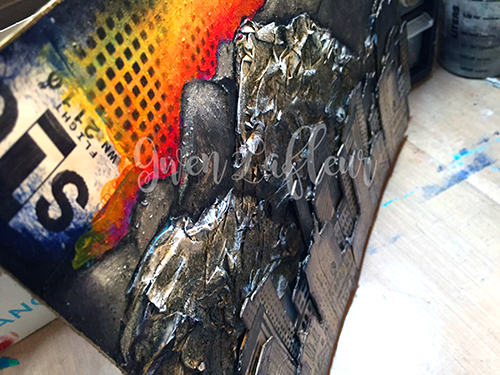
With those thoughts in mind, when I got this month’s challenge I immediately knew that I needed to use the Urban Scribble stamps backed by mountains of some kind. I started by taking an 11″x14″ sheet of heavy weight mixed media paper and I sketched out where I wanted the mountains to be. I used pages torn from a telephone book along with Mod Podge mixed with water and put crumpled paper within the outline of the mountains in the foreground.

detail Salt Lake City Mixed Media Painting Close-up 2 - Gwen Lafleur - WM

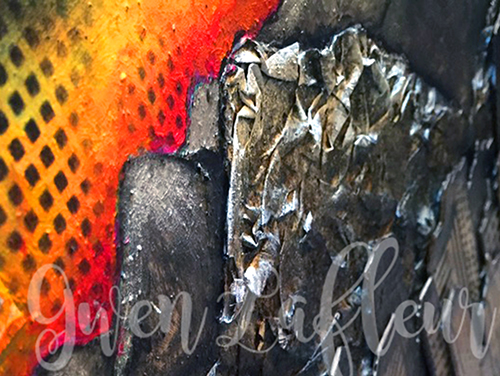
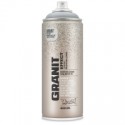
Once they were dry, I used Montana Granit Effect spray paint and gave them a good coat – it really helps them look like rock! I used a few washes of acrylic paint on top to add a little shading and dry brushed some white on the tops (since the mountains still have their snow caps right now.)

detail Salt Lake City Mixed Media Painting - Gwen Lafleur - WM

Next, I gesso’d the area above my mountains and painted in some more in the background, then I added a sunrise with lots of fluorescent paints. For the city, I took a few sheets of drawing paper and gesso’d them, then painted them with different shades of gray and silver. When they were dry, I stamped on them twice with both the detailed side of the foam stamp and the rubber stamp. I also stamped in gray with the solid side of the foam stamp. I cut out each individual stamped image and mounted them all on a thin sheet of cardboard, then cut them out again. I lined them up in front of the mountains on my piece and started adhering them in layers, using stacked cardboard on the back of each piece to add dimension. I cut some of the cityscapes into smaller pieces so I could arrange them the way I wanted.

500 Salt Lake City Mixed Media Painting Close-up 2 - Gwen Lafleur - WM

Once that was done, I added a wash of color here and there. I used a black Stabilo All pencil to add some definition to the mountains, then I finished the piece by using the stencil that comes in this set in the sky and in the bottom corners and on some of the buildings and outlined the whole piece with a gold paint marker.

I really love the contrast of the texture from the mountains with the stamped buildings, as well as the colorless early morning city against the beautiful colors of the sunrise. I think it even looks a bit like Salt Lake!

———————————————————————————————————-
I hope you enjoyed Gwen’s project! I think we’re all wishing we had a scenic commute like hers :) I love how she created really dimensional texture with layers upon layers of stamped cityscape and the crumbled paper mountains in the background.  And that orange sunrise!  It literally glows.
Besides the supplies listed below, Gwen also used cardboard, phone book pages, and pieces from a luggage tag with SLC on it:
SuppliesCJS


And maybe you will even play along -we would love to see how you interpret the theme – email me how you used my stencils and stamps with the theme and email me an image – I would love to share what you did at the beginning of next month!

See you next Tuesday for the another project with the theme ‘My City Speaks to Me’.

Comments (18)

Leave a comment

The Only One or … In My Art Journal Today

AJOnlyOne01

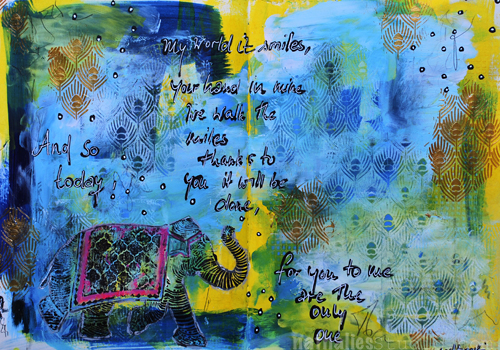
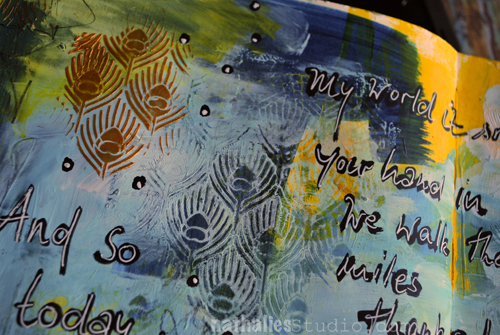
“And so today, my world it smiles, your hand in mine we walk the miles,

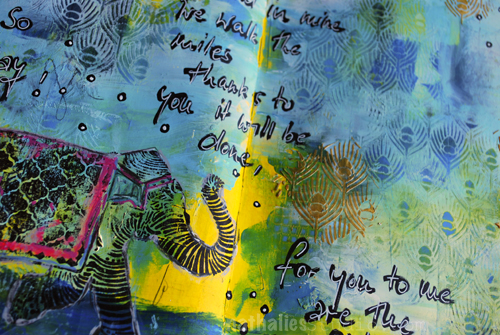
Thanks to you it will be done, for you to me are the only one.” Led Zeppelin

AJOnlyOne04

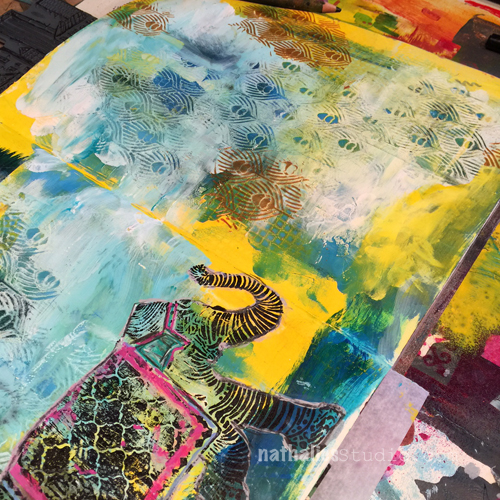
Over a painted background I added a mix of blue paint and gesso and while the mix was still wet, I layered the Peacock Background Stencil on top and using a babywipe removed parts of the paint again. This revealed the underlying paint once again. I layered the stencil on top again and spread some embossing paste through it.

AJOnlyOne03

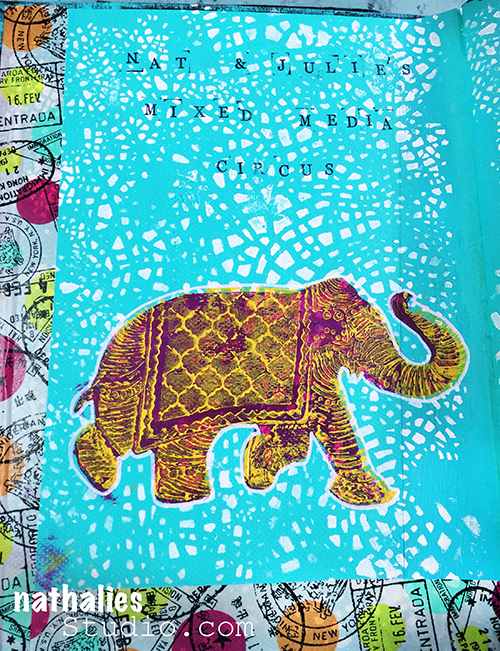
I stamped the Elephant rubber stamp with archival ink on top of the background and enhanced some areas of the elephant design with markers and pencils.

AJOnlyOne02

For the journaling I used a black acrylic marker and then overwrote it with a white signo pen.

Here are all supplies I used:

SuppliesCJS


Hope you have a wonderful day!!!

Comments (5)

Leave a comment