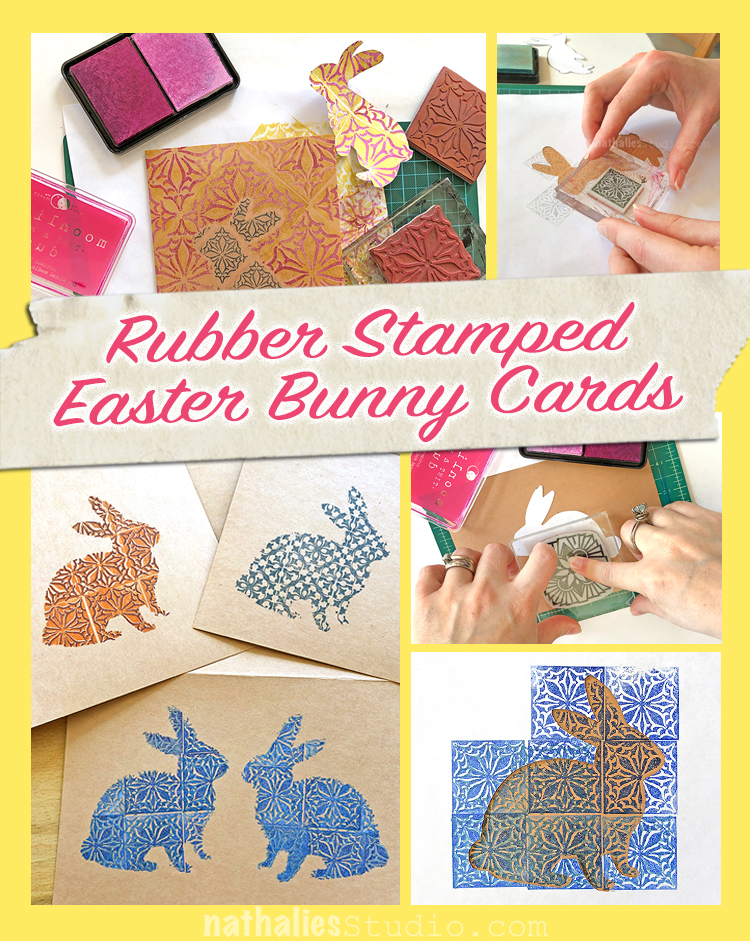
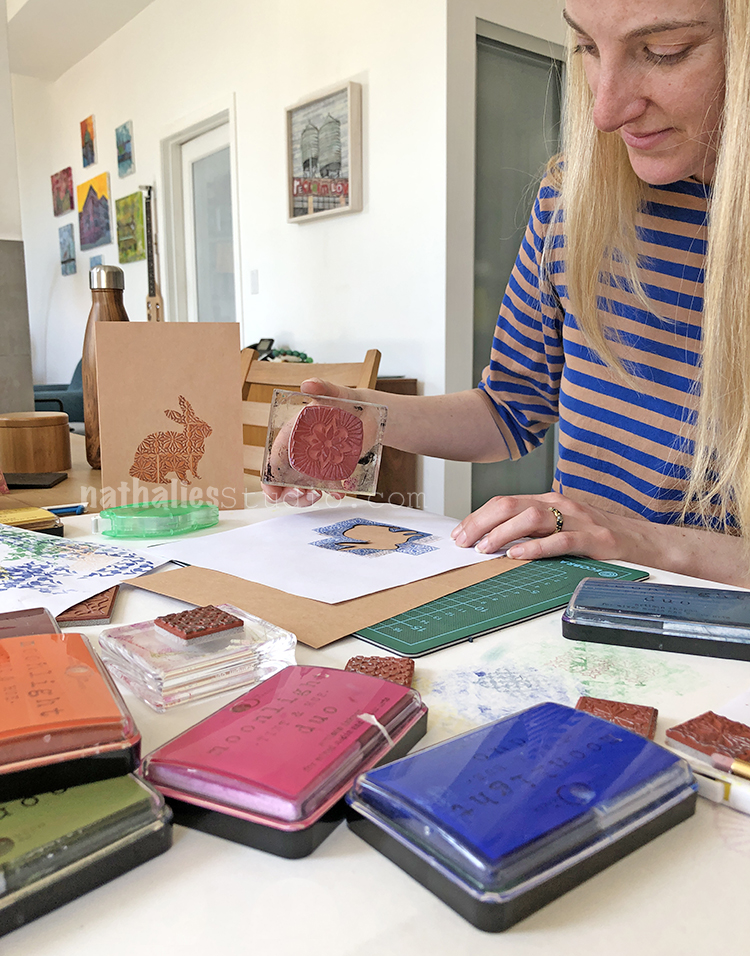
Hippity Hoppity :) Kim and I got together for a Play Date with some of my new Rubber Stamps for the upcoming Easter holiday. We had a nice morning stamping some Easter Bunny Cards for friends and family.
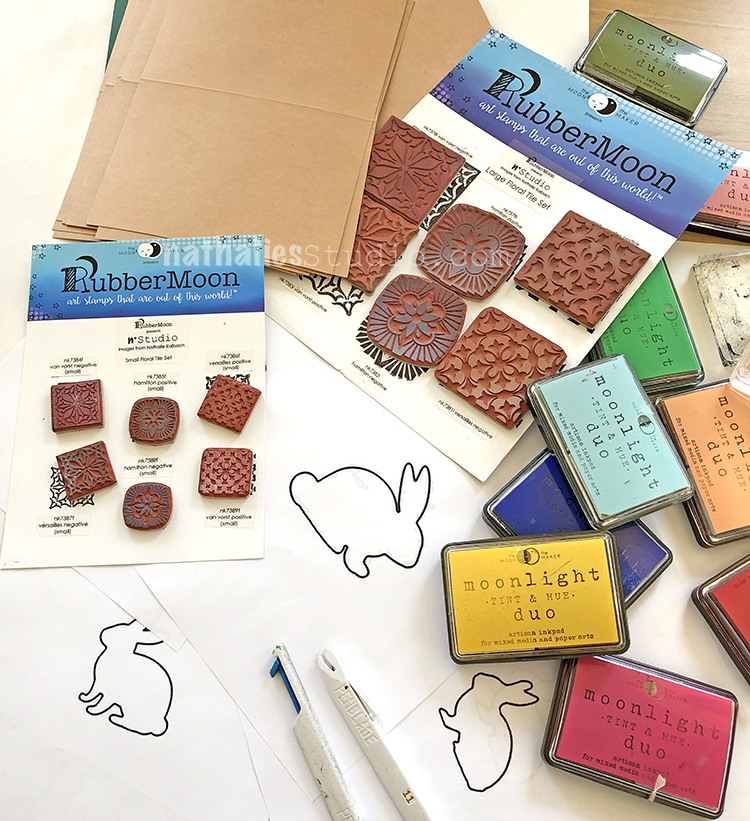
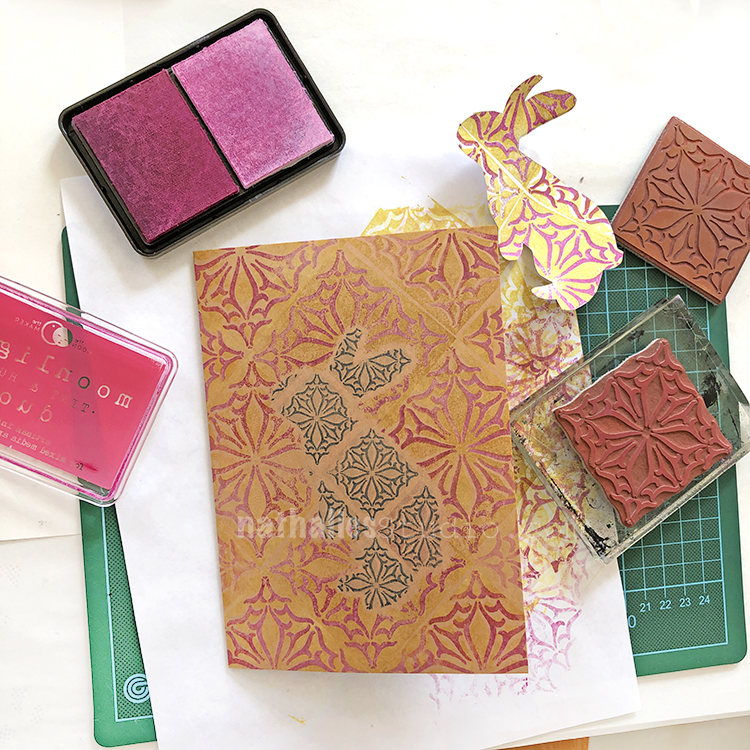
For supplies we had my new Floral Tile Large and Floral Tile Small stamp sets, blank cards, colorful ink pads, some bunny images we printed off the internet, a craft knife, and repositionable tape.
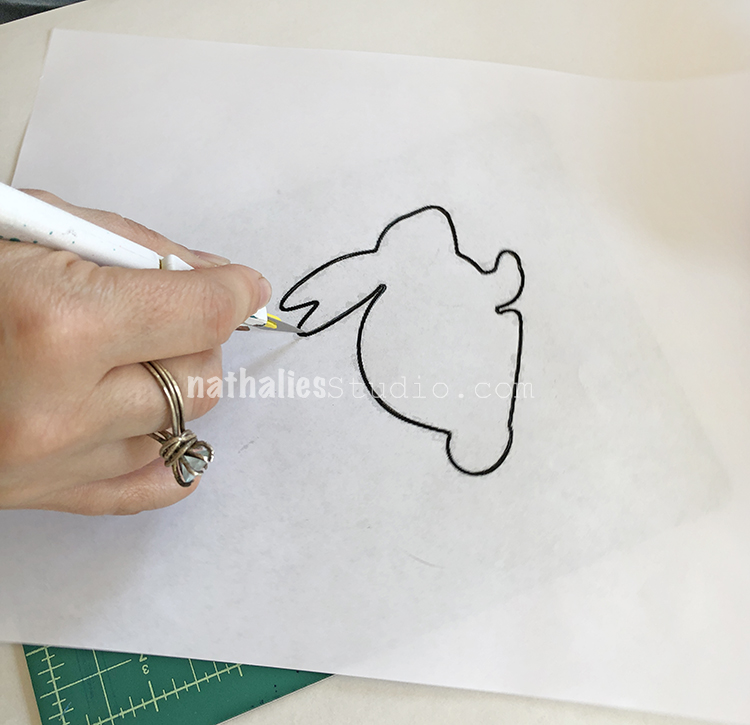
First we carefully cut out some rabbit shapes, leaving both the outside and inside intact. These became our stencils and masks.
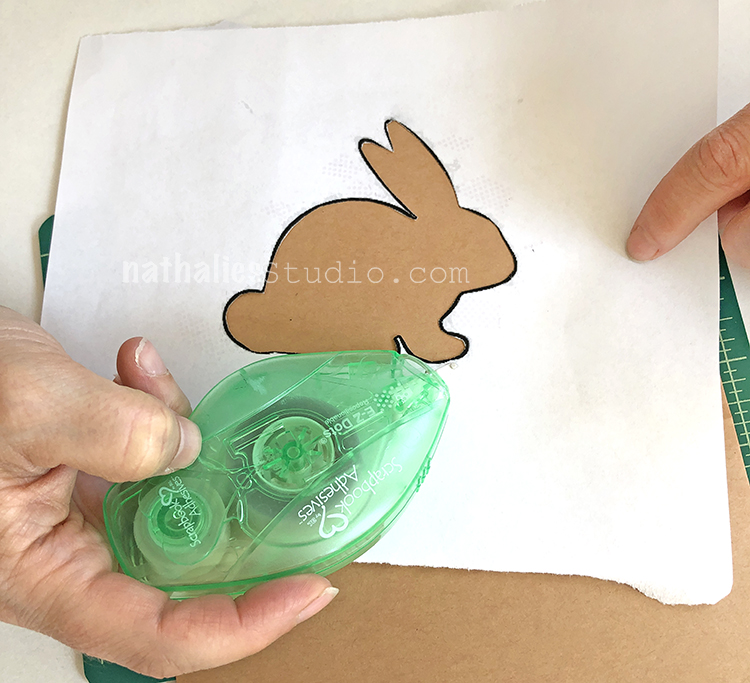
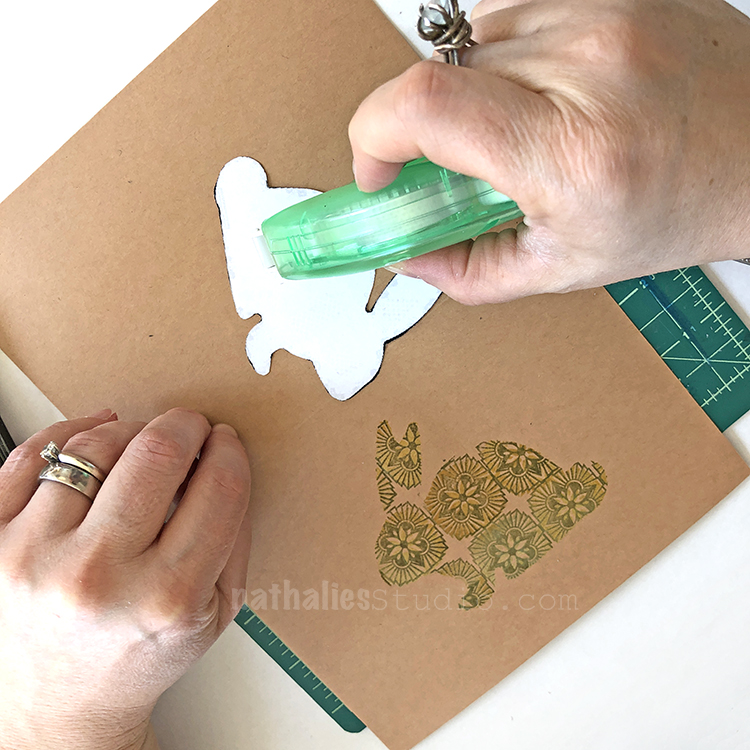
We used Scrapbook Adhesives E-Z Dots to temporarily stick our stencil to the front of the card. I love this tape – it’s easy to apply, sticks well, and comes off easily too!
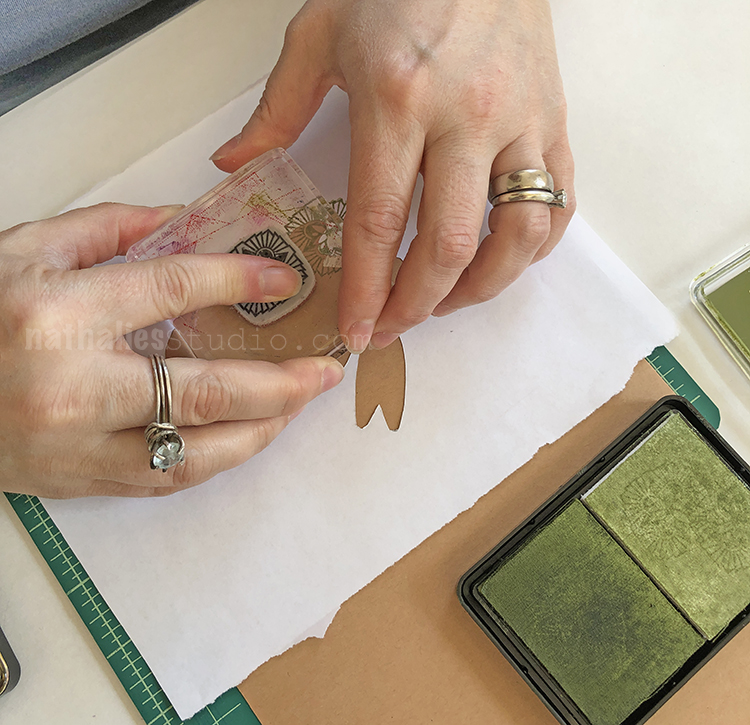
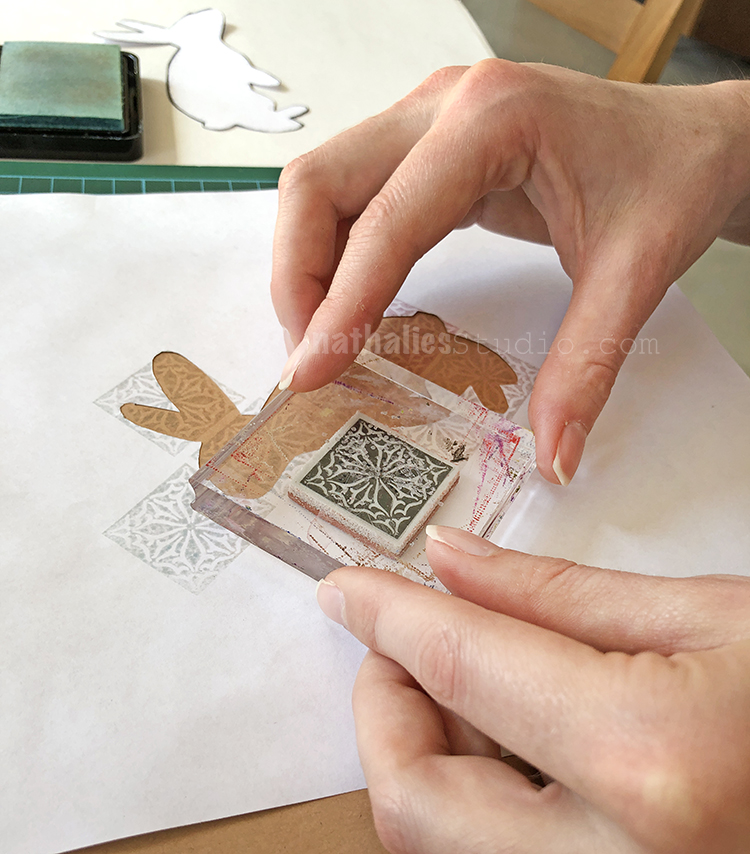
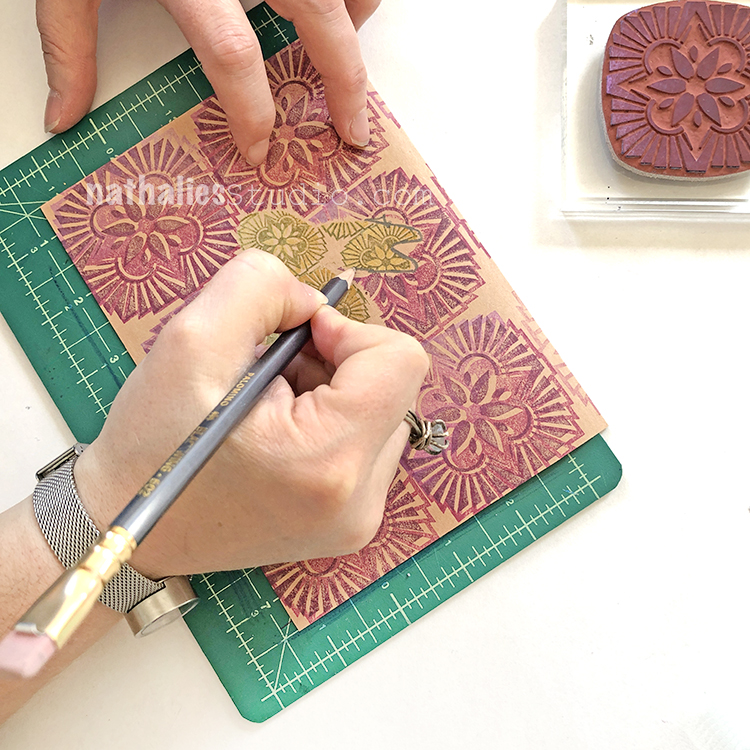
We stamped into our bunny “stencil” with stamps from my Floral Tile Small set – the scale is just perfect for tiling into small areas. Here I am using one of the Hamilton designs.
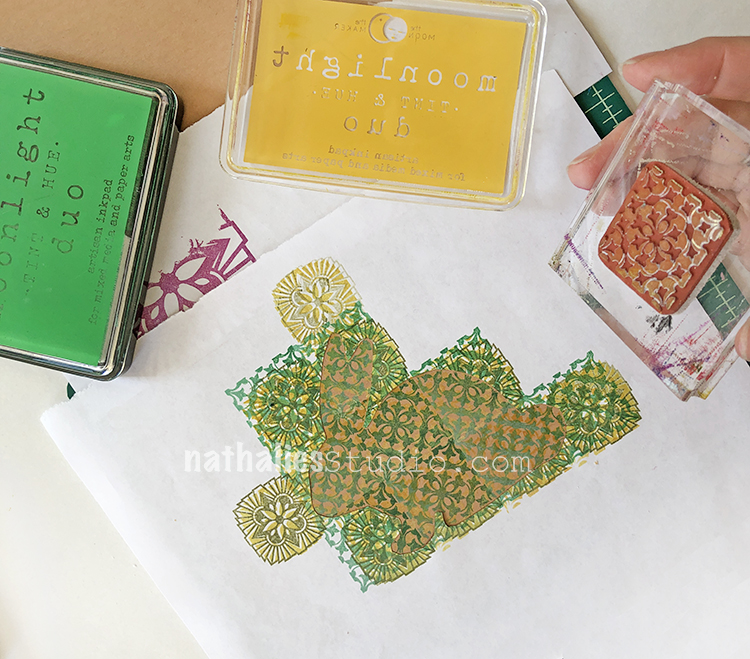
Kim began with one of the Van Vorst designs from the Floral Tile Small set.
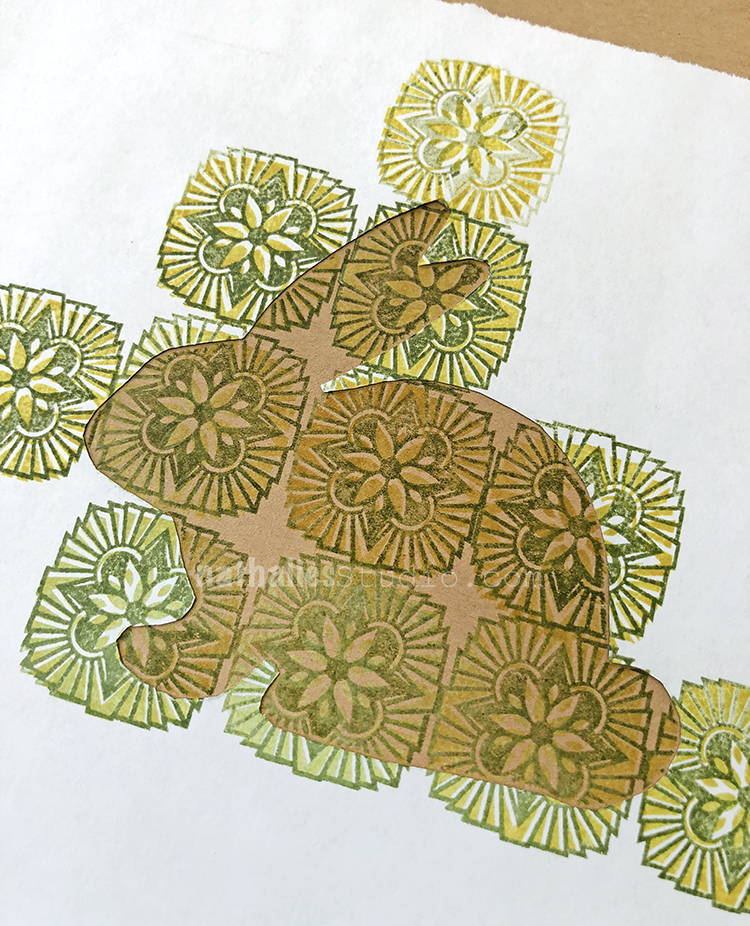
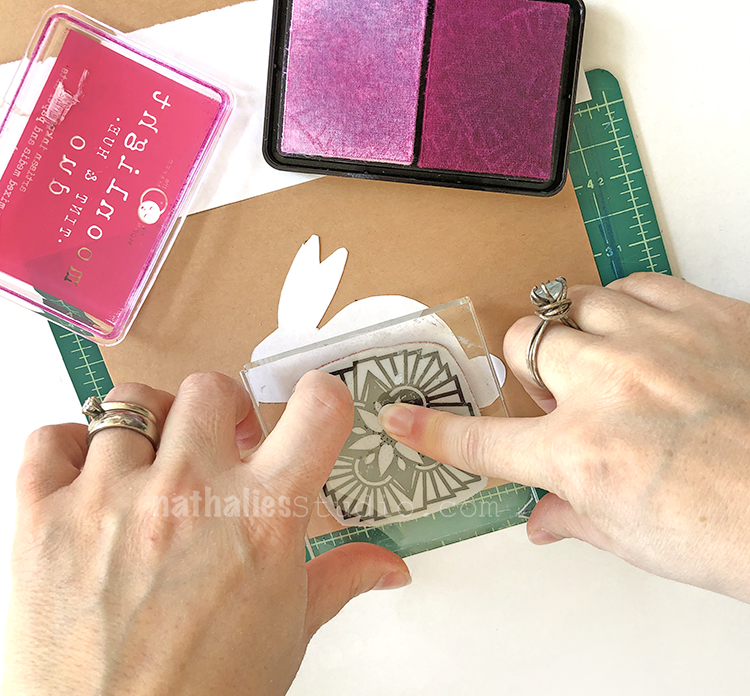
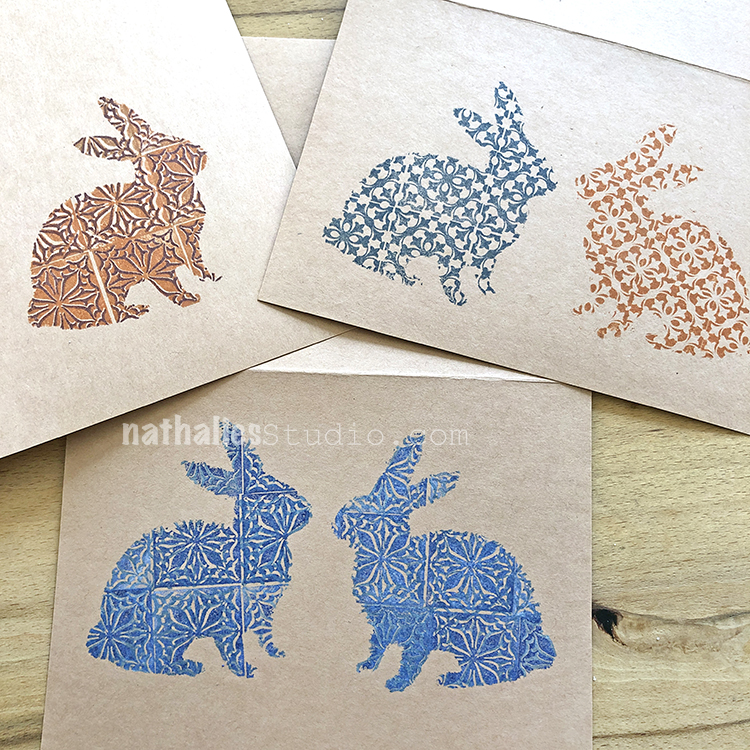
I used both the Positive and Negative Hamilton stamps from the small set and filled in the entire bunny.
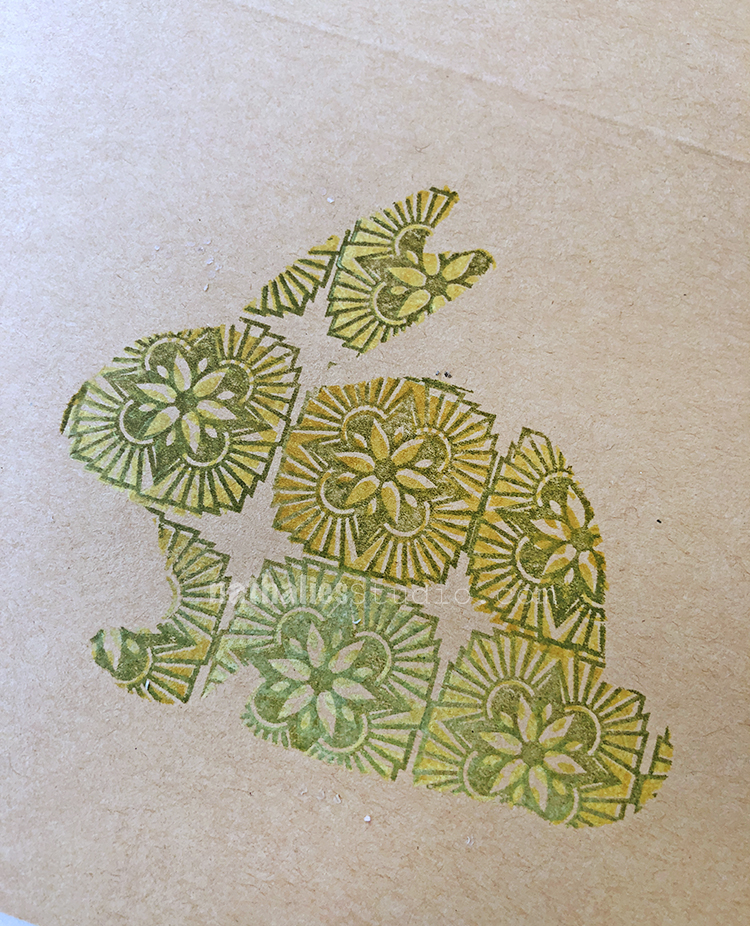
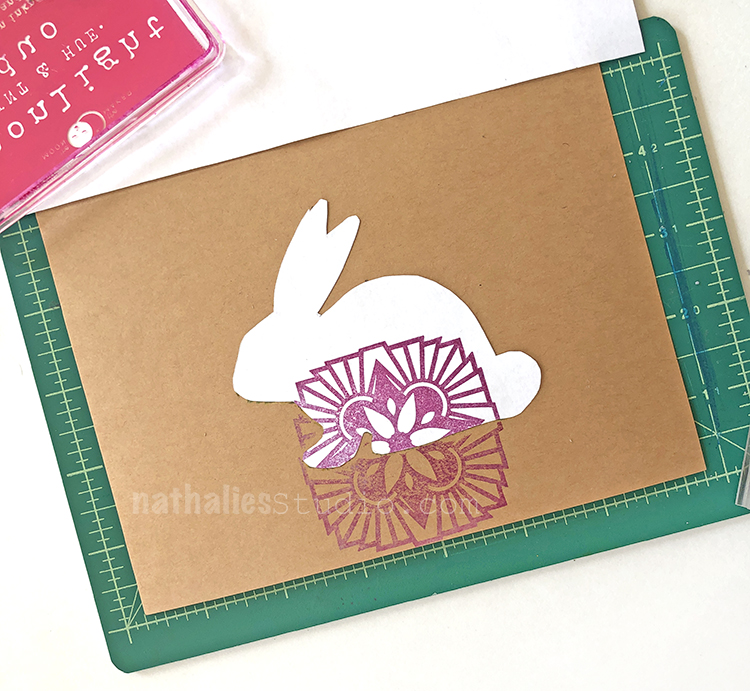
And here is the big bunny reveal! Now to fill in the rest…
Put a bit of repositionable tape onto the bunny mask and place on top of your stamped image.
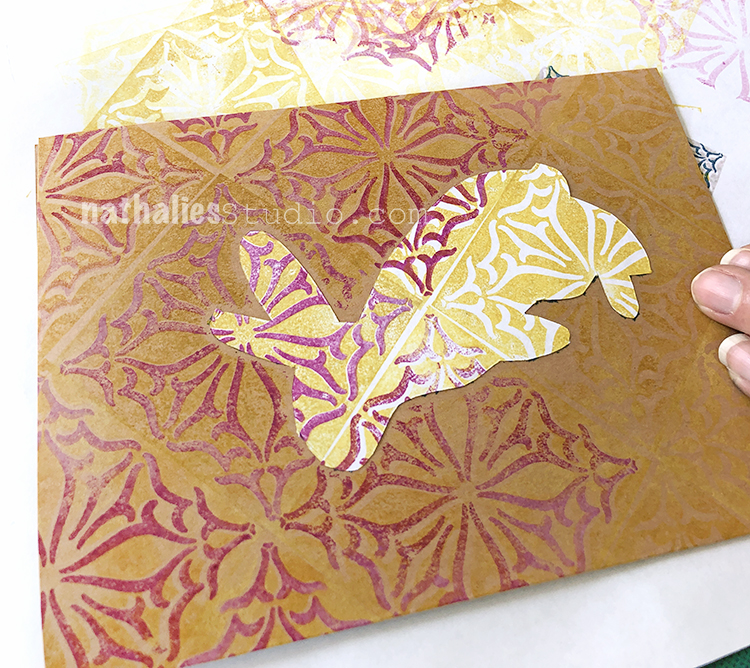
Begin filling the area around the bunny. Here I decided to use the Hamilton stamps from the Floral Tile Large set.
It becomes quick work with the large size stamps.
Kim worked with the Van Vorst stamps from the Floral Tile Large set to fill in the area surrounding her masked off bunny.
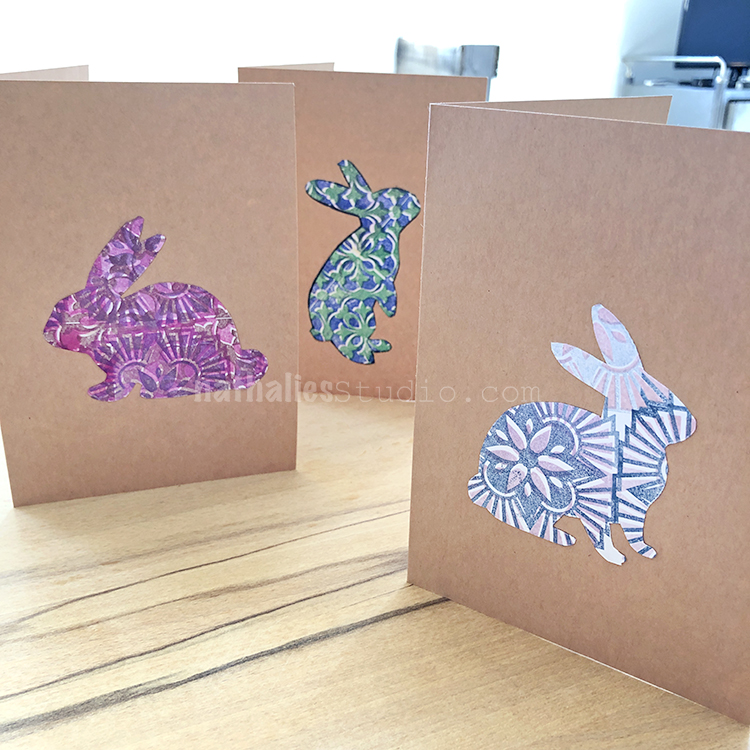
Looks pretty awesome when it is all done!
I experimented with outlining the bunny too – there are a lot of ways you can take these cards to another level.

Another card beginning with the outside, using the Versailles Positive and Negative stamps from the Floral Tile Large set.
And another using the Versailles Positive and Negative stamps from the Floral Tile Small set.
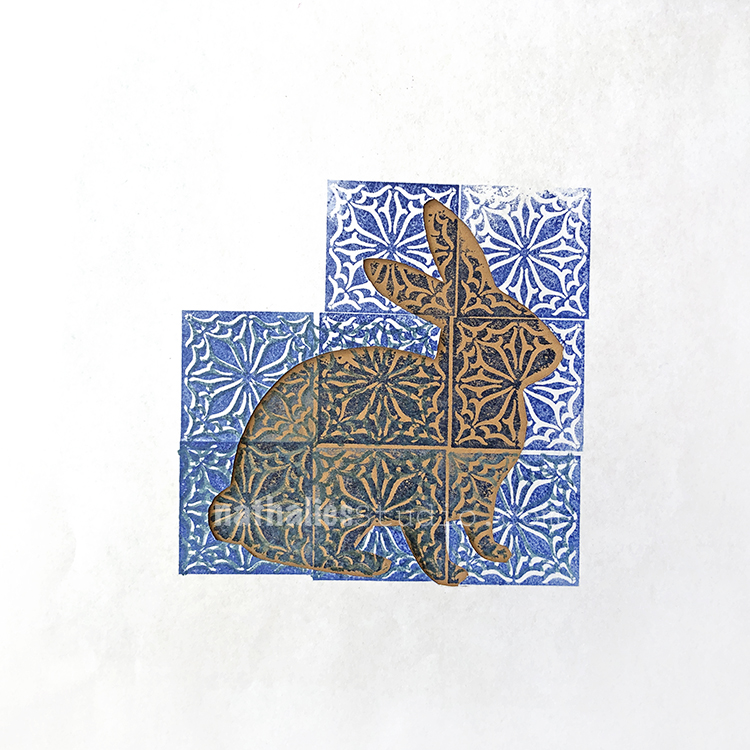
A very sweet bunny in blue using the Van Vorst Positive and Negative stamps from the small set. This dense pattern worked really well to define the bunny shape.
Kim getting into it – so fun with a lot of different stamp pad colors to choose from!
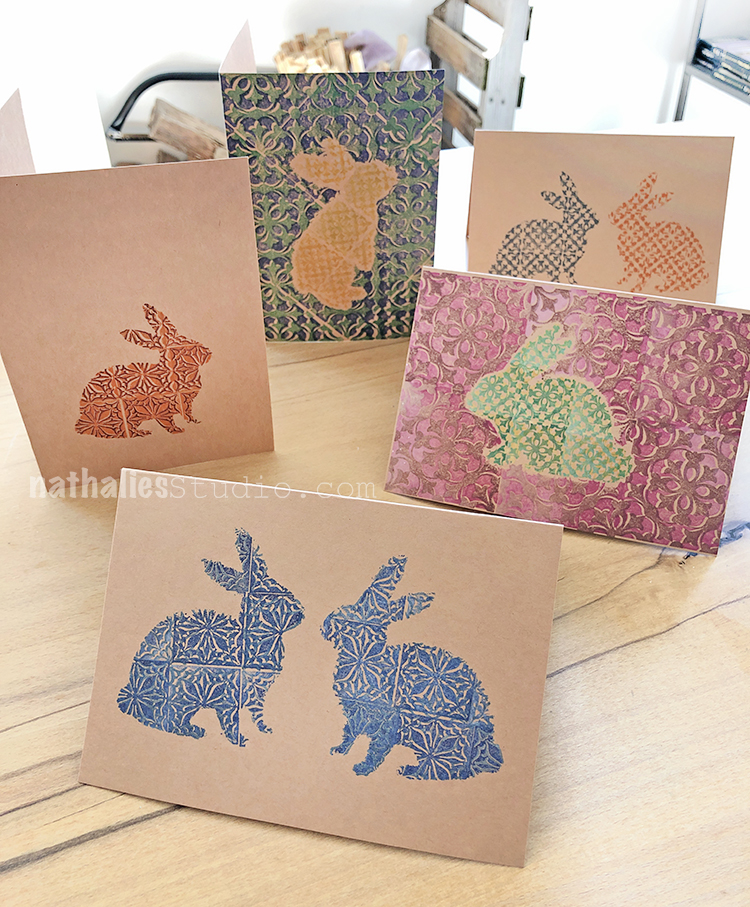
In the end we made quite a few cards – some that are really wonderful!
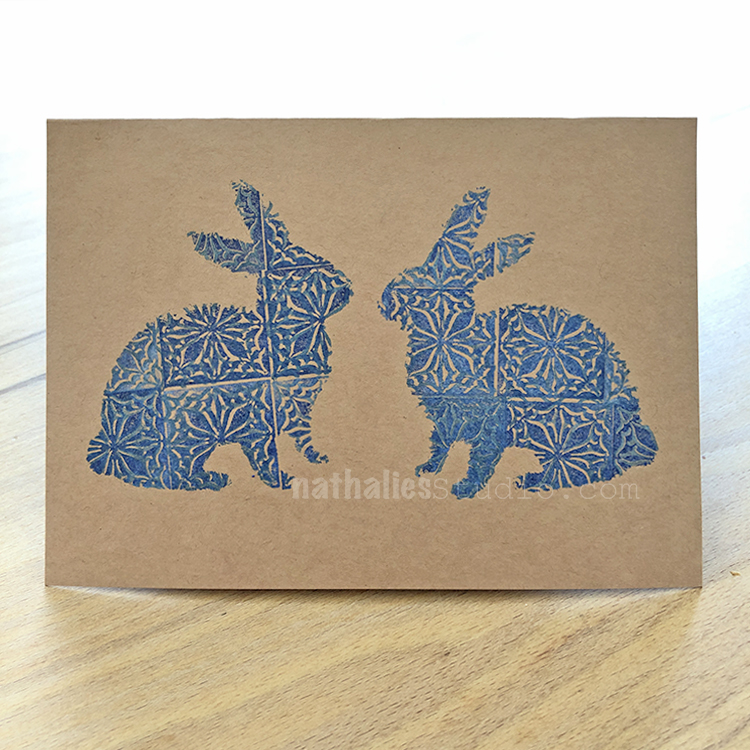
I just love this one I made with 2 bunnies!
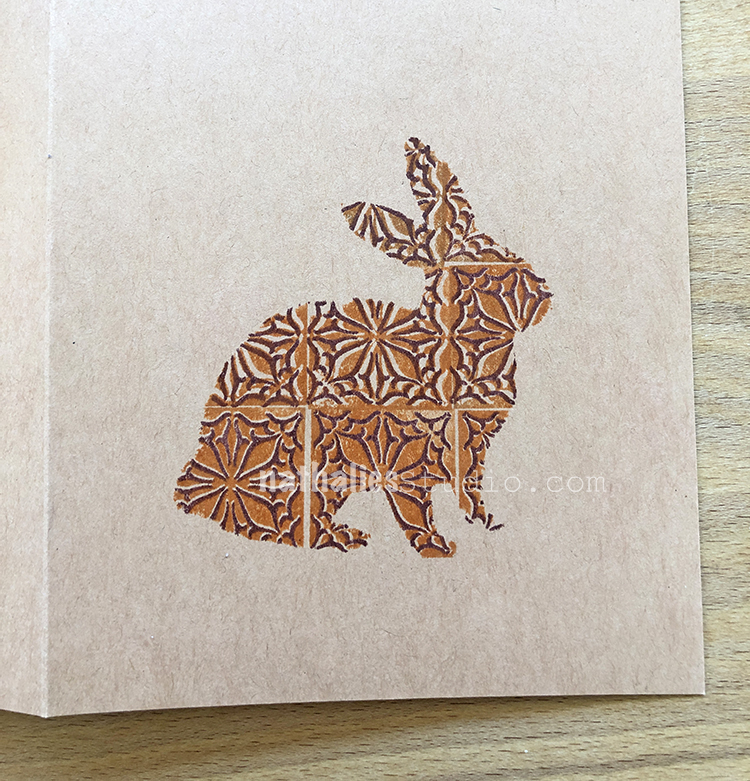
Kim made a sweet orange one…
So fun to play with different iterations!
And then I realized that the stamped bunny masks should not go to waste – they looked great on the cards too!
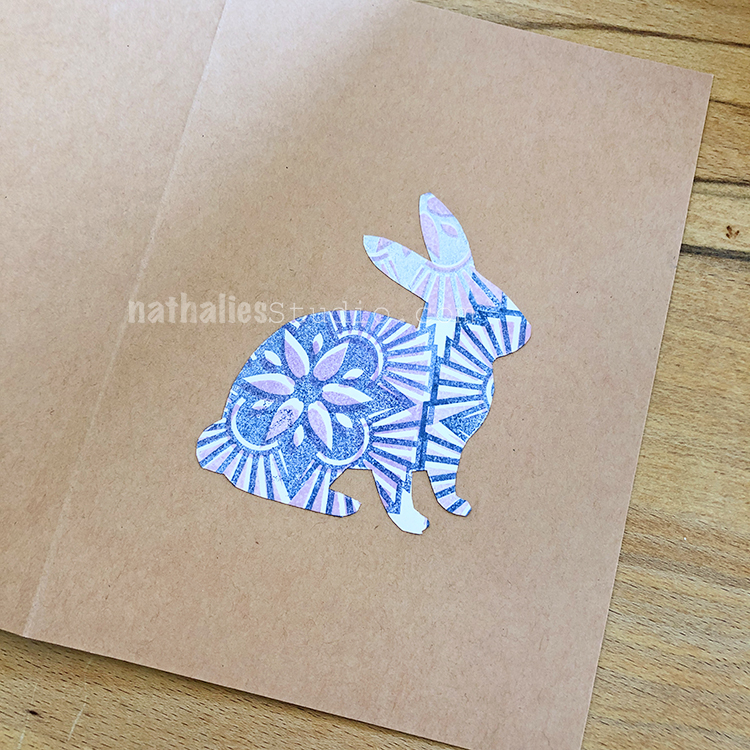
Last one :)
We hope you try some of these techniques with my new stamps. Try mixing up different colors, playing with the positive and negative designs, and work with both sizes. We had a blast and can’t wait to spread a little Easter cheer with our cards.
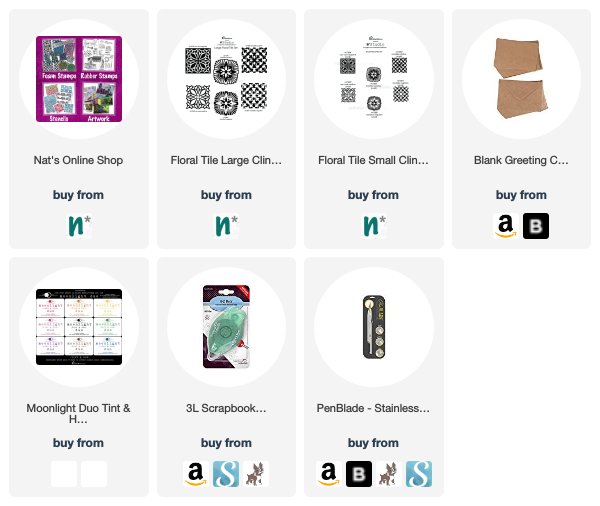
You can find my rubber stamps in my online shop. Here are some of the supplies that we used in this play date:

Don’t forget! Now is a great time to shop in my Online Store and use the coupon code SWEEPSALE to get 20%off all physical products. Hurry! The sale ends April 15th at 11:59pm EST.
