Creative Squad

Say Yes to New Adventures – Michelle Rydell

CS August Say Yes

It’s Tuesday and time for my Creative Squad to share a project with you with this month’s theme: “Say Yes to New Adventures”. Throughout the month of August, the team has been using any of my n*Studio Stamps and Stencils they would like to use to interpret the theme. Here in the northern hemisphere, summer is coming to a close and it’s about time to seize the days and go on a little adventure before hibernation! With this in mind, the team has created something that celebrates the spirit of adventure.

This week we bring you Michelle Rydell and an art journal page all about her adventures with love!

—————————————————————————————————

Michelle August Headshot

As soon as I heard that the theme for this month was “Say Yes to New Adventures,” I knew I wanted to do a colorful, many-layered page, to represent the many adventures I’ve had with my hubby Michael! I also thought it would be a great opportunity to make the creation of the page an adventure in itself, by letting it develop organically, instead of having a set plan before beginning…

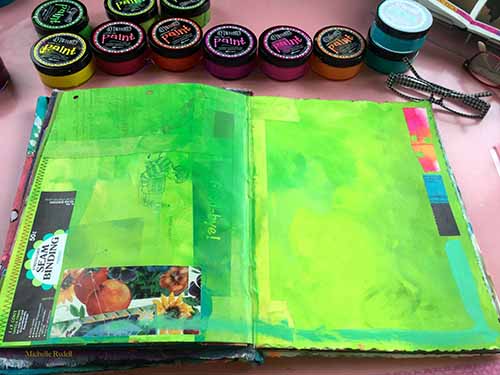
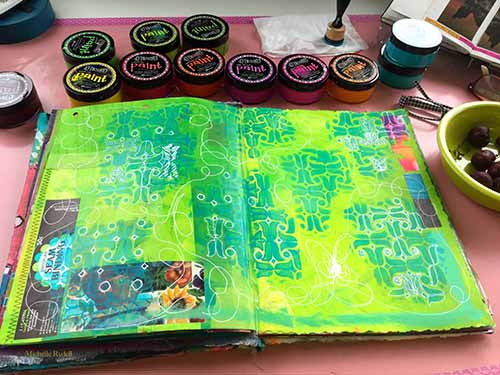
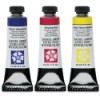
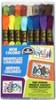
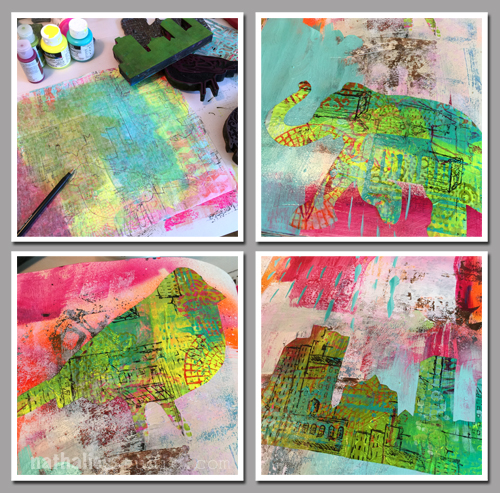
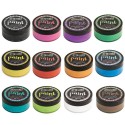
Here’s how it went…  I opened to a page in my journal that already had the background painted, and a few random collage elements pasted on. I set up my table with a bunch of Dylusions acrylic paints, and foam tools, and got to work…

Rydell Adventure 1

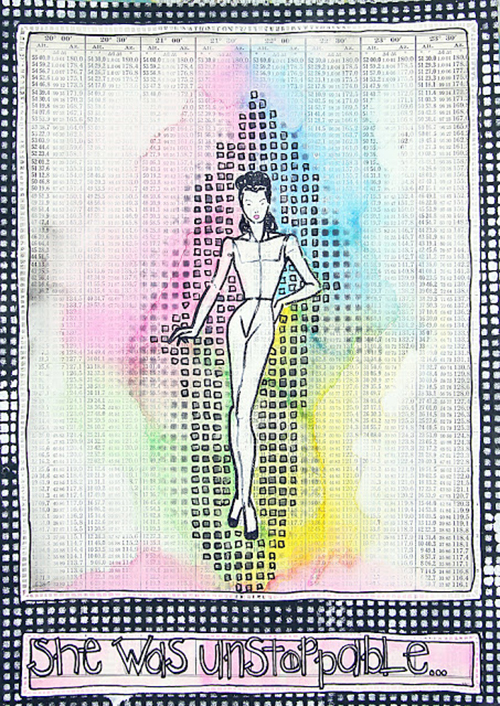
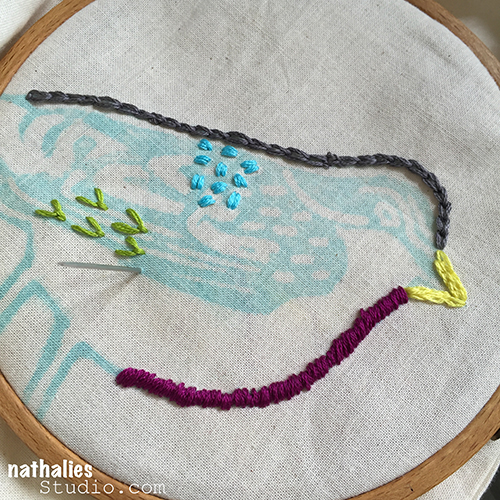
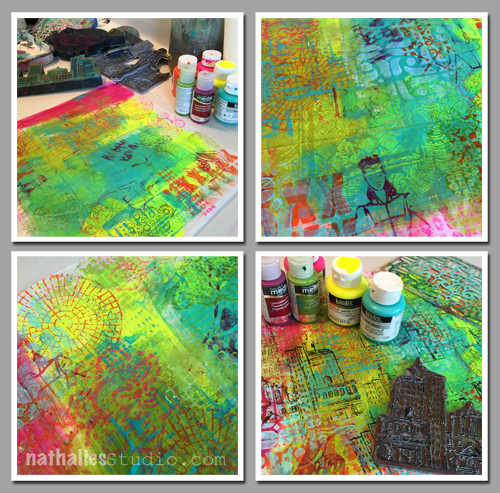
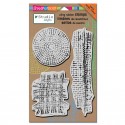
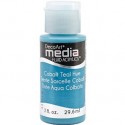
The first stencil I used was the one from the Fashion Dame set, which I applied randomly around the page with turquoise paint…

Rydell Adventure 2

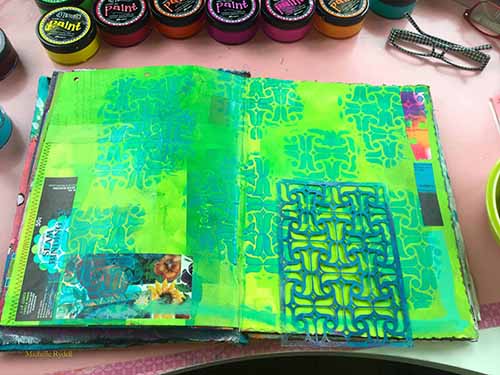
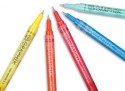
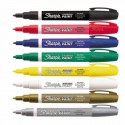
And then added some white doodling with a paint pen.

Rydell Adventure 3

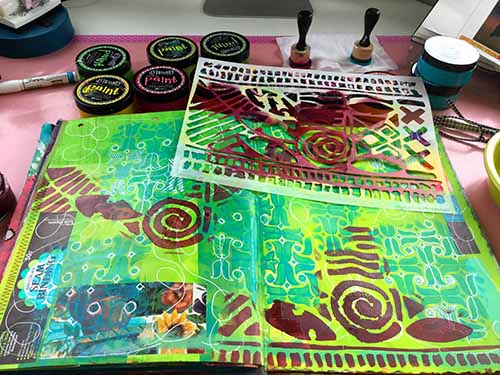
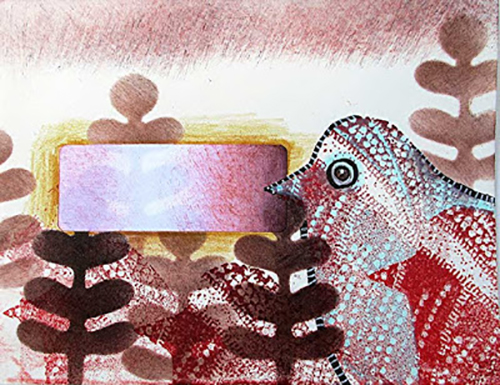
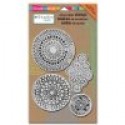
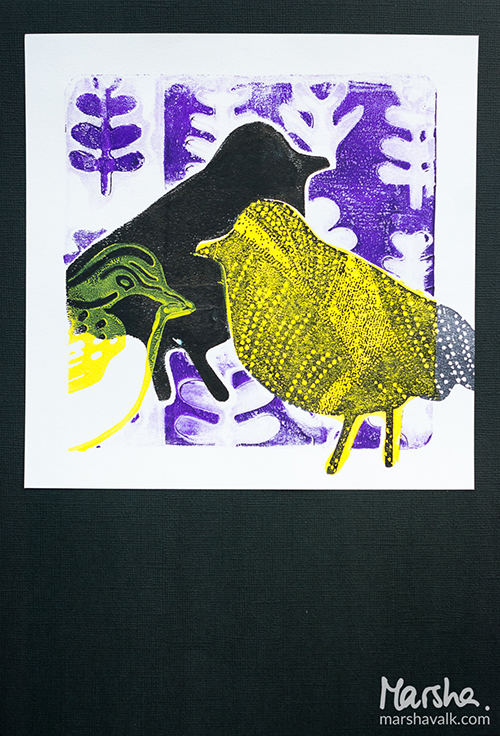
Next I used the Batik Stencil, with Pomegranate paint for contrast. I applied random bits of it in the “empty” spaces…

Rydell Adventure 4

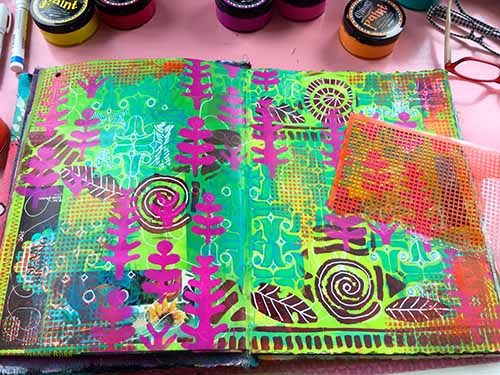
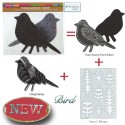
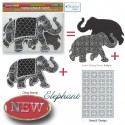
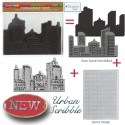
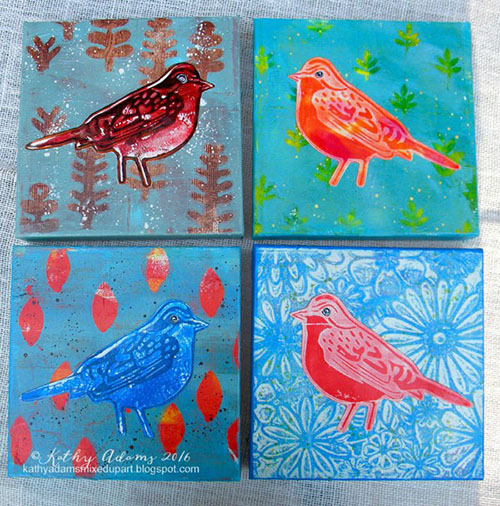
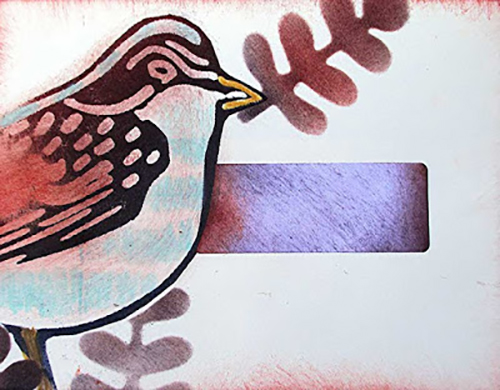
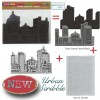
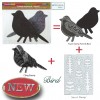
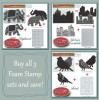
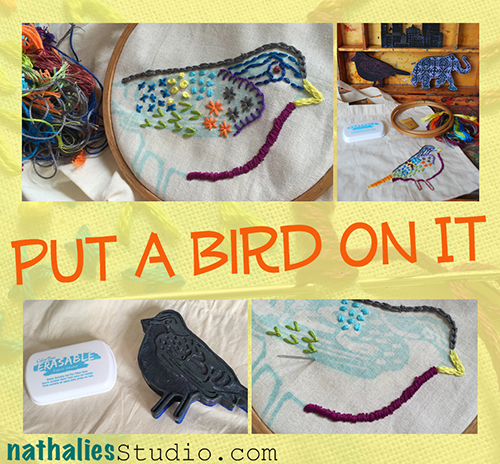
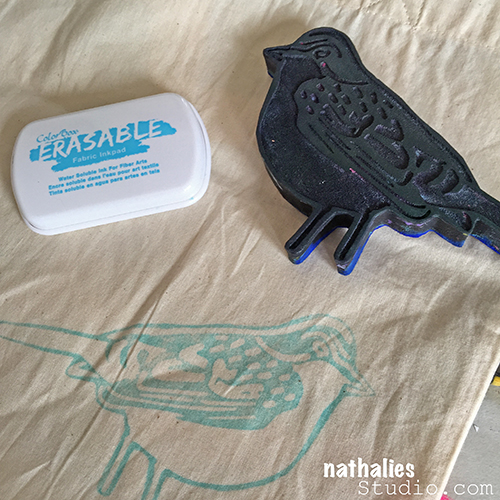
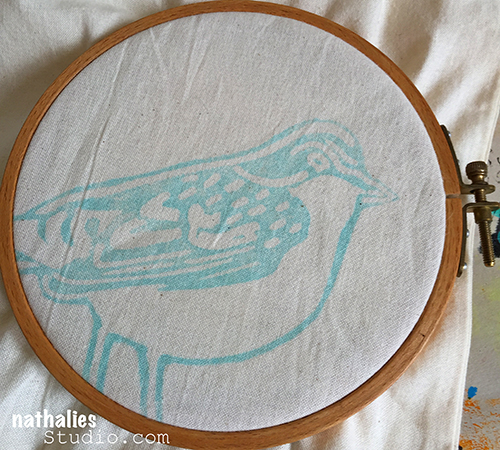
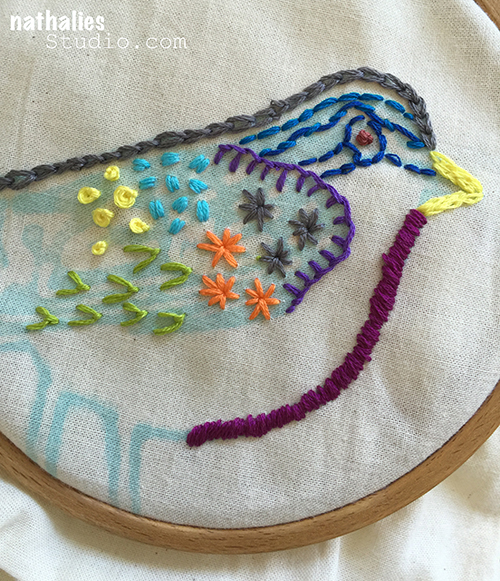
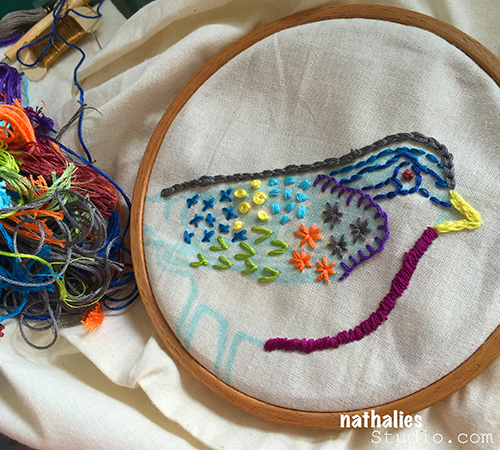
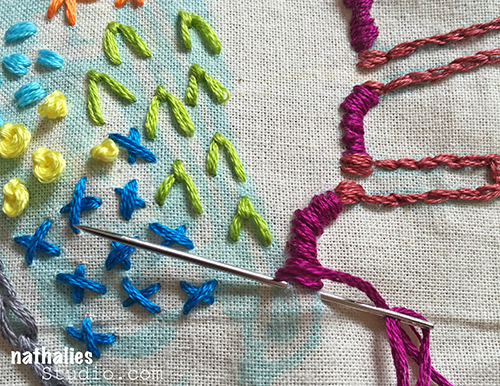
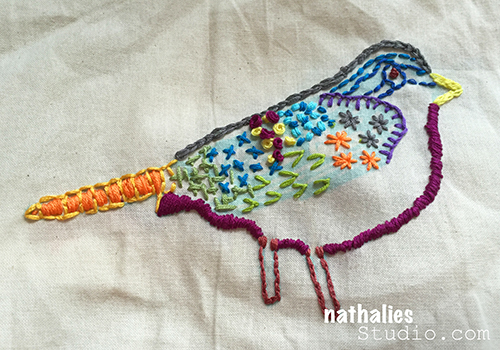
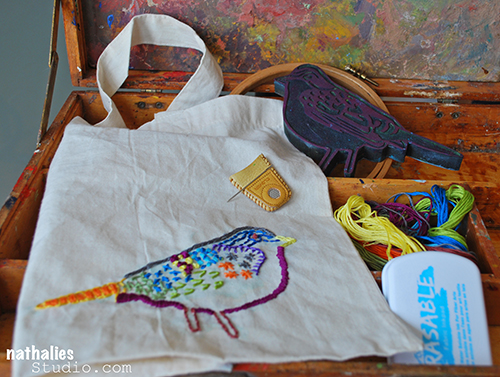
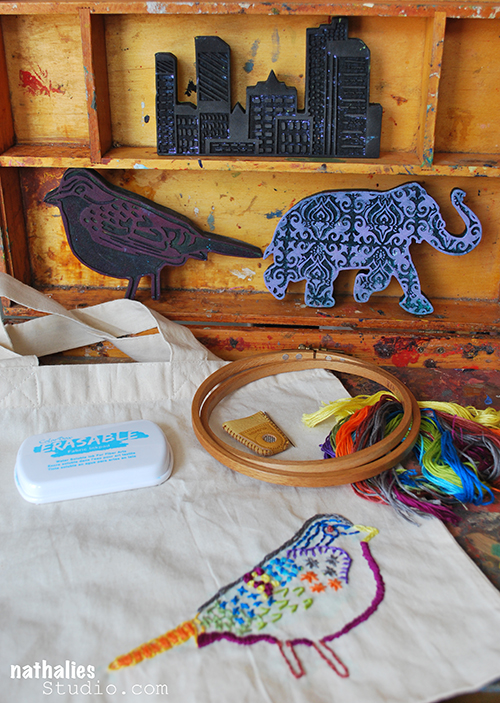
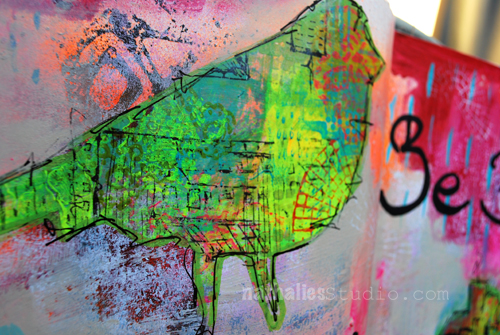
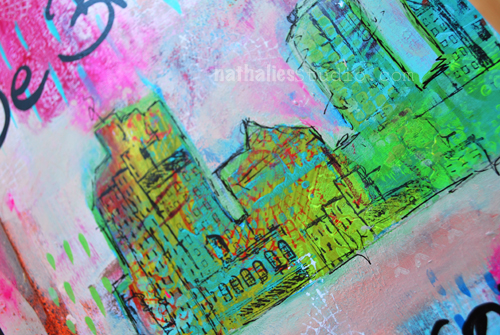
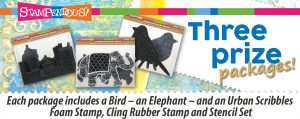
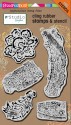
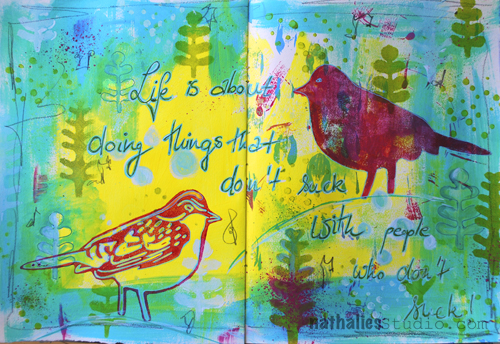
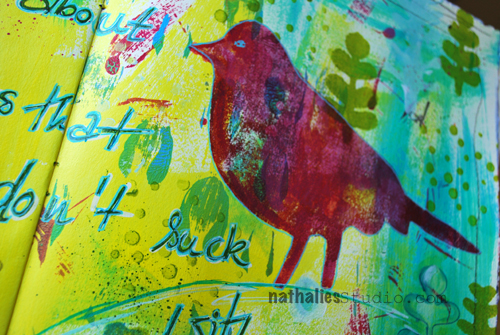
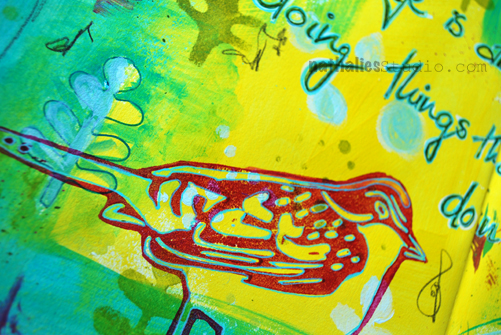
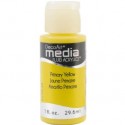
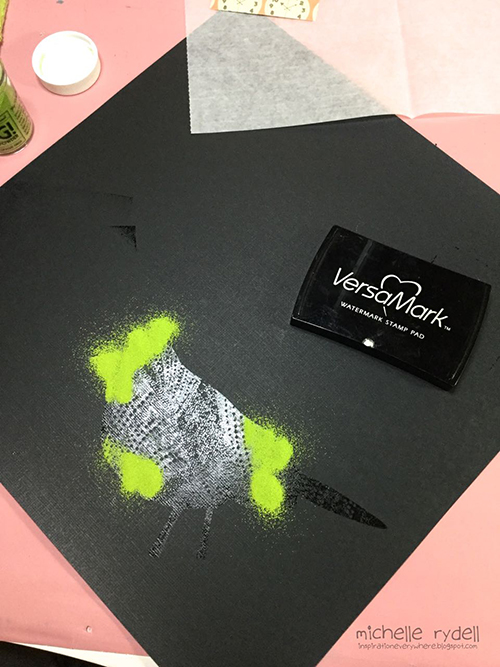
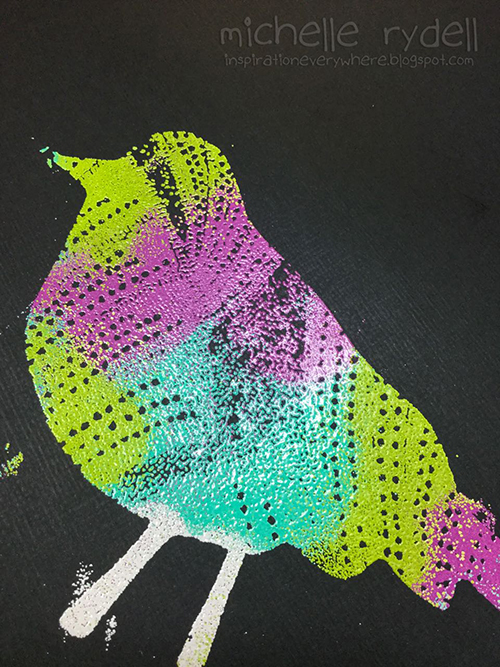
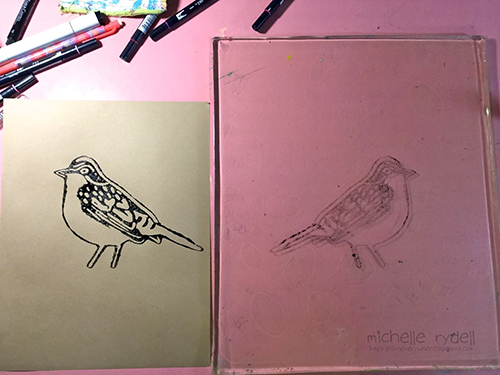
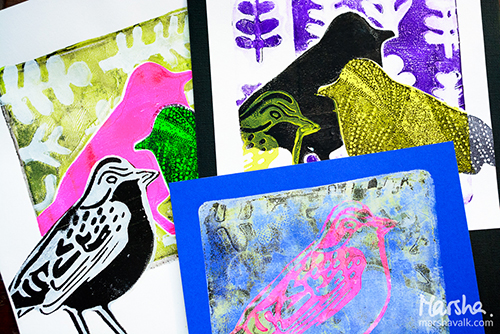
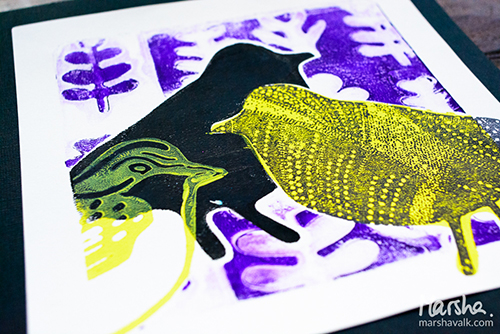
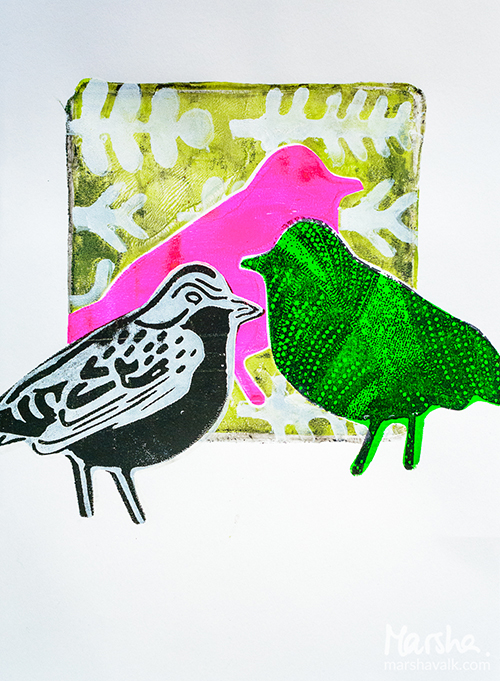
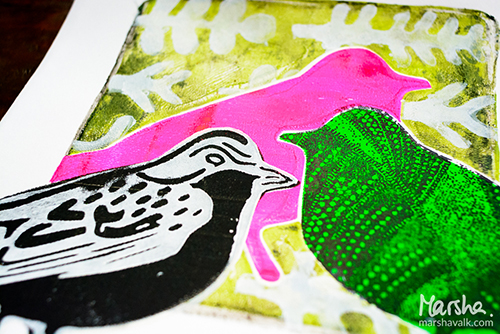
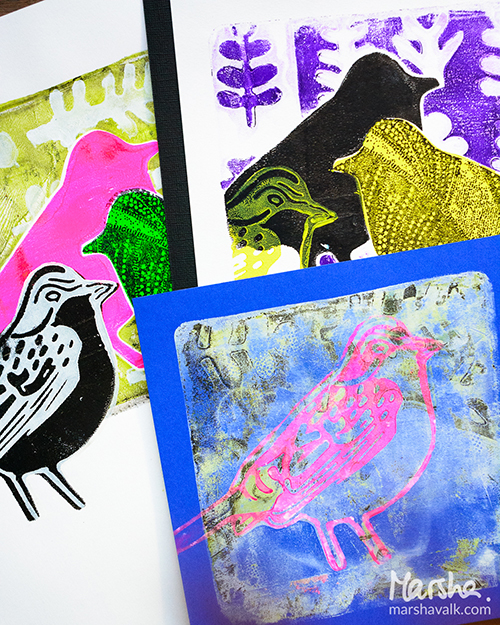
I kept up the same process, adding the stencils from the following foam stamp sets: Bird (in pink), Elephant (in yellow) and then Urban Scribble (in orange), adding doodling here and there along the way…

Rydell Adventure 5

Rydell Adventure 6

At this point, I printed out a 5 x 7” photo from our wedding, and gently set it where I thought I wanted it to go, outlining with a Stabilo all pencil.

Rydell Adventure 7

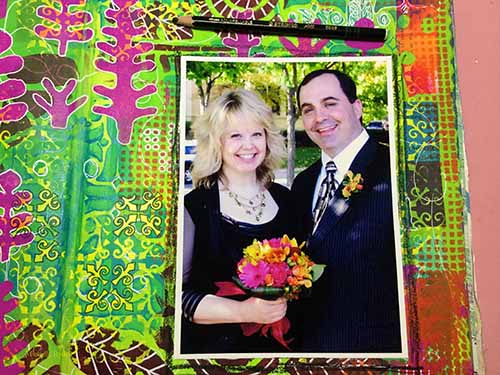
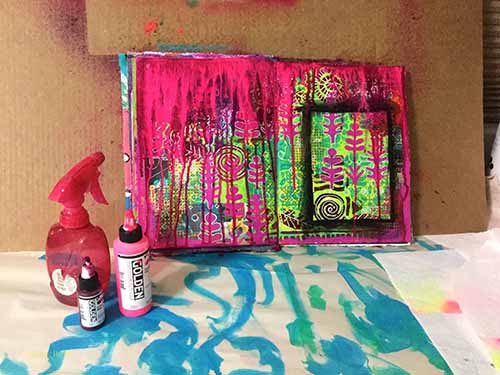
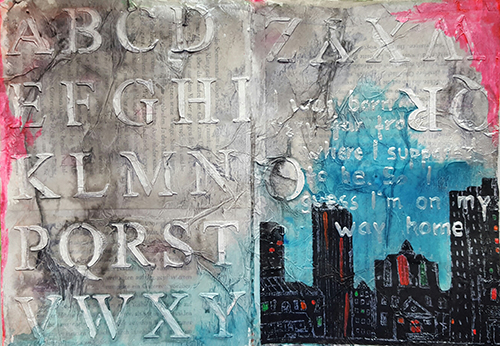
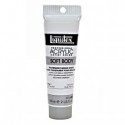
I removed the photo (so as to not get it dirty) and activated the water-soluble pencil with matte medium to make a nice black frame for contrast. After that I realized the page was needing some drippage! Over to the spray station it went, and high flow paint was added along the top edge, spraying with water to increase the dripping effect.

Rydell Adventure 8

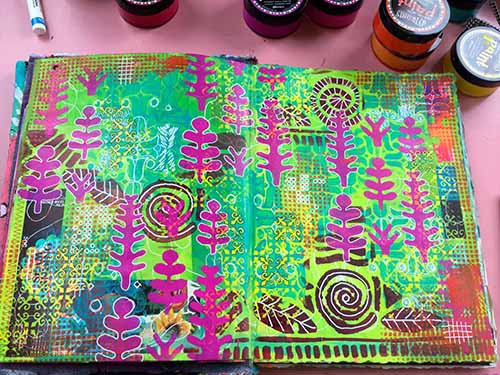
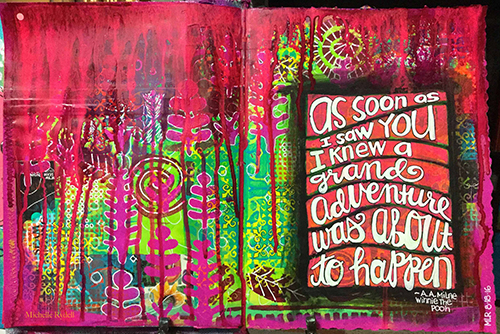
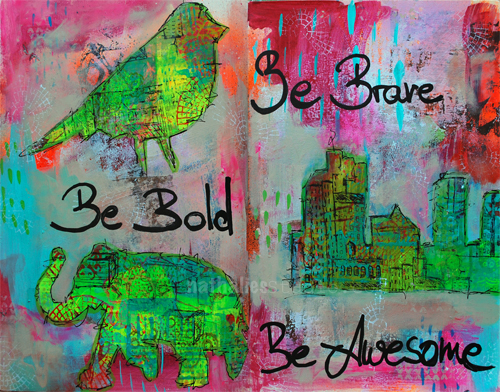
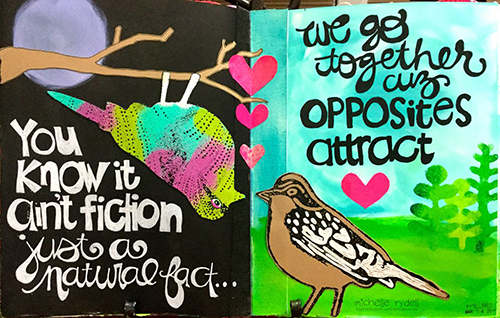
Looking at the page without the photo gave me an idea – that frame would be a perfect place to put the quote I had in mind! Busting out the stabilo pencil again, I created the journaling lines, and then used a paint pen to create the background and lettering. I stepped back and took a look… I felt like it was complete! No photo needed! Here’s how the final page turned out…

Rydell Adventure 9

—————————————————————————————————

Michelle’s art journal page was an adventure in creation and I love the outcome with all those layers and that quote.

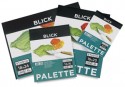
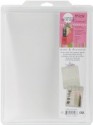
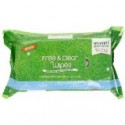
She used the supplies listed below (some are affiliate links):

SuppliesCJS


Maybe you will even play along with us -I would love to see how you interpret our monthly themes. Email me how you used my stencils and stamps with the theme and email me an image – I would love to share your projects in my next “n*Spiration From Around the Globe“.

See you next Tuesday for another project from the Creative Squad with a brand new theme for September!

Comments (4)

  • Marit

    |

    That photo is so cute but I too love the page with the quote… just ‘knowing’ that it represents that particular photo makes it complete. Great page Michelle!

    Reply

  • Joi @RR

    |

    Well, Michelle – I just have to say that I adored your page before you added the drippings. However… I like the end result because it is unique and it makes you happy too! Love how you added the sentiment. FUN and FUNKY!!! j.

    Reply

  • Sue Clarke

    |

    Lovely page Michelle.
    Thanks for sharing your techniques.

    Reply

  • Julie Tucker

    |

    This is gorgeous! LOVING the colors and that quote!!!!!!!!!!!!!

    Reply

Leave a comment

Inspiration from Around the Globe… August!

nspiration from around

This Tuesday we’re taking a short break from our Creative Squad (they will be back next week with one last “Say Yes to New Adventures” project) to bring you some amazing projects from around the globe. As you know, my stamps and stencil designs are available for purchase online and maybe even in your local craft store, so crafters and mixed media artists and art journalers from around the world are using them. I am always excited to see how YOU use my products in your own projects. I am even more excited to share some of the beautiful and creative examples of these projects with you today. Enjoy this inspiration from around the globe!

Global Kathy Adams South Carolina

First we have a whole flock of feathered friends (yes, that’s my Bird Foam Stamp set in action) from Kathy Adams in South Carolina. Her four mini canvases are inspired by the four seasons and are super fun!

Global Andrea Braun Germany

From Andrea Braun in Germany we have a beautifully textured art journal page using my Urban Scribble Foam Stamp set.  I love how she incorporates the alphabet in low relief in this one.

Vicky Papaioannou from Greece brings us this happy and colorful art journal page featuring my Elephant Foam Stamp set.  Watch how she creates this vibrant spread and how she masters the use of my stamp set too!
Global Tina Walker Pennsylvania

Global Tina Walker PA 2

From Pennsylvania, our newest Creative Squad member Tina Walker demonstrates 2 really cool ways to use my Fashion Dame stamp set. First she casts adorable little resin jackets to use on some really sweet tags and then she puts together a fresh looking art journal page.

Global Judi Kauffman 1 Global Judi Kauffman 2

Here are a couple of envelopes by Judi Kauffman in Maryland using my Bird Foam Stamp set.  I just love how she used all the pieces in the set, including the stencil, to create these charming envelopes. Wouldn’t you love to find one of these in your mailbox?

Global Riikka Kovasin Finland

Finally is this nifty printed canvas pencil case from one of my former students, Riikka Kovasin from Finland.  She layered a bunch of designs including my Marks stamp set on this little case and the results are awesome.

Join us again next Tuesday for another great project from one of our Creative Squad members!  And in the meantime, share with me what you’ve been working on with my stamps and stencils.  I would love to feature your project in an upcoming post!

Try some of the above techniques for yourself with these n*Studio supplies:


Comments (2)

  • Joi @RR

    |

    What fun to see your FAB stamps and stencils in so many creations from around the world. Smiling big! Xj.

    Reply

  • Sue Clarke

    |

    Love love love the canvas pencil case!!!

    Reply

Leave a comment

Rule of Three – #3 – Three Ways to color with Stamps

Here is another episode of my new series of mini-videos: “Rule of Three”. As we all know all good things come in three and these mini-tutorial-videos will show you all kinds of fun and practical things and techniques coming in three.

+ Expand this article
4comments

Comments (4)

  • Dara Hale

    |

    Love the Rule of 3 series with the stamp sets!!!! I own two and love trying different mediums to play with :) Thank you for sharing with us Nathalie :)

    Reply

    • nathalie-kalbach

      |

      Dara, so glad you enjoyed the video and that you have fun playing with different media and the stamp sets :) Share with me what you did with them – I would love to see :)

      Reply

  • Joi @RR

    |

    Ahhh – loved beginning my Sunday with you Nat! Really professional and informative video. HIGH FIVE!!! Loved seeing all three techniques and your fab stamps too. Xj.

    Reply

    • nathalie-kalbach

      |

      So glad you enjoyed the video Joi! Have a gorgeous rest of the sunday :) Nat

      Reply

Leave a comment

Put a Bird on It – Embroidering with Stamps

KalbachPutaBirdCollage

I have been doing some embroidery stitching samplers the past couple months and when I was talking to my friend Judi, she told me about the Erasable Fabric InkPad by ColorBox and I was hooked and I bought it right away so I could try it out with my Foam and Rubber stamps. I took a light canvas tote bag and my Bird Foam Stamp and stamped on top of the bag. And yes …I should have ironed the bag – but honestly- I just don’t like ironing ;)

KalbachPutaBird03

Next I stretched the fabric over an embroidery hoop -see – already less wrinkles- hehehe.

KalbachPutaBird04

I wanted to treat the bird image like a stitching sampler – so I used all kinds of different embroidery stitches and color. The grey thread is a done with a chain stitch, the yellow are two rows of split stitches, the magenta is a satin stitch , the light blue a seed stitch and the light green is a fly stitch.

KalbachPutaBird05

The dark purple is a blanket stitch, the dark blue and lighter blue over the eye is a laced running stitch, the grey and purple in the wing is  star stitch. Around the eye a backstitch and the yellow thread and the eye are french knots.

KalbachPutaBird06

I had so much fun – I am easily bored when I do things that are too repetitive and so this was a great way to keep me excited and interested and I could not stop.

KalbachPutaBird08

I used the stamped image sometimes to stitch right on top and sometimes just as a placement guideline for the stitches. It was super helpful and so easy.

KalbachPutaBird07

Here is a close up once I was finished


KalbachPutaBird09

And then I just washed the ink with cold water right off and all traces are gone .

KalbachPutaBird01

I cannot wait to do something similar with my Urban Scribble Foam Stamp and the Elephant Foam Stamp!

KalbachPutaBird02

Here are all the supplies I used – some of the links are affiliate links.

SuppliesCJS


Do you embroider? What have you embroidered and have you mixed it up with other art forms?

Comments (5)

  • Jean Goza

    |

    Love the bird. Inspires me to drag out my embroidery goodies and work on a new project. You are so inspirational. Thanks for sharing…

    Reply

  • Joi @RR

    |

    Heheheh – LOVE THIS Nat! I used to have so much fun embroidering. You have inspired me to play with it again. I still have a bag with thread and hoops!!! Your bird looks SPECTACULAR!!! What a great idea! SUPER FINE! Xj.

    Reply

  • Karen D

    |

    I love this idea of embroidering over the stamped image. I have used erasable marking pens before, but did not know about the erasable stamp pad. I used to do quite a lot of embroidery and have incorporated it with a painted background on some fabric. But lately I am working on an artwork and have embroidered over some of my daughter’s handwriting. Embroidery adds another dimension to your artwork and it can be very relaxing.

    Reply

  • judi kauffman

    |

    I knew you’d have fun with that ink, Nathalie, and I’m so glad you embroidered the bird. Is the bag big enough for a whole flock???

    Reply

  • Sue Clarke

    |

    It’s been a number of years since I’ve embroidered but this looks great and I never would have thought of using stamps as a guide this way. Thanks for sharing Nat.

    Reply

Leave a comment

Be Brave Art Journal Page and Stampendous Giveaway

STM_NatNfriendsSummerHop_FBpost

Today is the last day of the Nathalie Kalbach & Friends Stampendous Summer Hop – so much fun :)

What better way to celebrate summer than with some summer colors, I thought and created this Art Journal spread with all kinds of bold summer colors and different sets of the stamps I designed for Stampendous.

BeBrave_NatKalbach01

I layered some acrylic paint onto my art journal pages and set it aside for later. A list of all supplies can be found at the end of this post.

BeBrave_NatKalbach05

For the Bird, Elephant and Urban Scribble image I wanted to create my own patterned paper and I love to use deli paper for this because it is cheap and thin enough that you can use it to wrap up small presents, and can be used easily as collage material in your mixed media art work. I used the same colors over and over again, first adding big patches of colors to the deli paper, then stamping with acrylic paint and all kinds different Rubber and Foam Stamps. Later I layered some of the stencils which are included in my stamp sets on top to tie some areas together. Last but not least I used the Urban Scribble rubber Stamp and black archival ink and stamped randomly here and there.

BeBrave_NatKalbach06

I traced the Foam Stamps onto the back of my new patterned paper and cut out an elephant, bird and the urban skyline. I glued all the cutouts down onto my earlier painted art journal spread using Matte Medium and a cosmetic sponge. Then I added a couple more marks and colors to the page and outlined the shapes in a sketchy manner. Added some Journaling- and voila :) It was a lot of fun to just play with all the different stamps. I cannot wait to make more patterned paper to use this way for wrapping paper – a good way to use up some of your left over paints and stamp off your inked stamps. Here are the details of the elements on the finished page

BeBrave_NatKalbach02

BeBrave_NatKalbach03

BeBrave_NatKalbach04

I hope you enjoyed this fun and colorful post :)

STM_NatNfriendsHop_prize

Do not forget that you can win all three of my Stamp Sets by commenting today on the blogs with projects of my stamp sets in this list from the whole week. Check out all those amazing projects my friends posted – I am blown away:

Stampendous Blog Post Monday

Pam Bray Monday

my blog – Creative Squad – Cheiron Brandon on Tuesday

Katy Leitch on Tuesday

Stampendous Blog on Tuesday

Stampendous Blog Post Wednesday

Gwen Lafleur Wednesday

my Creative Ice Breaker Wednesday

Louise Healy Wednesday

Stampendous Blog Post Thursday

Rae Missigman Thursday

Marsha Valk Thursday

Katy Leitch on Thursday

Allison Heikkila on Thursday

Mark Gould on Thursday

Stampendous Blog Post Friday

Tina Walker Friday

Pam Bray Friday

Lea Fritts Friday

Katy Leitch on Friday

Tenia Nelson on Friday

my blog- you are here :)


Have a wondeful day and good luck!!! Stampendous and I will post about the winner on our blogs next week!

Here are all supplies including the stamps I used (some are affiliate links).

SuppliesCJS


Comments (35)

  • Linsey

    |

    Oh goodness! Your art journal pages are SO gorgeous and completely inspiring!!! Thank you so much for sharing your awesome creativity and talent and for coming together to bring your fans this super cool mixed media hop!! I’m thoroughly enjoying seeing your marvelous designs come to life!!!

    Reply

  • D.Ann C

    |

    Oh, I have a serious crush on your user of neon colors!!! I have also developed a serious crush on your stamp/stencil sets this week. Can’t wait till my budget let’s me indulge in getting some!!! -FL

    Reply

  • Leadonna Fritts

    |

    I absolutely love your style of creating, Nat. Like me, you love color and it shows beautifully in your work. Your art journal pages just speak to my heart. Thank you for sharing!

    Reply

  • Janet Staples

    |

    I LOVE this! So bright while being subtle and bold! Brilliant. I’m glad I ran across this…can’t wait to see the other artists’ interpretations! Thank you so much for all of your inspiration Nat!

    Reply

  • nicole n

    |

    Love all of the bright colors and the elephant!

    Reply

  • Jackie Schachter

    |

    When I reached this page I just said to myself “wow’. Love the
    brilliant colors of the backgrounds and stamps. You and your
    designers are so talented. Have enjoyed this week’s blog
    hop – it was fun. TFS.
    Jackie, Tel Aviv, Israel

    Reply

  • Sarah P.

    |

    The journaling pages are so colorful and make a statement. I love them, they catch your eye for sure.

    Reply

  • jacqvz

    |

    So inspiring! Love the hold colors!

    Reply

Leave a comment

Don’t Suck or … In My Art Journal Today

NatKalbach_AJfun

“Life is about doing things that don’t suck with people who don’t suck!”

so true – isn’t it? Tell you, what didn’t suck – playing with paint and doing a happy colored art journal spread :)

NatKalbach_AJfun02

I played with my Bird Foam Stamp Set. I used the frond stencils and masks with acrylic paint on the background. Stamped the two sides of the included foam stamp- one side is solid and one is patterned. for the solid side I used a magenta color by decor art which is translucent and applied it very thin to my stamp with a brayer as I wanted the background to still show through and create the pattern of the bird. I love the outcome.

NatKalbach_AJfun03

I traced the lines of the patterned foam stamped bird with a Graphic Painter Pen by Derwent- just to make it pop a bit. The flicks of paint you see here and there are actually also made with the Graphic Painter Pen – if you blow the side of the pen you can get some fine color mist spreading out- it is fun  to do  and looks awesome.

Here are the links (some are affiliate links) for the supplies I used:


Hope you have a wonderful day and some time to create something!

Comments (2)

Leave a comment

Rule of Three #1 – Three Ways to Ink up Foam Stamps

Let me introduce you to my new series of mini-videos: “Rule of Three”. As we all know all good things come in three and these mini-tutorial-videos will show you all kinds of fun and practical things and techniques in coming in three.

+ Expand this article
5comments

Comments (5)

Leave a comment

Opposites Attract – Michelle Rydell

CS Opposites Attract logo

It is Tuesday and that means it is time for my Creative Squad to show you a fun project. The theme for March is Opposites Attract and the team will use my new Bird Foam Stamp, Rubber Stamp and Stencil Set. Just as opposite colors on a color wheel highlight one another, or yin and yang fit together so comfortably, sometimes the best is brought out when we celebrate extreme differences!

This week we’re happy to show you an art journal page by Michelle Rydell, which has us singing along with her! Take a look at her musically inspired interpretation of our theme.

—————————————————————————————————–

Michelle March Headshot

The first thing I thought of when I heard this month’s theme, was the song “Opposites Attract,” by Paula Abdul. I thought it would be fun to use that as inspiration for my journal spread!

Michelle Rydell Opposites Attract 04

Here’s how I made the spread (the song running thru my head the whole time)…

I used the cling stamp bird first, and stamped her with versamark ink, so I could emboss her in a variety of bright colors. I poured each color of embossing powder on separately, so that I could shake the extra off and back into the jar, without the colors getting mixed up.

Rydell Opposites Attract 1

When I was done, this is how my bird looked. The stray bits of color don’t matter because I will be cutting her out.

Michelle Rydell Opposites Attract 2

Next I used the foam stamp bird. For my vision to come to life, I needed this guy to be facing left, instead of right. In order to accomplish this, I stamped him onto my gelli plate, and then pressed my kraft paper onto the plate, and voila, a left facing bird! (Just a note: If you don’t have a gelli plate, you could probably accomplish the same thing by substituting any non-porous surface, such as a piece of acetate or a plastic placemat.)

Michelle Rydell Opposites Attract 3

Once I had my two birds cut out, the rest of the page came together quickly. I painted a simple nighttime background on the left, with a paper-pieced tree branch. On the right side of the spread, I used the stencil that comes with the set to create some bushes in the background for my daytime bird. The hearts were cut from some underpaper on my desk that had pink paints and sprays on it. The lyric from the song was written with markers for a finishing touch.

Michelle Rydell Opposites Attract 04

I just loved working with this fun set! The birds are adorable and I love how you can mix and match them to create all kinds of different looks!

———————————————————————————————————
I love how Michelle showed us step-by-step her process for creating this fun page.  Her placement of the bird up-side-down on the tree really made me smile and her lettering is just gorgeous too!
Besides the supplies listed below, Michelle also used kraft paper and underpaper to create this art journal page.
SuppliesCJS

And maybe you will even play along -we would love to see how you interpret the theme – email me how you used my stencils and stamps with the theme and email me an image – I would love to share what you did at the beginning of next month!

See you next Tuesday for project inspiration from around the globe.

Comments (17)

Leave a comment

Opposites Attract – Marsha Valk

CS Opposites Attract logo

It is another Tuesday and therefore time for my Creative Squad to show you a fun project. The theme for March is Opposites Attract and the team will use my new Bird Foam Stamp, Rubber Stamp and Stencil Set. Just as opposite colors on a color wheel highlight one another, or yin and yang fit together so comfortably, sometimes the best is brought out when we celebrate extreme differences!

We’re very excited to share with you the very colorful, layered mono prints by Marsha Valk.  Take a look at her nifty interpretation of our theme!

—————————————————————————————————–

Marsha March Headshot


My thoughts on the theme ‘Opposites Attract’ were positive vs. negative and opposite colours on the colour wheel. And that immediately made me think… monoprints!
MarshaValk_nStudioCS_OppositesAttract-2
I started with sketching different placements on a scrap of paper so I could figure out how many masks and stencils I would need of the bird shape. Turned out I needed one stencil and three masks. I made them by stamping the solid foam bird shape onto transparencies and scraps of paper and then cutting them out.
MarshaValk_nStudioCS_OppositesAttract-5
I decided to use my 6 x 6 inch Gelli Plate so I could have a nice white border around my monoprinted images. I started with the yellow/purple print: added black acrylic paint to the Gelli Plate, put my handmade bird stencil on top, masked off part of the stencil with a handmade bird shape mask and then pulled the print and cleaned the plate.
I added yellow paint to the plate, positioned my bird stencil on the print with repositionable adhesive, pulled another print and cleaned the plate.
MarshaValk_nStudioCS_OppositesAttract-4 ver2
When the print was dry I masked off three birds on the paper using repositionable adhesive. Then I added purple paint to the Gelli Plate, created a pattern on top using the stencil and masks that come with the Bird Foam Stamp and pulled a print on a scrap piece of paper. Then I removed the stencil and masks and pulled a ghost print with my original paper.
Once I had removed all masks and any adhesive residue that was left on my print, I stamped the foam stamp bird with yellow paint on top of the negative (white) bird shape and the cling rubber bird with black ink on top of the yellow bird shape.
MarshaValk_nStudioCS_OppositesAttract-3
The second print was created in a similar way, but this time my black ghost print background didn’t work out as I wished. So I ended up adding another green colour and I stenciled the plant shapes over it with white paint.
MarshaValk_nStudioCS_OppositesAttract-6
The last print on blue paper was a ghost print that I pulled to clean the Gelli Plate and that I stamped over with the foam stamp bird.
MarshaValk_nStudioCS_OppositesAttract-7
Monoprinting like this is always a puzzle and rest assured that I had a few misprints too. I will keep those around for other projects! Whilst choosing my paint colours, I discovered that I hardly ever go for opposites on the colour wheel. It was fun to try this with a limited colour palette, out of my comfort zone!
MarshaValk_nStudioCS_OppositesAttract-1
———————————————————————————————————
I love how Marsha showed how to use all three stamp surfaces together, by creating a reverse print of the solid foam stamp, and using the patterned side of it to stamp on top.  The layering and colors are super intriguing.
Besides the supplies listed below, Marsha also used black and blue cardstock to create these prints:
SuppliesCJS


Maybe you will even play along -we would love to see how you interpret the theme – email me how you used my stencils and stamps with the theme and email me an image – I would love to share what you did at the beginning of next month!

See you next Tuesday for the another project with the theme ‘Opposites Attact’.

Comments (6)

Leave a comment