
I love working with transparencies and recently I was introduced to a new and fun technique by Julia Andrus which I would love to share.
Ich liebe es mit Transparenten zu arbeiten und erst kürzlich hat mir Julia Andrus eine neue Technik mit Transparenten gezeigt, die ich gerne mit Euch teilen möchte.
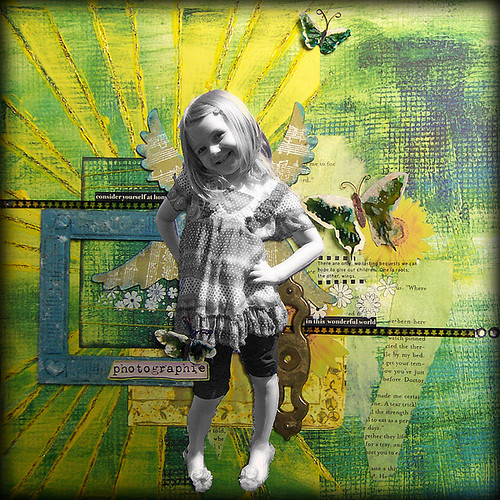
*Transparency Backgrounds and Embellishments*
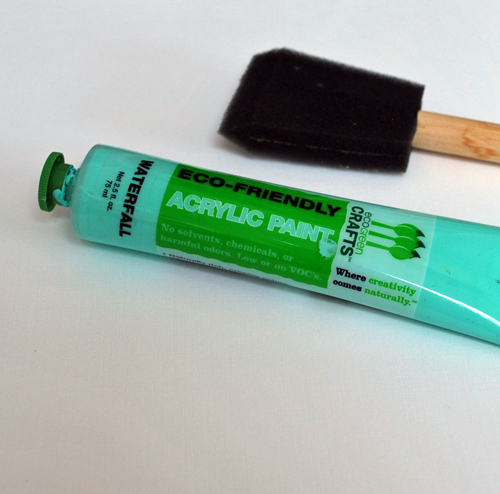
You will need a white piece of cardstock, a brush and some nice acrylic paint.
Du brauchst etwas weißen Cardstock, einen Pinsel und eine schöne Acrylfarbe.
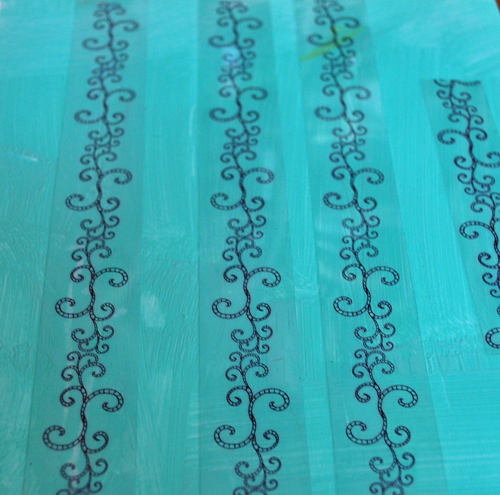
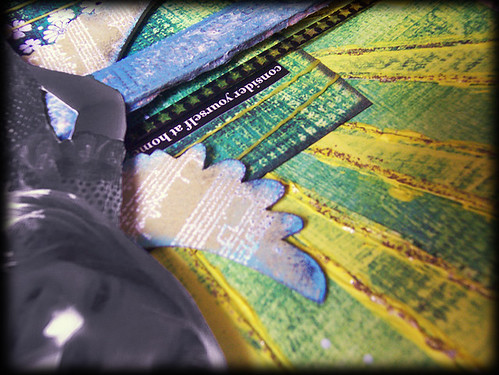
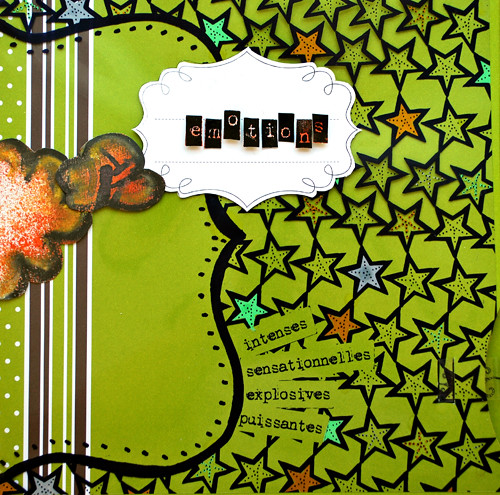
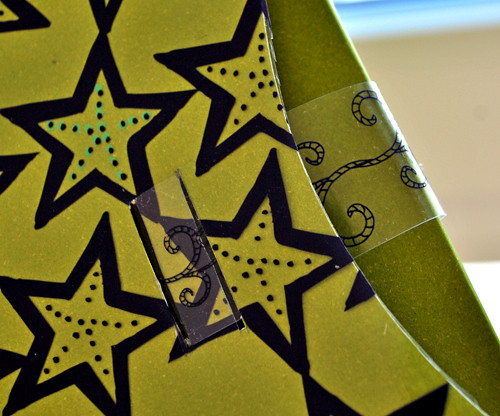
Paint cardstock and immediatley before the acrylic paint dries, stick your transparencies on top. I used the little Transparency Stripes that come from my eMOTions collection. This way the paint can serve as a glue !
Bemale den Cardstock und bevor die Farbe trocknet, drücke Deine Transparente drauf. Ich habe die kleinen Transparent-Streifen genommen, die Teil meiner eMOTions Kollektion sind. Auf diese Weise kann man die Farbe wunderbar wie Klebstoff verwenden!
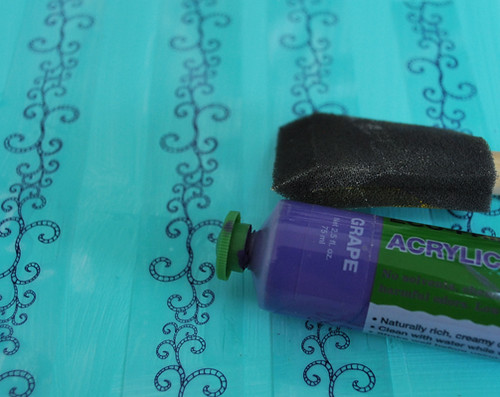
Now add a second color and apply on top of the surface.
Nun suche eine zweite Farbe heraus und bemale damit die komplette Fläche.

For a speedier process you can use the heat gun to dry the top paint, but be carefull to not melt the transparency.
Um eine schneller Trocknung der Farbe zu erreichen, kannst Du auch mit dem Heißluftfön arbeiten, sei aber vorsichtig, dass Du nicht das Transparent wegfunzt.
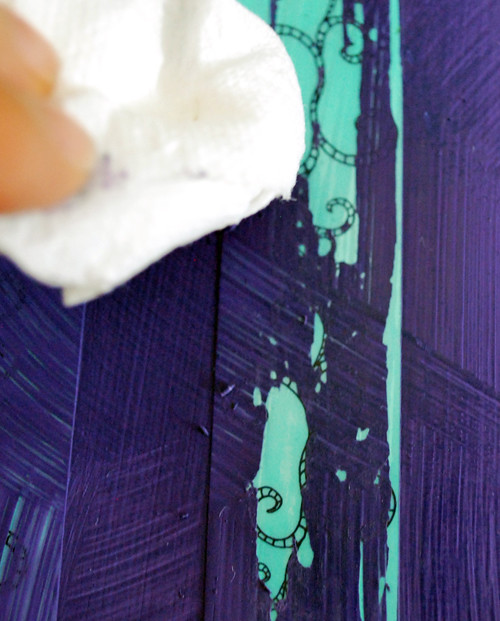
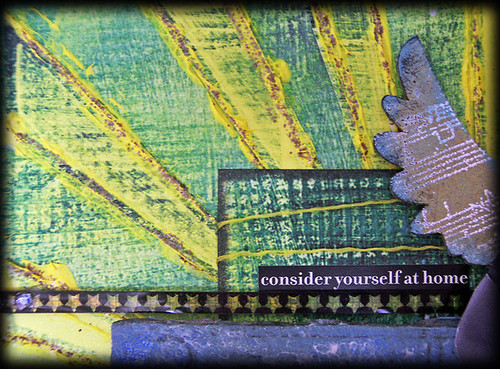
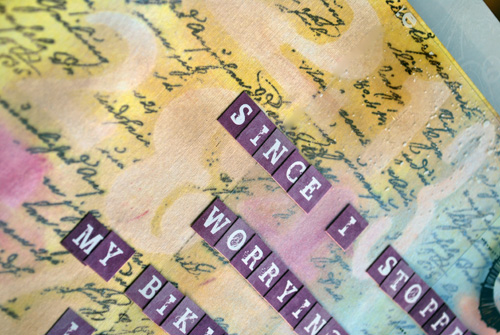
Now you can actually use a paper towel and rub off some of the painted areas on the transparencies.
Nun kannst du ein Papiertuch nehmen und einige der bemalten Stellen auf den Transparenten wegrubbeln.

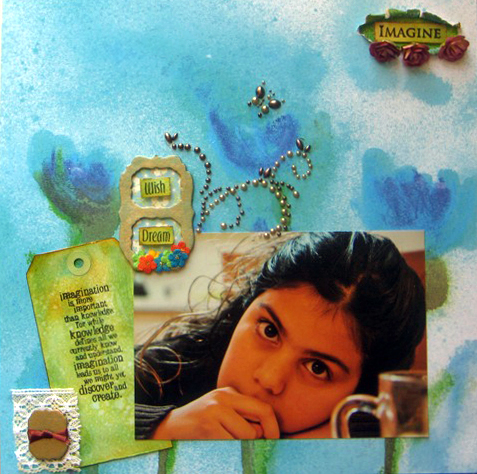
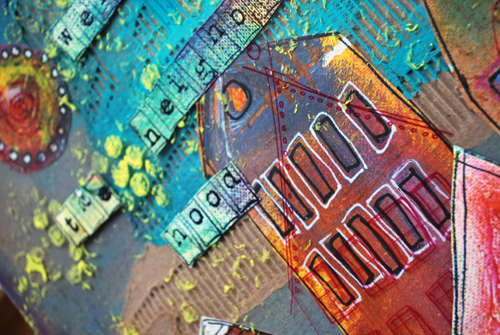
The look is a nice weathered – but glossy look, revealing the pattern on the transparency as well as the color underneath.
Das schaut nun verwittert, aber immer noch scheinen durch, und zeigt dabei das Muster auf dem Transparent sowie die Farbe unter dem Transparent.
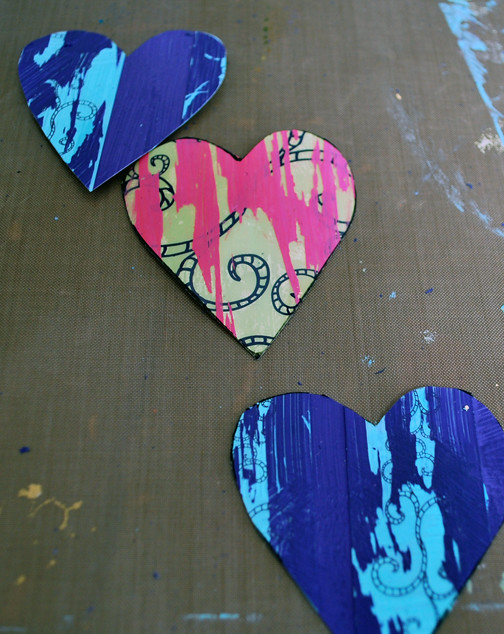
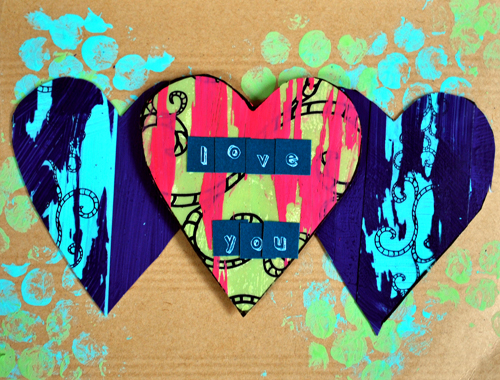
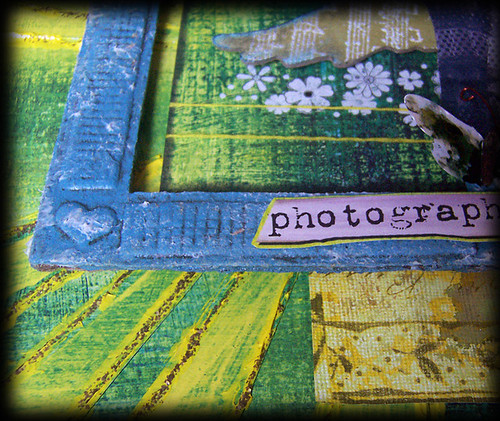
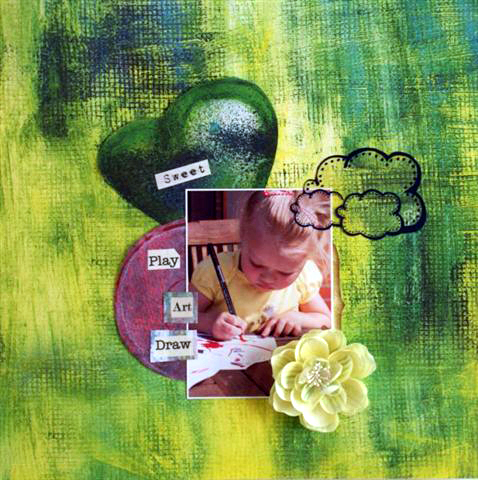
If you do not like to use this for a background of a layout you could also cut different shapes- I cut hearts and then use those as embellishments.
Wer das Ganze nicht als Hintergrund verwenden will, dann auch Formen ausschneiden – zB. Herzen und kann diese dann als Embellishments verwenden.
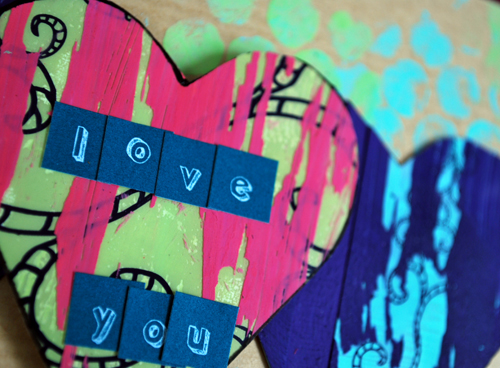
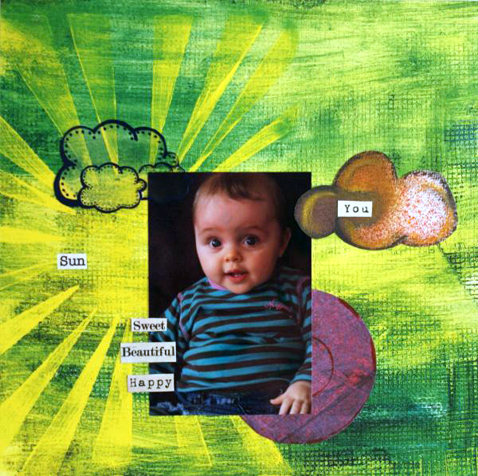
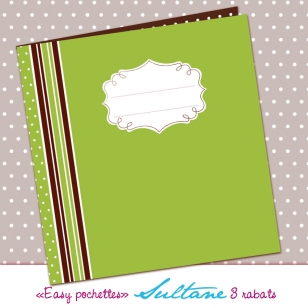
Supplies: Prism White Cardstock, Eco Green Crafts Acrylic Paints, Sultane Kraft Cardstock, Sultane Letter Stickers and Transparencies eMOTions.
I hope you like it :)
Ich hoffe Euch gefällts :)


Comments (11)
christiane
| #
have to try this!! love how it turned out!! :D
Reply
Schmidt Maria
| #
Hihi! Wie geil ist das denn!? Weg funzt…ich hau mich wech! :-))) Das muss ich auf jeden Fall ausprobieren! Gfällt ma ganz guad!!!
xo Maria
Reply
Karen
| #
Oooh! That’s fun!
Reply
Lisa Dorsey
| #
Very cool technique Nat!
Reply
Scrappi
| #
Wie genial ist das denn? Vielen Dank für die Anleitung!
Liebe Grüße
Hélène
Reply
lynn
| #
oooo tfs! very fun and funky!
Reply
Evelien
| #
great!!!!!
Reply
Sue Clarke
| #
Cool, I have some transparencies to use and I think that I’ll try this!
Reply
christiane
| #
ob’s gefällt????
YESSSSSSSSSSSSSSSSSS!!!!! :D
Reply
sylvia
| #
oh yes, i like this a lot! might give this a try later this week. thanks for sharing! :)
Reply
Eeva
| #
yeeeah! Thanks for sharing!! Now I know what I will do hopefully today if I get the time before my motherinlaw comes for a visit :)
Reply