
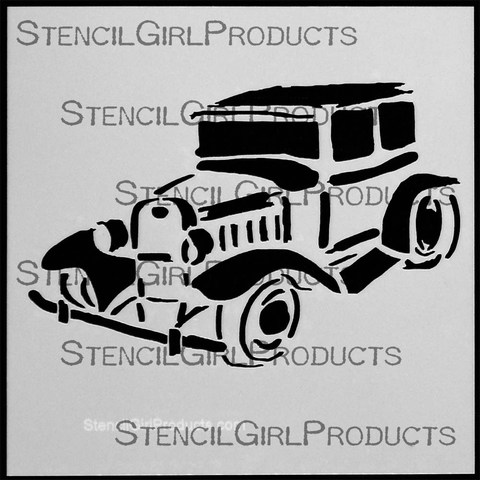
Welcome to my first Stencil Blog Hop! I invited four wonderful artist friends to hop along with me today and play with my StencilGirl Products Oldtimer Stencil which is a 6 x 6 Stencil:
You have four chances to win this stencil. Leave a comment on each of the listed blogs (Jamie’s comment function didn’t work in the morning – so if you posted on all blogs a comment that worked I will count them as if you did comment on hers too;) ) and on my blog and let us know how you like the projects and I will pick randomly one lucky winner. You have time to comment till July 30th, 2013 – midnight EST.
Edited August 4, 2013: The winner is Gerd Andersen – Congratulations. Gerd please email me with your postal address so I can get this stencil sent out to you :), Nat
Here are my friends joining me:
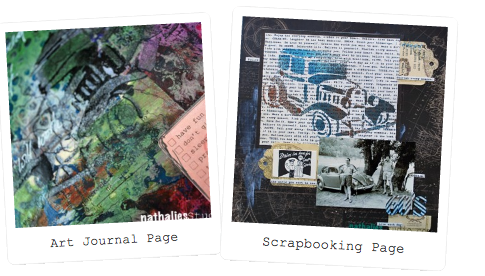
Jessica Sporn who does wonderful Mixed Media art and has her own amazing range of StencilGirl Product Stencils.
Stephanie Schütze – a super talented Scrapbooker from Switzerland
Jamie Dougherty – who is a super good workshop teacher and does stunning Mixed Media- and Scrapbooking-Projects
Maria McGuire – she does beautiful scrapbooking and Mixed Media Projects and coordinates also the awesome StencilGirl Products Blog called StencilGirl Talk
I am a big fan of oldtimer cars and so I knew I wanted to do this stencil for all kinds of projects. Check out some samples here:
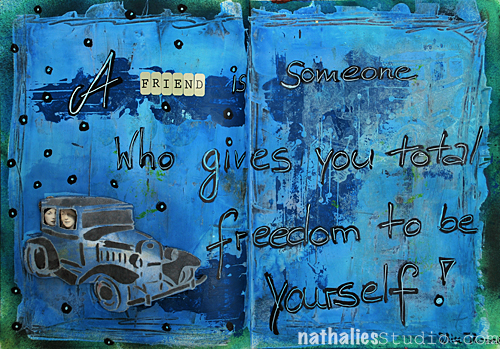
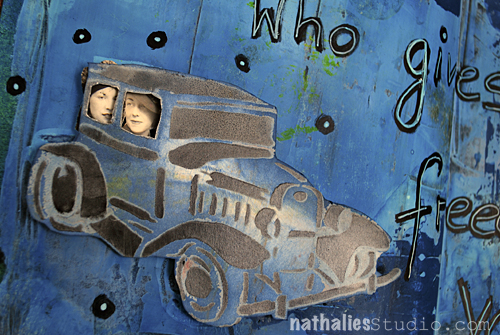
Here is what I created for today:
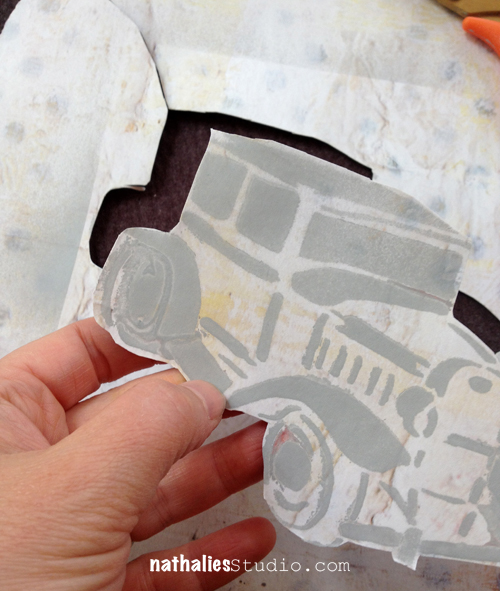
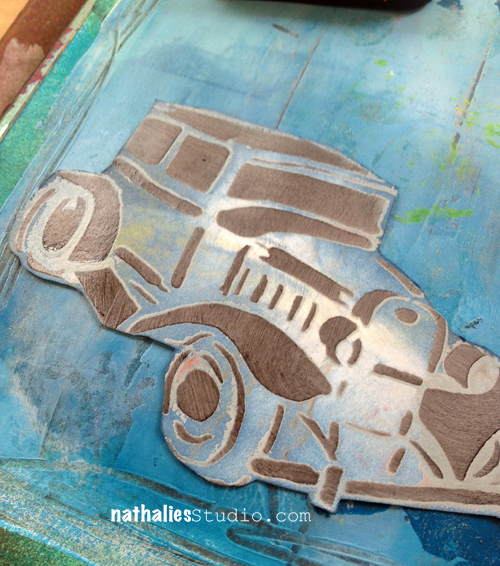
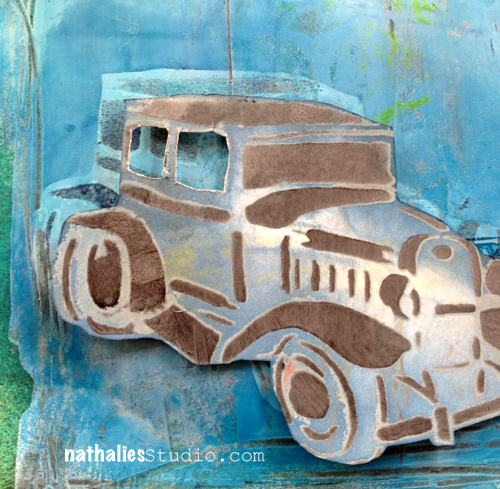
I do love to create some depth with my stencils -so here is how I did it here. I sprayed through the Stencil with Liquitex Spraypaints- but you can use any other paint media.
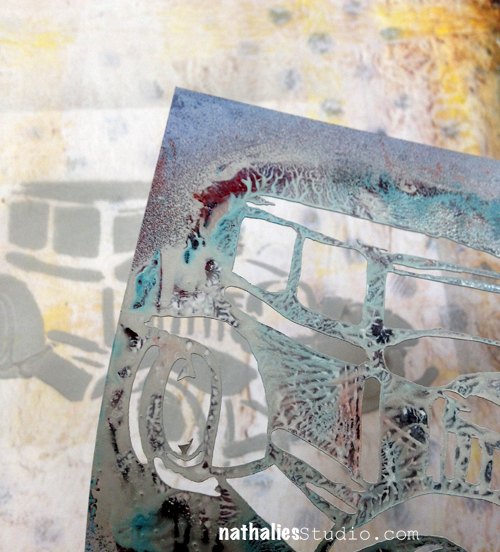
Then I cut out the car – just around the outline
I picked a page in my art journal where I had already played a bit with a background and gathered some repositionable double sided adhesive, distress ink and a blending tool.
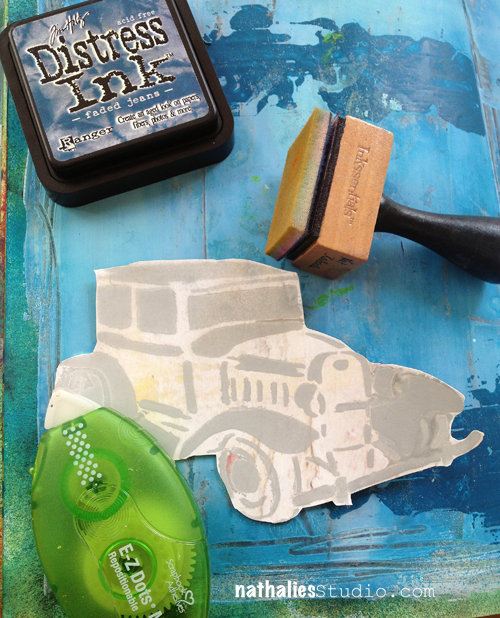
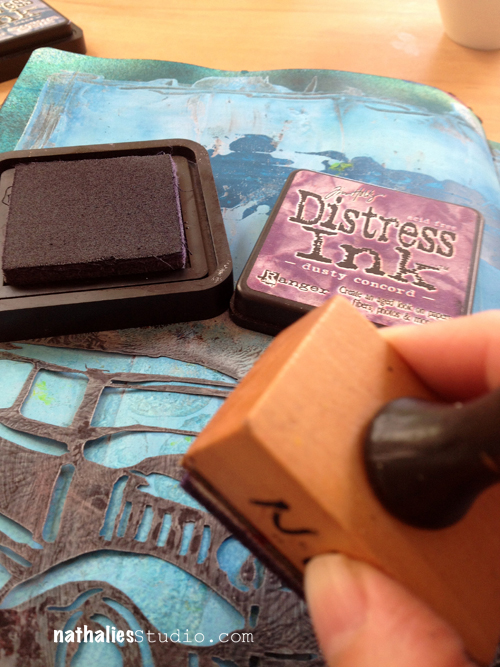
I adhered the old timer with the repositionable adhesive and then applied a bit darker distress ink with the blending tool – to outline the car.
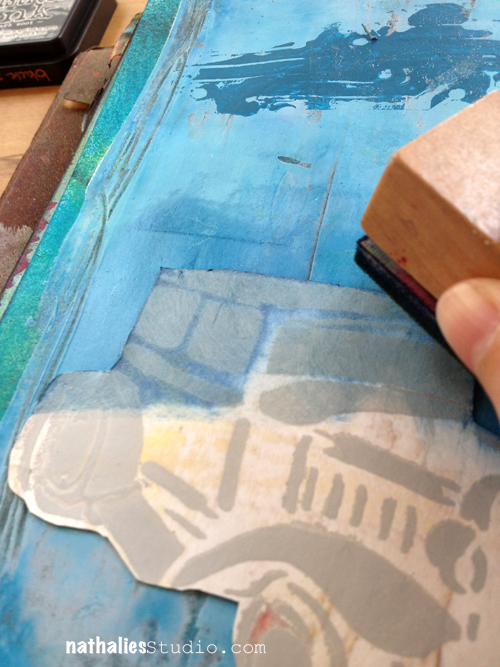
I used another distress ink color and the stencil again, which I laid over the car again and went over it again with the blending tool.
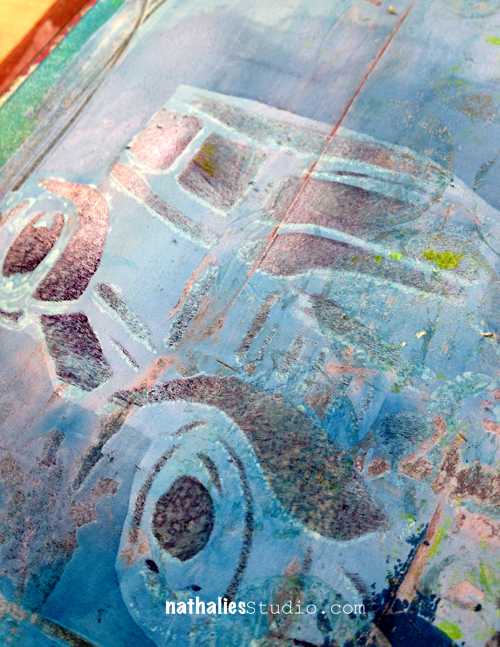
As you can see it gave a another shadow- as the first sprayed stencil image still peaks through- and it adds already more depth to the oldtimer
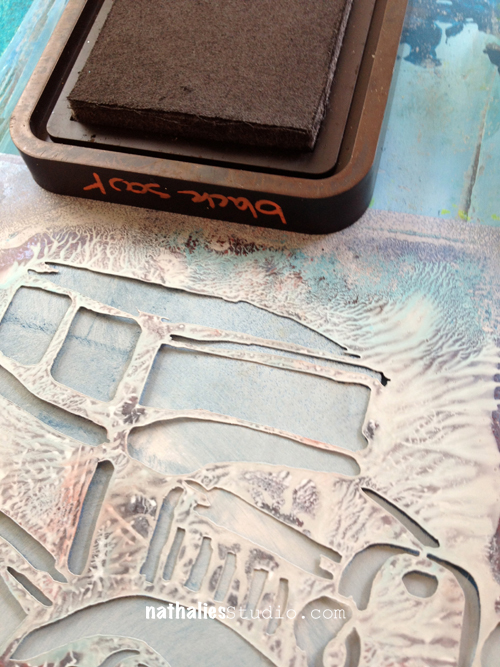
Now I peeled of the oldtimer car and then carefully rubbed off the adhesive dots.
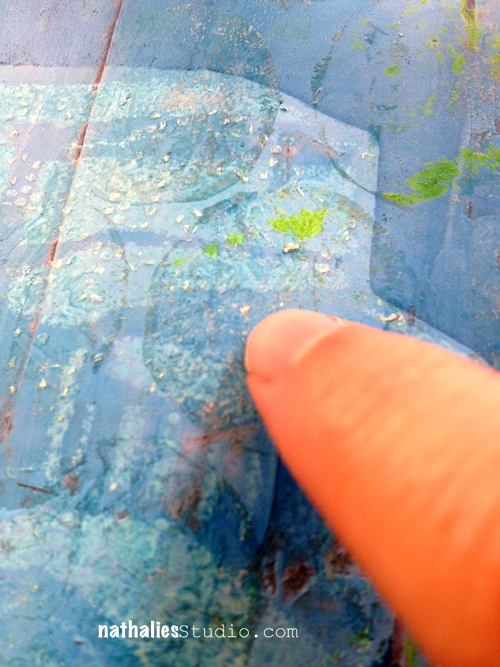
Next I placed the car directly onto the background into the before outlined borders-
I do this so later when you raise the car with foam pads- there is a shadow visible.
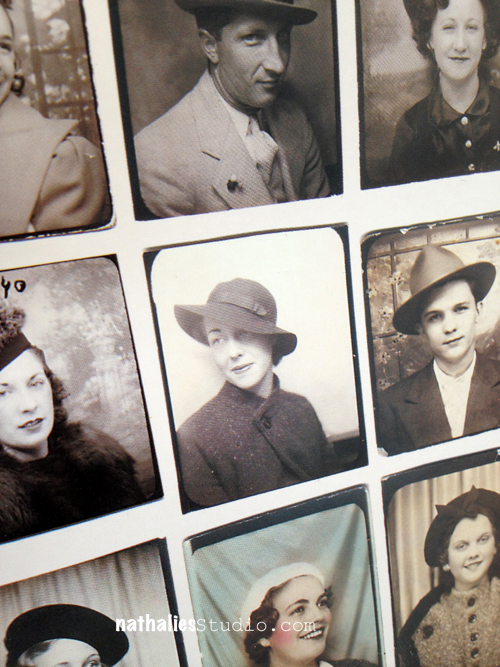
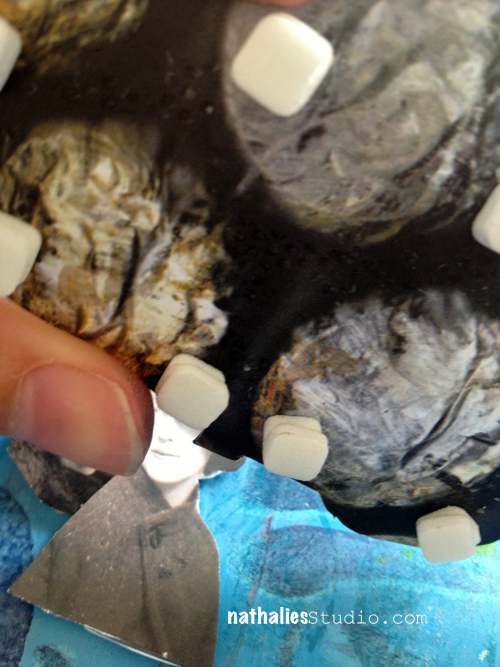
Then I cut out some faces that would fit behind the windows
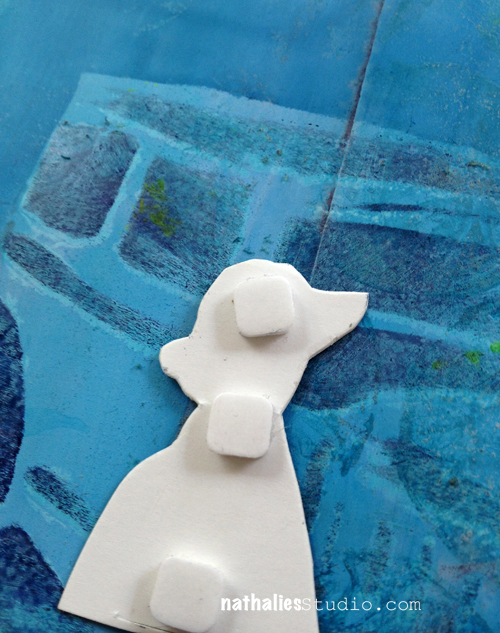
and I cut out two windows of the oldtimer car on the paper
I applied foam pads to the backs of the faces
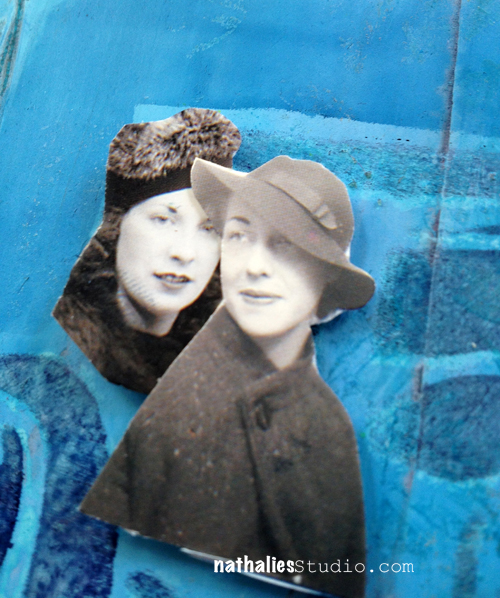
adhered them using the image of the oldtimer on the background and slightly a bit off
then I stacked two foam pads on top of each other- to give more height -to the back of the oldtimer car on the paper
and adhered the car also slightly off
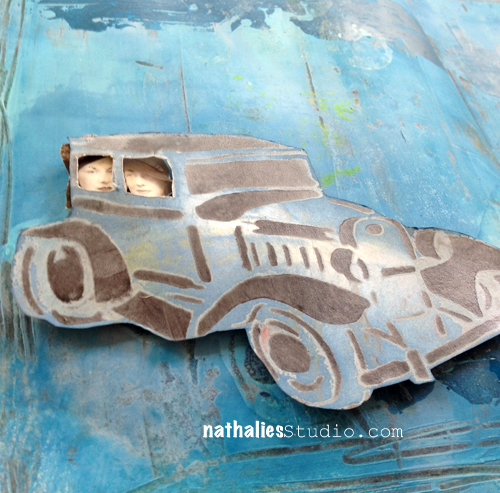
and there you have it :) I think it is a great way to add dimension and depth with stencils.
Here are the supplies I used:

|
|
 |
 |
 |
|
 |
 |
|
|
|
Now hop on over to my friends and check what they did and comment for some changes to win the stencil :)
Edited August 4, 2013: The winner is Gerd Andersen – Congratulations. Gerd please email me with your postal address so I can get this stencil sent out to you :), Nat
Nat
![]()
Comments (39)