nathalie-kalbach

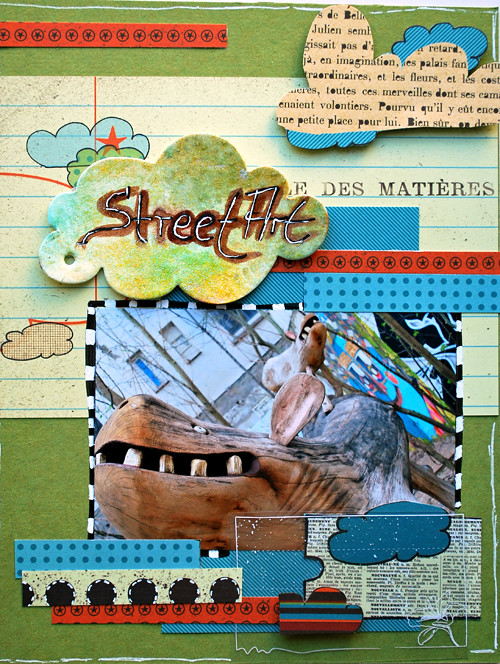
Layout: Street Art *Info Crea*

Just a quick layout with only one little glimmery accent on the one cloud :)

Einfach ein schnelles Layout mit nur einem kleinen glimmernden Accent auf der einen Wolke :)

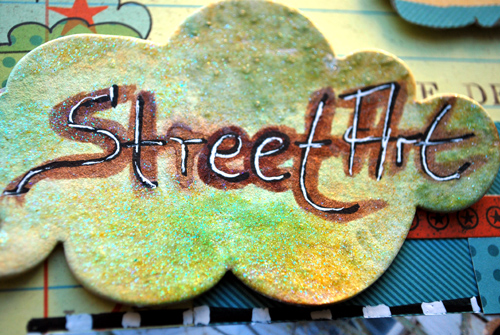
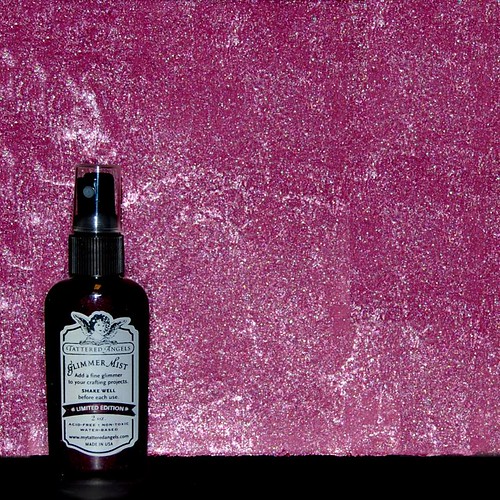
I wrote the title with a small brush and Tattered Angels Glimmer Glaze on top of the Chipboard cloud, then sprayed with Tattered Angels Glimmer Mist on top and added some glimmery oomph with Tattered Angels Glimmer Glam. I used a black marker and  white Signo pen to highlight the title.

Wishing you an inspiring day :)

  • sylvia

    |

    love the cloud theme repeating itself here… was lovely meeting you today :) have a great weekend!

    Reply

  • Sue Clarke

    |

    I recently thought of you while taking a pic of some street art in Maine on vaca. It was one huge eye and I just fell in love with it.

    Reply

  • christiane

    |

    ahhh, love love love the misted cloud and your titlework!! :D

    Reply

  • Evelien

    |

    wow, love this layout!!!

    Reply

  • charlotte ravn

    |

    Beautiful layout Nat. What a clever way to do the titel!
    Hugs

    Reply

Leave a comment

Art in School

A couple days ago on my walk to work  I suddenly remembered one of my former art teachers. It was a weird flashback – I totally forgot the name of the teacher- all I remember is that he just finished art school and he was this bohemian guy…black jeans, black shirt, black thick framed glasses, some schal around his neck, black hair and pale. I was 15 – so it was 1988 and as far as I remember I liked art lessons in school…but it wasn’t really too thrilling. Most of the times we would look at paintings of old masters and think about what the artist wanted to tell you with this painting or we would learn other theory stuff.

Then there was this art teacher…we all were totally in Love with him. He was so fun.We were aloud to actually walk around in class and talk to each other while trying all kinds of mediums and tools and actually do stuff. One day he brought in a camera and took portrait photos of us and then a couple weeks later he came in with several projectors and we all projected our own slide onto the wall and started painting in chalk our own portrait. I remember my portrait had a big shadow on one side of the face as the lightning for the photos wasn’t that good and I was really really sad…he came and said “don’t worry…just paint something else into your face- ask your inner self what you see in that shadow” and I painted a tree growing out of my face. I loved this painting so much and I was soo proud of myself. One day he came in with big tubes of Acrylic Paint and let us paint whatever we wanted – forms over and over on big rolls of paper. I painted eyes over and over and then I picked an area which I liked the most and cut it out.  I had fun while doing them- I felt free and happy. I can’t find the chalk painting- I don’t know where I put it after moving several times- but while looking for it …I found the eye piece….I’m sure some of you think it is ugly…I don’t care…LOL – I still love it…it has memories…happy memories!

He was only there for a semester …he gave me confidence that I was talented and he had me find fun in art. When he was gone we were all sad but I looked forward to our new teacher and the lessons. The first lesson came and we were supposed to draw our eraser with a pencil – I did. The art teacher looked at my drawing and said ” you have no talent for art” ….and I was so disappointed but I belived it and I was done….I never felt free and happy with art again….until many years later….I just thought I was not the artsy type of person and I had no talent at all. I forgot that I had fun with paint the semester before. When I look at the eye painting…I see that my Love for paint has been there all the time. How fun that I found it again just now.


What I want you to tell with this story? Don’t get discouraged too easily by what other people say or in comparing yourself with others…the most important thing is that YOU have fun in what you do and how you do it. All the rest…is unimportant! If YOU think you are an artist… YOU are! If YOU think you are creative …YOU are! Don’t let others dictate on how you feel about your creative outlet! Just be!

Have a wonderful day!

  • jenxo

    |

    an absolutely lovely post and it doesnt what subject , they have no right to tell anyone that you no talent in anything.
    It having fun and trying thats the most important.

    Reply

  • Heather

    |

    Sweet story and good for you! I love all of your recent projects!

    Reply

  • seemycrafts

    |

    deine geschichte ist so nett erzählt, und die “moral” wenn du es so nenne willst, darin ist einfach ZU wahr.
    vielen dank!

    LG Felicitas

    Reply

  • JulieK

    |

    wow… I hate those kind of teacher stories… you have to wonder what’s wrong with them… I was told by an elementary music teacher to just mouth the words of the songs ’cause I couldn’t sing… it wasn’t until years later that I actually learned to sing, and am a music teacher myself now :)

    Reply

  • Kim Sonksen

    |

    I couldn’t agree more with you and I think that eye picture is wicked. I love the vibrant colours – it oozes fun and life!

    Reply

  • Bill

    |

    That’s a very important story to tell.

    Reply

  • Karen

    |

    Hey! Save it for SOUL ; )

    Reply

  • Sue Clarke

    |

    I always shake my head when I hear about teachers that tell students negative, limiting things (how wrong!). I see that you have been an artist for a long time and I’m glad that you shared this post with us.

    Reply

  • sylvia

    |

    oh Nat, this is lovely! I often feel that what i do (not scrapwise, necessarily, but mixed media and paintings) is inadequate and can never imagine other people actually finding it interesting or worth looking at. this is a very encouraging post! all art teachers should be like that. would have loved to see the artwork of the tree growing out of your face…. but this one is also cool! hugs xxx

    Reply

Leave a comment

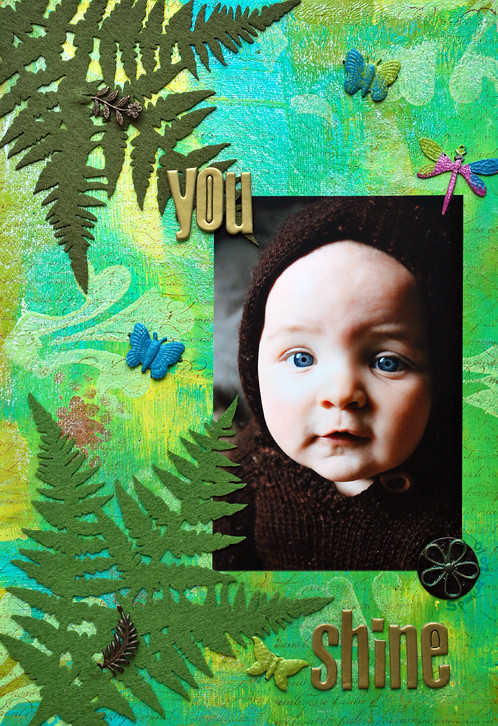
Layout: You Shine

When I saw this beautiful picture of the baby of a scrappy friend of mine- I knew I had to use this :)

Als ich dieses wunderschöne Photo des Babys einer Scrap-Freundin sah, wußte ich, dass ich dieses verwenden mußte :)

*You Shine*

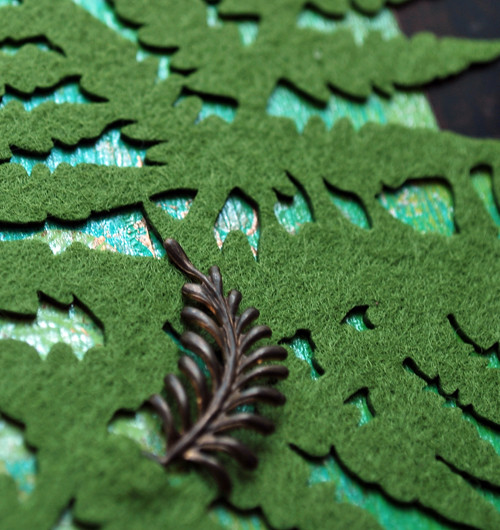
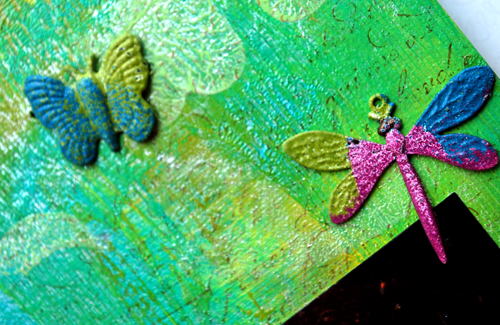
I painted Cardboard with Eco Green Crafts Acrylic Paints, as well as stamped it with Eco Green Crafts Dye Ink. Then I used Tattered Angels Glimmer Mist on top. For the beautiful Vintaj Arte Metal Butterflies and the Vintaj Dragon Fly I used Versamark on top and then dipped them into several colored Embossing Powder Pots by Ranger, then heat set them. The Vintaj Fern Valley Fastenables were attached on the Prima Ferns as an extra highlight. For the Vintaj Basic Altered Blank I used Tattered Angels Glimmer Glam and then attched the Beaded Flower that was also painted with Glimmer Glam on top.

Supplies: Cardboard, Eco Green Crafts: Acrylic Paints, Paris Trunk Dy Ink, Stampin’ Up Script Stamp, Imaginesence Foam Stamp, Vintaj Butterflies, dragonfly and leaves, Altered Blank and Flower, Prima Fern Felt, Ranger Embossing Powder
Tattered Angels Glimmer Mist, SCRAPBOOK-ADHESIVES by 3L™ Mounting Squares, heidi Swapp chipboard Letters

Have a good one :)

  • Michelle Clement

    |

    Oh, this is so beautiful, Nat!! :) What a gorgeous photo, too! Love your painted background – and the felt is lovely, too!!

    Reply

  • Conibaer

    |

    Absolut genial geworden!!!!

    Reply

  • Em

    |

    Now that is just one SUPERB layout! I love this :) The colours are divine, stunning photo….it’s all total eye-candy :D x

    Reply

  • Sue Clarke

    |

    I do like the ferns with that precious child. Isn’t it nice to have friends with sweet children to scrap? Since I have no daughters I’m forever “borrowing” my friends girls to scrap on LO’s. LOL

    Reply

  • sylvia

    |

    Oh Nat, it’s beaaaauuutiful! How well the backgroud with the Eco Green Craft goodness goes with the photo. He looks just like a little boy from the woods, like a little pixie amidst the green! LOVE it!

    Reply

  • JulieK

    |

    LOVE that photo, and the felt and background too!

    Reply

  • Katrina

    |

    Oh how artsy!!! I love it and that pic of the baby is so cute!!! Hugs, Katrina

    Reply

  • Kim Sonksen

    |

    That background is amazing (and that photo is adorable). I love how you used the embossing as well. FUN!

    Reply

Leave a comment

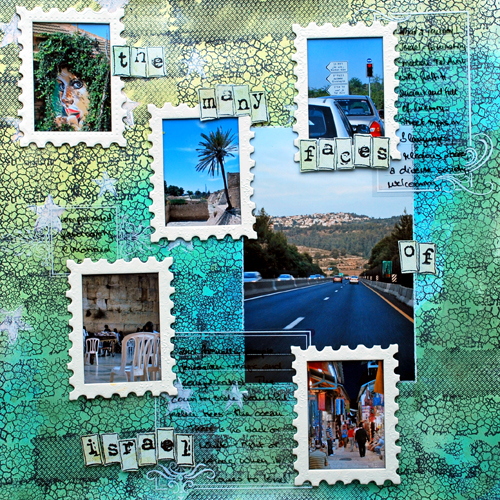
DT-Work: The Many Faces of Israel *Tattered Angels*

I loved my trip to Israel in May – it was such an amazing experience. So – it was about time to create a layout about this.

Meine Reise nach Israel im Mai war total genial – eine beeindruckende Erfahrung. Also – Zeit mal ein Layout darüber zu kreieren.

*The Many Faces of Israel*

Journaling: What a journey! Israel – fascinating, modern Tel Aviv with Graffiti. Ancient and full of history. Street signs in 3 languages, religious places, a diverse society – welcoming and friendly people. Jerusalem – magic and complicated. The countryside beautiful – Palm trees – The Sea. There is no black or white – right or wrong when it comes to Israel! Complicated, fascinating, emotional.

Supplies: Prism Cardstock, Tattered Angels Tattered Textures Stamps, Ranger Archival Ink, Stampers Anonymous Star Stamp, Stampin’ Up Star Stamp, Claudine Hellmuth White Acrylic Studio Paint, Tattered Angels Framed Fonts, Sultane eMOTions Letter Stamps by Nathalie Kalbach, Prima Paper, Hambly Screen Prints Journaling Overlays, SCRAPBOOK ADHESIVES by 3L Crafty Power Tape and 3D Foam Squares, Tattered Angels Glimmer MIst

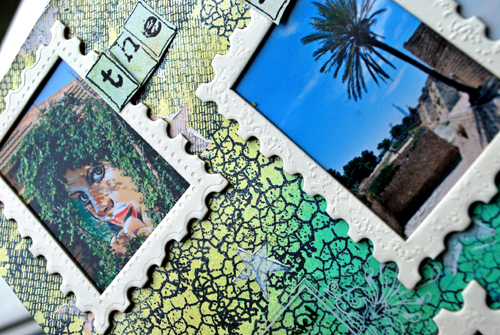
I used the Tattered Angels Tattered Textures Stamps and stamped a white piece of Cardstock with Archival Ink. In total I used 3 different stamps to go with my theme of the complexity of the country I had just visited. I colored the background then with Tattered Angels Glimmer Mist- also three different colors. On top of the background I used two different sized Star Rubber Stamps and used them with white acrylic paint. I did this to lighten up the background a bit and repeat the white frames and white Overlays by Hambly. I stamped the title too and mounted some of the letters on 3D Foampads.

Have a gorgeous day!

Euch einen tollen Tag!

Comments (7)

  • christiane

    |

    love all th frames!! what a great idea!!! :D

    Reply

  • Birgit

    |

    Ich liebe den gestempelten Hintergrund!!! Den muss ich mal gnadenlos liften wenn ich darf ;-)

    Reply

  • Kim Sonksen

    |

    I love how you framed the different pictures. Gorgeous layout

    Reply

  • Sue Clarke

    |

    I especially like how the frames “say” travel and the background texture “says” ancient!

    Reply

  • sylvia

    |

    the texture of the background is amazing! i love how you used many small photos for this LO!

    Reply

  • Evelien

    |

    great work!! I like the way you made this layout!
    Evelien

    Reply

Leave a comment

Tutorial: Transparency Backgrounds and Embellishments

I love working with transparencies and recently I was introduced to a new and fun technique by Julia Andrus which I would love to share.

Ich liebe es mit Transparenten zu arbeiten und erst kürzlich hat mir Julia Andrus eine neue Technik mit Transparenten gezeigt, die ich gerne mit Euch teilen möchte.
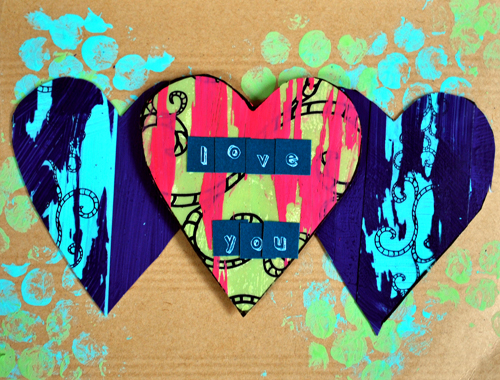
*Transparency Backgrounds and Embellishments*
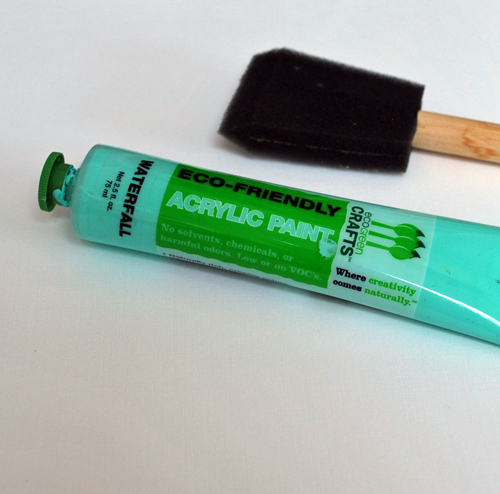
You will need a white piece of cardstock, a brush and some nice acrylic paint.

Du brauchst etwas weißen Cardstock, einen Pinsel und eine schöne Acrylfarbe.
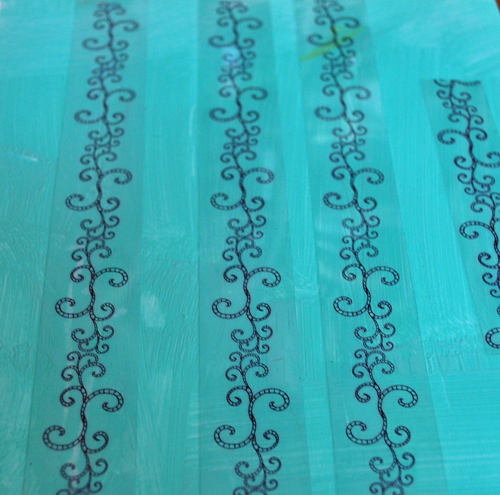
Paint cardstock and immediatley before the acrylic paint dries, stick your transparencies on top. I used the little Transparency Stripes that come from my eMOTions collection. This way the paint can serve as a glue !

Bemale den Cardstock und bevor die Farbe trocknet, drücke Deine Transparente drauf. Ich habe die kleinen Transparent-Streifen genommen, die Teil meiner eMOTions Kollektion sind. Auf diese Weise kann man die Farbe wunderbar wie Klebstoff verwenden!
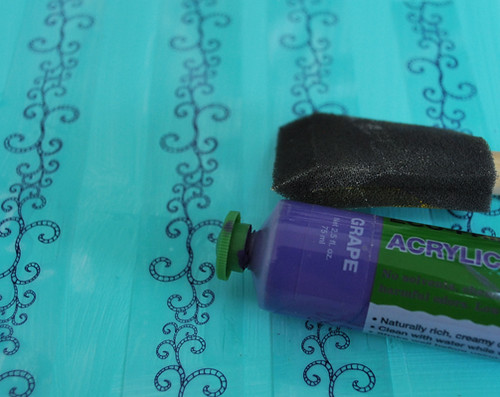
Now add a second color and apply on top of the surface.

Nun suche eine zweite Farbe heraus und bemale damit die komplette Fläche.
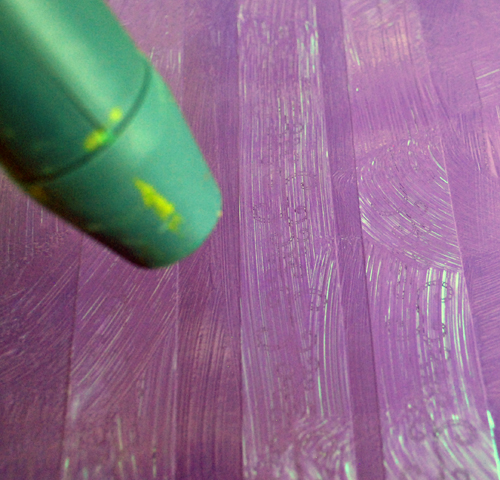
For a speedier process you can use the heat gun to dry the top paint, but be carefull to not melt the transparency.

Um eine schneller Trocknung der Farbe zu erreichen, kannst Du auch mit dem Heißluftfön arbeiten, sei aber vorsichtig, dass Du nicht das Transparent wegfunzt.
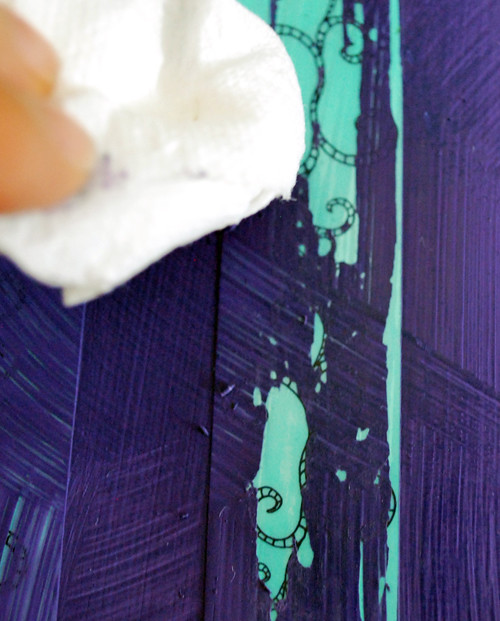
Now you can actually use a paper towel and rub off some of the painted areas on the transparencies.

Nun kannst du ein Papiertuch nehmen und einige der bemalten Stellen auf den Transparenten wegrubbeln.

The look is a nice weathered – but glossy look, revealing the pattern on the transparency as well as the color underneath.

Das schaut nun verwittert, aber immer noch scheinen durch, und zeigt dabei das Muster auf dem Transparent sowie die Farbe unter dem Transparent.
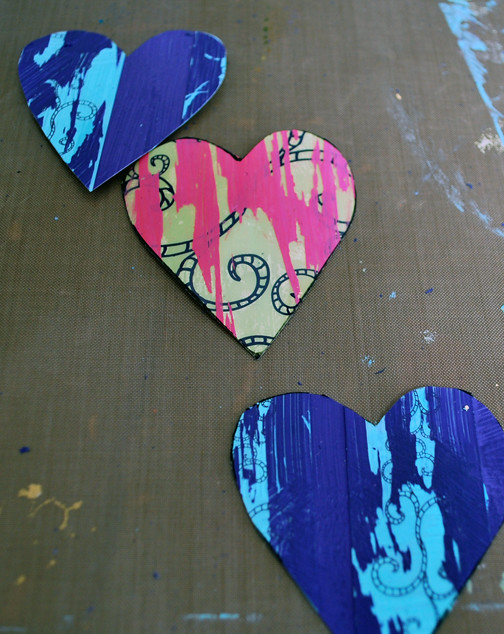
If you do not like to use this for a background of a layout you could also cut different shapes- I cut hearts and then use those as embellishments.

Wer das Ganze nicht als Hintergrund verwenden will, dann auch Formen ausschneiden  – zB. Herzen und kann diese dann als Embellishments verwenden.
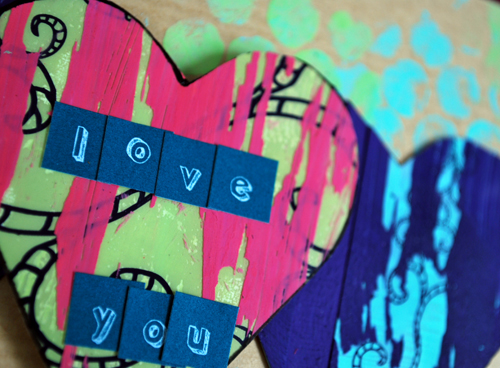
Supplies: Prism White Cardstock, Eco Green Crafts Acrylic Paints, Sultane Kraft Cardstock, Sultane Letter Stickers and Transparencies eMOTions.

I hope you like it :)

Ich hoffe Euch gefällts :)

Comments (11)

  • christiane

    |

    have to try this!! love how it turned out!! :D

    Reply

  • Schmidt Maria

    |

    Hihi! Wie geil ist das denn!? Weg funzt…ich hau mich wech! :-))) Das muss ich auf jeden Fall ausprobieren! Gfällt ma ganz guad!!!
    xo Maria

    Reply

  • Karen

    |

    Oooh! That’s fun!

    Reply

  • Scrappi

    |

    Wie genial ist das denn? Vielen Dank für die Anleitung!
    Liebe Grüße
    Hélène

    Reply

  • lynn

    |

    oooo tfs! very fun and funky!

    Reply

  • Sue Clarke

    |

    Cool, I have some transparencies to use and I think that I’ll try this!

    Reply

  • christiane

    |

    ob’s gefällt????
    YESSSSSSSSSSSSSSSSSS!!!!! :D

    Reply

  • sylvia

    |

    oh yes, i like this a lot! might give this a try later this week. thanks for sharing! :)

    Reply

  • Eeva

    |

    yeeeah! Thanks for sharing!! Now I know what I will do hopefully today if I get the time before my motherinlaw comes for a visit :)

    Reply

Leave a comment

Tattered Angels – New Colors of Glimmer Mist

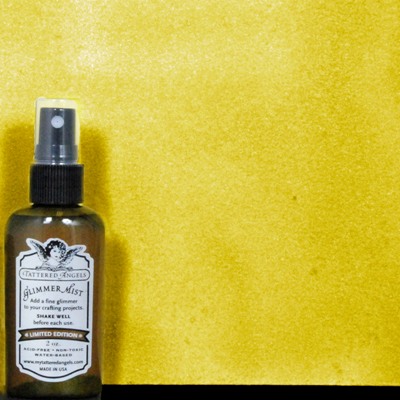
These new colors of Glimmer Mist will be available for one year (until summer 2011 CHA).

FALL 2010

This collection was inspired by the beautiful colors of Fall fashion. From warm chartreuse, to Bold Navy Blue and vivid Fuchsia… this collection mirrors the beautiful colors that nature and fashion offer crafters during the fall season. These bold colors are the perfect palette for blending with each other for to create even more beautiful glimmer mist colors. With Glimmer Mist colors this beautiful… you will wish Summer to be over just so you can start working on your fall projects!


Apple is a golden chartreuse with a golden copper glimmer.


Autumn Nights is a deep navy blue with a midnight blue glimmer.


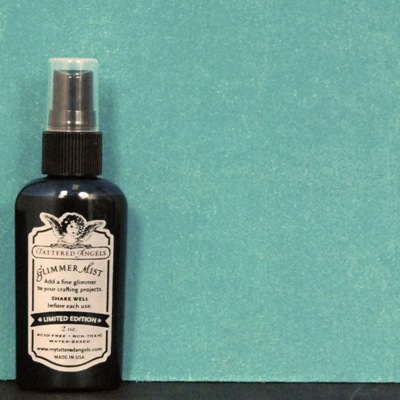
Dragonfly is a deep teal with a golden green glimmer.


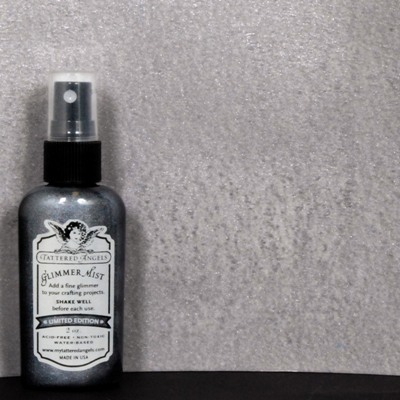
Granite is a medium gray with a blackish silvery gray glimmer.


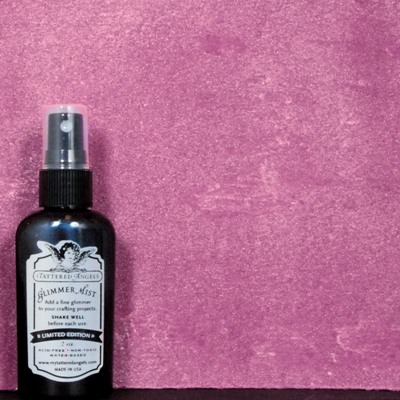
Pomegranate is a warm vivid berry fuchsia with an opalescent turquoise glimmer.


Sugar Maple is a warm rustic orange with a coppery golden glimmer.


WINTER 2010

Retro Holidays are not a thing of the past with this warm collection inspired by the holidays of yore. This bright collection will offer crafters the opportunity to create project that are not just for Christmas but for other celebrated holidays of the season such as Hanukkah and Kwanzaa. This collections offers a versatile palette that will work beyond the holiday season and into any crafting project year round. The colors have been inspired by vintage Holiday characters, packaging and toys to give crafters a beautiful palette that will also invoke a sense of nostalgia. With this beautiful color spectrum of colors all of your holiday needs are set!

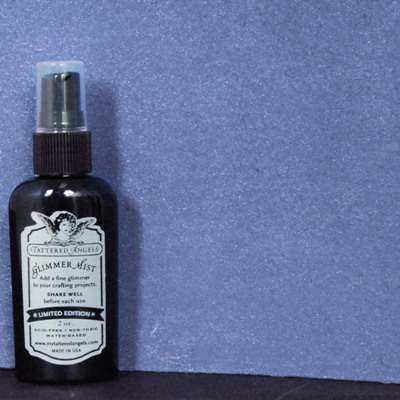
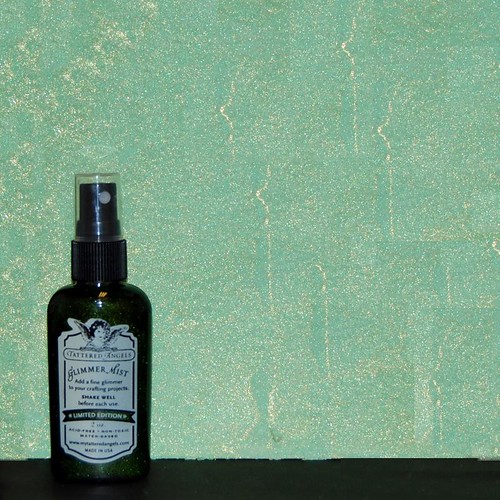
Gumdrop is a medium to light green with a bold golden glimmer.


Jack Frost is a cool cerulean blue with a silvery white glimmer.


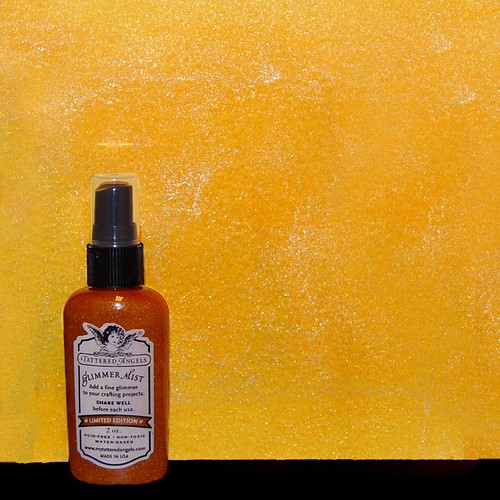
Jingle Bells is a bright marigold yellow with an opalescent golden green glimmer.


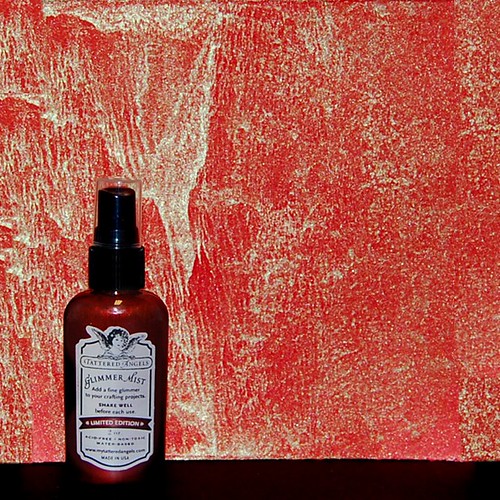
Santa Baby is a fun and bright red with a bold green glimmer.

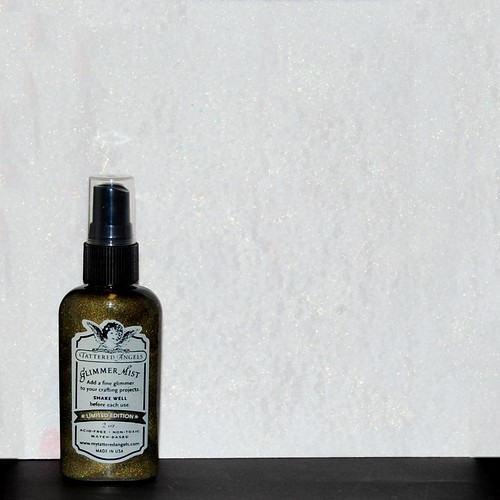
Snow Queen is a pale platinum like light coat offering a pale gray base with a light golden glimmer.

Sugar Plum Fairy is a warm burgundy purple with a soft pink glimmer.

Ohhh yummie- don’t you think!!!!!


Comments (4)

  • Sue Clarke

    |

    Jack Frost and Santa Baby are calling out to me. Thanks for sharing the new colors Nat.

    Reply

  • Karen

    |

    I’m torn between the Dragonfly and the Gumdrop.

    Reply

  • Daphne

    |

    oooooooooooooooh! Santa Baby :-)) and Granite…
    on my wishlist!!

    Reply

  • Kim Sonksen

    |

    I wish I hadn’t looked…those colours are yum!

    Reply

Leave a comment

Fleamarket Finds

I’m one of those persons that usually never find anything on a fleamarket. Too expensive, too rotten, too new…It used to be different years ago – but it somehow changed- and I think part of it is that fleamarkets here in the neighborhood were just so hip – that a lot of professional sellers came and that kind of ruined the whole feeling. But…the last couple weekends I have been lucky without even wanting it :)

Ich bin ja eine dieser Personen, die einfach nichts auf einem Flohmarkt finden. Zu teuer, zu vergammelt, zu neu…Es war mal anders- vor vielen Jahren – aber das hat sich geändert – und ich denke das liegt teilweise daran, dass Flohmärkte hier in der Gegend einfach so hip geworden sind. Zuviele professionelle Händler und das hat irgendwie das Ganze ruiniert. Aber…die letzten Wochen war ich super erfolgreich ohne es sein zu wollen :)

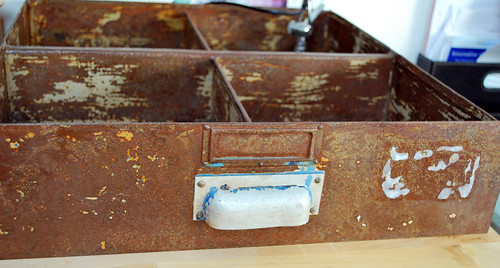
I found this metal drawer at a junk sale of a book store closing and throwing out their interior. This thing is heavy as hell – but it is soo cool. I love the rusty look and it is perfect for all my tools.

Diese Metall-Schublade fand ich bei einem Räumungsverkauf- der Buchladen schloß und war Teil der Einrichtung weg. Das Teil ist echt mega-schwer – aber total cool. Ich liebe den rostigen Look und es ist ein perfekter Ordnungshelfer für meine Werkzeuge.

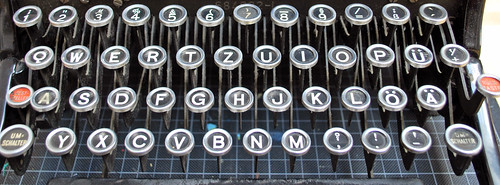
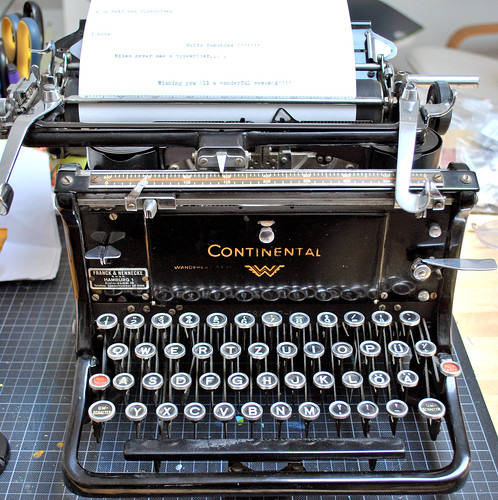
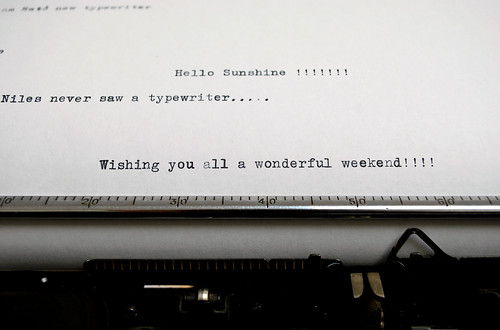
I found this typewriter on my way to a shoe store- I had to cross a street where a fleamarket took place and…this beauty smiled at me. Well…if you know me…you know that usually nothing comes between me and a shoestore…but….I mean…LOL. Oh and by the way that thing is also SUPER HEAVY!!!

Diese Schreibmaschine fand ich dann auf dem Weg zu einem Schuhladen – ich mußte eine Straße mit einem Flohmark überqueren und….diese Schönheit lachte mich an. Nun…wenn Ihr mich kennt, dann wisst Ihr, dass normalerweise nichts zwischen mich und einem Schuhladen kommt…aber…ich mein…LOL. Oh und nur so am Rande – das Teil ist SUPER SCHWER!

Lucky enough I also found a ribbon for it at my super loved office supply store “Büromarkt Hansen” . That place is just the coolest. It is family owned, huge – and with an amazing selection and costumer service. I even found the White Signo Pens there- years ago and they still have them and what is even better…Refills for the White Signo Pen – I mean…how cool is that. So I walked in and five minutes later I had the right ribbon for my around 100 year old typewriter!

Glücklicherweise habe ich auch gleich ein neues Farbband gefunden und zwar in meinem geliebten Büromarkt Hansen! Der Laden ist einfach der Beste! Familienbetrieb, groß – mit einer wunderbaren Auswahl und einem genialen  Kundenservice. Ich habe dort schon vor Jahren sogar die weißen Signo Stifte gefunden – und noch besser sogar Ersatzminen dafür. Ich mein…Wie cool ist das denn? Also, ich latschte rein und fünf Minuten später hatte ich das richtige Farbband für meine ca. 100 Jahre alte Schreibmaschine.

By the way…Niles my cat thinks this is weird but interesting. I guess the sound of this is new too him…LOL. Me…I’m old I guess…I learned typewriting on a typewriter…love it :)

Auch ja…meine Katze findet die Maschine komisch aber interessant. Ich  nehme an, die Geräusche sind neu für ihn …LOL. Ich nun wieder…bin ja wohl alt…ich habe das Tippen noch auf einer Schreibmaschine gelernt….liebe es :)

  • milkcan

    |

    Awesome, awesome finds! Love that drawer!!

    Reply

  • christiane

    |

    WOW!!!! stinkin’ COOL!!!
    congrats on your findings!! :D

    Reply

  • Michelle Clement

    |

    Omg, Nat. What an amazing typewriter you found!! :) Love it!!

    Reply

  • sylvia

    |

    awesome finds!!! you are so right about flea markets around here being too hip… think feldstraße on saturday morning.. forget it! congrats on your great finds, awesome, especially the typewriter, would love something like that sitting here!

    Reply

  • Sue Clarke

    |

    Great typewriter Nat! Amazing that you were able to find a ribbon for it so quickly. Will you decorate the metal tool holder or leave it as is?

    Reply

  • Marcie Morgan

    |

    What great finds, I would have snatched both of them up too! Don’t feel bad I also learned to type on a typewriter, even took typing 101 and typing 102 in high school!

    Reply

  • Karen

    |

    I see cool journaling with that typewriter.

    Reply

  • jenxo

    |

    what a score, lucky you…i never find much either , its all got too expensive…

    Reply

  • Anke

    |

    wohhh!!! na das hat sich ja gelohnt!!! Super!! Auf die Schreibmaschien bin ich sogar ein bisschen neidisch. ich finde eignetlich immer was, aber so was tolles hab ich noch nicht bekommen…!

    Reply

  • Kim Sonksen

    |

    Whoa – I am so jealous!!! LOve those finds espesh the typewriter.
    And I can vouch for Hansen being fabulous! Guess I need to pop in there before I fly back home in august :)

    Reply

  • Scrappi

    |

    Hallo Natalie,
    das sind ja tolle Fundstücke! Auch ich liebe Flohmärkte, aber im Gegensatz zu Dir finde ich meistens was. Vor kurzem bin ich auch mit einer Schreibmaschine nach Hause gegangen, allerdings habe ich mich nicht für eine alte entschieden, weil ich Angst hatte, keine Farbbänder mehr zu bekommen. Ich wünsche Dir viel Spaß mit Deinen neuen Schätzen. Auch der Kasten ist wunderschön!
    Liebe Grüße
    Hélène/Scrappi

    Reply

Leave a comment

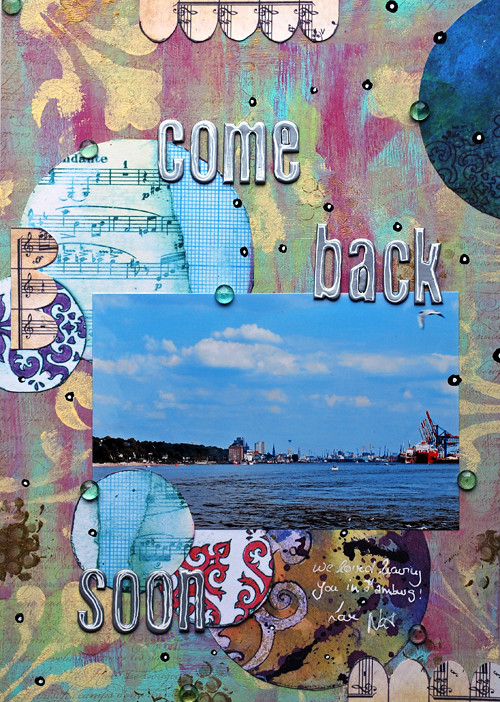
Layout: Come Back Soon

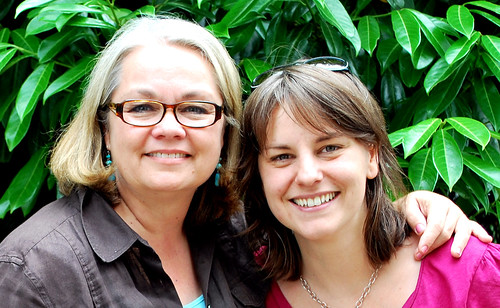
It was one of my birthday highlights to go out for lunch with Julia Andrus while she was in Hamburg. She is a special person and I so hope she will come back some day. So I made her this layout as a memory …ähhh – reminder- LOL

Es war einer meiner Geburtstags-Höhepunkte mit Julia Andrus zu Mittag zu essen, während sie in Hamburg war. Sie ist eine unglaublich besondere Person und ich hoffe sehr, dass sie irgendwann mal wieder kommt. Ich habe ihr dieses Layout als Erinnerung gemacht….zur Erinnerung- LOL

*Come Back Soon*

Supplies: Eco Green Crafts Acrylic Paints, Eco Green Crafts Paris Trunk Dye Inks, Eco Green Crafts Glass Embellishments, Studio 2Mers Papers, Heidi Swapp Chipboard Letters, White Signo Pen, SCRAPBOOK ADHESIVES by 3L™ E-Z Runner, Mounting Squares and Crafty Power Tape

And here we are :) und da sind wir :)
  • christiane

    |

    what a great mix of color and other stuff!! :D

    Reply

  • Staci

    |

    Absolutely lovely! :-)

    Reply

  • lynn

    |

    love the splashes of colors.

    Reply

  • seemycrafts

    |

    hach, was soll ich da groß sagen…WUNDERVOLL! wie du die verschiedenen Ebenen gearbeitest hast, klasse!

    LG Felicitas

    PS: alles gute nachträglich! wenn’s noch zählt ;)

    Reply

  • Barb

    |

    Beautiful color!

    Reply

  • Evelien

    |

    love your layout!! love the colors!

    Evelien:))

    Reply

  • Sue Clarke

    |

    I love what the glass embellies add to the LO. Great photo and looks like you had a delightful day Nat!

    Reply

  • Barbara

    |

    beautiful! I love the colors you used!

    Reply

  • Heather

    |

    Lovely. I am glad I popped in for a visit!

    Reply

  • Andrea MacDonald

    |

    Love this LO!

    Reply

Leave a comment

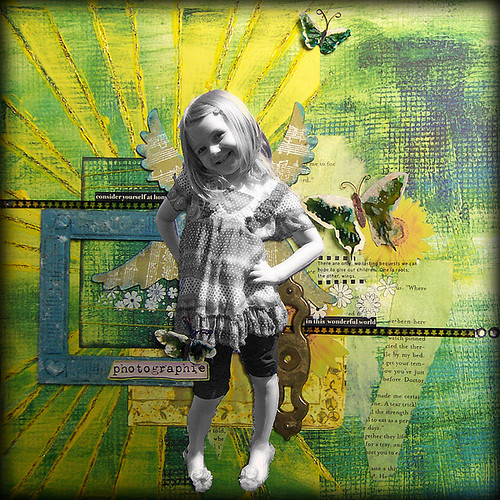
Layouts with eMOTions by Heidi Kelley

Heidi Kelley‘s work has been a special treat for me for a long time and just the last couple months we had more contact on a personal level which I really enjoy. The more it made me jumping up and down when I saw the stunning work she did with my papers!

Heidi Kelleys Arbeiten sind schon lange etwas Besonderes für mich und erst in den letzten Monaten hatten wir mehr persönlichen Kontakt, was ich sehr geniesse. Um so mehr habe ich mich gefreut, als ich die unglaublichen Arbeiten sah, die sie mit meinen Papieren veranstaltete!

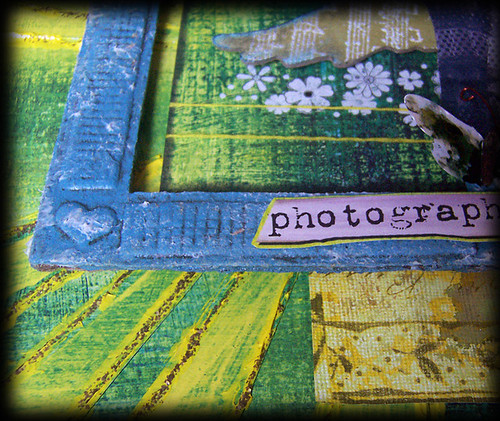
*Photographie by Heidi Kelley*

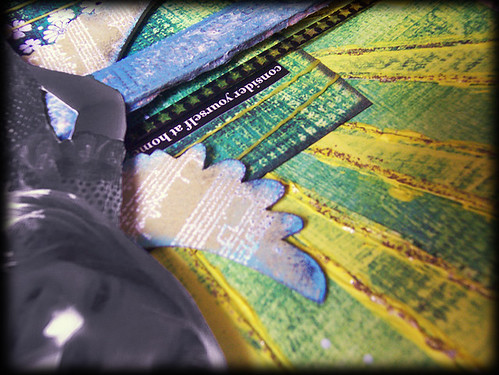
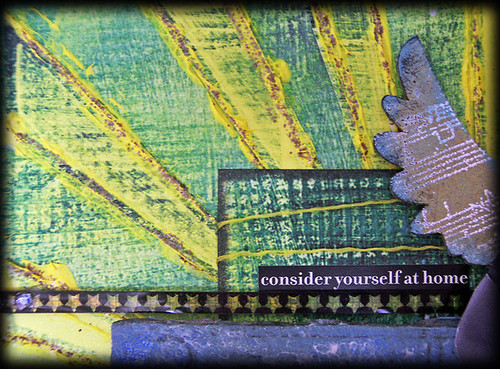
I so love how she took the background even further!!!!

and those cute butterflies!!!!

This is what she wrote: “This was so much fun, I haven’t felt so FREE to create whatever it was that I wanted to create, in a long time. These papers were exactly what this girl needed…”

Thank you Heidi, for sharing your stunning art with me!!!

  • christiane

    |

    wow – she rocked your papers!! :D

    Reply

  • Sascha Schmidt

    |

    like that very well. very nice Greetings from Austria

    Reply

  • Evelien

    |

    great layouts!!! love it!

    Reply

  • Karen

    |

    What a great endorsement from Heidi!

    Reply

  • Heidi Kelley

    |

    Awww, thanks Nathalie!! It’s easy to create when you have something beautiful to work with! HUGS!!

    Reply

  • Kim Sonksen

    |

    Wow – this layout is amazing!!!! I love what Heidi did with your papers

    Reply

  • Tina

    |

    OMG, das ist ja soo genial!! Zuckersüß!

    Reply

  • Birgit

    |

    Ach Nat, dein Blog sprüht nur so vor Inspirationen!!! Ein wahres Feuerwerk!!!
    Hast mein Mail erhalten Süße? Drück dich….

    Reply

  • sylvia

    |

    how gorgeous is that?! loove that layout, the photo silhouette is perfect!

    Reply

Leave a comment