Creative Squad

Free For All – Cheiron Brandon


Greetings from the Creative Squad! Today we have a bright and happy tag project from Cheiron Brandon that will be perfect for the next hostess gift you present! She’s using my Love Tag stamp from the Stroll Through the Hood 1 set and stamps from my Embroidery set, and of course, this month’s theme: Free for All! It’s time for summer vacation and relaxing so around here the Creative Squad is taking a break from themes this month. They’re just going with the flow and making a project of their choosing. It’s a Free for All!


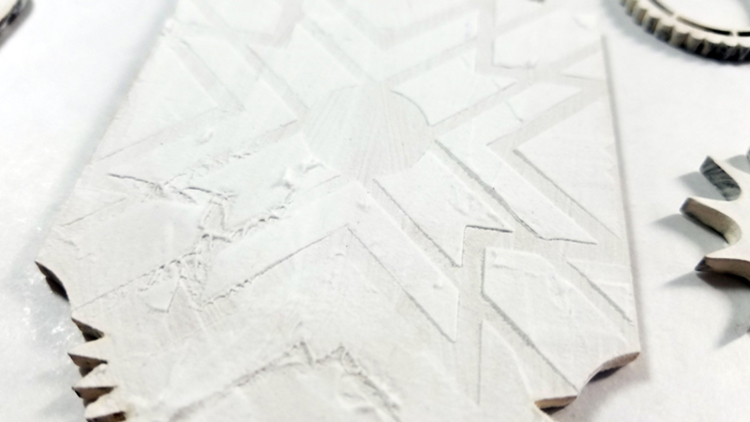
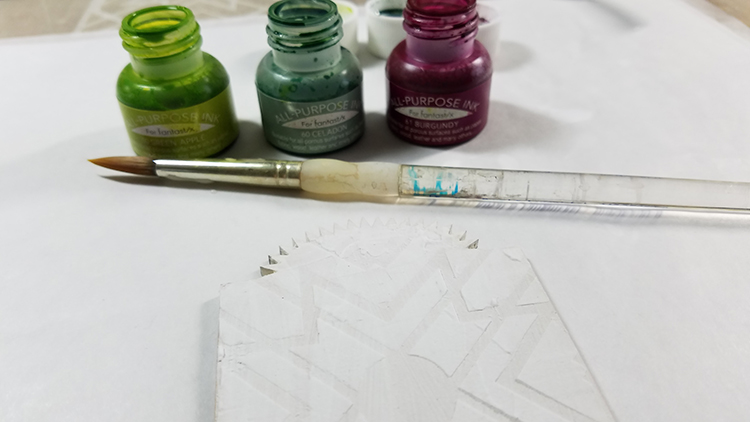
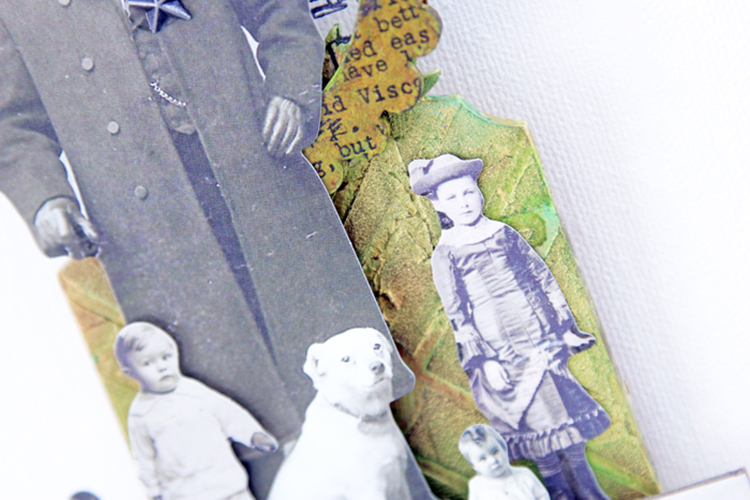
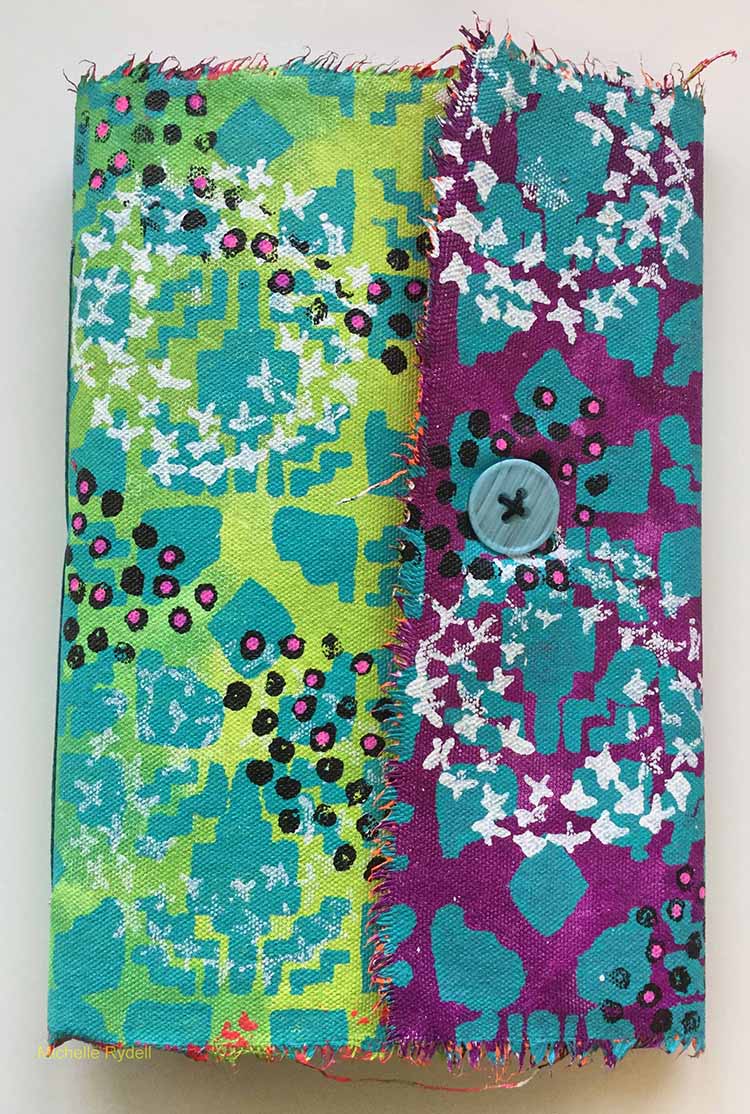
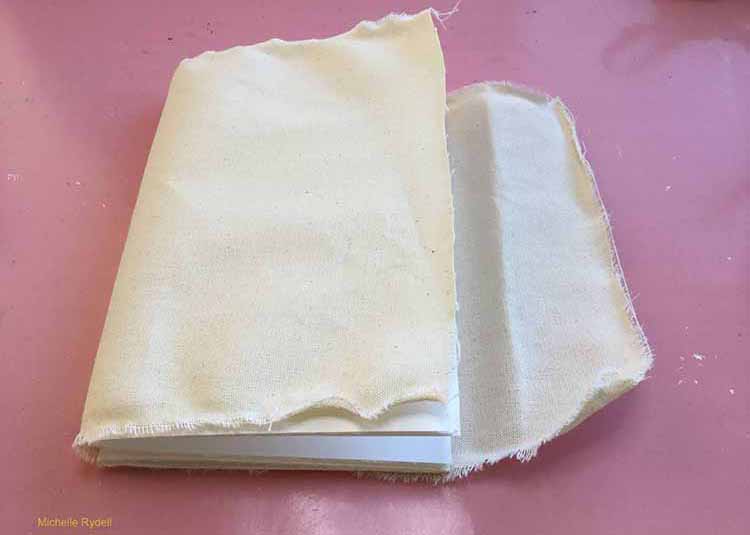
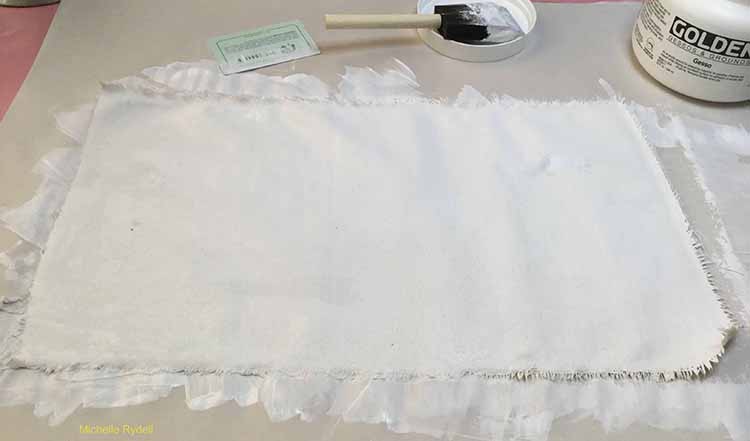
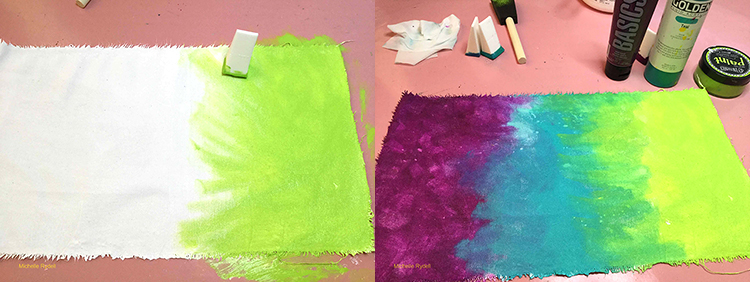
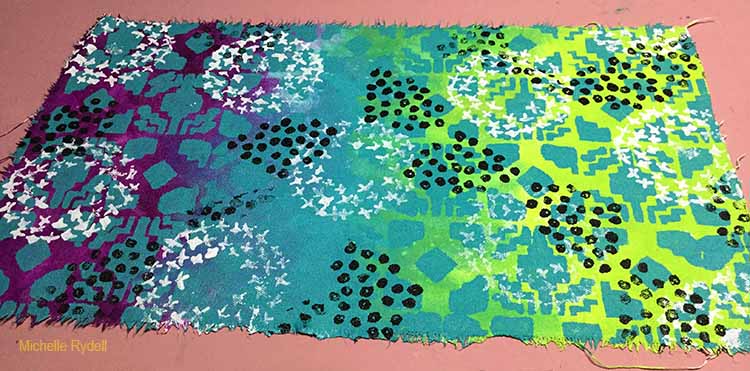
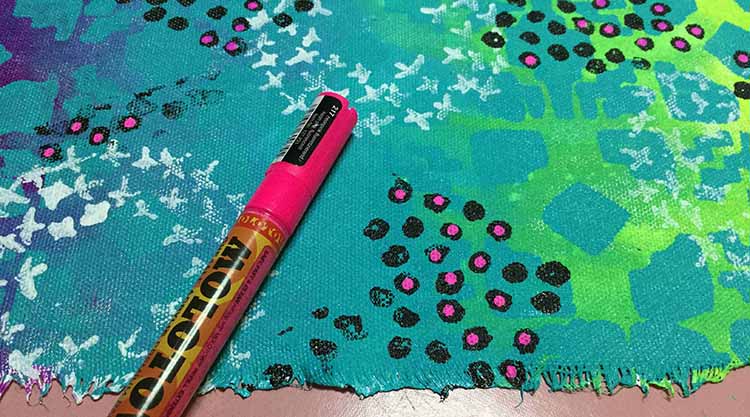
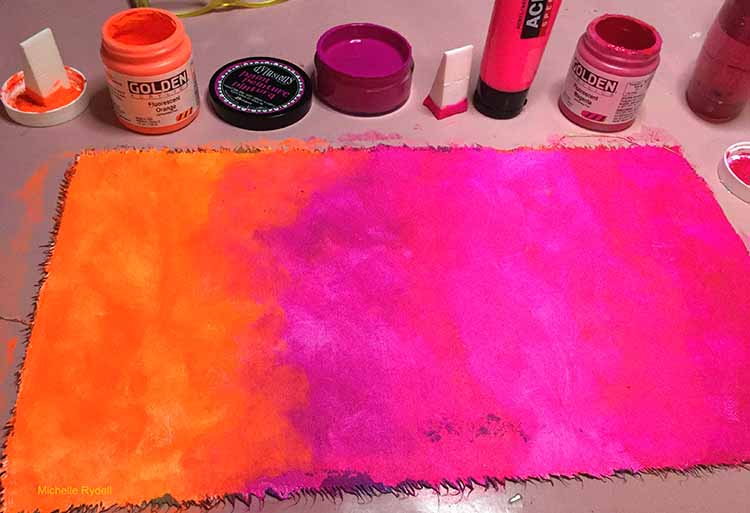
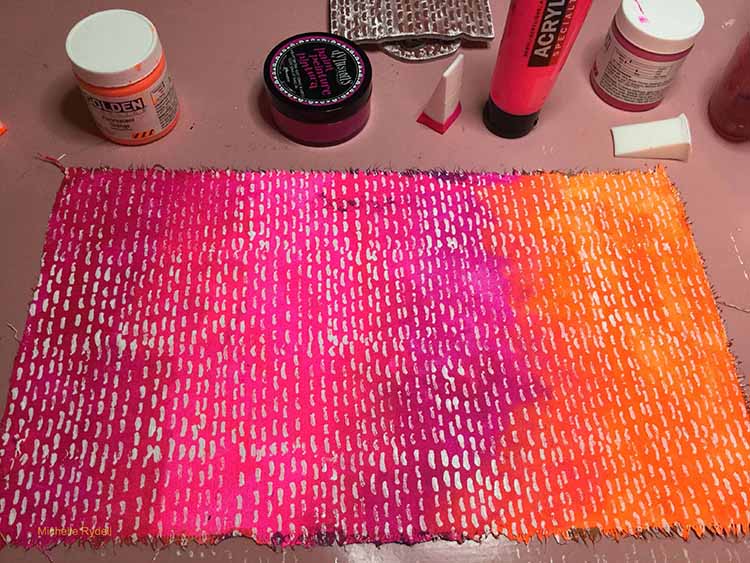
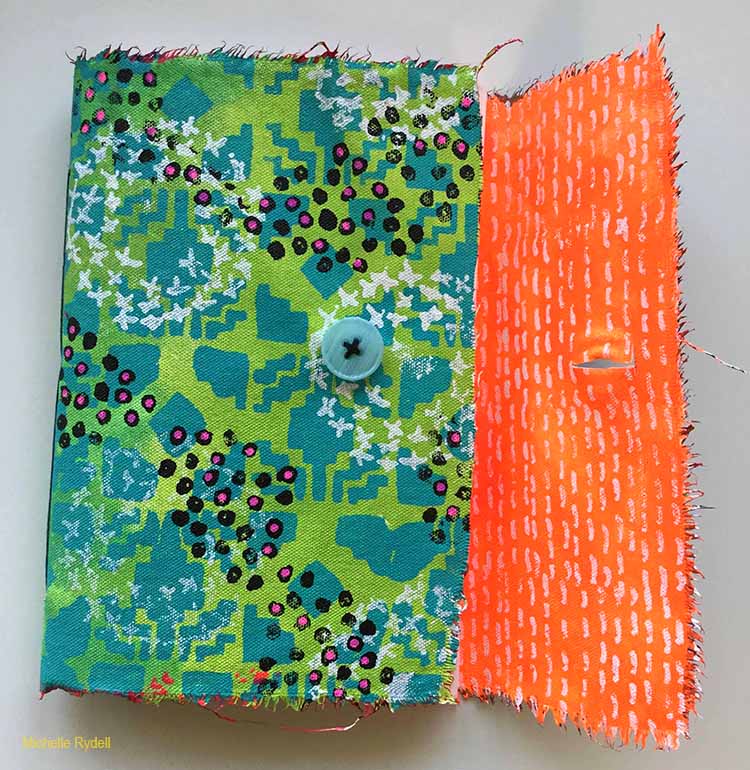
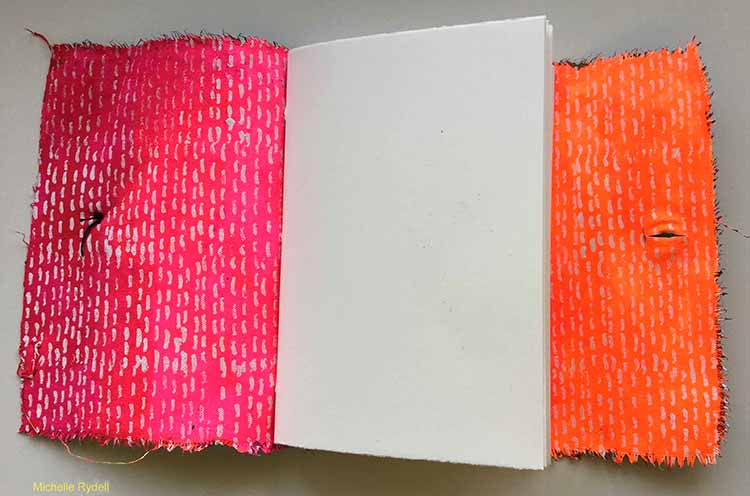
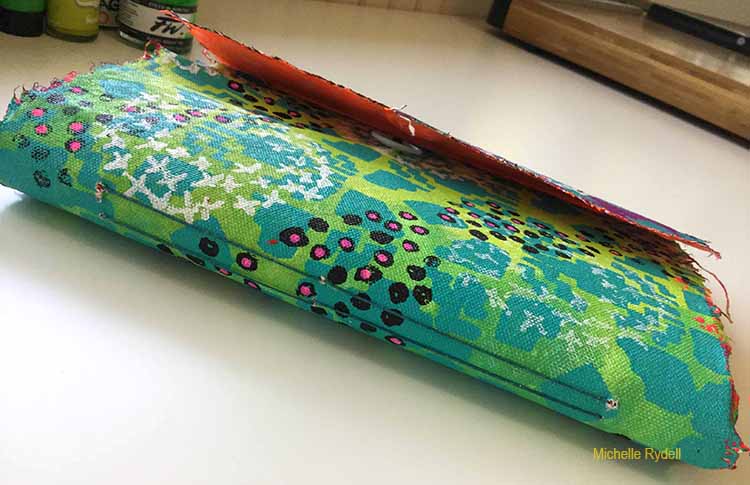
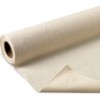
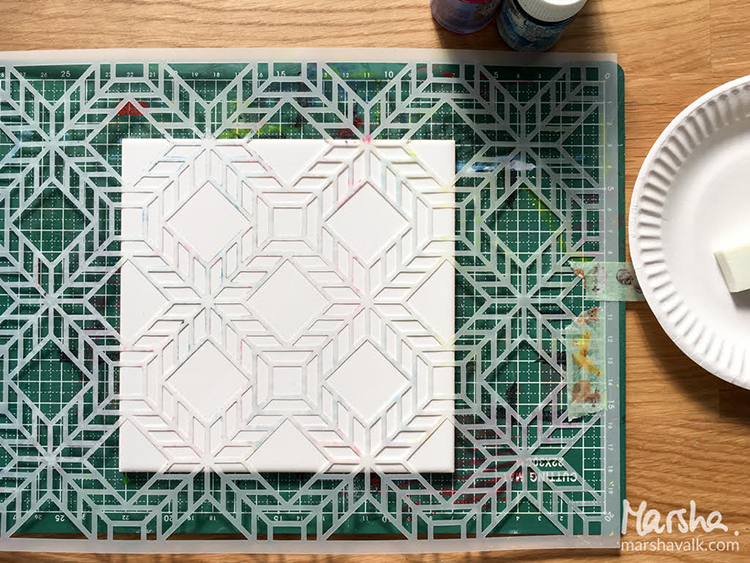
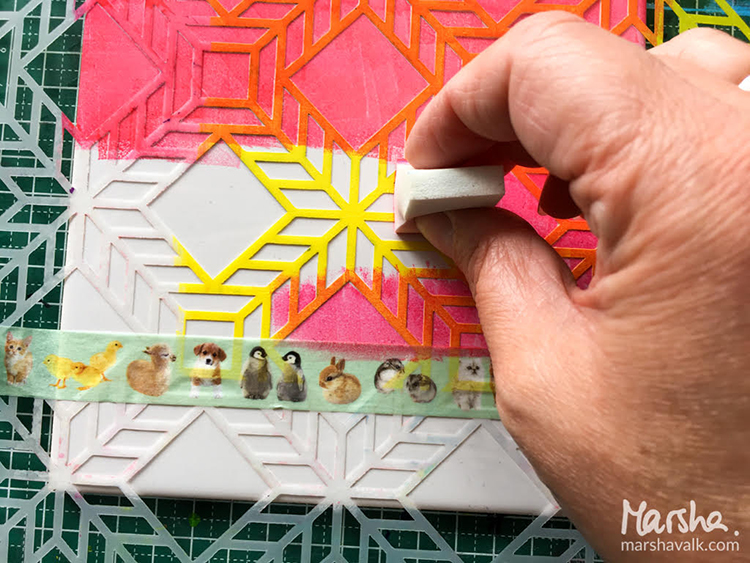
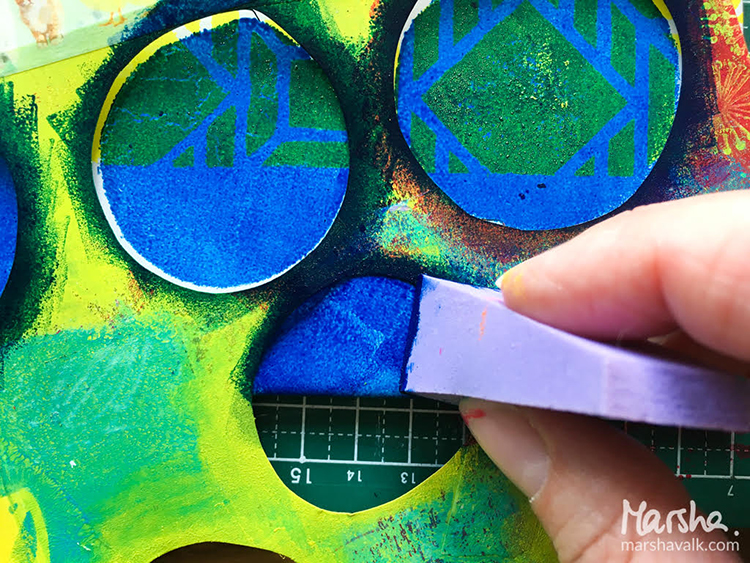
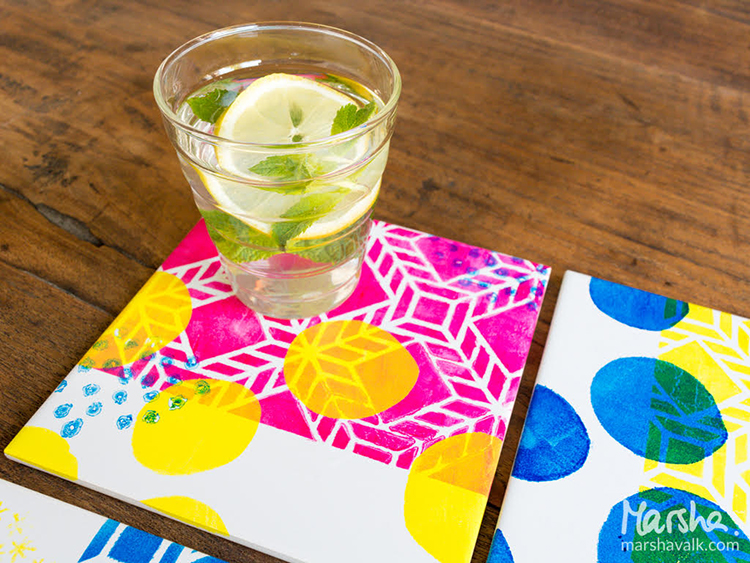
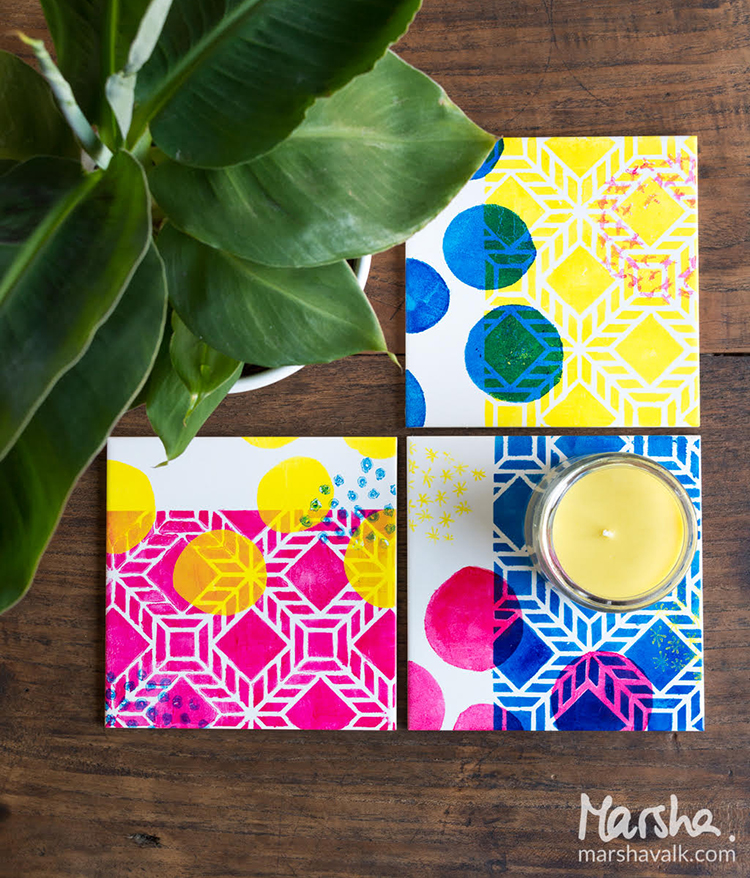
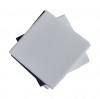
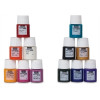
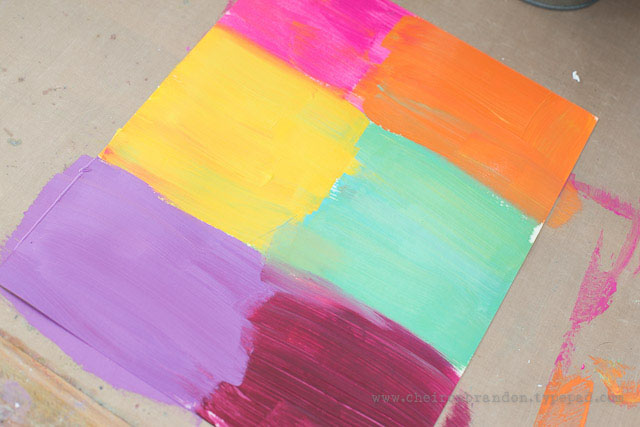
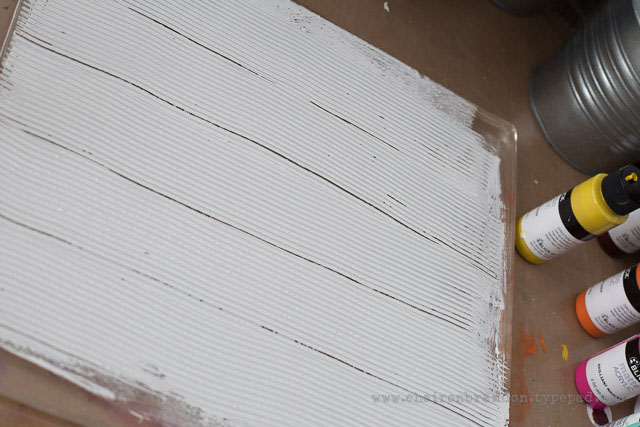
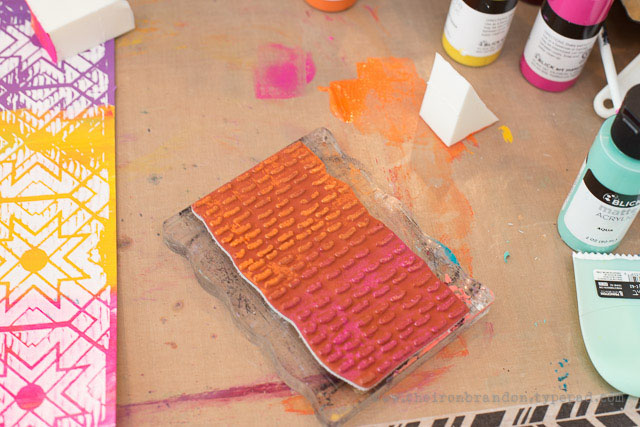
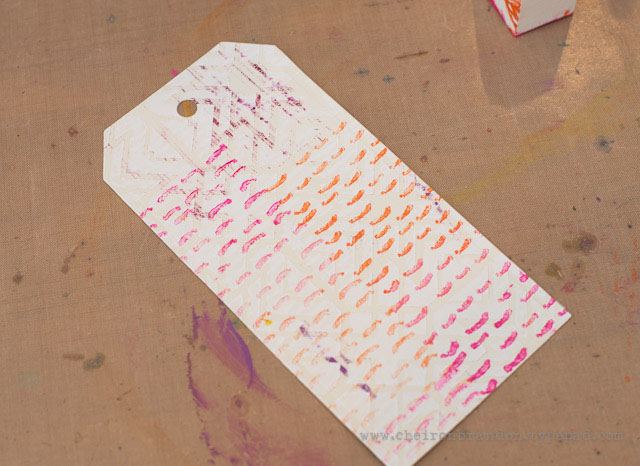
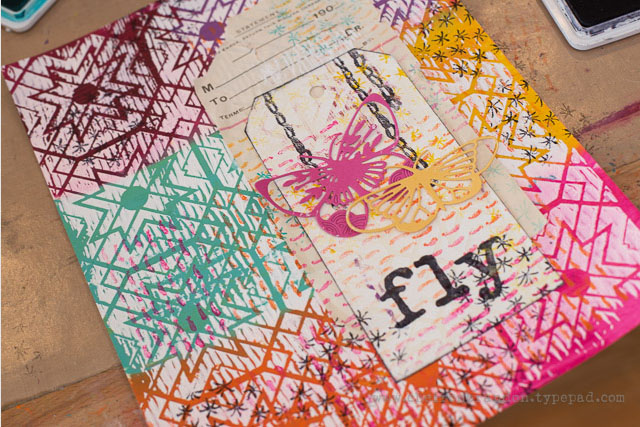
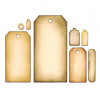
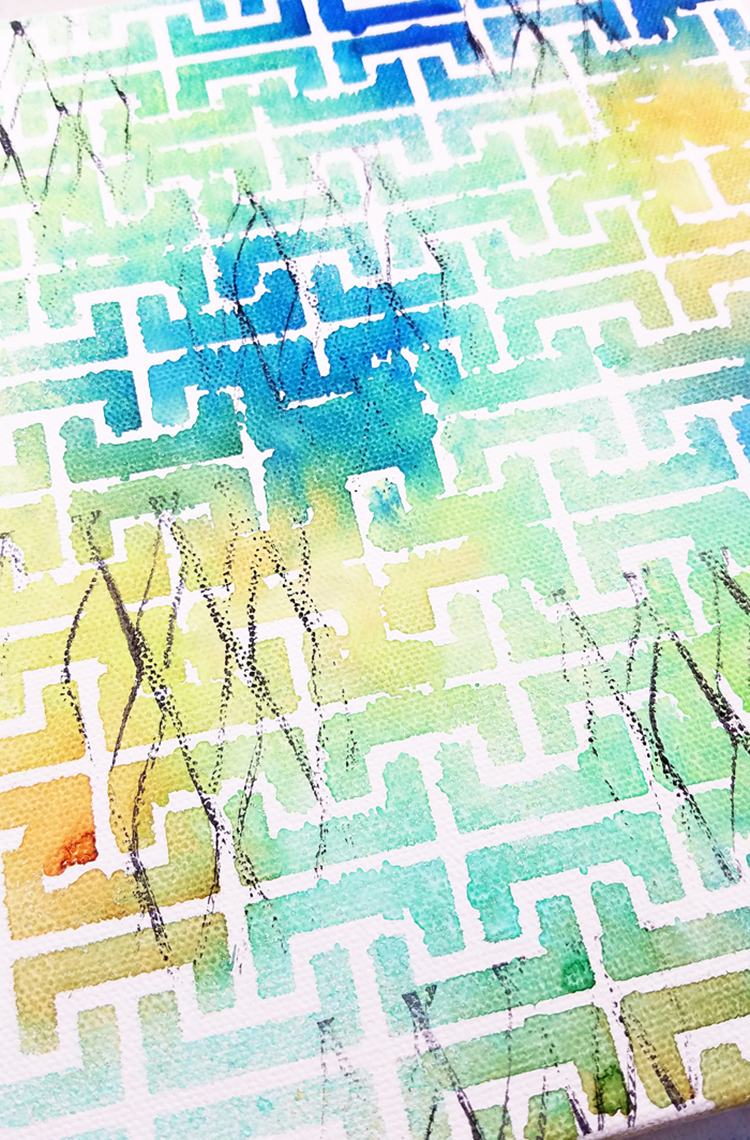
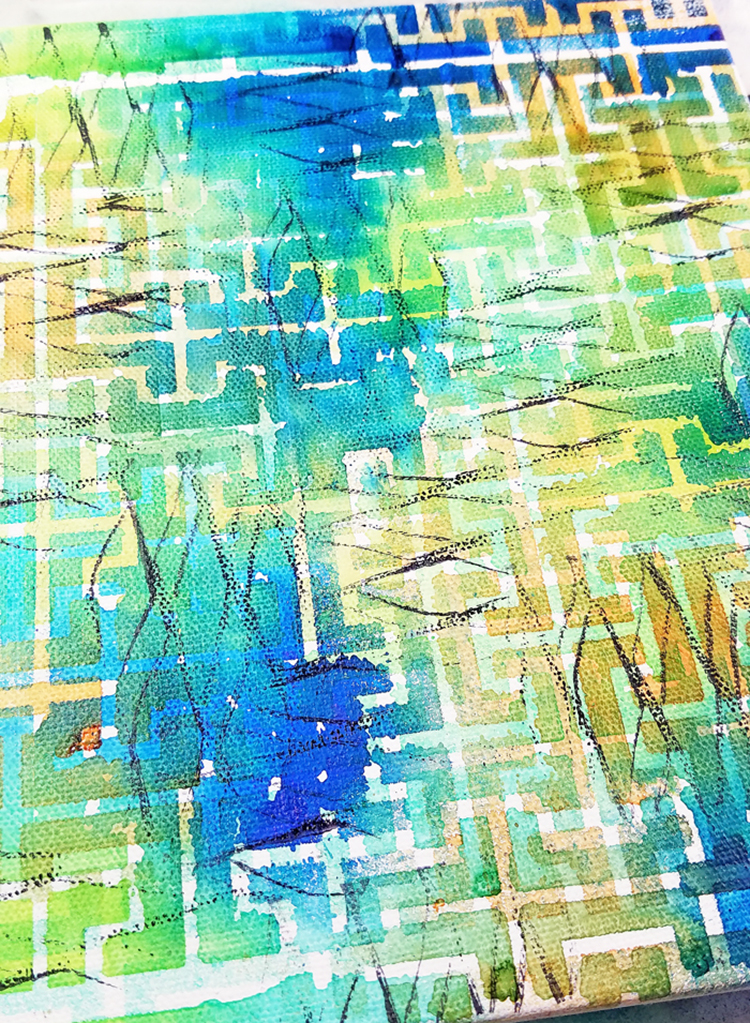
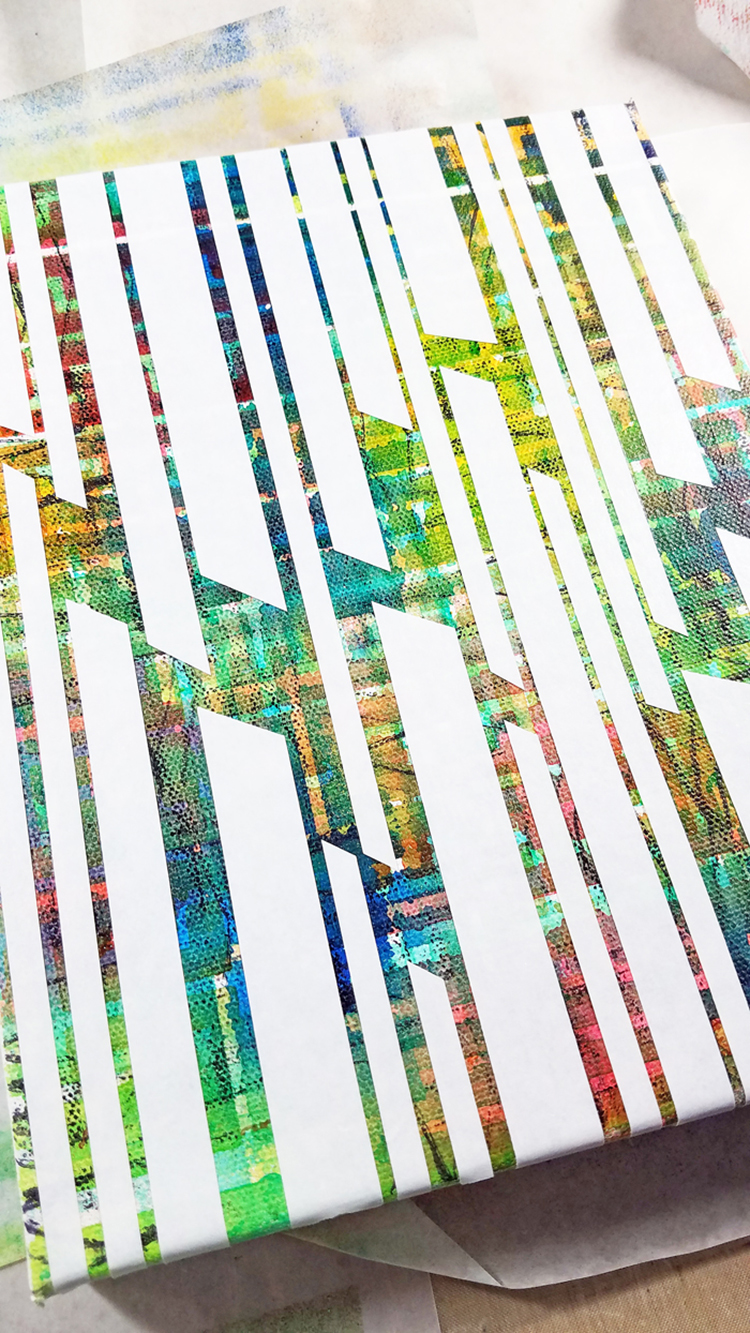
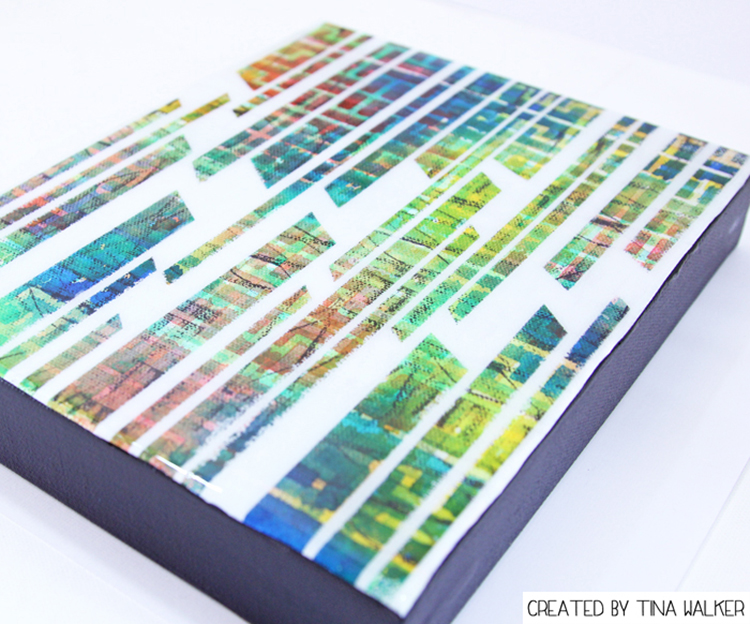
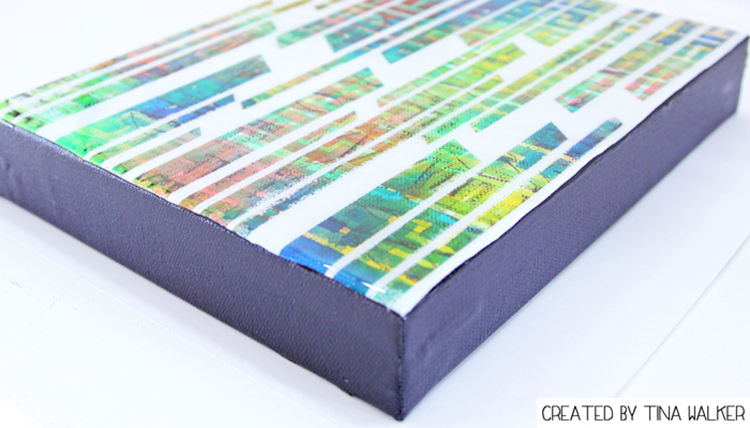
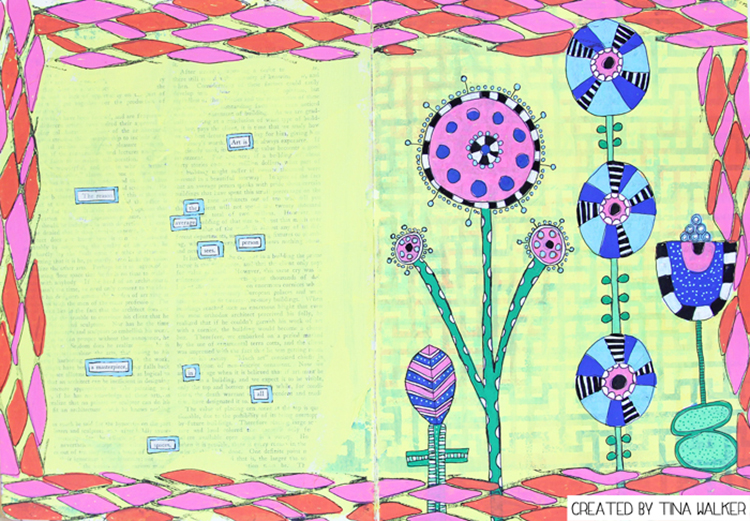
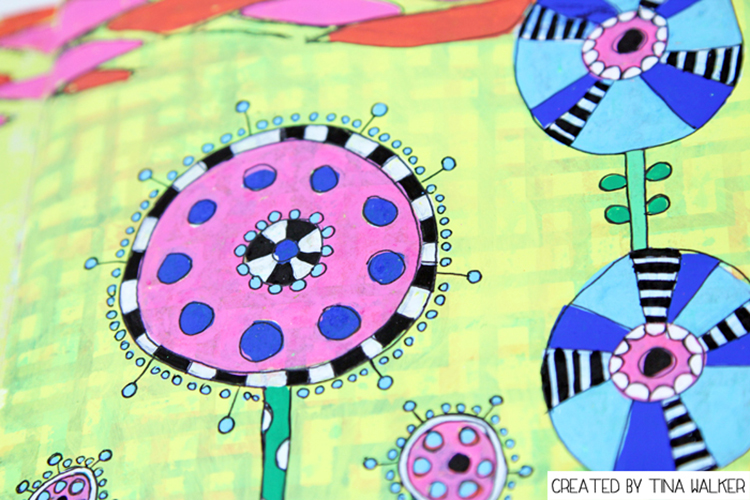
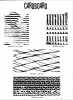
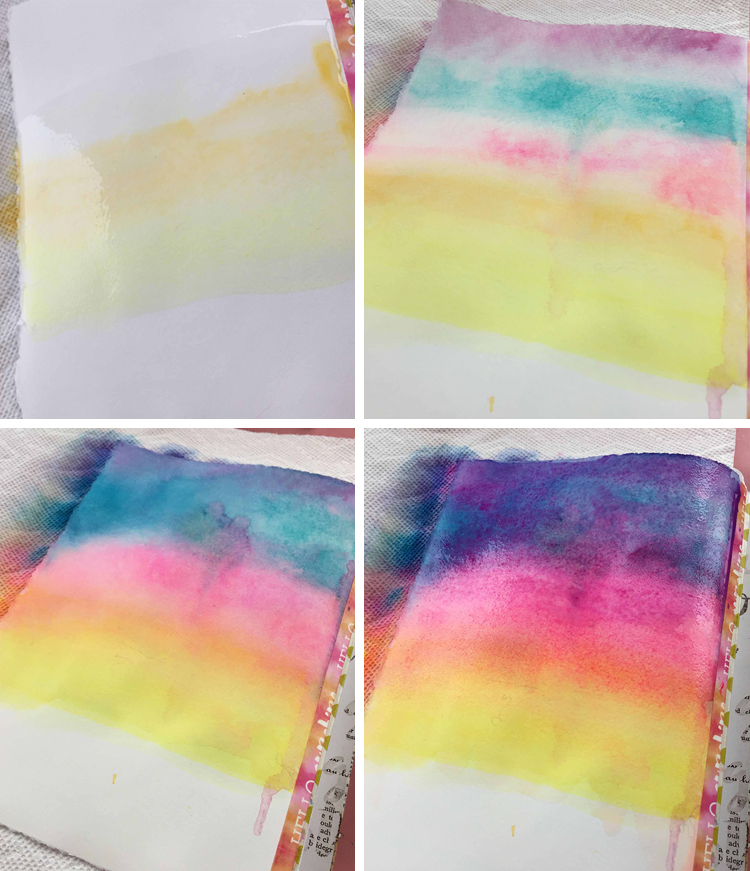
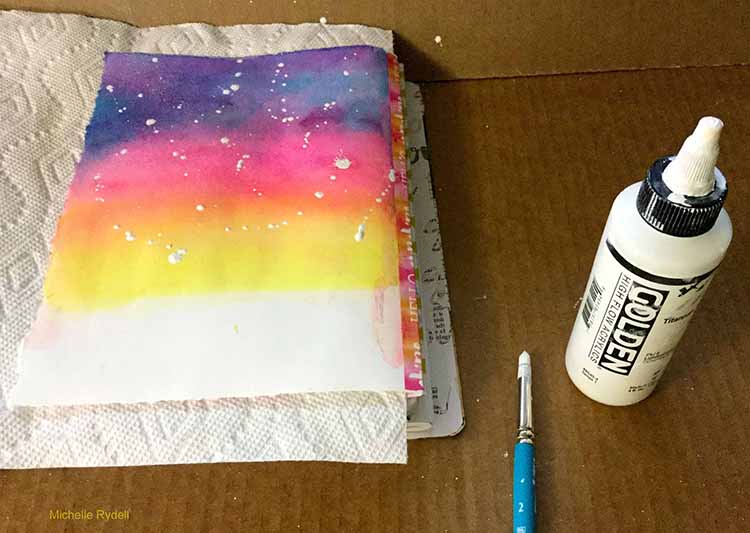
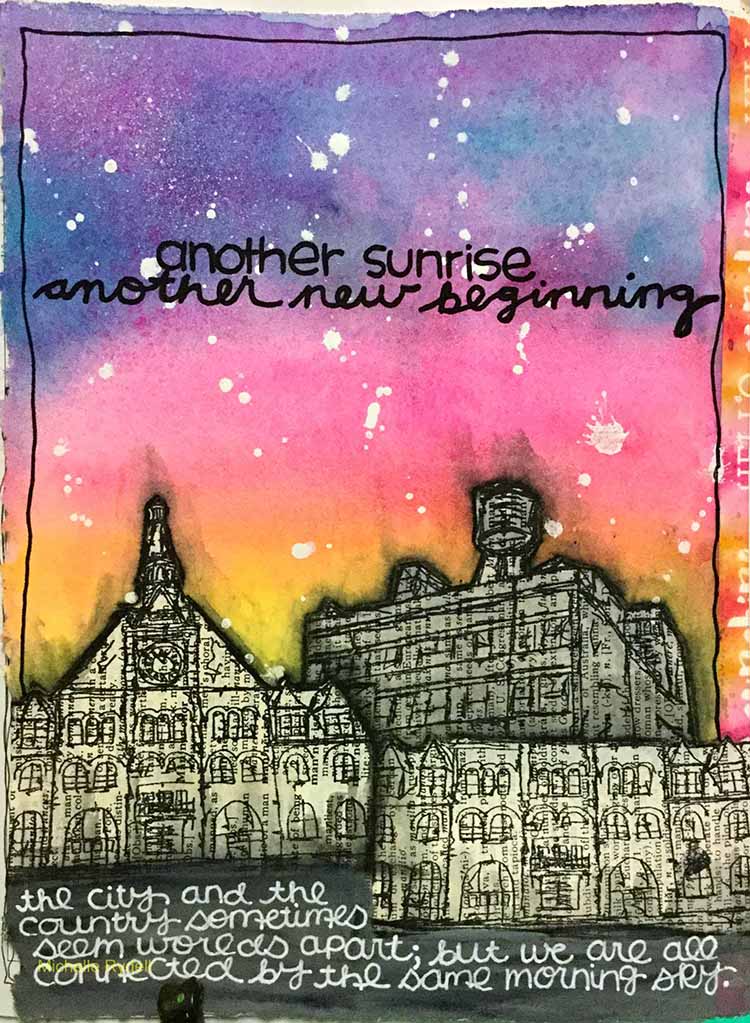
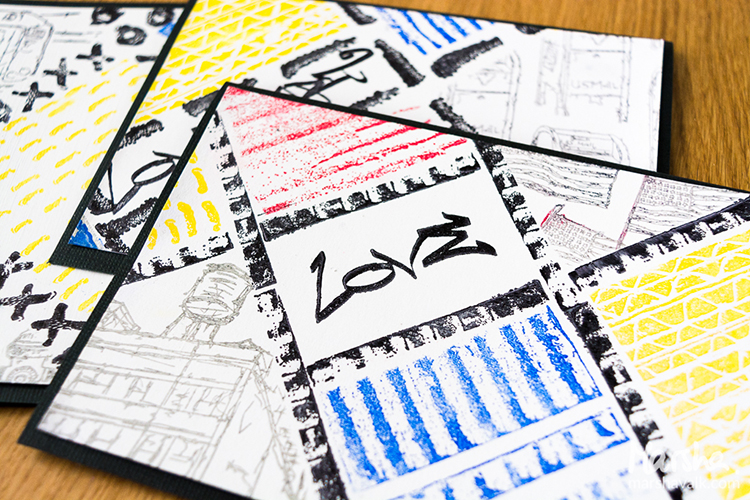
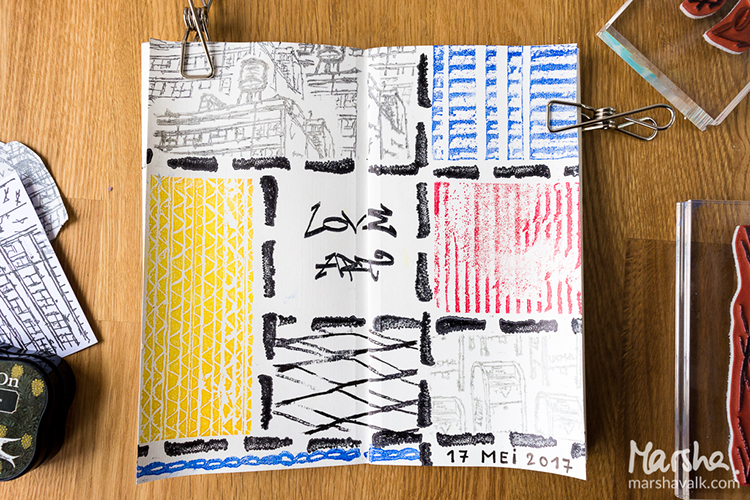
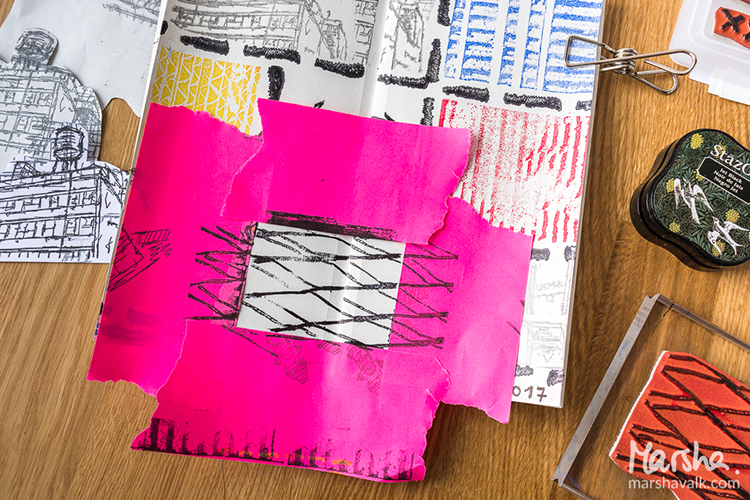
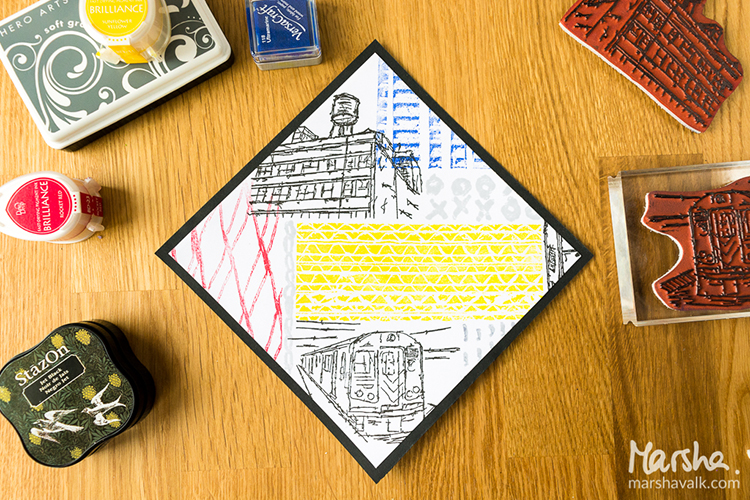
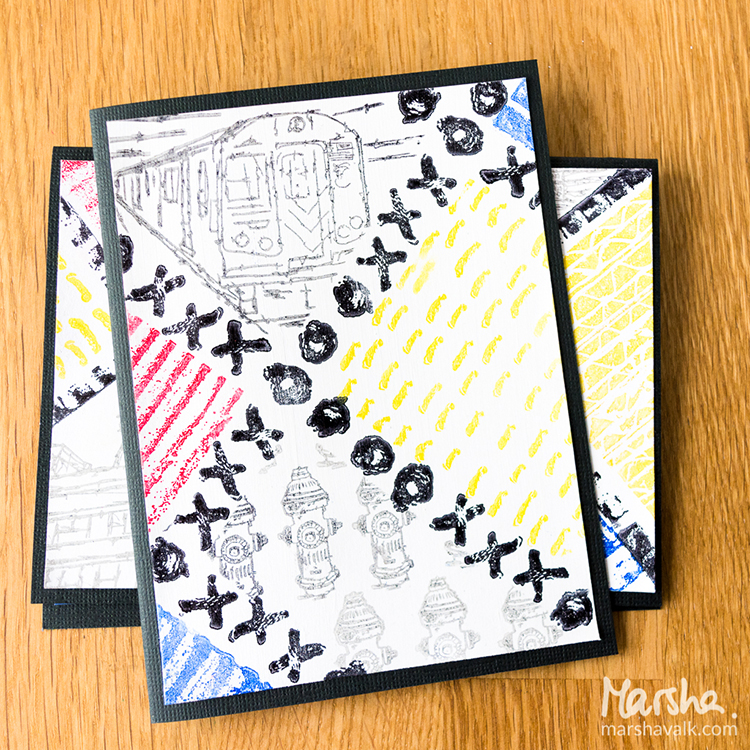
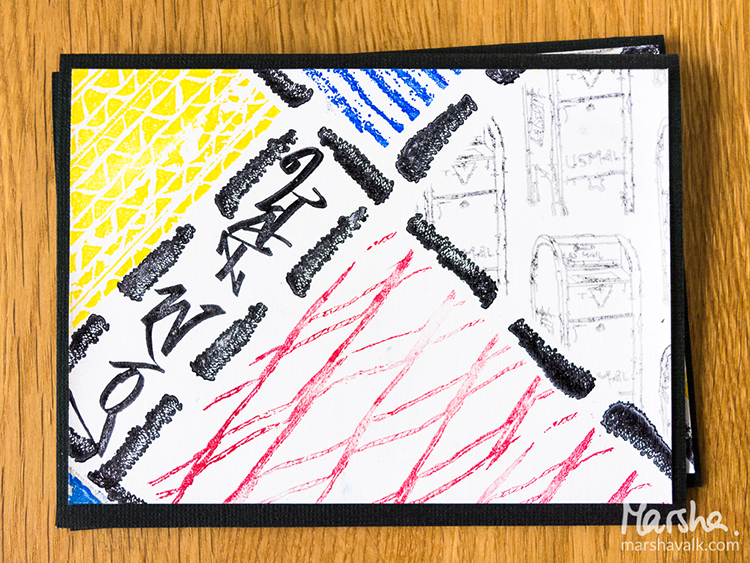
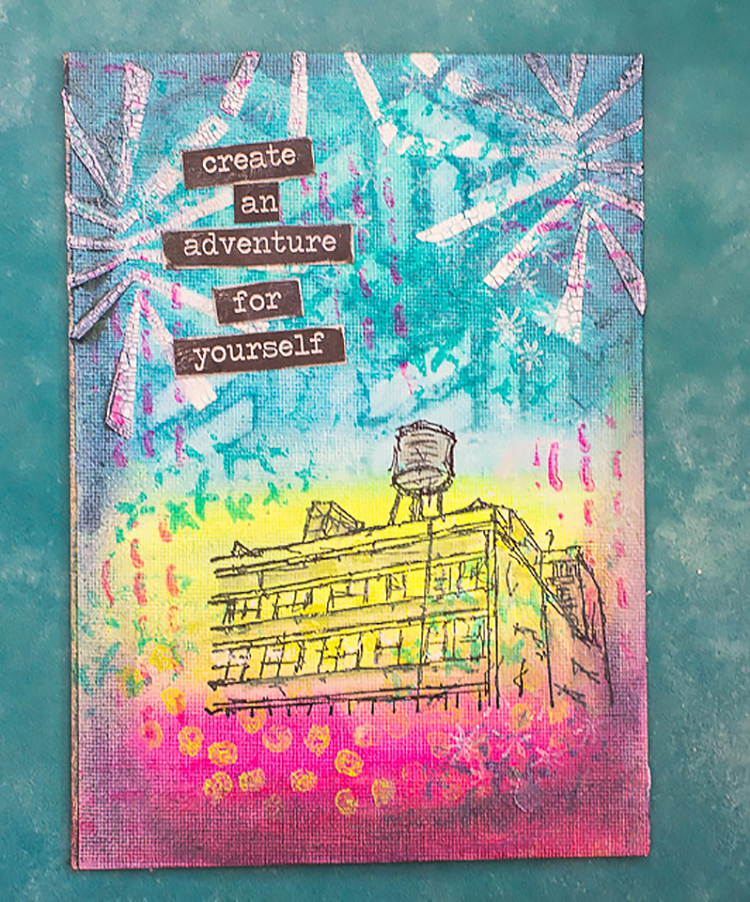
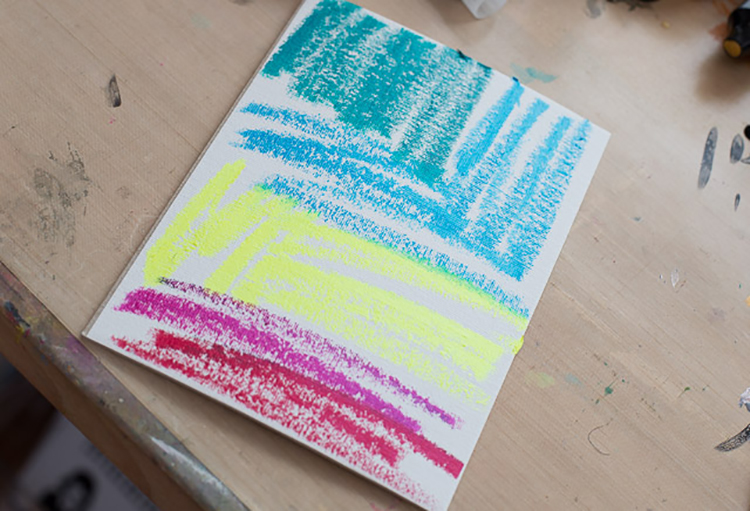
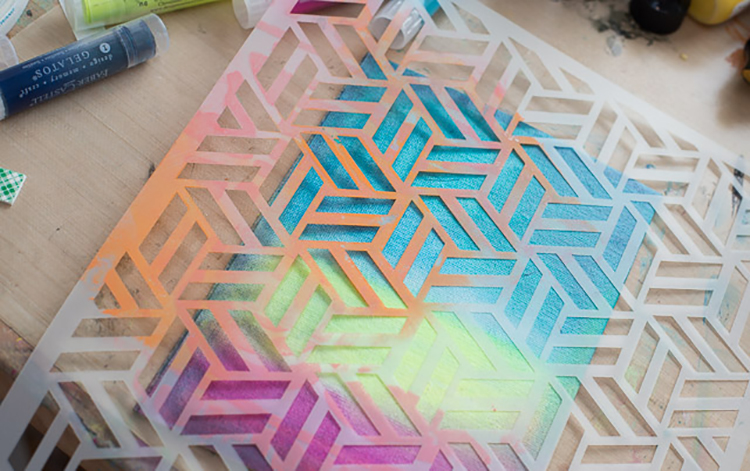
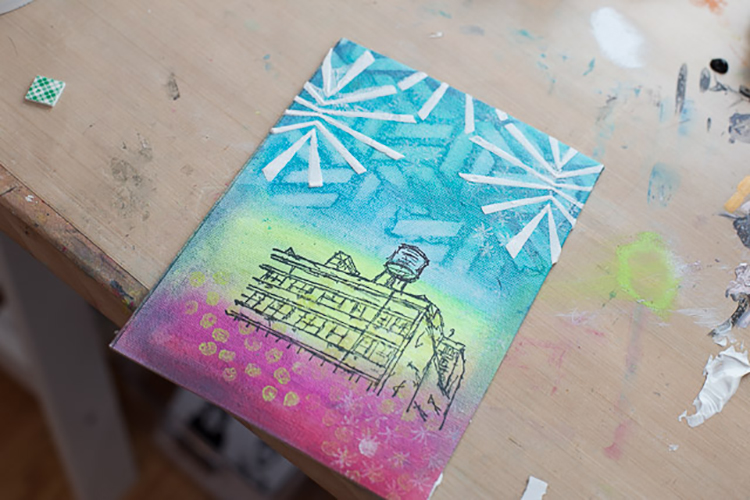
Hi there, it’s Cheiron here with my monthly post for July using the Free for All theme. Sometimes it’s just fun to have a little creative play at your desk and not complete a finished project at all. I love trying out new inks and paints so this month I gessoed up some tags and played around with Distress Oxides. To create these tags is really simple, put the Distress Oxides onto a non-stick craft sheet, spray with water and swipe the tags through to add some color to the background and dry them with a heat tool.

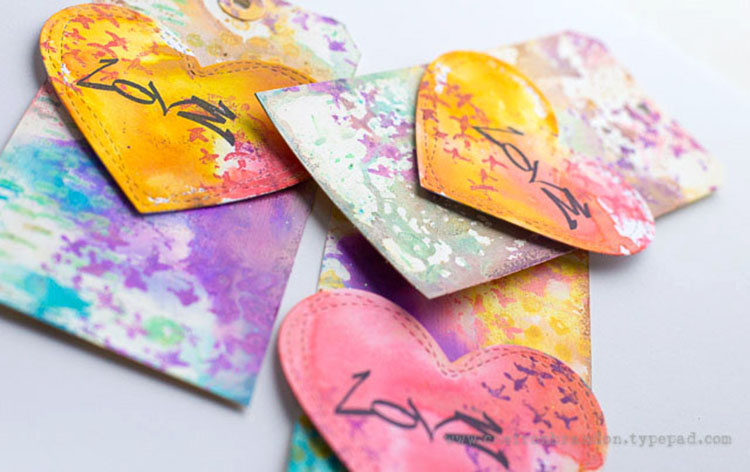
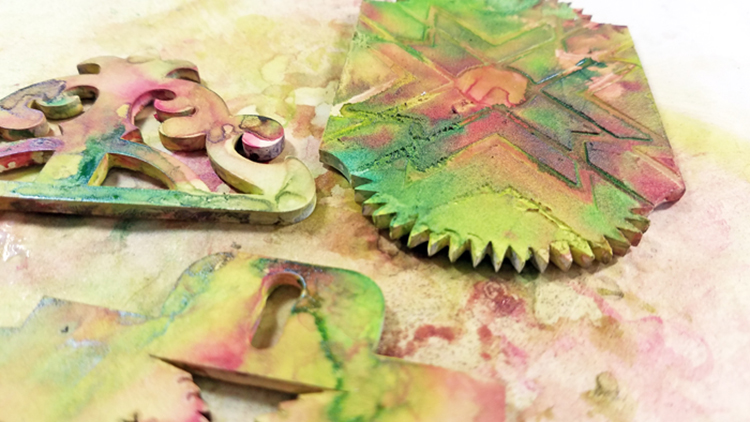
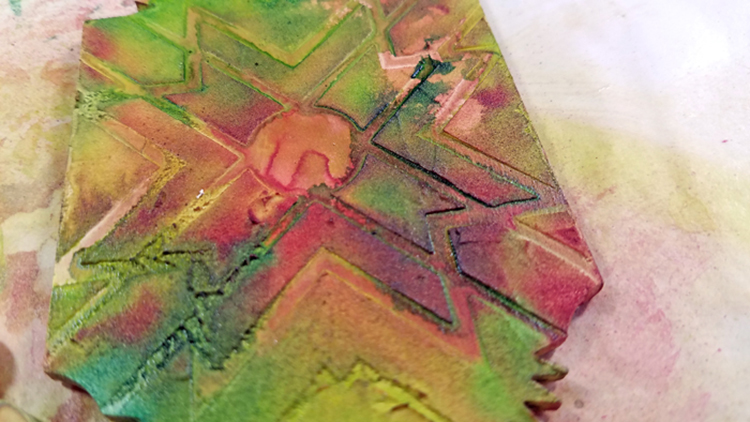
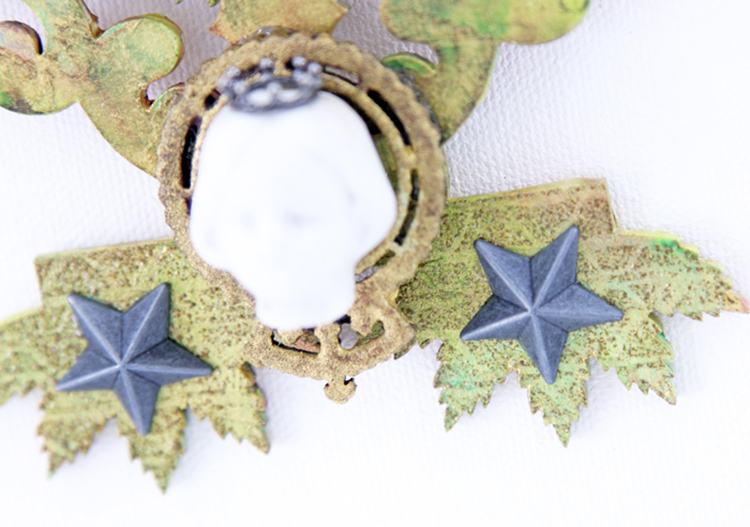
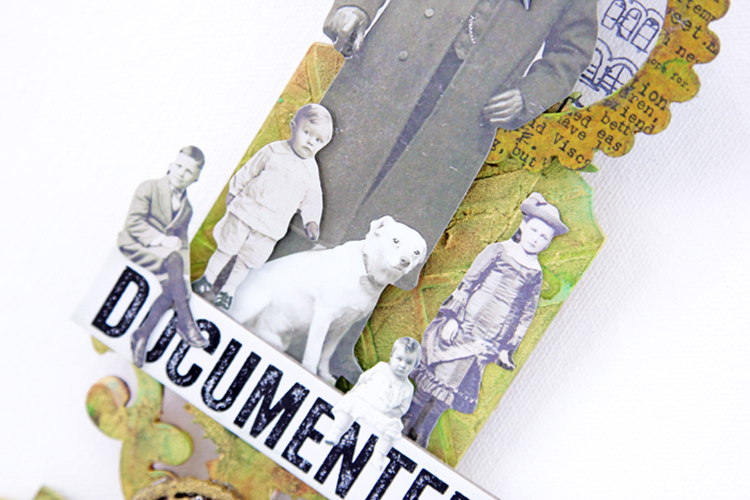
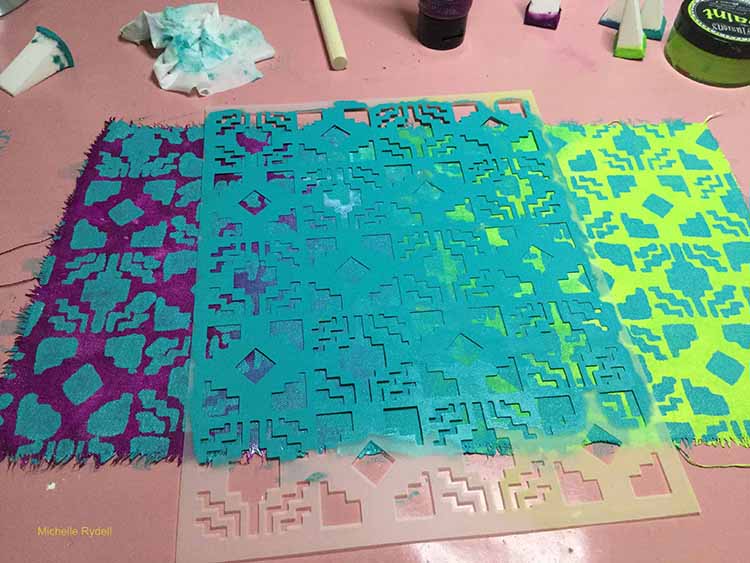
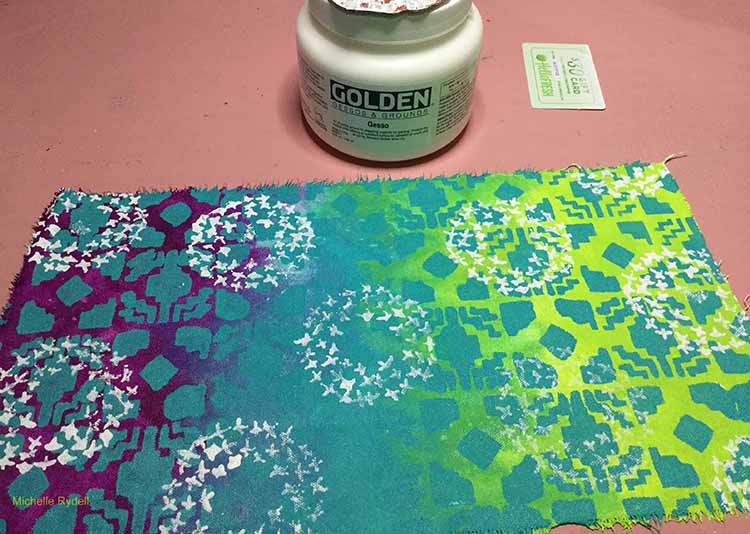
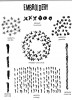
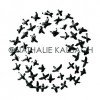
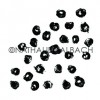
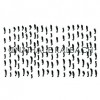
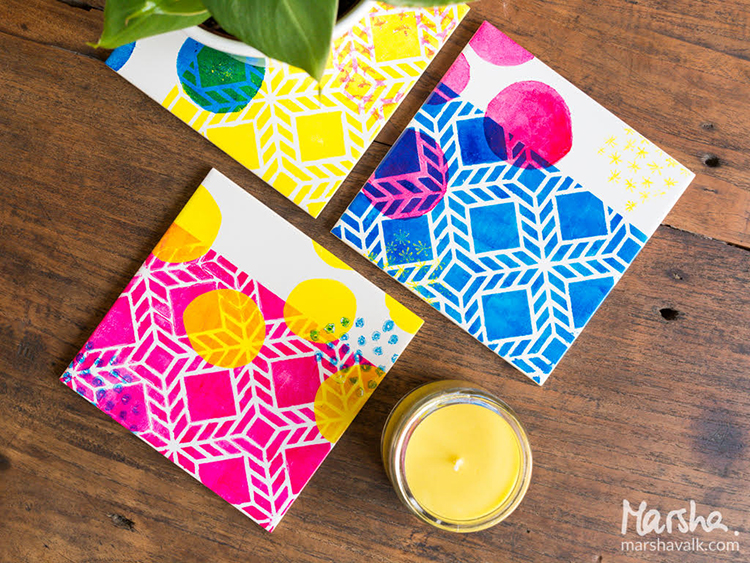
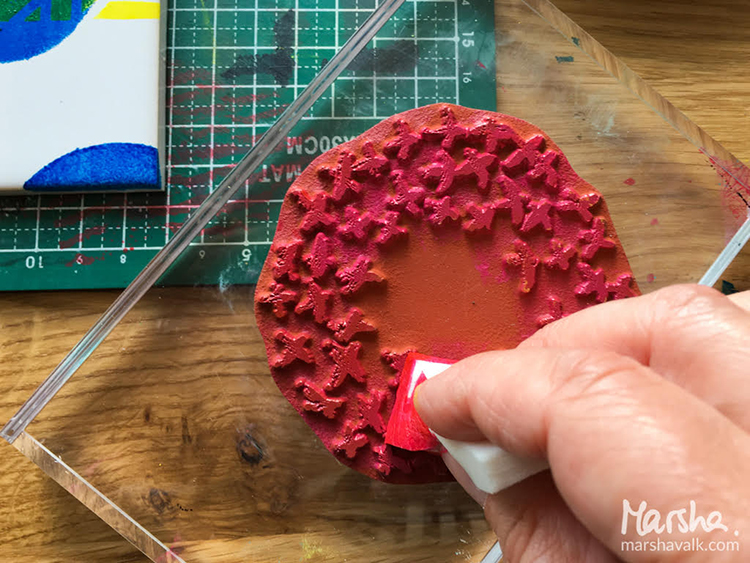
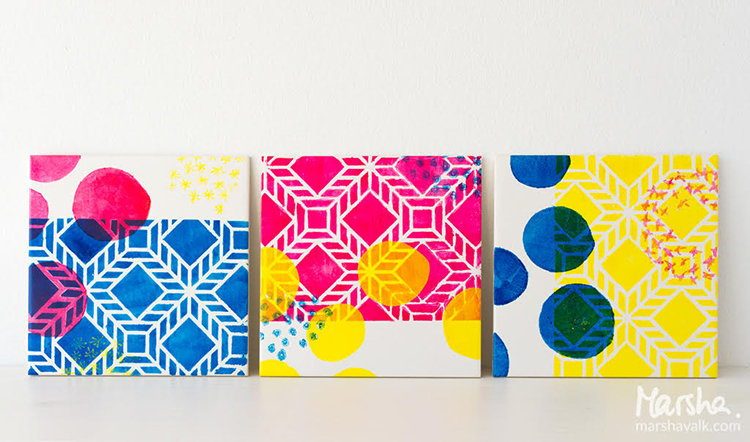
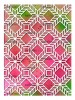
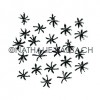
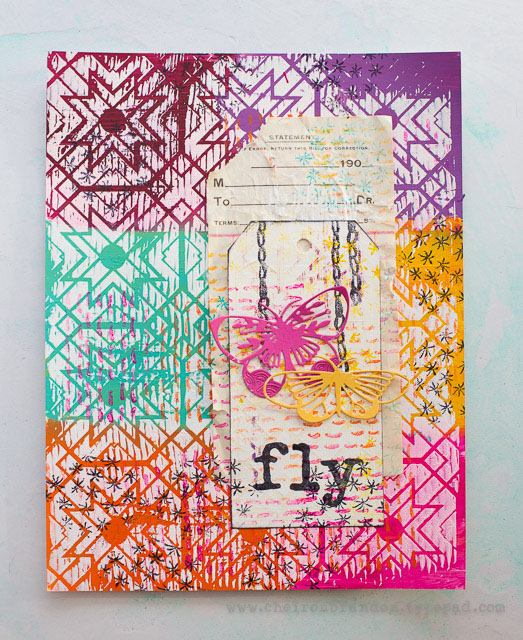
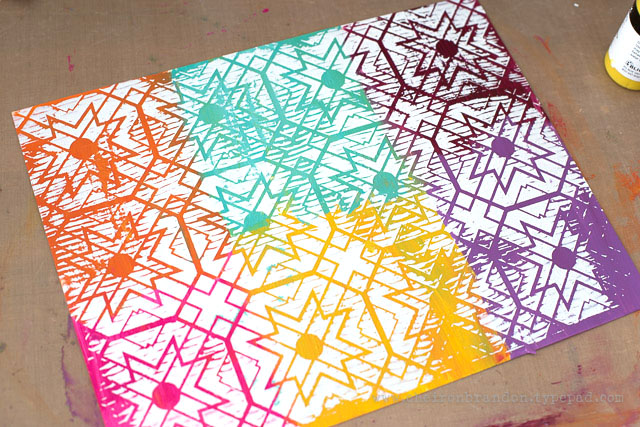
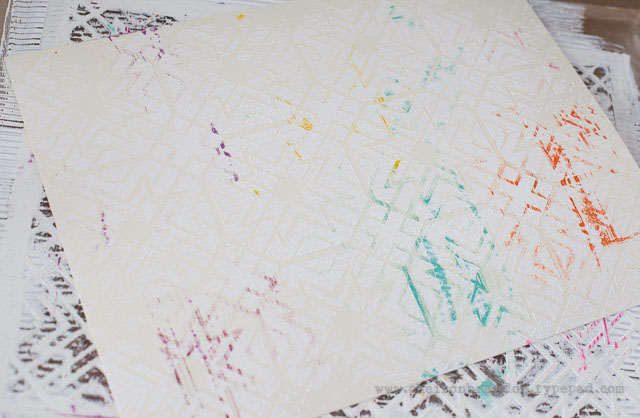
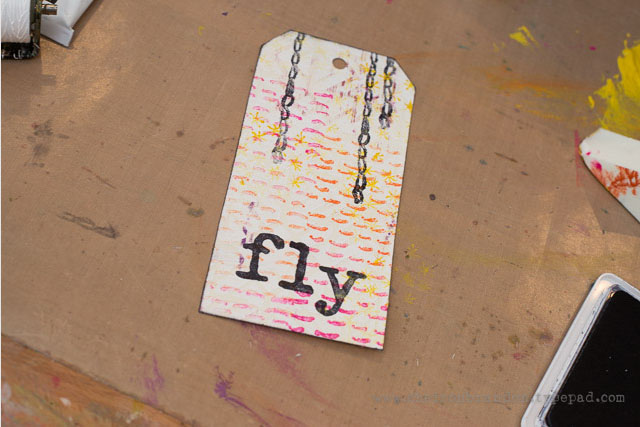
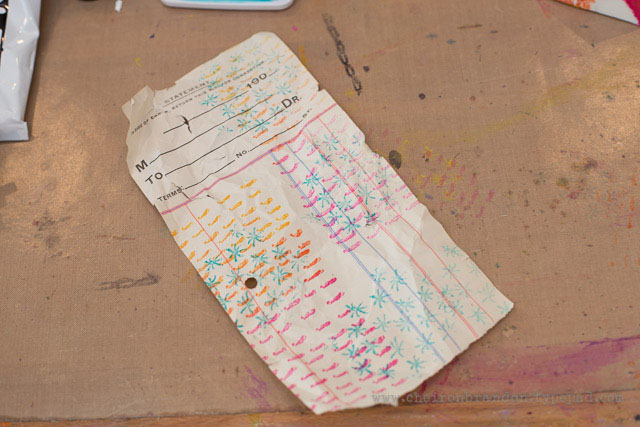
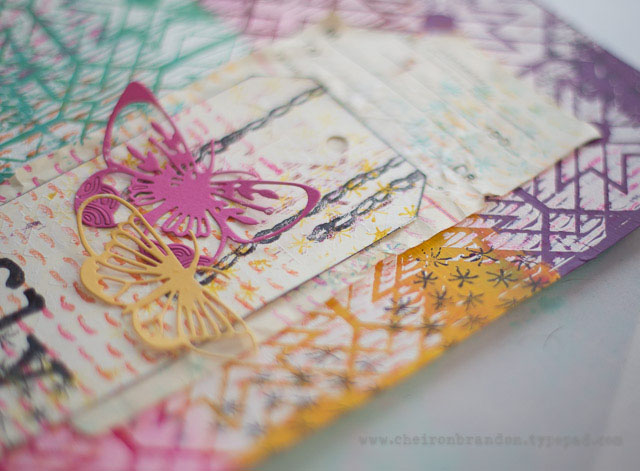
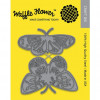
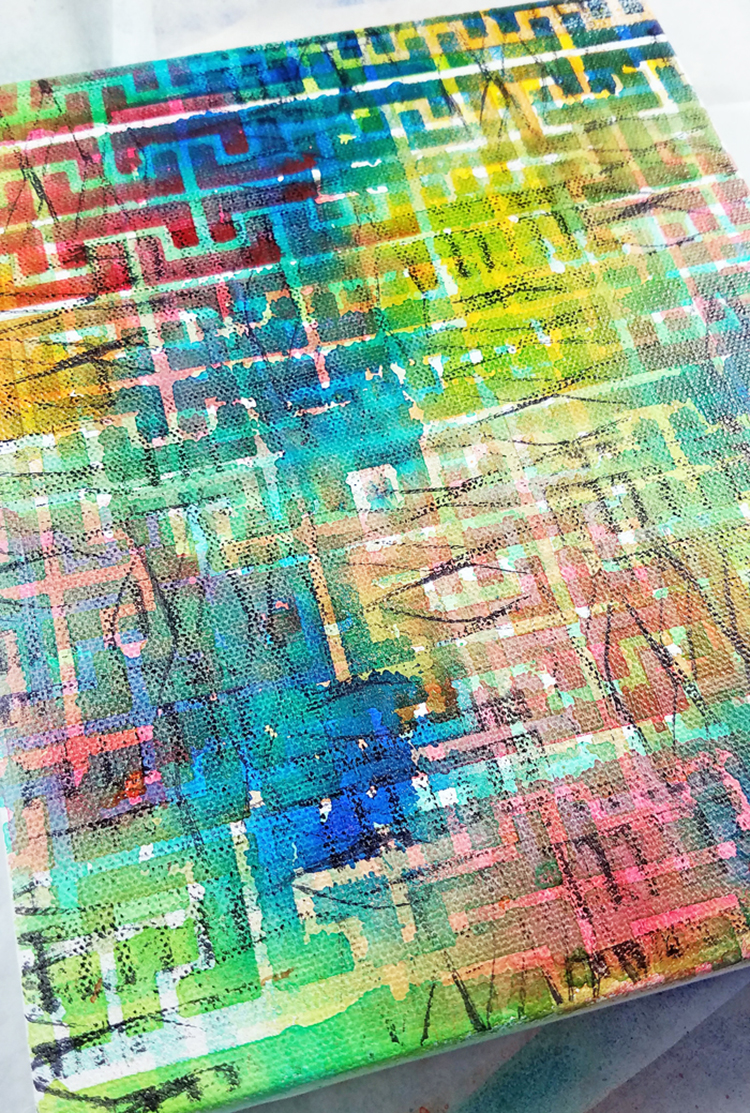
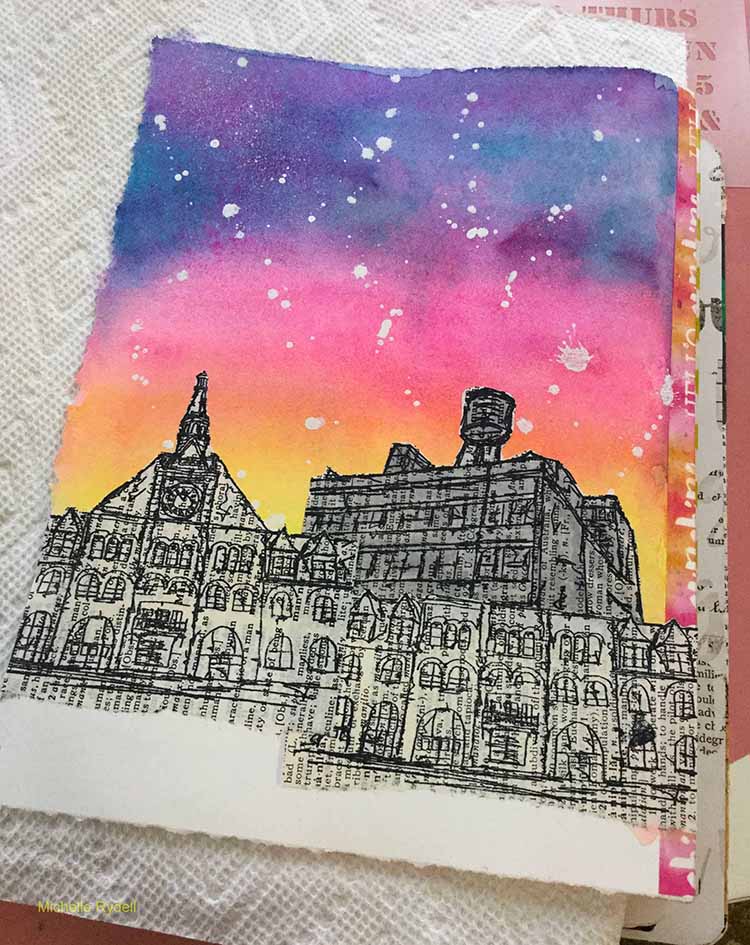
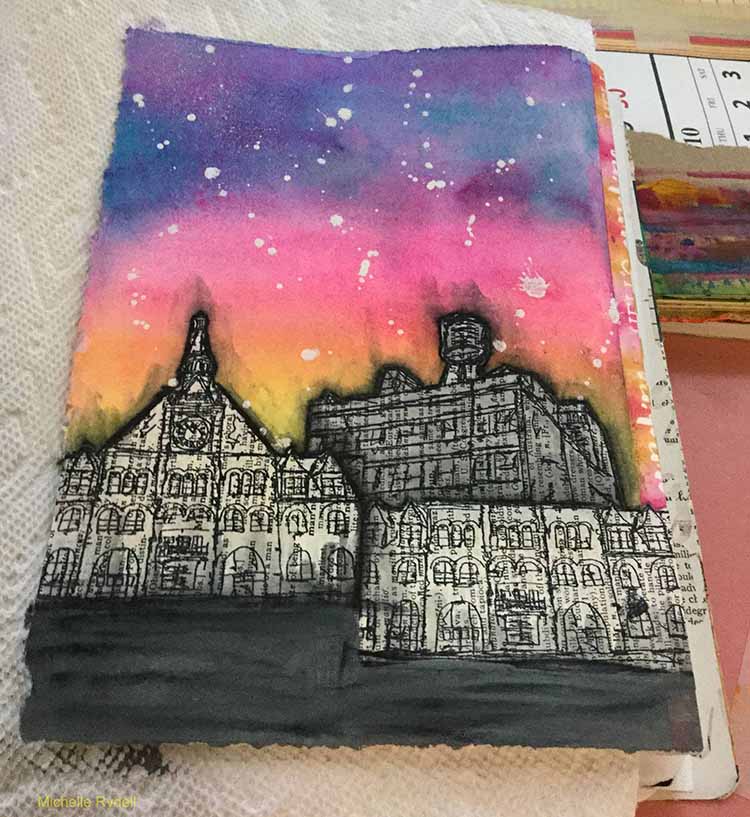
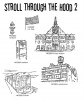
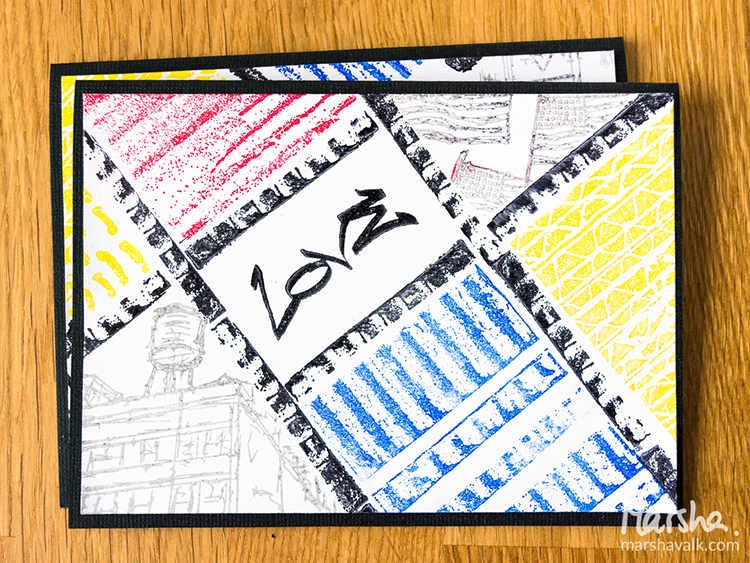
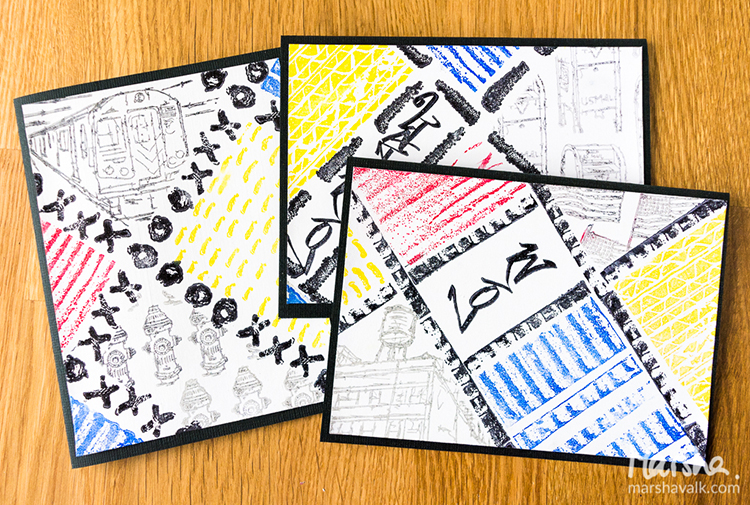
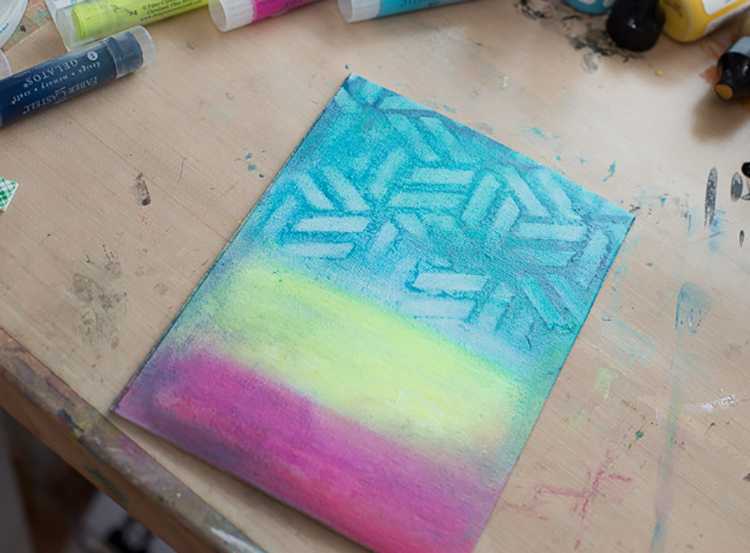
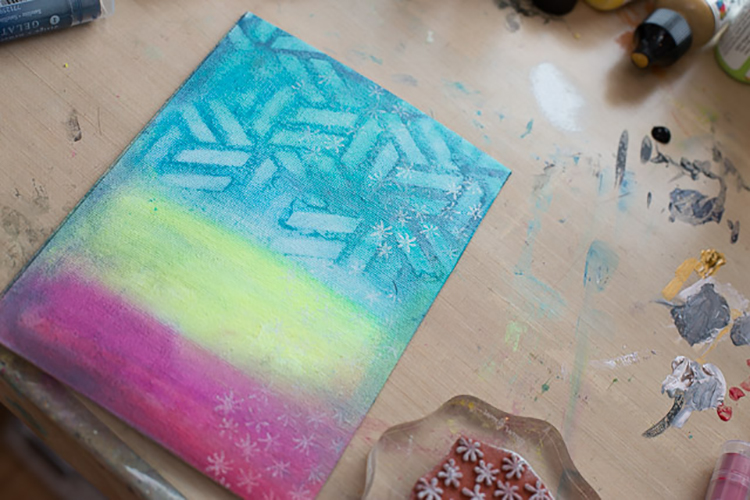
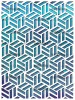
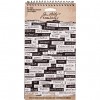
I used the Cross Circle, Running, and Grannies stamps from the Embroidery set to stamp different patterns using the same color of inks that I used to make my tags. These inks stamp wonderfully with Nat’s stamps. To finish off the tags, I added a heart die cut and stamped the graffiti word LOVE from the Stroll Through the Hood 1 set on them. What to do with these tags once you are done? That is entirely up to you! I like to embellish them with some bling and tie them onto a bottle of wine when going to a friend’s house, add them to an art journal spread or simply use them as a gift topper on a package. Hope you will try making some fun tags next time you want to experiment with a new medium.


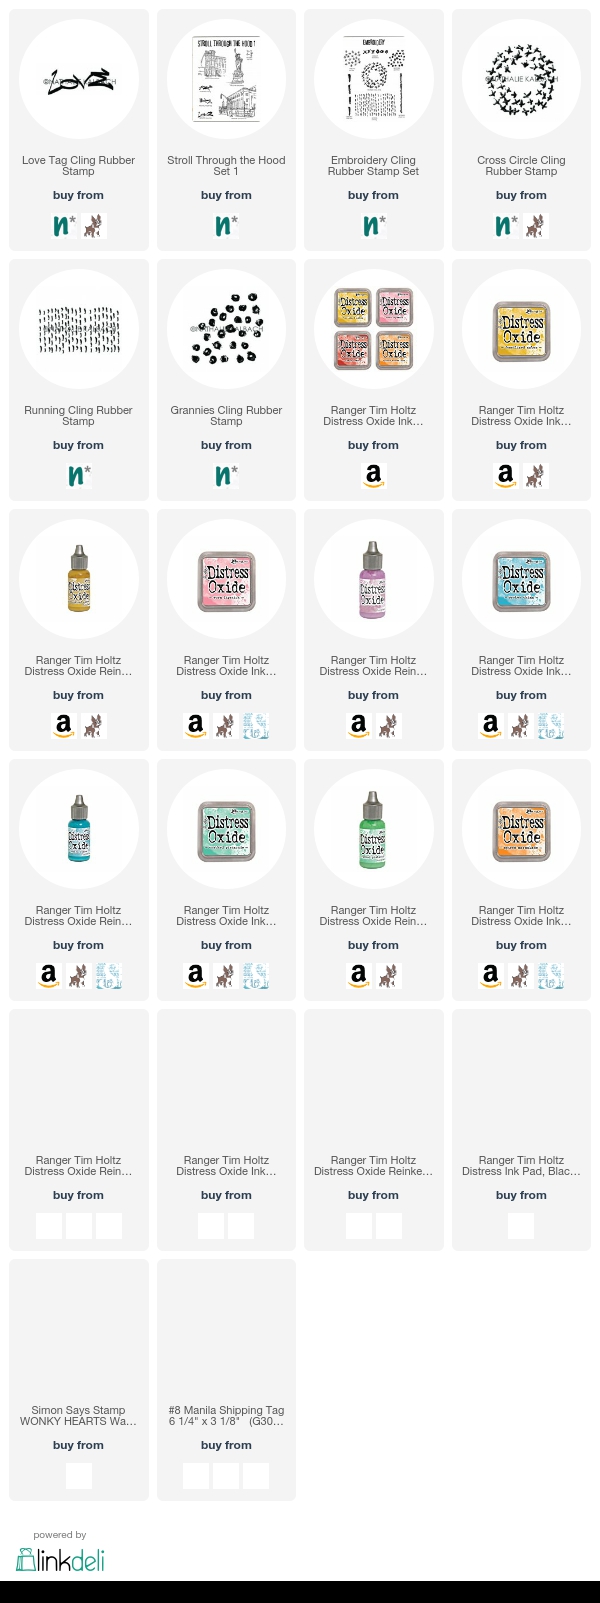
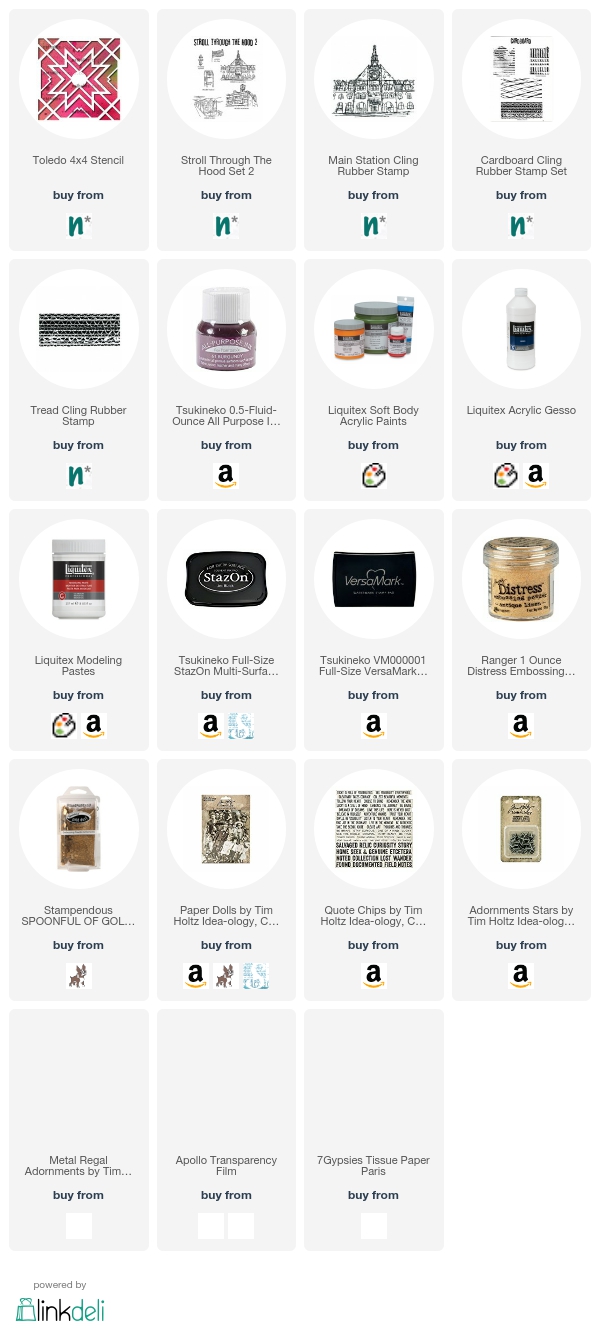
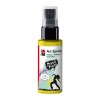
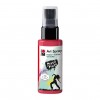
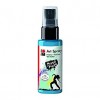
Thank you Cheiron for these beauties! Cheiron used the following supplies in her project (some are affiliate links):


Play along with us and share how you interpret our monthly themes. Email me how you used my stencils and stamps with the theme and email me an image – I would love to share your projects in my “n*Spiration From Around the Globe“.

Comments (2)

  • Shilpa

    |

    Beautiful tags, love the colors and layers! TFS Cheiron

    Reply

  • Sherry Canino

    |

    These tags are gorgeous !!! Thanks sommuch for the inspiration I so want to make some of these !!!❤️❤️❤️

    Reply

Leave a comment

Free For All – Tina Walker


If you are in the US today, Happy 4th of July from the Creative Squad! Today Tina Walker is starting us off on a new July theme with a gorgeous piece of assemblage using my Stroll Through the Hood #2 Main Station and Cardboard stamps and my Toledo stencil. This month’s theme is: Free for All: It’s time for summer vacation and relaxing so around here the Creative Squad is taking a break from themes this month. They’re just going with the flow and making a project of their choosing. It’s a Free for All!


Hi! Tina Walker here today with a new month and a new theme. July’s theme is a Free For All! How perfect is that? We can make whatever our creative little hearts desire! But, to be honest, I always struggle with ‘anything goes’ challenges. I have so much product and love creating so many different types of art, it can be overwhelming. But no worries…my ole’ standby to the rescue – Assemblage Art!

There is something about combining bits and bobs together to create a unique, one-of-a-kind piece. Stamps and stencils always make creating texture on assemblage easy and quick. Let’s see what I’ve created.

Cover all assemblage base pieces with a thin layer of gesso.

Apply modeling paste with your favorite Nat Kalbach stencil to your larger base pieces, I used the Toledo stencil here.

Paint your assemblage pieces with medium of choice. Acrylic paints, spray mists, inks, and pastes all work beautifully.

Just look at how the paint ‘grabs’ the stenciled image. Divine!

Stamp one of your favorite Nat Kalbach ‘Stroll Through the Hood 2’ stamps, such as the Main Station stamp, onto a transparency sheet. Layer it behind one of your assemblage pieces to resemble a window.

For even more texture, heat emboss some of your assemblage pieces with more favorite Nat Kalbach stamps, such as the Tread stamp.

Assemble all of your project pieces together and call it DONE!

I hope you enjoyed my projects today. Have a great day!


Thank you Tina for such a cool project! In addition to Green Apple and Celedon All Purpose Ink, a vintage doll head, and PaperWhimsy chipboard componants, Tina used these supplies – some links are affiliate links:


Play along with us this month and share how you interpret our monthly themes. Email me how you used my stencils and stamps with the theme and email me an image – I would love to share your projects in my “n*Spiration From Around the Globe“.

Leave a comment

Pattern Lovers – Michelle Rydell


Today we have a project from the Creative Squad! Michelle Rydell is sharing a really happy and colorful journal cover using my Santa Fe stencil and my Embroidery stamp set. This month’s theme is: Pattern Lovers Love Patterns: We admit it – sometimes we go a little crazy over cool patterns. We see them everywhere and whether it’s in the human-made stuff all around us or in the designs by Mother Nature, we love them all. So this month we’re playing with pattern and giving it the attention it deserves!


One thing I love just as much as art journaling, is making the journals to journal in!  When I heard that the theme for this month was Pattern Lovers I thought it would be perfect to do a journal cover!

I started by folding some 9 x 12” paper in half to form a 6” x 9” journal. I cut/tore a long piece of unprimed canvas 9” high to match the height of the journal.  Then I wrapped it around the papers to decide how long to make it.  I wanted enough to create a flap.

I primed the canvas on both sides with some white gesso.

I wanted the outside of the cover to be a progression of cool colors, so I used a makeup sponge to rub on some acrylic paint in lime green, turquoise and purple.

Then I sponged some teal over the whole thing with the Santa Fe stencil. I love how the blue creates a different effect depending on what color it is combined with…

I used white gesso to stamp the Cross Circle stamp (from the Embroidery set) randomly.

Then, I added the Grannies stamp with black for contrast.

As a final touch, a little pink was added with a paint pen to fill in some of the circles.

Then I flipped the canvas over to paint the inside. For high contrast I used warm colors to create a similar progression as a base.

Then, used the Running stamp with white gesso to create an all-over pattern, and the cover was done!

Here are some photos of the completed journal.  I made a slit in the flap and sewed a button to create a closure. I used a simple pamphlet stitch to sew in the signatures.  I hope you enjoyed this tutorial!


Thank you Michelle for sharing your project with us! In addition to a button and some thread, Michelle used the following supplies (some are affiliate links):


Play along with us too! I love to see how you interpret our monthly themes. Email me how you used my stencils and stamps with the theme and email me an image – I would love to share your projects in my “n*Spiration From Around the Globe“.

Comments (10)

  • Rita Montgomery

    |

    I love this idea. I can see doing some raw edge appliqueing or free motion quilting to the cover as well. Fantastic job. ~~rita

    Reply

    • Michelle Rydell

      |

      Ohhh, free motion quilting would be awesome! Thank you Rita!

      Reply

  • Donnalee

    |

    fabuloso!!!!!!!

    Reply

  • Julie Tucker

    |

    Wow wow wow!!! This is gorgeous! LOVING the colors and the textures!!!!!!!!!!!

    Reply

  • Travis ArtJournalGuy

    |

    Very creative! I would never have thought to do something like this, but it seems easy to do. Thanks for sharing your process with us.

    Reply

  • Sherry Canino

    |

    How beautiful and I just love all the colors !!!❤️❤️❤️

    Reply

Leave a comment

Pattern Lovers – Marsha Valk


Happy Tuesday from the Creative Squad! Today Marsha Valk brings us a fresh and colorful set of tiles for the home using my  Santiago stencil and my Embroidery stamp set. This month’s theme is: Pattern Lovers Love Patterns: We admit it – sometimes we go a little crazy over cool patterns. We see them everywhere and whether it’s in the human-made stuff all around us or in the designs by Mother Nature, we love them all. So this month we’re playing with pattern and giving it the attention it deserves!


I love patterns! I’m especially drawn to clear, graphic designs and that’s why I love Nat’s stencil designs so much!

We’re in the middle of painting our living room and I’ve been dying to add a splash of fresh colour to our home decor. So that’s why I decided to decorate a couple of plain white ceramic tiles, that I plan on using as coasters or to put plant pots on.

Here are the steps I took: First clean the tiles before you start. They need to be dry and free of grease.

Place the Santiago stencil on top of the tile. Use tape to keep the stencil in place. You can also use washi or masking tape to block off parts of the tile you want to keep white.

Use a cosmetic sponge to dab porcelain paint through the stencil onto the tile. Dab the cosmetic sponge in the paint and dab the excess paint off before applying it to the tile. Keep the sponge as dry as possible to prevent the paint from seeping under the stencil.

I used a hand-cut stencil to apply the circles onto the tiles.

Dab paint onto one of the stamps from the Embroidery set (in this case the Cross Circle stamp) using a cosmetic sponge and stamp the image onto the tile.

Let the paint dry and then let it harden following the instructions on the porcelain paint you are using. To become wash resistant, the porcelain paint I used needed to harden in an oven at 300F/150ºC for 45 minutes.


Thank you Marsha – these are a great project for the home! Marsha used the following supplies (some are affiliate links):


Play along with us too! I love to see how you interpret our monthly themes. Email me how you used my stencils and stamps with the theme and email me an image – I would love to share your projects in my “n*Spiration From Around the Globe“.

Leave a comment

Pattern Lovers – Cheiron Brandon


Hello from the Creative Squad! Today Cheiron Brandon is sharing a beautiful and colorful art journal page using my Toledo stencil and my Embroidery stamp set. This month’s theme is: Pattern Lovers Love Patterns: We admit it – sometimes we go a little crazy over cool patterns. We see them everywhere and whether it’s in the human-made stuff all around us or in the designs by Mother Nature, we love them all. So this month we’re playing with pattern and giving it the attention it deserves!


Hi there! It’s Cheiron here to share a monthly project with you. For this month’s project I created a journal page. You may notice it’s not actually in a journal, but it will be! I like to create pages outside of my journal, especially when I am using the gelli plate, then tip them back into the journal I am working on. Let me walk you through how I created my page….

To begin my project, I painted some Matte Acrylic paints in various colors. I know it doesn’t look like much, but this will really make the next step pop.

I rolled out some titanium white paint onto my gelli plate, to give some added texture, I went through the paint with a comb tool. Then I laid my Toledo stencil on the gelli plate and pressed my already colored panel into the white paint that has been covered with the stencil.

This is what it will look like. That colorful background really makes the white pop!

I never like to waste paint, so I pulled off the stencil and placed another piece of paper into the paint that was left.

This will leave you with a nice textured piece of paper. Since it’s white paint, you could always use this as a resist with ink too.

To add even more pattern to my page, I stamped with the RunningStar Fish, and Grannies stamps from the Embroidery set all over the page in coordinating colors.

I cut a tag out of the 2nd white textured piece, and stamped on that too.

I added some letters and the Chain Link stamp from the Embroidery set in black to give the tag some contrast. I also inked around the edges.

I did the same thing on a piece of old ephemera.

I glued everything down with collage medium and added some butterfly dies.

When it was all done, I stamped a few more images from the Embroidery set over the entire page. I hope you enjoyed this tutorial and will try making some easy patterns with stencils on your own!


Thank you Cheiron! In addition to a piece of ephemera, Cheiron used the following supplies (some are affiliate links):


Play along with us this month and join the 30 day Artful Adventures Stroll Challenge! I love to see how you interpret our monthly themes. Email me how you used my stencils and stamps with the theme and email me an image – I would love to share your projects in my “n*Spiration From Around the Globe“.

Comments (1)

  • Stephanie

    |

    Great project jump start technique! Thanks.

    Reply

Leave a comment

Pattern Lovers – Tina Walker


Happy Tuesday from the Creative Squad! Today Tina Walker is starting us off on a new theme for June with a super cool canvas and a fun art journal spread using my Hamburg stencil and my Cardboard stamp set. This month’s theme is: Pattern Lovers Love Patterns: We admit it – sometimes we go a little crazy over cool patterns. We see them everywhere and whether it’s in the human-made stuff all around us or in the designs by Mother Nature, we love them all. So this month we’re playing with pattern and giving it the attention it deserves!


Hi! Tina Walker here today with a new month and a new theme. June’s theme is a theme that I am super excited about – Patterns!

Patterns and repeating images are some of the best ways to create interesting and eye-catching art. I am always looking for patterns in nature and for ways to create patterns out of patterns. My main project this month uses 1 stencil and 1 stamp to create an interesting piece full of pattern on pattern. Not only was it fun to make, it was quick and easy.

Place your favorite Nat StencilGirl stencil over a primed canvas, I used Hamburg. Using spray-mist, acrylic paint, or inks, paint over the entire canvas. I used Marabu Acrylic Art sprays that are permanent. Once they dry, you can layer one spritz over another without creating a muddy brown color. Love!

Randomly stamp canvas. Here I used Pie Top from Nat’s Cardboard stamp set.

Repeat this step, rotating the stencil 90 degrees so that the stenciled image overlaps the previous layer.

Repeat until you have a base that is full of yummy layers and pattern on pattern.

Place several widths of artist or masking tape over your stenciled/stamped canvas to create a pattern. I trimmed the edge for an interesting look.

Make sure the tape is securly adhered to the canvas.

Using your favorite spray paint, spray entire canvas in contrasting or coordinating color, I chose white. Then allow to dry completely. Remove tape.

Reveal the magic of pattern on pattern. This project took approximately 30-45 minutes, from start to finish! My kind of art.

As I was adding my stenciled layers to my canvas, I didn’t want to waste the gorgeous paint on the surface of the Hamburg stencil, so I ‘stamped’ the stencil to an art journal page. Not only did my patterned canvas create a super easy and fun piece, I had an instant background started on an art journal spread.

Here’s the spread I created with ‘stamp off’.

I love it when one project creates another. And pattern on pattern…be still my heart! ♥

I hope you enjoyed my projects today. Have a great day!


Thank you Tina for two projects that definitely celebrate PATTERN! Tina used these supplies – some links are affiliate links:


Play along with us this month and join the 30 day Artful Adventures Stroll Challenge! I love to see how you interpret our monthly themes. Email me how you used my stencils and stamps with the theme and email me an image – I would love to share your projects in my “n*Spiration From Around the Globe“.

Leave a comment

Out and About – Michelle Rydell


Hello from the Creative Squad!  This month the Creative Squad will be playing along with my Stroll Challenge and today Michelle Rydell is sharing a really cool canvas panel using my Stroll Through the Hood #2 stamp set, and working with the prompt words Sky and Loud and the theme Out and About – Sometimes it’s hard to see all the cool and inspiring stuff that’s right under our noses. This month we hope you will join us in our 30 day Stroll Challenge and get Out and About where you live, and find some local inspiration.


I took a bit of a different direction with my prompt word – Loud. You see, when I lived in the city, there was loudness everywhere and I loved it; but now that I live in the country, the neighborhood is just the opposite. It’s very quiet, and I love that too. So I had to think about it awhile; and then it hit me. What’s loud in a different way, and also connects my old neighborhood in the city to my new one in the country? The gloriously loud colors of the sunset!

This was my photo for the prompt “sky,” and I’m also using it for “loud.”

My idea was to recreate the colors of a city sunset with watercolors. Here is the step-by-step…

I first stamped the Main Station and Warehouse stamps from Nat’s Stroll Through the Hood #2 stamp set numerous times onto dictionary paper, to give it a bit of a grungy look…

I cut out the buildings and arranged them on the background till I had them how I wanted them to be. This gave me an idea of where to start with the watercolors…

I put the buildings to the side, and started on the sky. In order to create soft edges and allow the colors to blend, I wet the paper first… From there I slowly started building the layers of color, always allowing them to bleed together. They were very light at first, but with each layer got more intense…

Stars were added to the sky by flicking some high flow acrylic with a stiff brush…

When the page was completely dry, I pasted down the buildings with a glue stick. The warehouse in the back was colored with a light grey tombow marker, to make it recede a bit…

I outlined each building with a stabilo pencil and added water to grunge it up a bit. I also added a mixture of stabilo pencil and grey acrylic to create a street in front of the buildings…

I finished off the page with a quote and outline done with paint marker; and some journaling on the bottom done with a white gel pen.


Thank you Michelle for a beautiful spread and a gorgeous cityscape :) She used these supplies – some links are affiliate links:


Play along with us this month and join the 30 day Artful Adventures Stroll Challenge! I love to see how you interpret our monthly themes. Email me how you used my stencils and stamps with the theme and email me an image – I would love to share your projects in my “n*Spiration From Around the Globe“.

Comments (5)

  • Diane T

    |

    Loved the city/country connection and the quote at the bottom. Great job!

    Reply

  • Sue Clarke

    |

    LOVE how you used the stamps and the colors you chose for the page.

    Reply

  • Julie Tucker

    |

    This is gorgeous! LOVING the colors and the buildings!!!!!!!!!!

    Reply

Leave a comment

Out and About – Marsha Valk


Hello my friends!  This month the Creative Squad is playing along with my Stroll Challenge and today Marsha Valk is sharing some super cool cards. She’s using my Stroll Through the Hood #1 & #2Cardboard, and Embroidery stamp sets, and working with the prompt word Pattern and the theme Out and About – Sometimes it’s hard to see all the cool and inspiring stuff that’s right under our noses. This month we hope you will join us in our 30 day Stroll Challenge and get Out and About where you live, and find some local inspiration.


Merriam-Webster has 11(!) definitions for the word ‘Pattern’. One of these is:
3: an artistic, musical, literary, or mechanical design or form, the geometrical pattern of the carpet, the strict pattern of rhythm and rhyme for a sonnet — Gigi Marino

…and it’s super fitting for the pattern I saw whilst Out and About.

I see patterns everywhere and all the time: tiles, bricks, grids, shadows, on flora and fauna… and I have quite a library of photos of patterns found right here where I live in Amersfoort, the Netherlands. But… there is a different pattern plastered all over my city right now and this particular pattern ties my place of residence to New York. And as my assignment was to combine today’s Stroll Challenge prompt with the Stroll #2 stamps, going with this pattern made sense to me.

2017 has been declared the national year of De Stijl, because the art group was founded a hundred years ago, in 1917. Amersfoort is taking this opportunity to celebrate one of its most famous former residents: Piet Mondriaan (or: Mondrian).

Mondriaan was born in Amersfoort in 1872 and he died in Manhattan in 1944. He lived in Amersfoort until 1880, when his family moved to another part of the Netherlands.

His birth house in now a museum where you can see some of his early (still naturalist) works and learn about his life.

Now onto the project!

I started out playing in the journal I keep for the Stroll Challenge prompts and then moved on to square and rectangle pieces of cardstock. I didn’t have to think about colours. I searched my stash for suitable stamping inks in the De Stijl colour palette: red, yellow, blue, black, grey and white. I covered each base with gesso first because I felt the plain white paper was too flat and stark.

And then I just stamped my compositions on top, starting with the grids and then filling in the spaces with colour and pattern, using post-it tape and scraps of paper to mask off and protect parts of the design whilst stamping. I’m not sure why, but I didn’t feel that the compositions with straight lines looked right. So I tried some more on a diagonal square piece of cardstock, which I liked much better.

But then it occurred to me that having the paper diagonal wasn’t very practical for, for instance, making cards. So I continued to play with diagonal lines and blocks of colour and left the paper straight.

Once the ink was dry, I adhered the cards I liked best onto black folded notecards.


Conclusion: creating pleasing compositions with just blocks of colour and lines is much harder than you might think. I hope you try it too. It’s an interesting and fun exercise!


Thank you Marsha – these rock! And so cool that your ‘hood is celebrating such an important artist! Marsha used the following supplies (some are affiliate links):


Play along with us this month and join the 30 day Artful Adventures Stroll Challenge! I love to see how you interpret our monthly themes. Email me how you used my stencils and stamps with the theme and email me an image – I would love to share your projects in my “n*Spiration From Around the Globe“.

Comments (2)

  • jbonomo

    |

    thank you for the inspiration today! Love the transition from the physical idea to paper. I will have to try this.

    Reply

  • Michelle

    |

    This is so much fun. I’m from The Hague (also in the Netherlands) and my city is also covered in Mondriaan prints. The “gemeentemuseum” has a year long Mondriaan exhibit.

    I love your interpretation of all this and how you translated it into your own art, Marsha!

    Xx Michelle

    Reply

Leave a comment

Out and About – Cheiron Brandon


Hello from the Creative Squad!  This month the Creative Squad will be playing along with my Stroll Challenge and today Cheiron Brandon is sharing a really cool canvas panel using my Stroll Through the Hood #2 and Embroidery stamp sets, and working with the prompt word Sky and the theme Out and About – Sometimes it’s hard to see all the cool and inspiring stuff that’s right under our noses. This month we hope you will join us in our 30 day Stroll Challenge and get Out and About where you live, and find some local inspiration.


Hi there! It’s Cheiron here and I hope you have been having fun with the Stroll through the Hood photo prompts this month. The word today is SKY and here is the picture I was inspired by. It is taken straight from my “hood” in New Jersey. Not the neighborhood I thought I would ever live in, but living here allows me to have a dedicated studio space. In my hood, I try to find adventure in the little things each day.

For my project this month, I decided to create a small canvas panel with some iridescent gelatos.

I started by scribbling some gelatos onto my panel.

Then I blended them into the canvas, added darker shades to highlight the edges.

To create my “sky”, I used a baby wipe through Nat’s Kassel stencil to remove some of the color from my canvas and reveal the white underneath.

I added more color and blended the edges even more.

Then I added Nat’s Star Fish stamp.

I then stamped the Grannies stamp and the Warehouse stamp from Stroll through the Hood 2 and added some crackle texture paste through Nat’s Beacon stencil to make the sky come alive even more.

I added Nat’s Running and Cross Circle stamps, and some word stickers to complete my canvas.


Thank you Cheiron for such a beautiful piece. Cheiron used the following supplies (some are affiliate links):


Play along with us this month and join the 30 day Artful Adventures Stroll Challenge! I love to see how you interpret our monthly themes. Email me how you used my stencils and stamps with the theme and email me an image – I would love to share your projects in my “n*Spiration From Around the Globe“.

Leave a comment