La Dolce Vita Part I – Rome, Italy

I am back from my workshops and vacation in Italy. Boy it was fun…and the weather was amazing…and you know what this means? It means picture time ;) Lemme start with the first part of sightseeing in Rome …ahhh Roma…I love Rome. 14 years ago I was in Rome for the first time, as a student…I lost my heart to this city.
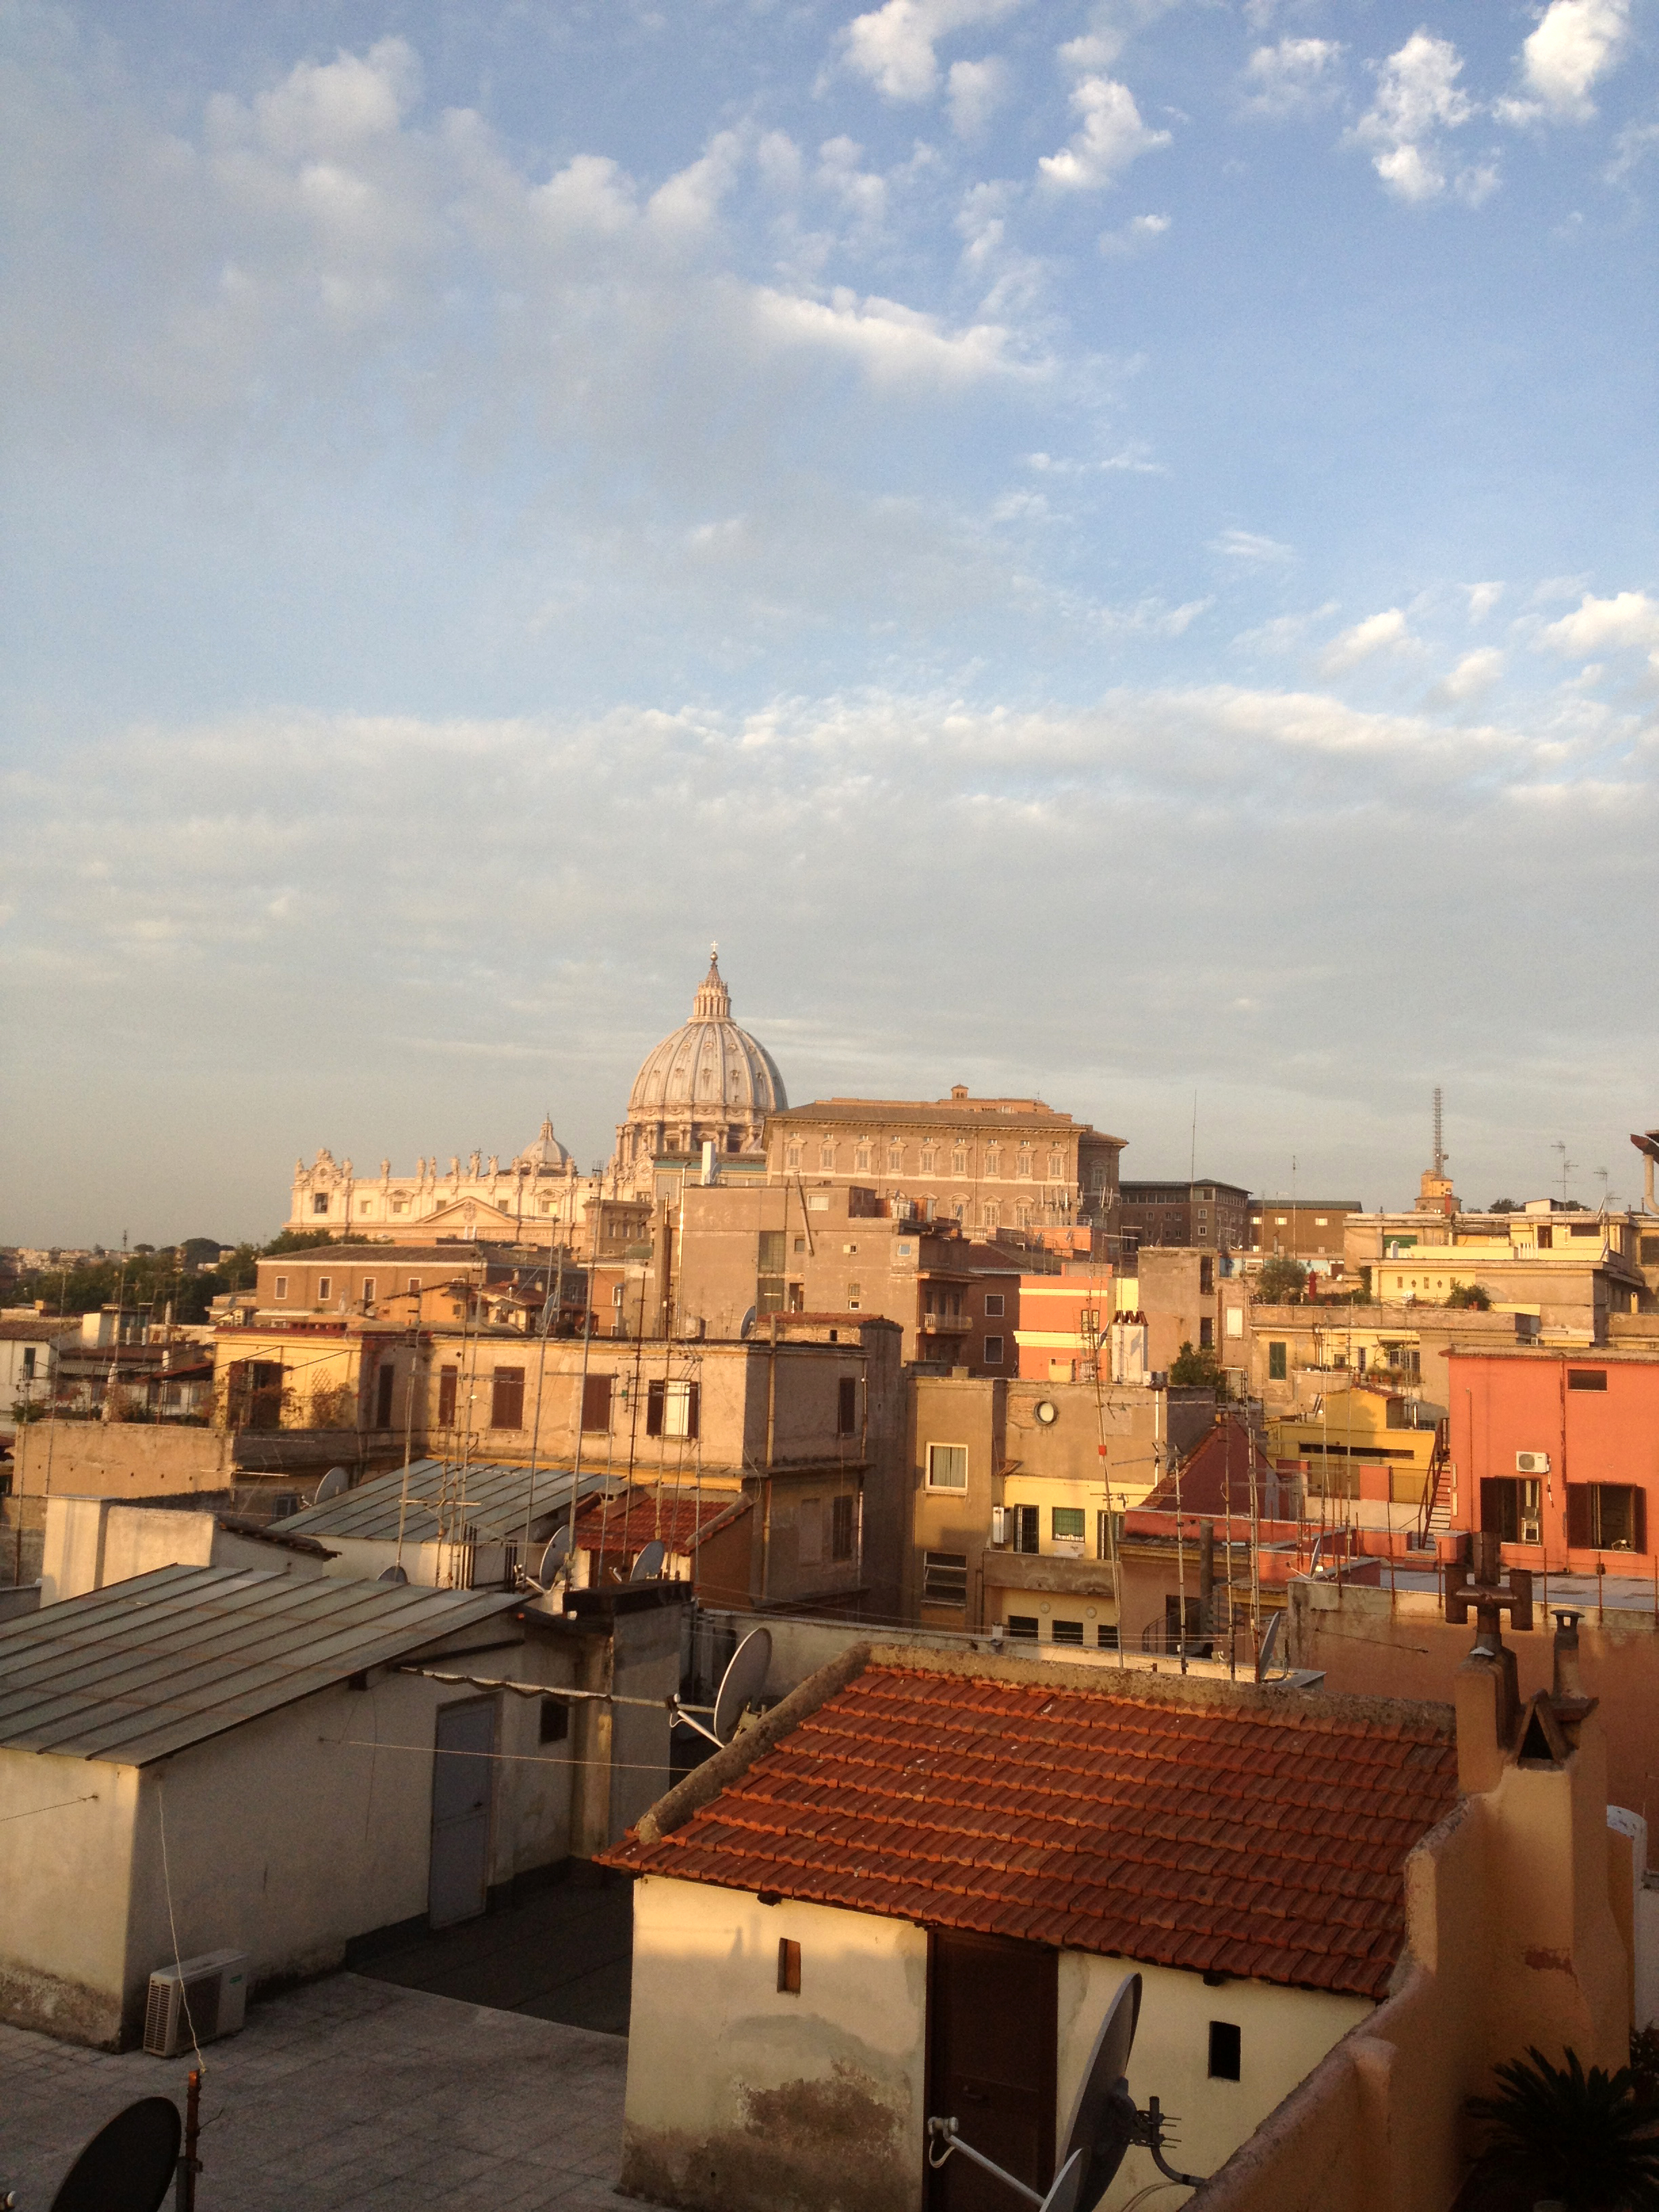
It is by far my favorite city in the world. I love Italy anyway…well- as a half Italian that is not a wonder, huh? LOL. I think actually my chatty fun part is the Italian part , the one talking to you right now ;) and the orderly, punctual part is the German one- hehehe. It is two souls in me…fighting with each other a lot ;) But anyway…stop rambling…
My hubs joined me this time, having himself a conference in Rome. He did a lot of research and found an amazing apartment in Rome – with a wonderful terrace looking towards St. Peter’s Basilica. We spent a lot of time on that terrace and had a lot of meals (and also some drinks ;) )  on there.
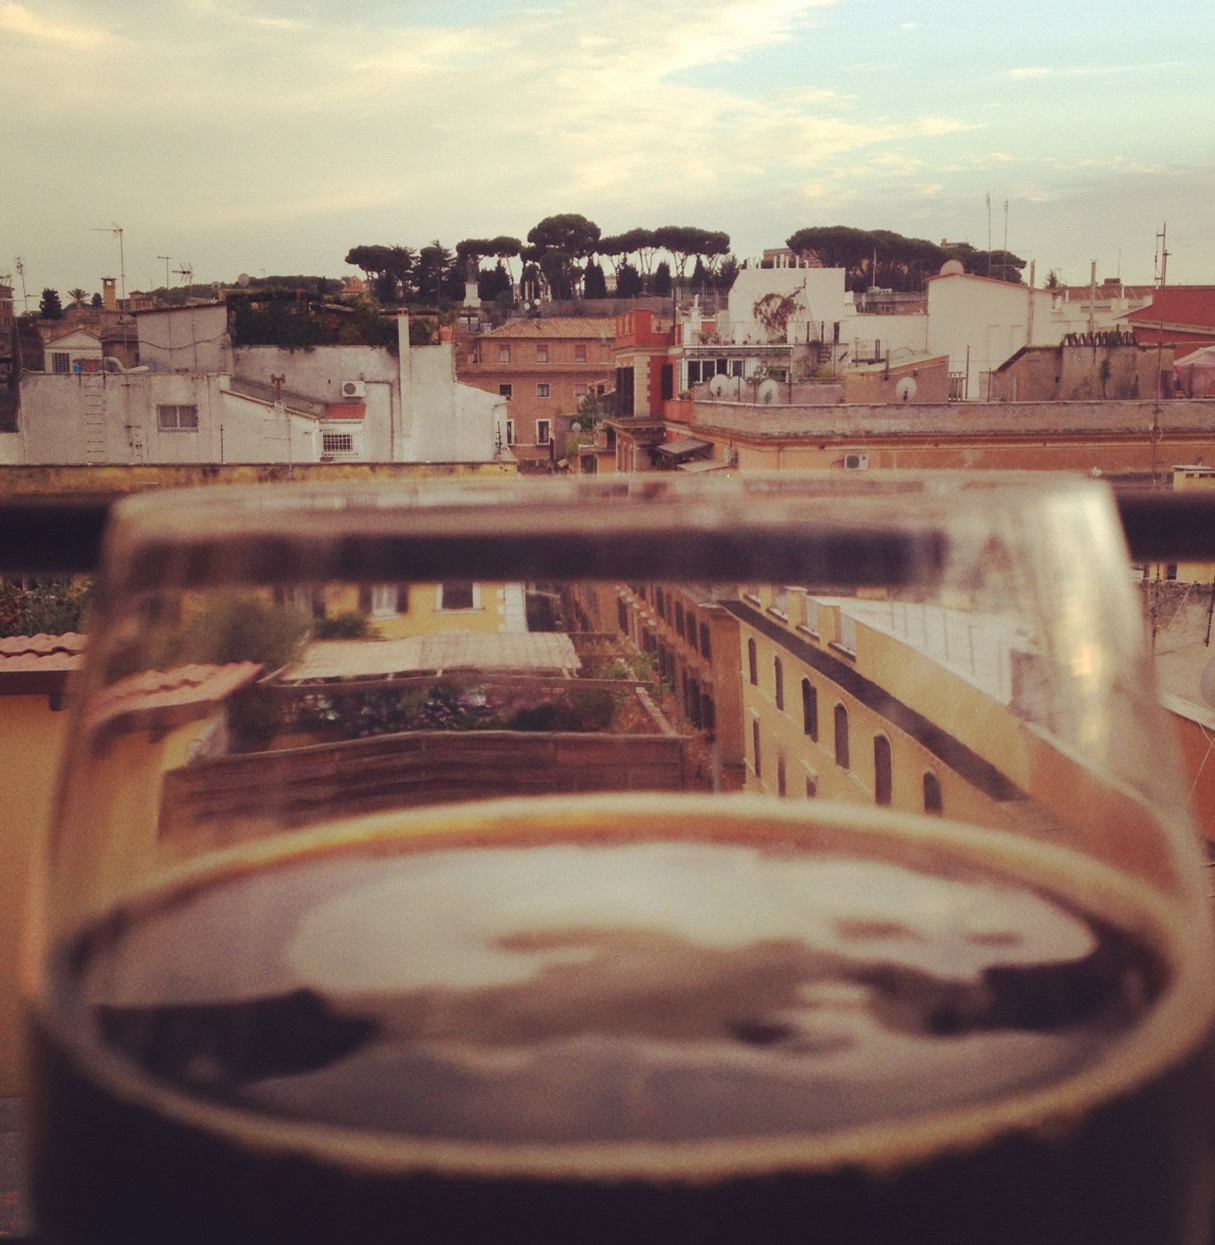
The first evening though I took my husband to a restaurant – La Veranda. There are some wonderful memories tied to that restaurant as my friends and I back then …starving students- LOL – splurged in the most expensive dinner we ever had back then, in a very fancy restaurant right around the corner of Vatican city. It was delicious and we still talk about this a lot when we see each other. They treated us like kings although we were obviously looking…ahem…not like their usual guests and we were loud …but they laughed at our delighted “ahhs” and “nom noms” and I think they had as much fun with us as we with them…because we weren’t the usual stiff crowd…. They even made an effort of treating us extra nice and we had like six waiters…and they liked us even more when we also paid- LOL. Anyway- much to my delight I can say, the restaurant is as awesome as it was before….The food….soooogoooooddddd

My husband and I had a day overlapping of the conference and the workshops and each of us had a full day alone sightseeing. I had decided since I had visited the Colosseum and the Forum Romanum extensively as part of my art and history excursion as a student, that I just wanted to stroll along the sights a bit
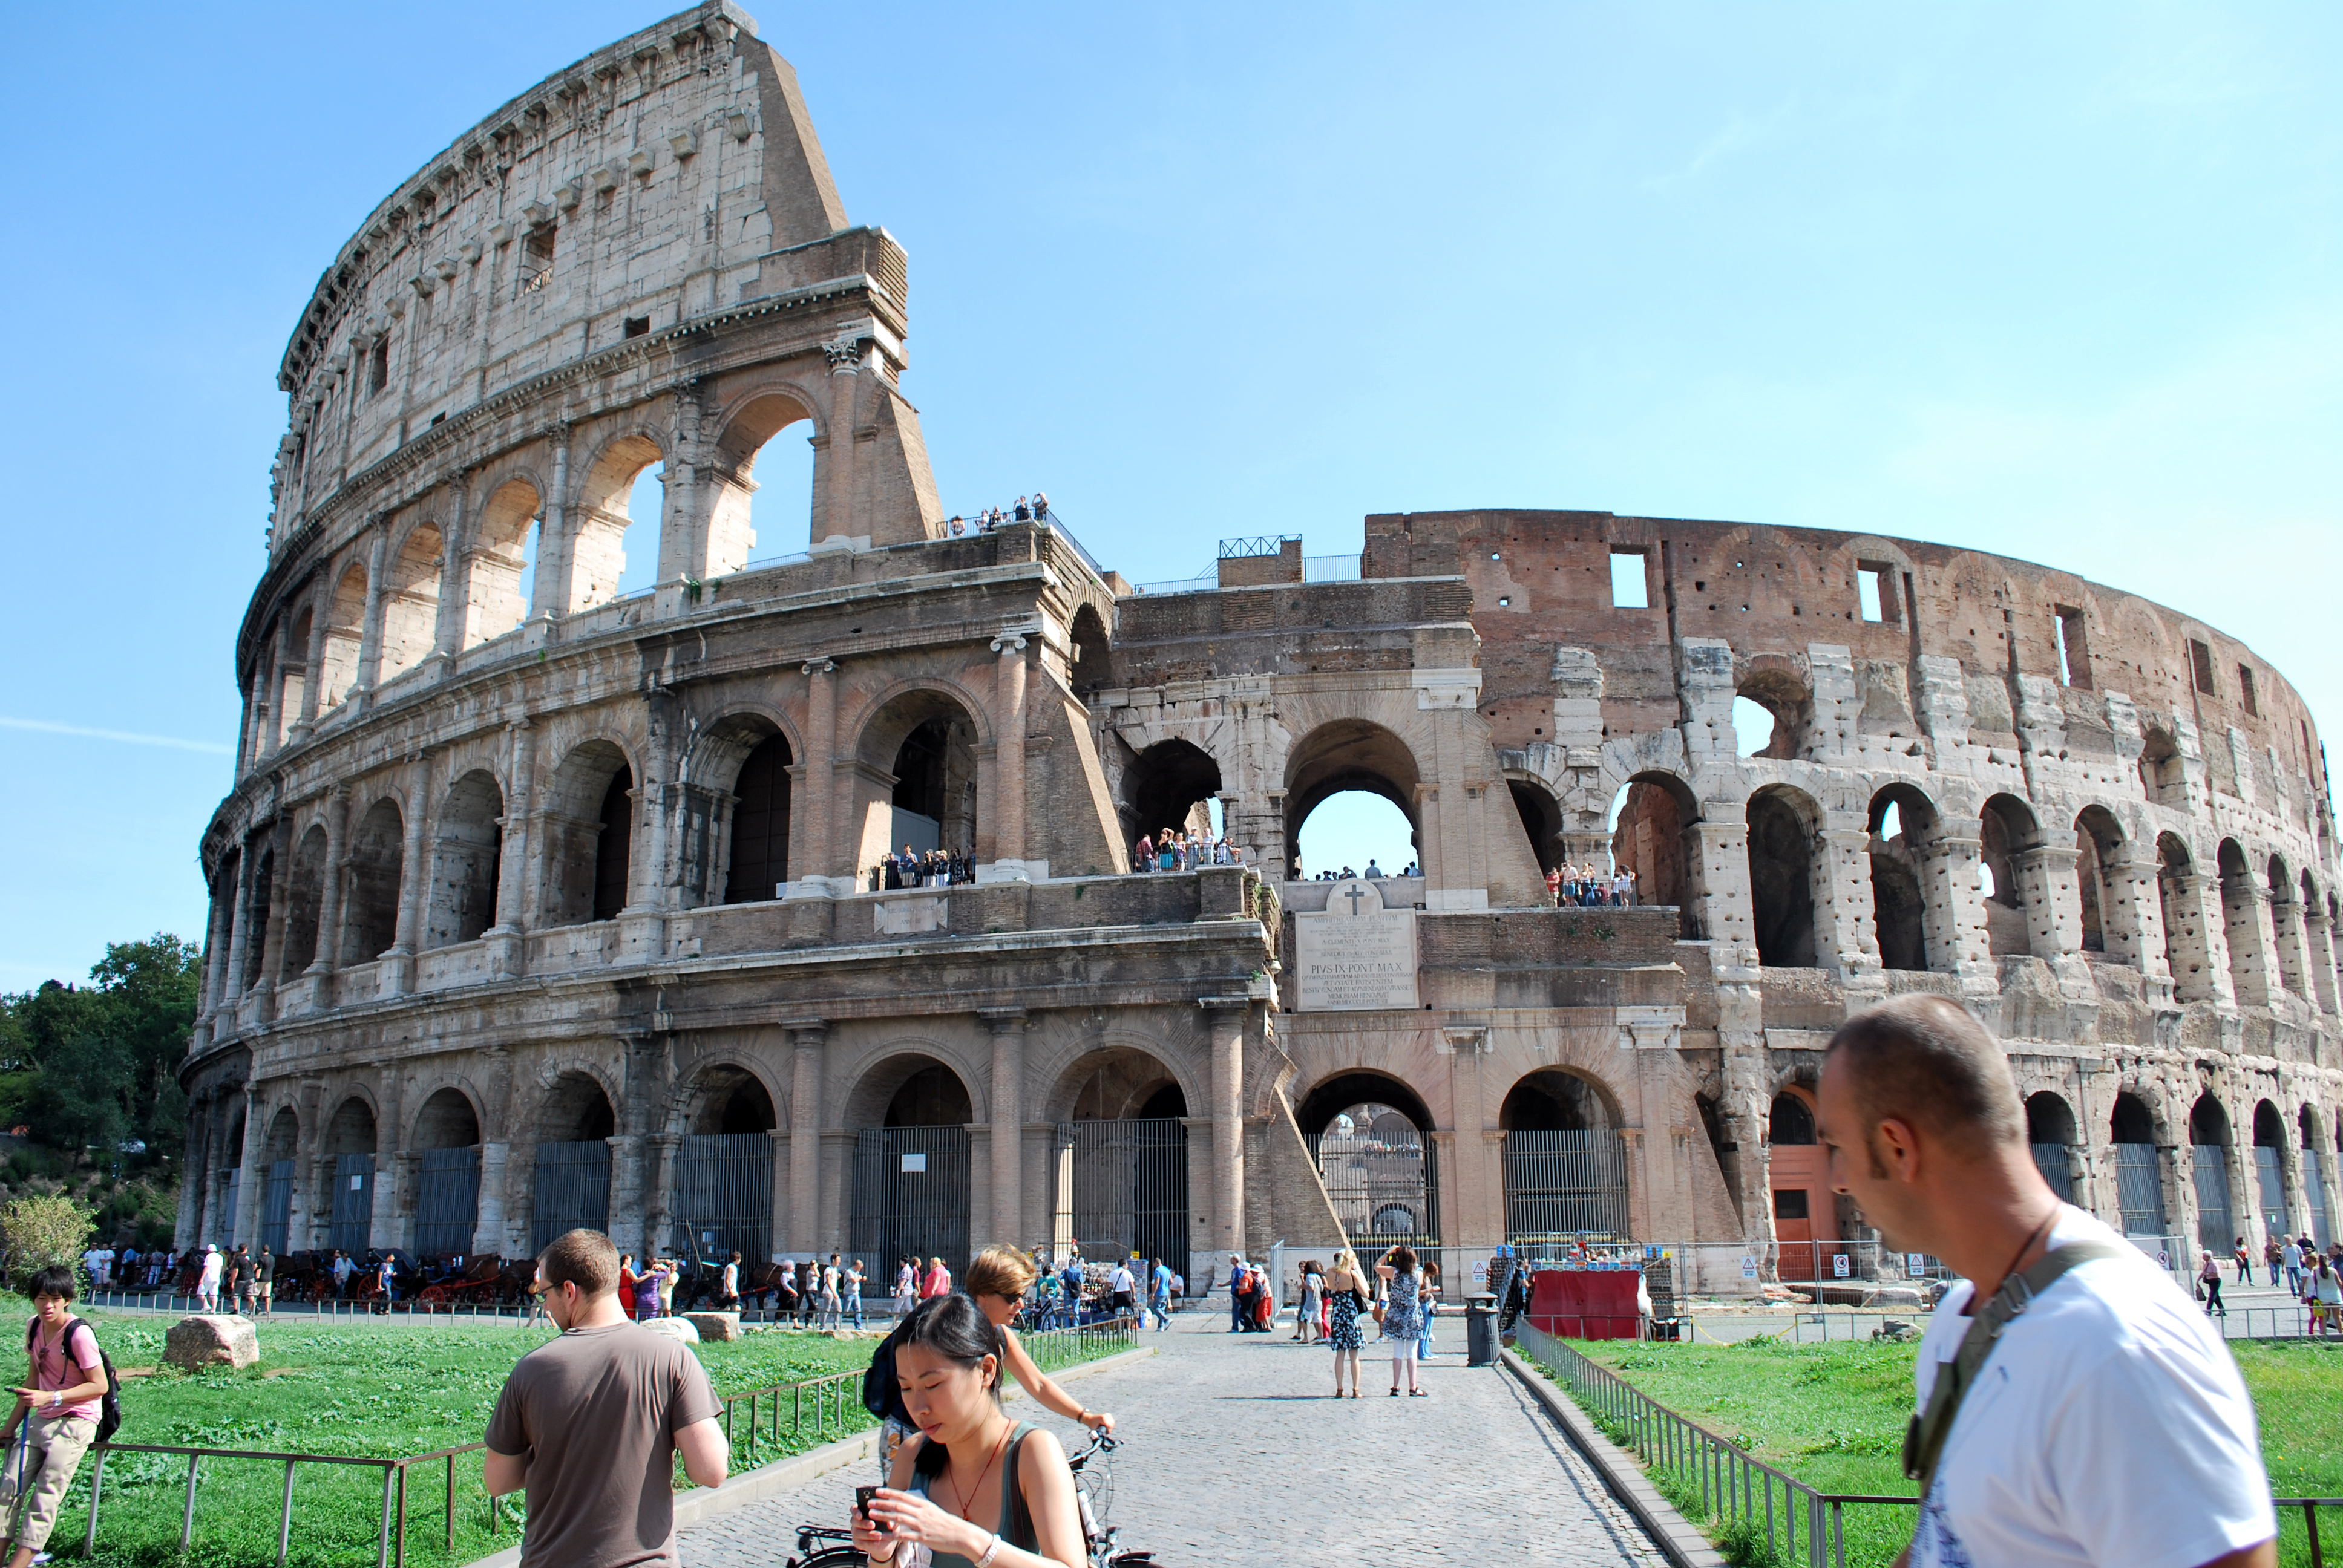
It was funny, because looking from the outside I recalled how amazed I was when I was inside and by the fact that they were able to empty out this almost 2000 year old stadium that could hold about 50 000 in case of an emergency in about a couple minutes. Weird the things you remember, eh?
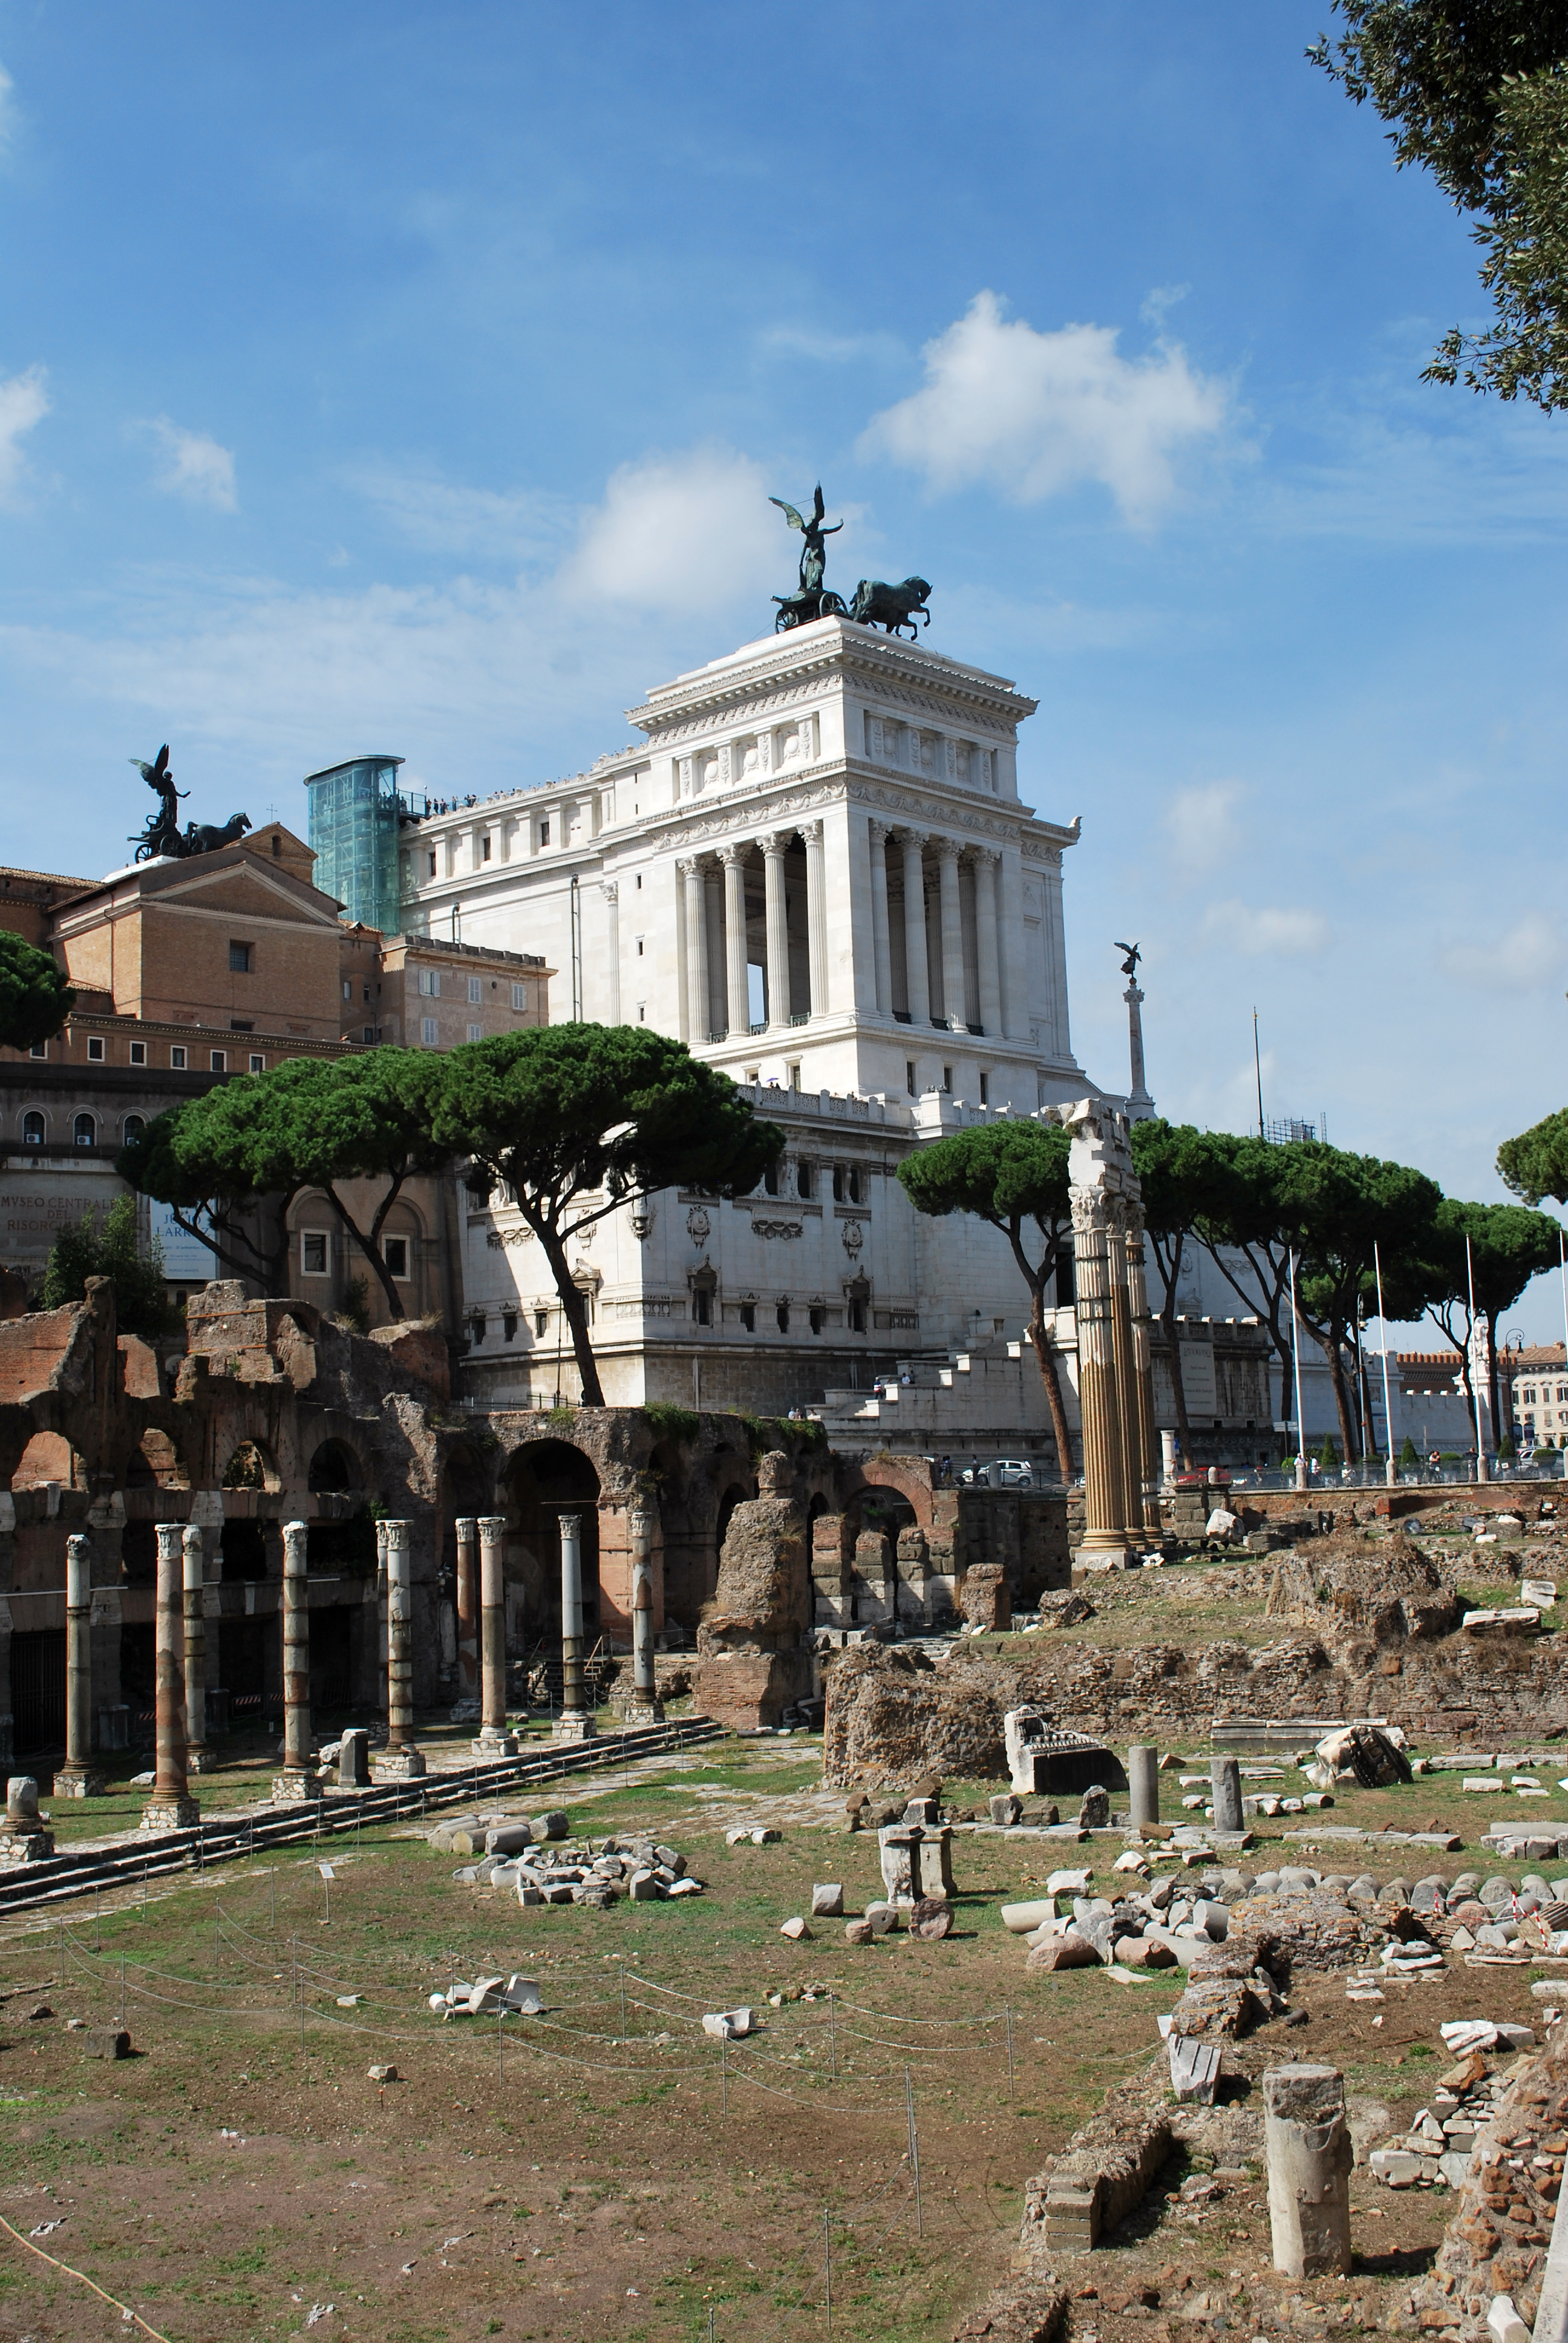
This by the way also reminded me on what an amazing amazing teacher I had. Mr. Willbrandt…you were awesome – I think you are retired by now and I hope some day our paths cross again and I can tell you what a wonderful gift of teaching you had! Loved every single lesson and especially the Rome trip with you!
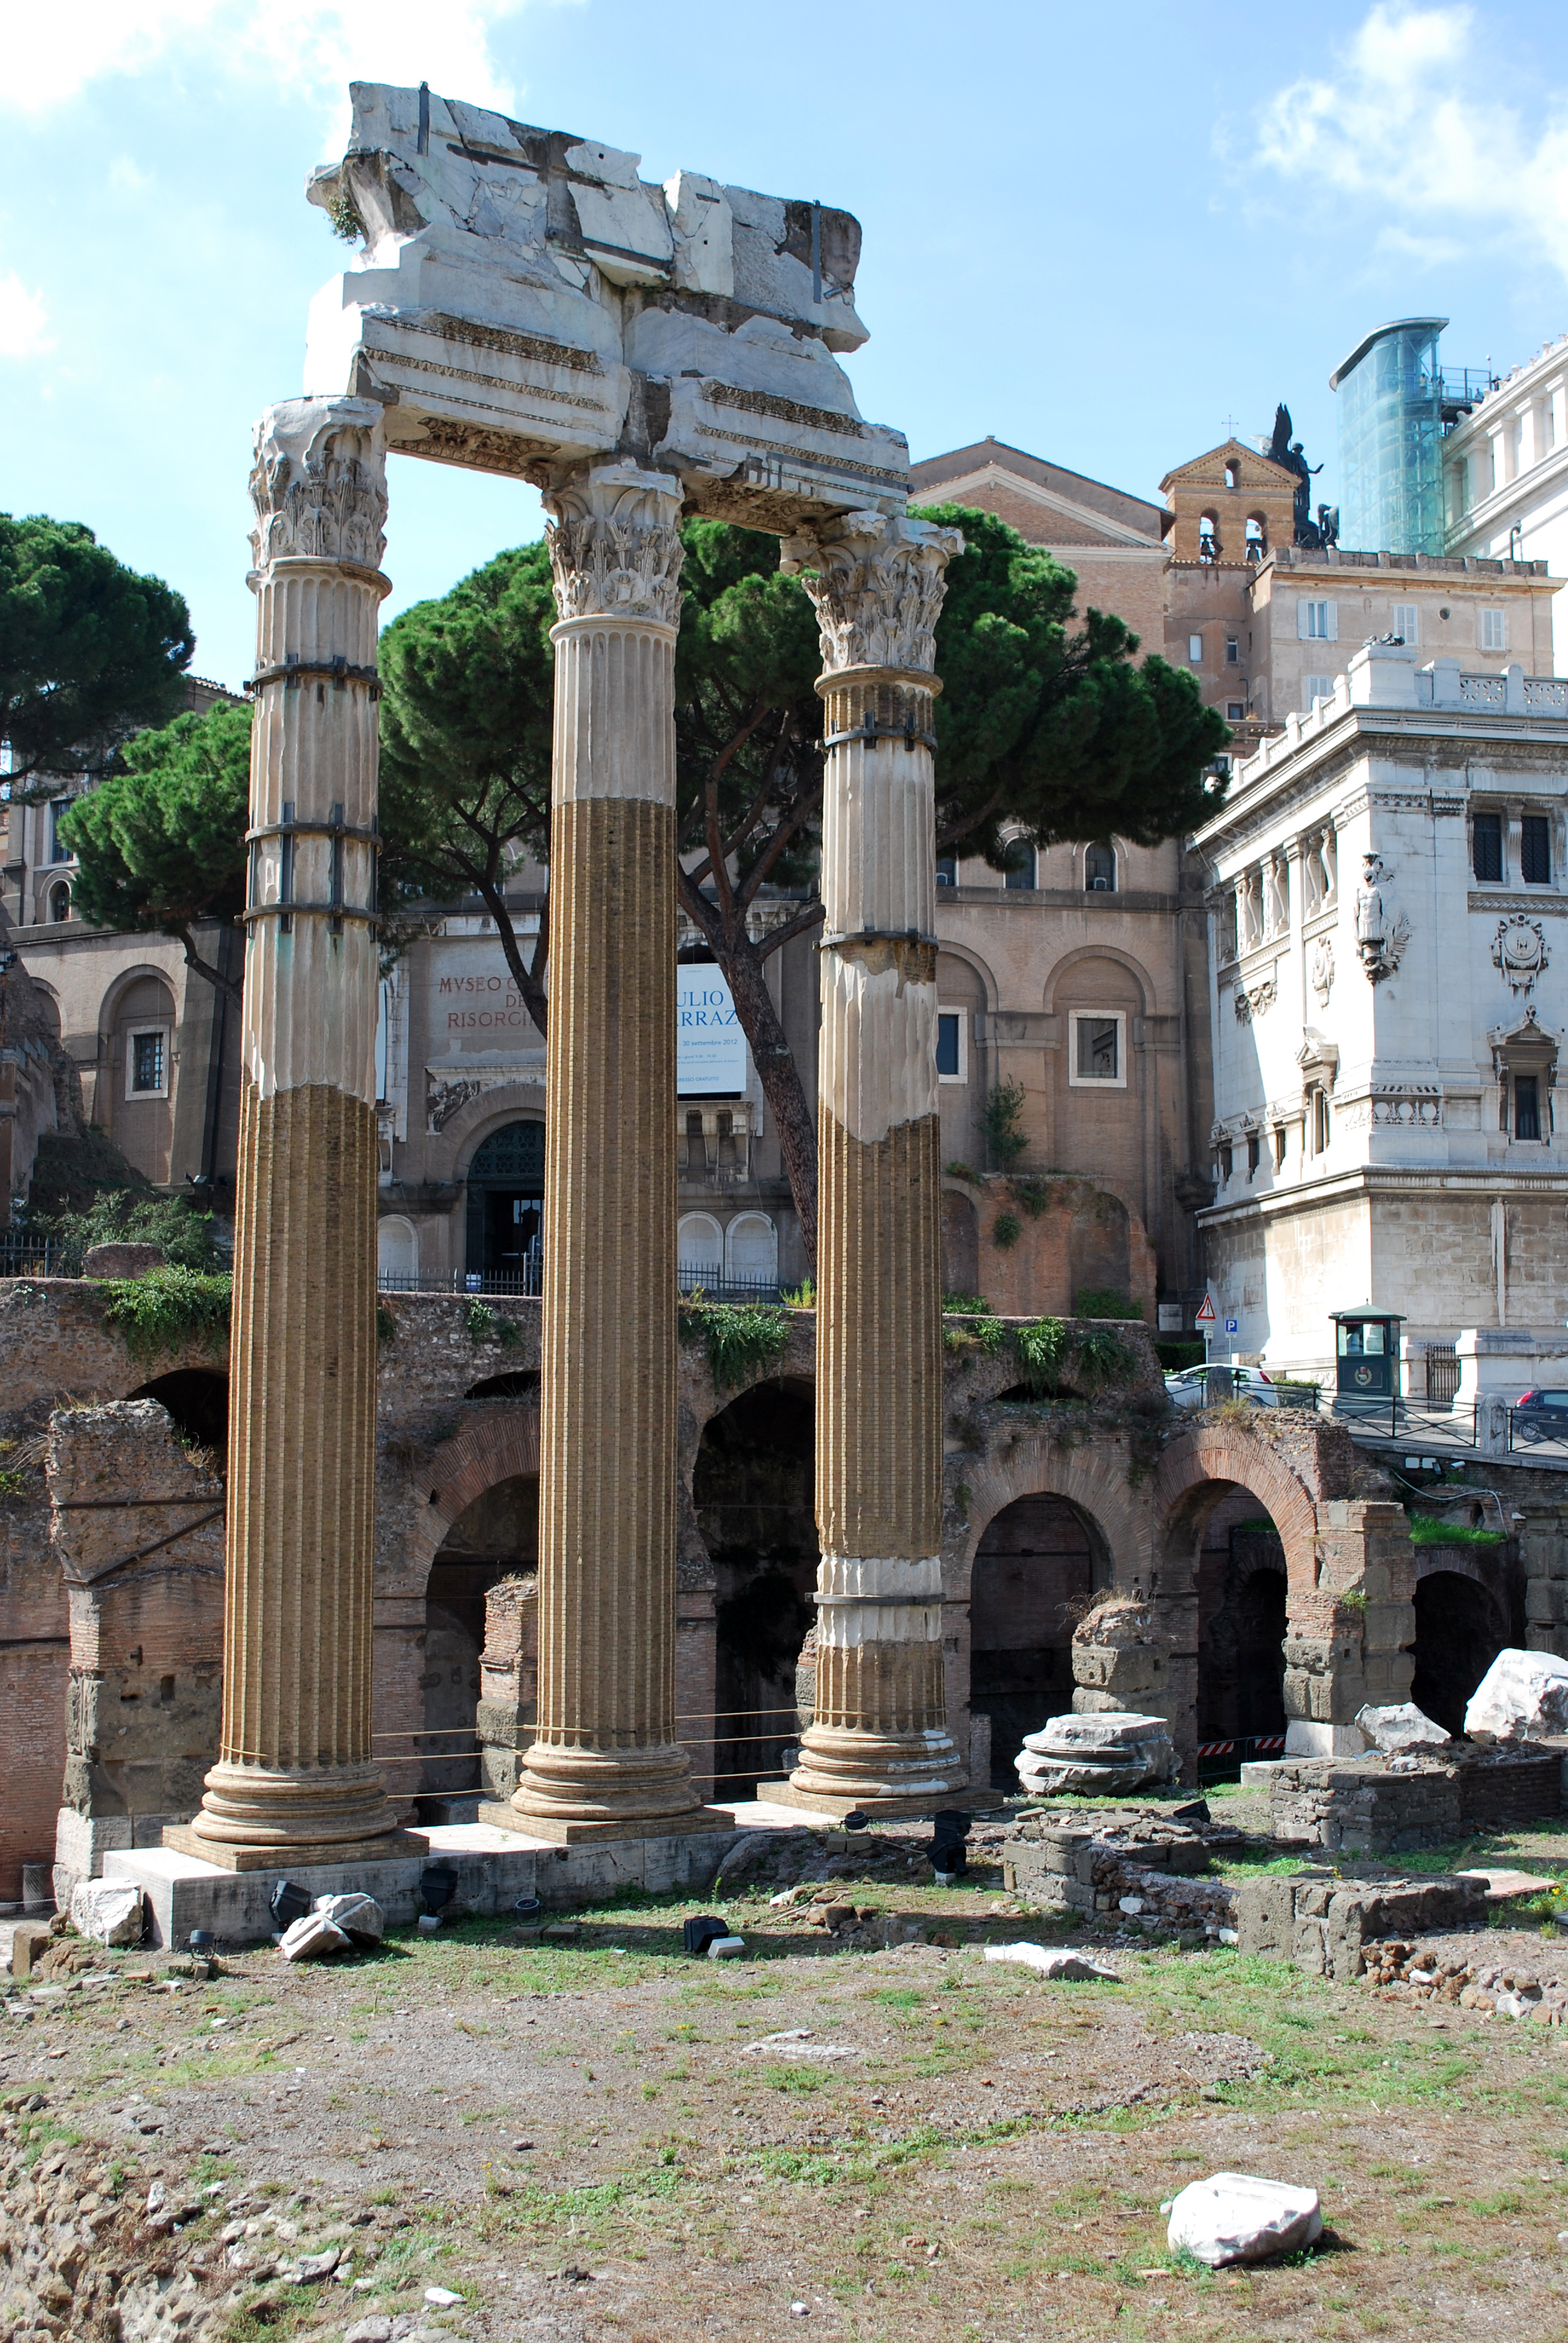
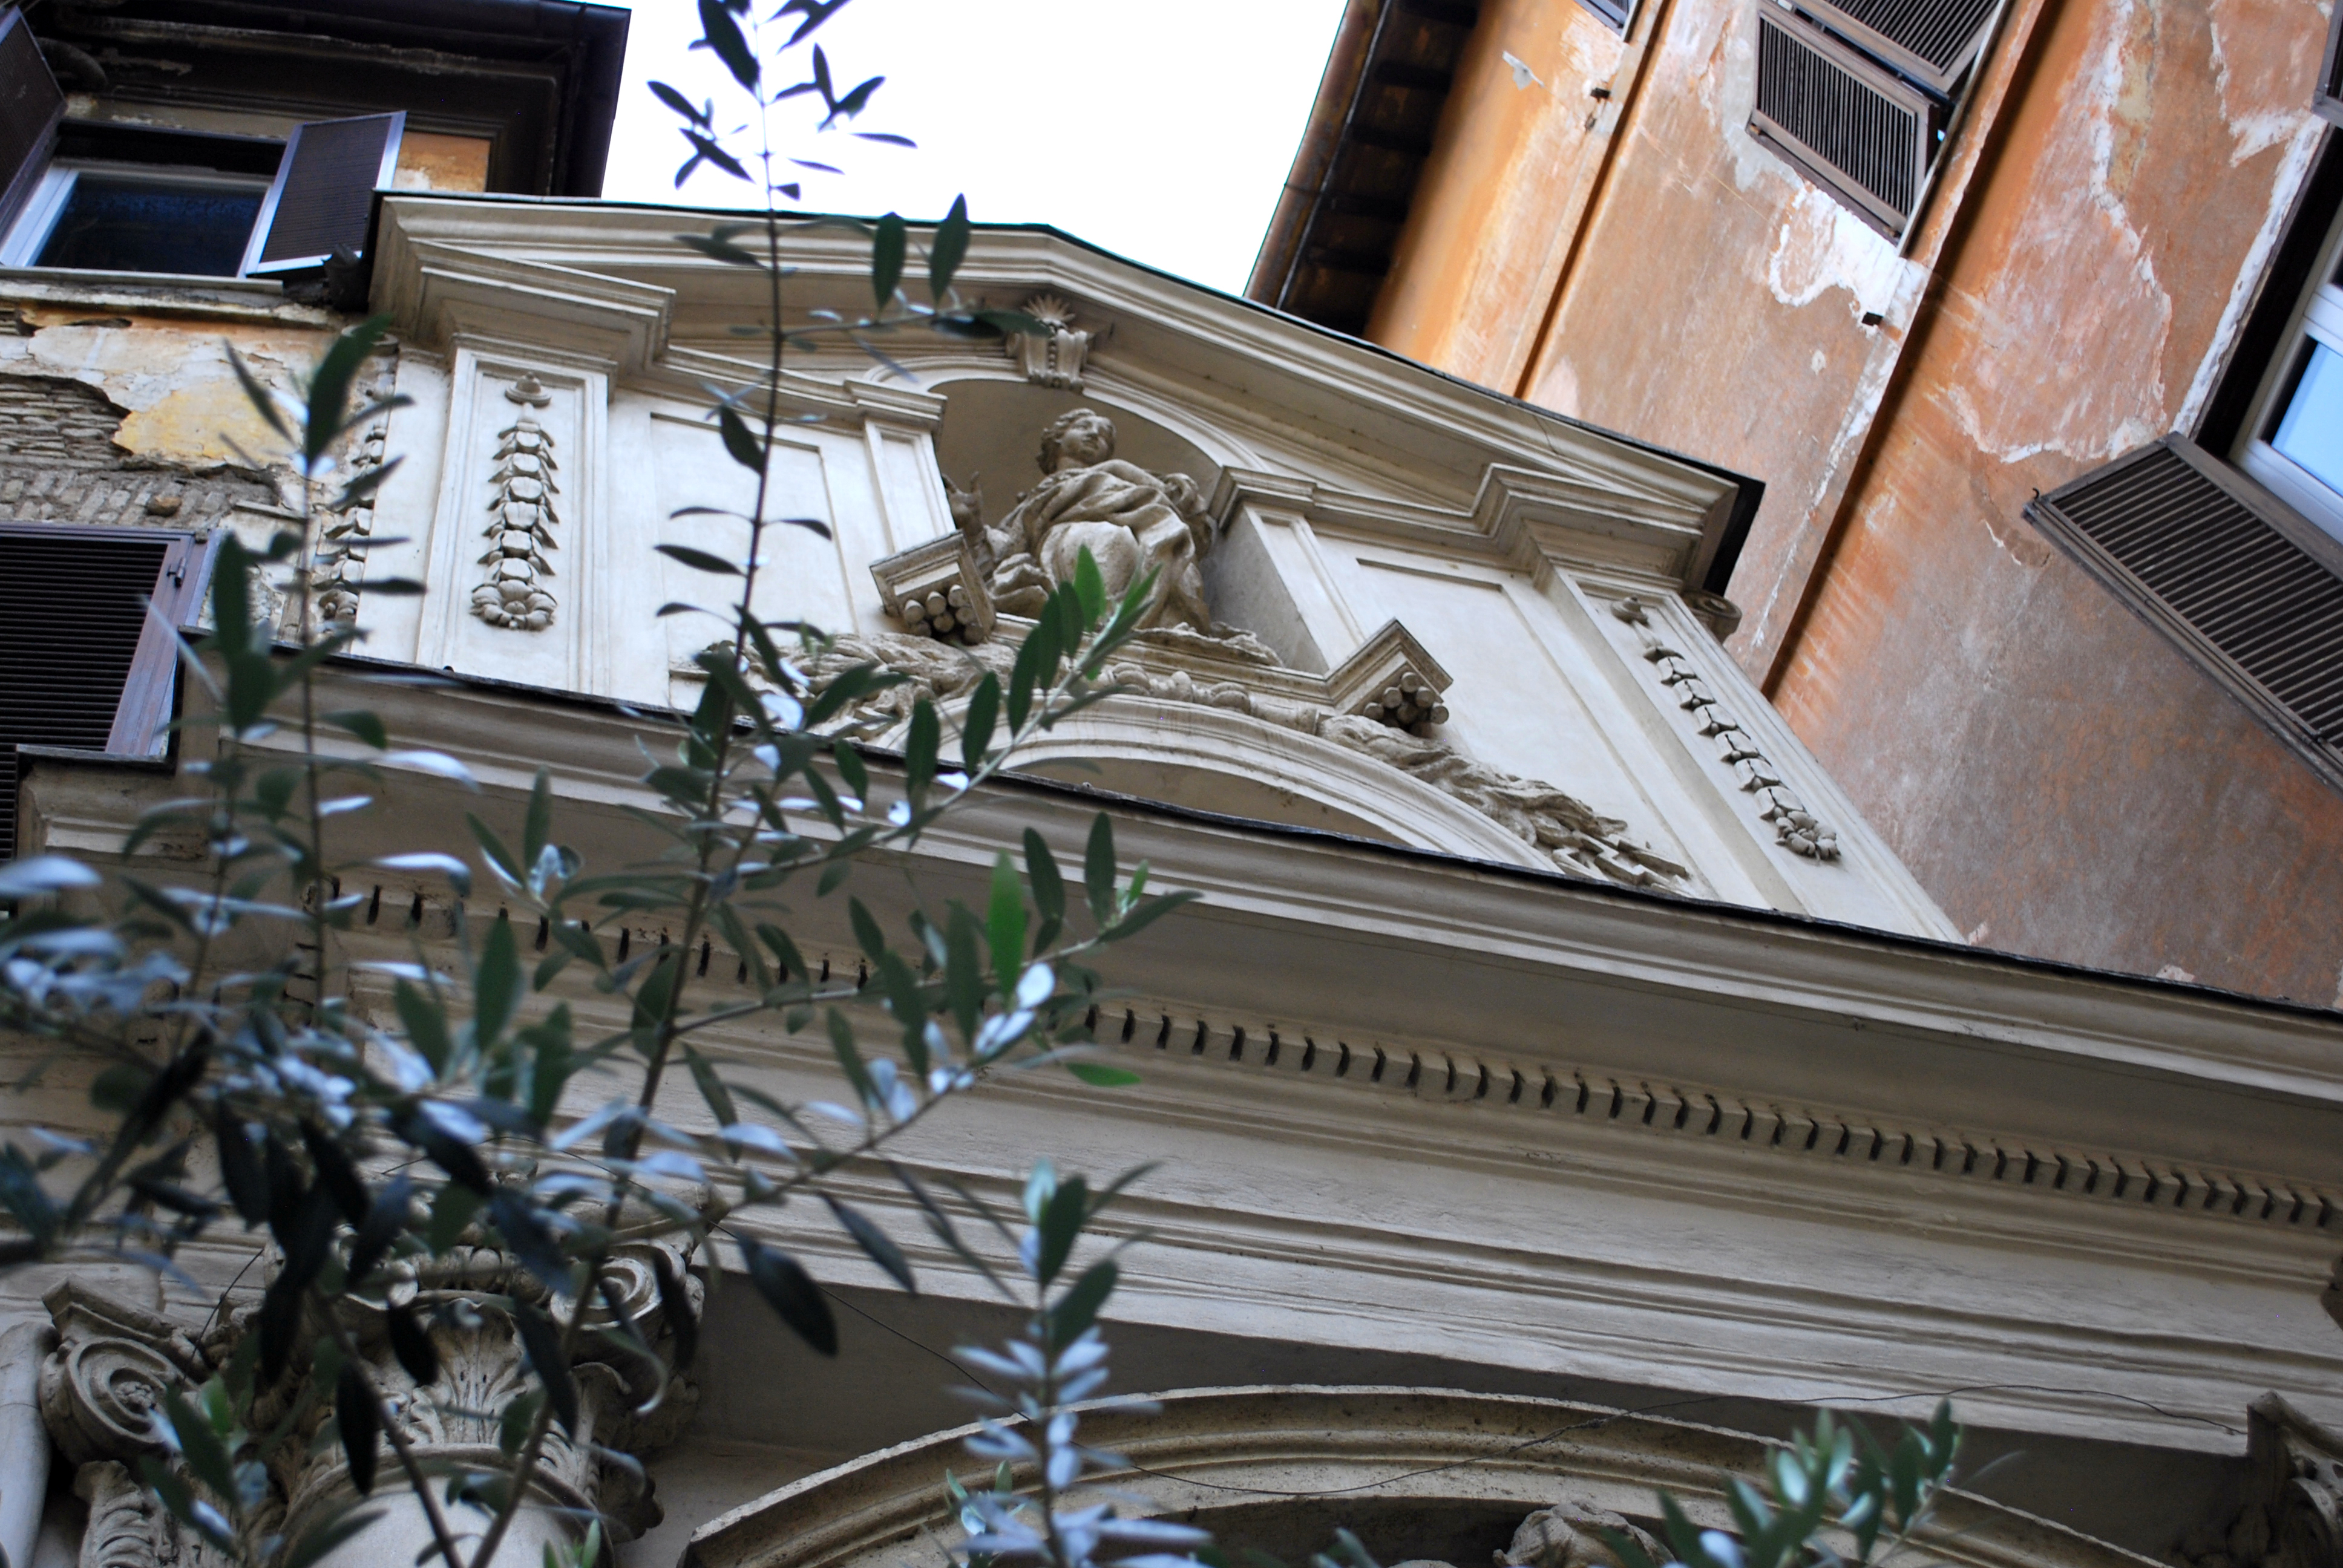
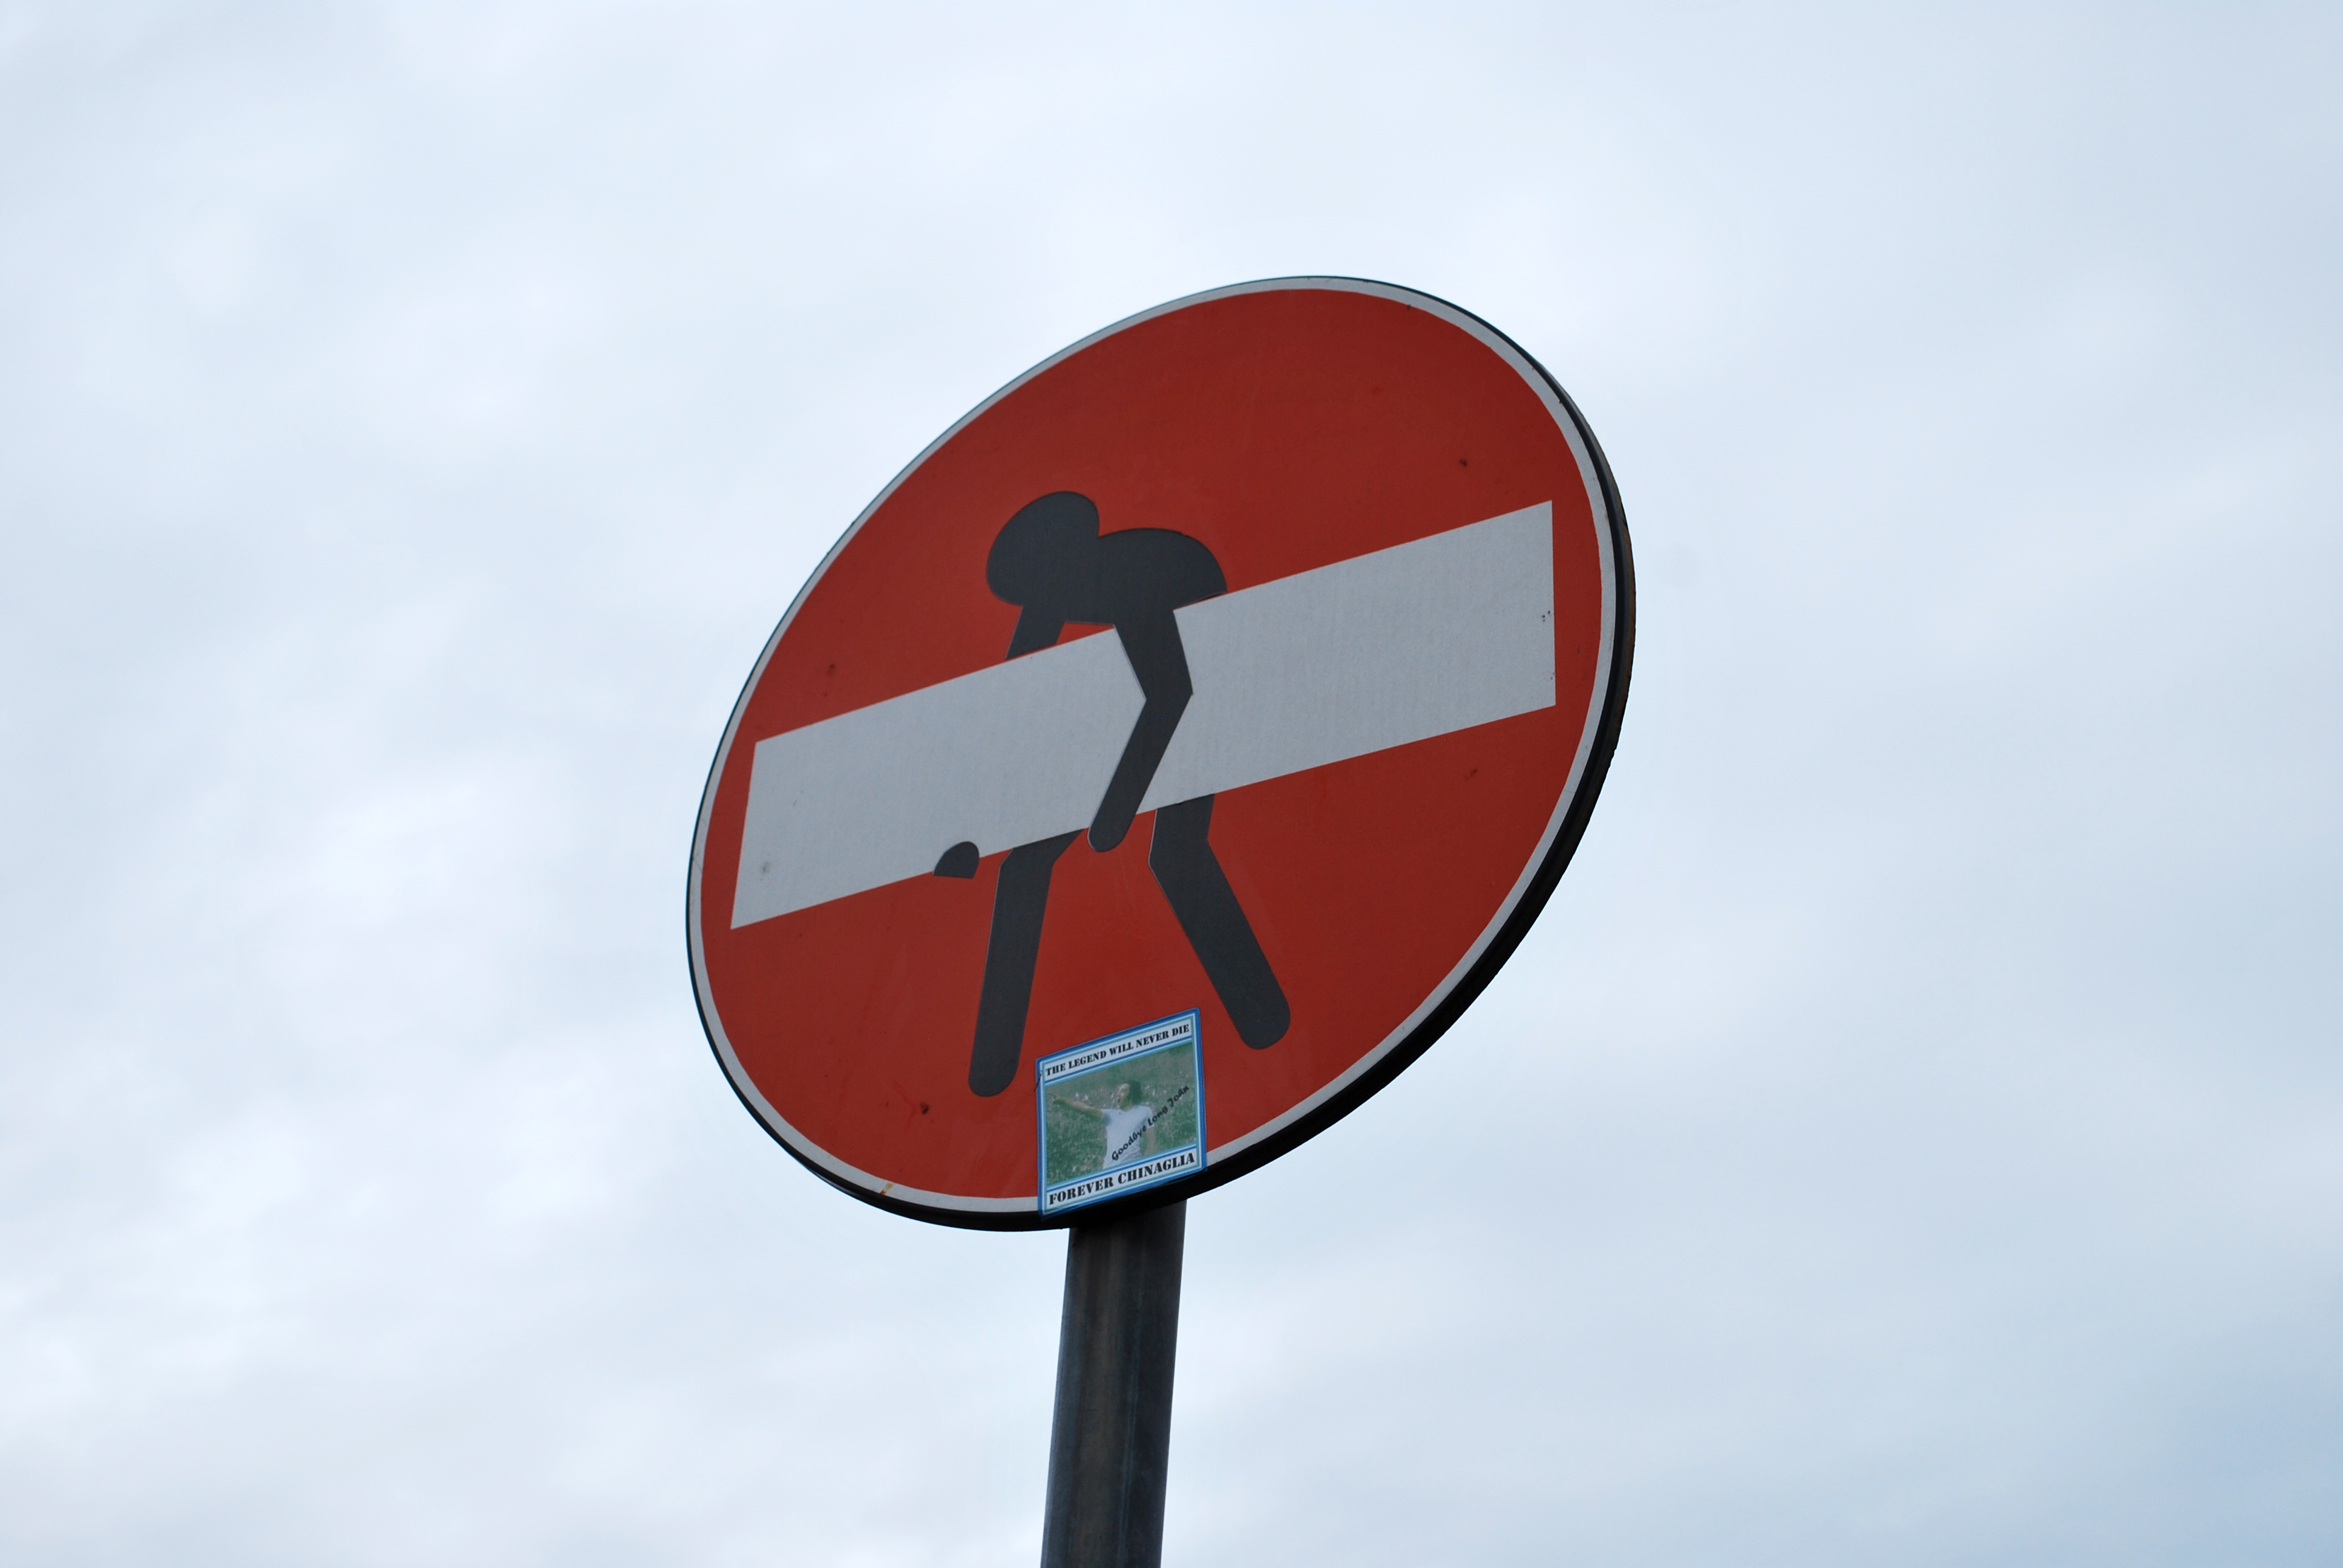
I walked a LOT…and every corner you turn – you see something else that is full with history and beauty…you can feel the history in this city…

Meeting friends in the evening was another highlight- here is the #iahappycab group reunited ;)

Friday morning I spent more time strolling around…and ….guess what…I WALKED A LOT  .
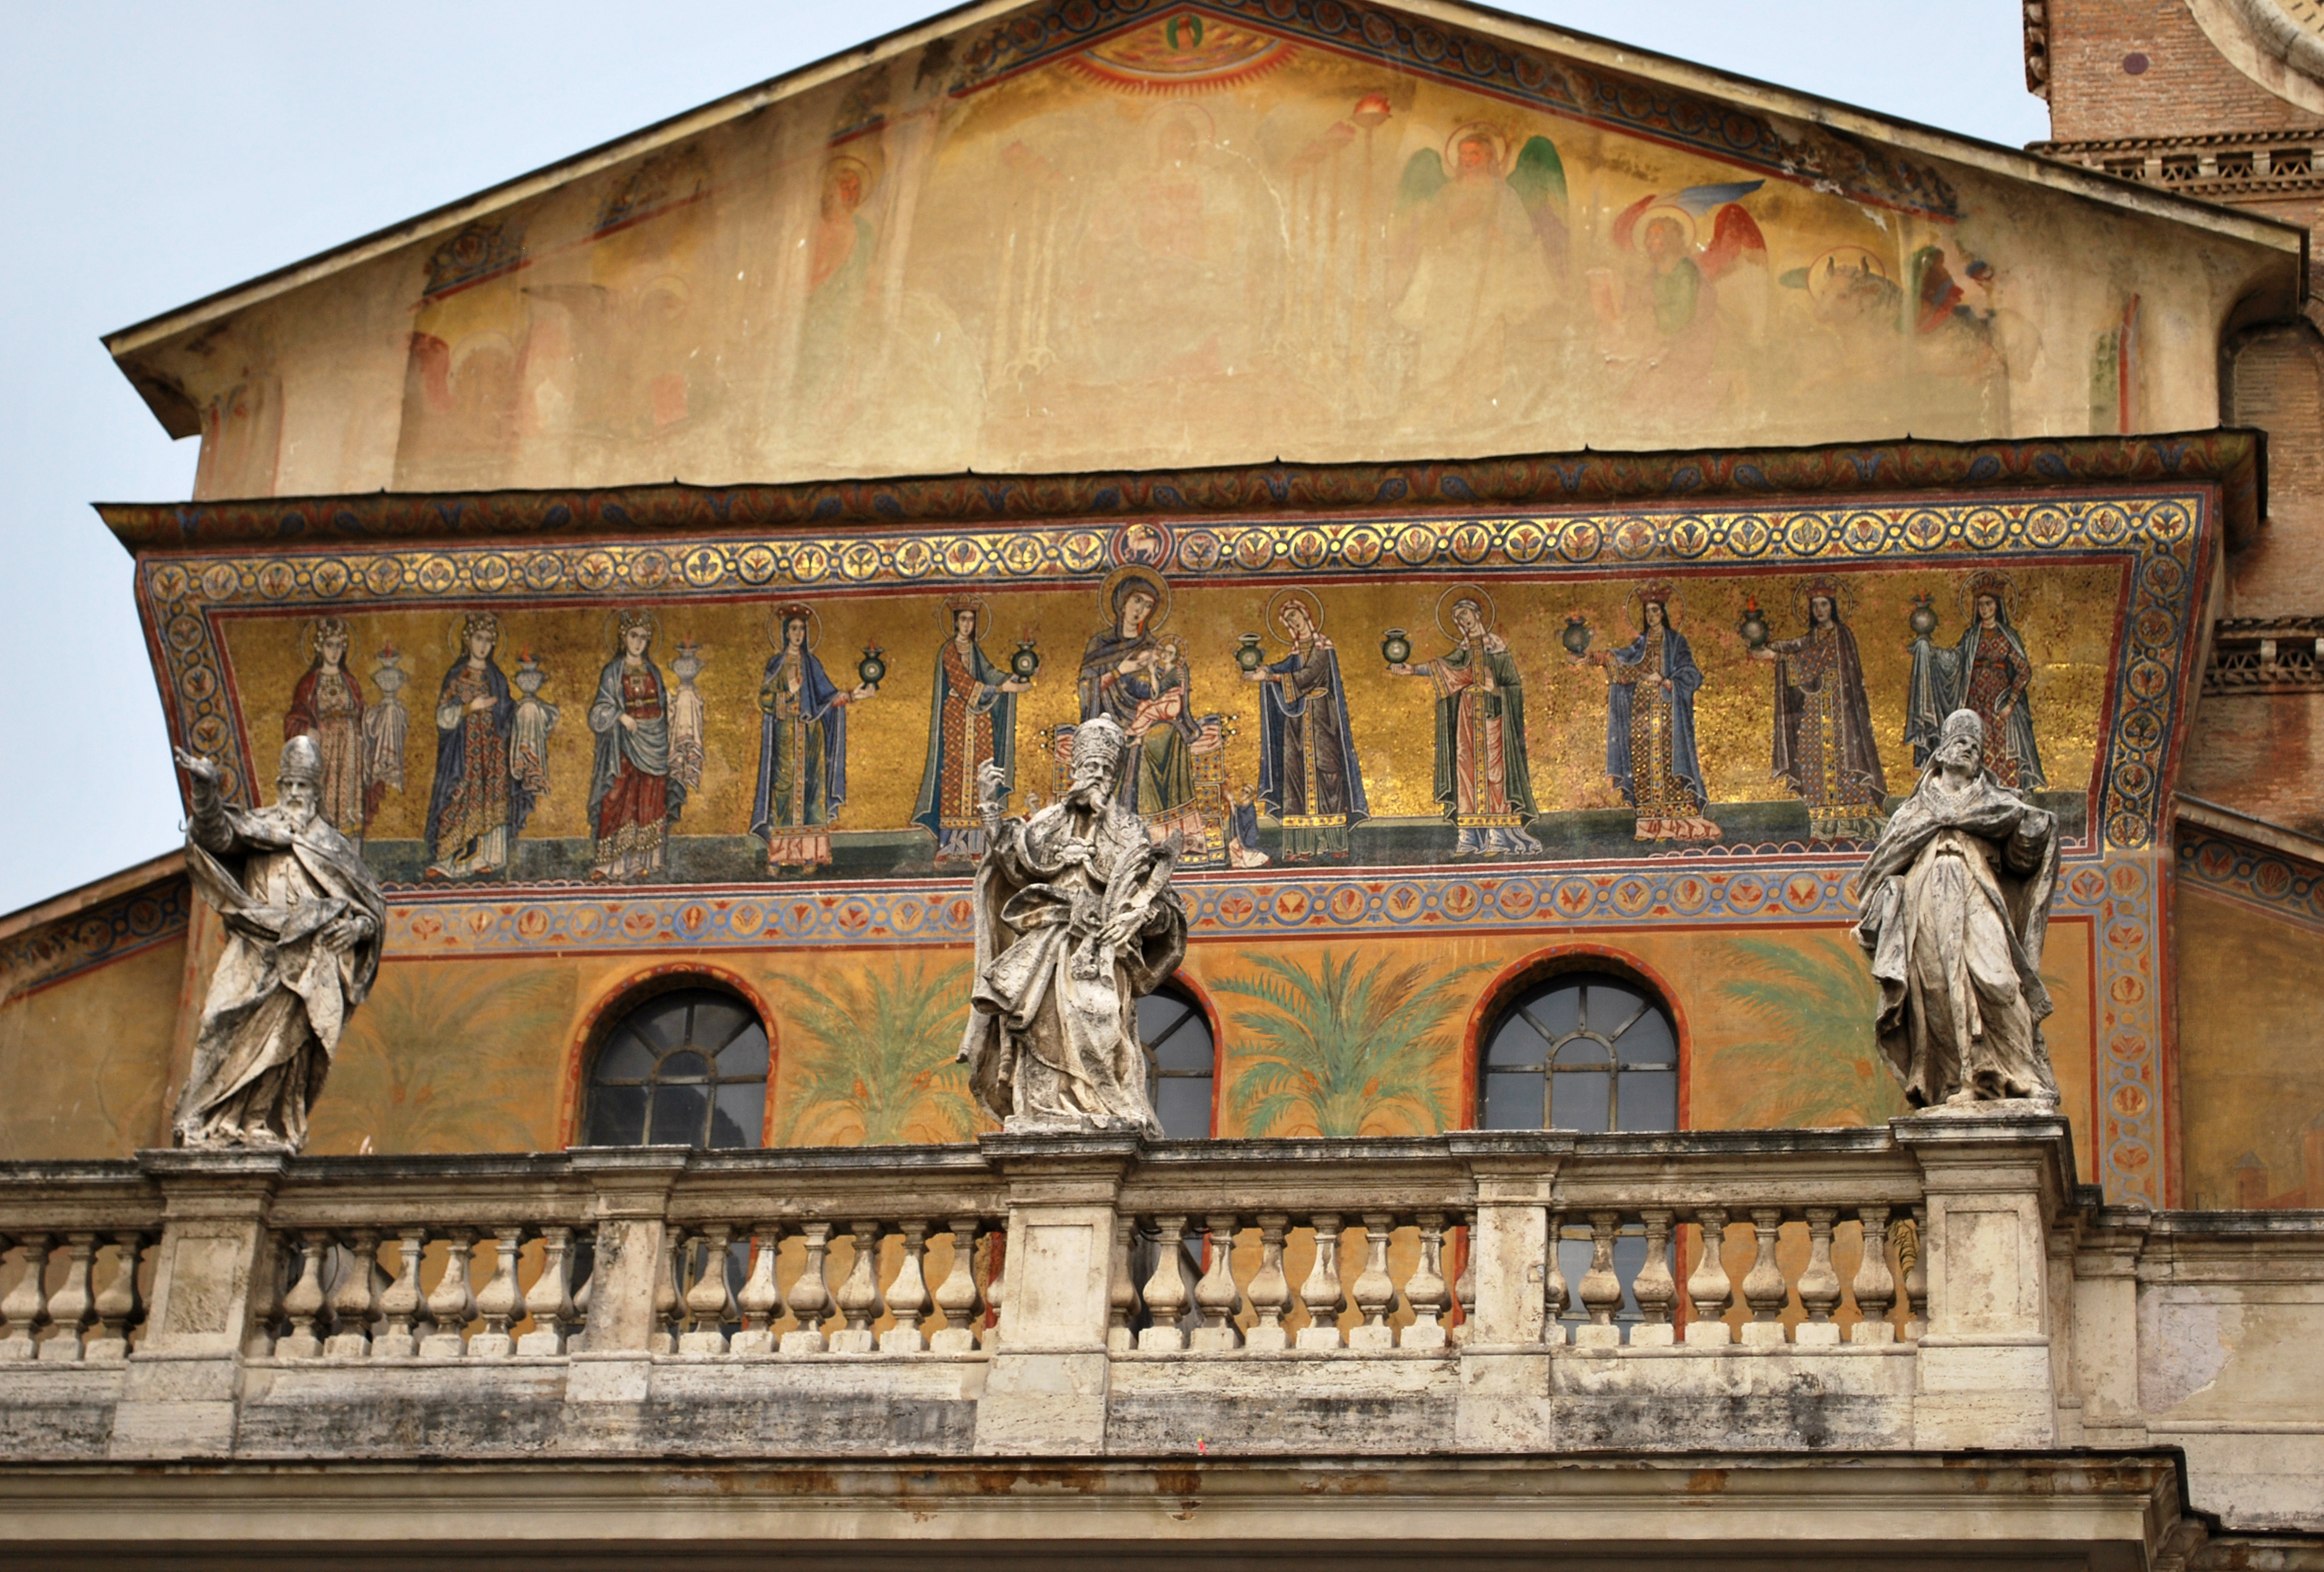
Indeed I walked sooo much that I needed to refuel on calories ;) and  Barbara from TimbroScrapMania invited me after setting up the workshops for the weekend, to Fassi to eat to the hugest ice cream I have ever eaten in my entire live

…(yes the ice cream is almost as big as our faces…and believe me…I have a huge head ;) )… I couldn’t refuse….

And so couldn’t the Italian Firemen that just parked their “little” truck at the side of the street, making everyone in the store jump up and run out to see if there was something happening. A group of firemen …eating gelato….not too bad of a sight ;) ;) ;)

Oh wait…where is the picture of the guys????…sorry to let you hang…I still do not like to take pictures up close of strangers…I think it is a bit rude sometimes when people push their camera in stranger’s face and I hadn’t had my big lens with me.

Next pictures I show you will be from the workshops – it was such a good time.

Have to catch up on emails and stuff…and please cross fingers that our luggage will be found and sent …sigh

Where did you eat the best ice cream ever?

Huge hugs

Nat

Comments (6)

  • vanessa

    |

    Tu e Barbara bellissime!!

    Reply

  • marjiekemper

    |

    Really enjoyed seeing these photos… we were just there for the first time in June, and the memories will live on forever! Best ice cream question… THERE!

    Reply

  • Sue Clarke

    |

    OH NO, lost luggage? I hope it is found or you will have to go shopping for new shoes and such.
    Wonderful photos…thanks for sharing as always Nat!

    Reply

  • SusanJane

    |

    Growing up my best friend and her family made home made ice cream with real cream and real fruit or vanilla beans. Simply to die for!

    Reply

  • rains

    |

    Loved seeing these pictures. I just returned from tours of Northeast cities (NY, Washington and Philly) with my son as a history lesson and I loved the walking! I miss city walking. My favorite ice cream was at an organic food conference called Terra Madre in Turin, Italy. Amazing Gelato! And proscuitto!! : )

    Reply

  • mjmarmo

    |

    Wonderful photos! Sounds like a great time!

    Reply

Leave a comment

Life is Splashing Awesome

As you know I love watching inspirational videos and I love to share them with you. I found this one by Neil Pasricha which so so so impressed me! Love the talk – and love the humor and the message- watch it.

[ted id=1048]

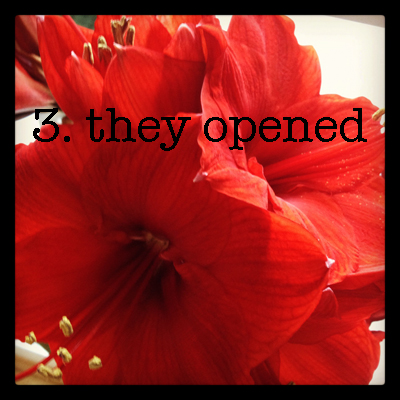
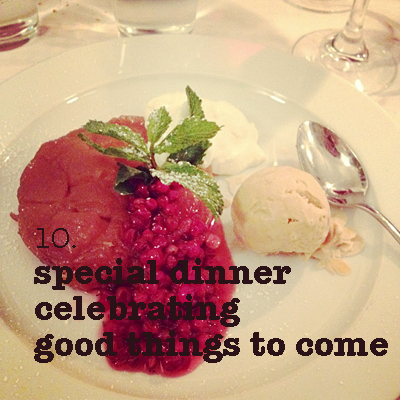
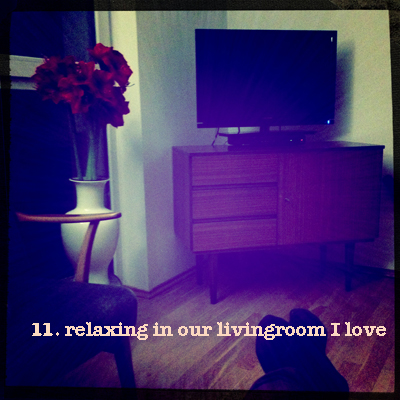
So this talk made me think and I decided – it was a day in September, when I watched it, that I would no matter what look at the next day with open eyes and take close photos along the day of things that made me happy. Here are the photos in the order the awesomeness happened this day. Apparently a lot of food makes me happy- LOL- but see yourself ;)

Pretty awesome day I must say :)

Why don’t you try this too- and if you do- link me up- I would love to see your awesome day !!!

Have an awesome day filled with 3A’s

Nat

Comments (6)

  • Madeline Rains

    |

    Thanks, again, for the awesome inspiration. : )

    Reply

  • Cat

    |

    Thanks for sharing that video, very inspriatiional!
    xo hope you are doing great — you’ve been so quiet lately!

    Reply

  • Lisa Flaherty

    |

    Thank you for this, Nat! Just what I needed this morning as I got out of bed thinking about what is NOT awesome! Lol!

    Reply

  • Sue Clarke

    |

    Wonderful video and I really like that you post these. There are so many inspiring videos on line and I really don’t want to go through tons of them to find the “‘good ones” but I am never disappointed in the ones that you point out…so thanks from the bottom of my heart Nat<3

    Reply

  • Martha Richardson

    |

    Love this blog post…thanks for sharing such inspiration!

    Reply

Leave a comment

Going to be a Bizzy B in Toronto again

Stoked, excited and happy would be the right choice of words to tell how I feel to go back to Toronto in November. I so can’t wait to teach again at Bizzy B’s – if you read my post from earlier this year, you know how much I love the place and students

Workshops at Bizzy B’s, November 17-18, 2012

Date: Saturday, November 17, 2012

Time: 10:00 AM to 1:30 PM

Price: $55.00

3 1/2 hour workshop

RECEIVE A FREE LUNCH WHEN TAKING BOTH CLASSES ON SATURDAY

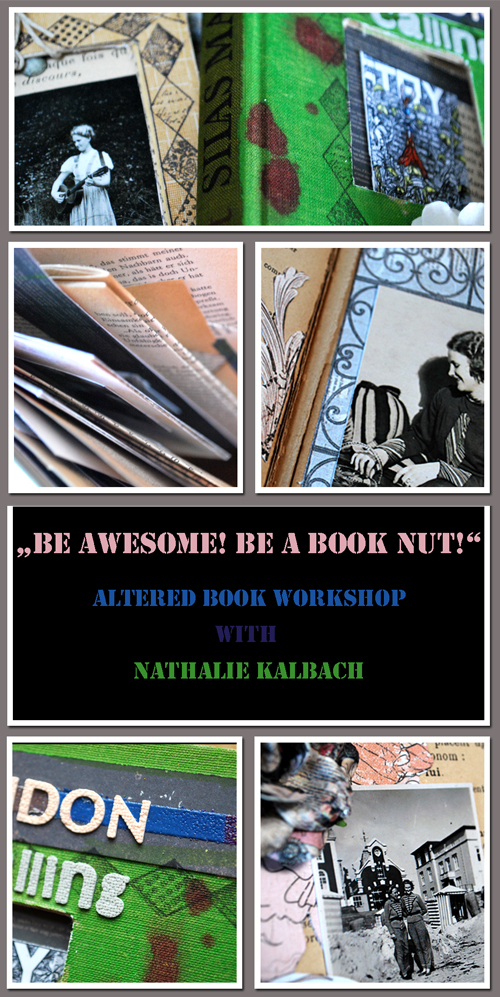
Dr. Seuss knew it: there is something magic about books. Each book is a beauty in and of itself – a story that leads you into a new world of fantasy. Books also have a feeling of importance to them, such as with a fabric coated hard cover or just the paper itself.

But sometimes a book loses its fascination and ends up at a flea market or at the back of your bookshelf, never be opened again. Why not breathe life back into those books again and fill them with your own stories? You can alter them in a way that these treasures bring unique joy back.

Nathalie Kalbach will show you how to create either a funky or a simple style altered book. You will learn beautiful folding techniques, such as ways to create pockets for treasures or hidden messages that go along with your story. You will learn how to use adhesive in unexpected ways and learn fun embossing techniques.

Accompanied by beautiful Prima paper, flowers and stamps, this book will be a personal keepsake or a special present to a loved one. What’s more, it can function not only as a mini album but also as a home decor item.

Come and join Nat in this three-and-a-half-hour long workshop. Be awesome and be a book nut!

Date: Saturday, November 17, 2012

Time: 3:00 – 7:00

Price: $65.00

4 hour workshop

RECEIVE A FREE LUNCH WHEN TAKING BOTH CLASSES ON SATURDAY

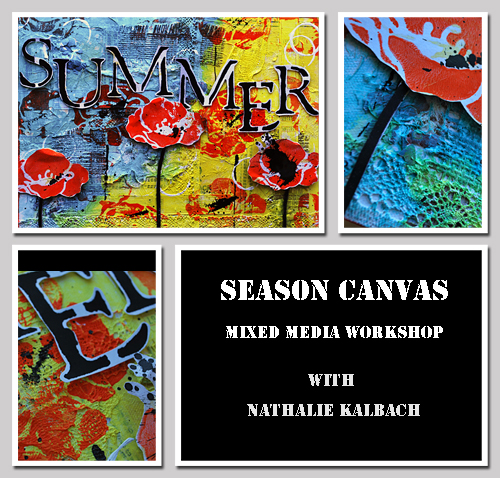
In this Workshop with Nathalie Kalbach, you will create a stunning and unique canvas that will be a wonderful home décor item.

Learn how to create dimension and texture with tissue paper, items of daily life, acrylic paint, lace, burlap, and gesso.

Learn how to reveal the interesting and eye catching texture with acrylic paints and acrylic inks and add some fun stamping techniques on top.

We will be adding lots of layers and dimension to make this a spring, summer, fall or winter canvas… just as you like. All the techniques can easily be applied to future projects.

Date: Sunday, November 18, 2012

Time: 12:00 – 5:00

Price: $75.00

5 hour workshop

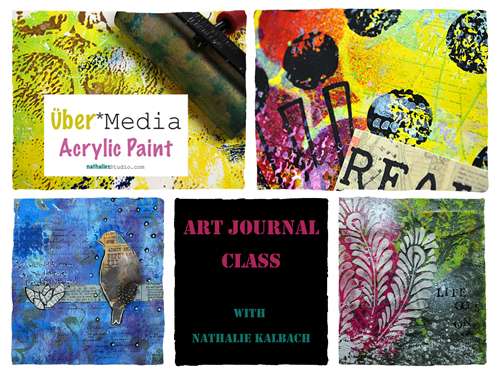
In this workshop you learn how to use Acrylic Paints in your Art Journal. This class shows all kinds of possibilities using Acrylic Paints with different media.

We will start with the basics then make our way up to more advanced techniques. Everything will be taught in an art journal.

I will share with you my favorites, whether it be how to build up interesting backgrounds, resist techniques or incorporating other paint media for stunning layers. I will share with you why I’m doing things, how I got the idea, and what works and what doesn’t seem to work.

Join the uber-fun in this class!

Email  info(at)bizzyb(dot)ca or call Bizzy B’s at +1 416-203-0433 to get your name on the class lists and reserve your spots

Looking forward seeing you there!!!

Nat

Comments (1)

Leave a comment

Regain your creative confidence

“Don’t divide people into creative and non creative …and touch the Snake!”

I stumbled across this speech by David Kelley – it is a bit long, but I really loved the message.

[ted id=1449]

It also reminded me on a blog post I did back in 2010- and I would like to repost it in connection with this video:

Art in School – originally posted August 3rd, 2010

A couple of days ago on my walk to work  I suddenly remembered one of my former art teachers. It was a weird flashback – I totally forgot the name of the teacher- all I remember is that he just finished art school and he was this bohemian guy…black jeans, black shirt, black thick framed glasses, some schal around his neck, black hair and pale. I was 15 – so it was 1988 and as far as I remember I liked art lessons in school…but it wasn’t really too thrilling. Most of the times we would look at paintings of old masters and think about what the artist wanted to tell you with this painting or we would learn other theory stuff.

Then there was this art teacher…we all were totally in Love with him. He was so fun.We were allowed to actually walk around in class and talk to each other while trying all kinds of mediums and tools and actually do stuff. One day he brought in a camera and took portrait photos of us and then a couple of weeks later he came in with several projectors and we all projected our own slide onto the wall and started painting in chalk our own portrait. I remember my portrait had a big shadow on one side of the face as the lightning for the photos wasn’t that good and I was really really sad…he came and said “don’t worry…just paint something else into your face- ask your inner self what you see in that shadow” and I painted a tree growing out of my face. I loved this painting so much and I was soo proud of myself. One day he came in with big tubes of Acrylic Paint and let us paint whatever we wanted – forms over and over on big rolls of paper. I painted eyes over and over and then I picked an area which I liked the most and cut it out.  I had fun while doing them- I felt free and happy. I can’t find the chalk painting- I don’t know where I put it after moving several times- but while looking for it …I found the eye piece….I’m sure some of you think it is ugly…I don’t care…LOL – I still love it…it has memories…happy memories!

He was only there for a semester …he gave me confidence that I was talented and he had me find fun in art. When he was gone we were all sad but I looked forward to our new teacher and the lessons. The first lesson came and we were supposed to draw our eraser with a pencil – I did. The art teacher looked at my drawing and said ” you have no talent for art” ….and I was so disappointed but I believed it and I was done….I never felt free and happy with art again….until many years later….I just thought I was not the artsy type of person and I had no talent at all. I forgot that I had fun with paint the semester before. When I look at the eye painting…I see that my Love for paint has been there all the time. How fun that I found it again just now.

What I want you to tell with this story? Don’t get discouraged too easily by what other people say or in comparing yourself with others…the most important thing is that YOU have fun in what you do and how you do it. All the rest…is unimportant! If YOU think you are an artist… YOU are! If YOU think you are creative …YOU are! Don’t let others dictate on how you feel about your creative outlet! Just be!

I might add: TOUCH THE SNAKE!

Nat

Comments (6)

  • Jessica Sporn

    |

    what a wonderful video. Thank you for sharing it.

    Reply

  • Jenny Palmer

    |

    Thanks Nat
    I have had 2 great teachers but they were in my adult life when my first 2 kids were babies I studied dressmaking printing spinning and both those teachers were only there for a short time as other staff members made life hard for them as they were not conventional
    they were brillant to this day they still encourage me with memories of them and of what I did while I learnt under them but as soon as they left and the other teachers took over the classes the negativity was back.
    I have noticed in my life anyway that creativity created jealousy and I cannot understand why people are like that[I cant draw or paint so I will tell you that you cant]
    It happened to me and now I am just getting my creativity backletting myself heal and find just how much art means to me.
    I love your “eyes” and snakes are so soft to touch and so exciting to hold
    Have a great day
    Jenny
    waves from Tassie

    Reply

  • Sue Clarke

    |

    Funny how you used wonderful and bright colors as early as the eye painting.
    Shame on that teacher for making a negative comment. He probably had someone stifle his creativity as a child. Off to watch the video.

    Reply

  • Milagros

    |

    Efectivamente tienes toda la razón, solo hay que hacer caso de tu voz interior.
    Abrazos.

    Reply

  • Janet

    |

    Oh No my dear Nat! I think your eye painting is fantastic! It Looks like you had fun! And Shame on your art teacher who said you had no talent. That would crush a child for sure. Did you ever search out your bohemian art teacher again? Wouldn’t that be interesting to know how many lives he touched? And how many artists he encouraged? Good for you to follow your dreams anyways!

    Reply

  • mjmarmo

    |

    This is perfect!! I have a twin sister and a mom who got all the artistic genes!! For years I compared myself and led myself to believe I was not artistic. i did scrapbook but that appealed more to my math and at side. Well, guess what – I have stated doing mixed media collages and while they might not be as artistic as my sister’s, I like and them and am having fun. I just used that quote on a journal page! Thanks for your inspiration!

    Reply

Leave a comment

#iahappycab or Tribute Present to the Cab Ride of our Life

Some of my readers might remember the post in 2010 when I went to Warsaw. My husband was attending and speaking at a conference there with some friends and I joined them. Well..it was a pretty eventful journey, which ended with being stuck in Warsaw because of the ash cloud. And so….I can say …I took once a taxi cab from Warsaw, Poland back to Hamburg, Germany. LOL.

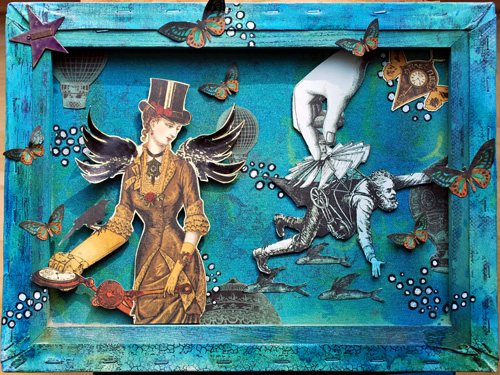
We took some fun photos and tweeted along the ride with the hashtag #iahappycab and my friend Andrea who was part of this journey always wanted a canvas as a memory from that trip.

And so there it is – by this time I should have handed it to him in Rome, Italy :)

What is your funniest travel experience?

Huge hugs

Nat
Comments (5)

  • mjmarmo

    |

    Wow – what a story. I will have to think if I have any. LOVE the canvas.

    Reply

  • Riikka

    |

    The background work is something out of this world <3

    Reply

  • Kathy Gledsdale

    |

    Love the background, the whole thing is lovely.

    Reply

  • Lisa Flaherty

    |

    Love the texture and colors in that canvas, Nat, and the story! I just started following your blog this January, so hadn’t read the post about your epic journey! Memorable, indeed!! Sometimes, well, OFTEN, it is the hiccups and kinks in travel plans that make the trips that much more memorable.

    My 3 besties from High School and I try to get together for a girls weekend once a year, and the silliness that ensues makes every trip a fun adventure!

    Reply

  • Sue Clarke

    |

    I remember this story and what a great LO for it.
    My first plane ride from MA to NM was fun and a bit scary.
    The other folks on the plane must have thought I was nuts as I stared out the window looking over the clouds.
    Not the best adventure story but the one that comes to mind right now (on a dreary Sunday a.m.).

    Reply

Leave a comment

My Favorite Mixed Media Essentials: 4. Stamps

There is rarely a Mixed Media Project where I do not include stamping. By no means I am a stamping expert…but let me tell you about what I do and what I know and how I use them.

If you missed the other posts in this series – you can catch up here 

Stamping on Mixed Media Project is just one of my favorite techniques:

What I love about Stamps is:

  • I love that there is different sorts of stamps out there
  • they can be used with many different mediums: ink pads, acrylic inks, acrylic paints, resist mediums, gesso, tar gel, spray paints, pan pastels, water soluable wax bars and so much more.
  • they can be used for adding images or just adding visual imperfect interest
  • they can be used to lighten or darken a background
  • they can be used to add texture
  • they can be used to connect design elements
  • they can be used to unify a look
  • some of them can be used FOREVER…my wooden letter stamp set in the picture was the first stamp set I bought in 2003. I used it still A LOT! Worth every single cent!

Here are some examples:

using a bottle bottom for stamping

unifying the background

using a hand carved stamp to lighten background and adding visual interest

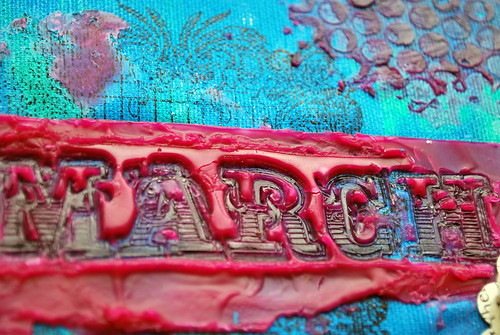
stamping with and into beeswax

adding visual texture with stamps

using foam stamps with spray paints and Derwent Artbars

using different stamps for layering in an artjournal

using stamps to create resist effects

using rubber text stamp to create overlay

My favorite Stamps:

As always in this series- the answer to this question is based on my preferences, my style and my experiences

  • one preference for me are rubber stamps that have writing – I love to include letters and text to my background. I have so many different ones from Stamper’s AnonymousDarkroom Door etc. to name just a few companies that do awesome Text Stamps in my opinion.
  • I love foam stamps– they are cheap and versatile and you can do an awful lot with them. That is why I offer an Online Class called Über*Media Foam Stamplifier – I find it simply amazing how many different ways you can use a Foam stamp :) My favorite foam stamps are made by Prima, but you can also make your own foam stamps.
  • constantly using bubble wrap, lids, corrugated cardboard and toilet paper tubes for stamping. Can’t get any cheaper and more handy. If you travel you will always find ways to stamp if you look for stuff like this instead of hauling lot’s of stamps with you for some traveling art.
  • letter stamps – my to go for titles and often a great way to add journaling on difficult surfaces.
  • hand carved stamps…getting there more and more. If you are interested in those, I highly highly recommend my friend’s Julie Fei-Fan Balzers Online Class on Stamp Carving. She rocks the house and is an amazing teacher!

nSupplies

huge hugs

Nat

——————————————————————————–

If you want to learn more about foam stamps – check out my class: Über*Media Foam Stamplifier for just 9.99 USD

Comments (4)

  • Sue Clarke

    |

    I made a LO with bubble wrap and paint last night and love using it. I got the idea from you a few years back. Thanks for the MUST HAVES series Nat.

    Reply

  • Jessica

    |

    thank you for this post — full of great info and links. xo

    Reply

  • mjmarmo

    |

    You have done some things with stamps that I have not tried. I should try them.

    Reply

Leave a comment

Wrapping up the Year or Cleaning up Artistically

There are a couple fun things that are coming up that I was asked to participate as a guest poster in and that I would like to give you more scoop about :)

Starting October 1, Artists in Blogland is hosting a challenge called “Fall Fearless and Fly.”  Every other week, there will be artistic prompts designed to get you thinking about setting intentions and shedding emotional baggage to step into 2013 as your bravest, most fearless self.  Have you ever done a juice cleanse?  Think of this as an art cleanse!  Any medium goes, and AIB has great prizes and giveaways.  Each week, there will be a guest artist participating!  Look for my challenge response on January 15th, 2013.    So go over to AIB and grab a button for your blog.  It looks like a lot of really cool challenges and I love the topics, and the guest artists are also pretty cool ;) So get ready to “Fall Fearless and Fly!”

….but Wait there is more……


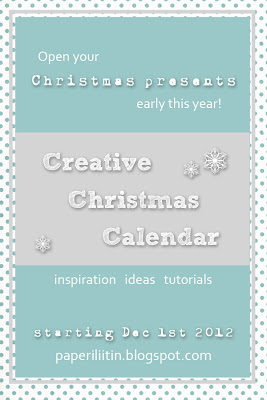
In December something extraordinary is going to be happening at Riikka’s blog Paperiliitin(Paperclip). Together with an amazing cast of talented crafters she’s going to share inspiration and joy all the way to Christmas and even beyond. There’s going to be giveaways, tutorials, step-by-step photos and a great amount of creativity! Welcome to join the fun!Keep your eyes open over at blog land – this add or a button of the event is going to be popping up here and there! Feel also free to spread the word or grab a button from Riikka’s blog . 

Looking forward to seeing you in December!
Have a gorgeous day :)

nat

Comments (2)

  • Carolyn Dube

    |

    What a creative season this will be! Thanks for sharing about Fall Fearless and Fly and introducing me to Creative Christmas Calendar! Can’t wait to see what you create!

    Reply

  • Jessica

    |

    Thanks Nathalie! We’re so looking forward to your participation. Thanks for letting your readers know about Fall Fearless and Fly! I’ll check out the Creative Christmas Calendar too.

    Reply

Leave a comment

Über*Media Acrylic INK Online Workshop is here & a Winner of the Class

It is here :) It was so fun to read your guesses on what this class is going to be about and a lot of you had the right guess. So before I will reveal the winner – let’s  have a further peak about the class.

[vimeo 50011999 w=400 h=300]

In this Über*Media Acrylic Ink Online Workshop I want you to learn how to use Acrylic Inks in your Scrapbooking and Mixed Media Projects! This class is a reference guide for you, showing all kinds of possibilities and techniques using Acrylic Inks with different surfaces and media.

Most results of the techniques of this class can be also archived by using India Inks. I use Acrylic Inks because they are more versatile and can be mixed more with other acrylic media. I will cover the differences in the first week.

In this Acrylic Ink online workshop we will start with the basics of the medium. In four lessons over four weeks  we will make our way up to more advanced techniques. The class starts with thefirst lesson on October 8th, 2012 and then each following lesson goes online the following monday.

I will share with you my favorite Acrylic Ink techniques.

What you get:

  • Intensive knowledge about acrylic ink
  • How to incorporate this affordable paint medium into your Scrapbooks and Mixed Media Projects
  • A big amount of techniques with acrylic inks
  • Photo manipulation with acrylic inks
  • Using it with inexpensive house hold items
  • How to layer dimensions and create textures
  • Numerous resist techniques
  • Masking/Stenciling techniques
  • Transfer technique
  • How you can use other media with acrylic inks
  • about two-and-a-half hours of video material
  • Flickr Group for sharing your work with me and other students
  • Personal feedback
  • Quick support

You can sign up here for the cost of 39 US-Dollars (about 30 EUR). It is a cool deal :)

You will find all the details and can sign up here

———————-

AND THE WINNER OF THE Acrylic INK Online Workshop who guessed right and who was drawn is


Marisa already received an email by me.

Thank you all for playing along- it was so much fun!

Huge Hugs

nat

Comments (7)

  • selena

    |

    hello,
    is it easy for me, because i don’t understand the englisgh very well?

    Reply

    • nathalie-kalbach

      |

      Hi Selena, I don’t know how well your english is. As it is videos, it might be easy- because you see most of the things….but I can’t really promise that you will understand everything. My english is very easy, I think, because it is not my mother language either :) hugs nat

      Reply

  • Sue Clarke

    |

    Looks like another fun time!

    Reply

  • Marsha.

    |

    Oh man… You made this one especially for me, right? Because you somehow sensed that I’m only petting my beautiful Liquitex inks right now? How did you do that?!

    Reply

    • nathalie-kalbach

      |

      LOL- that is what I did the first couple months I had those too – I loved them too much to use them ;) But hey hey- you need to break them in!!!

      Reply

  • Jenny Palmer

    |

    Congratulations Marisa looks like a lot of fun

    Reply

Leave a comment

Peek Inside the n*Studio – Prepping Workshops

I thought it might be interesting to take a peek inside my studio once in a while. A lot of my daily work is dedicated to prepping workshops …let me show you how this process works in the n*Studio :)

In the beginning stands an idea for a workshop which I start to write down, gathering some ideas for it. Sometimes the title idea is coming right away, sometimes a bit later.

Then comes the gathering of supplies I want to use, creating the prototype and jotting down every single step, calculating how much time it might really take in a bigger group with explanation time and thinking of what might work or not work….it is the favorite part of mine of prepping the workshops :)

Once I got it all figured out I take photos of the project and start writing up the description and create a sneak collage for it.

And then comes writing lists of supplies etc and to do lists and more lists….in English and in German….

After this comes ordering. Usually for several workshops at once. Which takes a bit time as it involves often several companies and you also have to calculate quite a bit. Most companies want you to order in bulk, which means for example you have to order 25 pieces of one paper, but you can order alphabets in packages of 6. So there is a bit of thinking involved ;)

Next comes waiting for the packages to arrive and most times also clearing the packages at customs involving paperwork, waiting time and unpacking and explaining items, paying the customs bill.

The best part of that…and probably the only good part is,  that customs in Hamburg is located in a beautiful area in the harbor city :)

As soon as the package is hauled up the six flights it get’s unpacked, checked and stored. I usually get rid of the packaging of the items too and recycle paper and plastic, as it makes the kits for further shipping too heavy.

Now when all the boxes arrived, the most time-consuming part starts…kitting. It usually takes several hours, sometimes even a couple days…and takes up a lot of space. It is basically like working on the assembly line. Every item is a station and you start filling the bag. I would say it is my least favorite part of preparing the workshops …lol. I know, I am not supposed to say this…but hey…no lying here – this is not called “a glorious peek inside the n*Studio* ;)

Counting buttons is fine…but counting stuff like paper butterflies…SNORE ;)

My favorite part is when everything is packed and ready to go :)

Ready to be packed alongside tools and paint media into a box to ship out to the place I will be teaching at :)

And after the prepping the workshop- the real fun begins for me. The teaching :)

I hope you enjoyed this little peek. I am thinking of doing some more of this in the future. Anything you might be interested in peeking?

Have a gorgeous day

Huge Hugs

nat

n*Studio Workshops

Comments (17)

  • Milagros

    |

    Nath Hello! liked me to this post about as you prepare workshops, takes a lot of work to prepare each workshop, now I have to prepare some proposals for workshops and I have done very well the explanation of your post.
    hugs
    Mila

    Reply

  • AnnaB

    |

    I loved this post Nat! It’s so interesting to get a glimpse of all the hard work behind each workshop!

    Reply

  • sandra

    |

    Love the look @your desk, is it always that neat?
    you are right, we never think about the person that puts it all together
    we only think about the teacher in front of us, and when do we get to play with the supplies

    Reply

  • lynnmcmvt

    |

    Thanks for the sneak peek, and I’d love to see more! It’s good to remind people what goes on ‘behind the scenes’ to prep for classes and presentations as it’s easy to get the idea that being a teaching artist is all play and no counting butterflies. ;)

    Reply

  • Jessica

    |

    I don’t think most students realize how much work goes into these classes. Amazing! Love this peek!

    Reply

  • mjmarmo

    |

    Fun to see what goes on!

    Reply

  • Riikka

    |

    This was so great, thank you for sharing! (My favourite part is the kitting, but hey, I’m in totally different clas than you are :D)

    Reply

  • mlepitts

    |

    Looks like an interesting process Nat, thanks for sharing it with us!

    Reply

  • emily

    |

    Fun to see what you do to create a workshop, looks like an interesting process! thanks :)

    Reply

  • lisa

    |

    Love this peek in to your life Nat. Thanks for sharing x

    Reply

  • Lisa Flaherty

    |

    A lot of behind the scenes work! I enjoyed the peek, and look forward to more. I think Sue C. is right, some folks just don’t think about all the background prep that goes into class, from inception of the idea for the workshop all the way through building the supply kits.

    Reply

  • Isabel LopezDel RinconTroussel

    |

    Very interesting… thanks for allowing us to take a peek inside your studio and see how you work!
    I don’t know which workshop you were preppin’ for, but I WANT IN!!!! Looks fun!
    Lots of hugs,
    Isabel

    Reply

  • Anne

    |

    Hallo Nathalie,
    danke! Hat Spaß gemacht und ich muss sagen, Hut ab!
    Bin sehr gespannt auf den Workshop…

    Reply

  • Sandi McLean

    |

    Having prepped just for small LSS classes in the past, I know how folks have NO idea of the work and love that goes into it. No one WANTS to count paper butterflies LOL I love the peek into your studio.

    Reply

  • Sue Clarke

    |

    I really like the graphic you used for the “Peek Inside The N*Studio”…
    interesting and good for folks to see that the price of a workshop (which is usually reasonable) needs to include paying the teacher for all her prep time as well.

    Reply

  • Jenny Palmer

    |

    Hi Nat
    That was really interesting thanks for the insight
    Jenny
    waves from Tassie

    Reply

Leave a comment