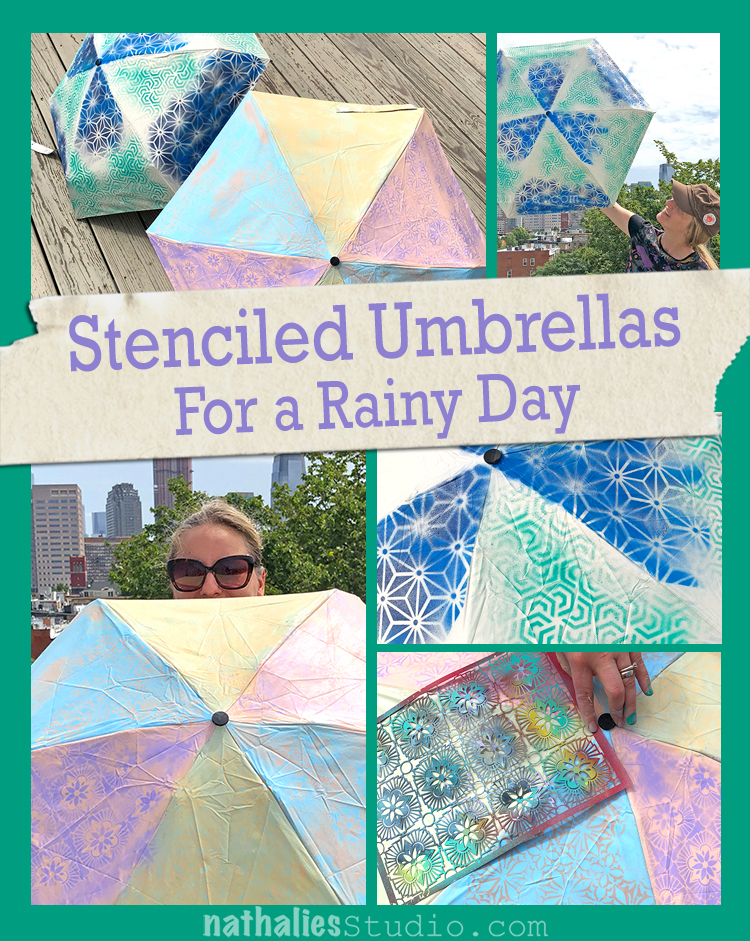
Did you know you can stencil on an umbrella and turn it into a work of art? You can and it is a fun project. Kim and I got together on a sunny day to transform a couple umbrellas into something that will brighten any rainy day we encounter.
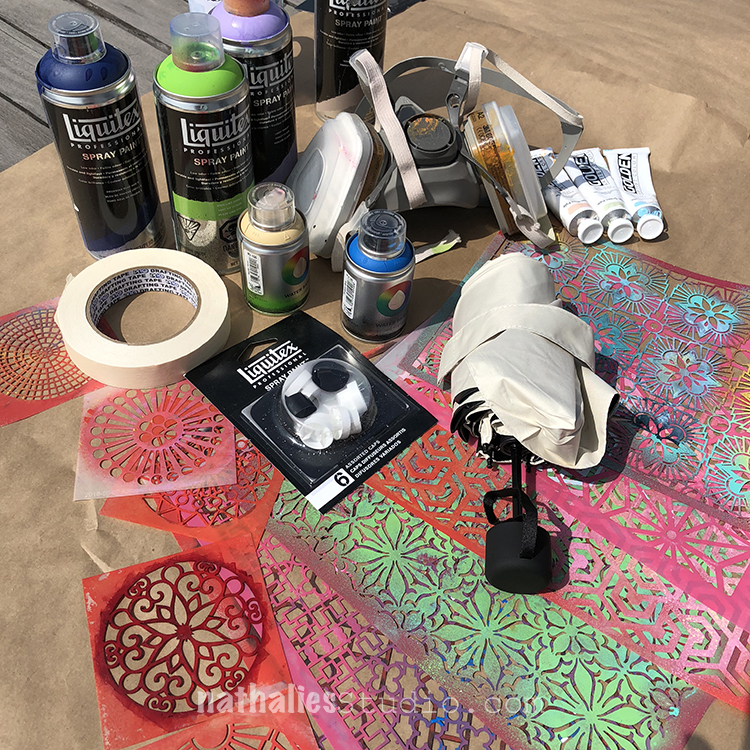
We chose white umbrellas as our “blank canvas” and some of Nat’s new stencil designs. We worked outside with acrylic spray paint (and proper protection – face mask) and each tried a different way to approach the project.
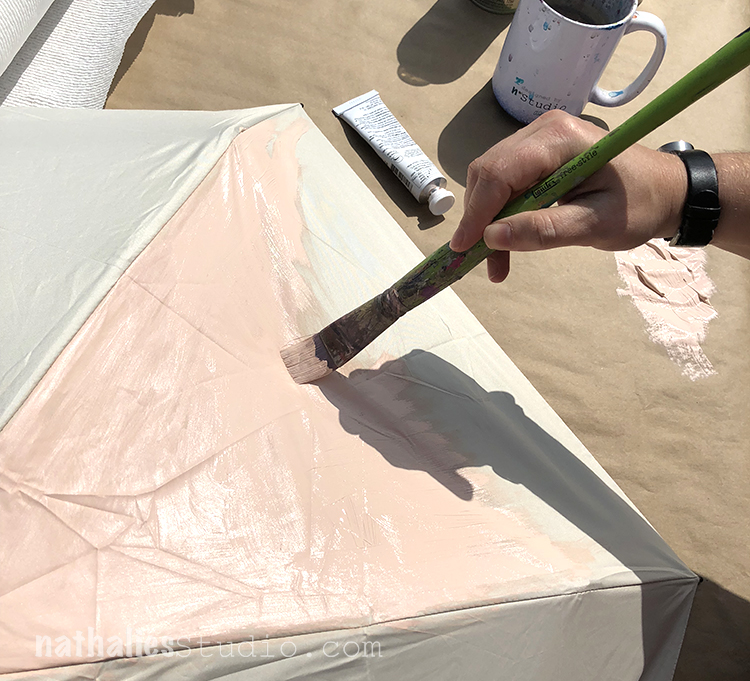
I began by painting my umbrella with heavy body paint to create a new background color.
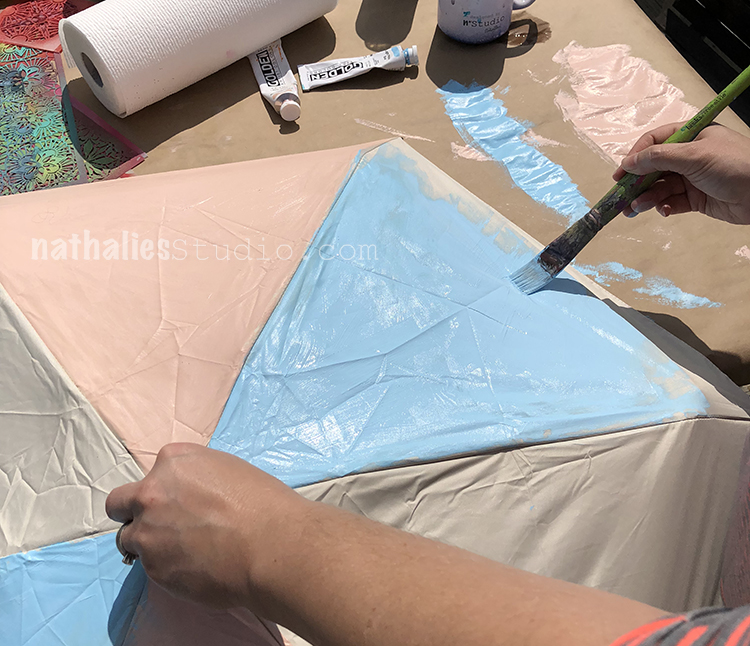
I chose three different colors to alternate on the panels. This is a great way to make your umbrella any color you want. BUT I learned the paint definitely stiffens the fabric and makes the umbrella hard to wrap up when you are all finished. I could almost not get the velcro tie around it in the end. Oops. It’s still doable, but tight.
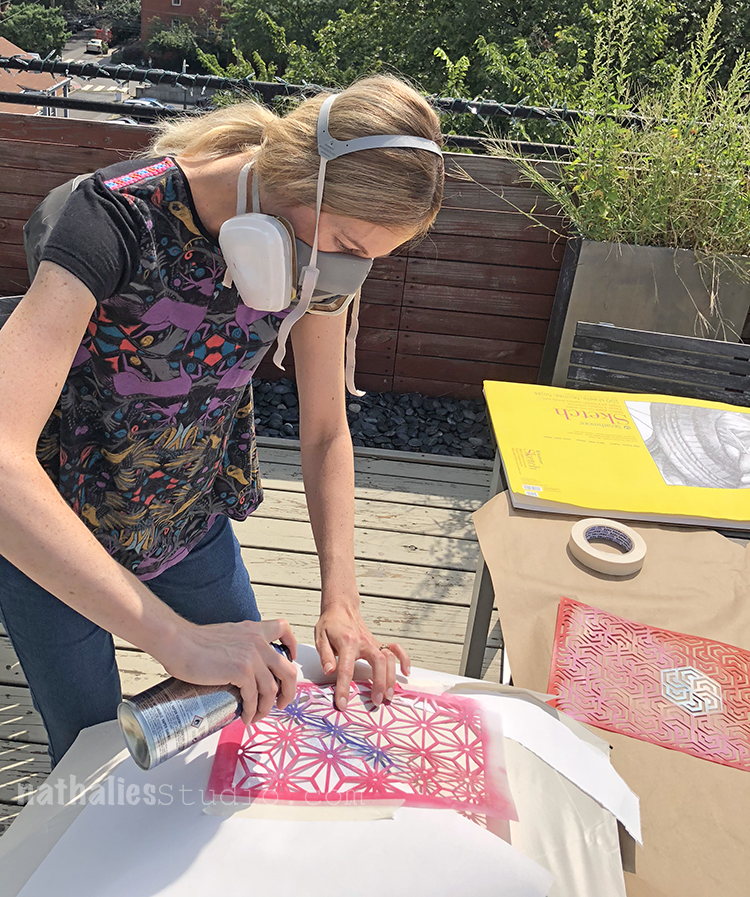
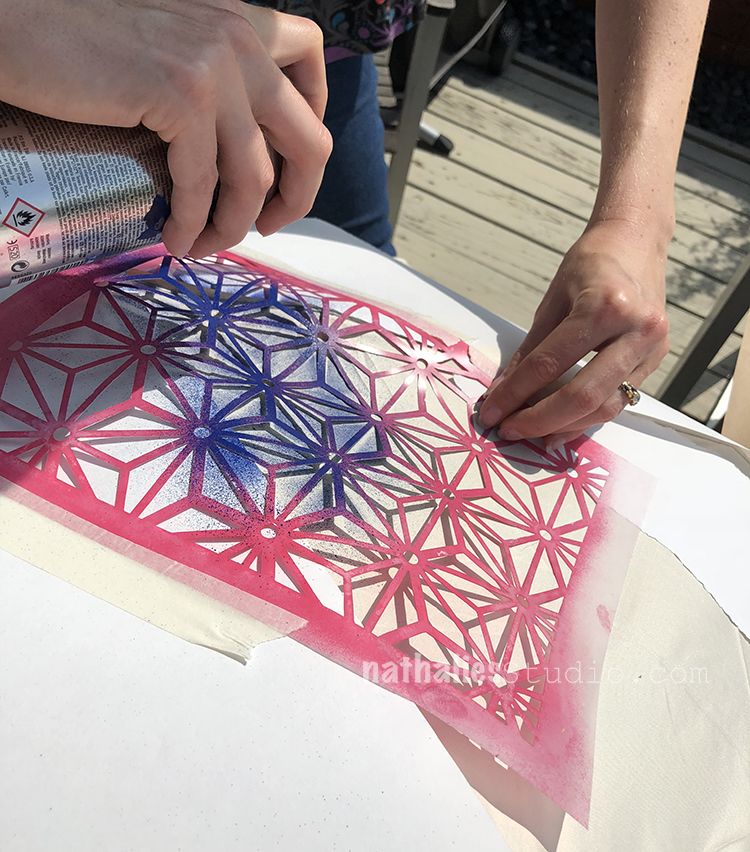
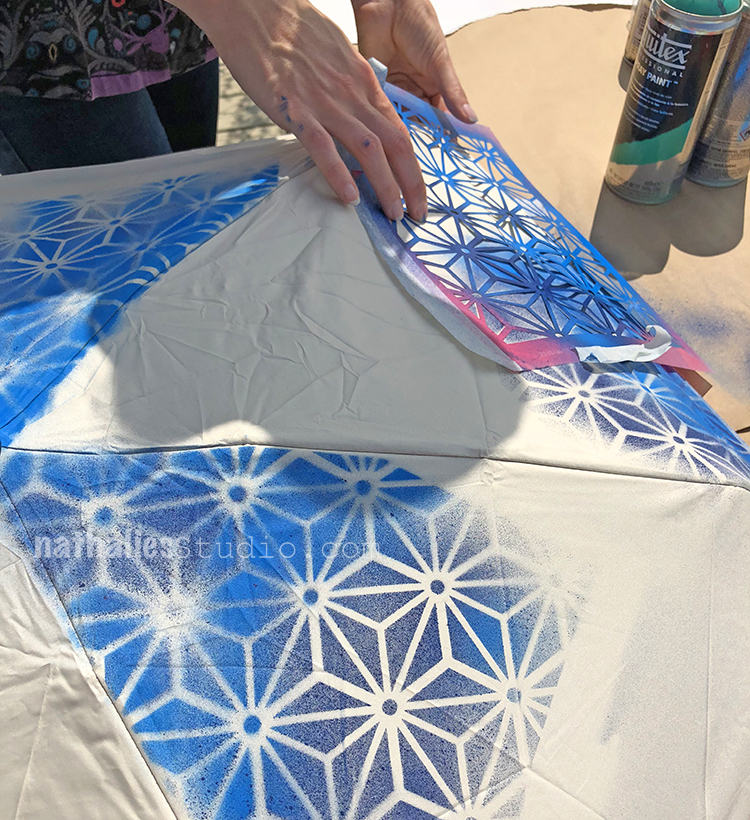
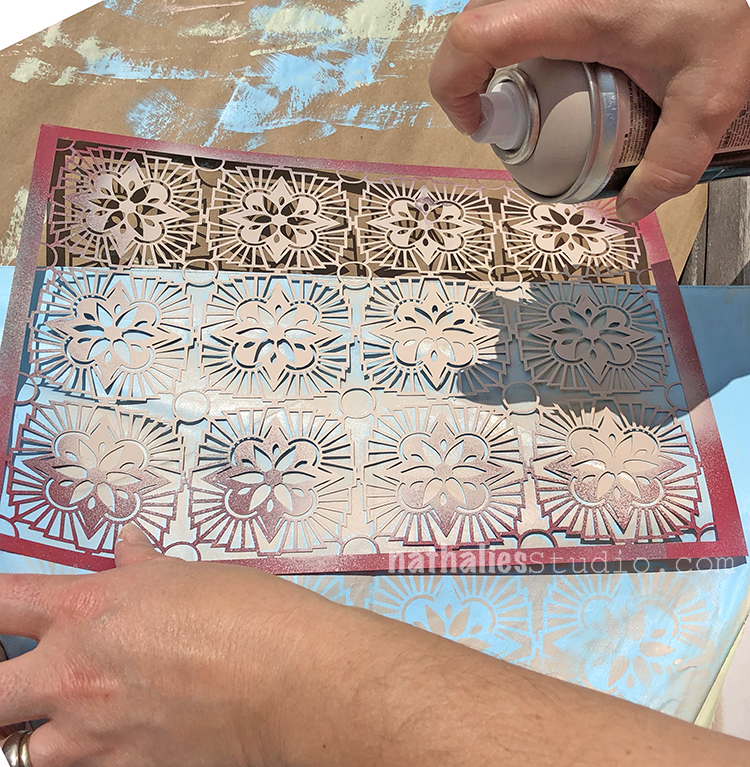
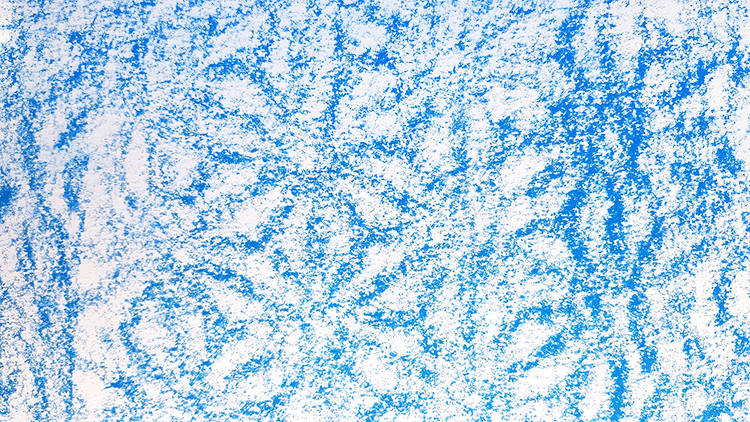
Kim decided to spray paint directly on the fabric. She taped down the stencil and some paper as a mask. She began with my new Star Struck stencil and some blue paint.
The 9×12 stencils are a nice size to cover a large area with color and pattern.
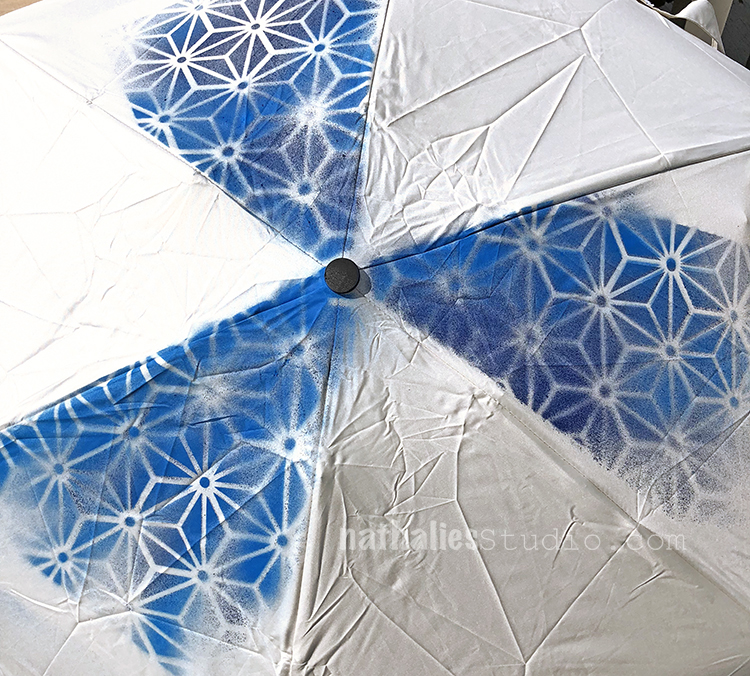
She covered the top of 3 alternating panels with a couple colors of blue. The Star Struck stencil almost looks like umbrellas so it works nicely.
She then moved to the bottom to add more.
I chose my new Hamilton stencil – absolutely loving this pattern!!! I used a buff color on the blue panels.

I lined up the pattern and covered the whole panel with the design.
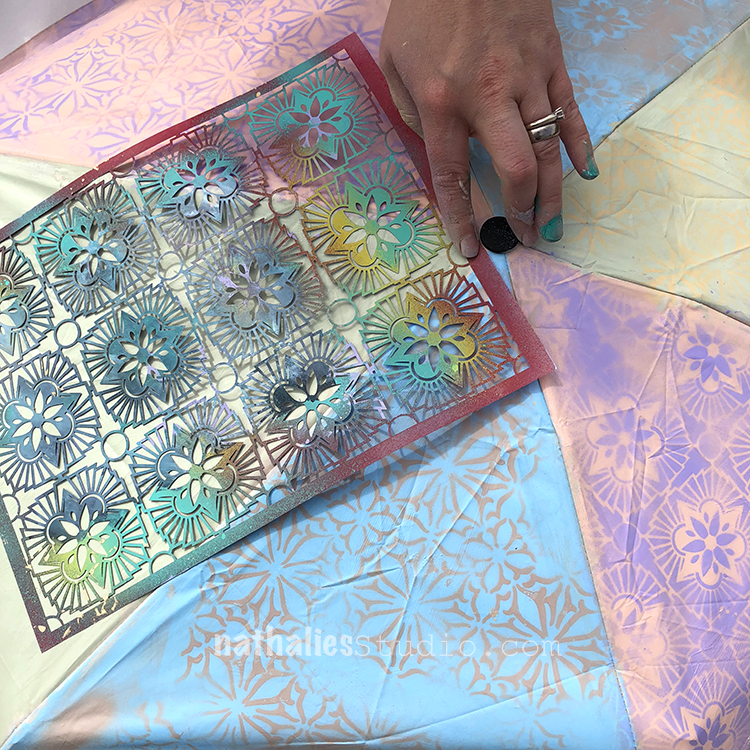
On some panels I used Hamilton and on others I used my new Van Vorst stencil – both are beautiful and delicate designs.

Here is my umbrella with the patterns. I might add more to the yellow panels – I chose a very subtle color for that one and it’s hard to see it once it dried.
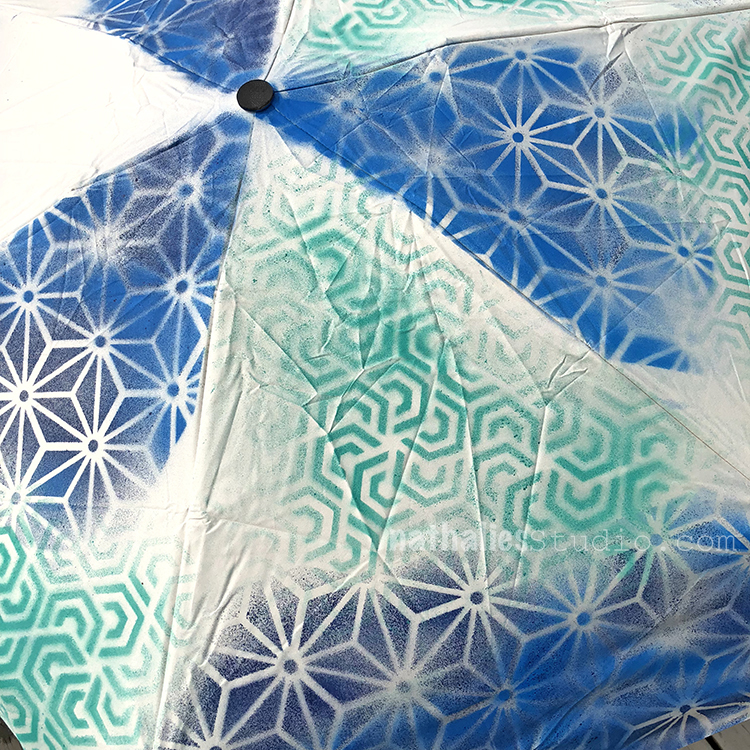
Kim added green with my new Flower Maze stencil and just blended one pattern into the other.
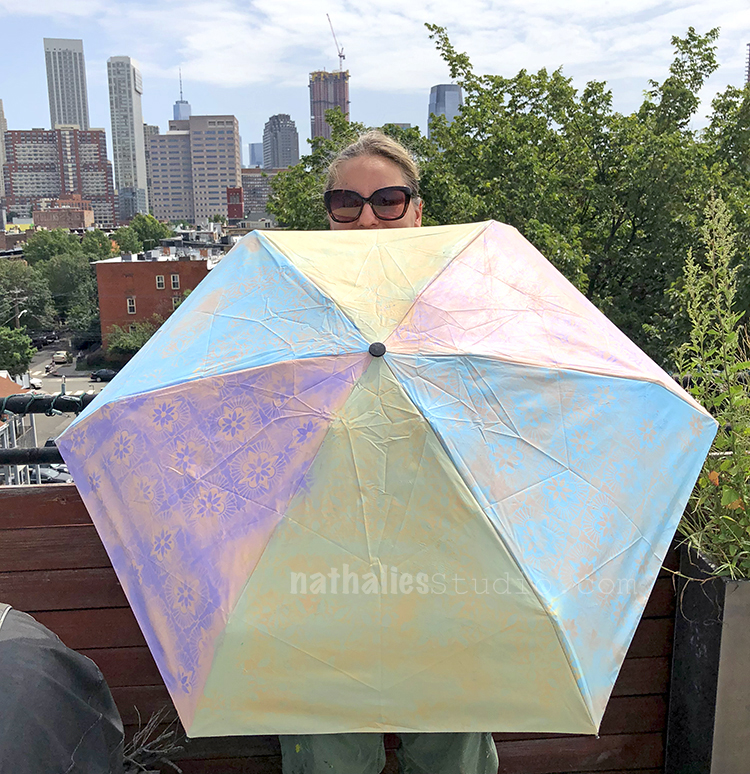
Peekaboo :)
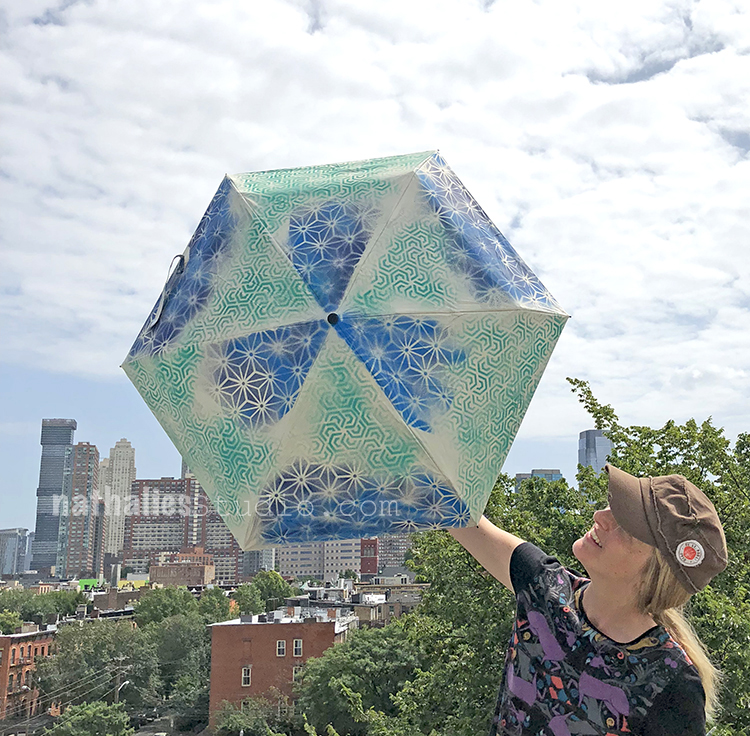
Looks great and all ready to brighten up a dreary day!
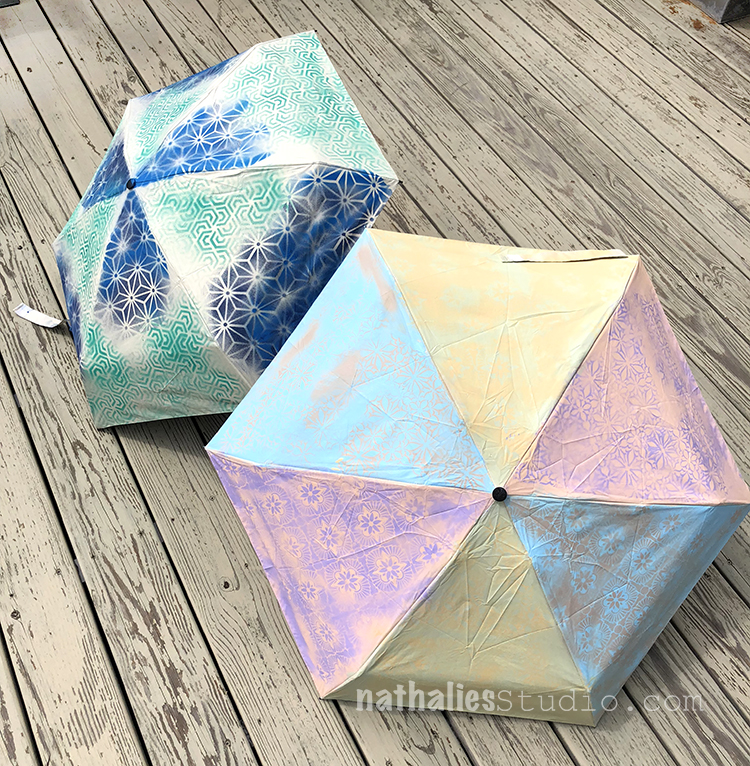
So you have lots of options when you start with a white umbrella. You could choose colors and coordinate it with your rain coat or rain boots or you could just aim to make something that makes you smile on a rainy day :)
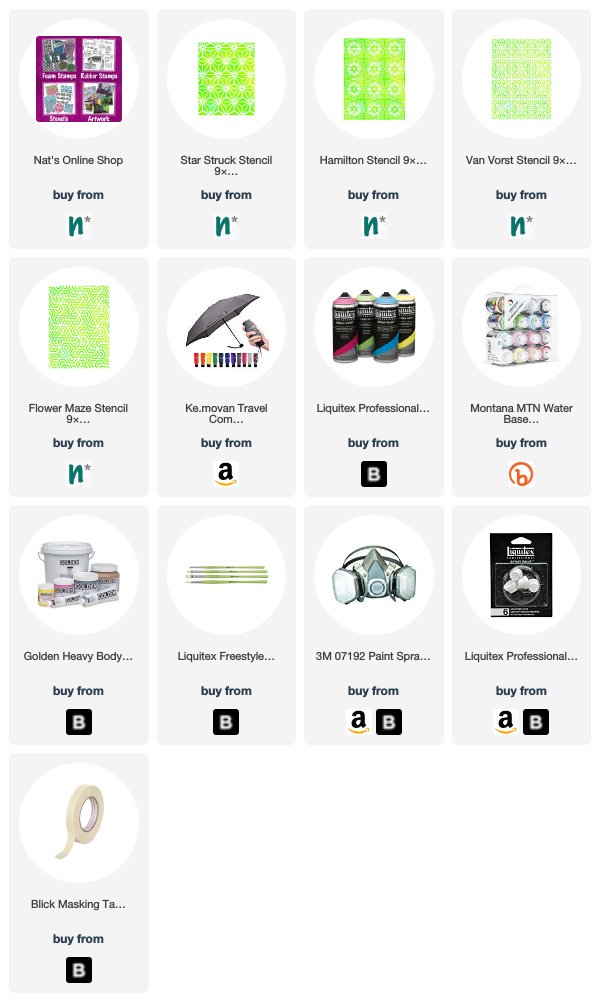
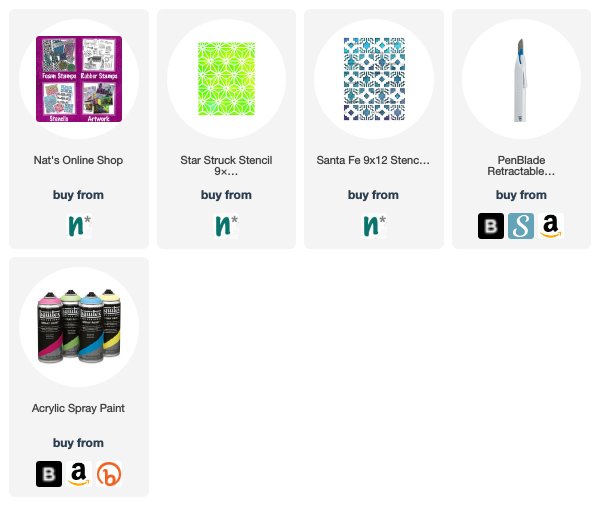
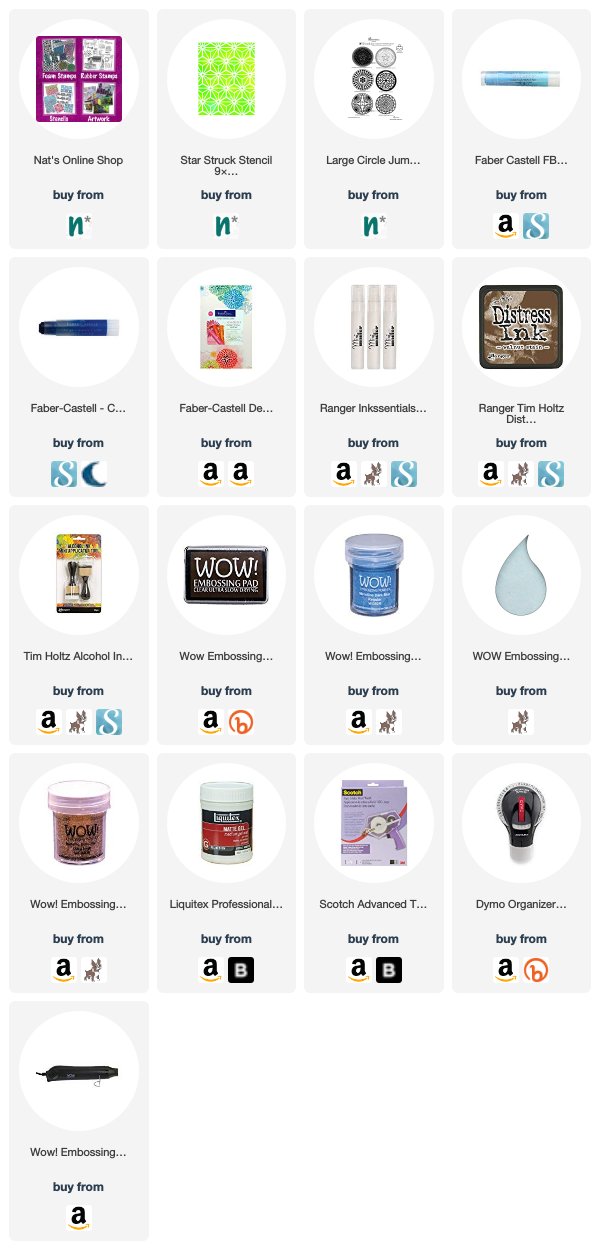
You can find my new stencils in my shop here, as well as all my other products. Here are some of the supplies that we used:


Comments (1)
Sue Clarke
| #
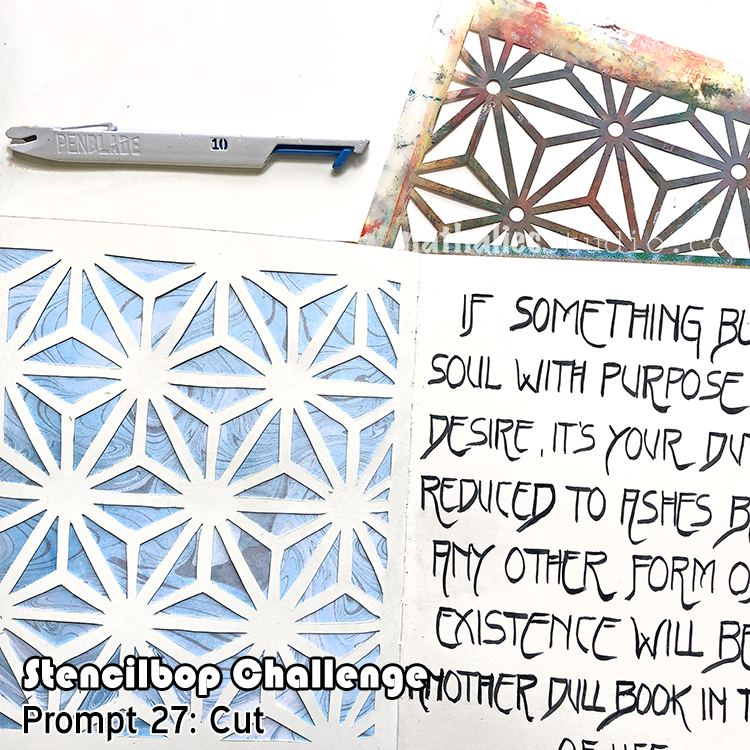
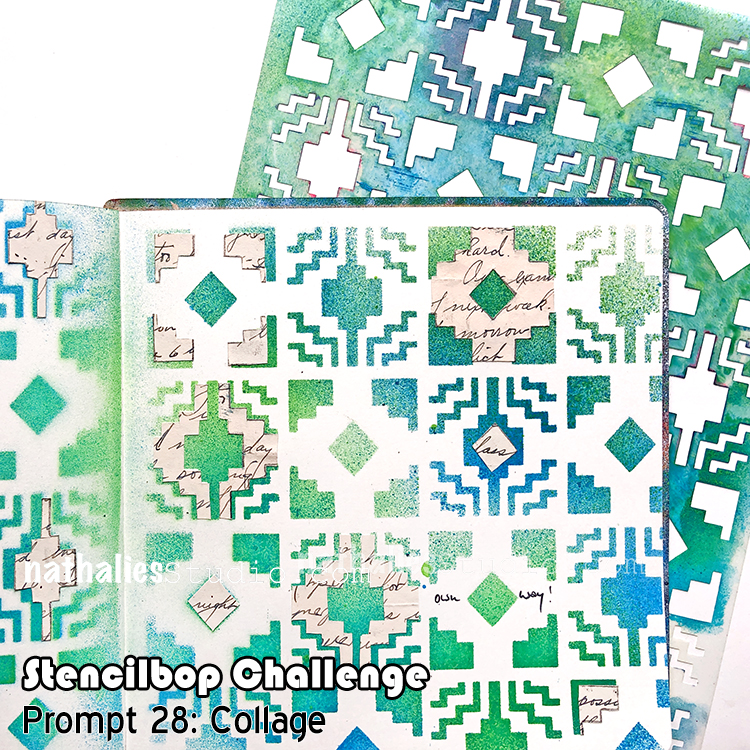
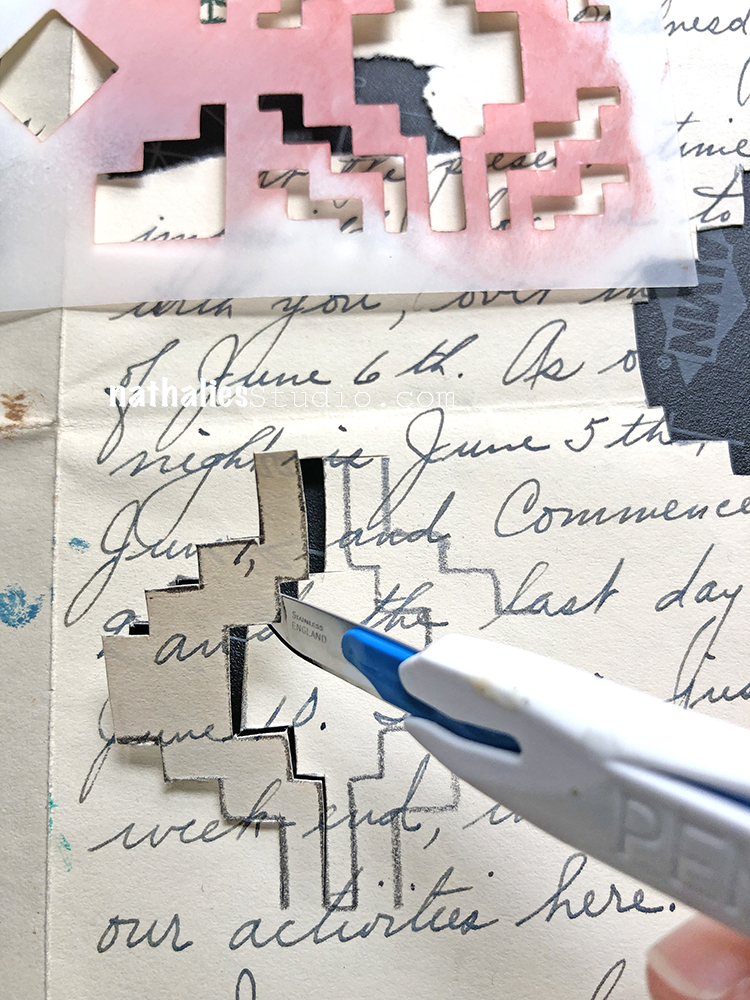
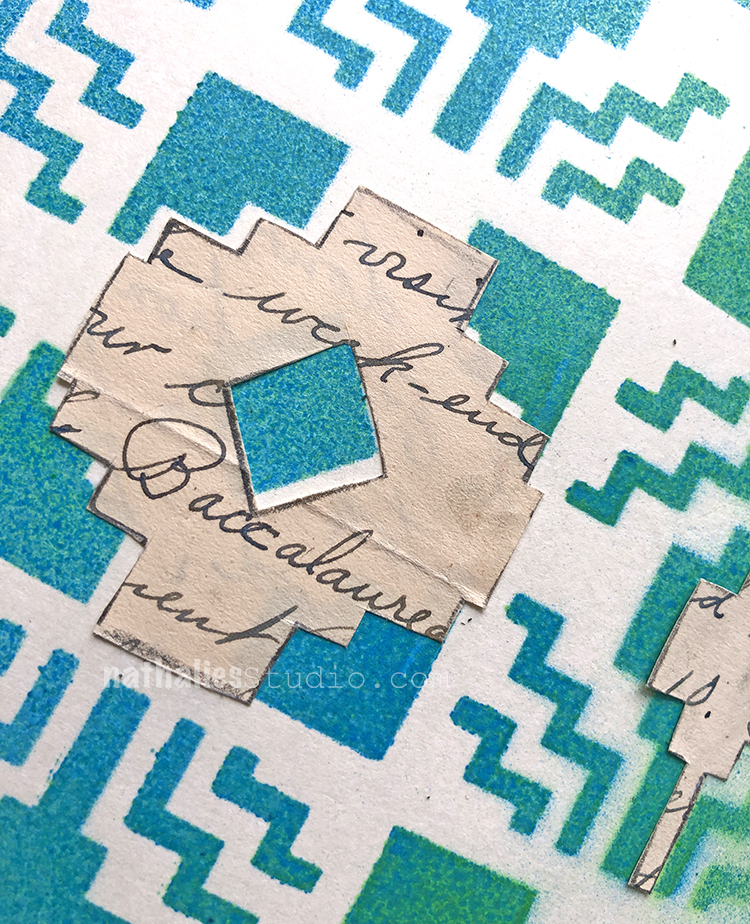
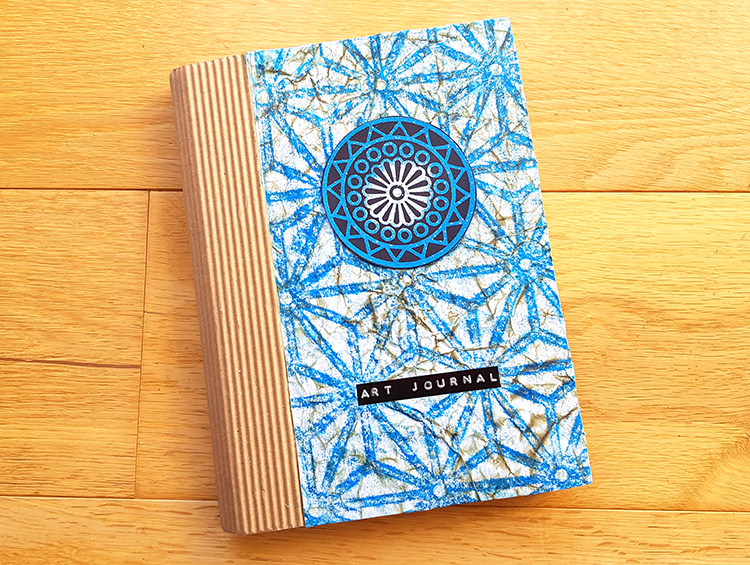
Love the fussy cutting with that stencil. Looks great and perfect for a unique page in an art journal or on a project.
Reply